How do I know when the cupcakes are done?
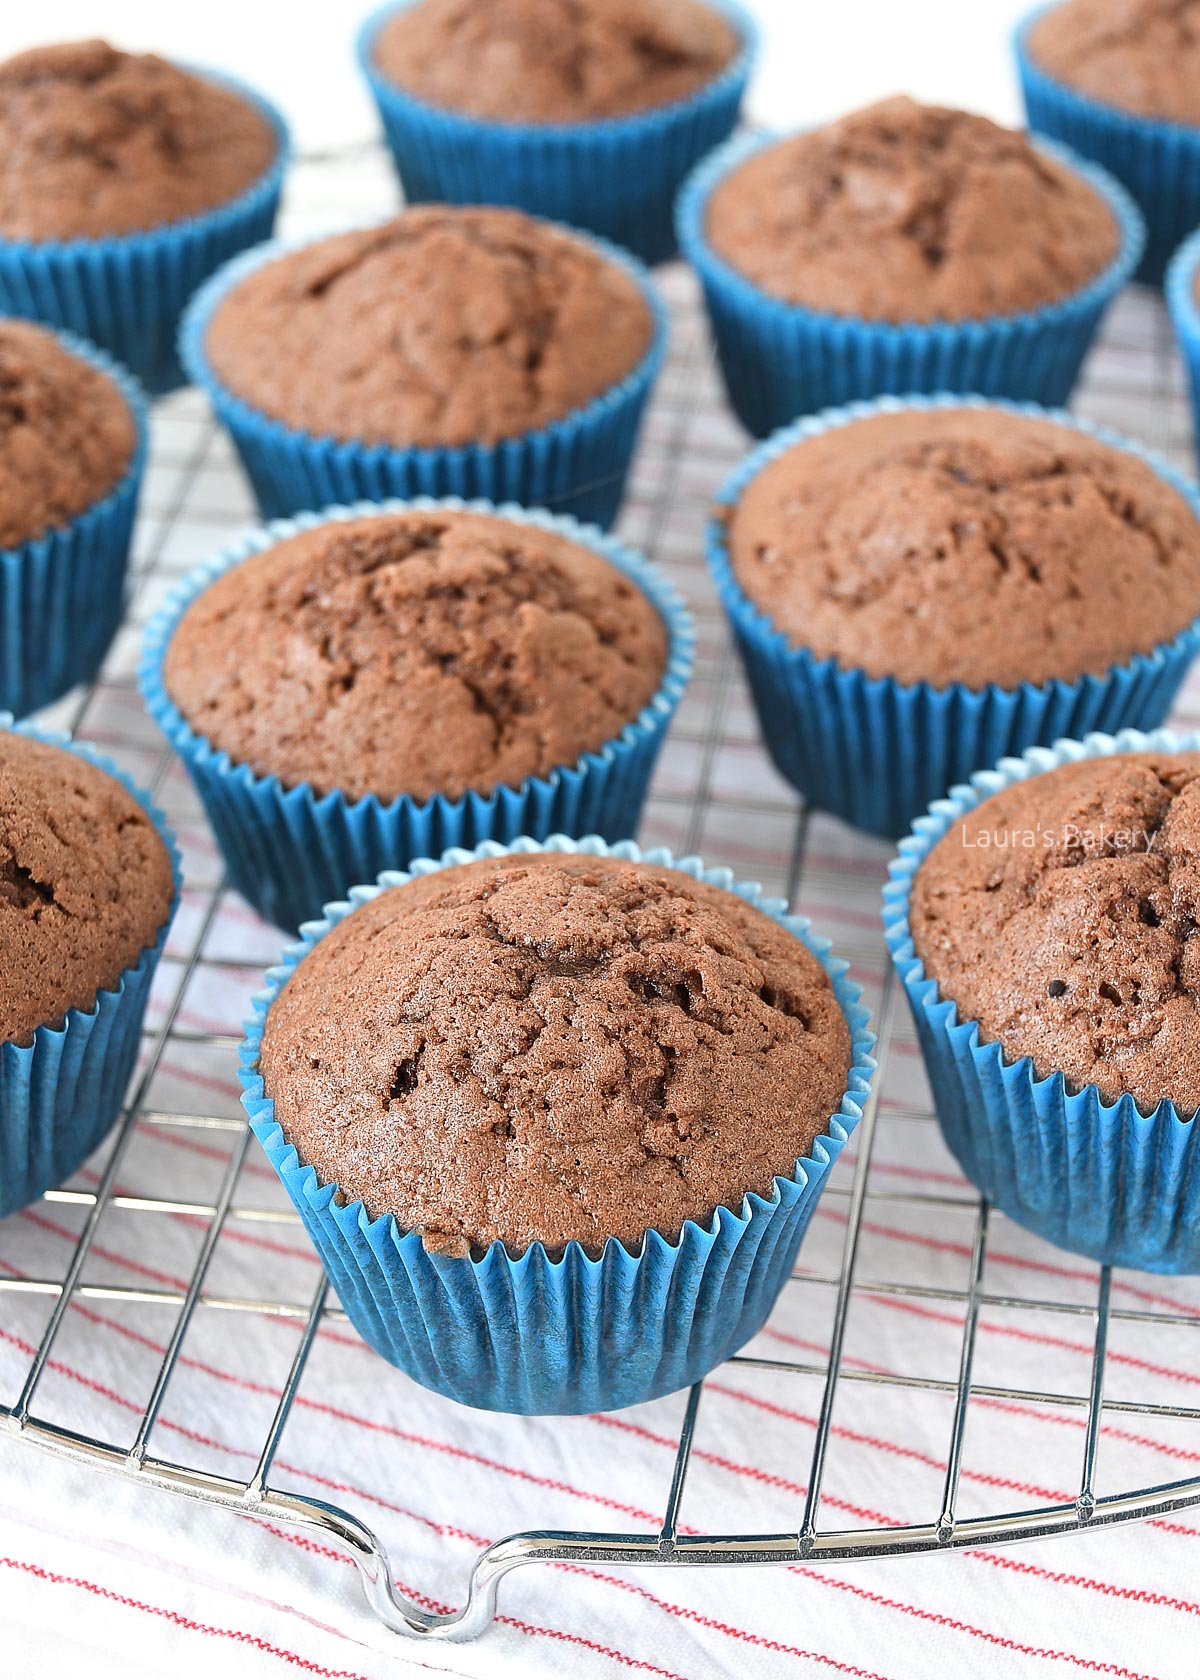
Insert a toothpick into the center of a cupcake, and if it comes out clean or with just a few dry crumbs, they’re ready. The tops should also spring back lightly when touched.

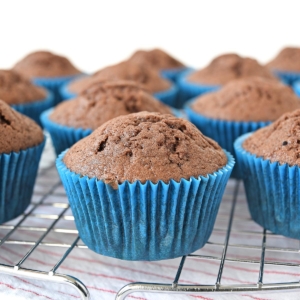
If you love cupcakes, you might want to give these delicious chocolate cupcakes a try. They’re perfect on their own but also really suitable as a base for all sorts of different and amazing flavor combinations.

These moist chocolate cupcakes have a rich chocolate flavor and the perfect texture.
They’re also super easy to make and a great base for adding flavor to it. Suitable for any occasion! Looking for a big cake? Check out the recipe for my favorite chocolate cake
As with most of my cupcake recipes (make sure to also check out the Ferrero Rocher cupcakes and the strawberry cupcakes!) the ingredients are pretty simple.
To start making the cupcake batter, you first beat the butter (at room temperature) and the sugar until light and creamy.
Add the vanilla and add each egg one at a time, making sure to have them fully incorporated before moving on to the next.
Once all your wet ingredients are in, you add the flour mixture, cocoa, baking powder, and salt. Mix until they are fully incorporated into the batter.
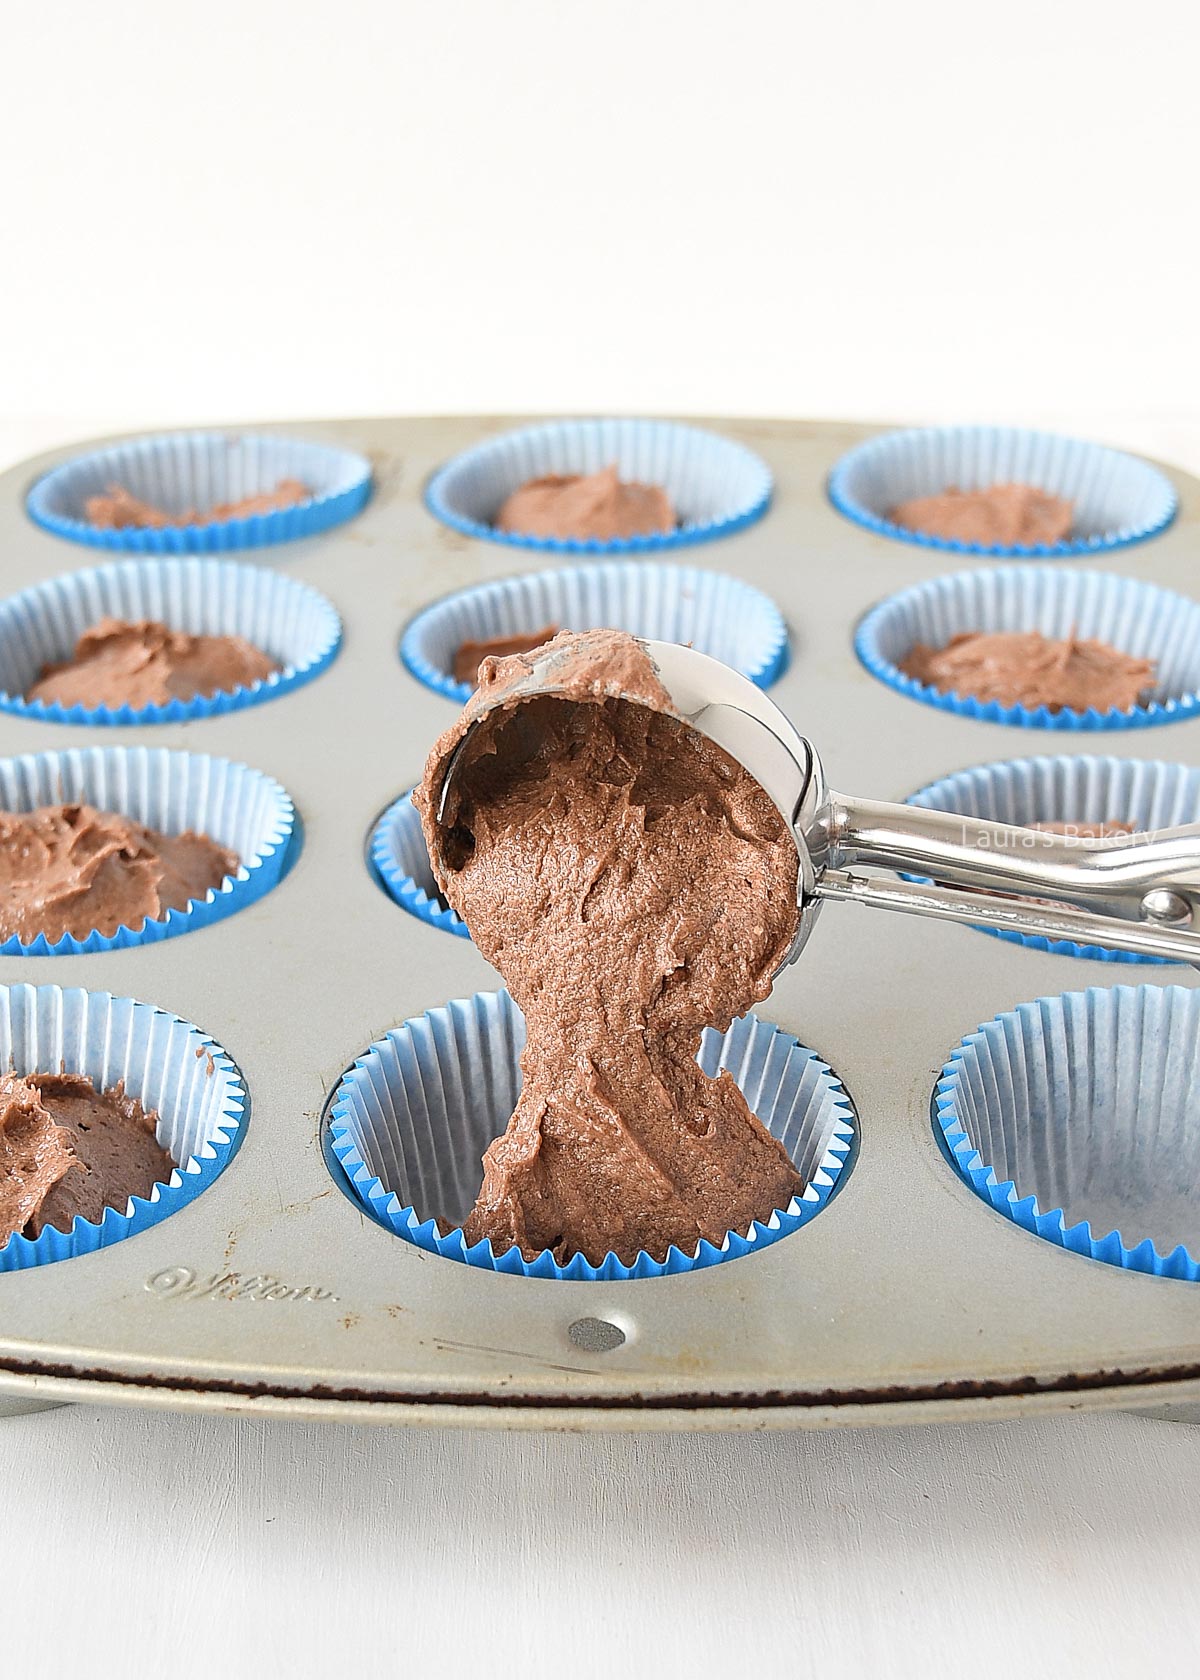
Line a muffin pan with cupcake liners and divide the batter evenly between them. I like to use either an ice cream scoop for this or a cookie scoop. That makes portioning really easy. You can also use a measuring cup of two spoons depending on what you have on hand.
Now bake the cupcakes for about 18 minutes at 350˚F/180˚C (conventional oven) or until a wooden skewer comes out clean when inserted in the center.
Let them rest briefly before letting them cool down completely on a wire rack.
This easy cupcake recipe is perfect for making ahead. You can store them in an airtight container outside of the fridge for up to 4-5 days.
Don’t place them in the fridge as that will dry them out. Check out this article on how to store cupcakes the best way.
These chocolate cupcakes are perfect for freezing too. Don’t add the chocolate frosting just yet but do this after defrosting for the best results.
Insert a toothpick into the center of a cupcake, and if it comes out clean or with just a few dry crumbs, they’re ready. The tops should also spring back lightly when touched.
Yes, you can. Just keep in mind that Dutch-processed cocoa has a milder, smoother flavor compared to natural cocoa powder. Both work well in this recipe.
Dry cupcakes are usually the result of overbaking or adding too much flour. Make sure to measure your flour correctly (spoon and level) and don’t bake longer than needed.
These cupcakes pair well with many frostings, such as classic chocolate buttercream frosting, vanilla buttercream, cream cheese frosting, Swiss meringue buttercream or even a simple chocolate ganache.
No, but they do make it easier to remove the cupcakes from the pan and keep them looking neat. If not using liners, be sure to grease the pan well. That said; I would always advise to use liners. If you want to serve the cupcakes without liners you can use silicon liners as those are easy to remove before serving.
Are your cupcake liners turning out greasy? Check this article on how to avoid greasy cupcake liners.
This can happen if the cupcakes are underbaked, the oven door is opened too early, or the batter is overmixed. Make sure to bake them fully and avoid opening the oven in the first 15 minutes.
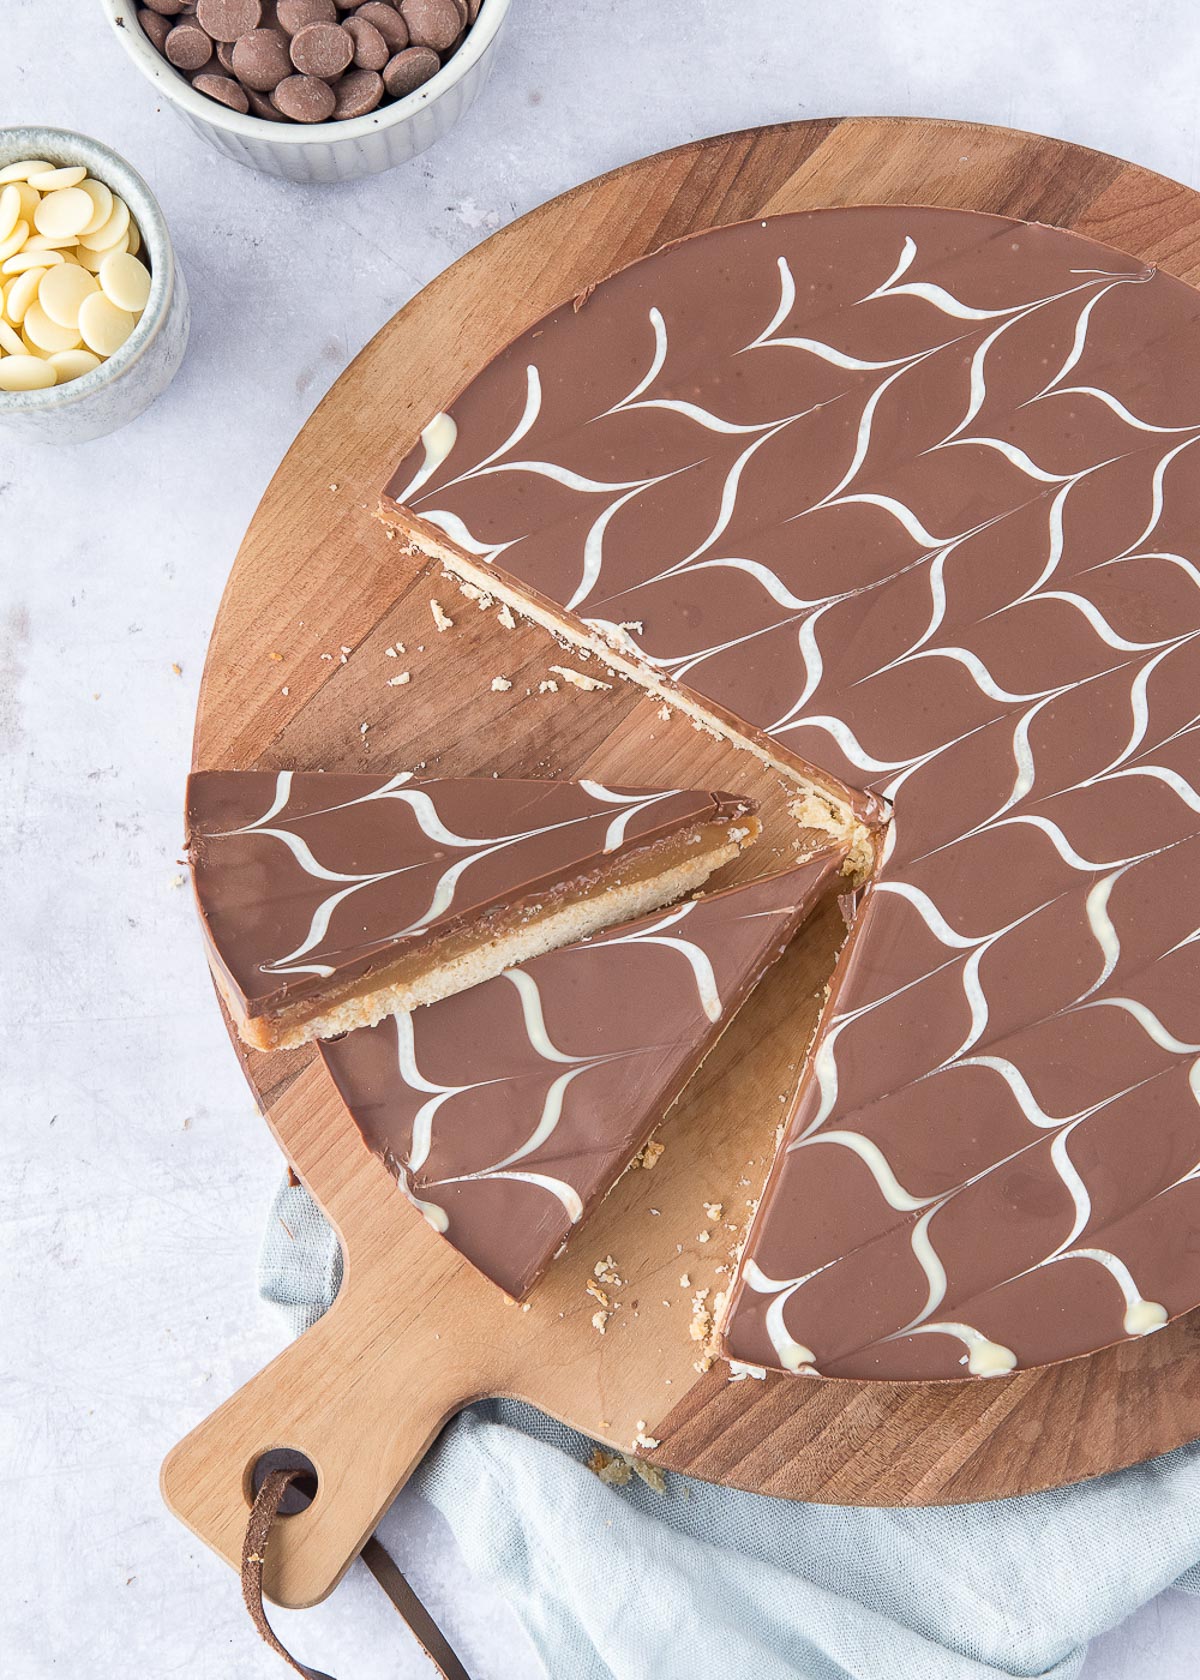
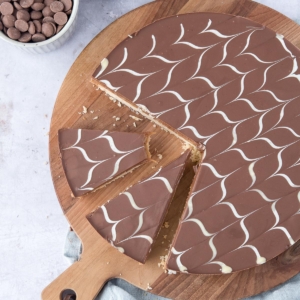
Caramel shortcake, millionaire’s shortbread, Twix cake; this indulgent treat goes by many different names. In this article, I’ll explain where those names come from and share my easy recipe, along with all my tips.
This millionaire shortbread is really one of my favorites and I’m sure you’ll love it too. Why?
Making millionaires shortbread is really easier than you think and you don’t need a lot of special ingredients either:
Making this Twix cake is a three-part process.
You start by making the buttery crust. Cream butter, sugar and salt together until smooth. Add the self-rising flour and mix until combined.
Press the dough into a greased springform pan. Prick the base with a fork and bake at 350˚F/180˚C (conventional oven) for 20 minutes or until cooked through.
For the filling, you need to place a small saucepan on medium heat. Add the condensed milk and the brown sugar. Stir until the sugar has dissolved.
Now increase the heat and continue stirring with a whisk. Bring to a boil and let it cook for 10 minutes while you keep stirring.
The caramel filling is ready when it has thickened enough. Pour over the cooled down cookie base and use a spatula or something similar to spread it evenly. Place in the fridge to let it cool a bit.
Once the caramel has cooled down enough, melt the milk chocolate in a double boiler. At the same time you can add the white chocolate into a disposable piping bag and melt it in the microwave.
Spread the melted milk chocolate over the caramel layer, and spread it evenly.
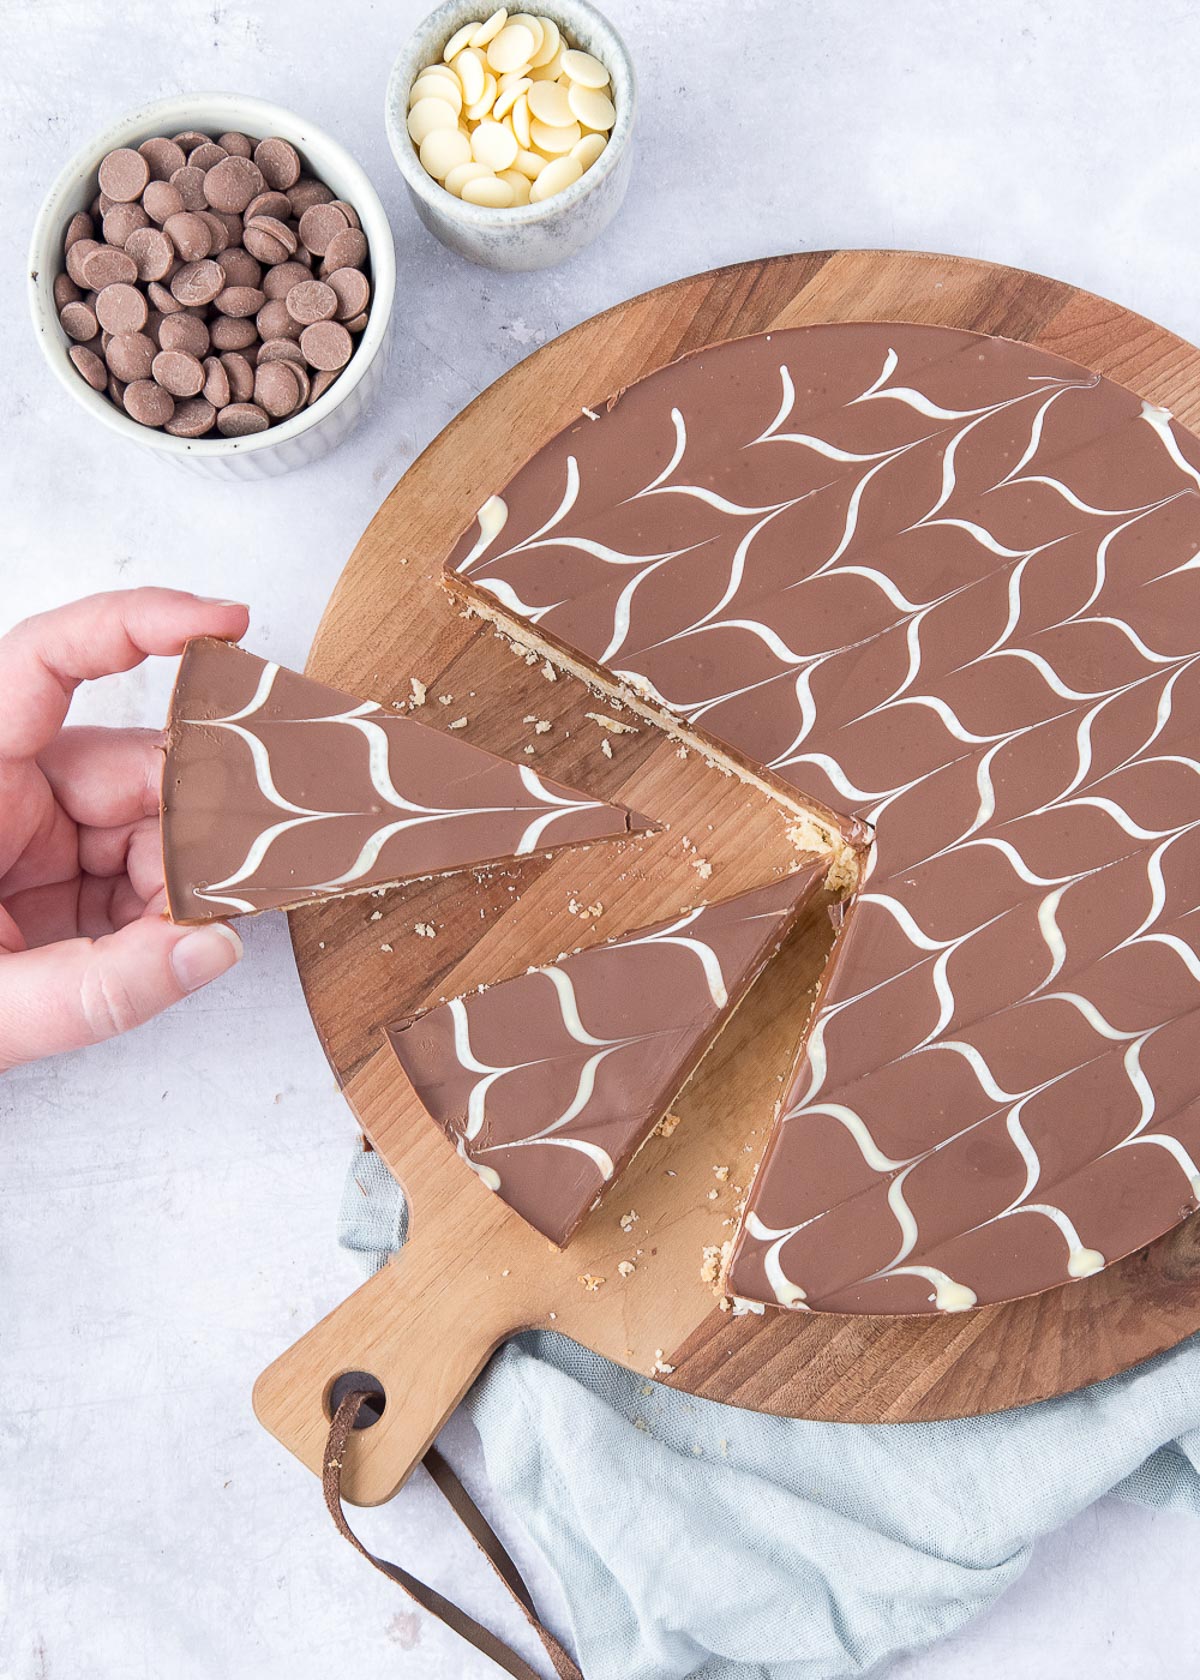
Cut a small tip off the piping bag with the white chocolate and pipe even lines from left to right. Once that is done, use a knife or a toothpick to drag it through the chocolate to create a pattern.
Let the chocolate set completely before you slice the millionaires shortbread.
BAKING TIP: I like to use a springform pan for this kind of recipe. It makes it easy to remove the caramel shortcake from the pan and keeps cleanup simple.
You can store Millionaires shortbread outside of the fridge in an airtight container. Make sure not to place it in the fridge as it will get too hard and will be difficult to slice. It will keep outside of the fridge for up to a week.
Yes you can freeze millionaires shortbread perfectly! Properly wrap in plastic wraps and freezer containers and store for up to 3 months.
If you’re addicted to the irresistible combination of chocolate and caramel, you aren’t alone! Here at Laura’s Bakery, more sweet treats with this flavor combination are constantly being added:
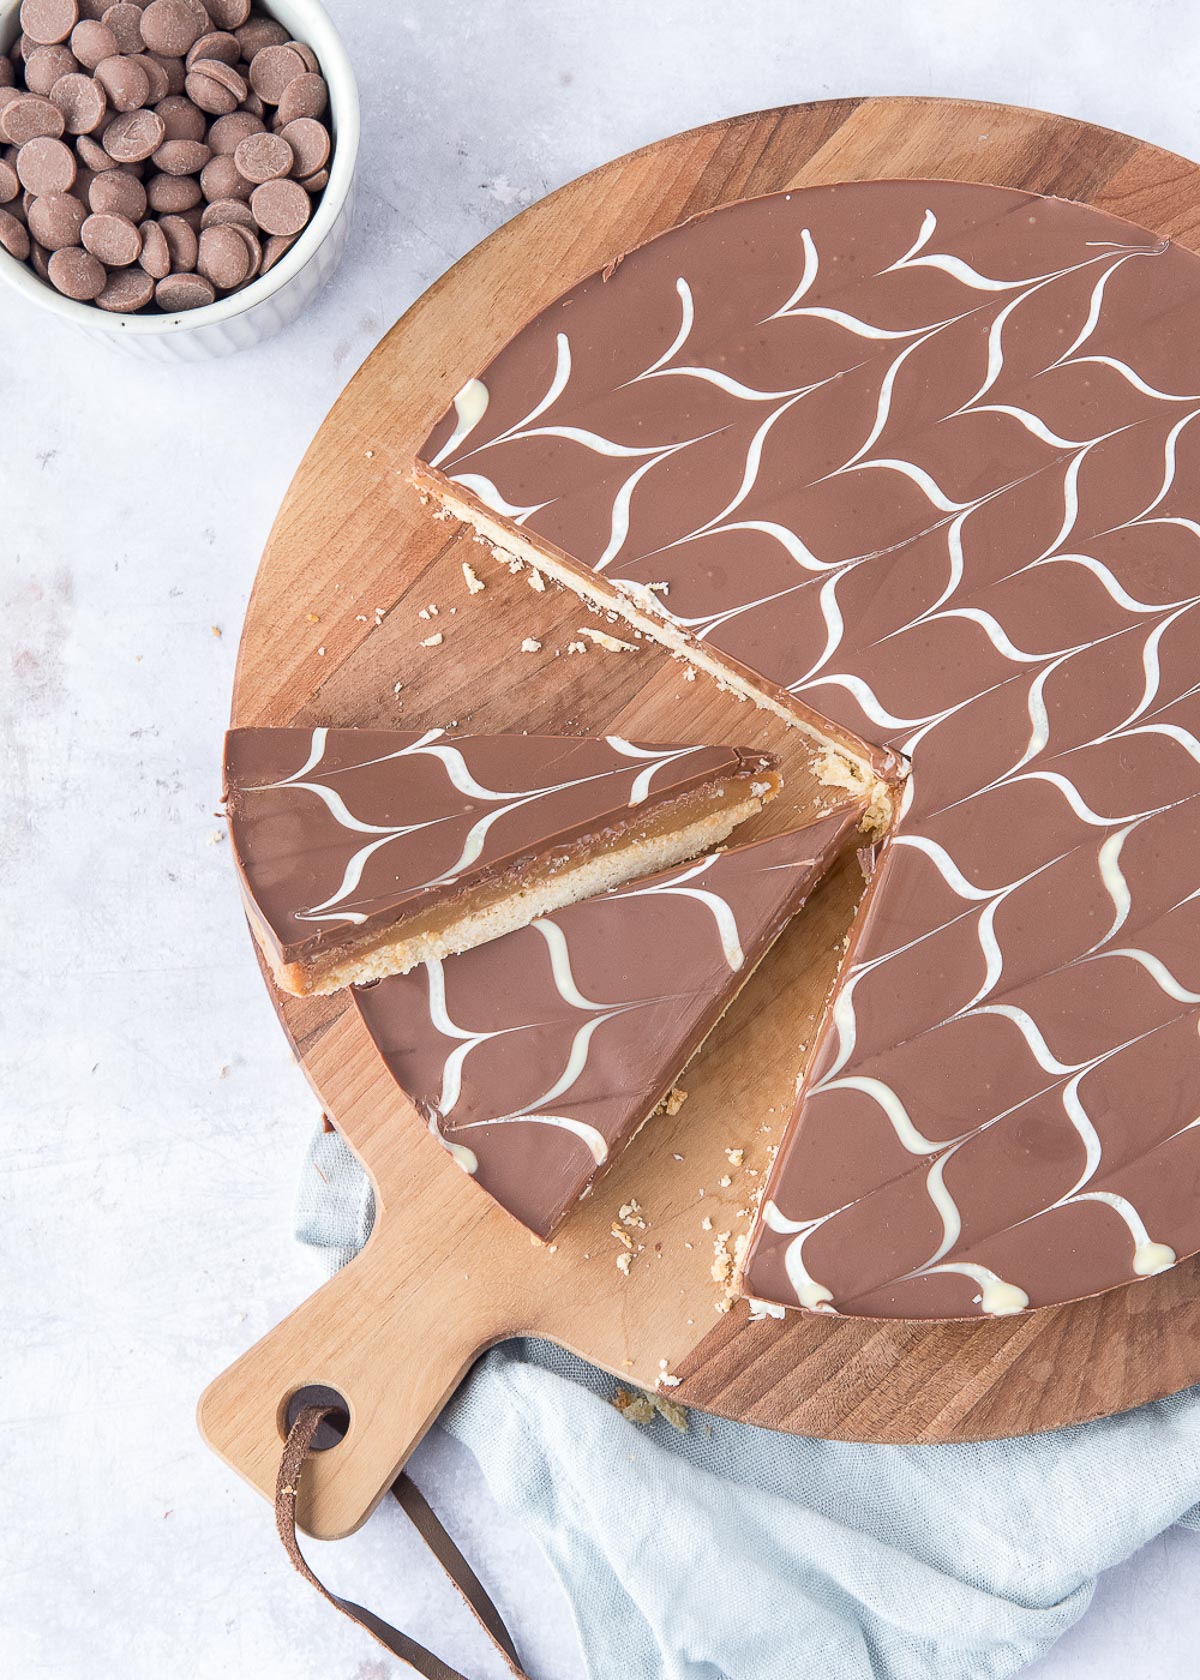
There are so many different names for this delicious dessert. But what’s the difference between caramel shortcake, chocolate caramel shortbread, millionaire’s shortbread, caramel slice, millionaire’s shortcake, or Twix cake?
Millionaire’s shortbread is essentially the same as caramel shortcake. The different names come from the many places around the world where this recipe is popular.
The recipe originally comes from Scotland, where shortbread has been enjoyed since the 12th century. A few centuries later, the Scots came up with the idea of combining it with caramel and chocolate, pure heaven!
Besides Scotland, caramel shortbread is also very popular in countries like Australia, New Zealand (where it’s often called Wellington squares), and England.
A fun detail: in New Zealand, it’s said to be a New Year’s Day tradition to serve a piece to the first guest who enters your home.
The name definitely raises some questions. Originally, there was shortbread: a crumbly, buttery cookie similar to what you might know as a classic shortbread cookie.
To turn it into millionaire’s shortbread, you add a thick layer of caramel and a generous layer of chocolate.
These additions make it a richer, more indulgent version of the original shortbread, hence the name “millionaire’s.” It’s believed the name refers to how luxurious and decadent the treat is.
In this variation, salt is added to the caramel layer of millionaire’s shortbread. Billionaire’s shortbread originates from the United States, where salted caramel is extremely popular.
Personally, I’d probably call it salted caramel shortcake, but hey, I might also be the one who added yet another name to the already long list (Twix cake!).
As you can see, the list of names for this recipe just keeps growing. 😉
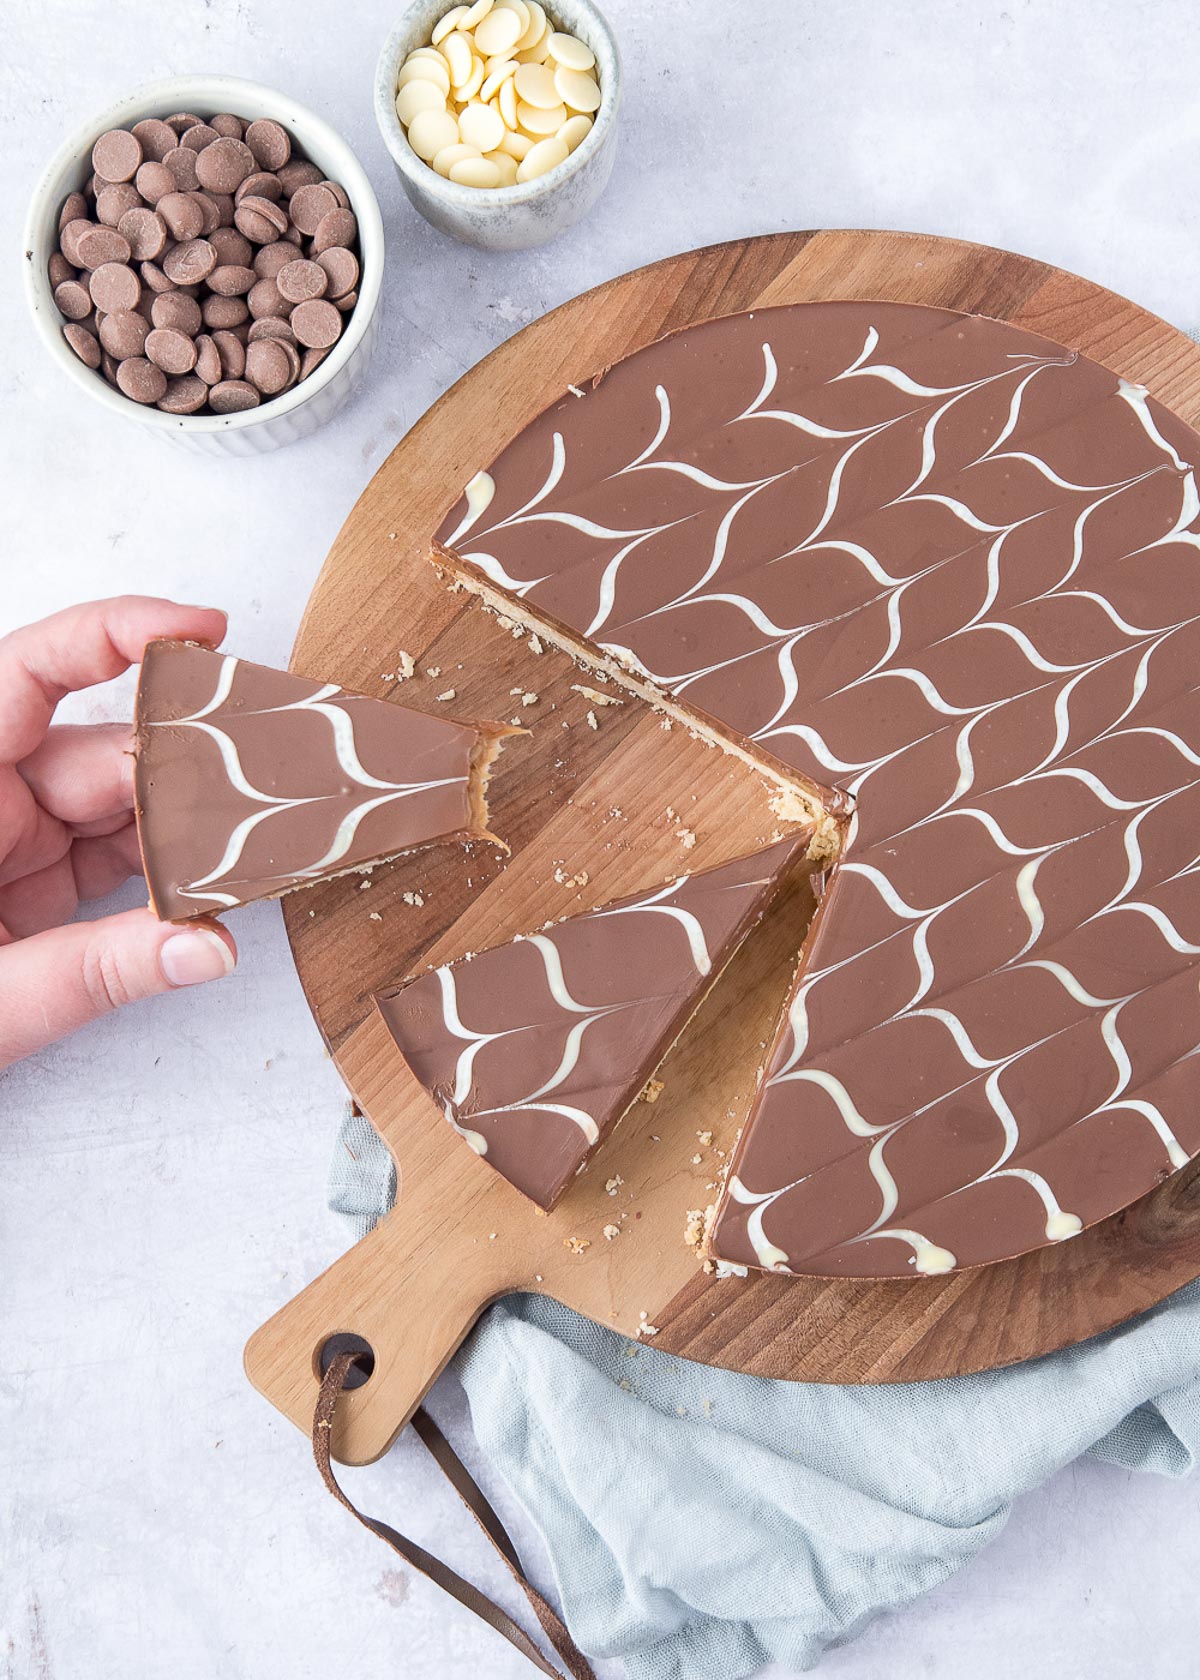
Absolutely! I usually make it in a round pan like a cake, but caramel shortbread is often baked in a square or rectangular pan as well. In that case, you can cut it into bars or squares.
If you want to use this recipe as-is for a rectangular pan, use one that’s about 8 x 10 inches (20 x 25 cm).
Tip #1: don’t store it in the fridge. It becomes very hard and difficult to slice neatly. I always keep mine at room temperature and use a large, sharp knife.
For extra clean cuts, you can run the knife under hot water, dry it, and then slice. The knife will glide right through.
If you’re not a fan of crumbly shortbread, you can definitely switch it up. Try a sugar cookie base, or use store-bought cookies crushed and mixed with melted butter. You may need to experiment a bit with quantities, but let me know how it turns out!
You probably cooked it a little too long or at too high a temperature. Cooking times can vary depending on your pan and stove. It’s best to stop just before it seems thick enough. Keep in mind that caramel will firm up more as it cools.
White chocolate burns easily, which can cause it to become grainy. Melt it slowly and gently for best results. Also, make sure your bowl doesn’t touch the water when using a double boiler, as that can make it too hot.
If your chocolate develops a white coating, it likely wasn’t properly tempered.
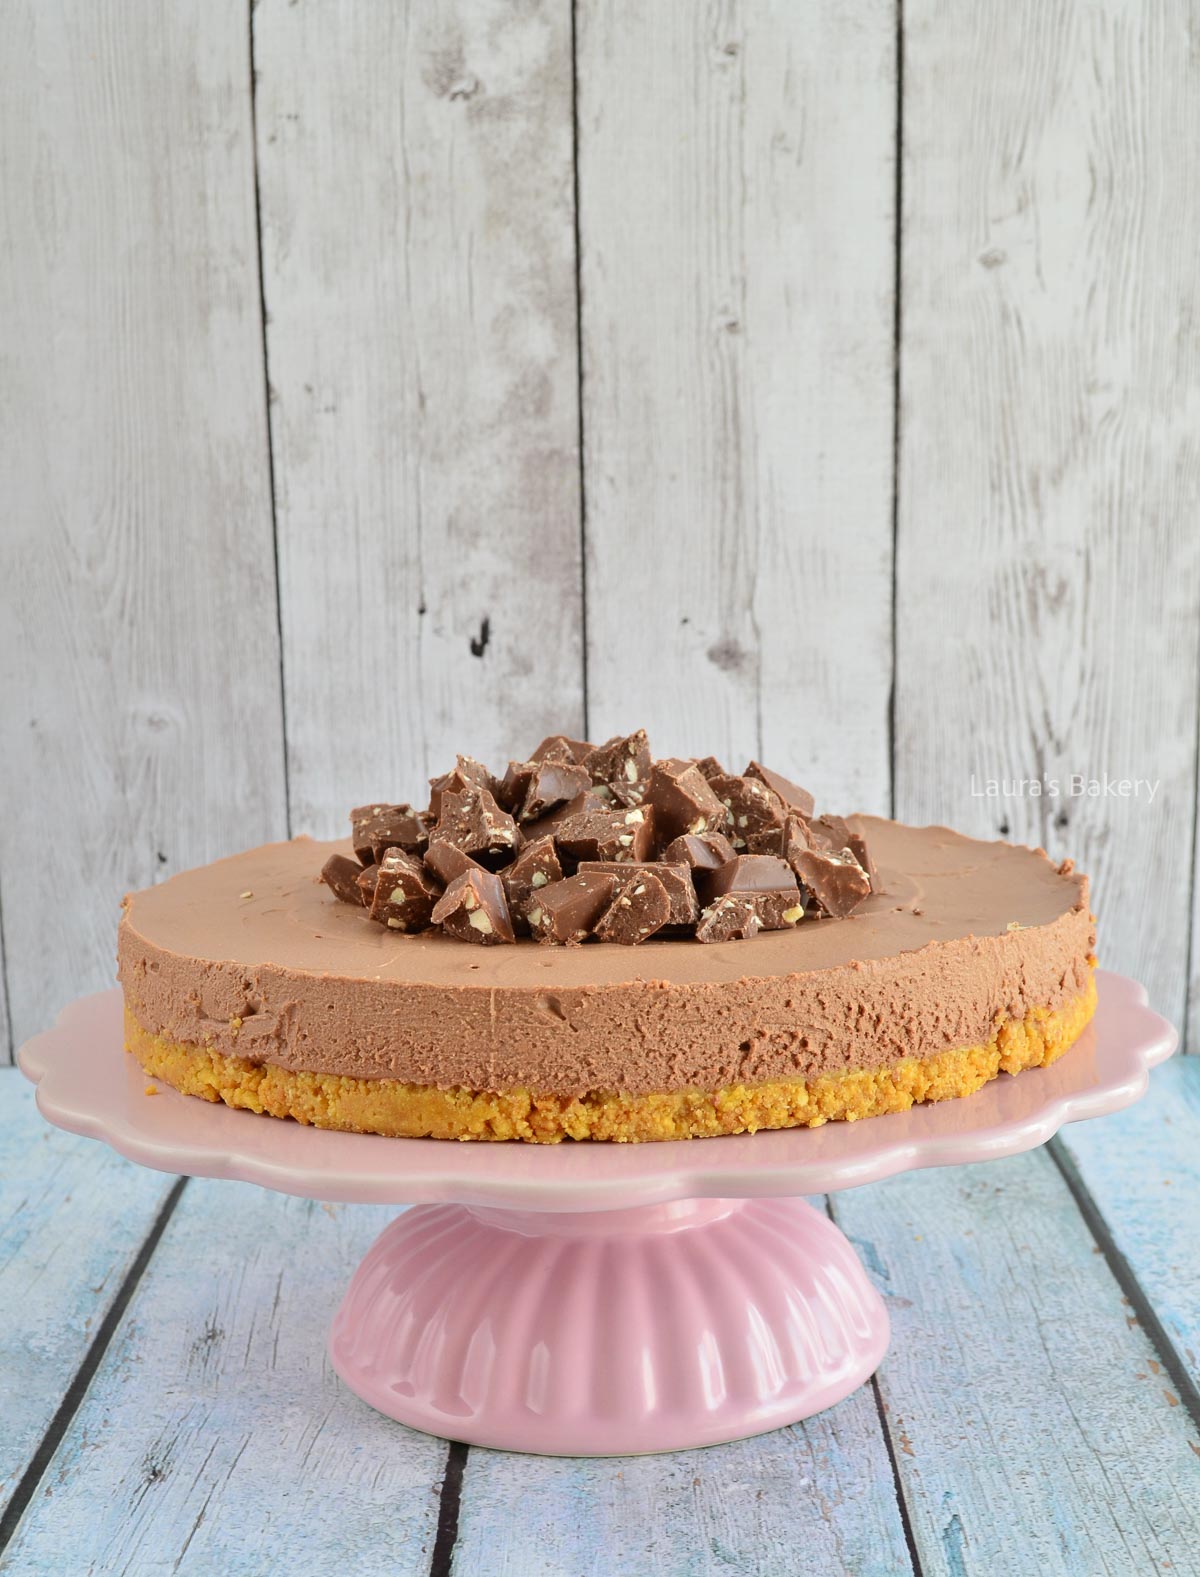
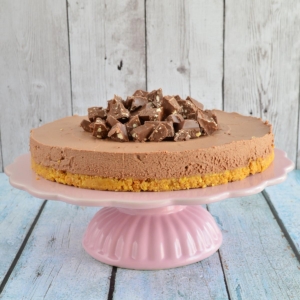
Rich, ultra-creamy, and packed with bold Swiss chocolate flavor, this no-bake Toblerone cheesecake features melted Toblerone and dark chocolate folded directly into the filling, finished with chopped pieces of Toblerone on top. It’s a show-stopping dessert that requires minimal effort.
I know this Toblerone cheesecake hardly needs an introduction, but I have to say, it’s one of my favorite no-bake cheesecakes, and for plenty of good reasons. And if you love Toblerone also make sure to check my Toblerone cookies!
This no-bake Toblerone cheesecake skips many of the ingredients required for a traditional baked version, making the recipe simpler and far more beginner-friendly. Be sure to check the full details in the recipe card below:

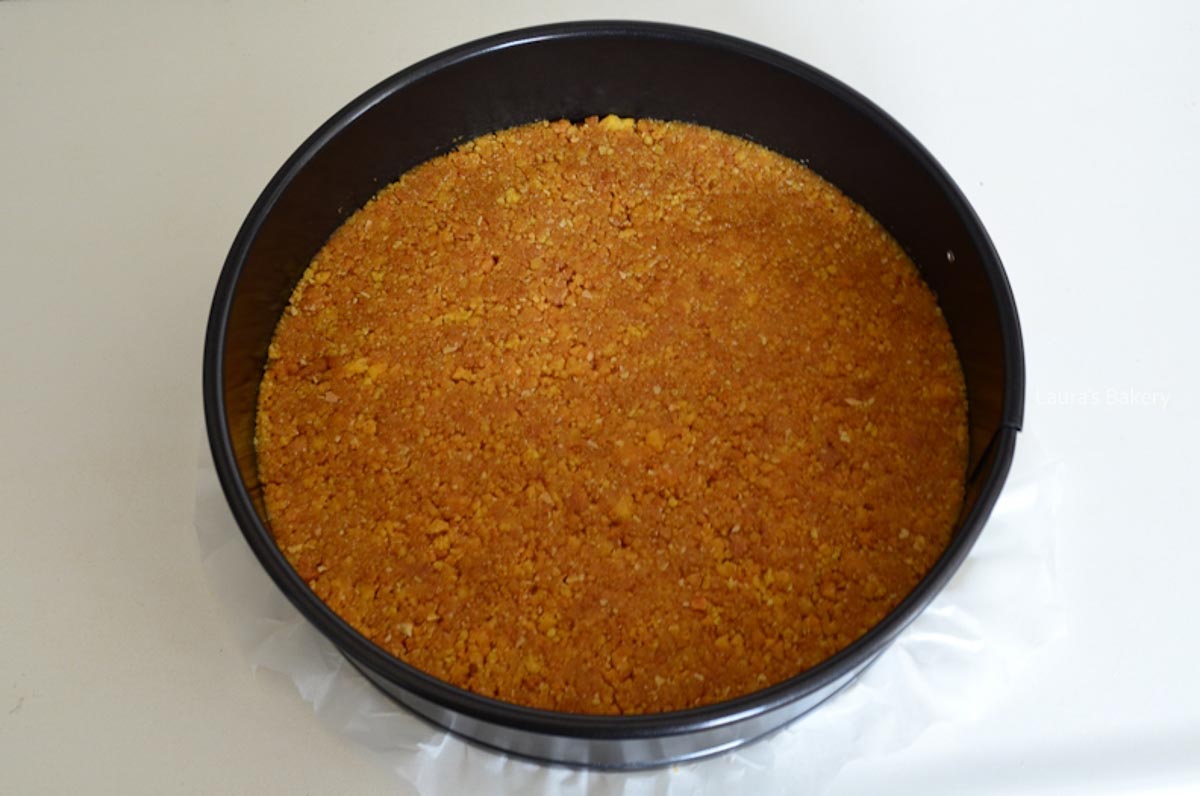
Make the crust and press into the pan. Chill in the fridge.

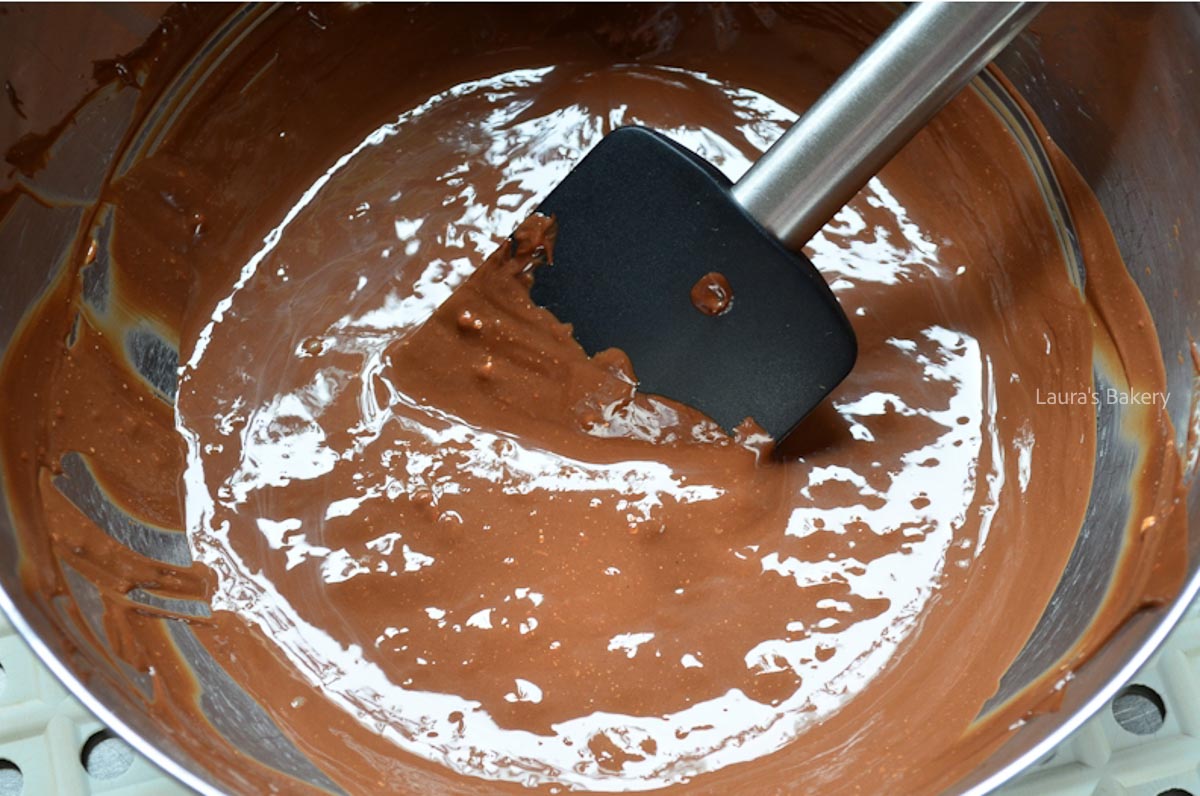
Melt chopped Toblerone and dark chocolate in a double boiler and let cool slightly.

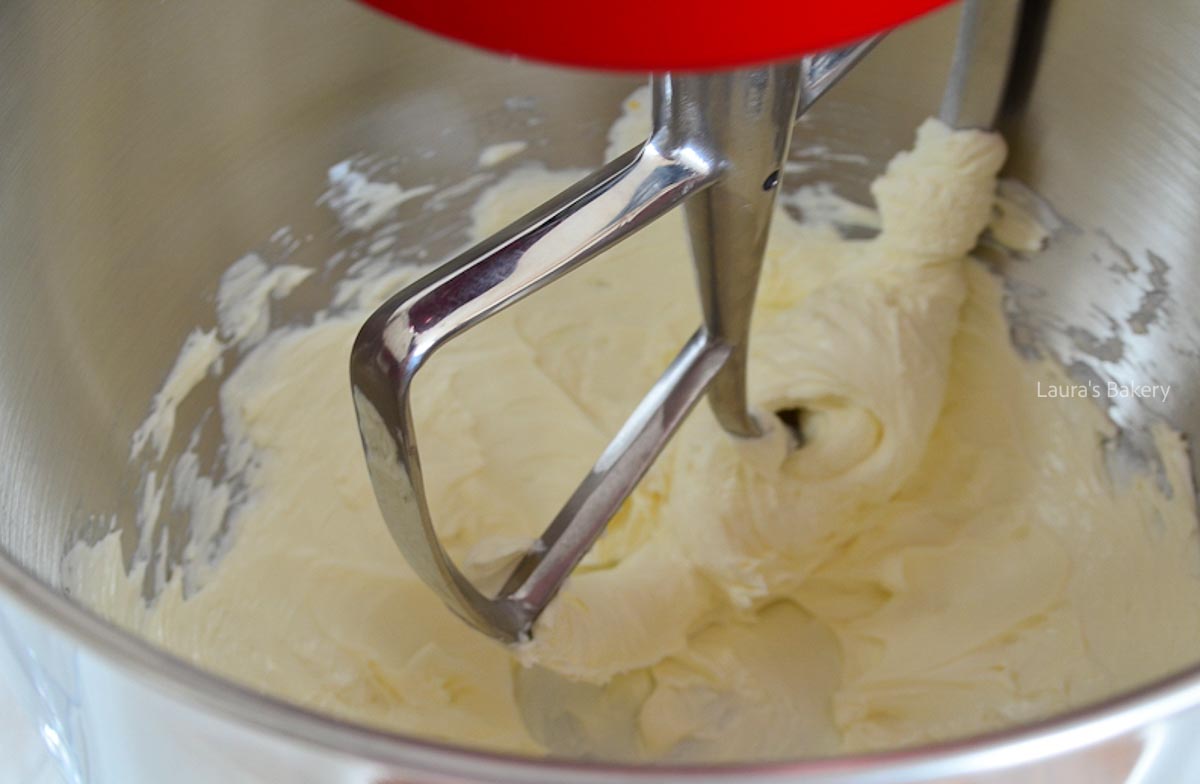
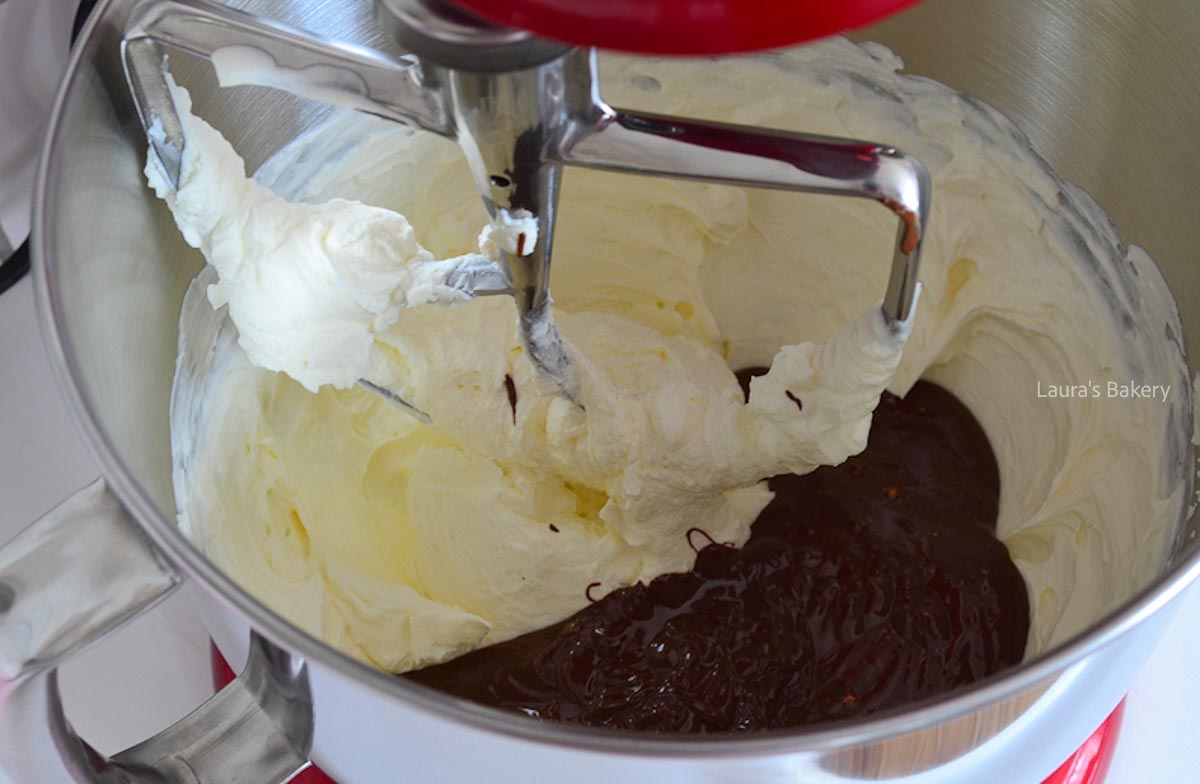
Beat the cream cheese until smooth. In a separate bowl, whip the heavy cream until thick, not stiff.

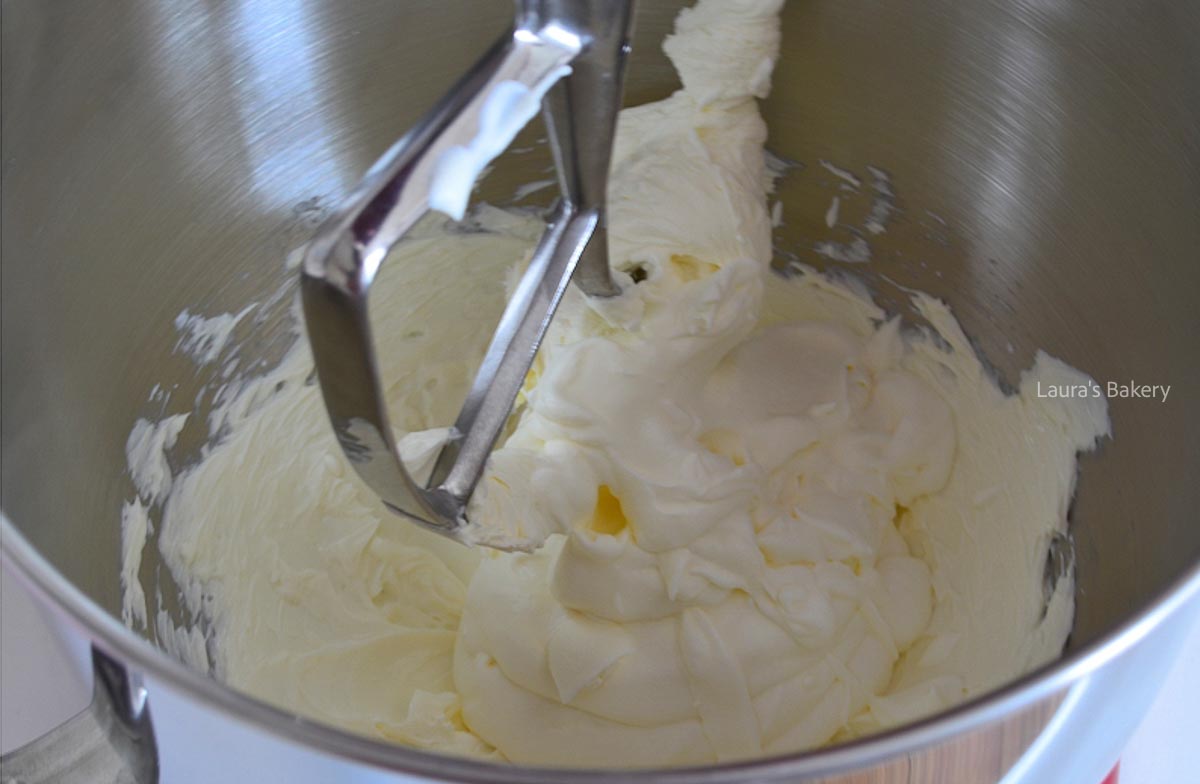
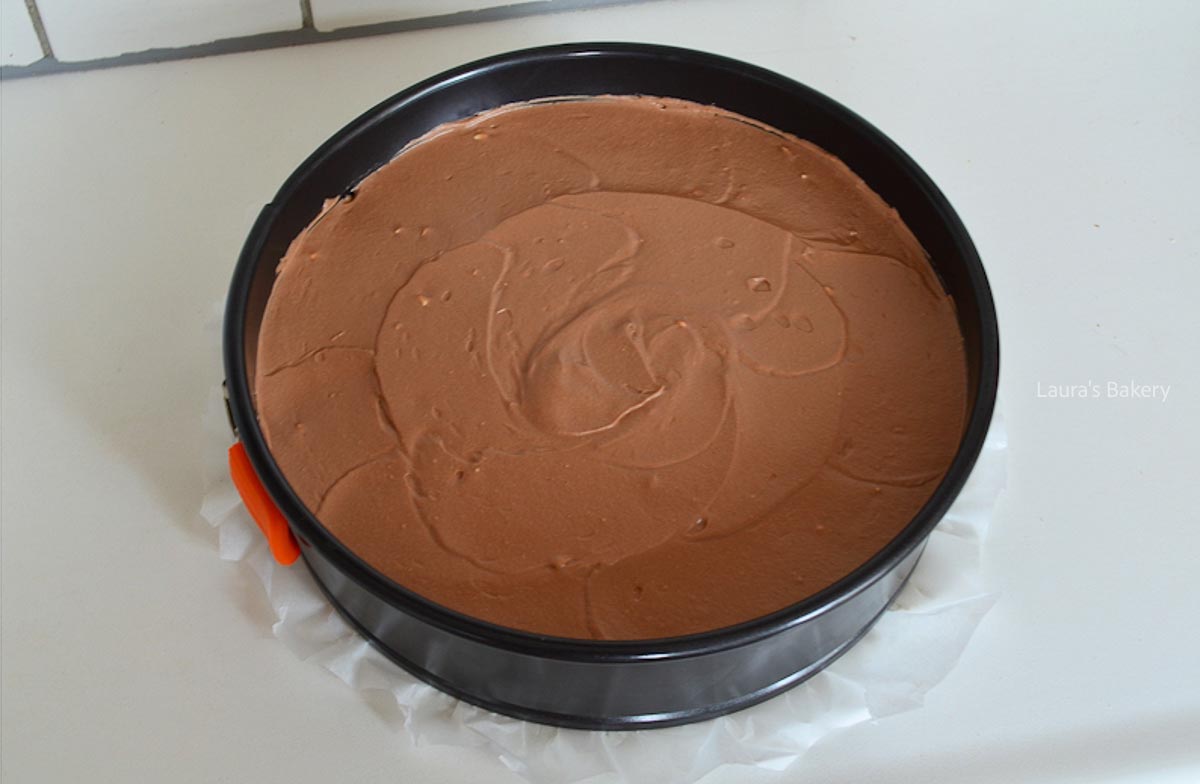
Combine the whipped cream and mascarpone with the cream cheese until smooth.

This Toblerone cheesecake can be stored in the fridge for 3-4 days. Make sure to place the entire cheesecake or leftover individual slices in an airtight container.
Yes, this Toblerone cheesecake can be frozen. Wrap individual slices tightly in plastic wrap or foil and store in the freezer for up to 1 month. Allow to thaw in the refrigerator for best results.
Craving a creamy cheesecake but don’t want to turn on the oven? Here are a couple of my favorite no-bake recipes to keep you satisfied:

Yes, I highly recommend this for best results. Chilling the buttery crust solidifies the butter, creating a sturdy base that won’t crumble or shift when you add the filling. It also prevents the crust from mixing with the filling or becoming soggy.
If you don’t have a springform pan, the next best thing is a pie dish with a loose bottom. This makes it easy to release the cheesecake once chilled.
Absolutely! Almonds are a key ingredient in Toblerone chocolate which is why an almond biscuit base is the perfect pairing. That said, you could easily use crushed Graham crackers, digestive biscuits (200 grams/7 oz), tea biscuits (240 grams/8.5 oz), or any other biscuit of your choice.
Keep in mind that each biscuit requires a slightly different amount of butter. Make sure all crumbs have some butter.
There are a few reasons your cheesecake filling might not be firm. First, be sure to chill the assembled cheesecake for at least 8 hours. This allows it to set properly.
Another factor is the type of cream cheese you use. I recommend firmer varieties like Philadelphia or MonChou, as they provide better structure in a no-bake cheesecake.
Trust me, you don’t need any extra sugar! The Toblerone, which contains honey and almond nougat, provides plenty of sweetness on its own. Between the chocolate itself and the sweet almond cookies in the crust, this cheesecake is already perfectly balanced without any additional sugar.
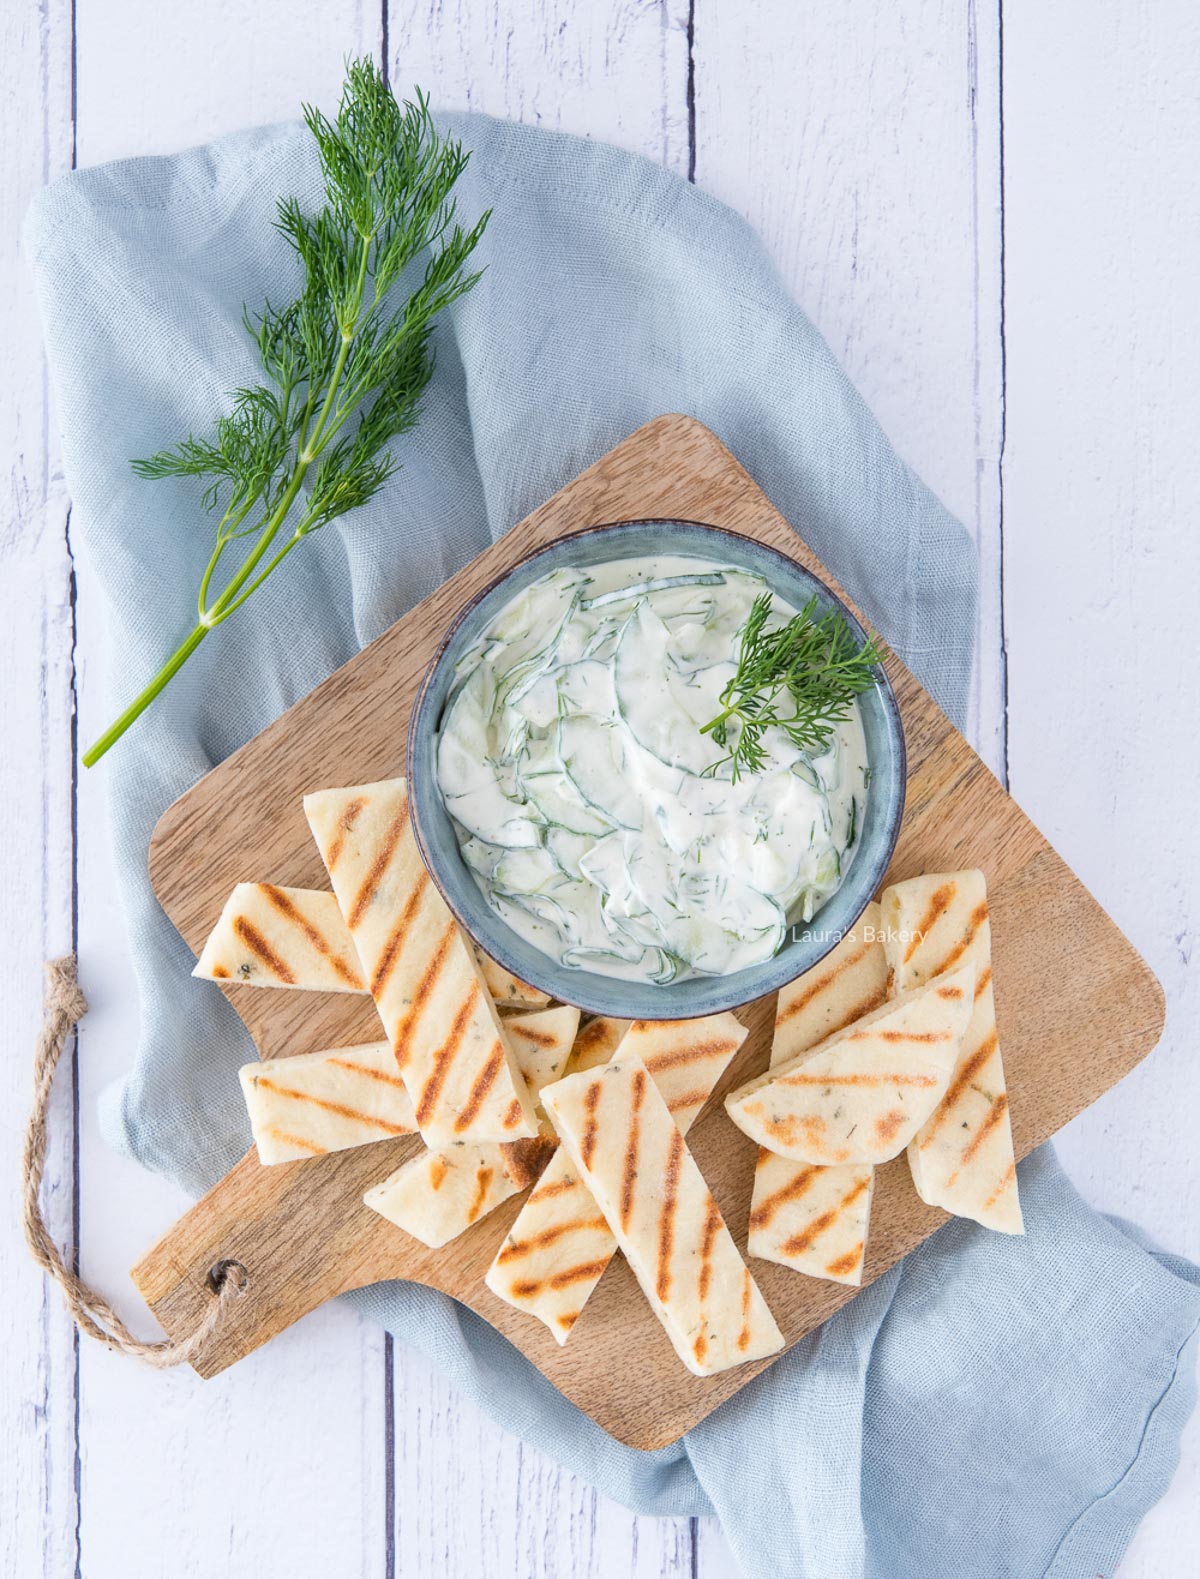
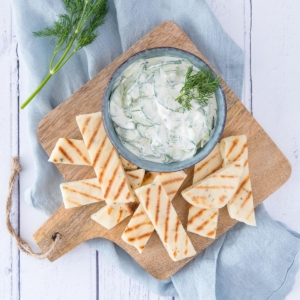
As most of you probably know, I love putting together a good spread of appetizers and that includes delicious salads to go with it. This cucumber salad with yogurt is definitely one of my favorites. It’s flavorful, fresh, and comes together in no time. Perfect!
This easy cucumber salad is fresh and light due to the combination of cucumber and Greek yogurt. It’s perfect for entertaining, super customizable and pairs with just about everything and anything.
I like to serve it at a barbecue, potluck and many more occasions.
You only need a few simple ingredients to make this delicious salad.

To make this cucumber salad, start by removing the seeds. While this is optional, keep in mind that the seeds contain quite a bit of liquid and it’s for this reason that I tend to remove it. Cut it lengthwise in two and scrape the seeds out. This is easy to do with a spoon.
Now slice the cucumber in thin slices. This works best with a mandoline, but a sharp knife will work too. You can also grate the cucumber but that would mean extra moisture as well. If necessary, drain the cucumber first.
Add all ingredients to a bowl and mix well. This cucumber salad is best served right away.

You can store the cucumber salad in an airtight container in the fridge for up to a week.
Keep in mind that letting it sit will release extra moisture from the cucumber. You can simply drain it, if necessary, or give it a quick stir. I do like it best when served fresh.
No, freezing is not recommended for this salad.
Even if you remove the seeds, the salad can release moisture if it sits for a while. You can simply drain off the excess liquid and give it another quick mix.
A mandoline or a cheese slicer works best for getting really thin slices. If you don’t have either, you can use a sharp knife, though the salad will be a bit chunkier.
The easiest way is to use a teaspoon and scrape out the seeds, quick and simple.
Yes, but keep in mind that regular yogurt is thinner. For a thicker result, you can strain it through a cheesecloth or use full-fat yogurt.
Fresh parsley, chives, or mint are great alternatives. Each will give the salad a slightly different but delicious flavor.
It’s very similar! The main difference is that this salad is usually a bit chunkier and less garlicky than traditional tzatziki.
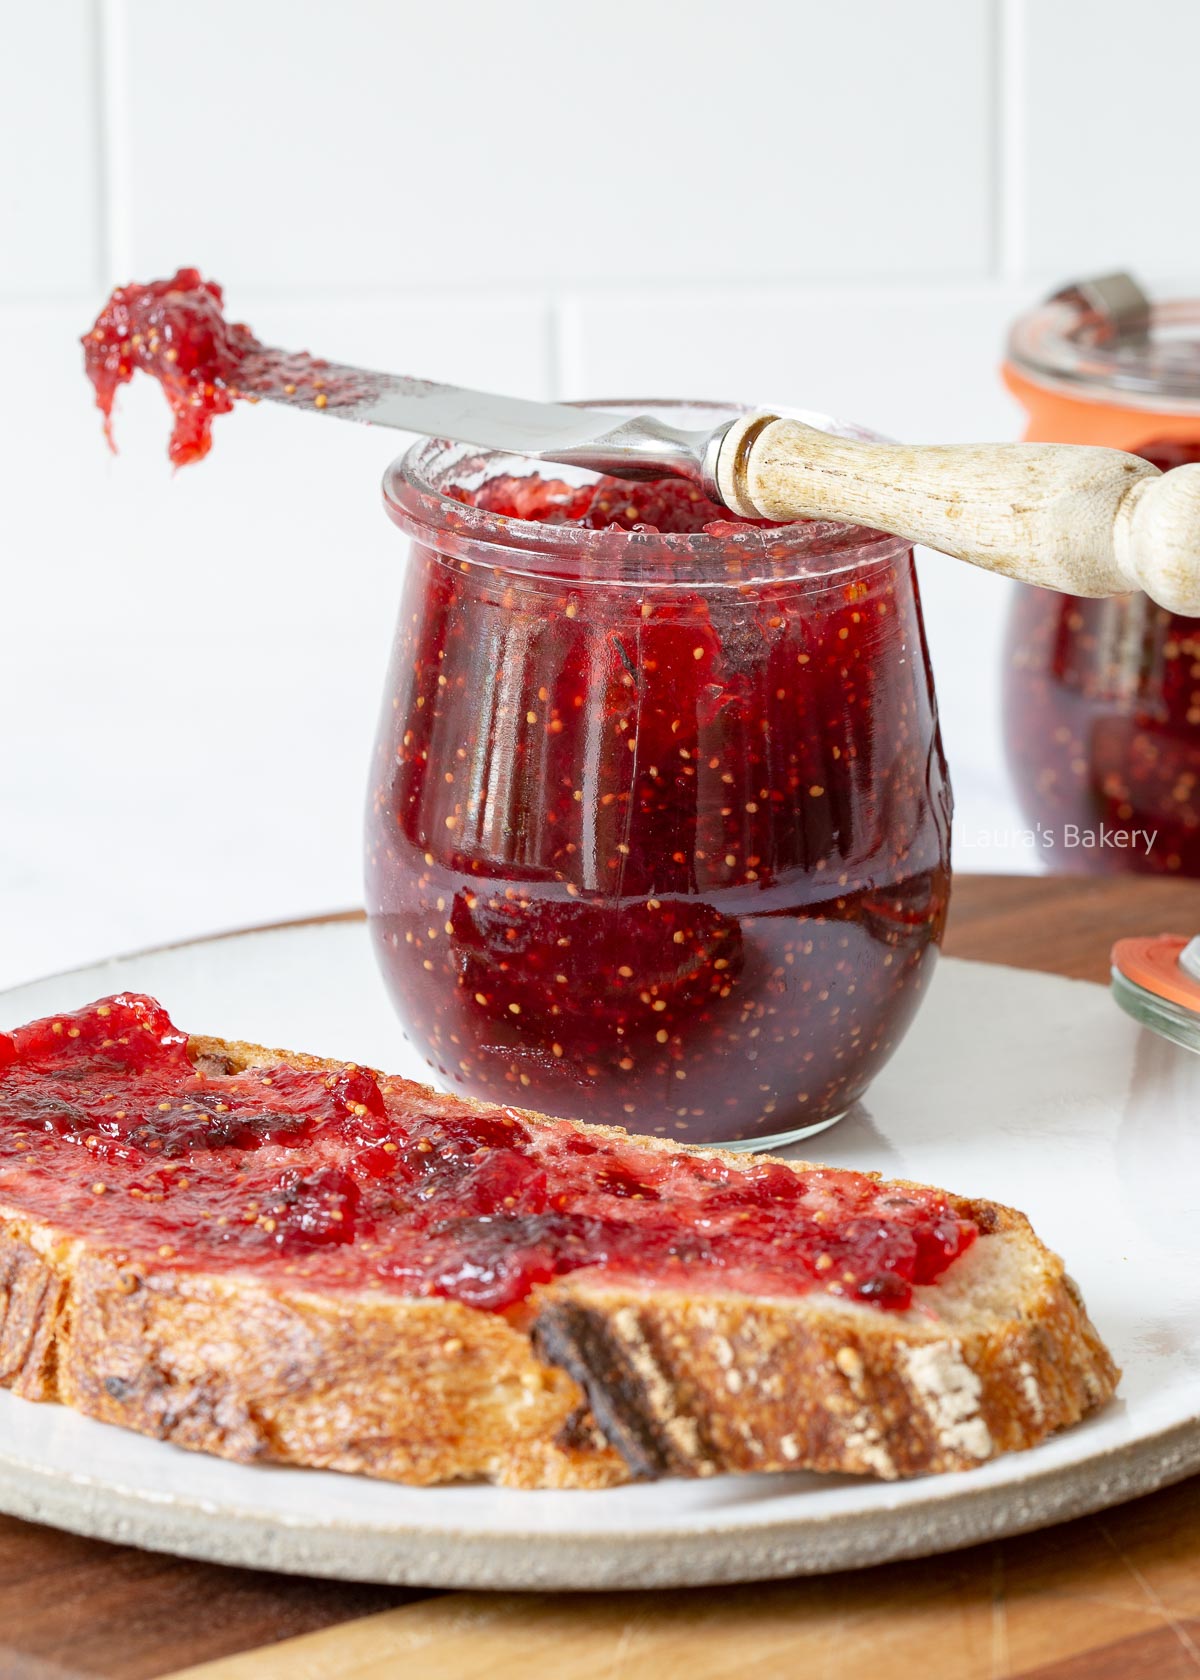
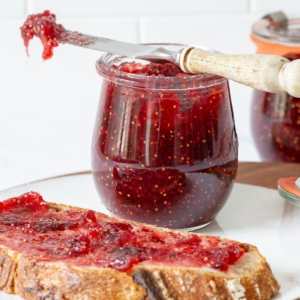
Got a big fig harvest of figs this year? Then making your own fig jam is one of the best things you can do with your figs! And not only is it incredibly easy with this recipe, it’s also absolutely delicious.
If you have a fig tree in your garden it’s likely that you have an abundance of this special fruit all it once. This easy fig jam recipe is perfect for making a year’s supply. I love it just as much as the easy strawberry jam recipe and if you’ve got more figs make sure to try the easy fig tart as well.
It’s super easy and perfect for making during the fig season. There are countless things you can do with a batch of fig jam. I’ll give you some tips below!
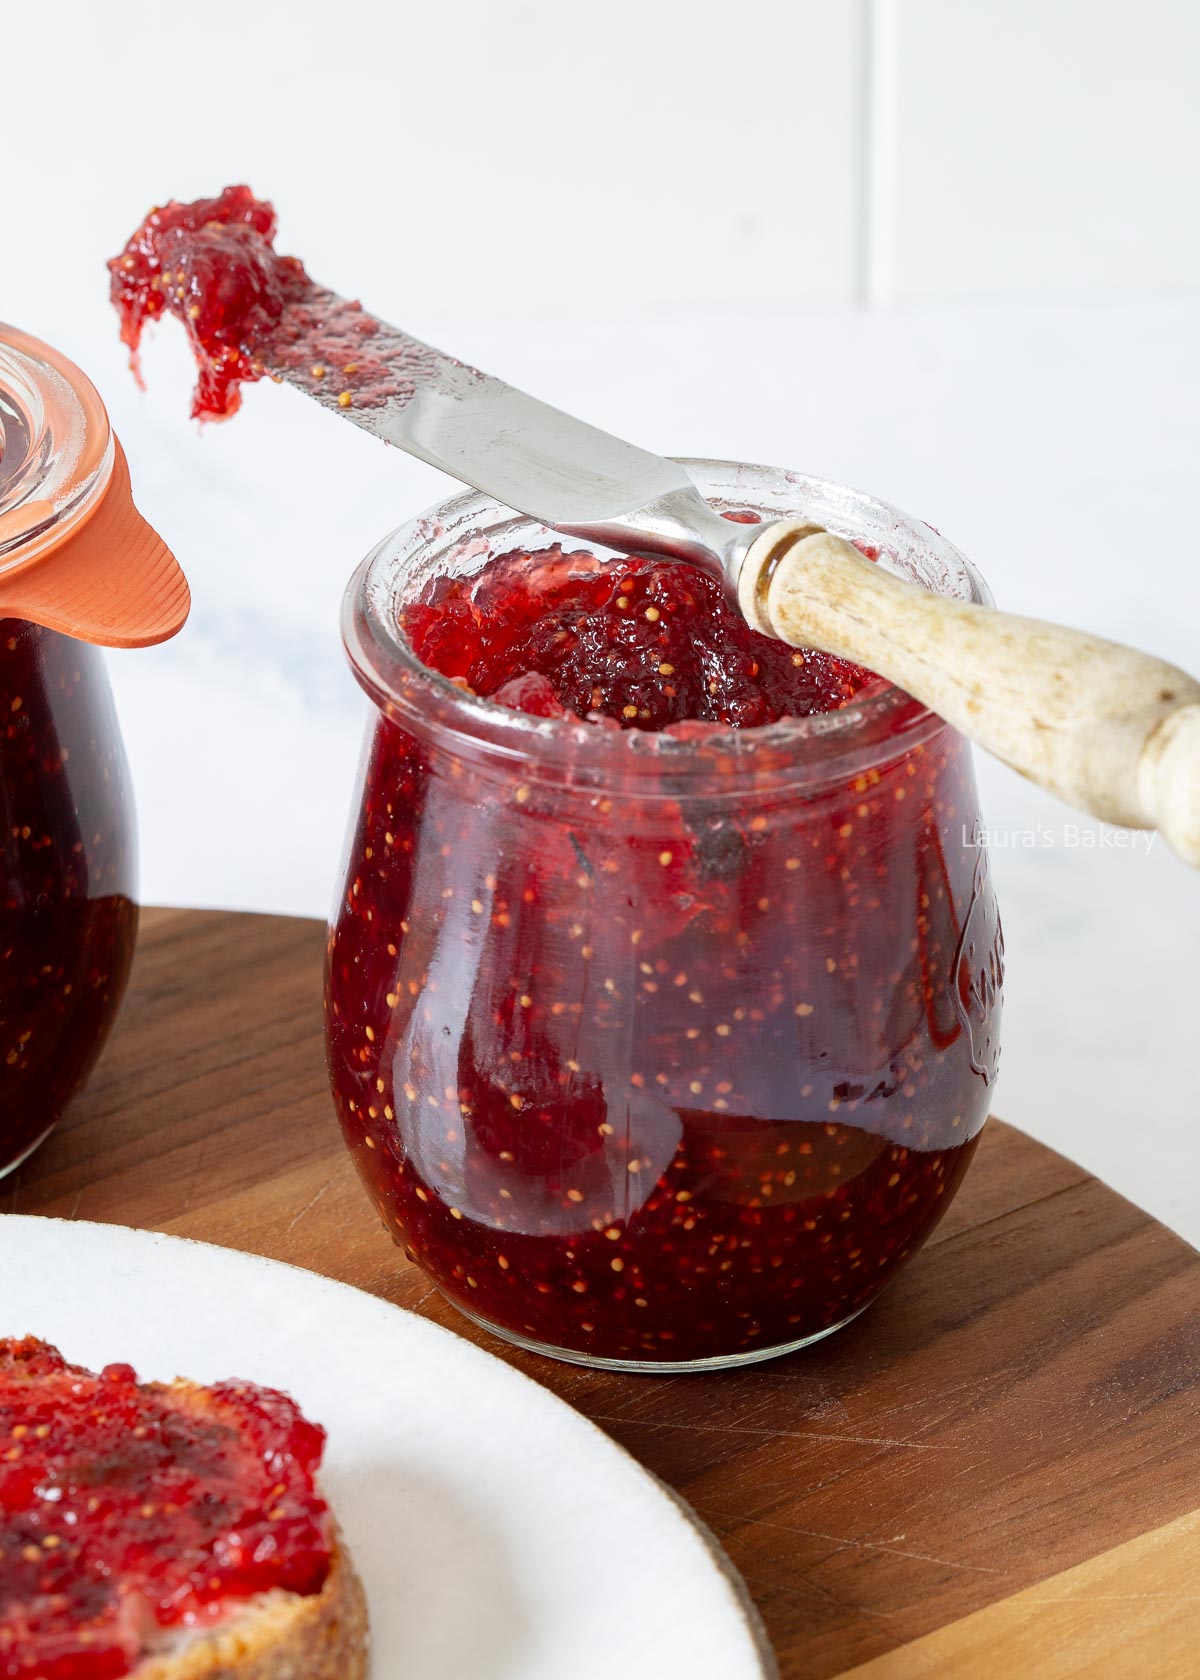
You only need a few ingredients for making this fig jam. Check the recipe card for full details and quantities.
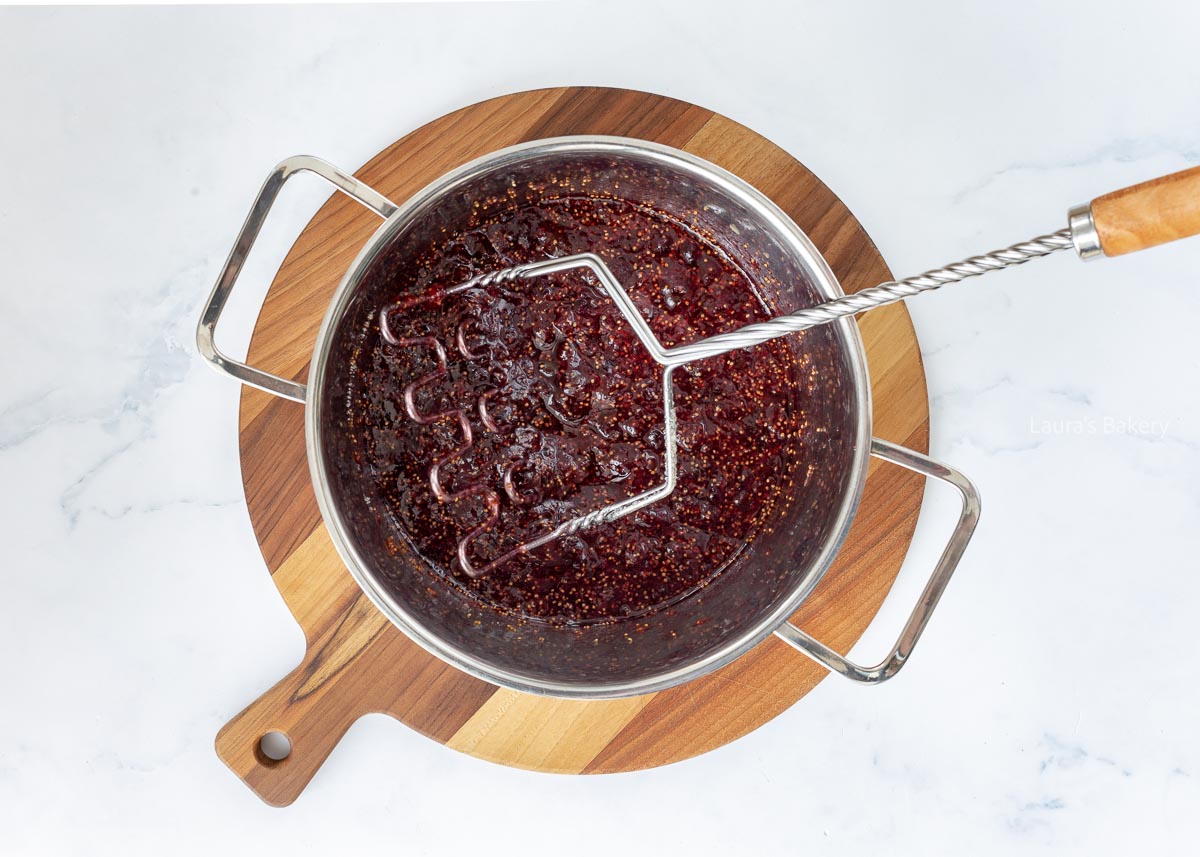
BAKING TIP: For a chunkier jam with pieces of fruit, mash the mixture with a potato masher. Prefer a smoother jam? Use an immersion blender instead.
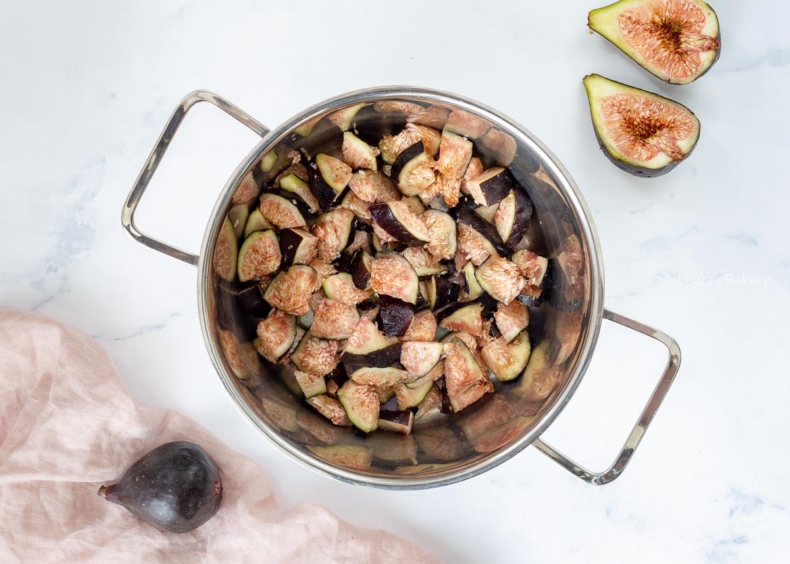
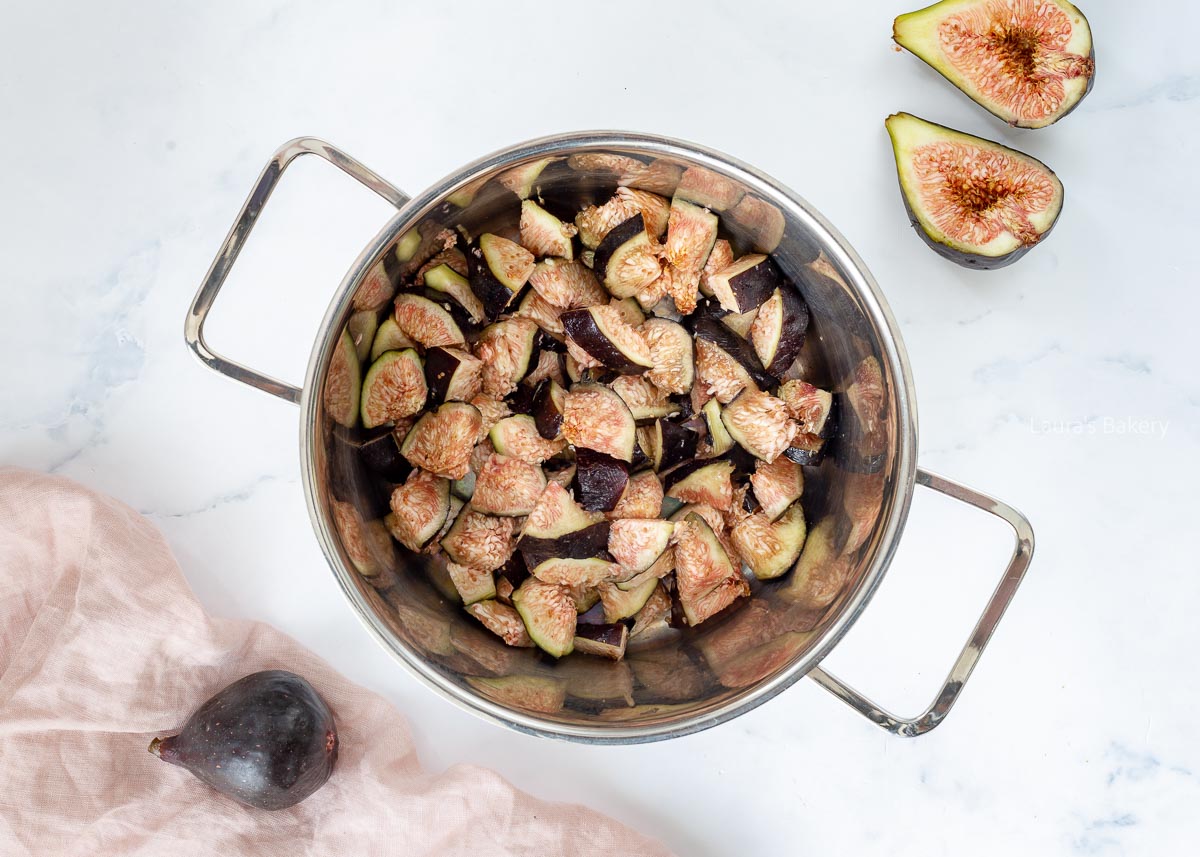
Clean figs, add sugar, pectin, and lemon juice to the pan and bring to a boil
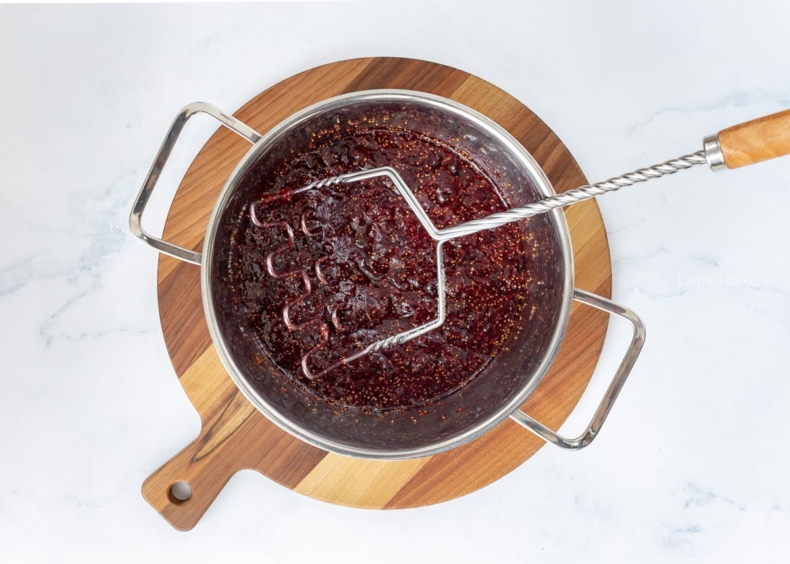
Let it boil and use either a potato masher or stick blender to puree the fruits
If you sterilize your glass jars before use, you can store the jam for much longer. Sterilizing is easy: place the jars in a large pot of water, bring to a boil, and let them boil for a few minutes.
Remove them with tongs and place them on a clean kitchen towel. No need to dry them as the heat will evaporate any remaining moisture.
After sterilizing and filling the jars, clean them and label with the preparation date. Store the sealed jars in a cool, dry place. Once opened, keep the jam in the refrigerator for about 1-2 weeks. Properly sealed jars will keep for up to a year.
Yes, you can freeze this jam. It works best in small portions. Personally, I prefer storing jam in sterilized jars since it doesn’t take up freezer space.
There aren’t (yet) specific recipes on Laura’s Bakery using this fig jam, but you can easily use it in other jam-based recipes.
Some tasty ideas include:
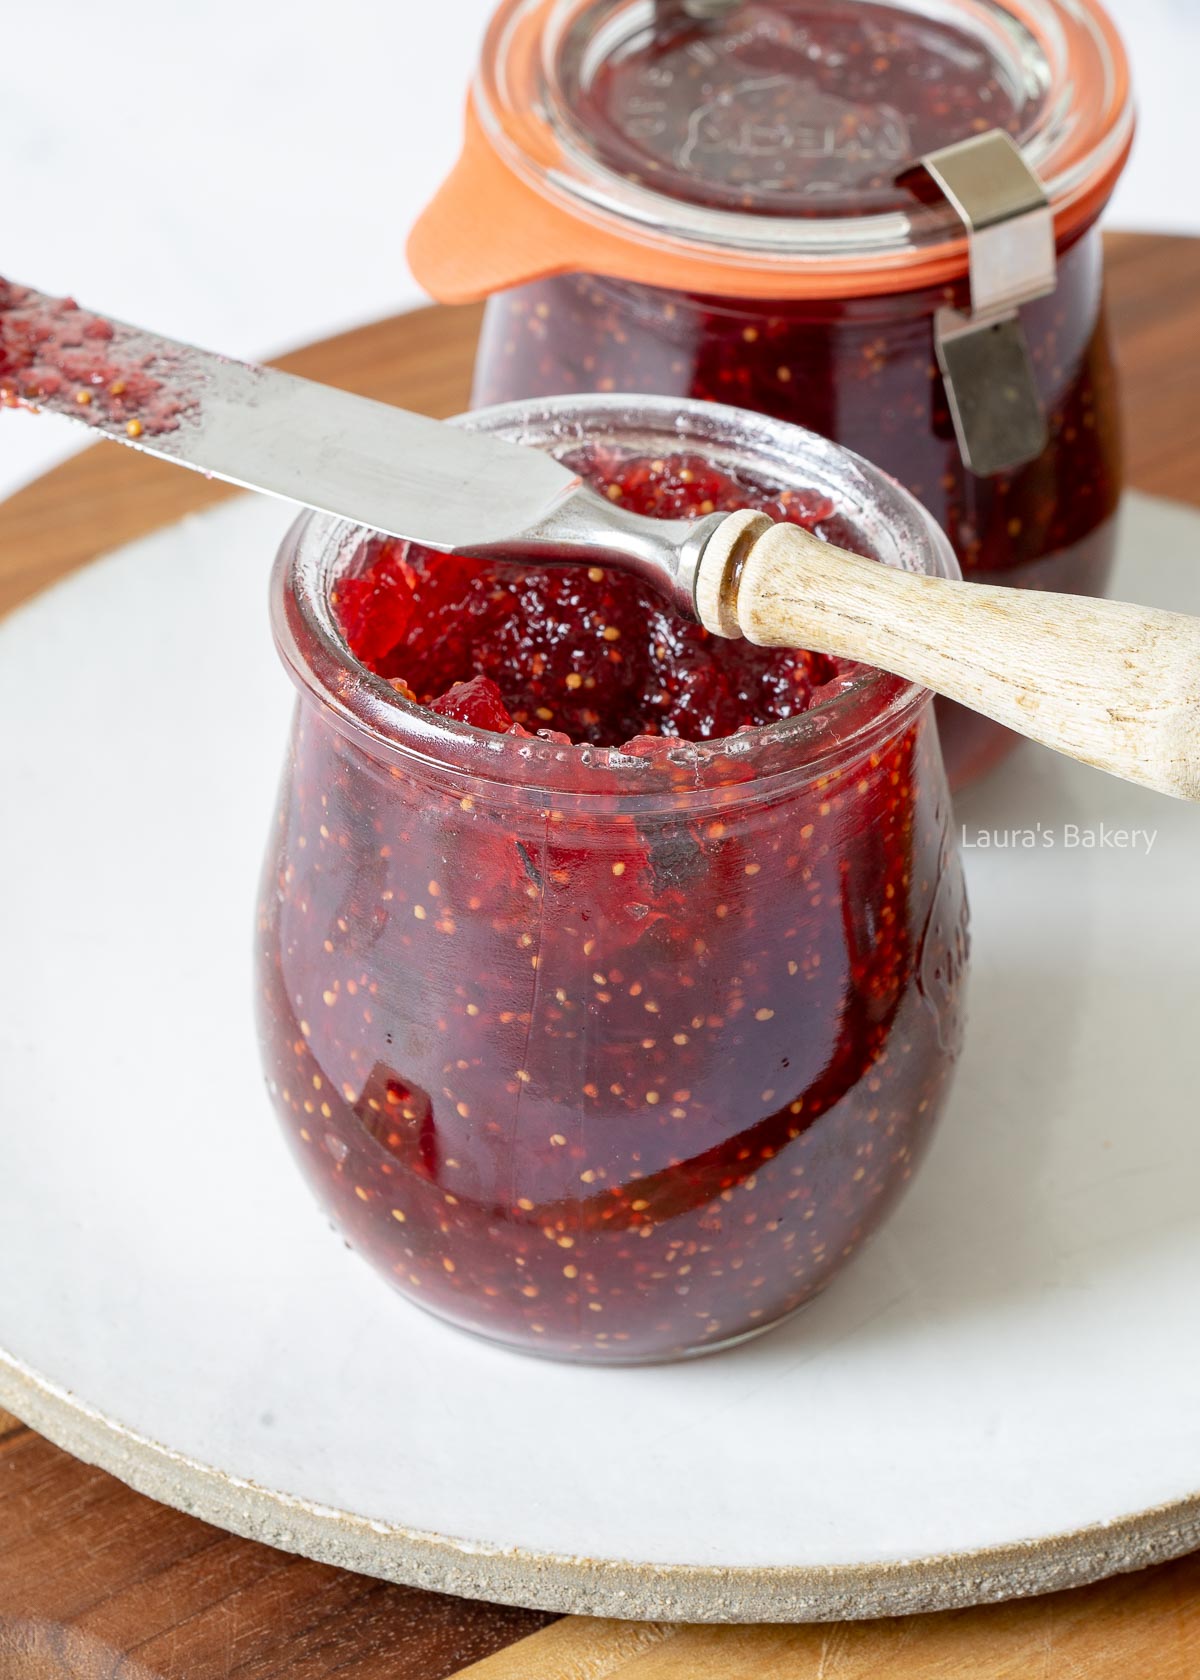
Not all figs are the same. Different varieties vary in both flavor and color. Some figs give a deep red-purple color, while others result in a more orange-brown jam.
You can make sugar-free jam using a gelling powder. Follow the instructions on the package, but note that this jam won’t keep as long. Sugar acts as a preservative, so I recommend freezing sugar-free jam in small portions (up to three months). There’s also “special jam sugar,” which requires about half the amount of regular jam sugar, but again, the shelf life will be shorter.
No, that’s not necessary! The skins actually add a nice color to the jam. Just remove the tops and bottoms and wash the figs properly before using.

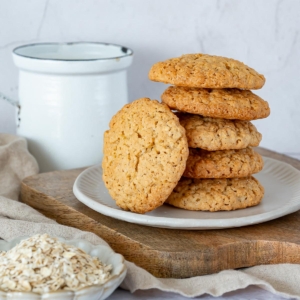
This easy oatmeal cookie recipe makes the most delicious cookies. They’re crispy on the outside and soft on the inside, making them my all time favorite cookie!
These oatmeal cookies have the perfect texture combination; a soft, chewy center and crispy edges.
That’s exactly how you want these easy cookies to be. It’s also a perfect basic recipe and a bit more filling than your average cookie.
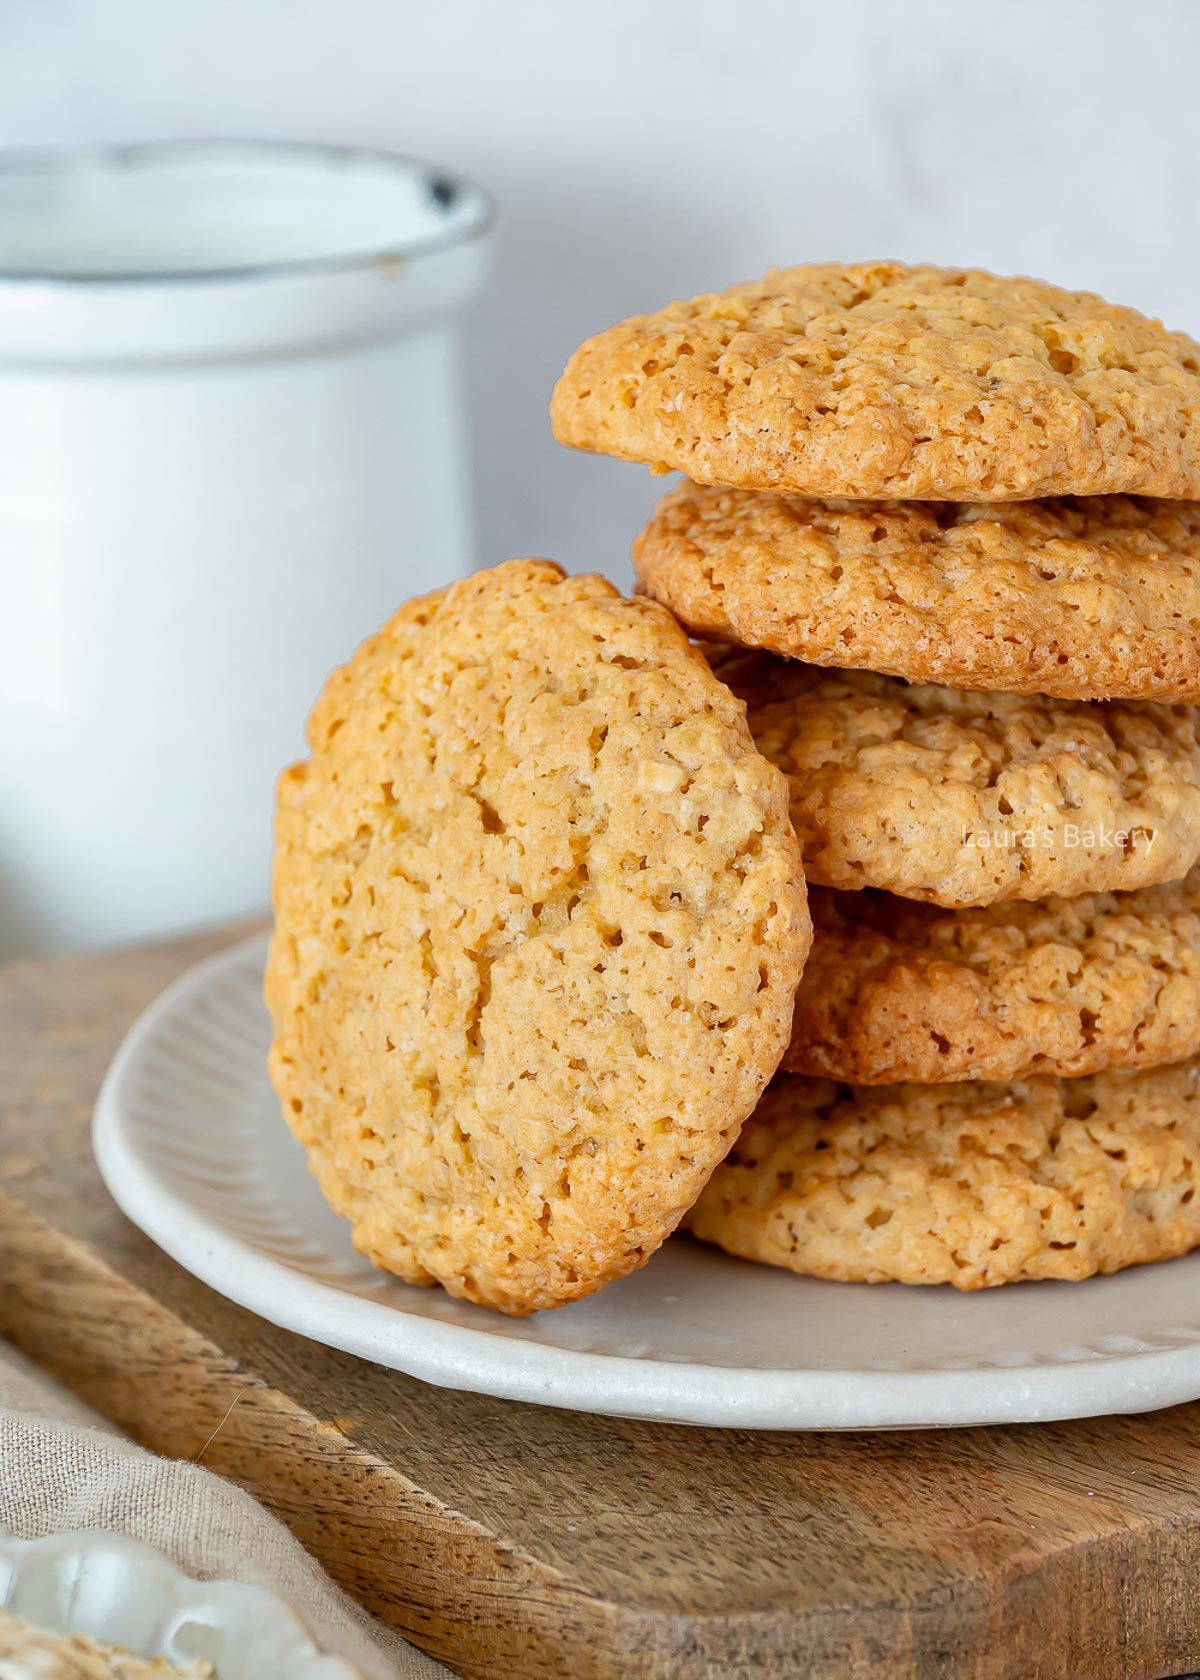
Make sure to have the simple ingredients for this recipe at room temperature before starting. Double check exact ingredients and quantities in the recipe card below.
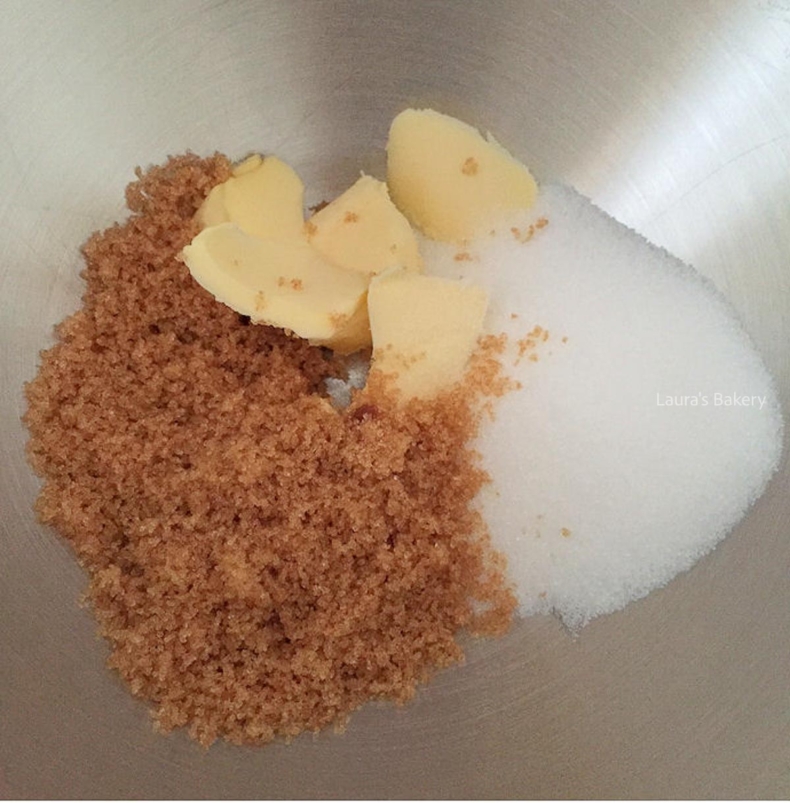
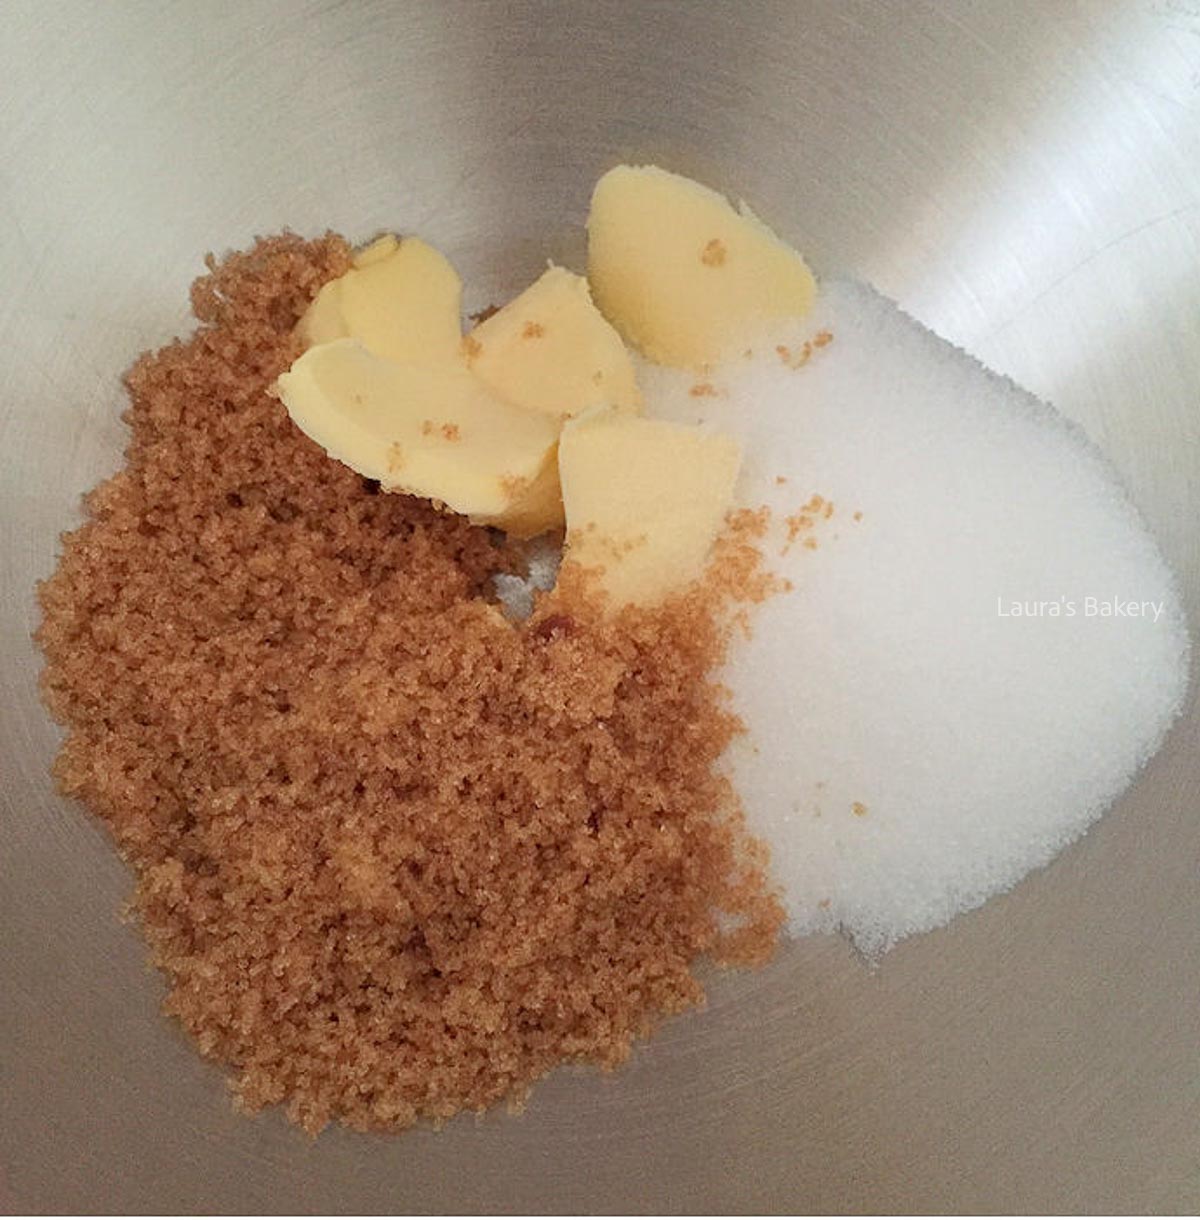
Add sugar and butter together in a bowl
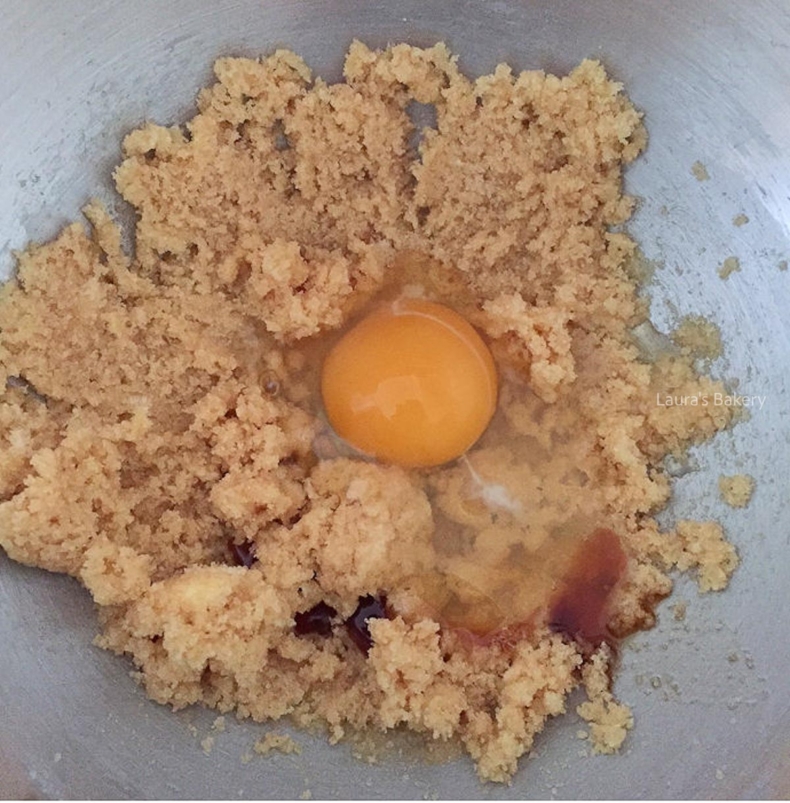
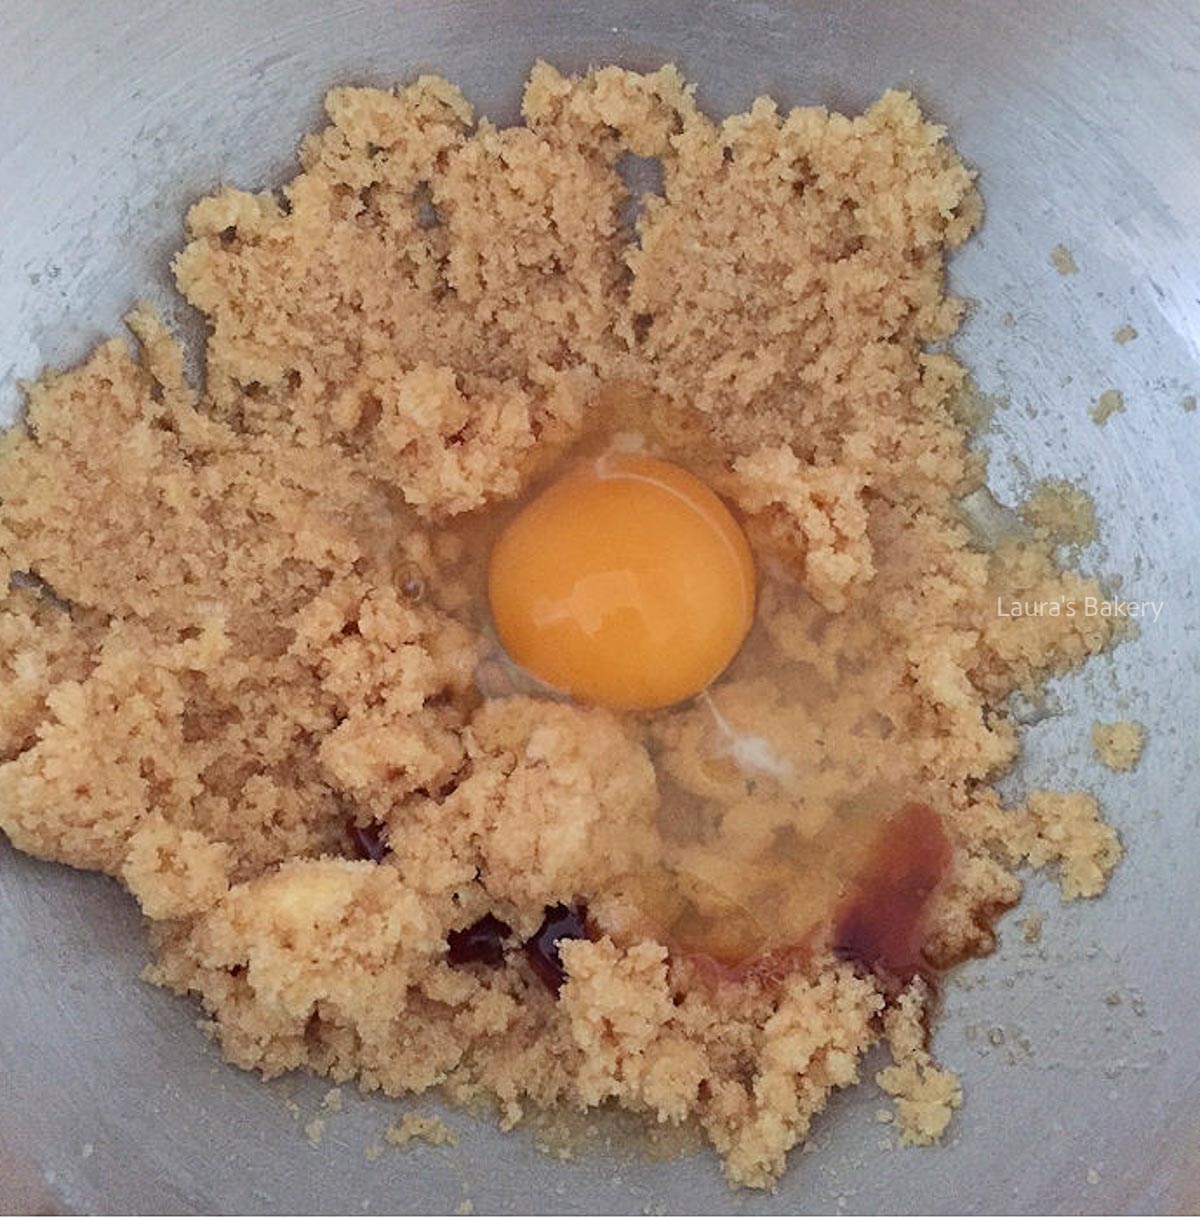
Add egg and vanilla extract and mix together
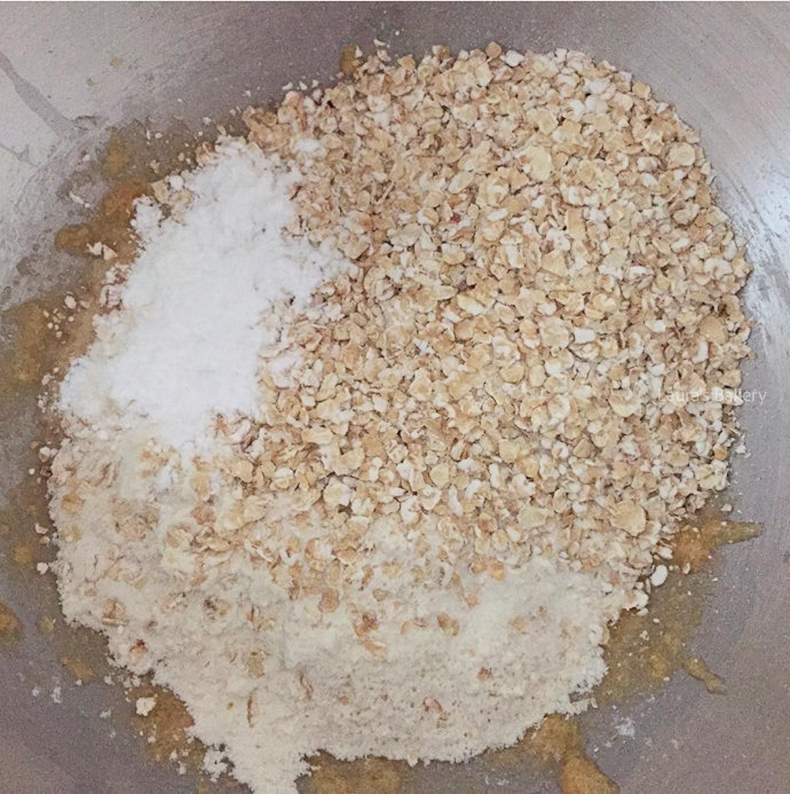
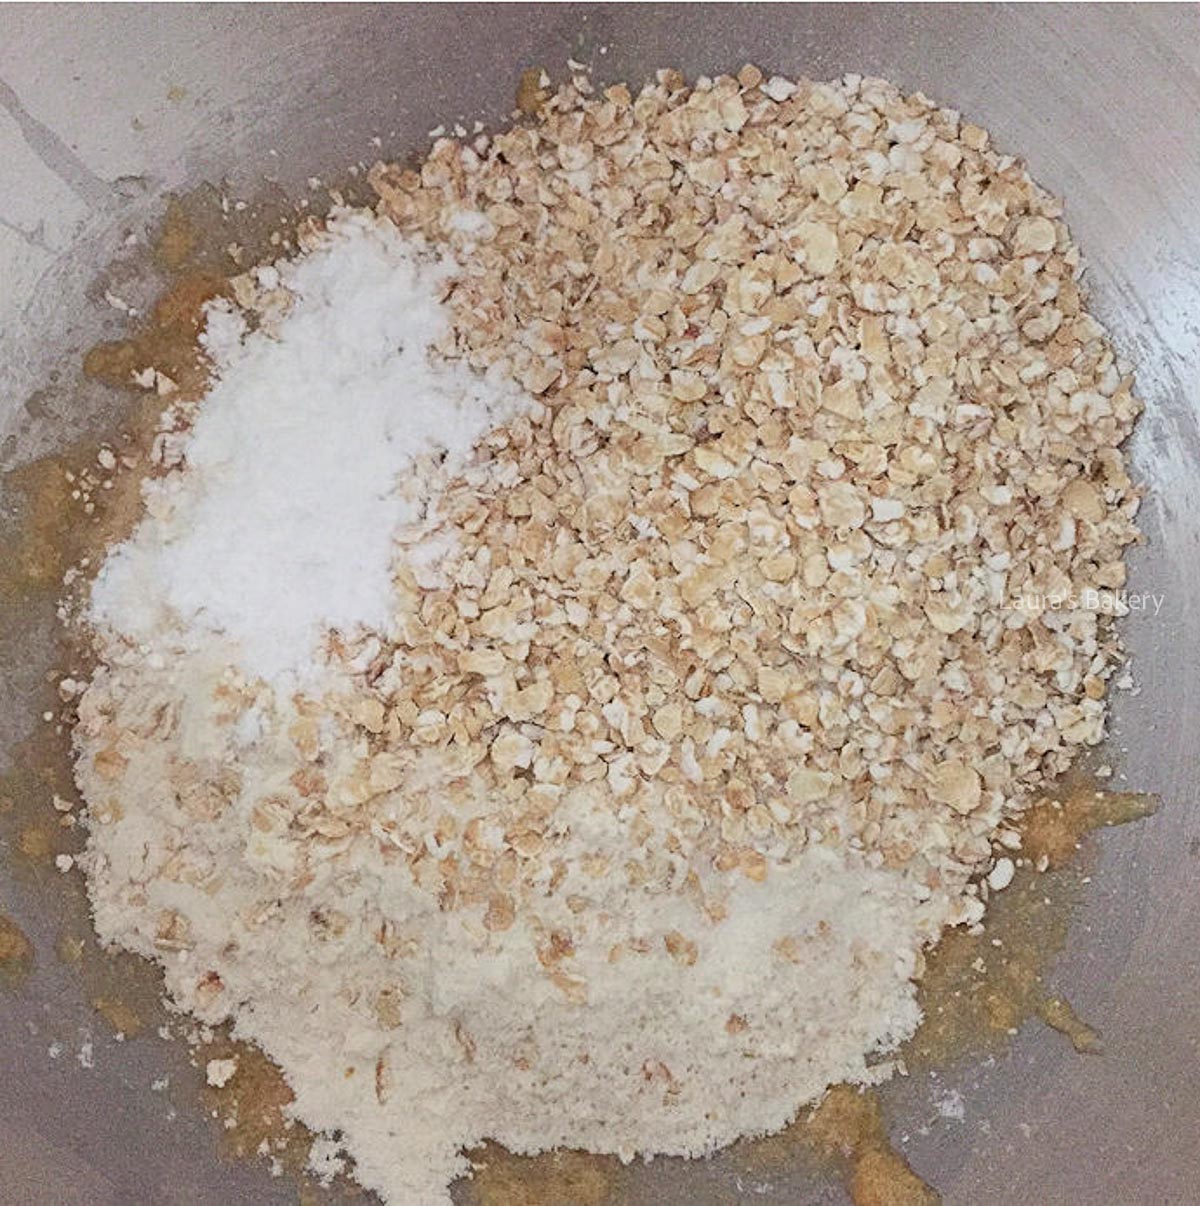
Add the rest of the dry ingredients and mix to a sticky dough
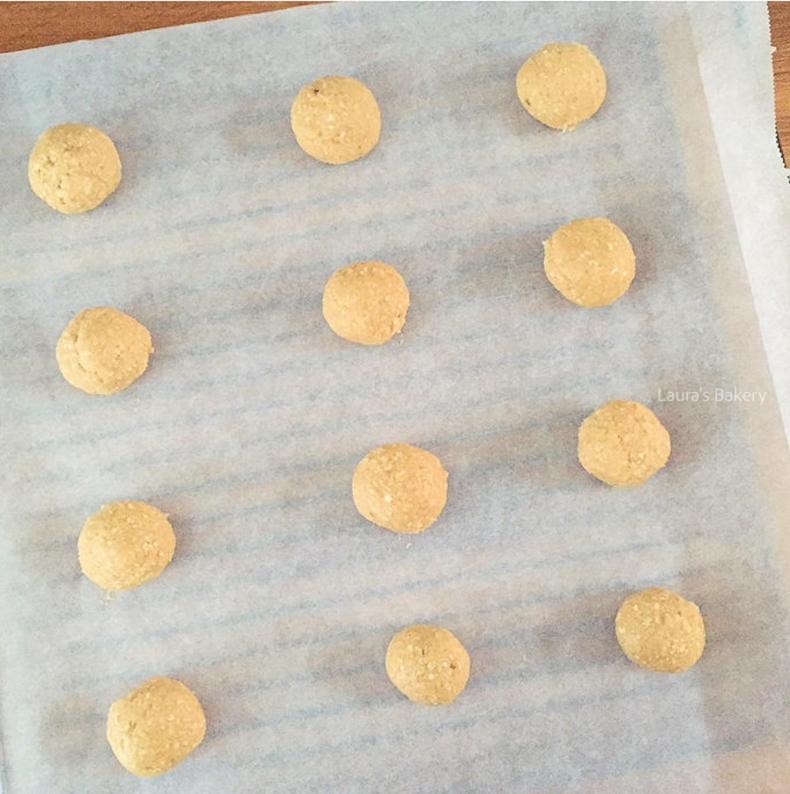
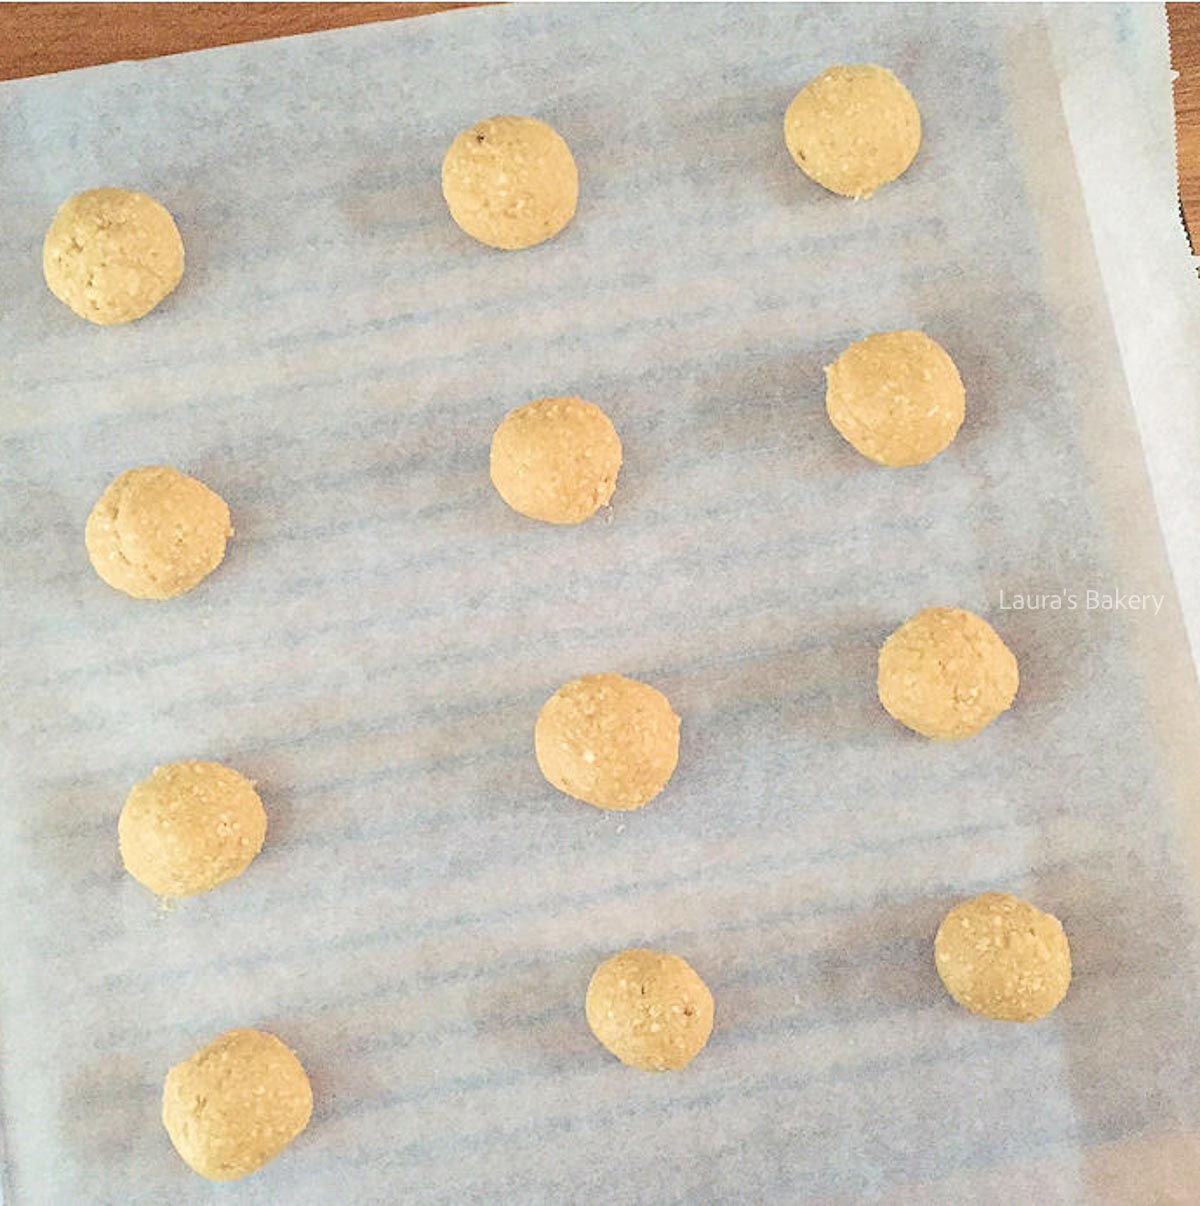
Turn them into small balls and divide over a baking sheet. Bake in the oven.
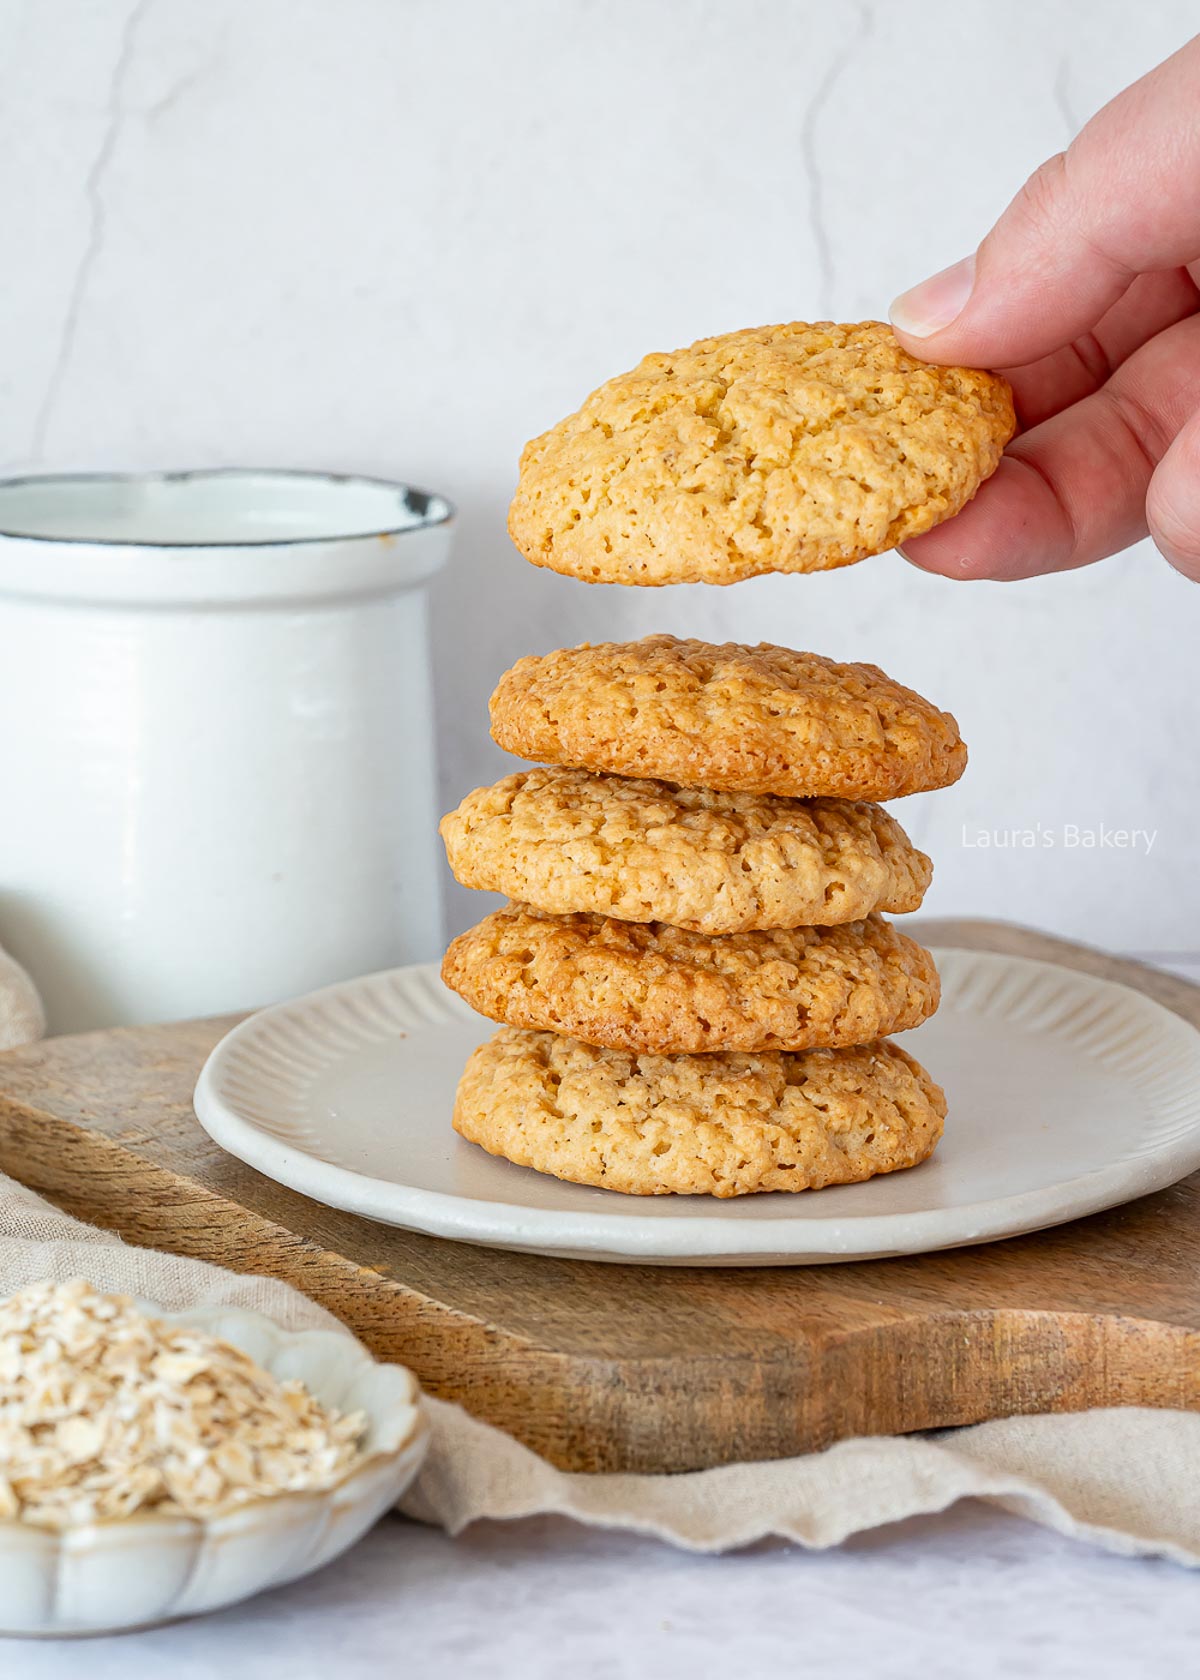
Store the cookies in an airtight container at room temperature. They’ll stay fresh for up to a week.
Yes, both the dough and baked cookies freeze well. Freeze dough balls and bake straight from frozen (add 1-2 minutes to the baking time), or freeze baked cookies for up to 3 months.
I can never get enough of oatmeal cookies and muffins. It’s one of those treats you’ll always enjoy, especially when you bake them in different flavor variations. And over the years, I’ve tested quite a few combinations!
Here are some of my top oatmeal recipes so you can pick your favorite:
When baking with oats, it usually refers to the finer oat flakes (rolled oats). In this recipe, you can use both old-fashioned oats and quick oats. The larger flakes give a slightly different texture, but they work great in these cookies too.
What I personally never use is muesli; mainly because it often contains raisins, which I’m not a fan of. That said, based on feedback from Laura’s Bakery readers, you can successfully bake these cookies using muesli as well.
I wouldn’t call these oatmeal cookies “healthy,” since they contain 100 grams of sugar (divided over 12 cookies). That said, compared to other cookies on Laura’s Bakery, they’re definitely a bit lighter. 😉 They contain relatively little butter, and the oats make them more filling.
It’s true; this cookie dough is a bit sticky. If you have time, you can chill the dough in the refrigerator for a while. You can also scoop the dough into balls using two small spoons. The shape doesn’t have to be perfect.
Prefer rolling them by hand? Lightly wet your hands under the tap to prevent the dough from sticking.
Cookies are always soft when they come out of the oven and they firm up as they cool. So you can’t really tell if they’re done just by touching them. Instead, rely on baking time and visual cues.
Do your cookies have a nice golden brown edge? Then they’re ready and you don’t need to put them back in the oven. Want to learn more? Read my tips on how to bake the perfect cookies.
Still unsure? Try using an oven thermometer to check if your oven temperature is accurate.
Oh no; that’s unfortunate! Unfortunately, there’s not much you can do once they’re over baked. This usually happens when the cookies are baked too hot or for too long.
If you used a convection (fan) setting, lower the temperature by 10-20%. All recipes on Laura’s Bakery are tested using conventional top and bottom heat. An oven thermometer can really help you get consistent results.
Cookies bake quickly, so they can overbake before you know it!
You can use plain instant oats, but keep in mind that the texture will be softer and less chewy. For the best classic oatmeal cookie result, rolled oats are still the better choice.
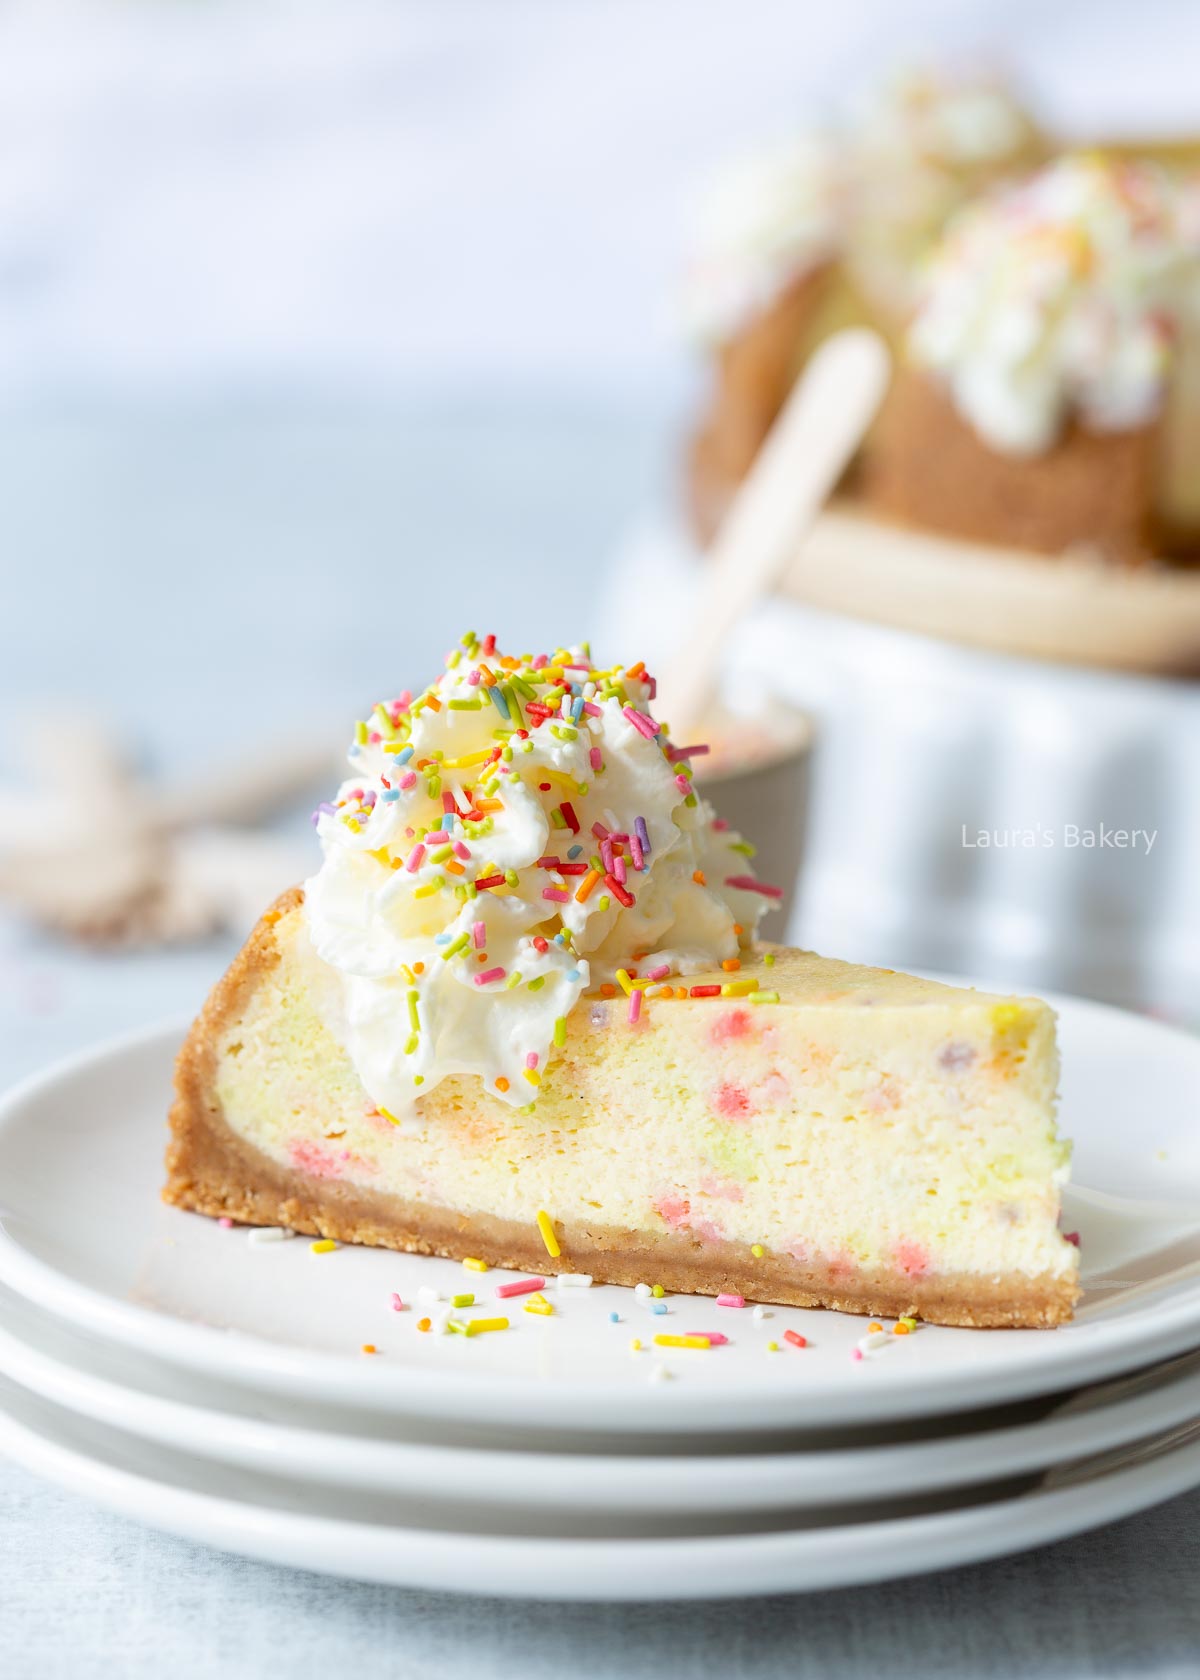
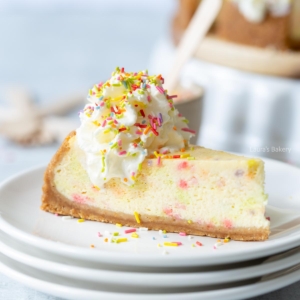
Smooth, creamy, and bursting with colorful sprinkles, this funfetti cheesecake brings all the joy of birthday cake to a rich, decadent dessert. It’s an easy choice when you want something fun, festive, and absolutely delicious.
This funfetti cheesecake is packed with fun, colorful sprinkles for an instant boost of cheer. Apart from that, I’m in love with it for several other reasons too:
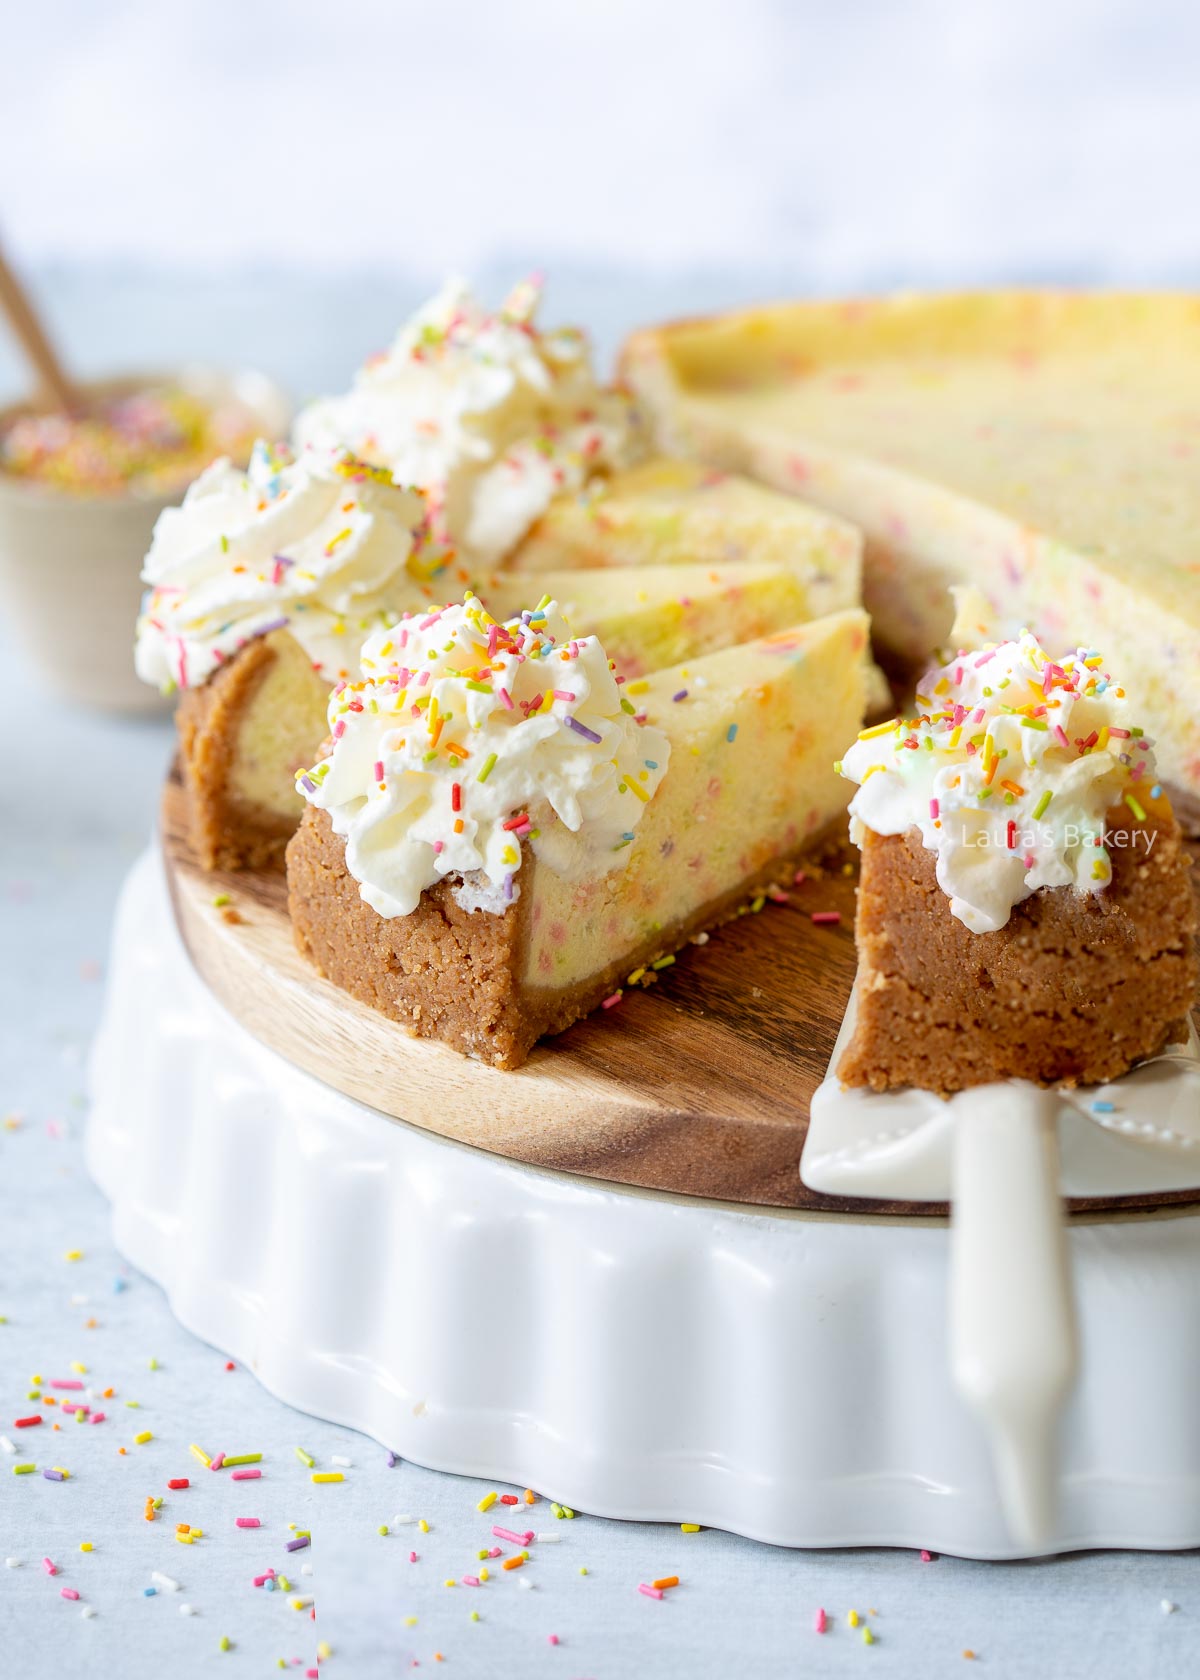
You’ll need all the usual ingredients for making a classic homemade cheesecake recipe, plus some colorful sprinkles. It’s that easy! Make sure to read the full details in the recipe card below.
If you love classic funfetti cake, this cheesecake version is for you! Inspired by the iconic Pillsbury Funfetti cake mix from 1989, it swaps the vanilla cake base for a tangy, creamy vanilla cheesecake infused with colorful rainbow sprinkles. I’ve decorated this one with whipped cream and extra sprinkles, but you could easily use piped frosting (cream cheese frosting or buttercream frosting) instead.
Start by making the crust. To do this, mix the crushed biscuits with melted butter. Press the mixture firmly into the bottom and about 1 inch up the sides of the pan that’s been greased and lined with parchment paper.
For the filling, beat the cream cheese and sugar until smooth. Add the eggs one at a time, mixing well after each. Stir in the sour cream and vanilla extract, then add the flour and mix until just smooth. Don’t overmix!
Gently fold the sprinkles in with a spatula, then pour the batter over the crust and smooth the top.
Bake the cheesecake for 60 minutes at 300°F/150°C (conventional oven). Turn off the oven and let the cheesecake cool inside with the door slightly open. Once cooled to room temperature, refrigerate for at least 4 hours to set.
Once set, decorate your funfetti cheesecake with whipped cream and extra sprinkles.
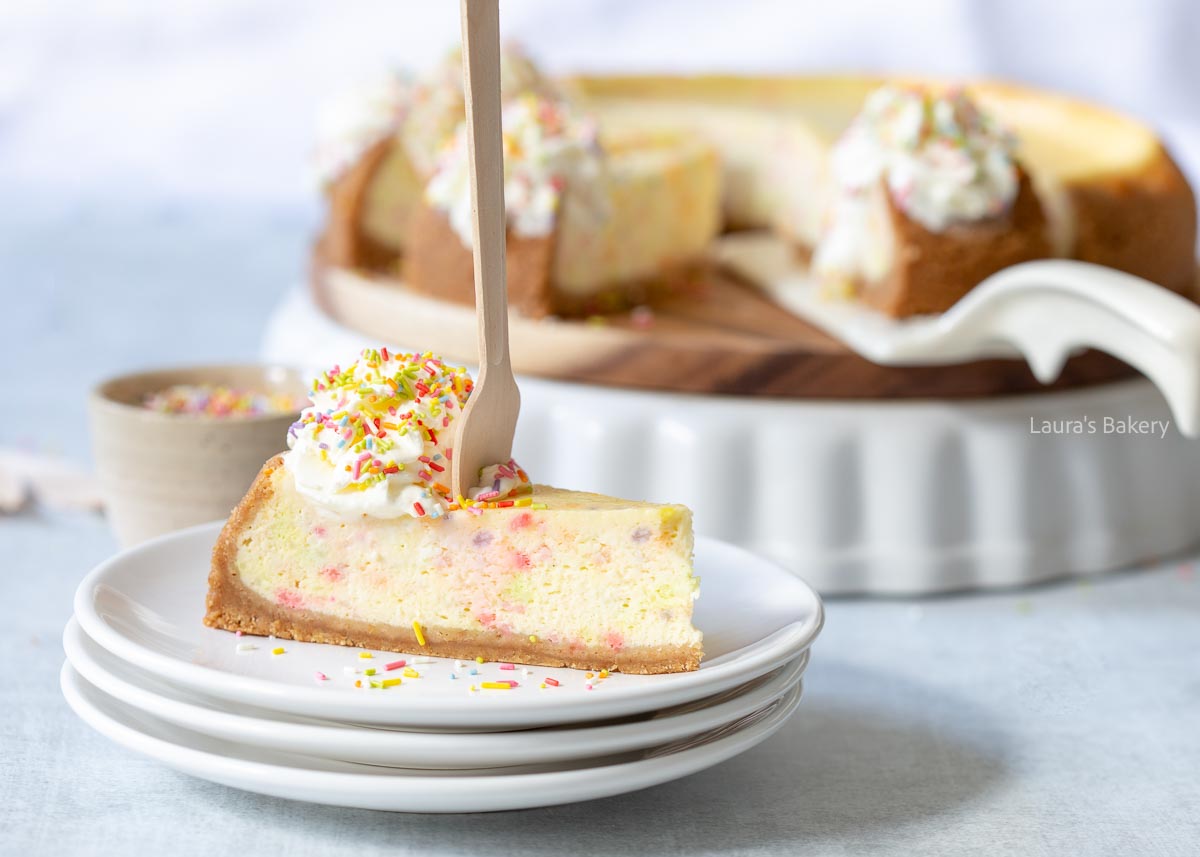
This funfetti cheesecake can be stored in the fridge for 3-4 days. Make sure to place the entire cheesecake or leftover individual slices in an airtight container.
Yes, this funfetti cheesecake can be frozen. Wrap individual slices tightly in plastic wrap or foil and store in the freezer for up to 1 month. Allow to thaw in the refrigerator.
If you love recipes that bring out a little creativity and playfulness, like this funfetti cheesecake, then you’ll definitely want to try these other cheesecake-inspired treats:
You can find all my cheesecake recipes here.
For cute mini funfetti cheesecakes, use mini cheesecake pans with removable bottoms. Bake the mini cheesecakes at the same temperature of 300°F/150°C (conventional oven) for approximately 15-25 minutes, depending on the size of your mini cheesecake pans.
Make sure to leave the mini cheesecakes in the oven with the door slightly open as you would for a regular sized cheesecake. The chilling time also remains the same.
If you’re preparing this funfetti cheesecake for a birthday, you can easily make it the day before. Only decorate with fresh whipped cream and extra sprinkles just before serving for the best presentation.
Avoid sprinkles that can dye the cheesecake filling. For this reason, I’d stay away from nonpareils (the tiny round ones). Instead, rather use rainbow jimmies and pastel quins, since the quins never bleed color.
Regardless of what you choose, always fold the sprinkles gently into the filling and be careful not to overmix.
Once baked, you must leave the cheesecake in the oven to cool down slowly. To help this process and maintain a steady cooling, the oven door is kept open slightly.
If you remove the cheesecake immediately from the hot oven to the countertop or fridge, the vast difference in temperature will cause the cheesecake to cool down too quickly which will result in a crack in the smooth cheesecake filling.
Absolutely! This funfetti cheesecake is all about the fun. Simply add in extra sprinkles when making the buttery biscuit crust for an extra colorful cheesecake.
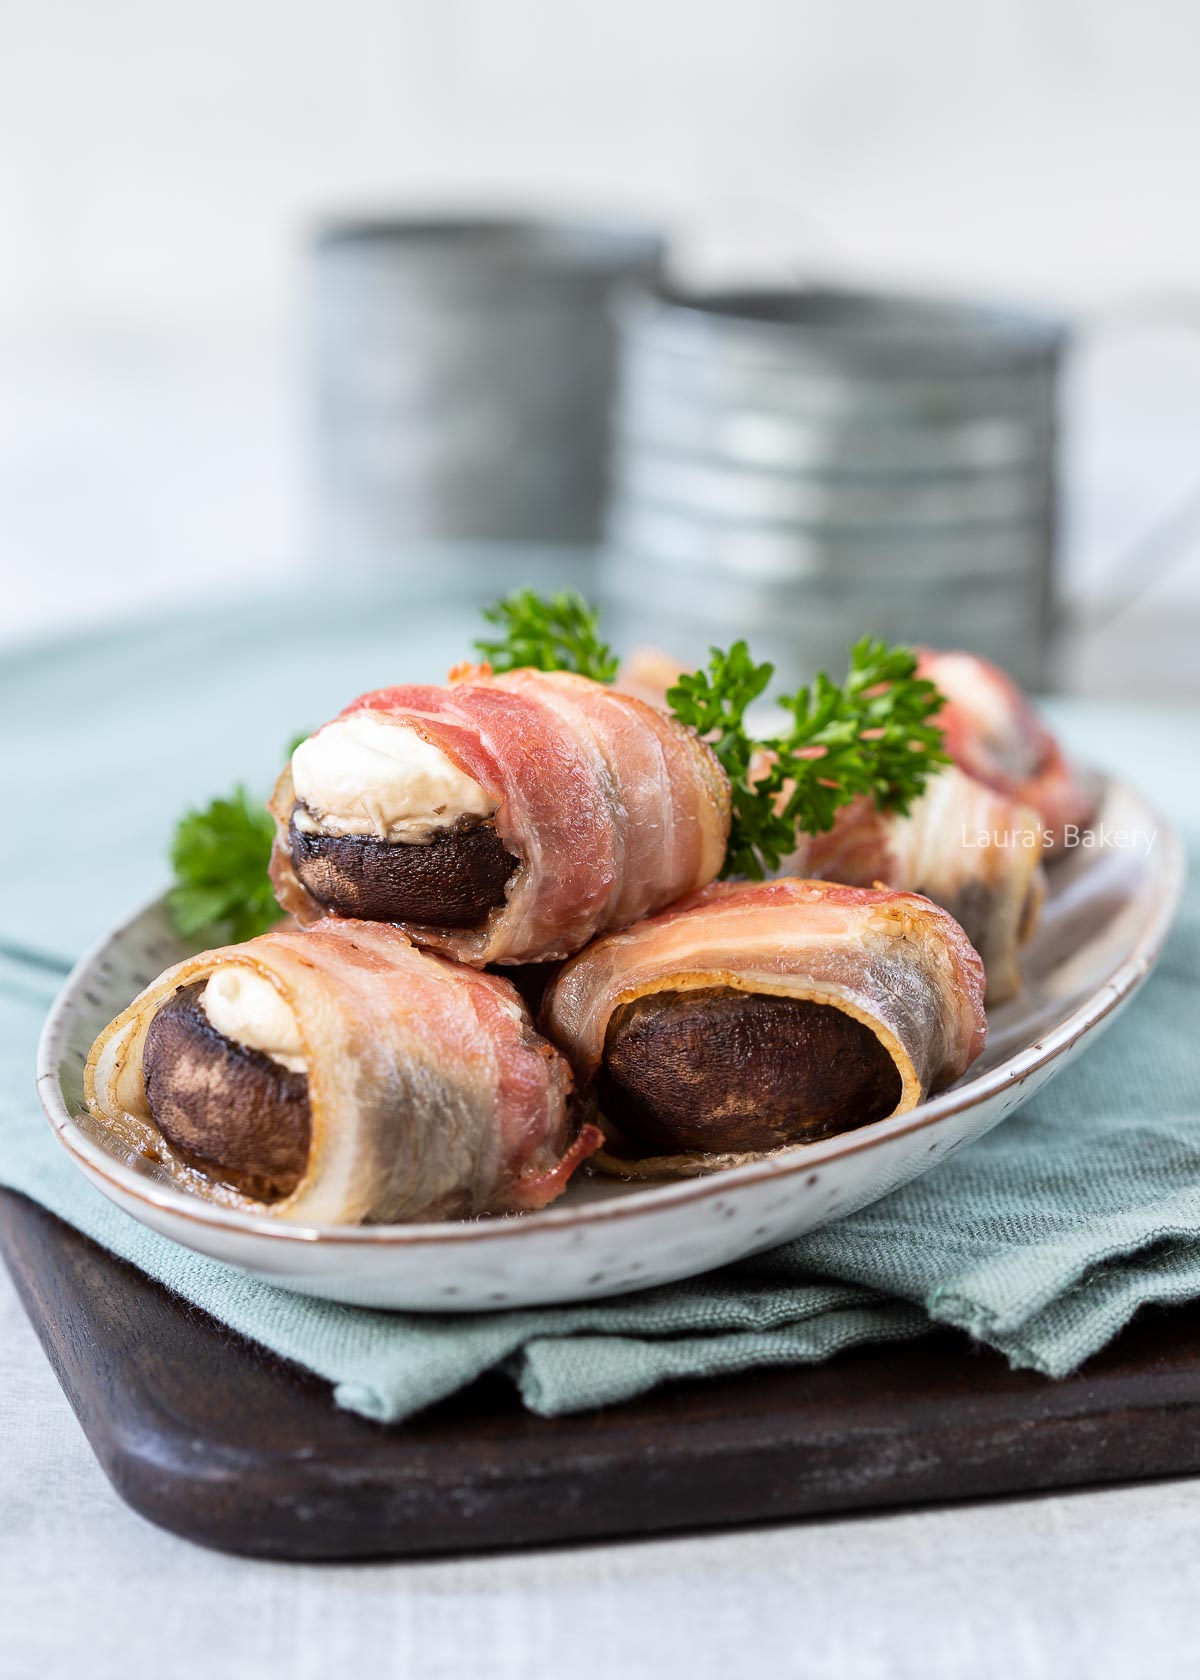
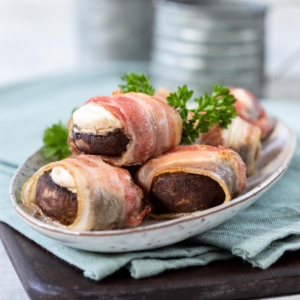
Looking for a quick, crowd-pleasing appetizer or snack that’s anything but ordinary? These mushrooms stuffed with goat cheese and wrapped in bacon use just three ingredients and come together in minutes.
Even if you’re not a huge fan of mushrooms, these soft cheese stuffed mushrooms just might win you over. They certainly did for me!
Are your eyes playing tricks on you? They’re not! These scrumptious, bite sized appetizers come together with just three ingredients. Find all the details in the recipe card below.
Start by cleaning the mushrooms and removing the stems. You can scoop out the caps slightly so you can fit more goat cheese inside, if you like.
CLEANING TIP: Avoid washing mushrooms under the tap, as they absorb a lot of water and lose their flavor. It’s best to use a mushroom brush to clean them instead.
Next, fill each mushroom cap generously with the soft goat cheese and wrap a slice of bacon around each one.
Place the stuffed and wrapped mushrooms in a baking dish that’s been lightly greased with olive oil, and bake for 25 minutes at 350°F/180°C (conventional oven).
These are best enjoyed straight away!
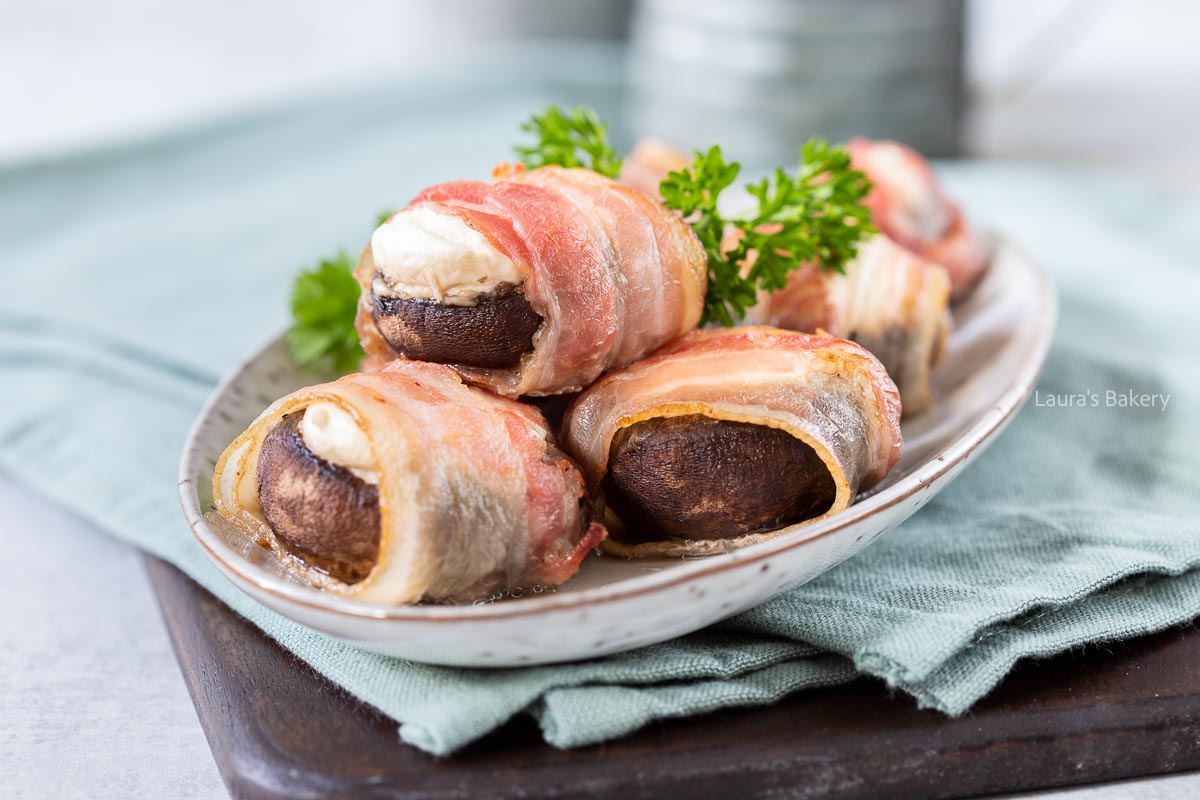
I haven’t tried cooking the mushrooms a day ahead and reheating them, but you can definitely prepare the filling in advance. Simply stuff the mushrooms the next day and bake them so they’re ready to serve fresh from the oven.
It’s possible to freeze goat cheese stuffed mushrooms wrapped in bacon, but the mushrooms can absorb moisture which will affect their texture.
To freeze these assembled mushrooms, arrange them unbaked on a baking sheet until firm, then transfer to a freezer bag. They will last for up to 3 months in the freezer. Bake them directly from frozen, adding a few extra minutes to the cooking time.
While I’m not the biggest fan of mushrooms, I love how quick and easy these snacks were to assemble, much like these appetizer recipes below:
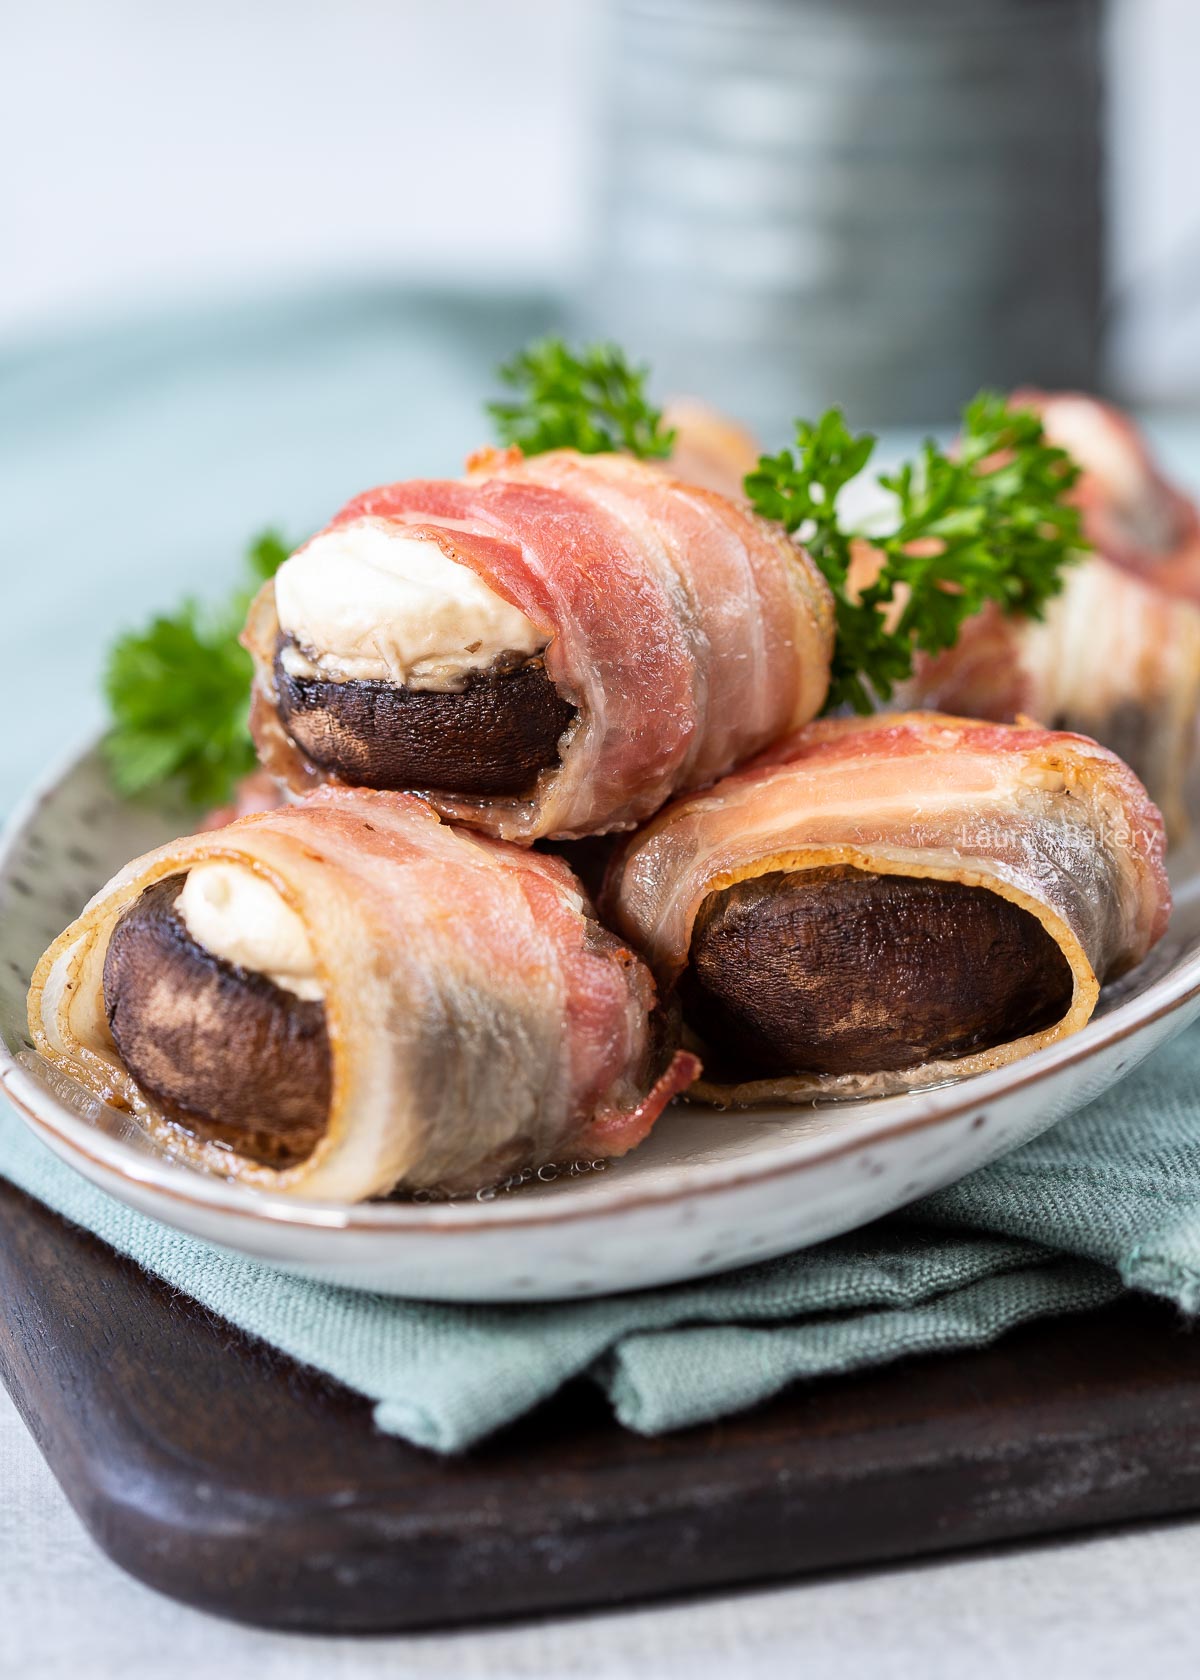
I prefer regular white button mushrooms or cremini for stuffed mushrooms. When selecting them, look for mushrooms that are roughly the same size to ensure even cooking. White mushrooms have a mild flavor, which pairs perfectly with the soft goat cheese filling and salty bacon.
You can, but you can also keep them to incorporate into a main meal the next day.
Absolutely! Omit the sliced bacon and mix in some chopped herbs, spices, or crispy fried shallots into the soft goat cheese filling for a boost of flavor and texture.
Simply secure each wrapped mushroom with a toothpick before baking. This prevents the bacon from unraveling and makes flipping or handling them much easier. Make sure to remove the toothpicks before serving.
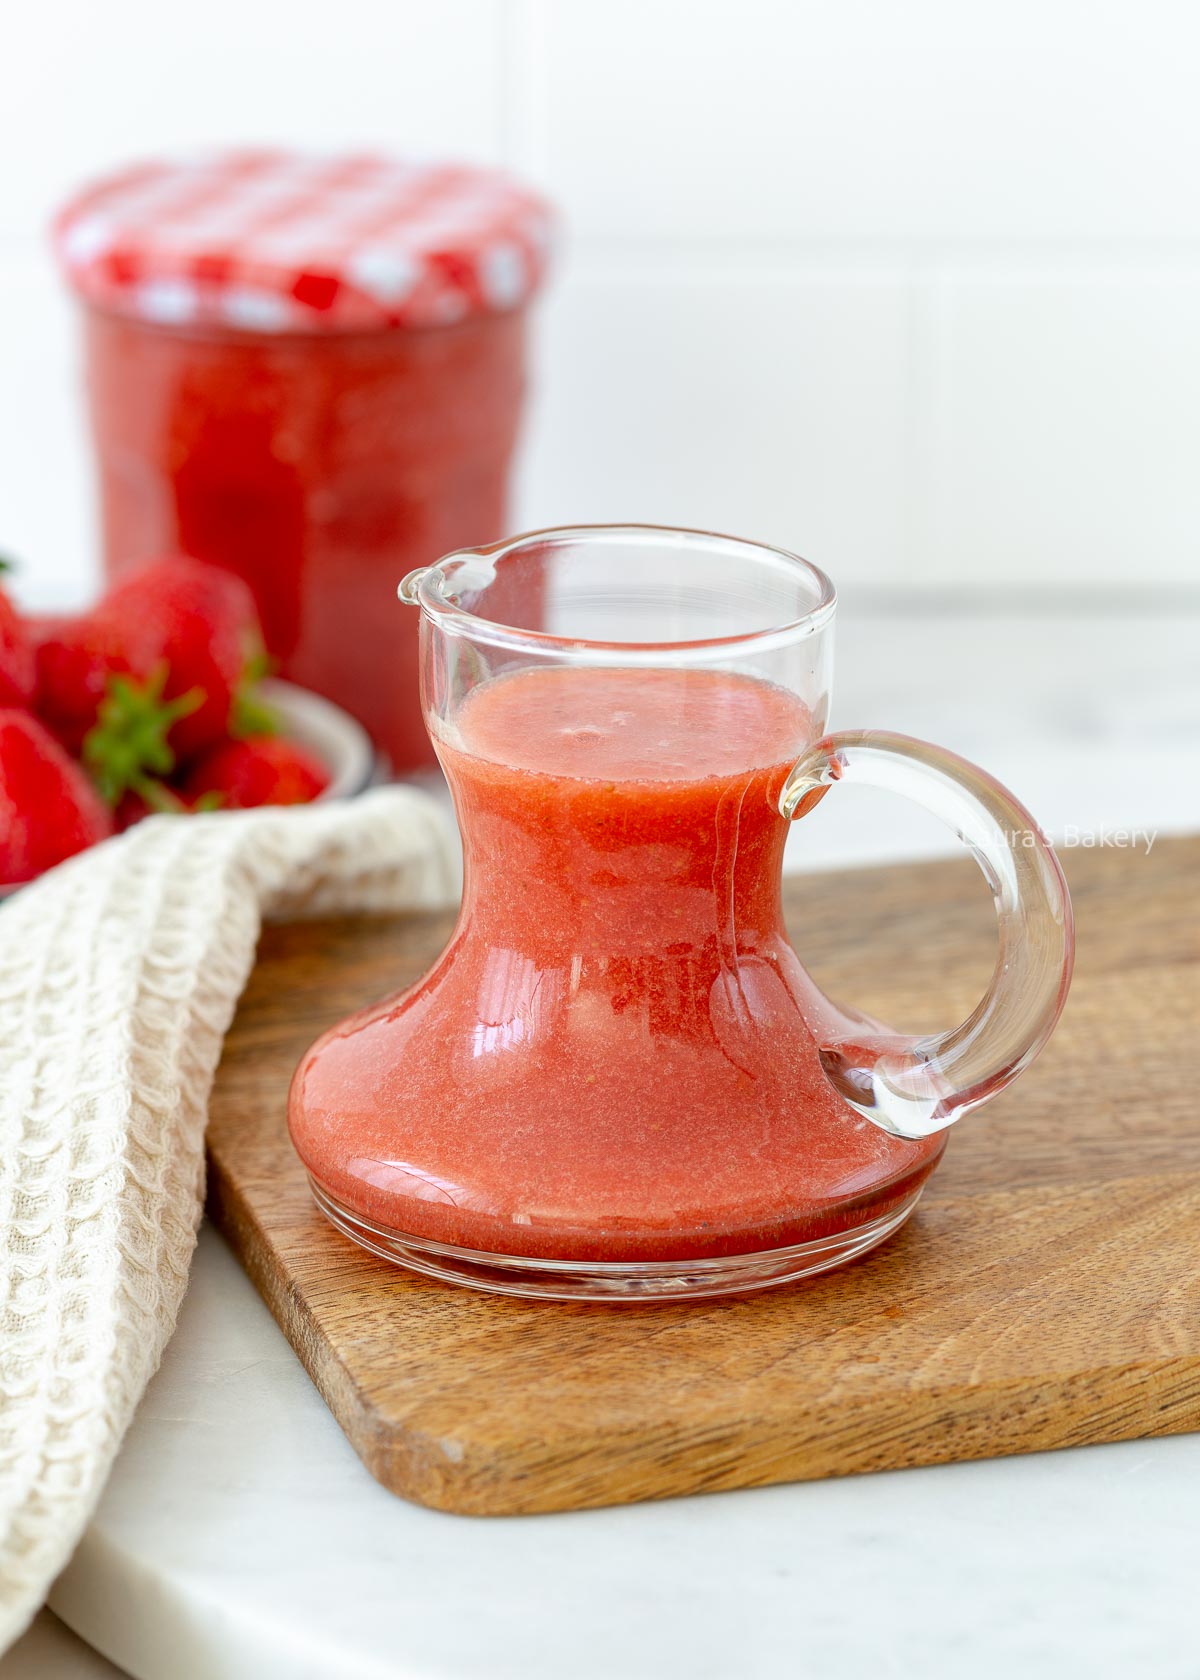
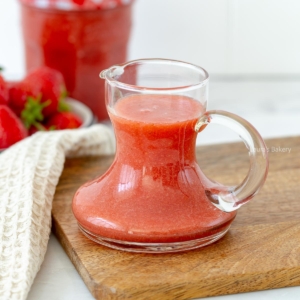
Making your own homemade strawberry sauce is incredibly easy. It’s delicious served with a scoop of ice cream, a pudding dessert, a stack of pancakes, or simply drizzled over a bowl of yogurt.
Making strawberry sauce is not only super easy but the finished sauce can be used in so many different ways! It’s more or less similar to my strawberry compote but much smoother.
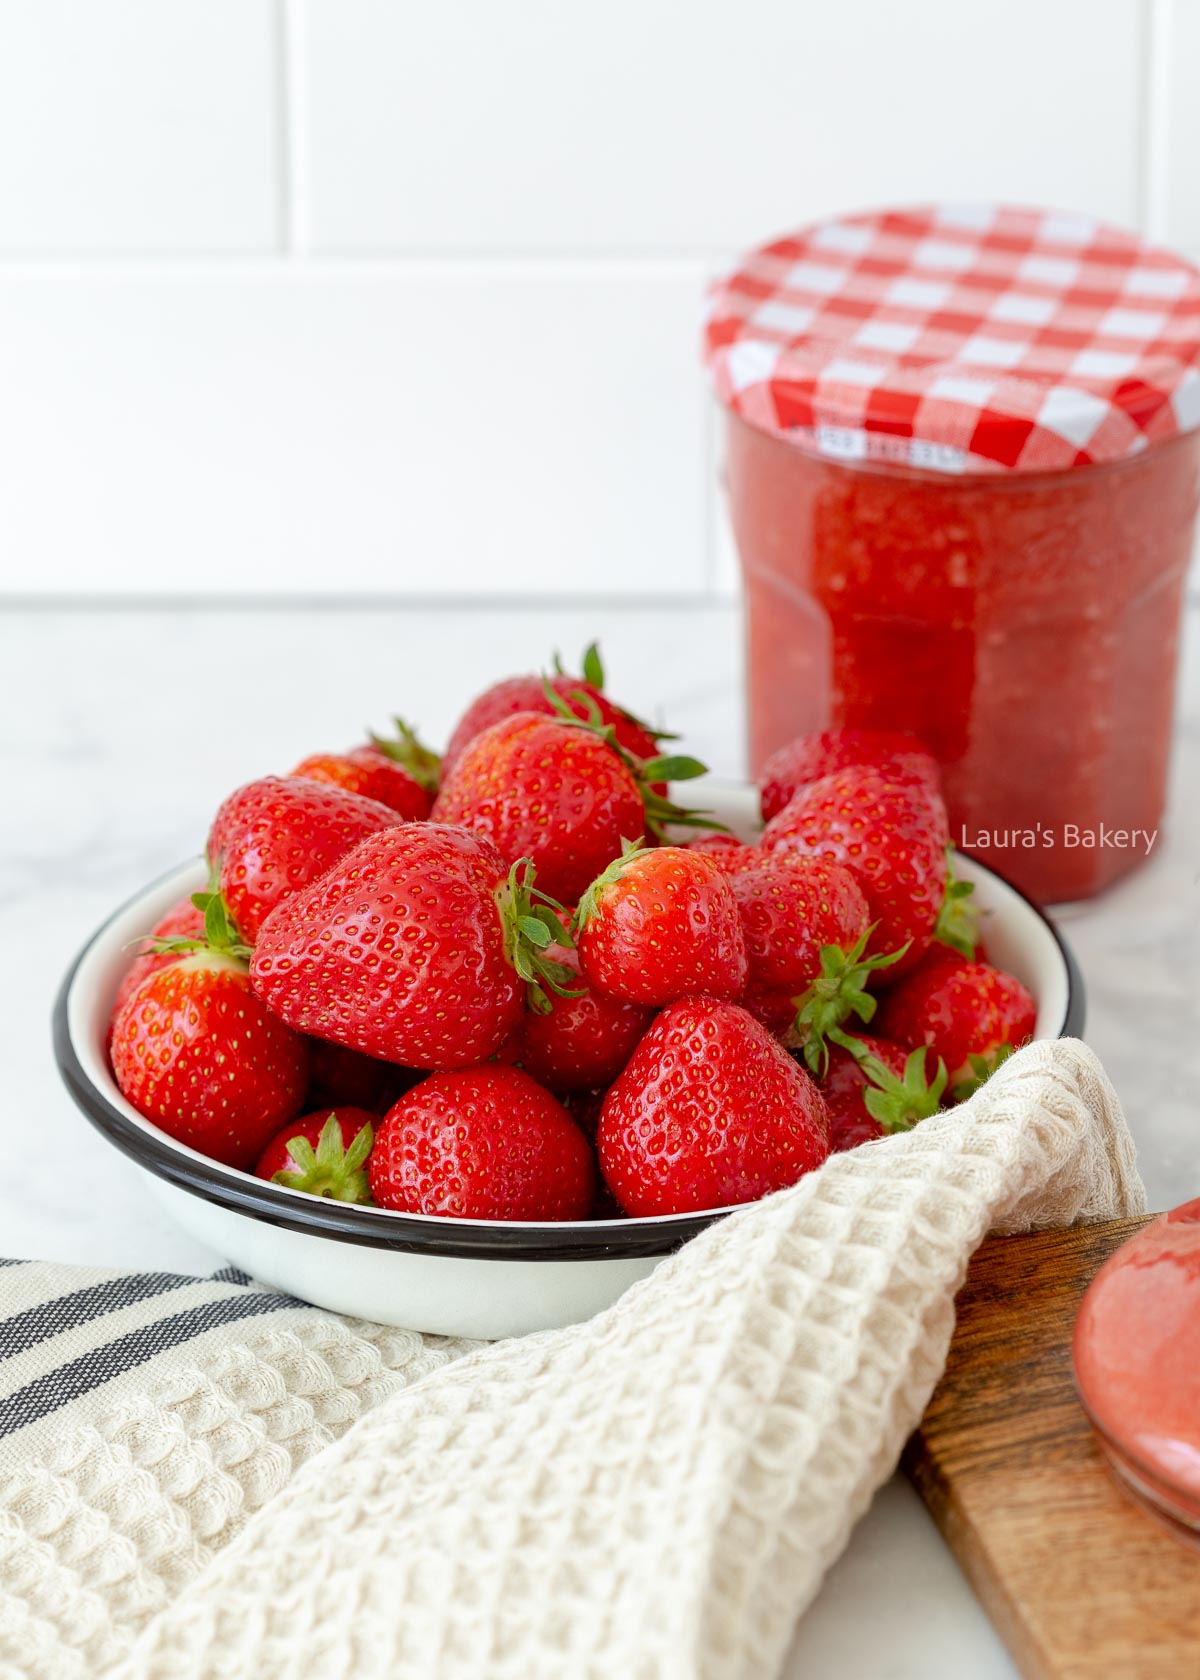
You only need a few ingredients for this easy strawberry sauce. Be sure to check out the recipe card below for full details.
To make the best strawberry sauce, use fresh strawberries that are sweet and ripe. Sweet strawberries are widely available right now, and when you walk through the grocery store, that wonderful sweet aroma practically jumps off the shelves.
If strawberries aren’t in season, you can easily use frozen strawberries for this recipe.
I actually make this strawberry sauce quite often, but it never occurred to me to share it as a standalone recipe before. About time, because this is such a great basic recipe that makes so many desserts and breakfast dishes even better!
It’s strawberry season, so it’s the perfect time to start baking with strawberries.
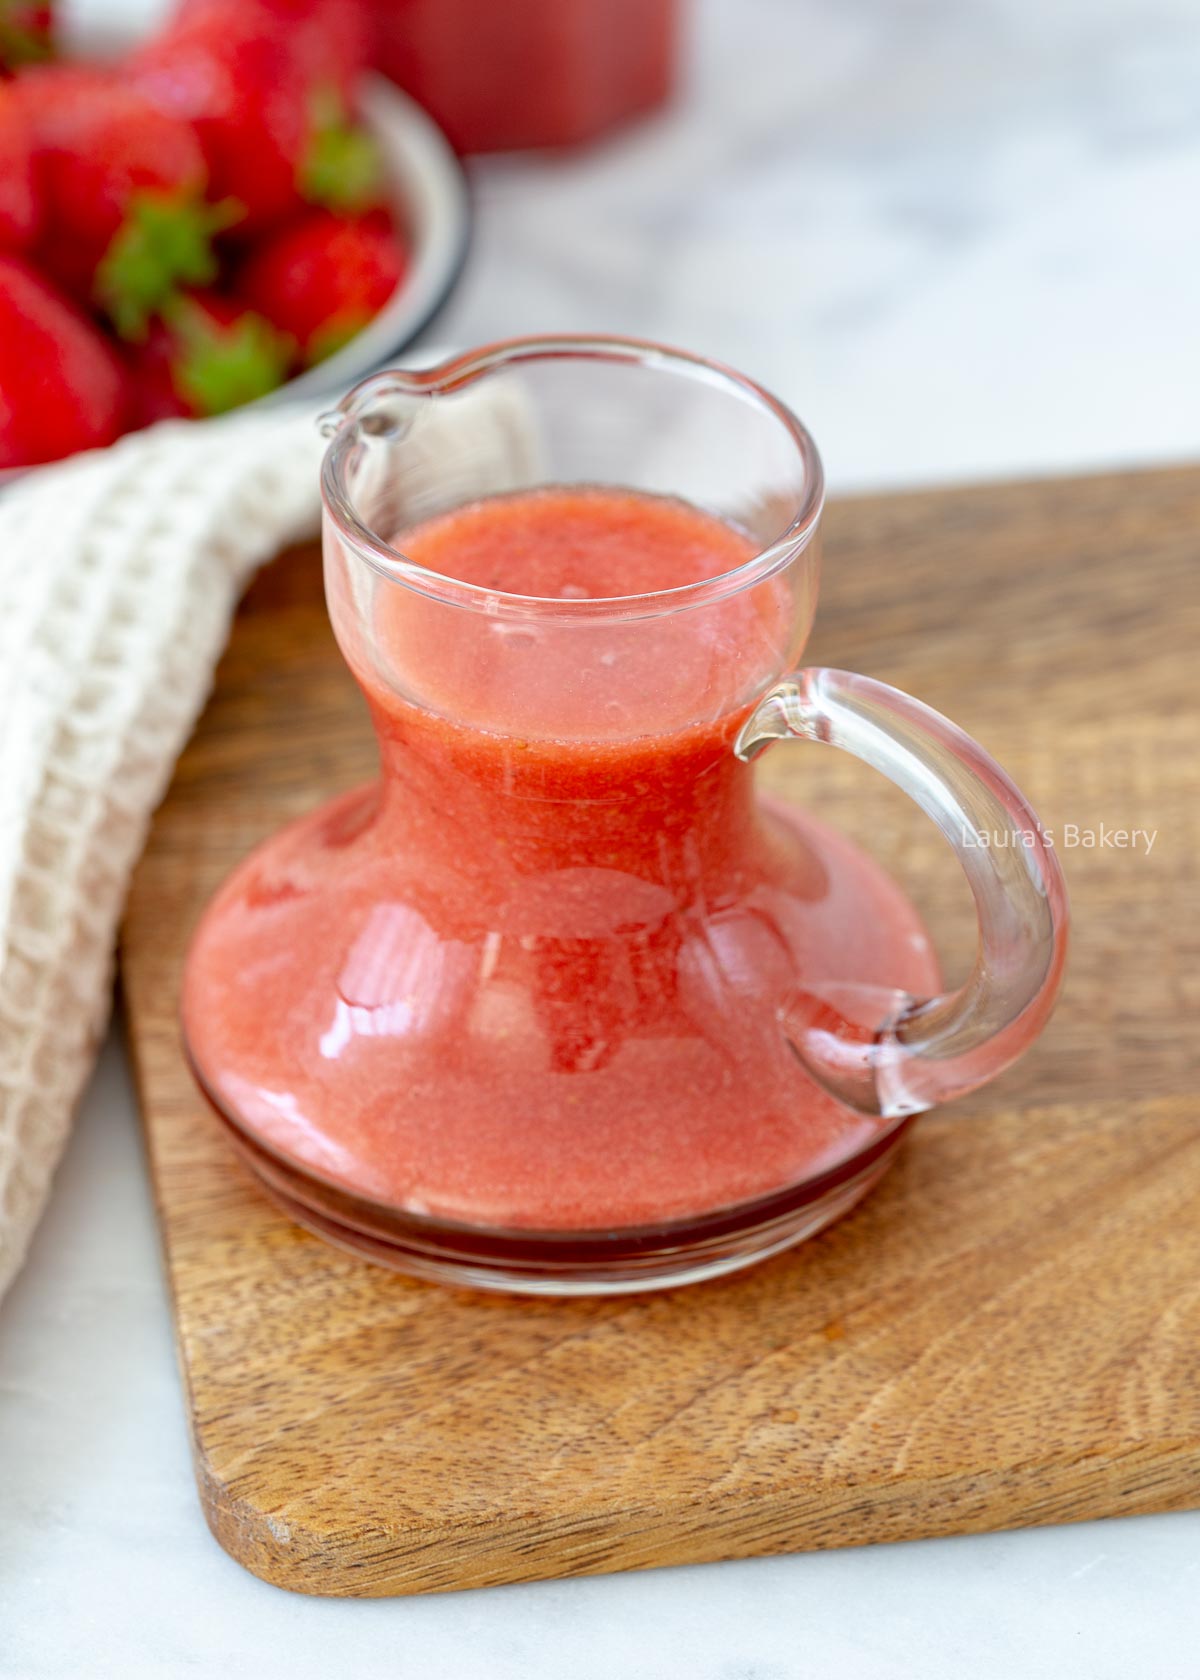
It’s best to store the sauce in swing-top bottles. Not only does that make pouring easy, but it also keeps the sauce airtight and makes it convenient to store in the fridge door for up to 2-3 days.
I always keep a few of these bottles on hand since you never know when you’ll want to make a big batch of strawberry sauce. Of course, you can also store it in an airtight container if you want to.
Yes, you can freeze it for up to 2-3 months. Let it cool completely first, then store in a freezer-safe container. Thaw in the fridge before using.
There are plenty more tasty sauce recipes on Laura’s Bakery. I have a bit of a weakness for sweet dessert sauces, but if you’re looking for savory options, be sure to check out my sauces and dips category – there’s something for every dish or snack.
A few delicious sweet sauce ideas:
The best way is to let the sauce simmer longer so more liquid evaporates. If you’re looking for a very thick consistency, you might want to try my strawberry jam recipe instead.
Yes, you can. Just make sure to fully thaw the strawberries first and drain any excess liquid. After that, simply follow the recipe as written.
Yes, you can customize it by adding lemon zest, vanilla extract, or even a splash of balsamic vinegar for a deeper flavor.
This usually happens if the strawberries release a lot of juice. Let the sauce simmer longer to reduce, or add a small cornstarch slurry to thicken it.
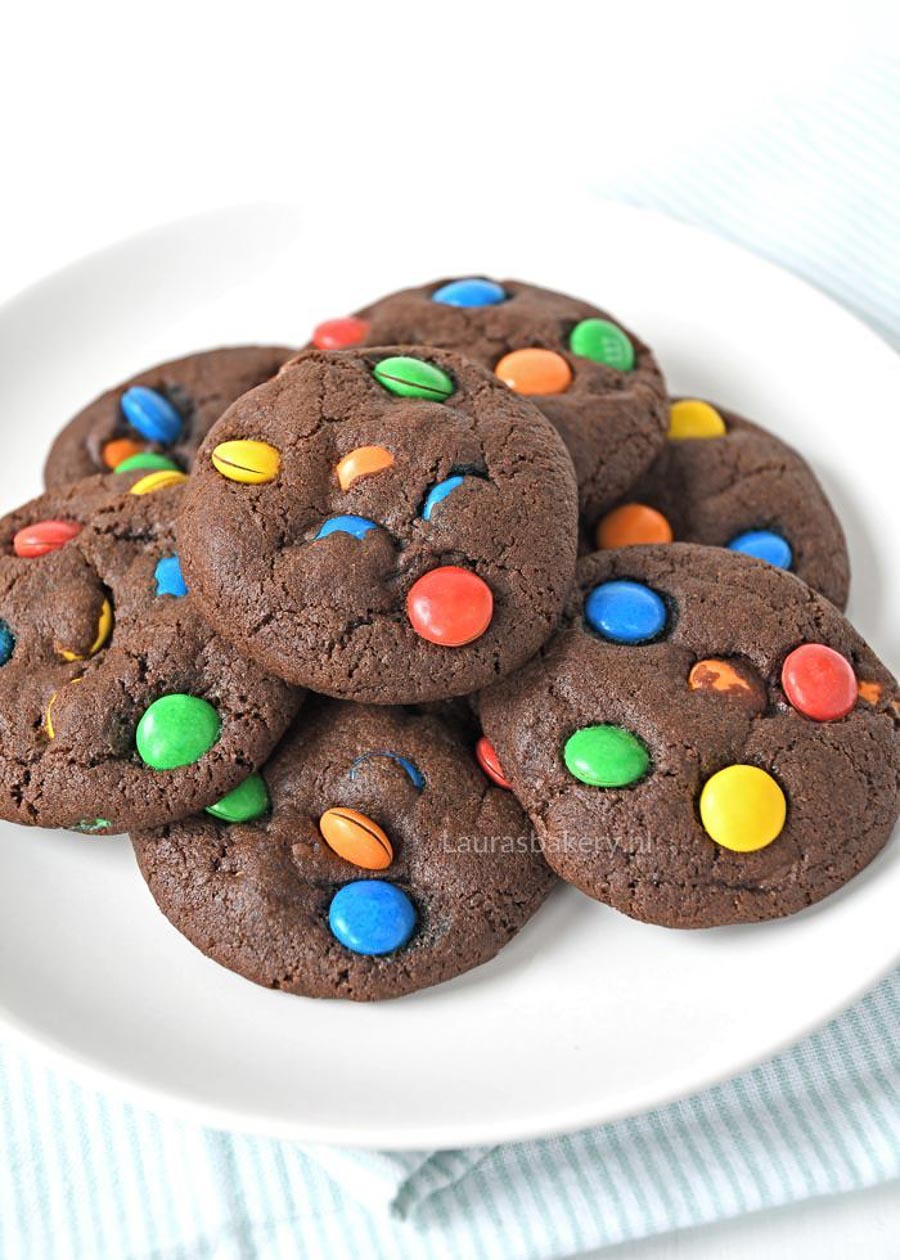
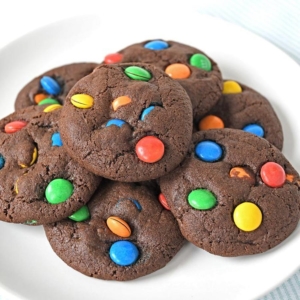
Rich, chocolatey, and studded with colorful M&M’s, these chocolate M&M chocolate chip cookies are as irresistible as they are easy to make. With crisp edges, a chewy center, and no need to chill the dough, you can enjoy them in less than 30 minutes.
With an ever-growing list of cookie recipes here on Laura’s Bakery, you might be wondering what makes these M&M chocolate cookies so special. Let me break it down for you:
With just a handful of pantry staples and a colorful pop of M&M’s, you’re well on your way to baking some of the most delicious chocolate chip cookies! Make sure to check out the recipe card for full details:
Start by making the cookie dough. To do this, cream the butter and dark brown sugar together until light and smooth.
Add the large egg and vanilla extract, mixing until fully incorporated. Next, add the dry ingredients (flour, salt, cocoa powder, and baking soda) and knead or mix into a smooth cookie dough.
Add 100 grams/3.5 oz of M&M’s and mix until evenly distributed throughout the chocolate dough.
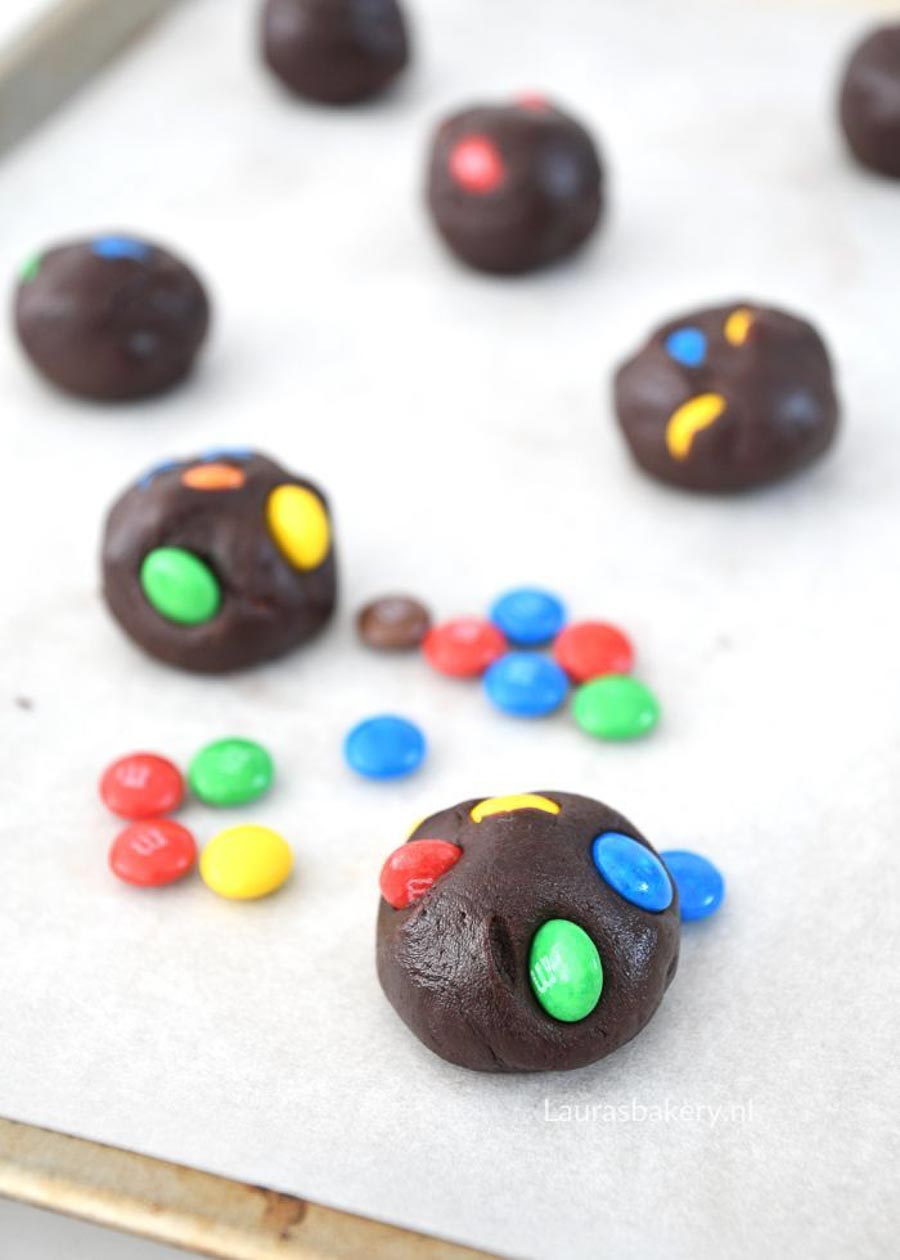
Shape the dough into balls and place them on a baking sheet lined with parchment paper. Press a few extra M&M’s on top of each dough ball to ensure the candies are clearly visible after baking.
Bake the cookies for 10-12 minutes at 340°F/170°C (conventional oven). Let the cookies rest on the baking sheet for a few minutes, then transfer them to a wire rack to cool completely before serving.
BAKING TIP: For uniform sized cookies, use a medium cookie scoop when forming the cookie dough balls.
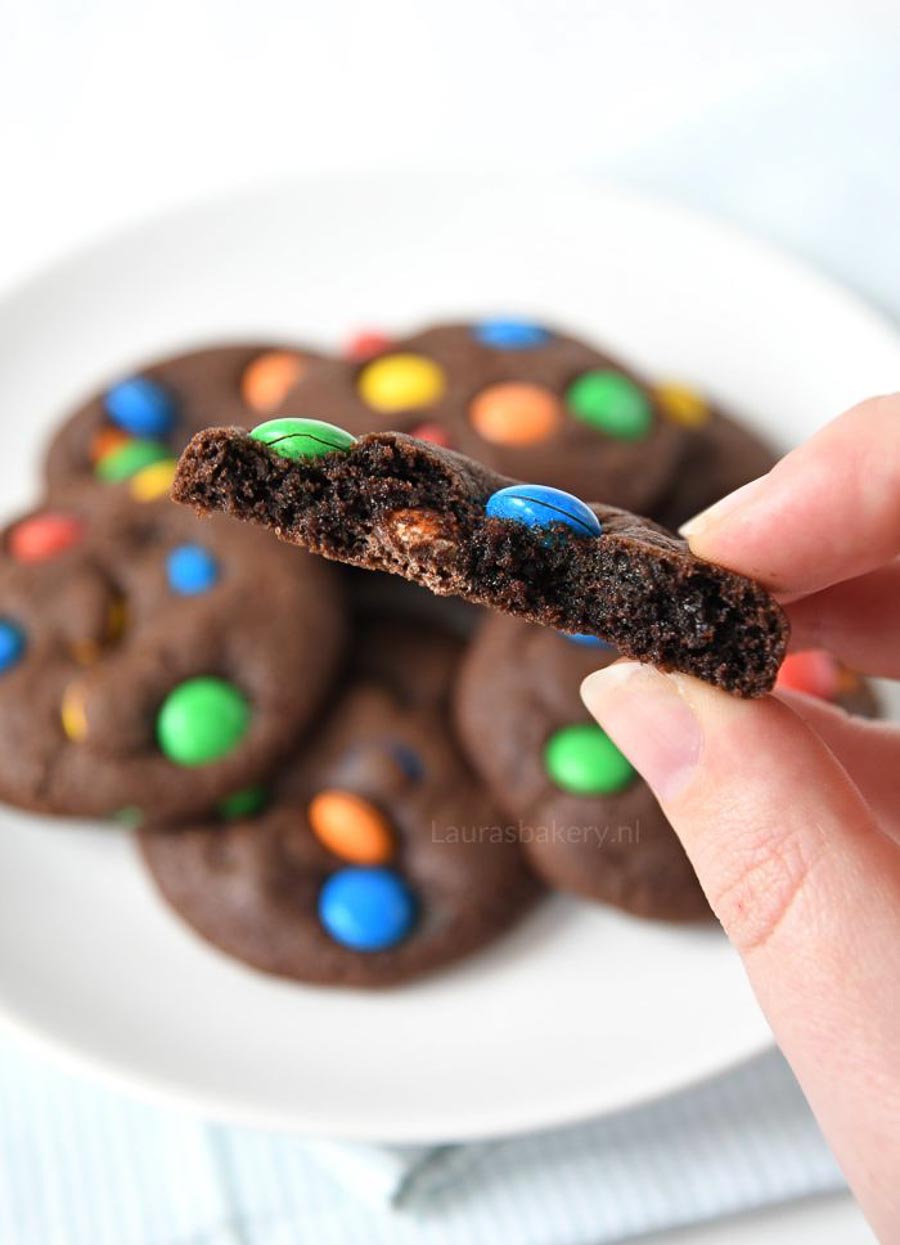
Store these cookies in an airtight container at room temperature for up to 1 week.
Absolutely! Freeze these cookies for up to 3 months and thaw at room temperature before serving again.
If you’ve been following Laura’s Bakery for a while, you know chocolate chip cookies are a favorite of mine! Treat yourself and check out my growing list of recipes:
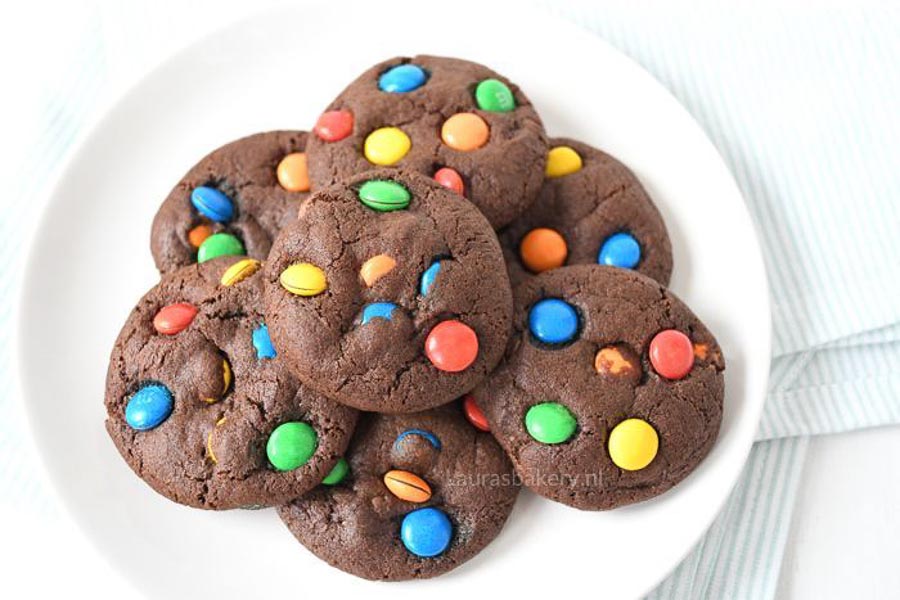
I gently press the extra M&M’s into the dough after rolling the cookie dough balls. Alternatively, you can add them to the tops of the cookies right after they come out of the oven, while the cookies are still soft.
While these cookies don’t contain traditional chocolate chips, the M&M’s serve the same purpose, which is why I call them chocolate M&M chocolate chip cookies. If you prefer, you can simply call them chocolate M&M cookies.
You can, but you’ll miss out on some delicious chocolate flavor 😉. If you want to skip it, replace the 25 grams of cocoa powder with 25 grams of flour, or just make my basic chocolate chip cookie recipe and add three types of chocolate chips.
Yes! One of the easiest ways to make these cookies ahead of time is to assemble and freeze the cookie dough balls that you can then bake just before serving for the best flavor and texture.
Freeze the dough as balls on a sheet. After they’re frozen, put them in an airtight container or ziplock bag. This way you can easily bake just a few cookies at a time.
No, it’s not necessary to chill the dough before baking these cookies. They get plenty of rise from the baking powder. That said, many cookie recipes do recommend resting the dough for a few hours or even overnight. Feel free to do so, especially if you plan to bake them the next day.
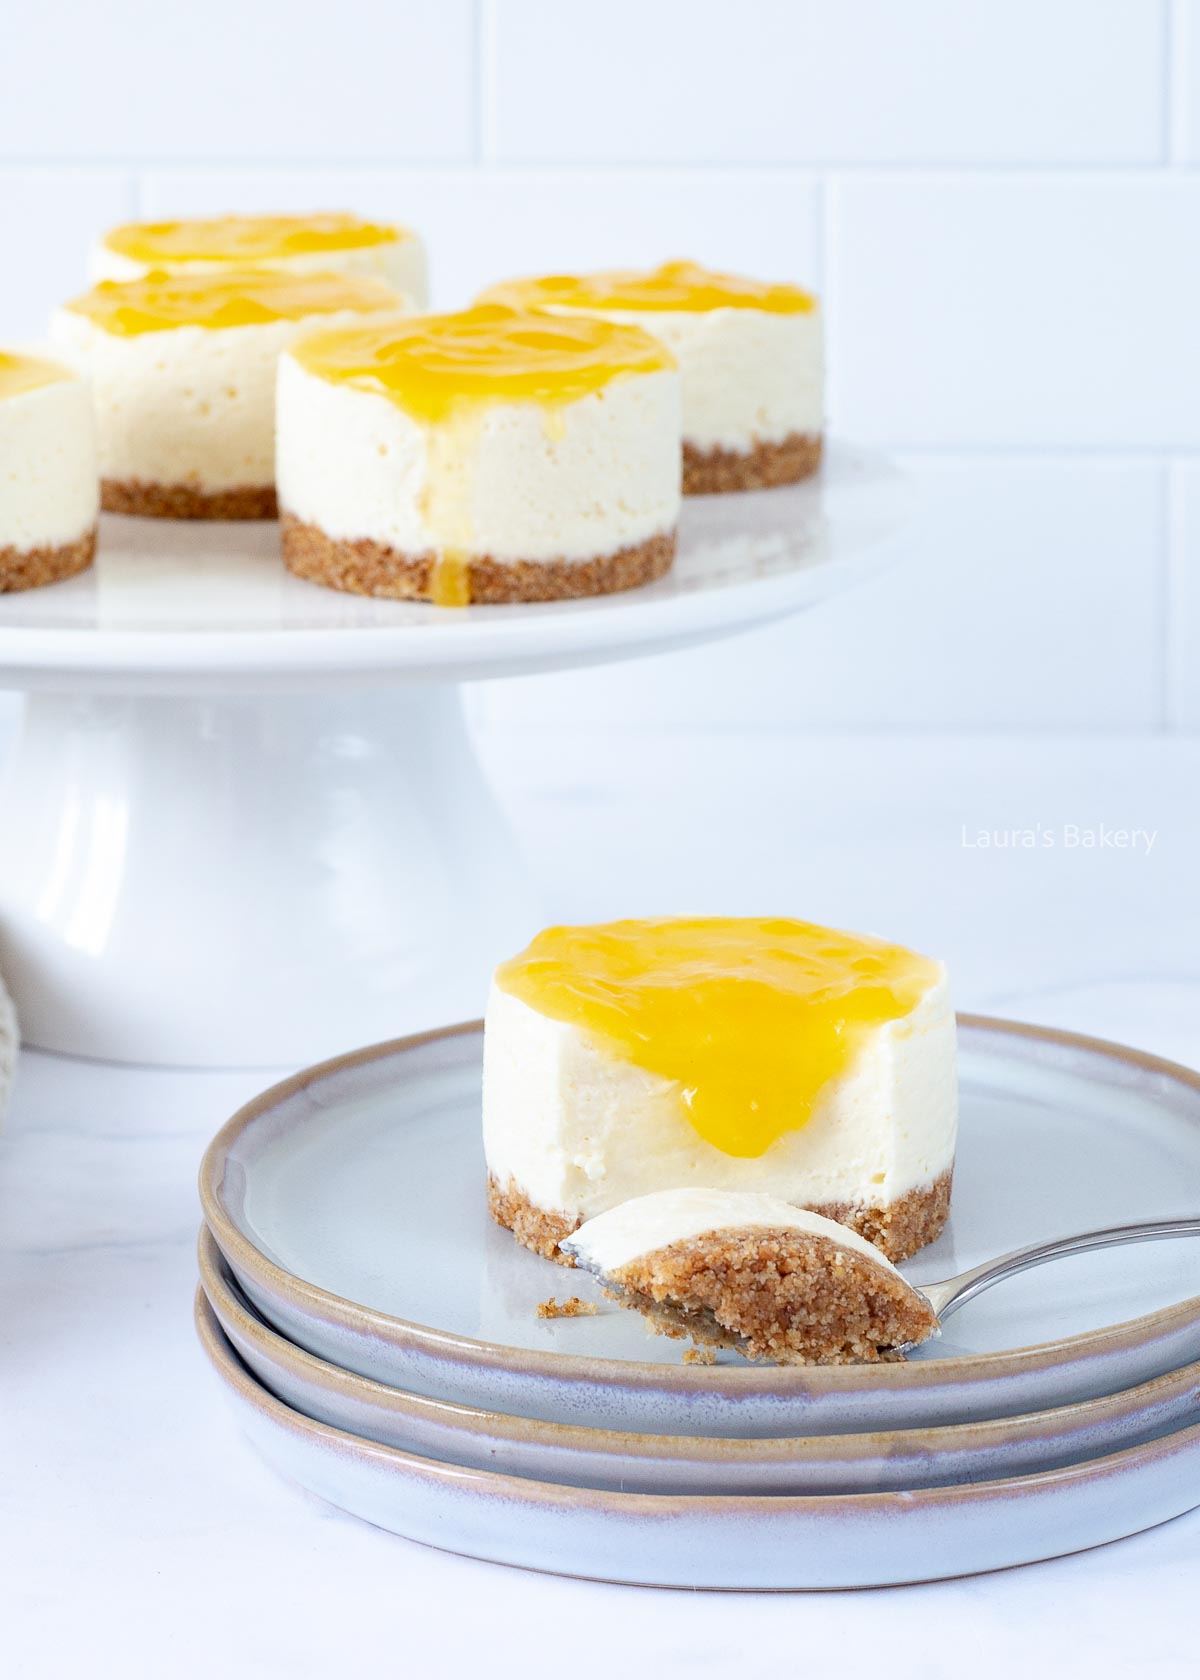
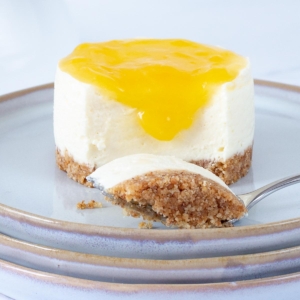
These no bake mini lemon cheesecakes are made without an oven and finished with a delicious lemon curd topping. Absolutely irresistible and super easy to make too.
Cheesecake and lemon are a combination that never fails. For these small no-bake mini lemon cheesecakes, I added a layer of lemon curd on top.
Combine that with a crunchy cookie crust and you’ve got the perfect dessert. These little cakes are unbelievably delicious! If you love lemon as much as I do also check out the mini lemon crumb muffins!
For making these no-bake mini lemon cheesecakes, you use pretty much the same ingredients as you would for a regular no-bake cheesecake but just less.
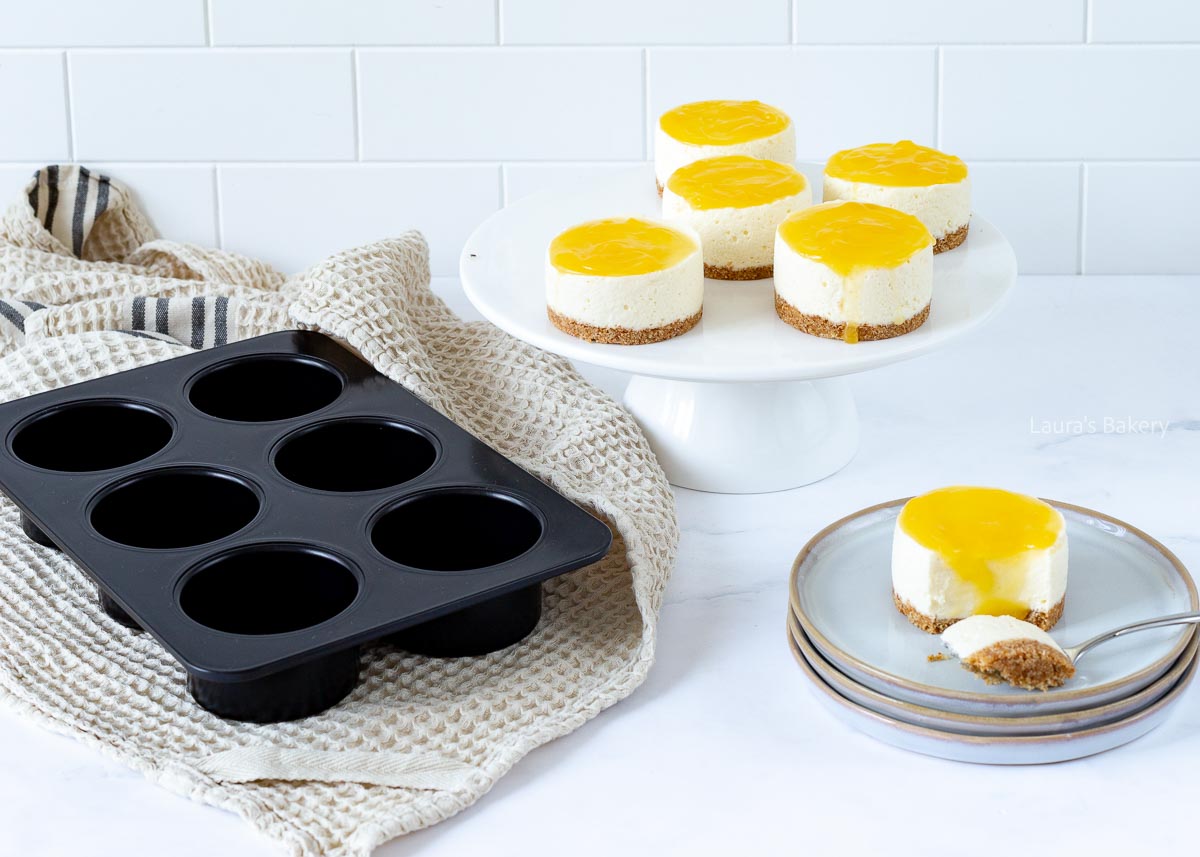
For making this no bake lemon cheesecake recipe, I use a cheesecake pan with removable bottoms. Super convenient, because not only does it give you the perfect size for mini cheesecakes, but it also makes it easy to release them from the pan.
I do line the pans with parchment paper to make sure they release easily. You grease the cavities lightly and add a strip of parchment paper to the side of each one.
Crush your cookies into a fine crumb. Melt the butter and mix it with the crumbs. Divide over the 6 cavities and press down firmly.
Place in the refrigerator while you work on the cream cheese filling. Soak your gelatin sheets in cold water for 5 minutes.
In a separate bowl mix the cream cheese with about 100 grams/3.5 oz of lemon curd until it is smooth. While the machine is turning slowly pour in 75 ml/2.5 fl. oz. heavy cream. Mix this for about 2 minutes or until smooth and than set aside.
Now warm the remaining 25 ml/0.8 fl. oz. of the heavy cream in a small saucepan. You want it warm but definitely not boiling!
Squeeze the water out of the gelatin and add to the warm cream. Stir until dissolved and let it cool slightly.
While letting the machine turn slowly you add the gelatin mixture into the cream cheese. Once it is fully combined you can divide the mixture over the cheesecake pans.
Place in the refrigerator for at least 4 hours or until fully set. Just before serving you stir the remaining lemon curd and spread this over the top of the cheesecakes.
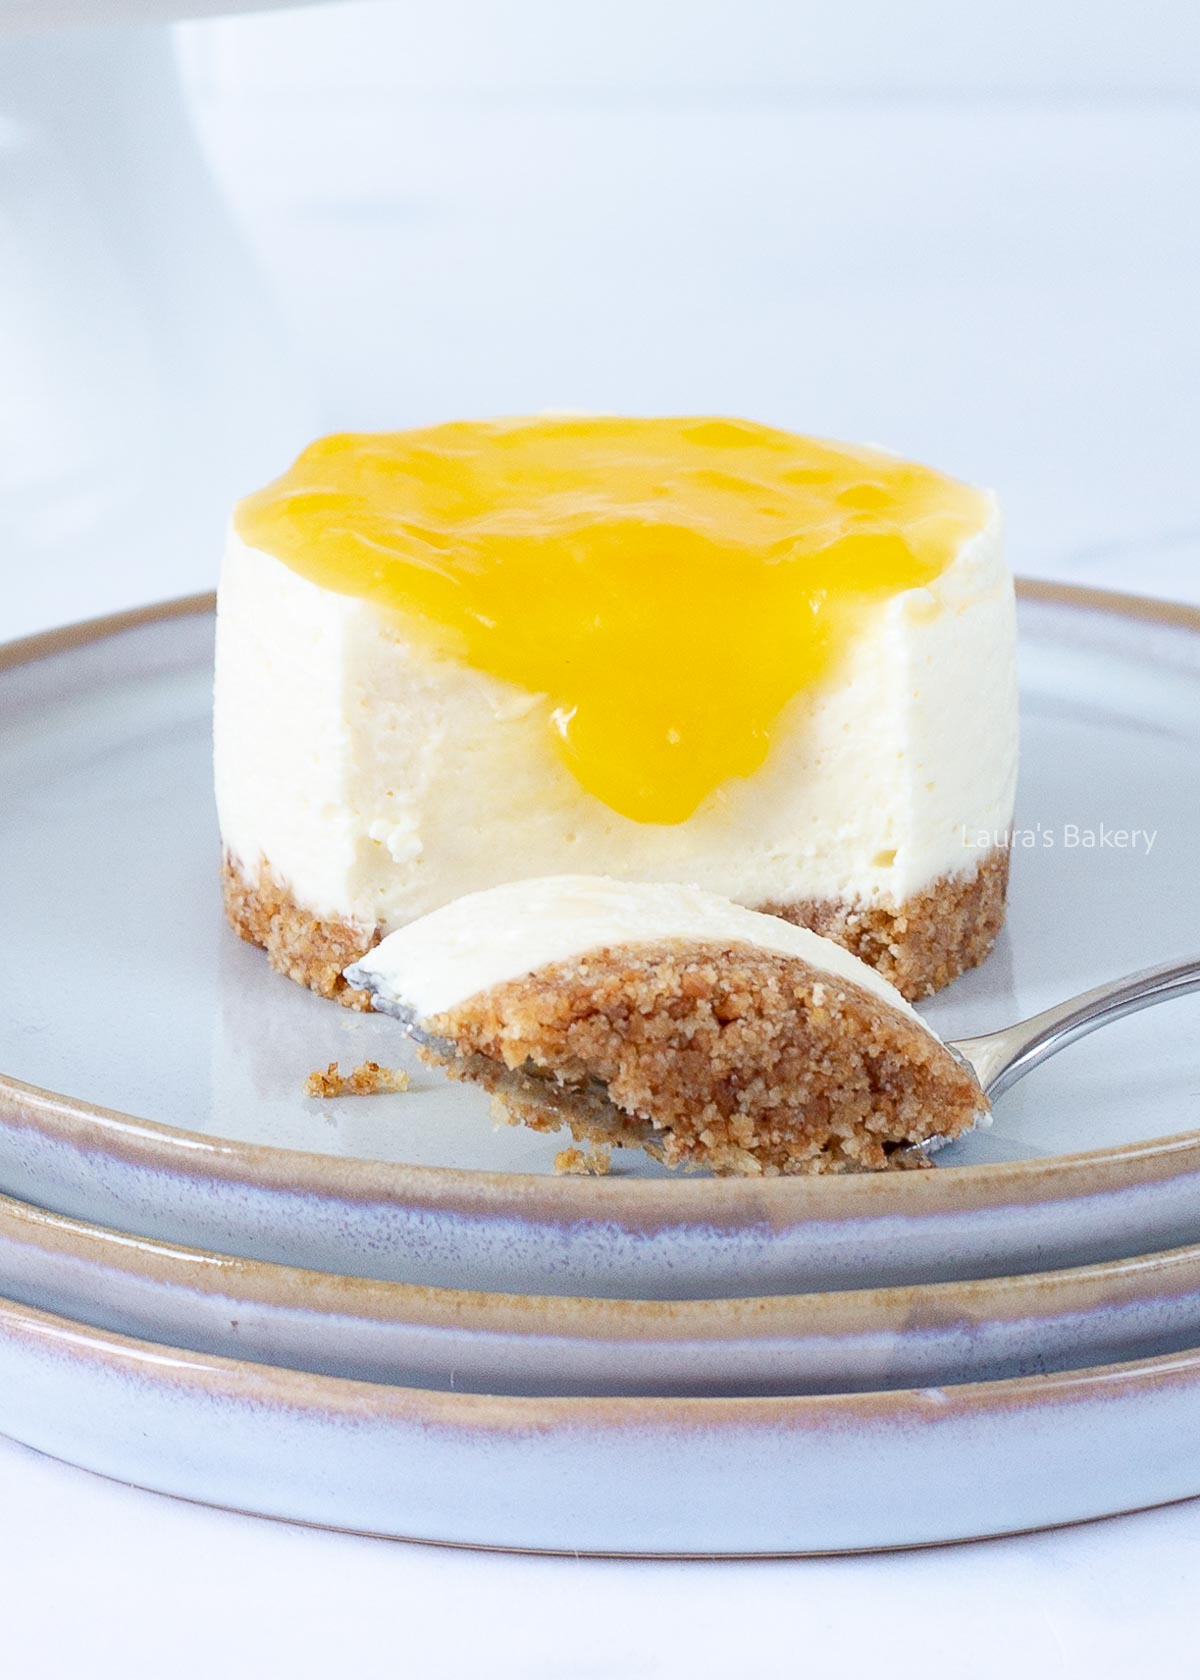
These mini lemon cheesecakes can be stored in the fridge for 2-3 days. Make sure to place in an airtight container.
Yes you can freeze these mini cheesecakes. Preferably without the lemon curd on top. If you freeze them, let them set completely first.
Then wrap in plastic wrap and place each mini cheesecake into a freezer bag. Let it slowly defrost in the fridge before using again. You can store them up to three months in the freezer.
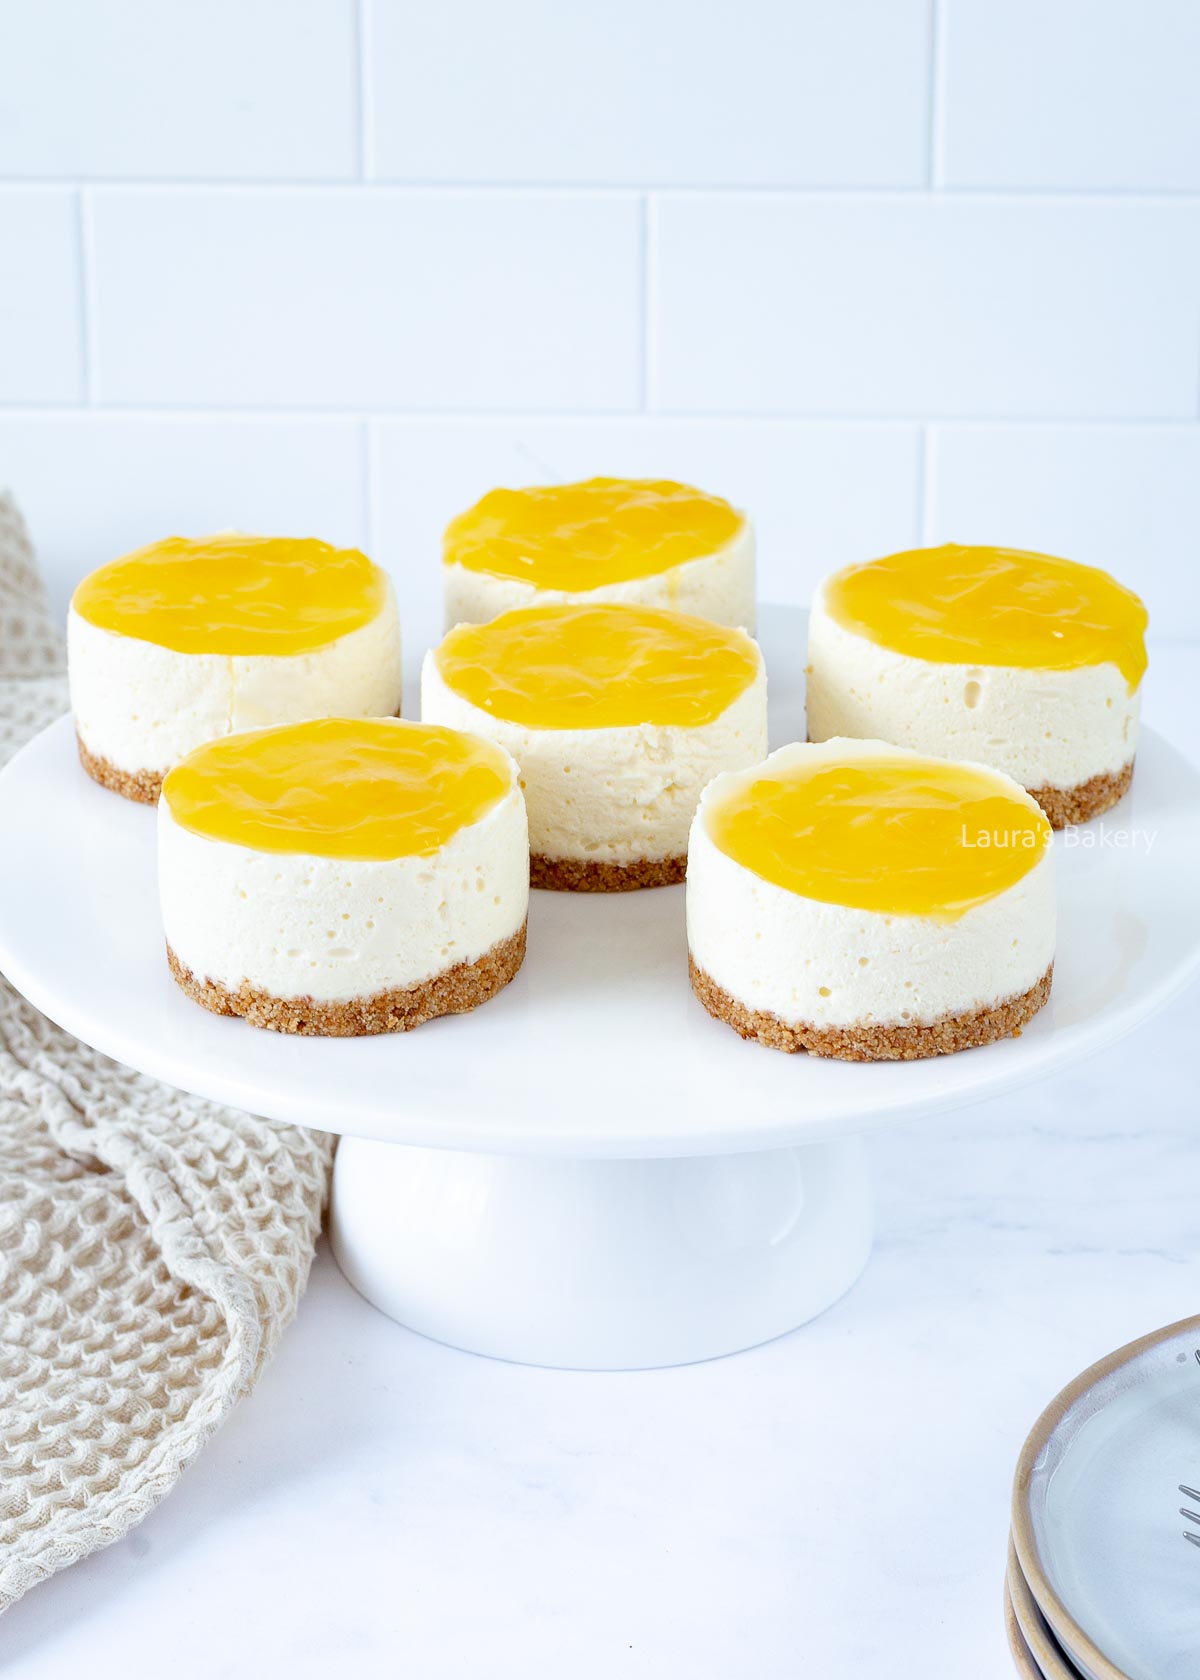
I’ve made mini cheesecakes before, but this lemon version is definitely the most visually appealing one yet. The shape of these little cheesecakes is especially perfect.
That’s thanks to the mini cheesecake pan, but the good news is that this pan works great for other mini cheesecake recipes too:
For no-bake recipes, I recommend lining the sides of the cavities with parchment paper. First lightly grease the pan (for example with baking spray) so the parchment sticks better. For baked recipes, simply greasing the pan is enough. Thanks to the removable bottoms, you can easily release the cheesecakes either way.
If you’re not a fan of lemon or lemon curd, there are plenty of other options you can use. Think of blackberry curd, passion fruit curd, or orange curd. If you just want a hint of lemon flavor in the cheesecakes, you can simply leave off the lemon curd topping or replace it with a dollop of whipped cream and a raspberry.
Absolutely. Speculoos (Biscoff) cookies taste amazing with these mini lemon cheesecakes. If you use Biscoff cookies, reduce the butter by about 10 grams, since these cookies already contain more fat.
Yes, you can turn this into one larger cheesecake. Use a small (6-7 inch / 15-18 cm) springform pan and increase the chilling time slightly to ensure it sets properly.
Definitely! You can add lemon zest for extra citrus flavor, or even swirl in raspberry puree for a fruity twist.
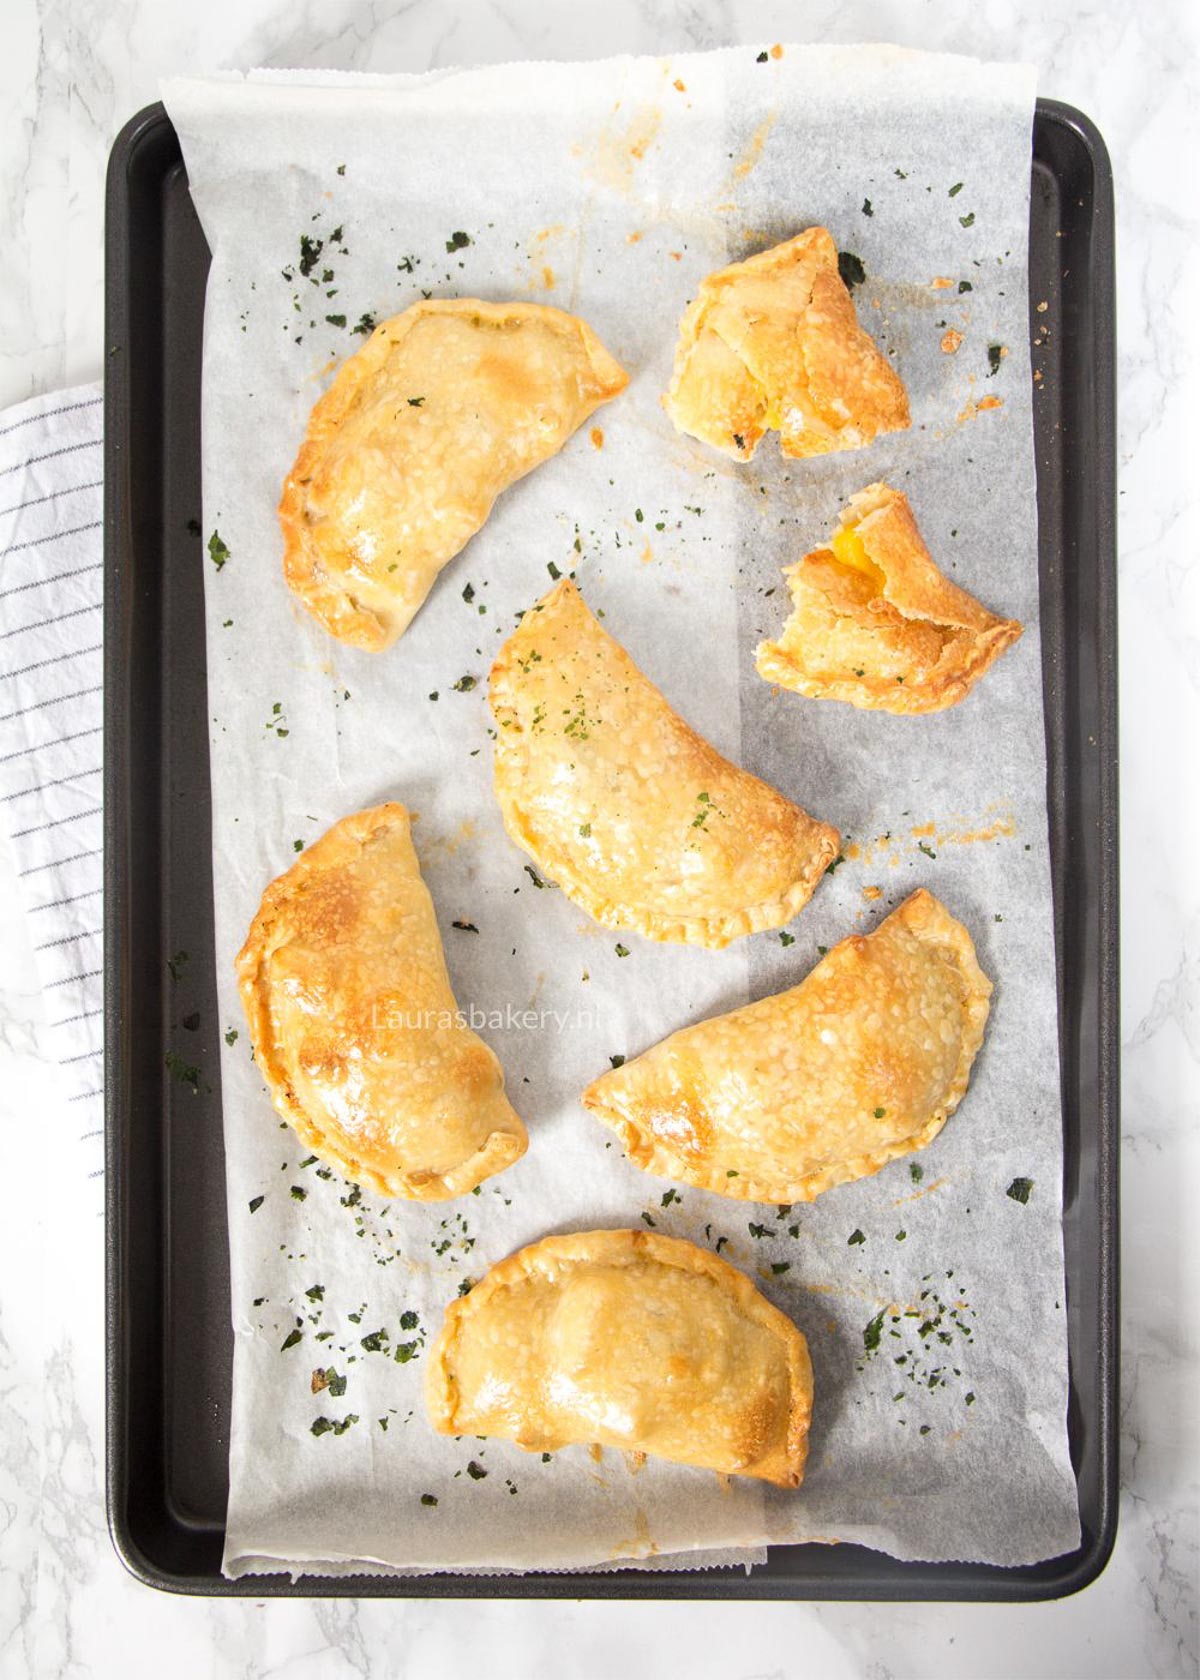
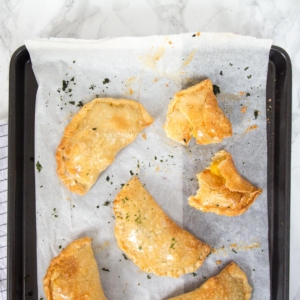
Crispy, flavorful, and generous in size, these brie and mango empanadas pair two key ingredients you wouldn’t expect to work so well together. Perfect as a hearty snack or a satisfying lunch!
Looking for a snack that’s truly satisfying without you needing to spend much time in the kitchen? Here are just a few of the reasons why these mango brie empanadas are about to become your new favorite:
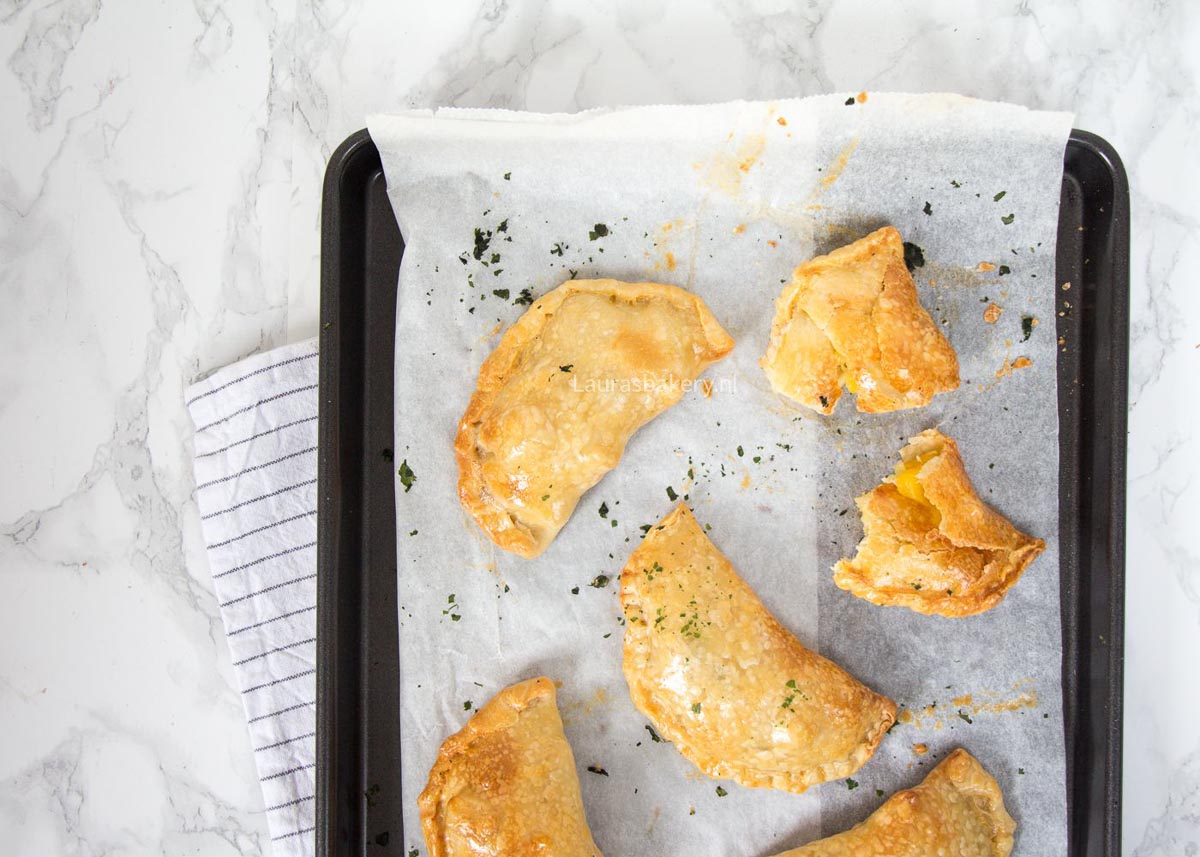
Four ingredients are all it takes to whip up these tasty brie and mango empanadas. Perfect for a hearty snack or quick lunch! Find the full ingredient list in the recipe card below:
Once you have your sliced brie and cubed mango prepared, the rest of this recipe is super easy. The first thing you will need to do is to make rounds for the empanadas.
Take the slightly thawed pastry dough sheets and roll them just a bit. Use a small bowl, about 3.5 to 4 inches (9-10 cm) in diameter, to cut out circles.
BAKING TIP: Using a pastry cutter or cookie cutter of the same size will work just fine.
On one half of each dough circle, lay down two slices of brie, then top with the mango cubes. Make sure to leave a 0.5 inch (1.5 cm) border around the edge to prevent spillage. If you like, sprinkle a little dried cilantro over the filling.
Fold the dough over to close each empanada, then press the edges firmly to seal. Fold the edges over and crimp them with your fingers to make sure they’re nice and tight.
Brush generously with the egg wash and place them on a baking sheet lined with parchment paper. Bake at 400°F/200°C (conventional oven) for about 25-30 minutes or until golden brown. Let them cool slightly before serving.
You can store these brie and mango empanadas, wrapped or stored in an airtight container, in the refrigerator for 2 to 3 days.
Absolutely! Once cooled, wrap the empanadas in plastic wrap and transfer them to a freezer bag to freeze for up to 3 months. You can also freeze them in their unbaked version and bake them fresh out of the freezer. If you bake them frozen, they will need a couple of extra minutes.
Reheat these brie and mango empanadas (at room temperature) briefly in the oven before serving again.
Whether you have an excess of fresh mango or just can’t get enough of this tropical fruit, here are some delicious recipes you’ll want to try:
Yes, but you will need to first thaw the frozen mango to get rid of excess moisture which could make the pastry soggy.
Empanadas are small pastries with a tasty filling wrapped in dough. They’re especially popular in Spain, Portugal, and South America.
Their size can also vary. In Spain, the smaller, single serving version is called “empanadillas” which is the diminutive of “empanada.
These sweet and savory empanadas are best served warm. Give them a few minutes to cool slightly so that the hot melted cheese and mango filling doesn’t burn your mouth!
They’re great as is for a snack or light lunch, but you can also add a side salad or other tasty bites for a heartier main meal.
Yes! Assemble and refrigerate them (uncooked) up to 24 hours in advance, or freeze them for up to 3 months. Bake directly from frozen, and add a few extra minutes to the cook time.
I’ve used store bought pie dough sheets for added convenience, but you can also use empanada dough, puff pastry, or even pie crust. Homemade dough is great for customization, but store bought will save you time and is great for baking.