Why is my bread denser than regular no-knead bread?
Whole wheat flour naturally creates a denser loaf than white flour because it contains the bran and germ of the wheat grain.

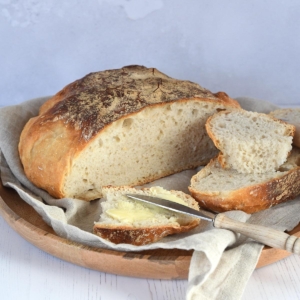
If you’re looking for an easy homemade bread recipe, this whole wheat no-knead bread is one you’ll want to save. A while ago, I shared a classic no-knead bread made with all-purpose flour, but I was curious to see how the recipe would work with whole wheat flour.
The result is a hearty loaf with a delicious flavor and a wonderfully crisp crust. Best of all, there’s no kneading required.
No-knead bread became popular because it removes one of the most intimidating parts of bread baking: kneading. Instead of developing gluten through kneading, the dough develops structure during a long rise. This creates a rustic loaf with a chewy crumb and crisp crust.
This whole wheat version uses only whole wheat flour, giving the bread a slightly denser texture and a rich, nutty flavor. It’s perfect for sandwiches, toast, or simply serving with a little butter.

This is one of those recipes that feels almost too easy to be true.
I especially love that most of the work happens while the dough is resting. You simply mix everything together and let time do the rest.

As mentioned you only need four ingredients to make this delicious bread.
The secret to this recipe is patience. While the hands-on time is minimal, the dough needs a long rise of about 12 hours. During this time, the yeast slowly develops flavor and structure.
Baking the loaf inside a hot Dutch oven creates steam, which helps develop that beautiful bakery-style crust. The result is a rustic loaf that’s crisp on the outside and soft on the inside.
Homemade bread is incredibly rewarding to bake, and once you’ve made this whole wheat no-knead bread, you’ll probably want to try more. Here are a few delicious ideas:
Homemade bread is best enjoyed fresh, but it stores surprisingly well.
Store the bread in a bread bag or airtight container at room temperature for 3 to 4 days. Keep in mind that the crust will soften slightly after storage.
Yes. Allow the loaf to cool completely before freezing. Wrap it well and store in an airtight freezer bag for up to 3 months.

Whole wheat flour naturally creates a denser loaf than white flour because it contains the bran and germ of the wheat grain.
Yes. Dissolve the yeast in the water first and then continue with the recipe as written.
A Dutch oven gives the best results because it traps steam during baking. If you don’t have one, use another oven-safe pot with a tight-fitting lid.
Yes. Depending on the temperature in your kitchen, the dough can generally rise anywhere from 8 to 18 hours.
The most common causes are expired yeast, water that was too hot, or a kitchen that was too cold.
I’ve always enjoyed using my favorite candies as baking inspiration, and you can see that in recipes like my Toblerone Cheesecake, Ferrero Rocher Cupcakes, and Easy Homemade Twix Bars.
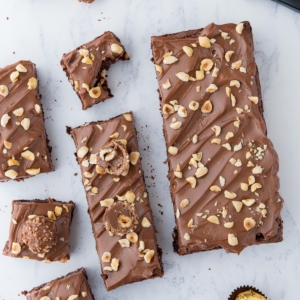
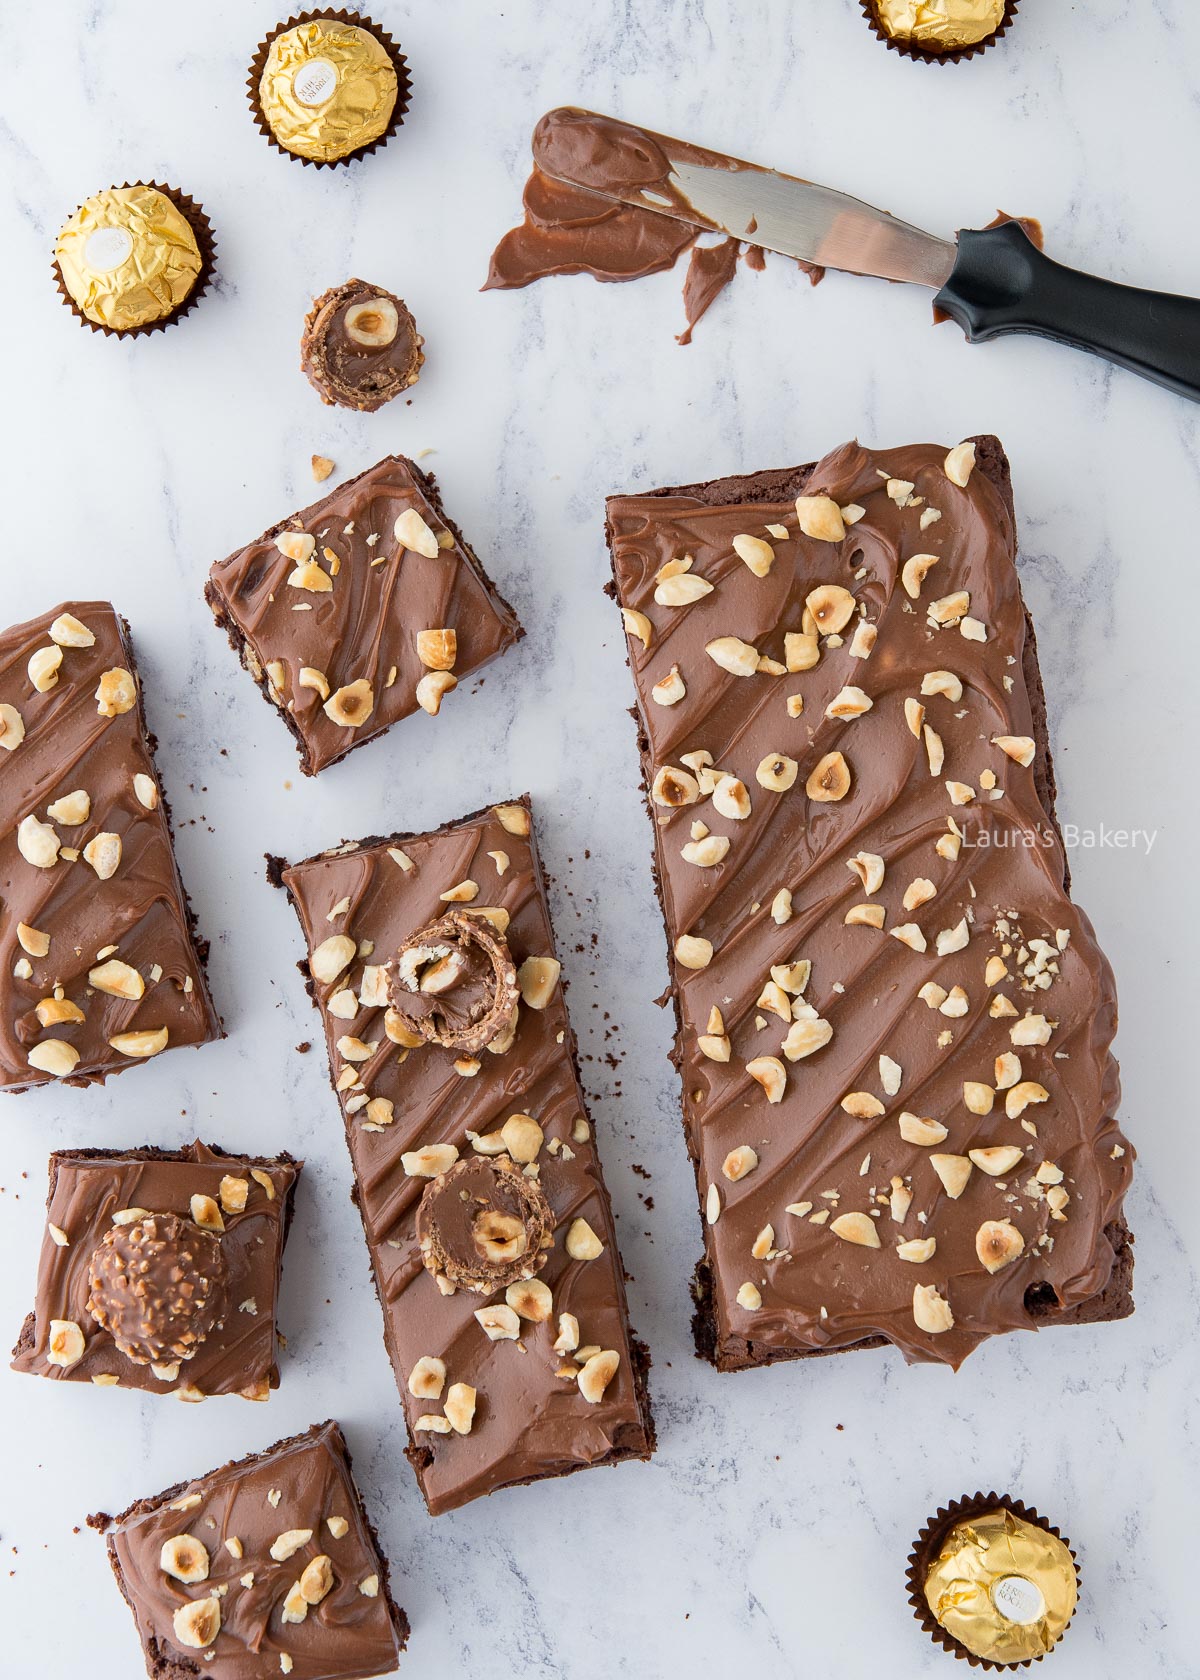
So it’s no surprise I had to try Ferrero Rocher brownies. They’re an easy, ultra-indulgent twist on regular brownies, perfect for those special occasions! (and make sure to check out all brownie recipes too!)
Sugar, flour, butter, eggs, and cocoa are the usual suspects for fudgy brownies, but this Ferrero Rocher version packs unforgettable extras you simply can’t skip! Make sure to check out the recipe card below for full details:
BAKING TIP: Make sure that the brownies have cooled completely before adding the chocolate Nutella topping, or it will make the topping runny.
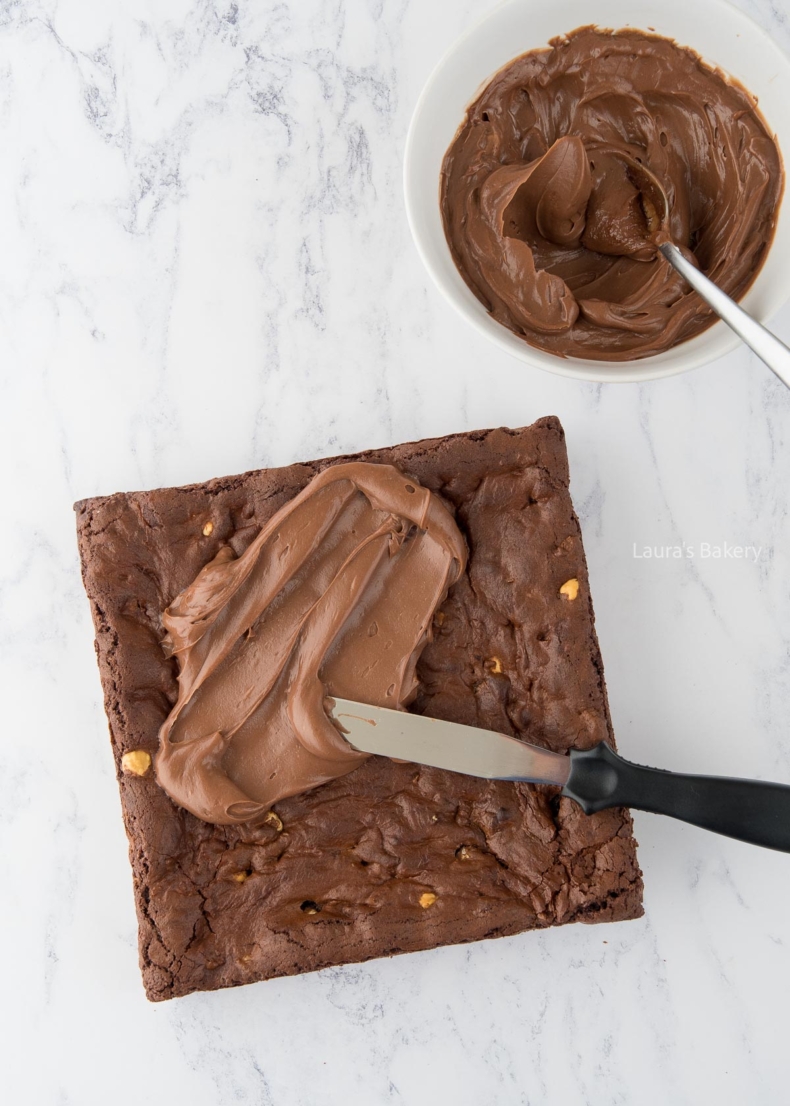
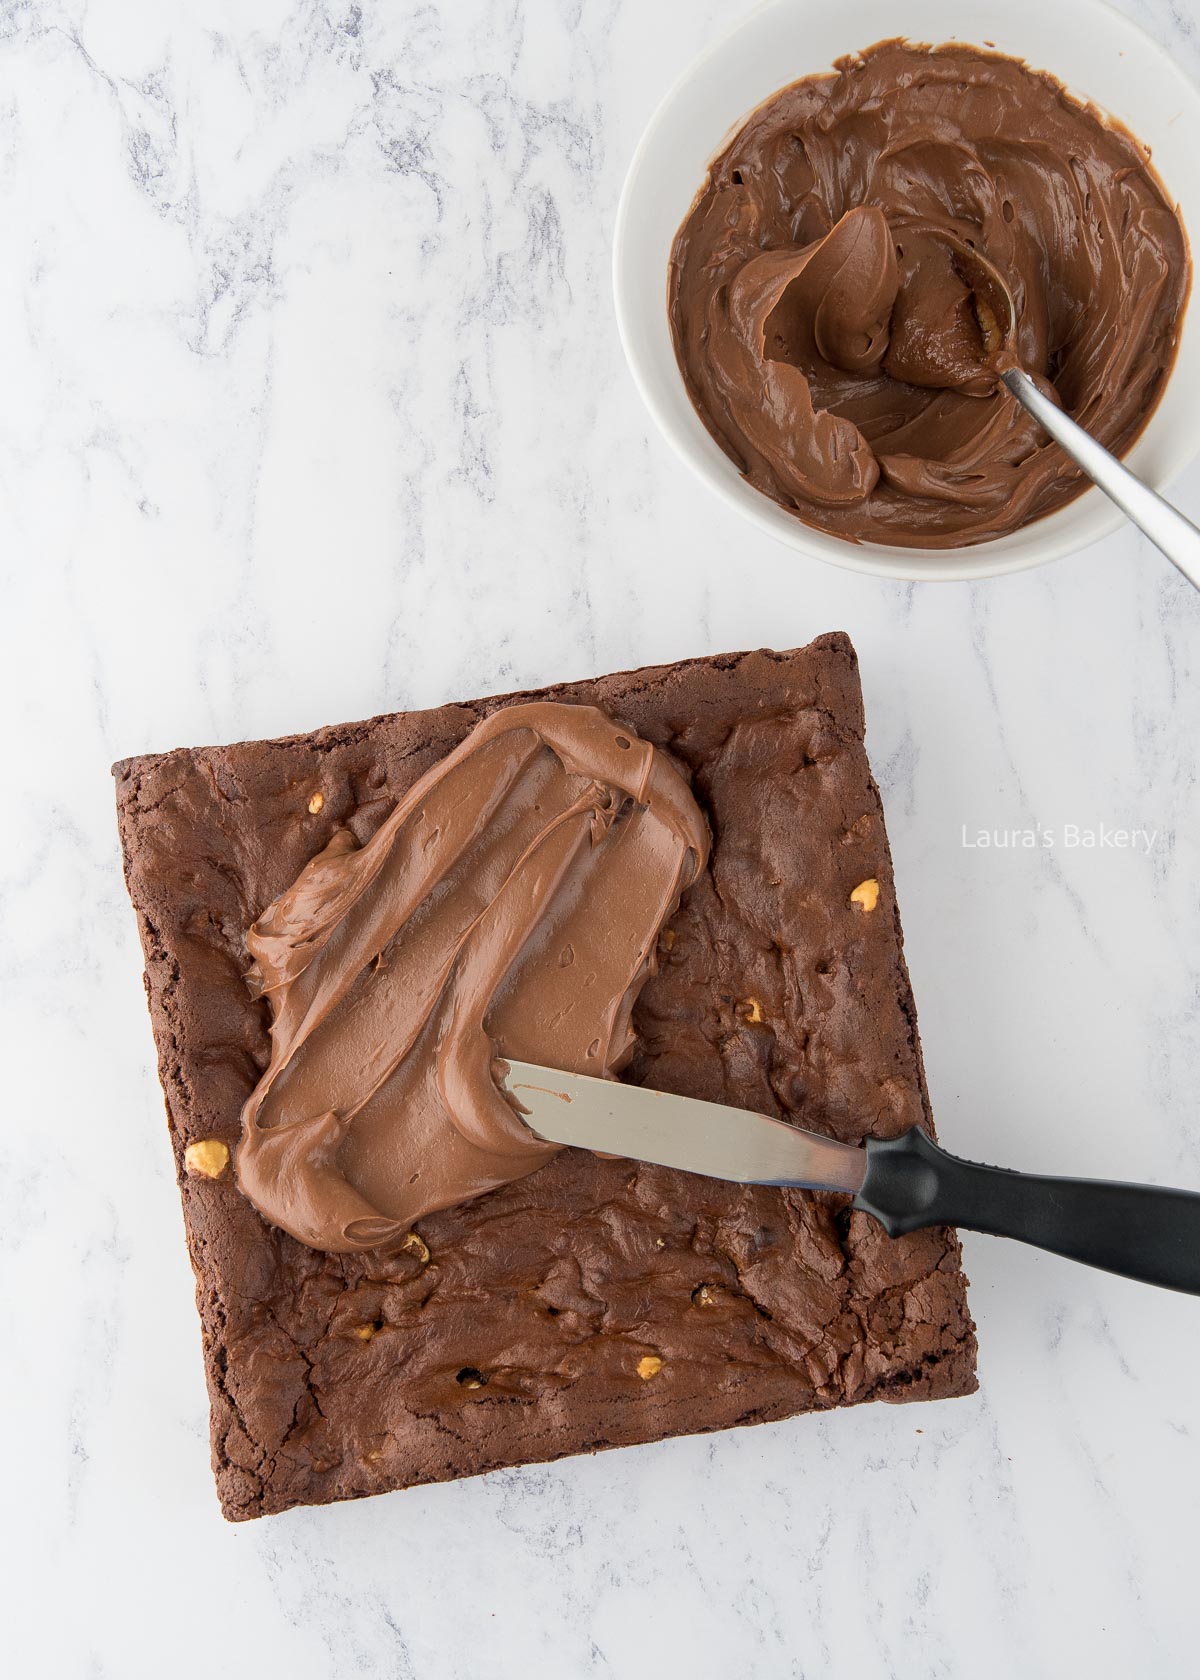
Bake the brownie base as per recipe card and allow to cool completely. Make the Nutella topping.
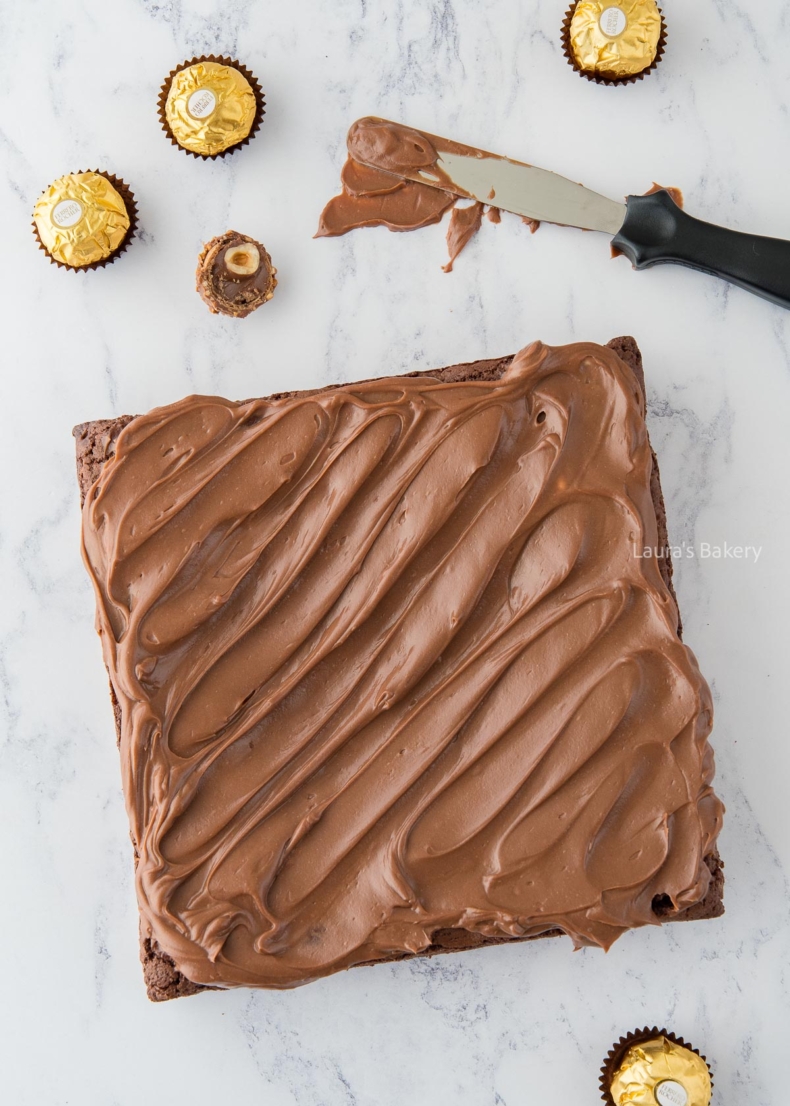
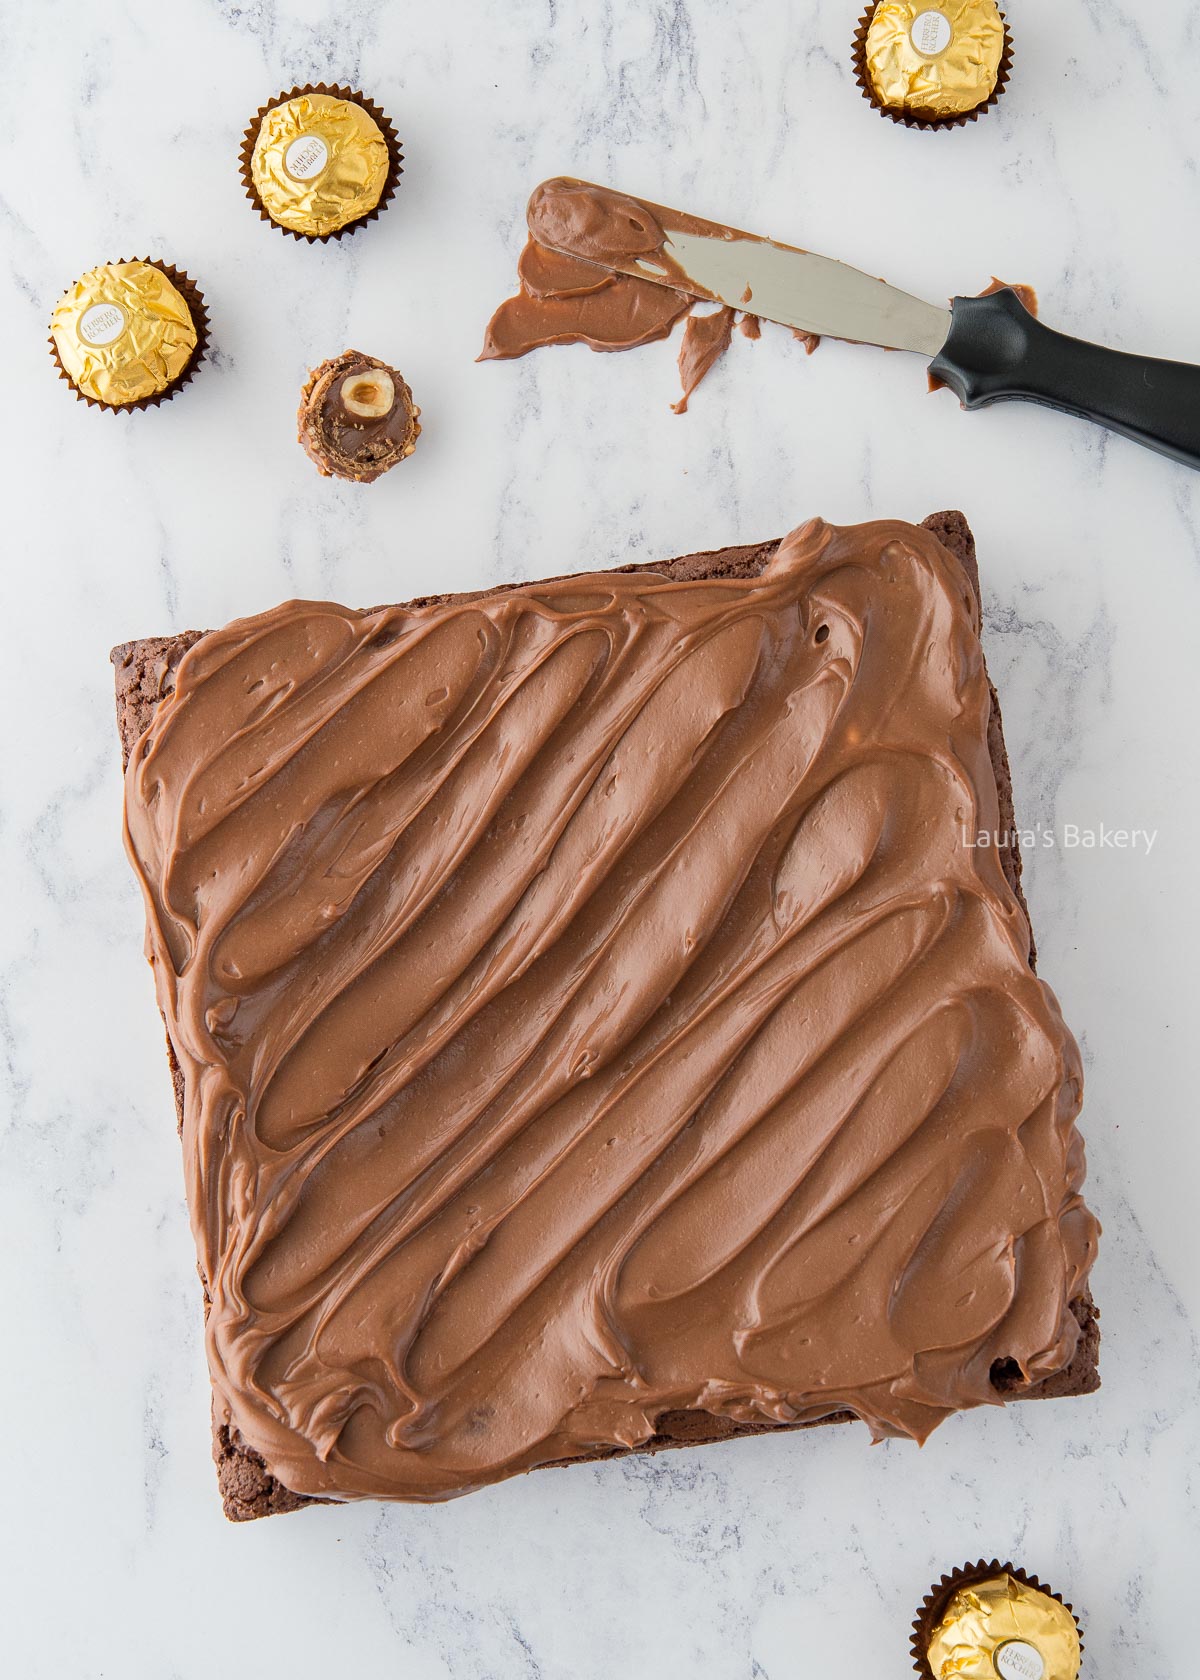
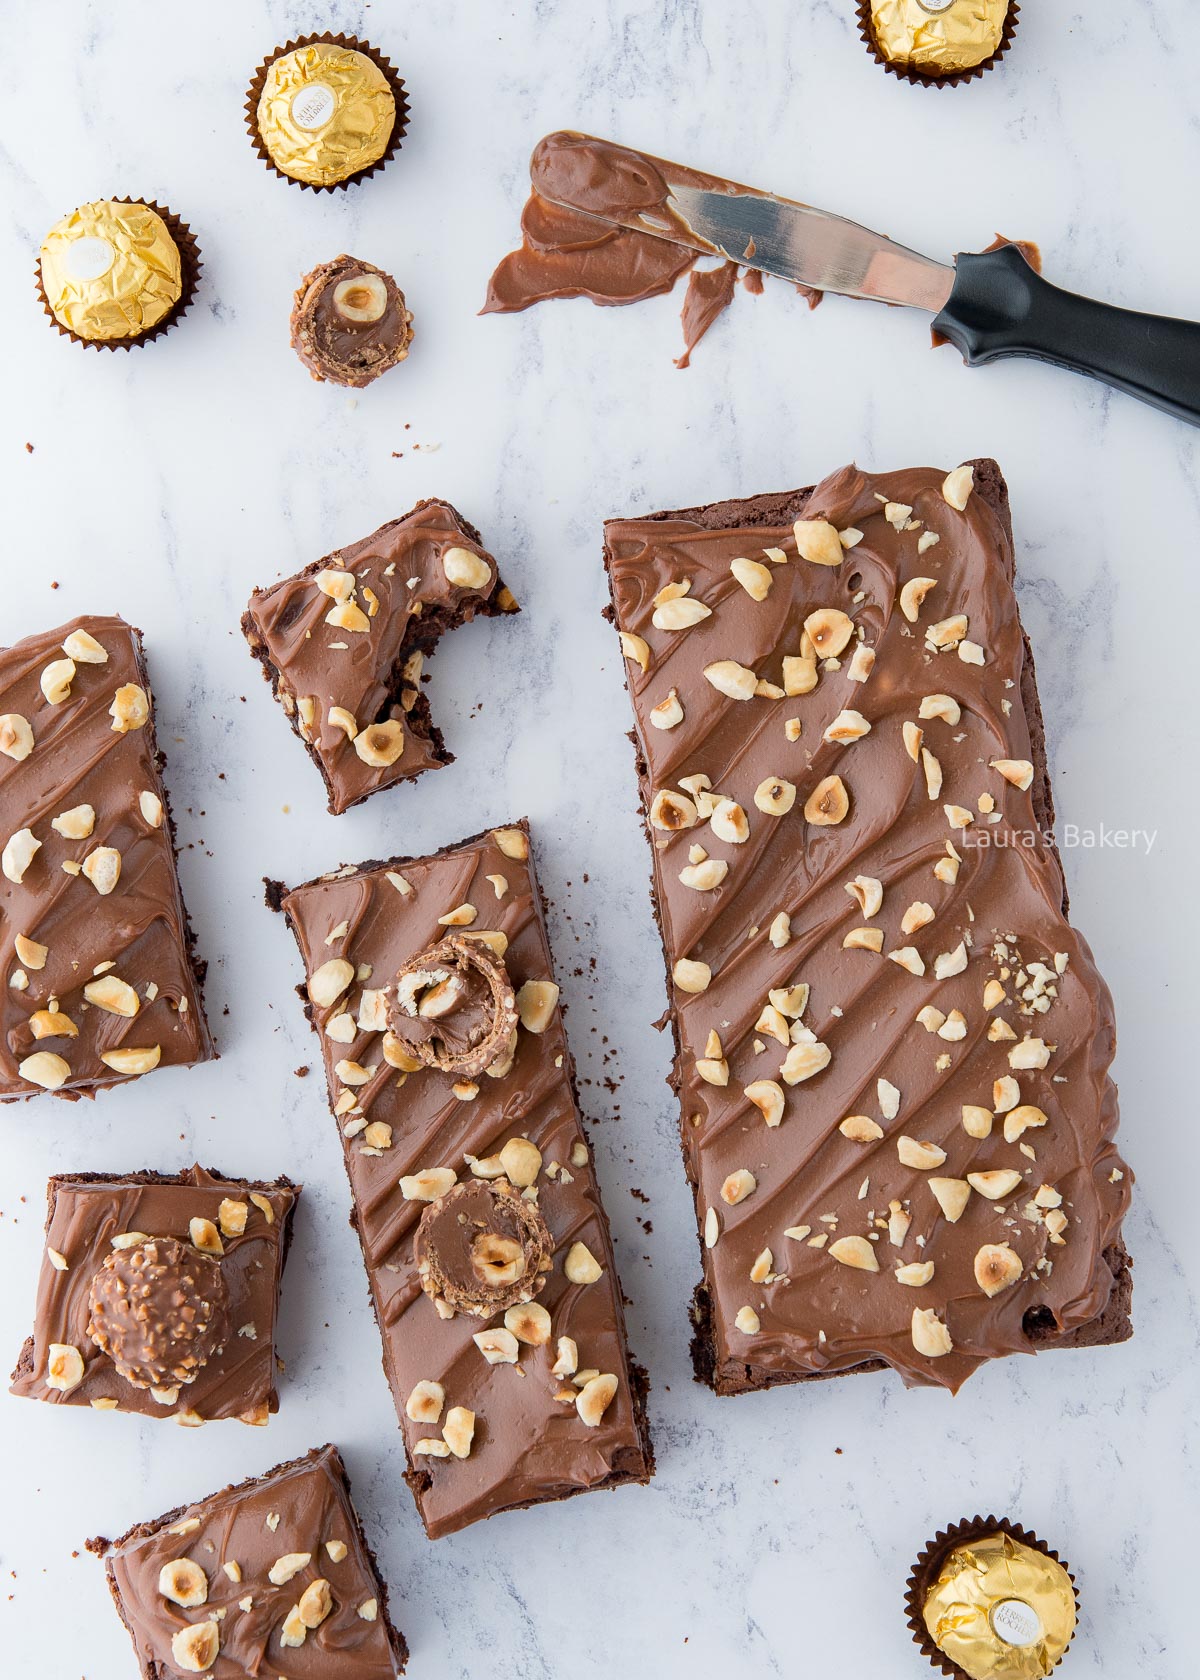
Spread the topping over the brownie base evenly.
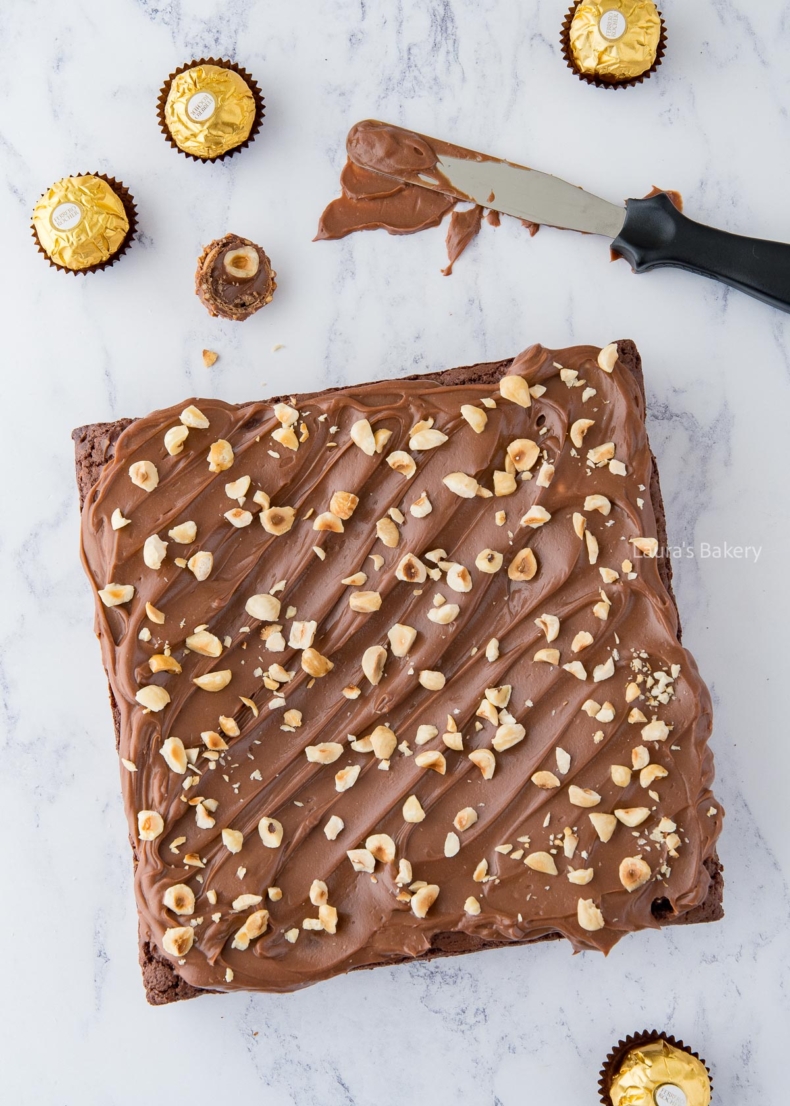
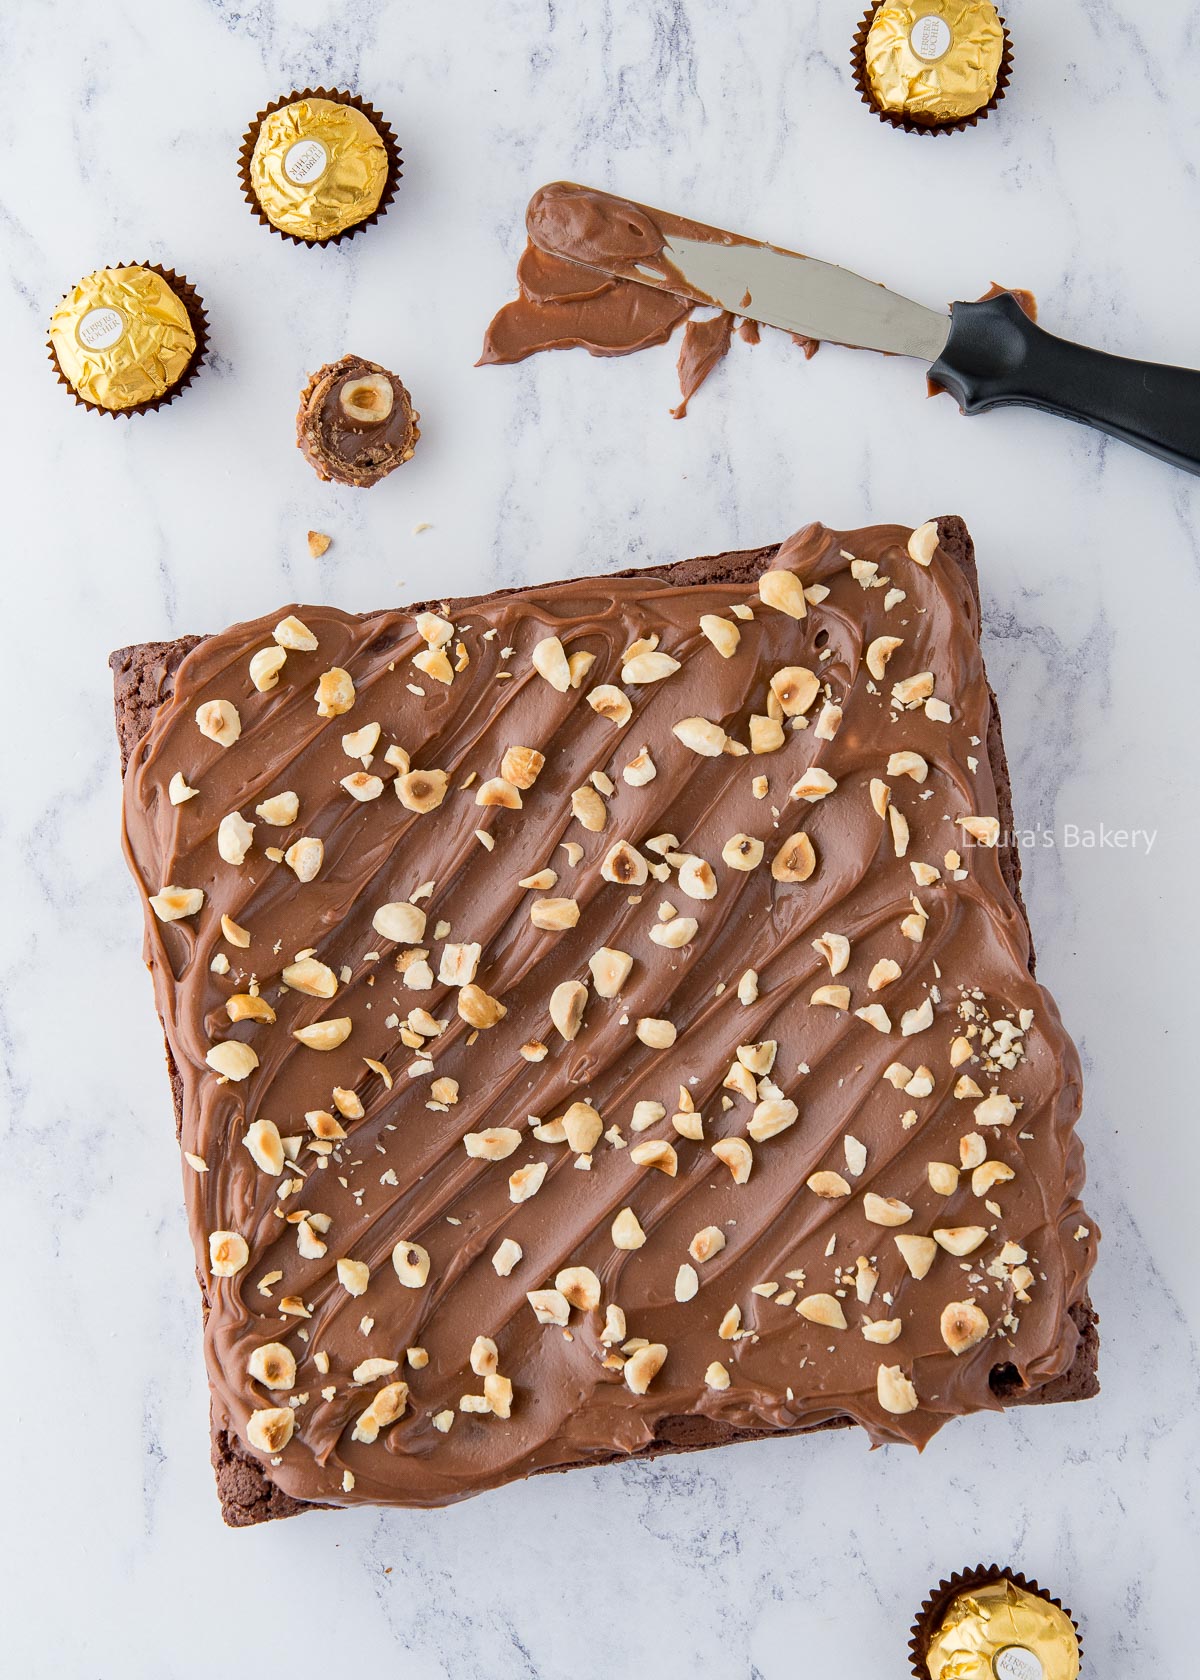
Sprinkle finely chopped hazelnuts and Ferrero Rocher pieces over the topping.
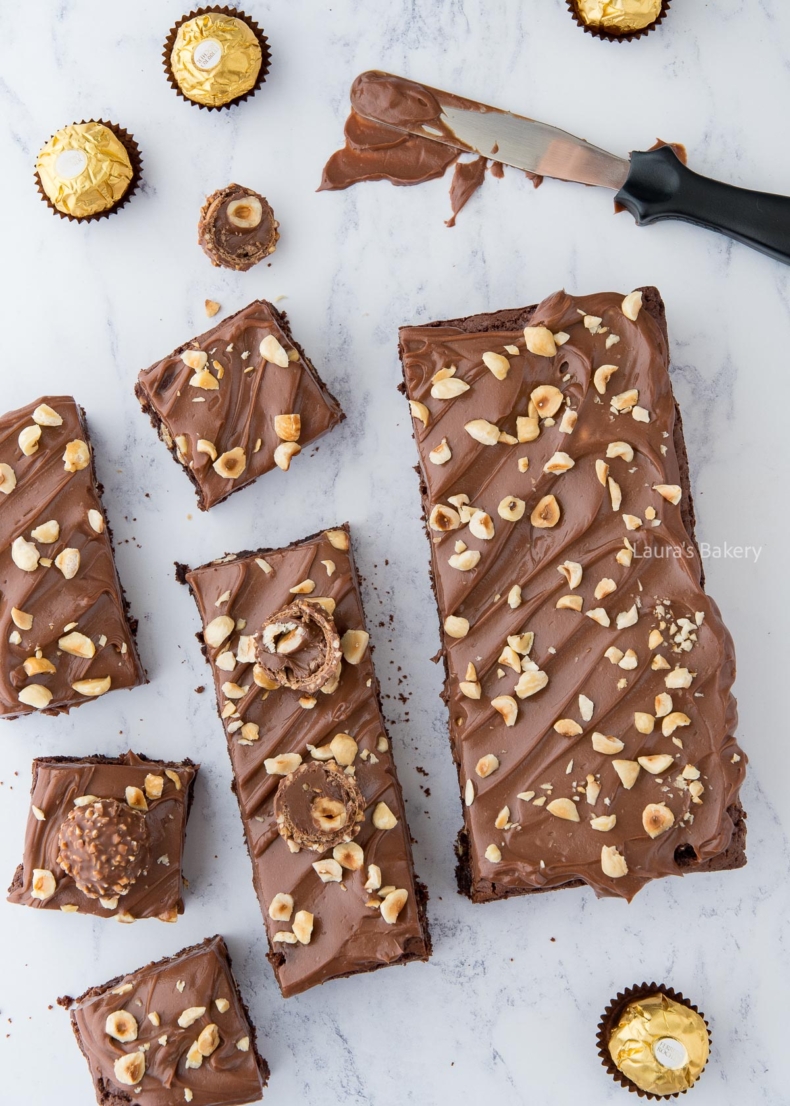
Slice into equal squares and serve your indulgent Ferrero Rocher brownies!
Without the topping, store the brownies covered in a dark, cool place for about 3-5 days. Alternatively, leftover Ferrero Rocher brownies with the cream cheese Nutella topping can be stored in an airtight container in the fridge for 2-3 days.
Absolutely! You can also freeze these brownies without the topping for up to 2 months. Thaw overnight in the fridge and decorate with freshly made topping, chopped hazelnuts, and Ferrero Rocher pieces just before serving.
These Ferrero Rocher brownies are perfect as hand-held dessert bars. Keep them simple, or serve with ice cream or whipped cream. If you’re looking for more inspiration, try some of my favorites:
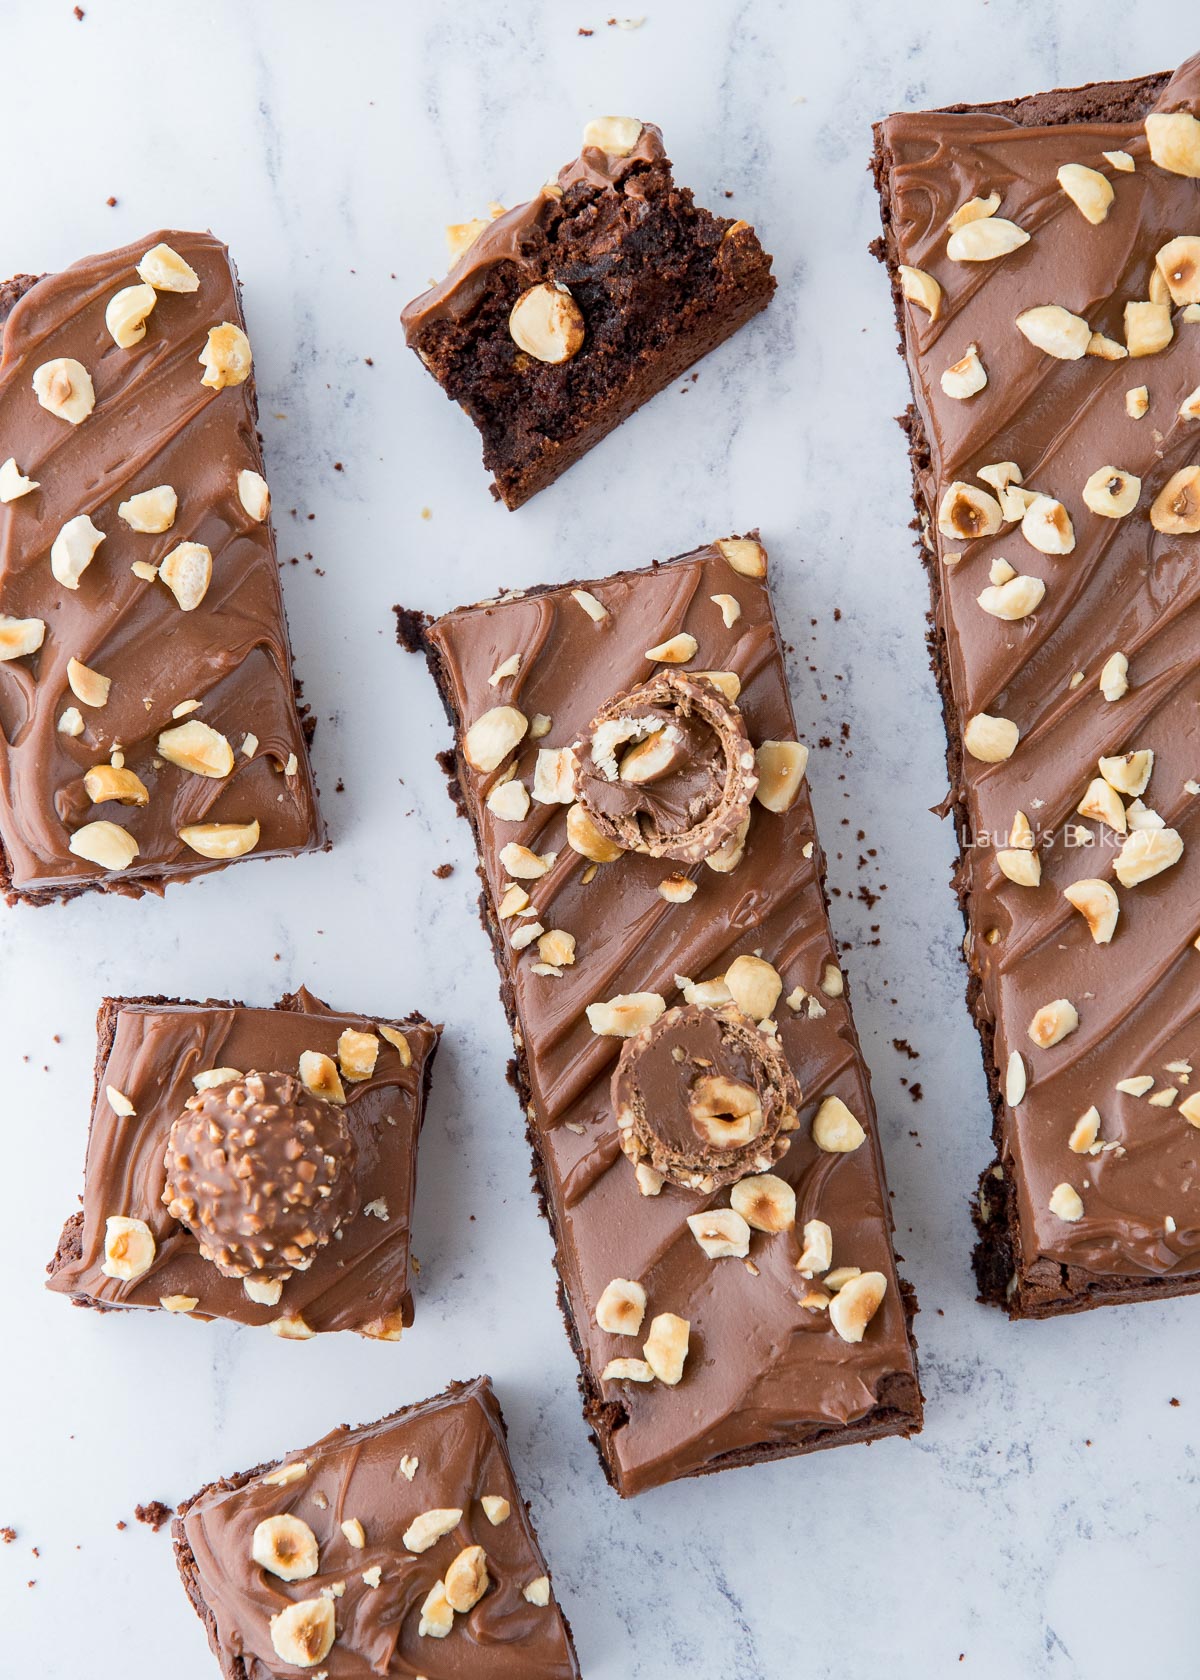
Just like my Cakey Brownies, I’ve used an 8×8 inch/20×20 cm square baking pan for this Ferrero Rocher-inspired brownie recipe. It creates the perfect size brownies and the right doneness with the baking time in the recipe below.
Unlike regular cake, you can’t rely on a cake tester with brownies. Instead, use your eyes. The top of the brownie should be dry, and when you shake the pan a little, it should stop wiggling. If it does wiggle, the brownie batter should bake for an extra minute or two.
Don’t attempt to top these brownies with the Nutella topping while the brownies are still hot or warm and the residual heat with thin the consistency of the topping. If you’re in a rush, place the pan of baked brownie batter in a bowl of cold water. The pan will cool down immediately, so the brownie base will also cool down faster.
My brownie recipes always include both melted chocolate and cocoa powder. The melted chocolate adds flavor and texture, and the addition of cocoa powder makes chocolate brownies even more intense. The combination is perfect!
Some recipes are best with one or the other. You can read up more on the difference between chocolate and cocoa powder when deciding which to use in your baked treats.
This recipe doesn’t just use Ferrero Rocher as a garnish, it replicates the layered texture by combining a fudgy, crisp-edged base (like the wafer shell) with a creamy Nutella cream cheese topping (like the hazelnut filling) and chopped hazelnuts for crunch.
The flavors of these brownies mirror the candy through dark chocolate in the batter, milk chocolate chips, and Nutella, delivering the same rich hazelnut-chocolate taste in every bite!
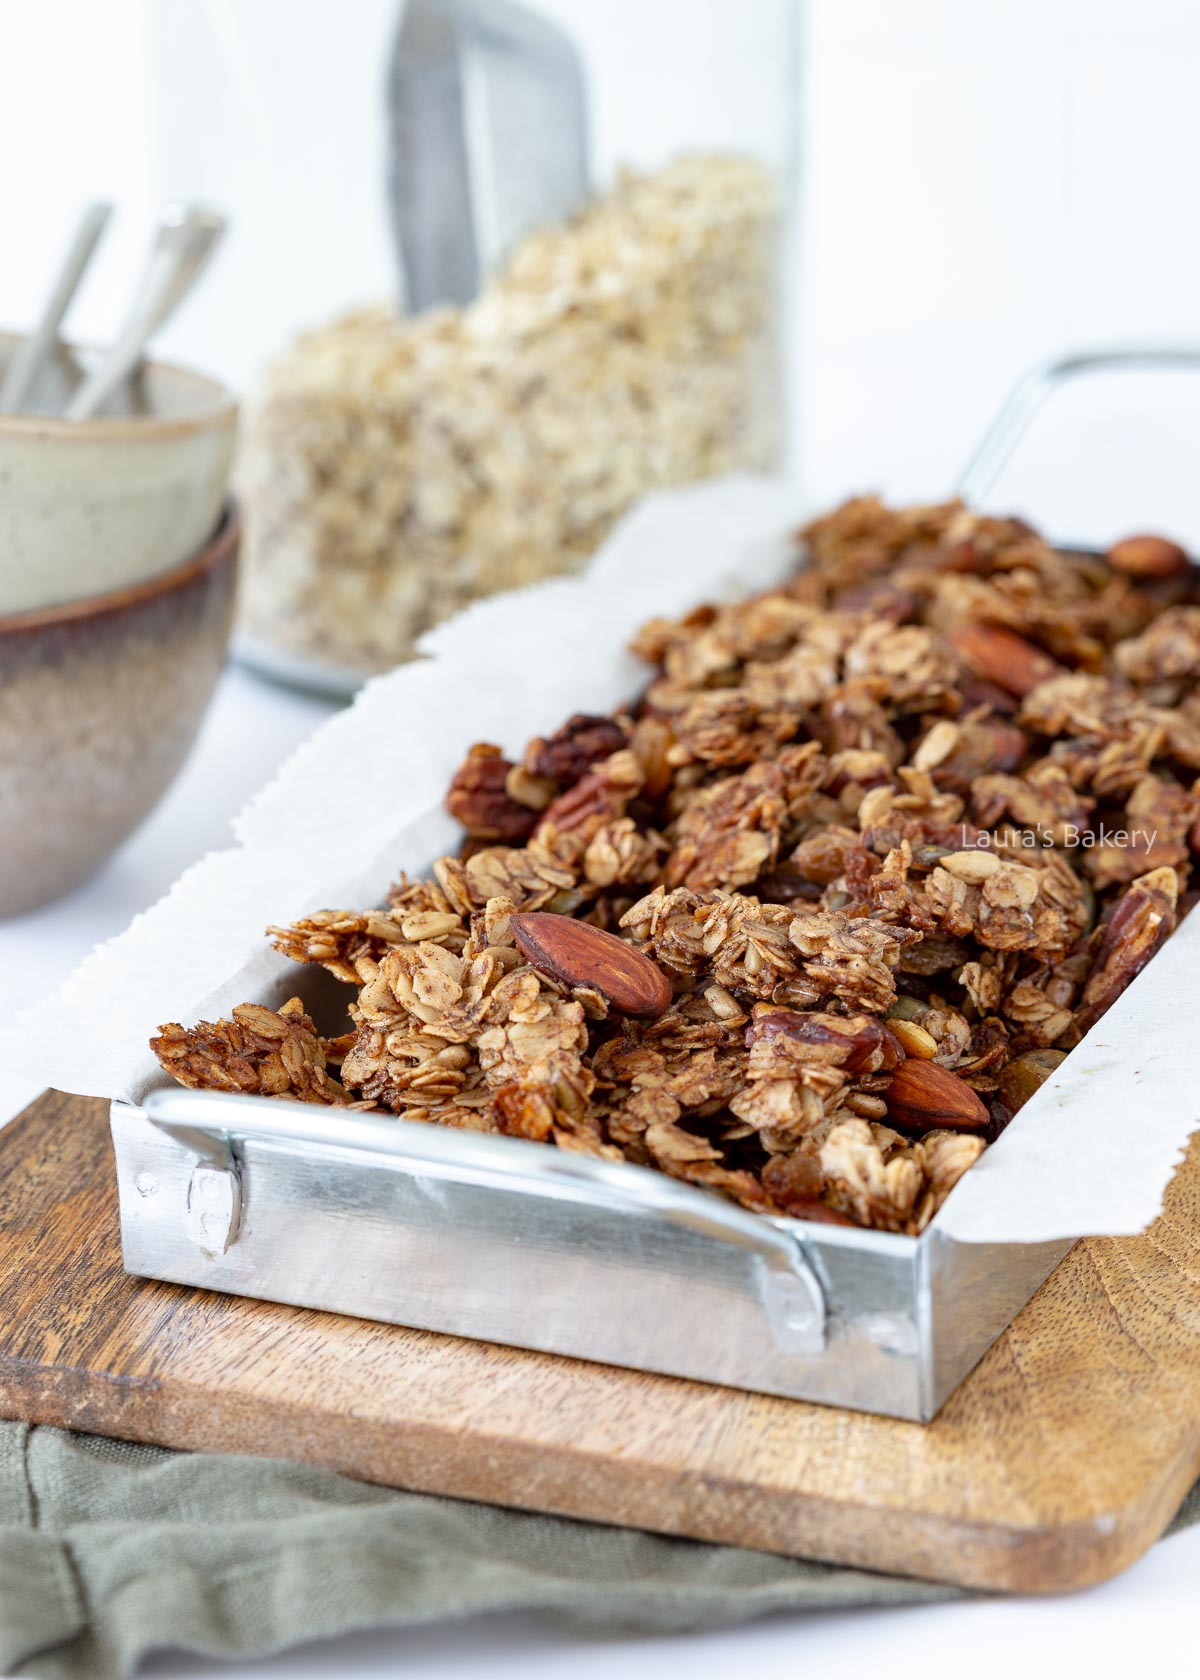
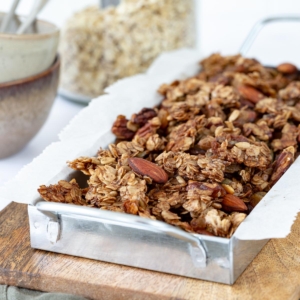
Want to make sugar-free granola? It’s actually very easy! In this recipe, I give you the option to mix in a mashed banana, but you can also leave it out if you want a completely sugar-free granola.
This healthy sugar free granola recipe is not only easy to make, it is really completely sugar free.
I received quite a lot of requests for a true sugar-free granola. Most granolas that claim to be sugar free still have loads of honey or similar so I wanted to make something that was truly without any added sugars.
So I went into the kitchen to develop a sugar-free granola. The result is delicious!
For making this healthy granola recipe you will need the following ingredients. Make sure to double check the exact quantities in the recipe card below.
Optional extra’s. If you want you can add a banana for a bit of sweetness. It will still be a low-sugar granola but it will also make the flavor a bit more like you would expect. Still a million miles less sweet than any store-bought granolas!
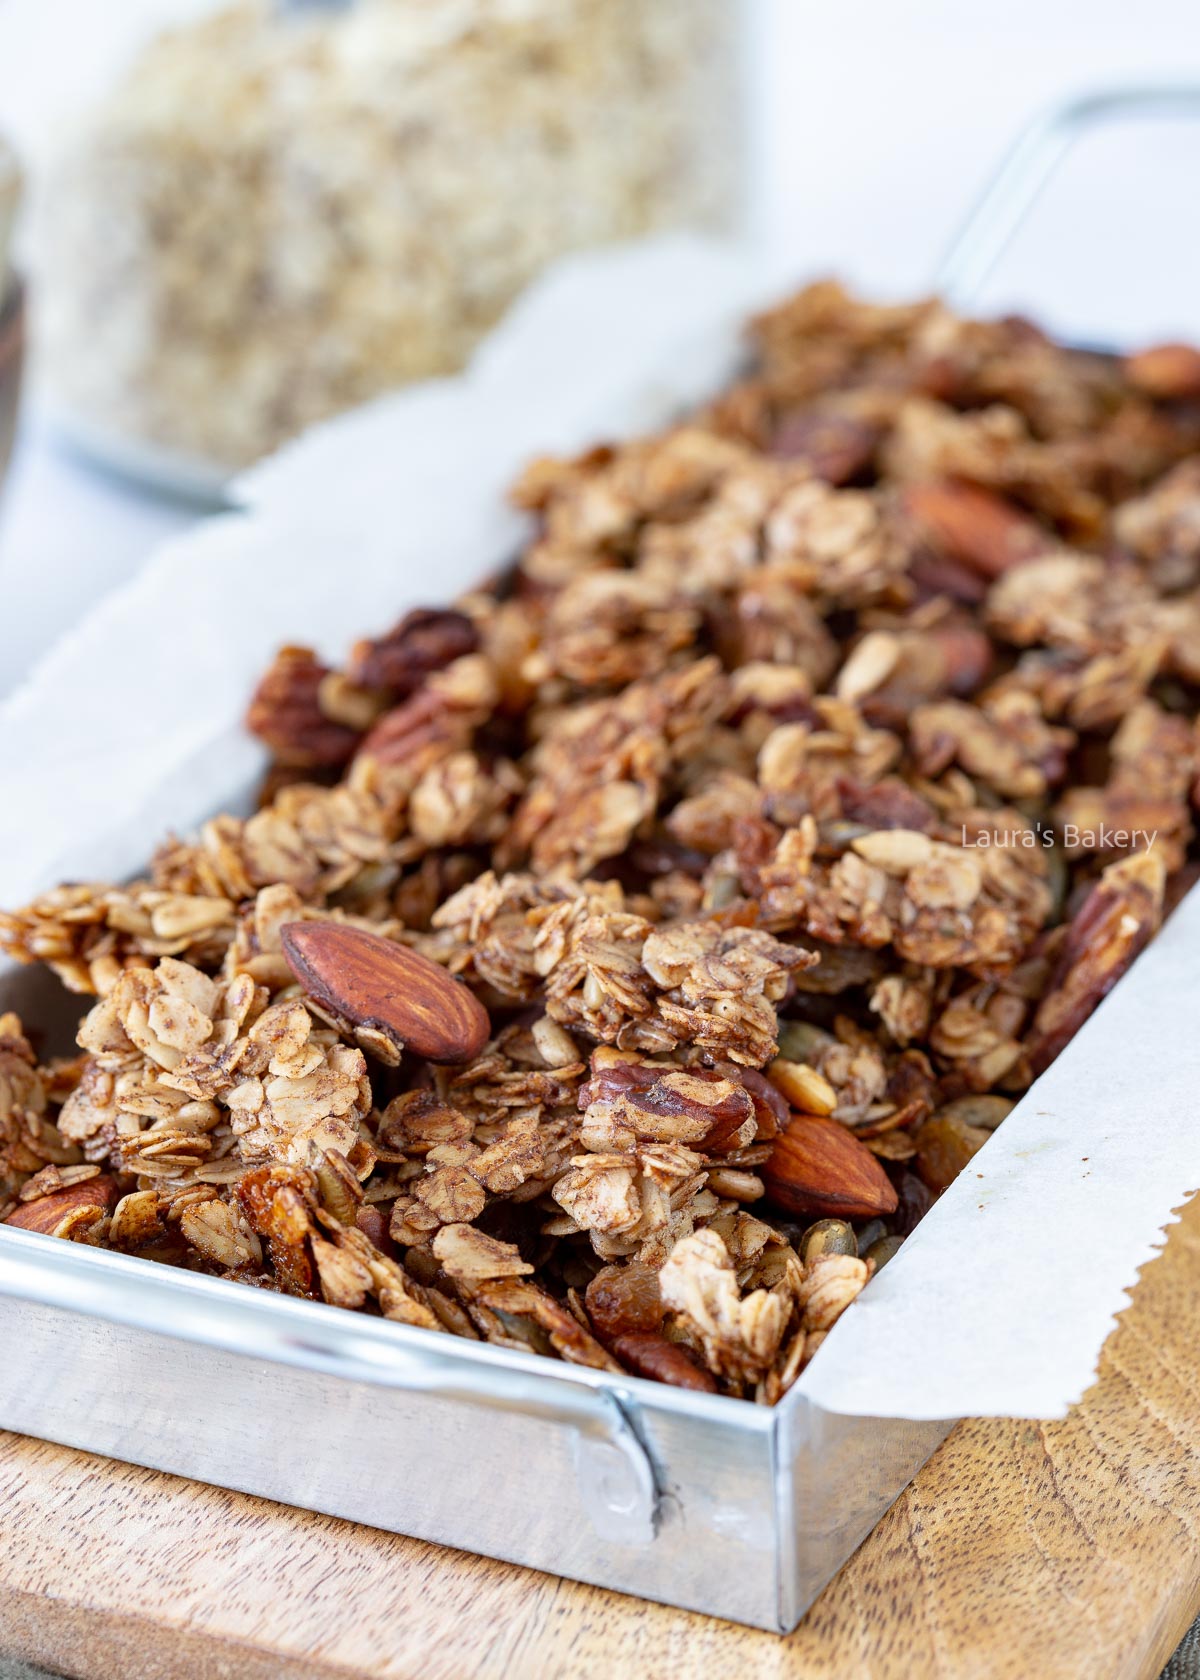
Start by preheating the oven to 350˚F/180˚C (conventional oven). Prepare a large baking sheet with parchment paper.
Take a large bowl and add all the ingredients except the rasins to it. Stir it through and add the melted coconut oil. Mix it well.
If you want to use a pureed banana, now would be the time to add that as well.
Spread out in a thin layer on the baking sheet and bake for about 15 to 20 minutes. Stir the mixture through halfway.
Let the granola cool down completely before adding in the raisins.
Once the granola is completely cooled down (this is important as it will turn soft if you add it to a container too soon!) you can store it in an airtight container for up to two weeks.
Yes, granola does freeze really well. Add it to freezer bags and store that way for 3 to 6 months.
You can enjoy granola with any type of dairy product for breakfast – it all depends on what you like best. Personally, I think this sugar-free granola tastes best with a bowl of Greek yogurt or quark and some fresh strawberries.
But you can also sprinkle it over a smoothie bowl and add additional fresh fruit for an even more complete breakfast. Check the below granola recipes as well
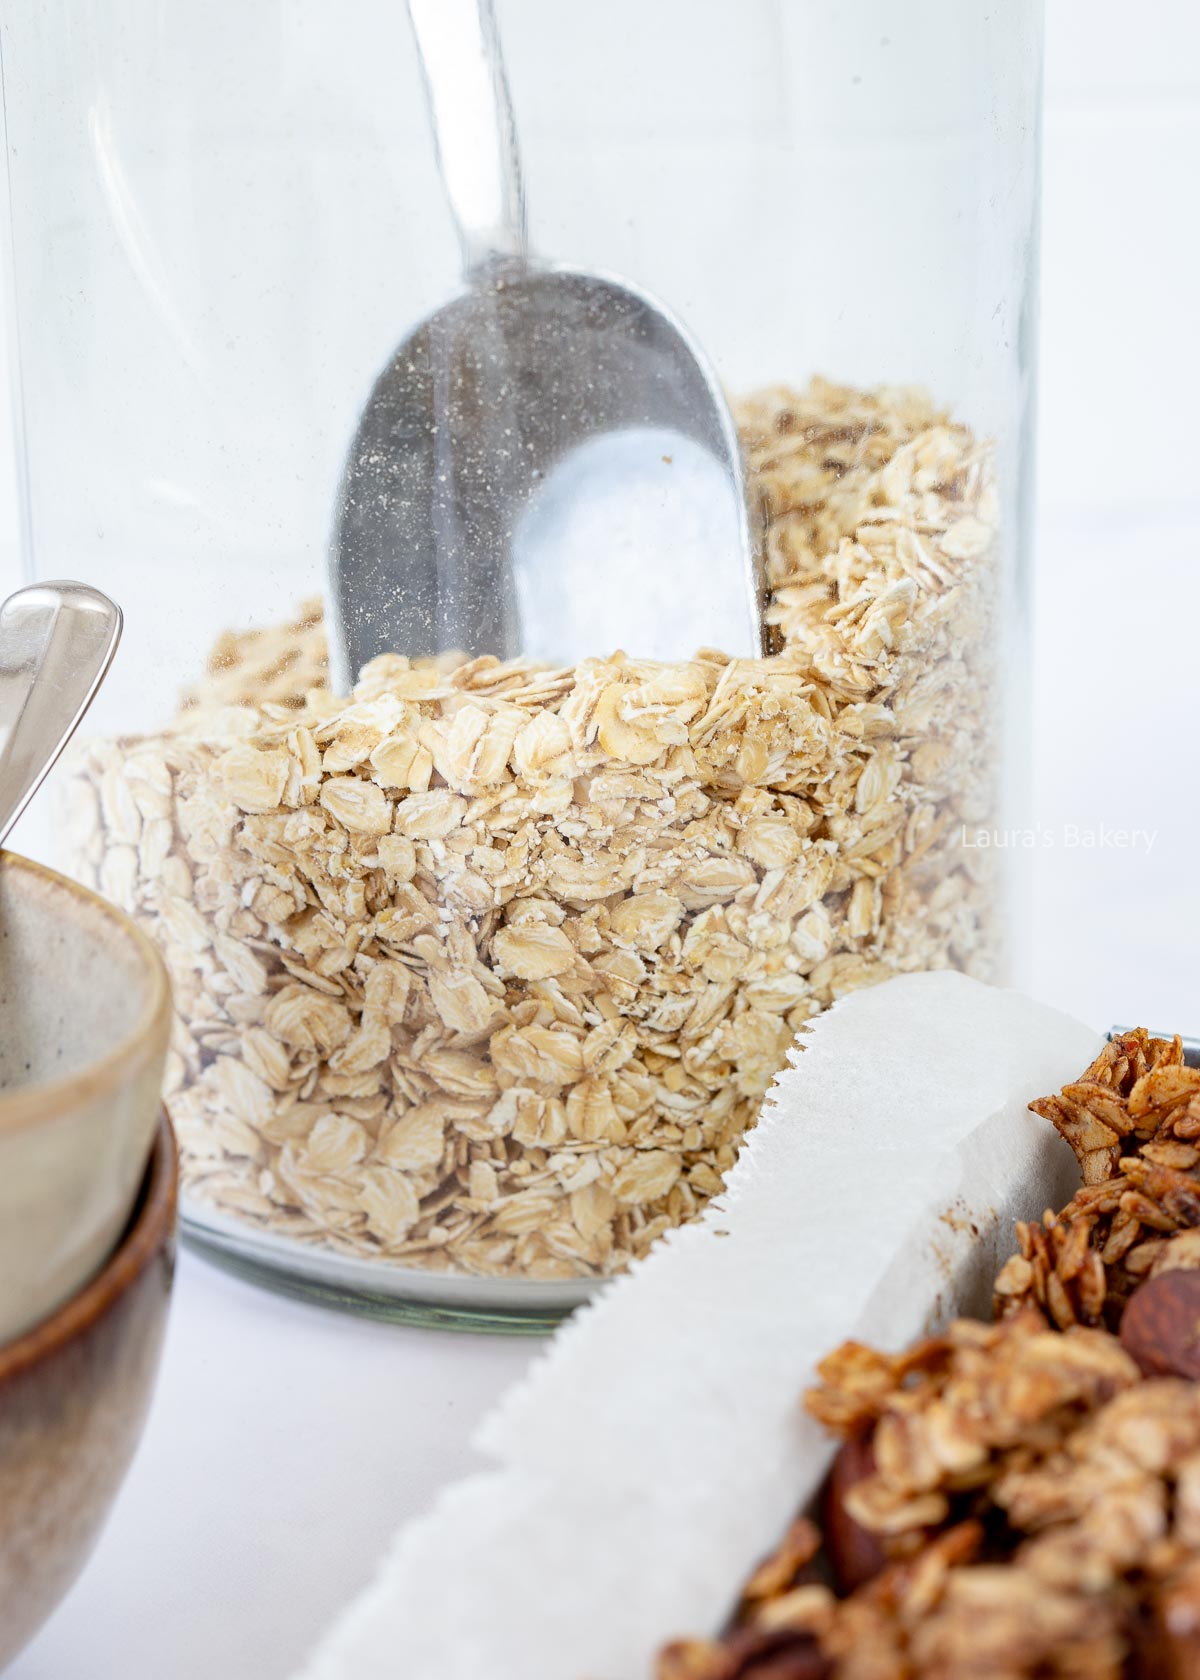
Definitely use old-fashioned rolled oats. They become the crispiest in the oven, which is exactly what you want when making granola.
I always store my granola in an airtight glass jar at room temperature. This way, it will stay fresh for at least 2 weeks.
Naturally, oats are gluten-free. However, cross-contamination can occur during processing. Always check the packaging to see whether the oats are certified gluten-free.
In principle, any neutral-flavored oil will work. I chose coconut oil because it solidifies again as it cools, helping the granola stick together a bit better.
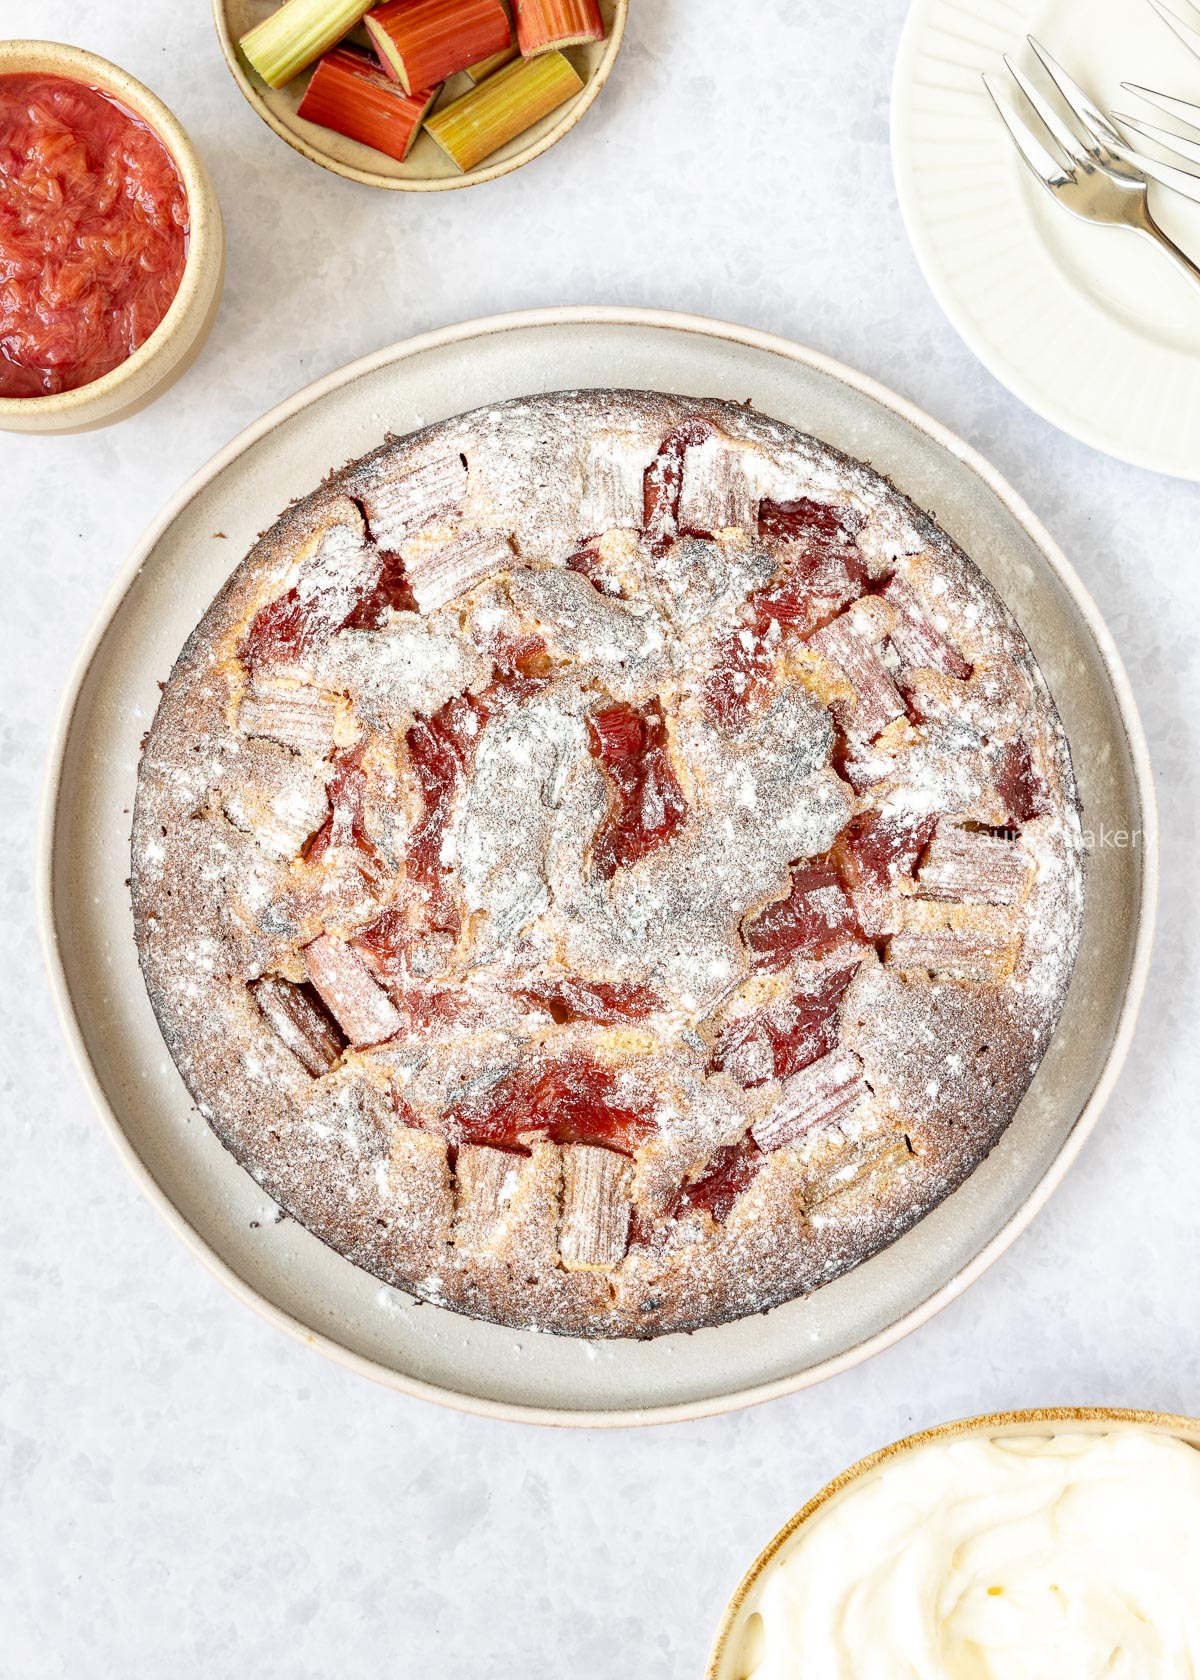
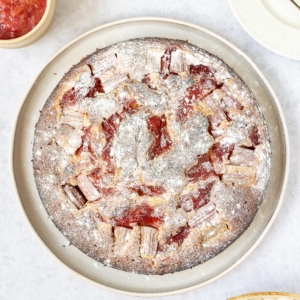
This rhubarb cake is one of those cakes you’ll want to bake every weekend. It’s wonderfully moist and has a fresh, tangy flavor thanks to the rhubarb. I absolutely love it!
With this rhubarb cake recipe, you can put a delicious homemade cake on the table with very little effort. Here are three reasons why you should bake with rhubarb this spring:
This simple rhubarb cake is perfect for home bakers of any skill level. The recipe combines my basic vanilla cake recipe with a delicious rhubarb compote.
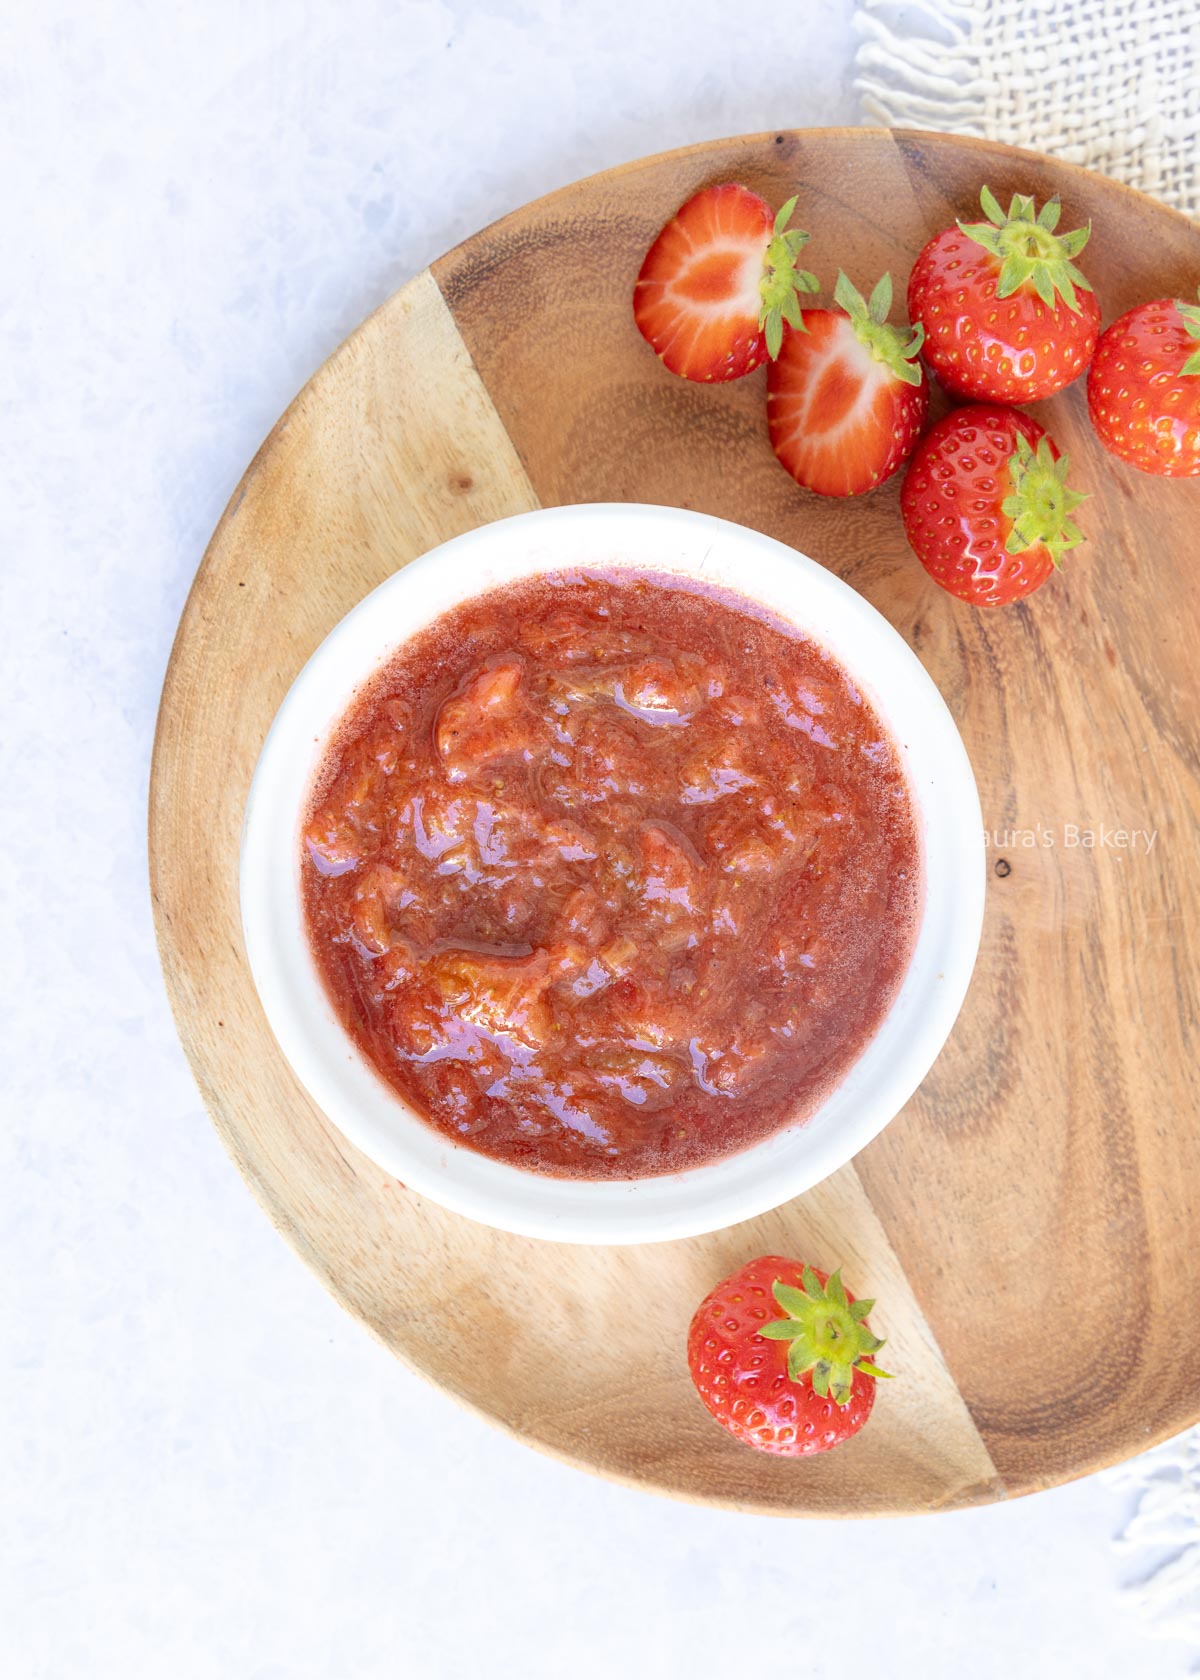
The rhubarb compote makes the cake extra moist and adds a pleasant tang that perfectly balances the sweetness. It’s especially delicious served warm with a dollop of whipped cream.
BAKING TIP: I baked this rhubarb cake in a round springform pan, but a standard loaf pan works just as well.
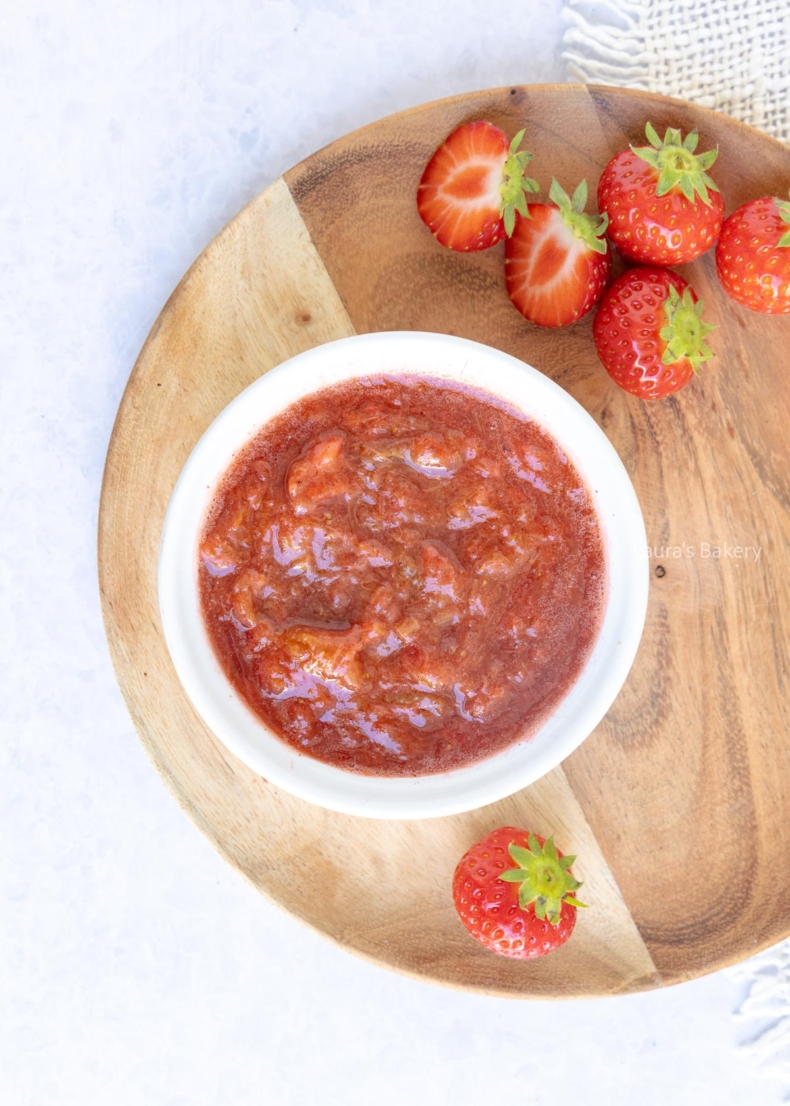
Prepare the compote according to the recipe
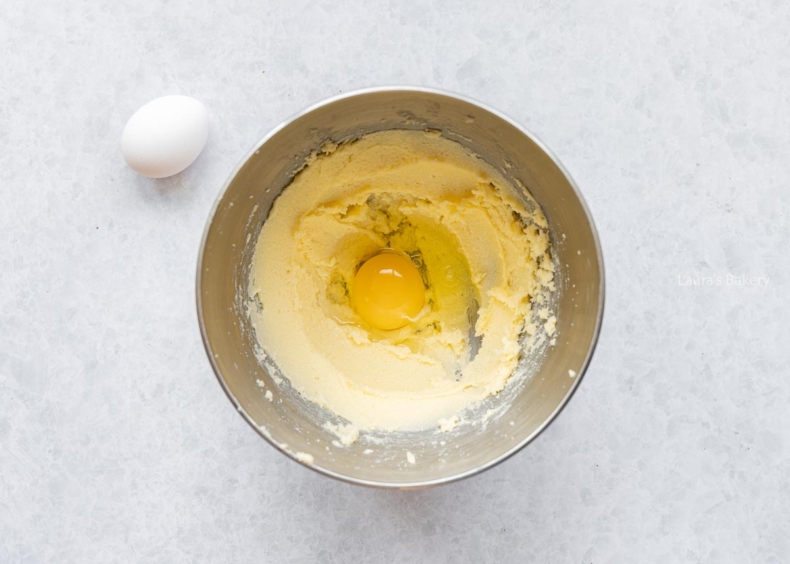
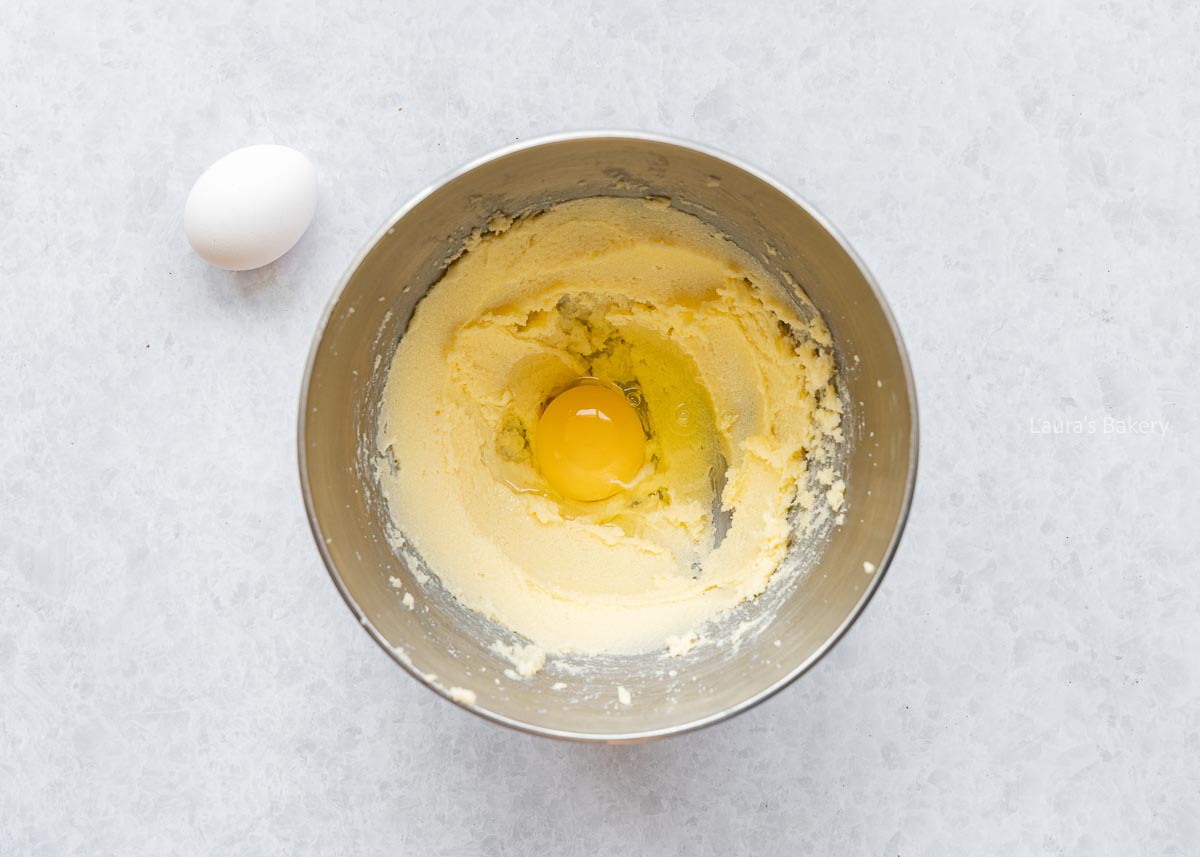
Make the batter for the rhubarb cake and clean the rhubarb
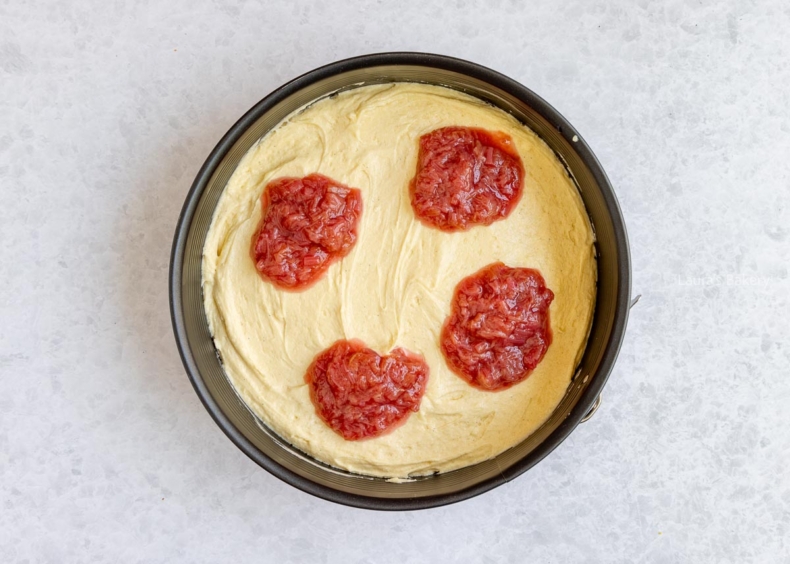
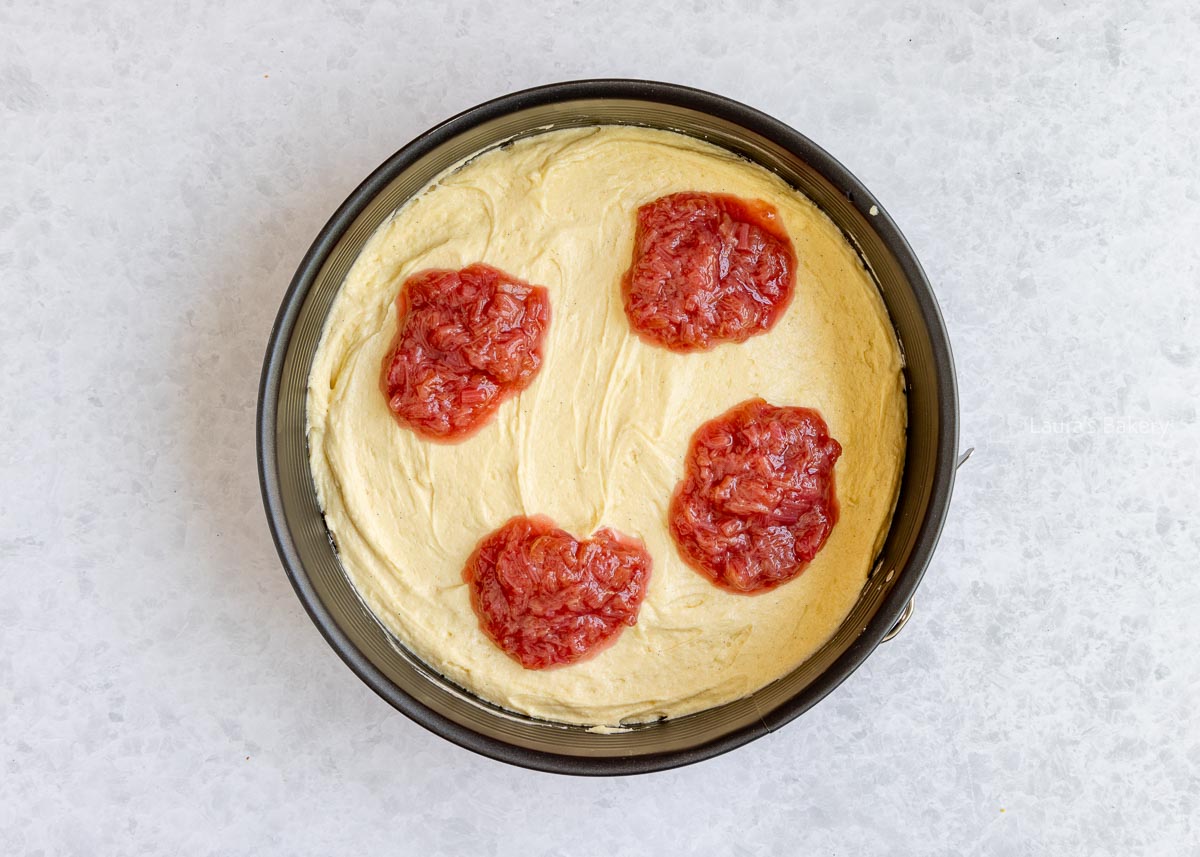
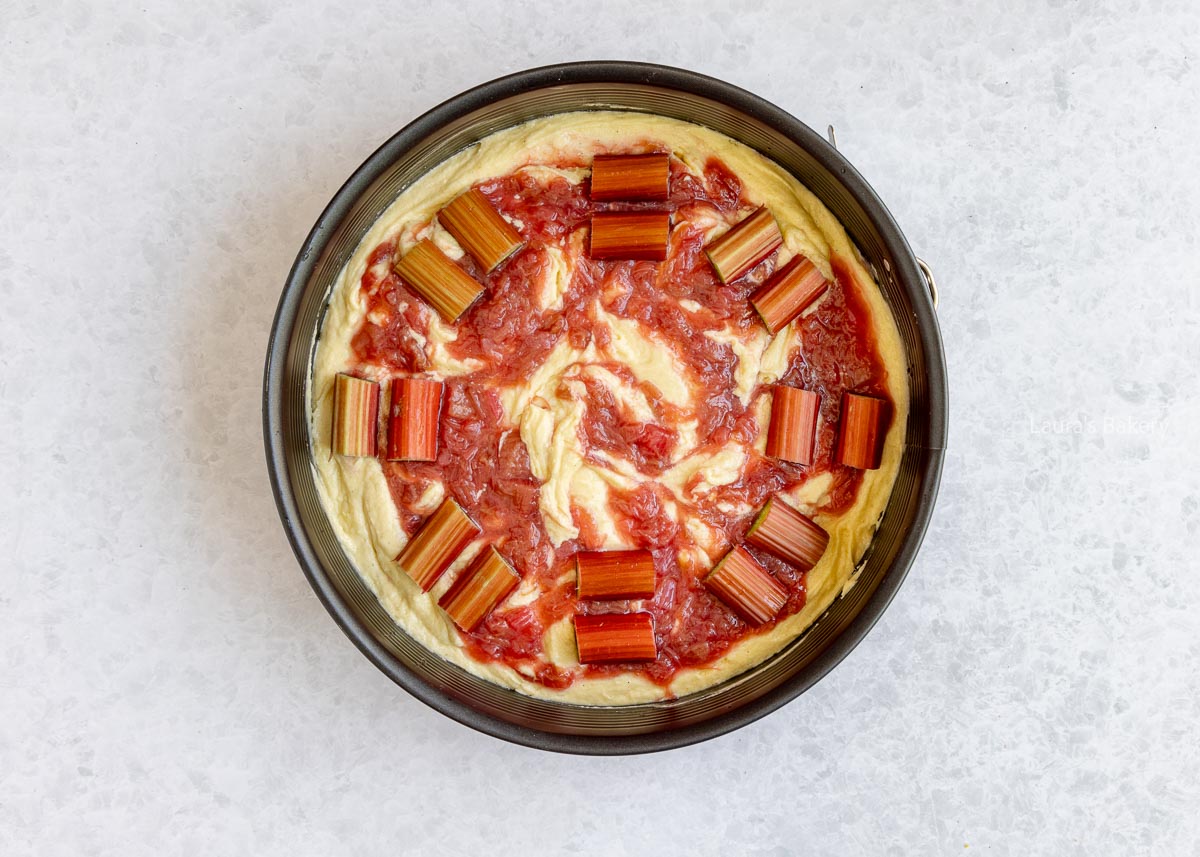
Add the batter into the tin, add the compote and swirl it through using a skewer
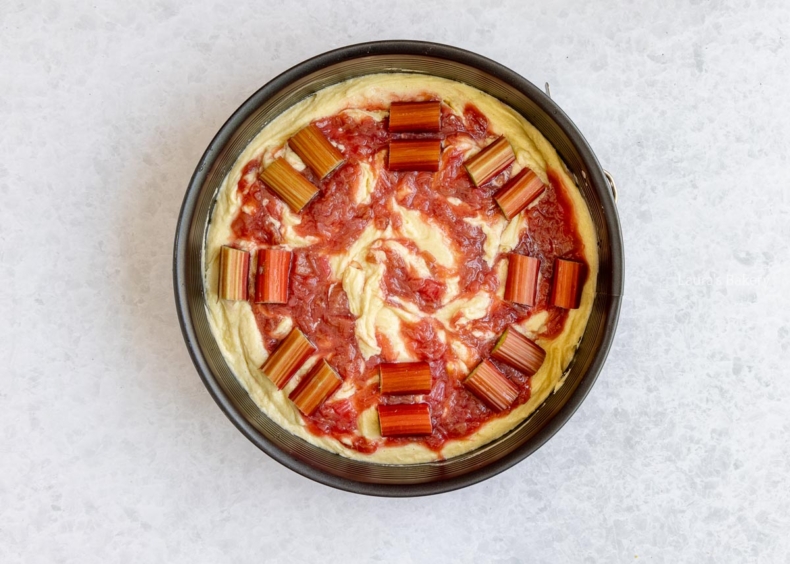
Divide the rhubarb pieces over the batter and bake in 60 minutes at 350˚F/175˚C (conventional oven)
This cake stays wonderfully moist, even if you don’t eat it right away. Store it well wrapped at room temperature (not in the refrigerator) to prevent it from drying out.
Store the cake tightly wrapped at room temperature for up to 4 days.
Yes. Wrapped airtight, rhubarb cake can be frozen for up to 3 months. You can freeze the entire cake or slice it first and wrap the individual pieces separately.
Every year I try a few new rhubarb recipes. The season is short, so I always make the most of it when rhubarb is available. These rhubarb recipes are absolutely worth trying:
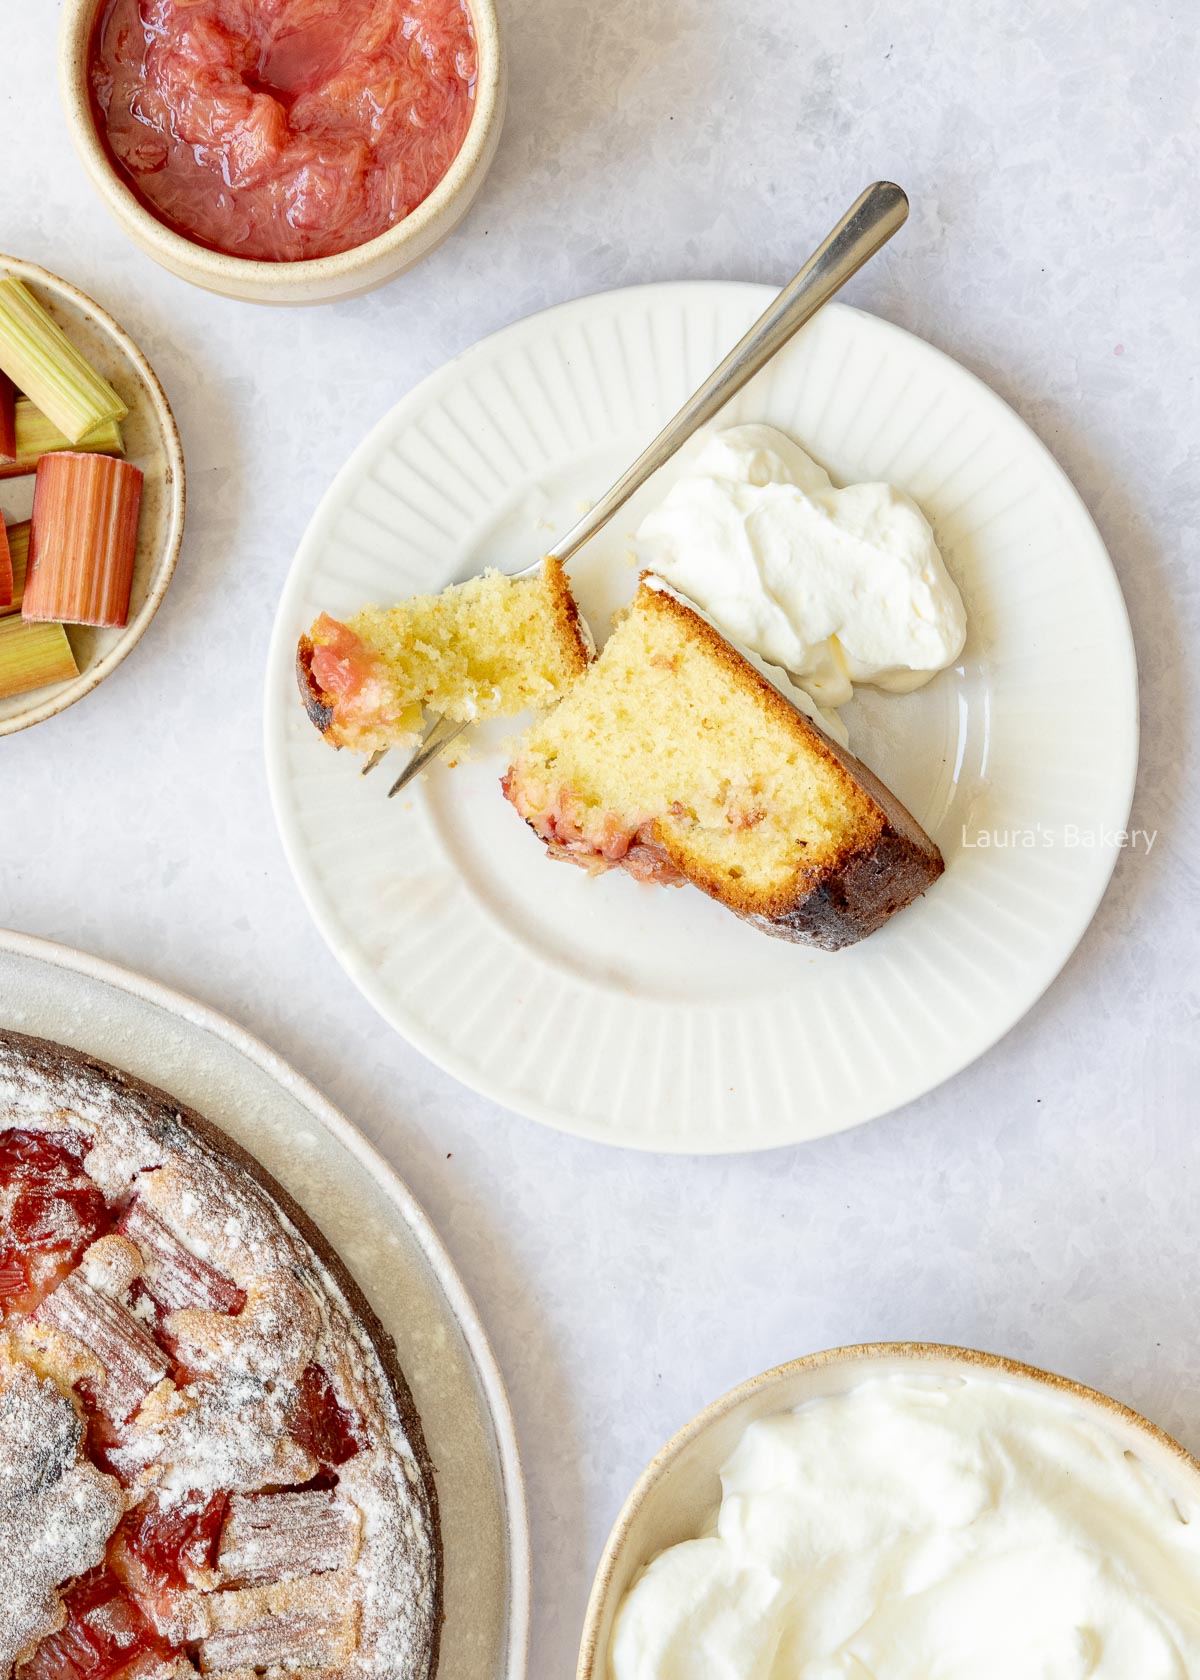
Yes, you can. Use my yogurt cake recipe as the base and add the rhubarb compote.
Absolutely. Thaw the rhubarb completely and drain off any excess liquid. Pat it dry if necessary before using.
Yes. This recipe can be baked in a standard 10-inch (25 cm) loaf pan. Just keep an eye on the baking time, as it may vary.
If the cake isn’t fully baked, it may have a dense texture. Always check for doneness with a cake tester or toothpick. Overmixing the batter can also cause the cake to collapse and become dense.
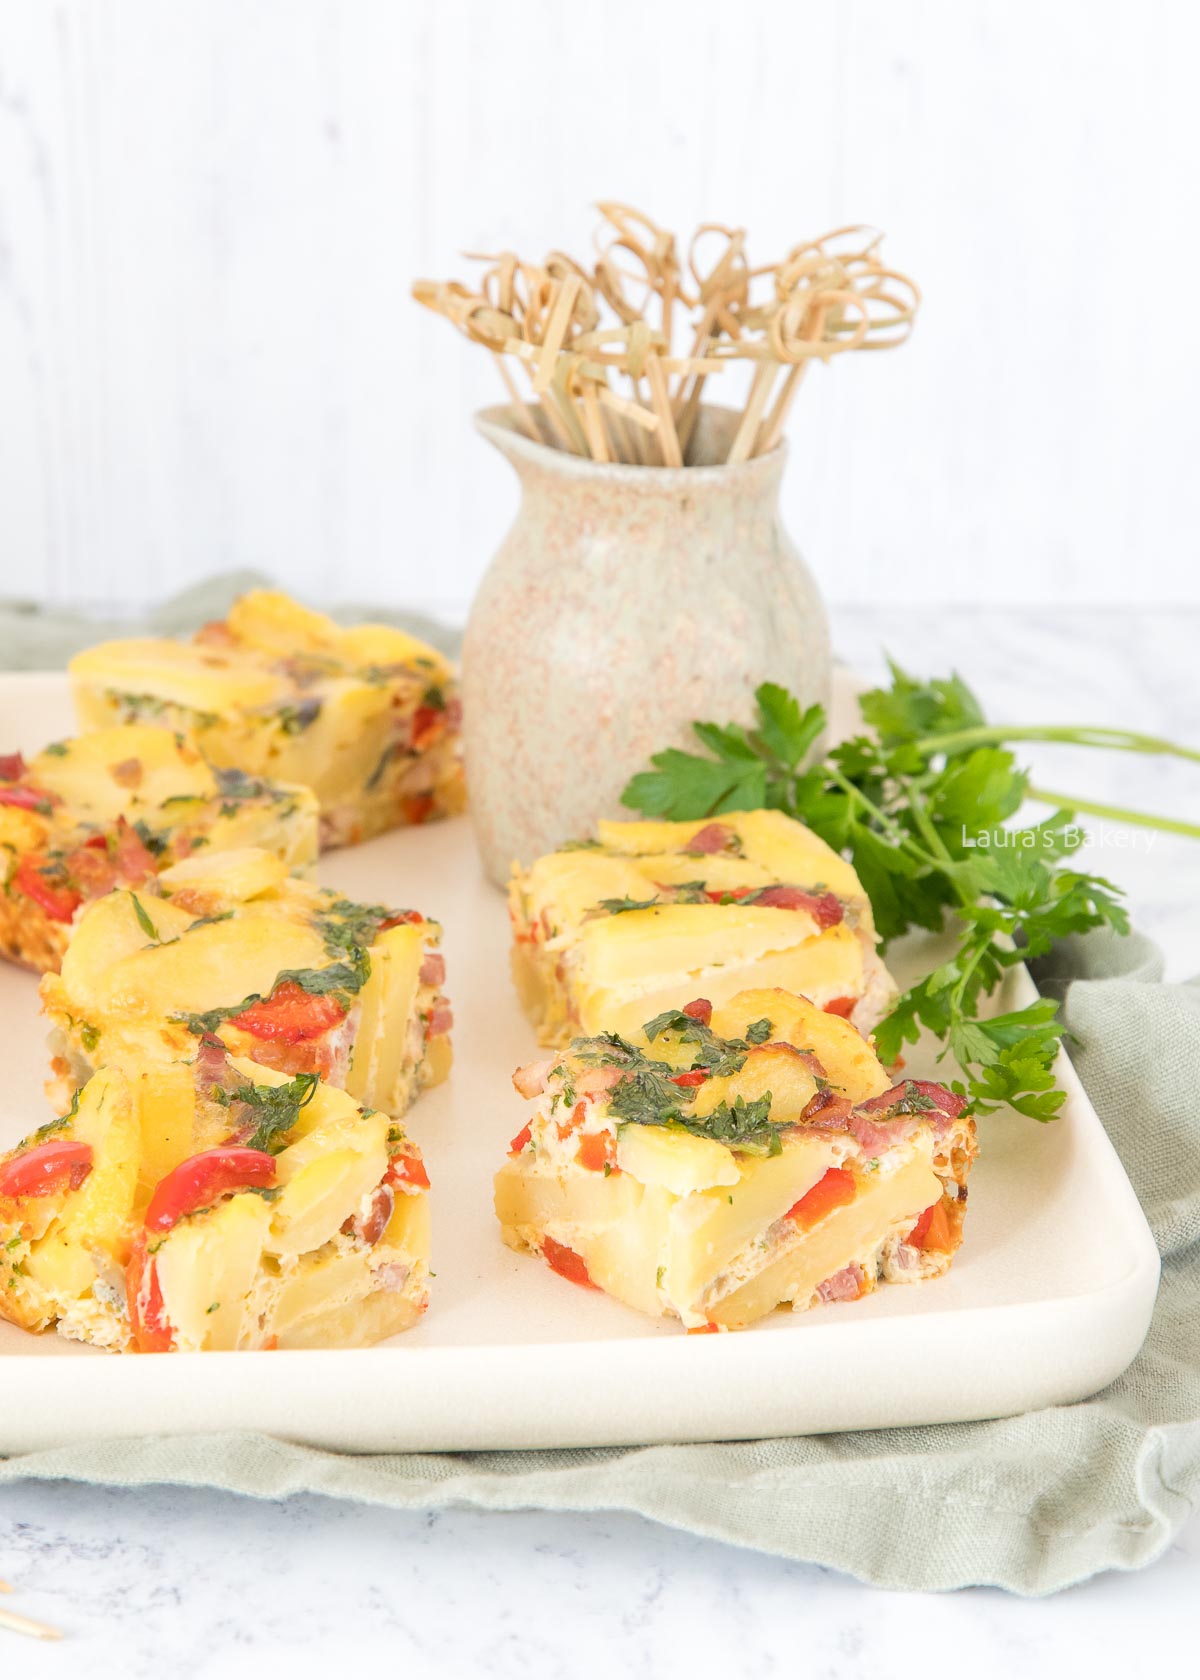
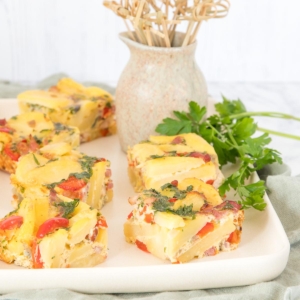
This Spanish tortilla with bacon is a hearty, flavor-packed twist on the classic, combining tender potatoes, savory bacon, and aromatic onion in a perfectly baked egg base. Ideal for any meal from breakfast to tapas night. Simple yet impressive.
You don’t need to book a flight to Spain to enjoy one of the world’s most delicious egg dishes. With this easy homemade Spanish tortilla with bacon, you can savor it for breakfast, lunch, dinner, or as part of a tapas spread any night of the week.
A traditional Spanish omelette, known as tortilla española or tortilla de patatas, is a thick, hearty dish made by gently cooking beaten eggs, potatoes, and onion in olive oil. In contrast to a thin, folded French omelette, the Spanish version is traditionally round from cooking in a skillet and several inches tall, usually cut into wedges.
Today, I’m shaking things up and making Spanish oven-baked potato tortilla with bacon. It also guarantees that the bottom won’t go a darker color, like I often experience when made in a nonstick pan.
Whip up an authentic Spanish tortilla that’s endlessly adaptable with simple pantry staples. Make sure to check out the recipe card below for full details:
Start by sautéing the onion and garlic until in olive oil until softened, then add the bacon and pepper to cook briefly.
Next, add the potato slices and cook for 3-4 minutes. You want the potato to be cooked through enough so that you aren’t left with any raw bits in the omelette.
Transfer this mixture to a baking dish and spread evenly.
Whisk the eggs with parsley, salt, and pepper in a mixing bowl. Pour this over the potato mixture in the baking dish.
No it’s just a matter of baking the assembled tortilla for 30 minutes at 400°F/200°C (conventional oven), or until the egg mixture is fully set.
COOKING TIP: Slice your potatoes between 1/8 – 1/4 inch (0.3-0.6 cm) thickness. This allows the potatoes to become tender enough while still enjoying a slight bite. A mandoline slicer is an ideal kitchen tool for ensuring uniform slices, but you can also slice the potatoes by hand.
Once completely cool, you can store this Spanish tortilla in the refrigerator, covered, for up to 2 days.
Absolutely! Cover the entire baking dish or wrap individual slices in plastic wrap and transfer to an airtight container or bag to freeze for up to 1-2 months. Thaw in the fridge and reheat to serve later.
Place leftovers in a baking dish, covered with foil, at 350°F/175°C for about 10-15 minutes, or until warmed through. Reheating in the microwave is another option, although it tenders to make the egg mixture rubbery if you aren’t careful.
If you love this Spanish tortilla, you’ll likely also enjoy these other baked egg dishes. All easily customized with savory fillings like bacon, cheese, or vegetables.
This depends on your preference. I find it delicious served hot or cold. Either way, it’s great!
A Spanish tortilla is traditionally cooked entirely on the stovetop and contains only potatoes, onions (sometimes), and eggs, while a frittata starts on the stovetop and is finished in the oven (or broiler) and can include a wide variety of vegetables, meats, cheese, and dairy like milk or cream.
Yes, tortilla española and tortilla de patatas are the same dish and the terms are often used interchangeably. They both refer to the classic Spanish omelette made primarily with eggs, potatoes, and sometimes onion. “Tortilla española” simply means “Spanish tortilla,” while “tortilla de patatas” means “potato tortilla.”
Absolutely! Dice the pre-cooked potato slices into smaller, uniform pieces to fit the cups. The baking time will reduce significantly to roughly 12-18 minutes at the same temperature of 400°F/200°C (conventional oven), or until the egg is set.
That would be a delicious option! Keep in mind that this recipe is for approximately 4-6 people, so simply multiple the recipe if you need more for a larger crowd.
The best potatoes for a Spanish tortilla are waxy potatoes or those with a low to medium starch content like Yukon Gold or red potatoes as they hold their shape during cooking and provide the signature creamy, tender texture .
Avoid starchy potatoes like Russets, which become too crumbly, and prone to soaking up excess oil.
While it won’t be traditional, you can experiment with all kinds of filling options, such as mushrooms, halved cherry tomatoes, spinach, diced ham, shredded sharp cheddar cheese, and much more.
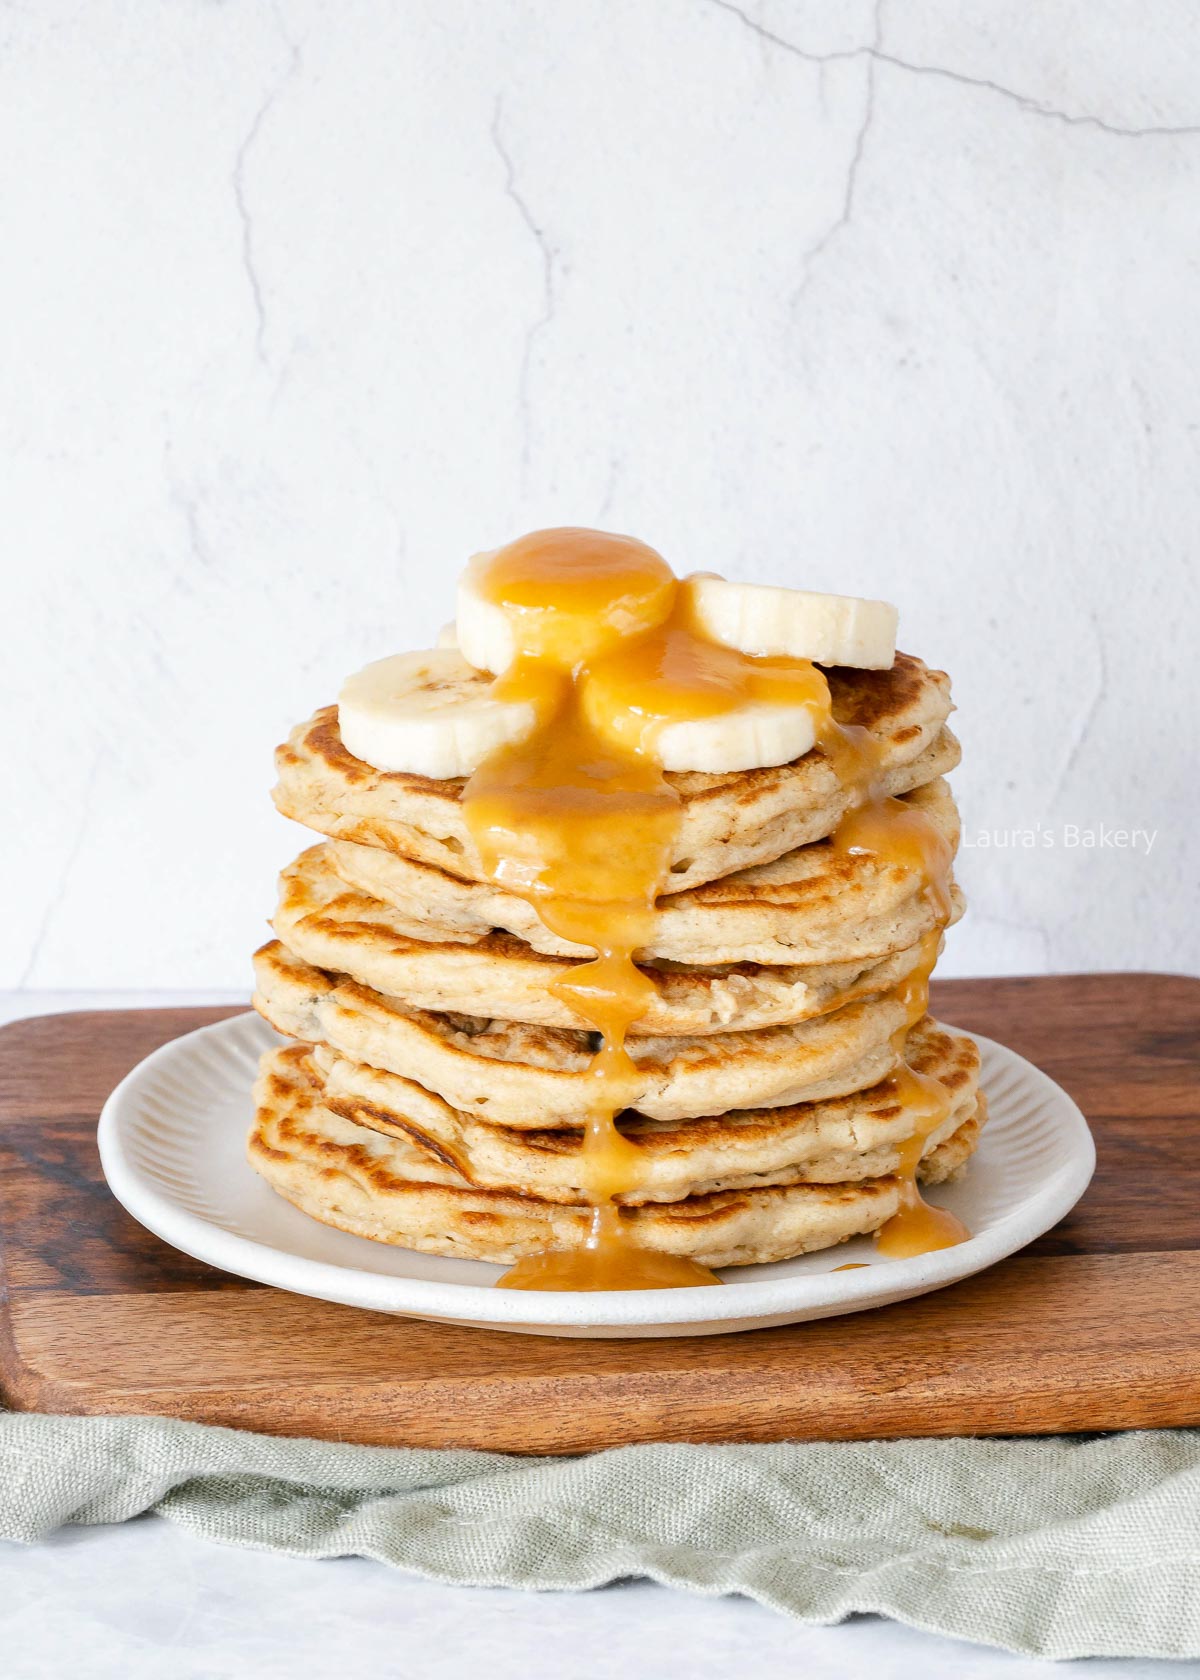
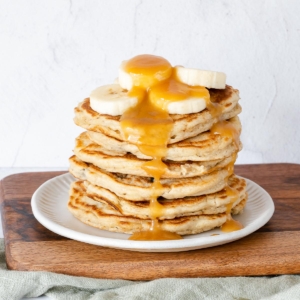
These banana oatmeal pancakes come from one of my cookbooks and make the perfect breakfast. They’re wonderfully soft and fluffy, and with a drizzle of caramel sauce on top, they instantly turn into a special breakfast treat.
Pancakes are something I can happily eat at any time of day. The batter comes together in just one bowl, and a few small lumps are nothing to worry about since you won’t notice them once the pancakes are cooked.
Here are a few of my favorite ways to serve them:
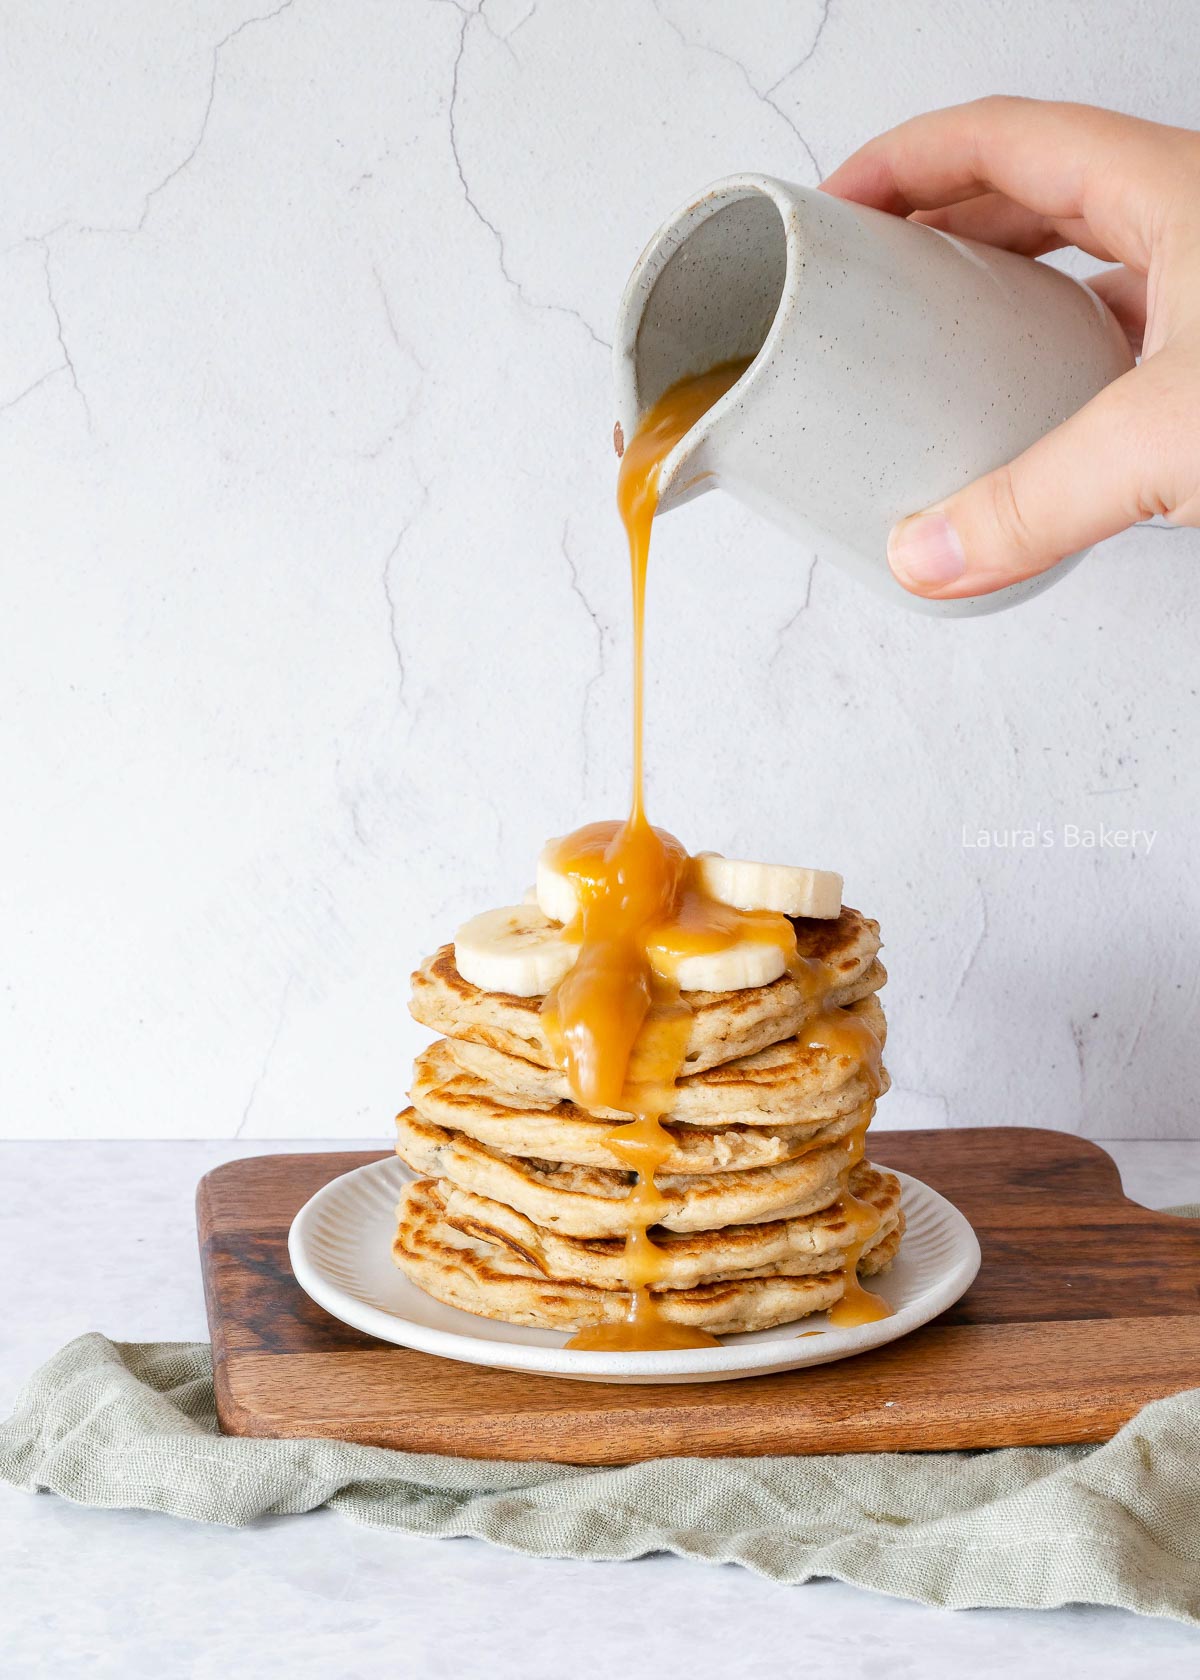
These oatmeal pancakes are a variation on classic American pancakes. Instead of using only flour, the batter also contains oats and banana. This adds extra texture and a richer flavor.
The banana not only provides natural sweetness, but also helps keep the pancakes moist and tender.
You can take them to the next level with a drizzle of caramel sauce, but they’re absolutely delicious on their own as well.
BAKING TIP: I like using a griddle or pancake pan so I can cook three pancakes at once.
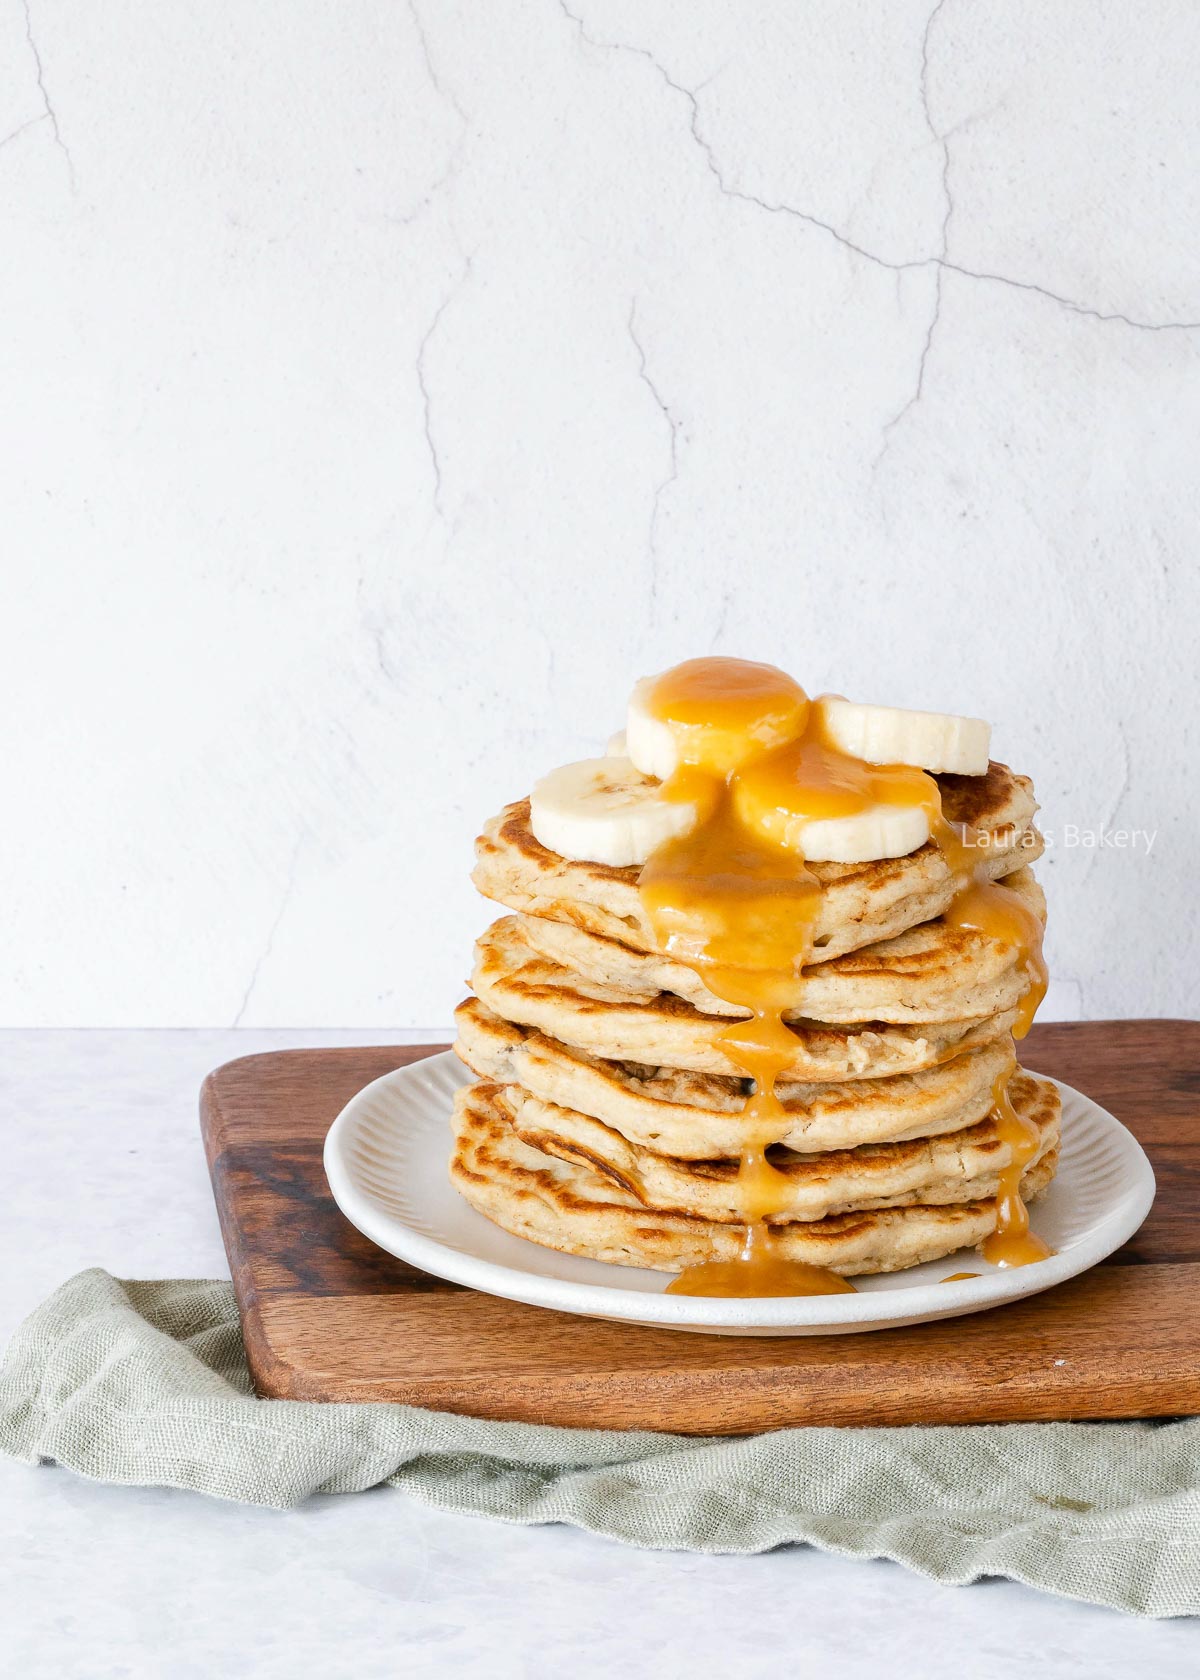
I often make a large batch so I can enjoy them for several days. It takes very little extra effort to make more batter, and these pancakes store beautifully.
Wrapped well, they’ll keep in the refrigerator for 2-3 days.
Absolutely. Store them in an airtight container or freezer bag for up to 3 months. Place a piece of parchment paper between the pancakes to prevent them from sticking together.
For the best results, reheat refrigerated or frozen pancakes before serving.
You can warm them in the microwave, although they may become slightly softer. I prefer reheating them briefly in a skillet, which makes them taste almost freshly made.
Can you ever have too many pancake recipes? I don’t think so, which is why I keep creating new flavors. A few of my favorites include:
I don’t recommend it because the leavening agents begin working immediately. If you want to prepare ahead, it’s better to cook the pancakes completely and reheat them later.
Yes. You can use plant-based milk alternatives or buttermilk instead.
Once bubbles begin forming on the surface and the top starts looking slightly dry, they’re ready to flip.
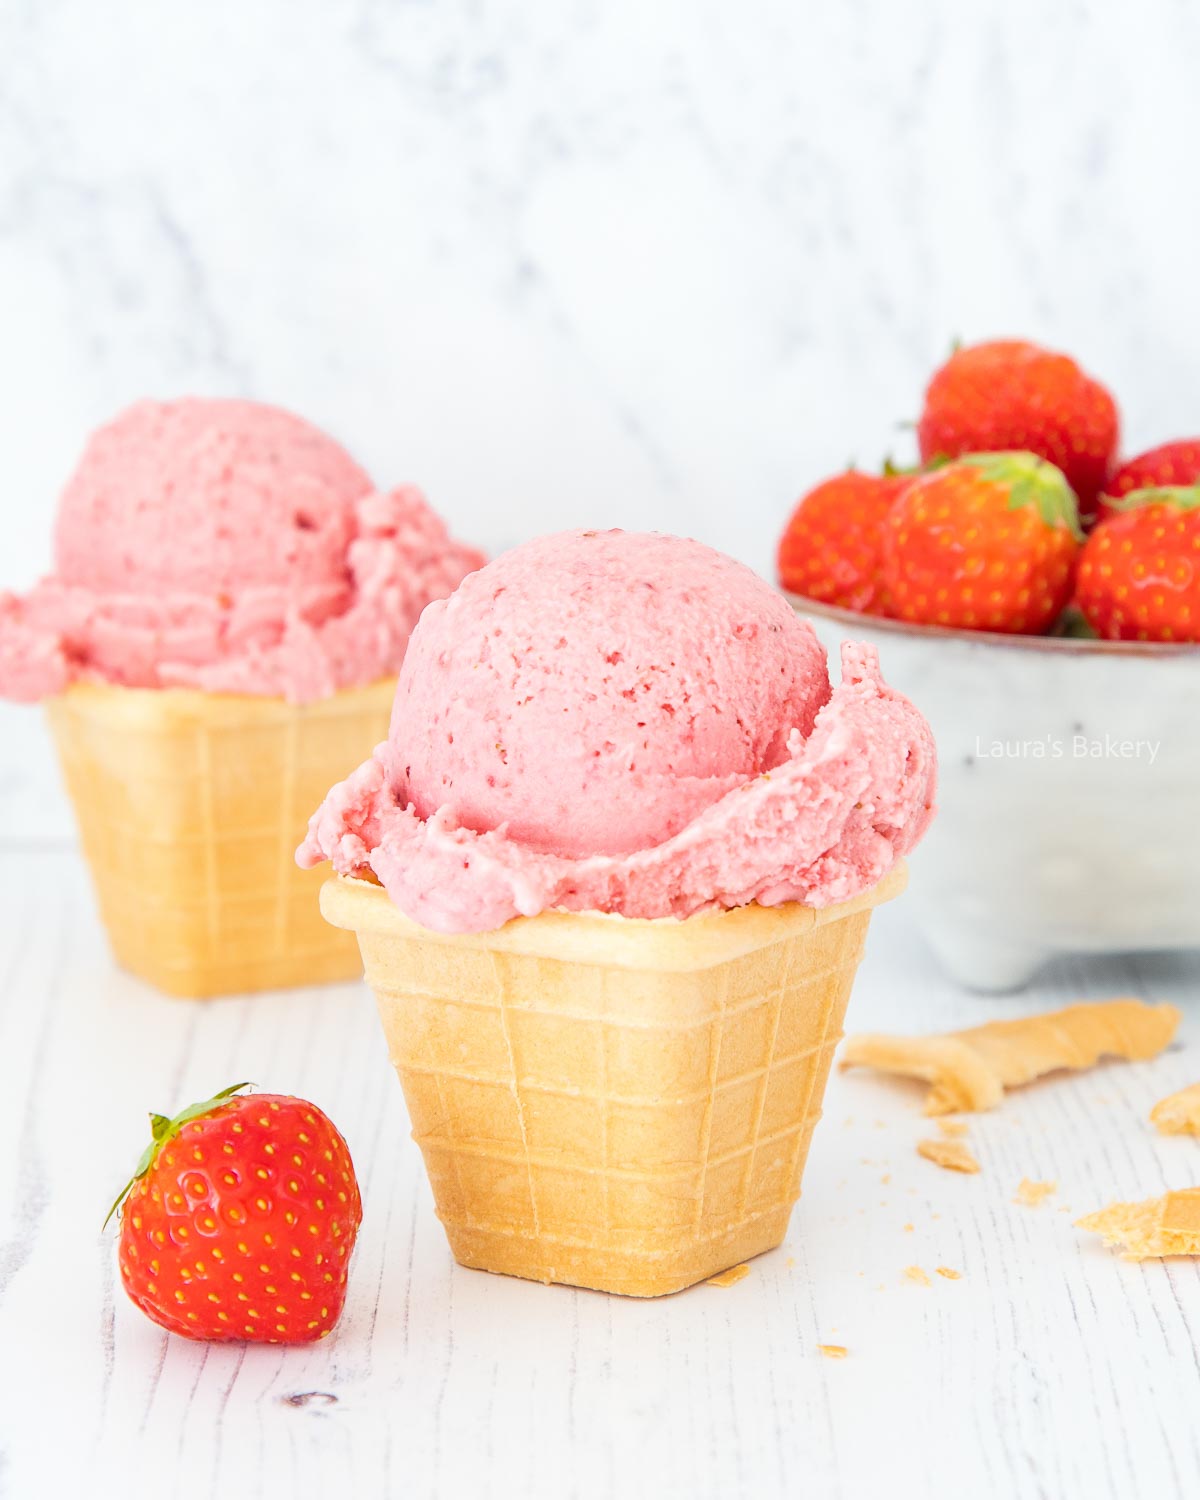
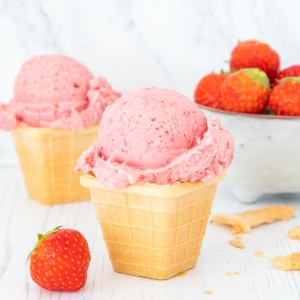
The sweetness of summer strawberries combined with creamy yogurt gives you a delicious and fruity strawberry frozen yogurt. Perfect for those hot summer days when you want something easy, cooling and delicious!
Strawberries always represent the best of summer and this easy recipe for strawberry frozen yogurt is perfect for hot days! I love making easy ice cream recipes such as this Oreo ice cream or the no-churn pistachio ice cream and this is another favorite!
Making this delicious strawberry frozen yogurt requires only a few simple ingredients. For full instructions always check the recipe card below.
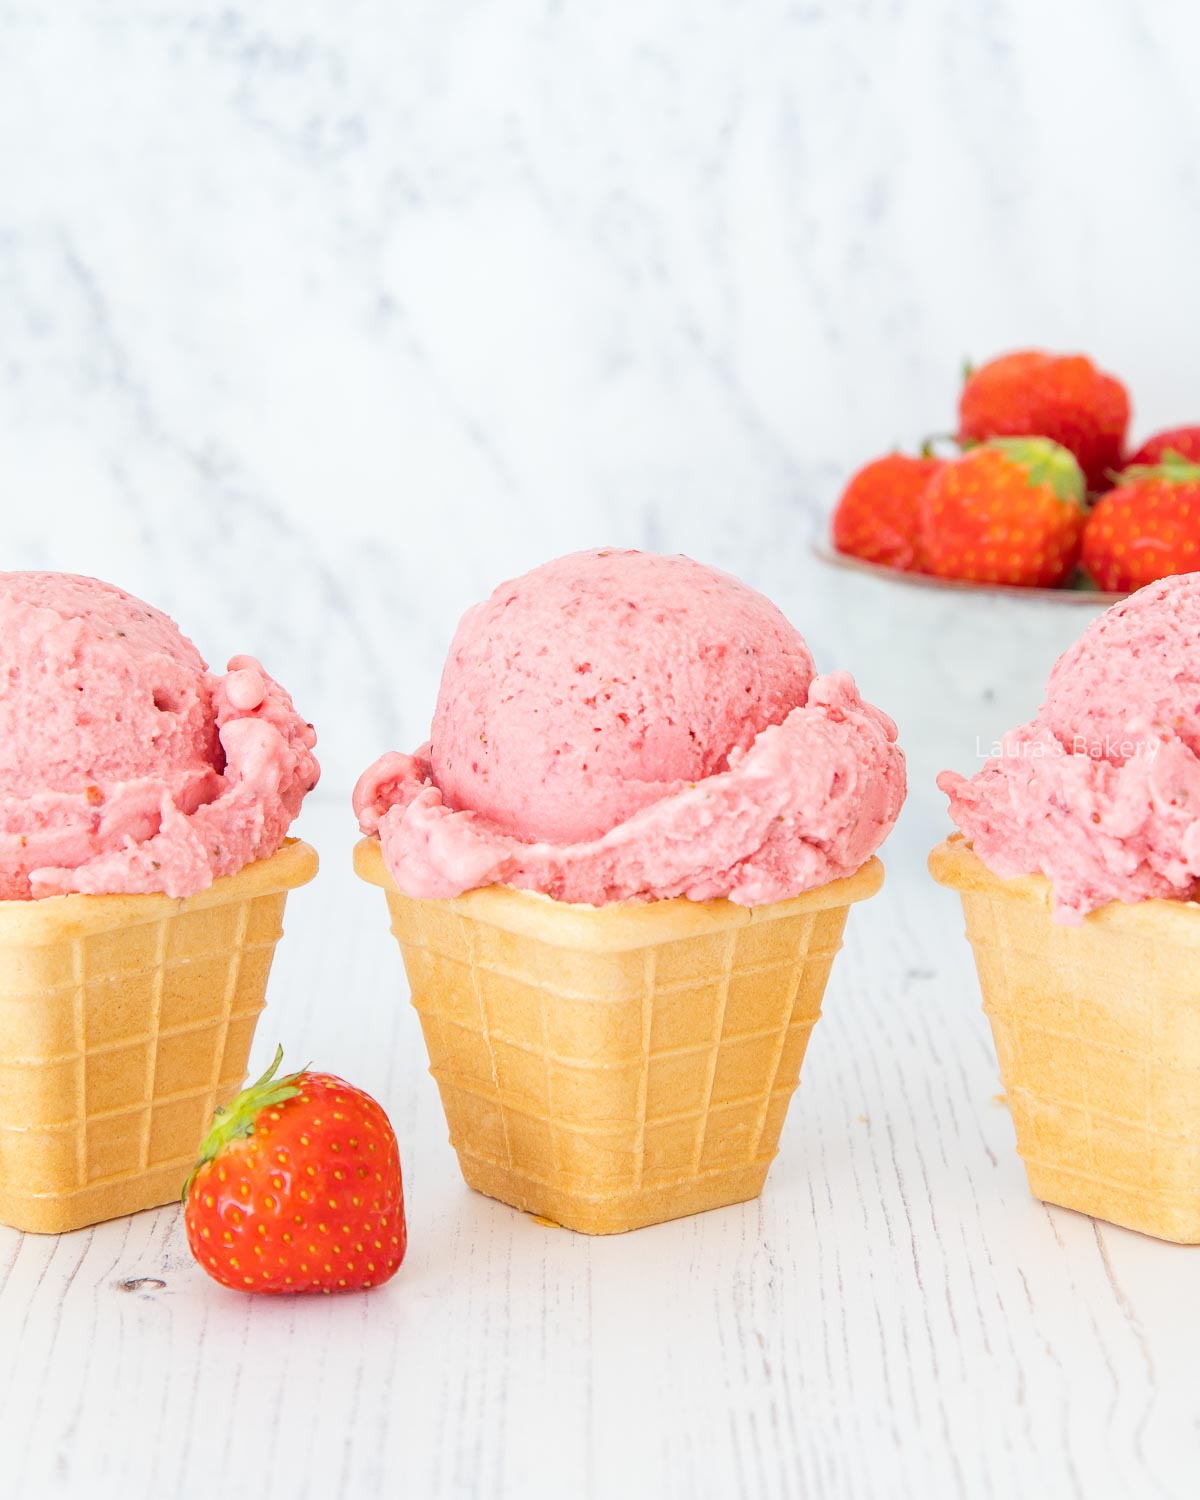
This must be one of the easiest recipes out there. You simply place all the strawberries, yogurt and the crème fraîche into the bowl of a blender or food processor and blend until you have a smooth mixture.
Add sugar to taste. I used about 4 tablespoons of sugar for this recipe, but it also depends on the sweetness of your strawberries. So adjust the added sugar as needed.
I made this recipe using an ice cream maker. If you have a machine as well, remove the frozen bowl from the freezer, place it in your machine and add the yogurt mixture. Churn this on a low setting for about 15 minutes.
You can also make this easy frozen yogurt recipe without a machine. You simply follow the instructions for making the yogurt mixture, but instead of adding it to the machine you place it in a closed freezer-safe container.
Every 30 minutes take it out of the freezer and stir the mixture through with a spoon. This prevents the formation of ice crystals. The stirring should be repeated about 6 to 8 times.
If the ice cream is not firm enough after this you can just let it sit in the freezer for longer. It’s not necessary to keep stirring after the initial actions.
Once frozen you can store your homemade ice cream in the freezer for up to three months.
If it’s been frozen for a longer time, it helps to take it out of the freezer approximately 15 minutes before serving, so it is easier to scoop.
If you love strawberries as much as I do, you’ll want to give the below recipes a try as well.
Yes, frozen strawberries work well in this recipe. Let them thaw slightly before blending to make it easier to achieve a smooth mixture.
Absolutely. Pour the mixture into a freezer-safe container and freeze. Stir the mixture every 30 to 60 minutes for the first few hours to help break up ice crystals and create a smoother texture. (see more information above as well)
Homemade ice cream can become icy if it contains too little fat or sugar. The crème fraîche and sugar in this recipe help create a smoother texture, so try not to reduce them too much.
Yes. Greek yogurt will make the ice cream thicker and creamier while adding a slightly tangier flavor.
The mixture should taste slightly sweeter than you would like the finished ice cream to be. Freezing dulls sweetness, so a sweeter base will result in better flavor after freezing.
Definitely. Raspberries, blueberries, peaches, or mangoes all pair well with yogurt and can be used in place of some or all of the strawberries.
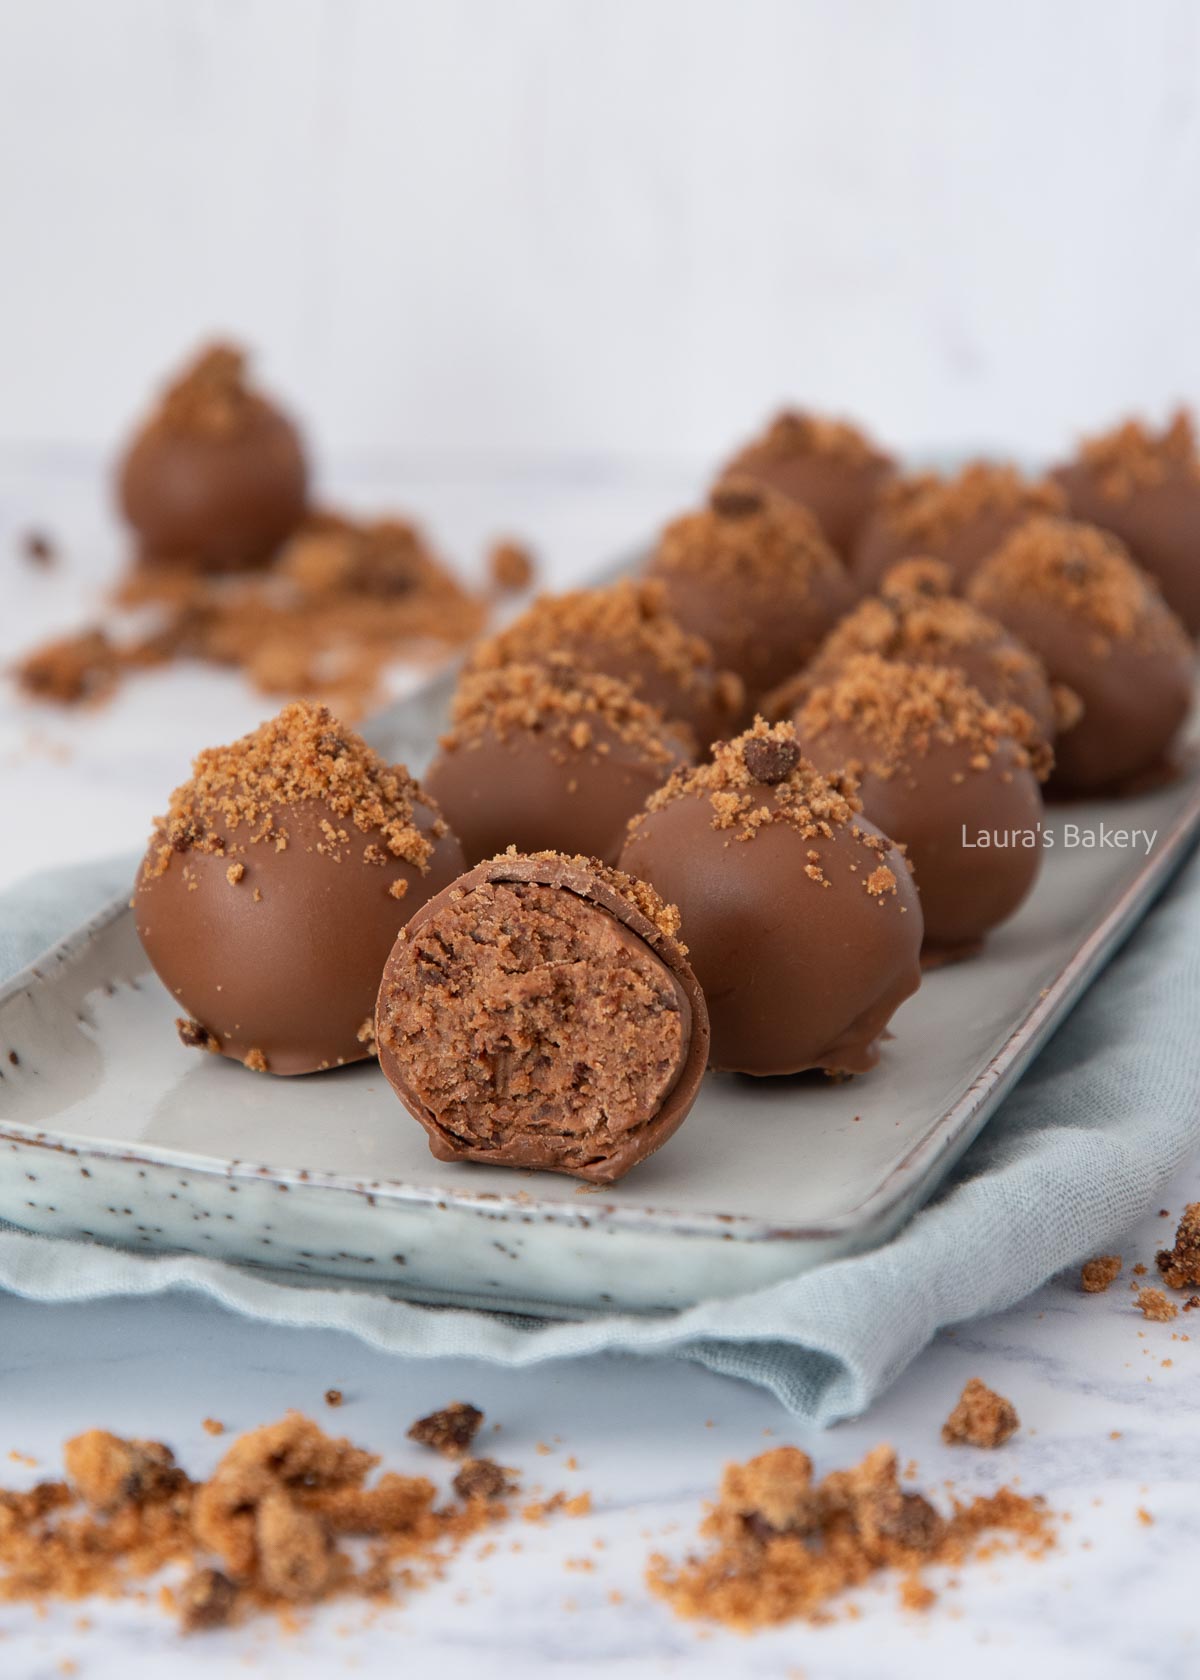
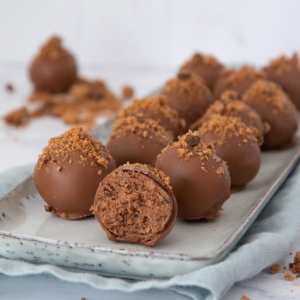
My go-to truffles have always been Oreo and Bastogne, but these chocolate chip cookie truffles are now a favorite too. They deliver a delicious cookie ‘dough’ that couldn’t be easier to make with crushed cookies, cream cheese, and melted chocolate. Make a batch and watch them disappear!
With just three simple ingredients, these chocolate chip cookie truffles come together in no time, making them ideal for any occasion, from holidays and birthdays to themed parties or a quick sweet snack. Their perfectly portioned size lets you satisfy truffle cravings without over-indulgence.
Follow my basic recipe for chocolate chip cookies or use packaged cookies for a totally effortless sweet treat. Either way, these chocolate chip cookie truffles only require three ingredients! Read the recipe card below for full details.
First, blend the cookies in a food processor until finely ground. Add the cream cheese and knead it into the fine cookie crumbs. Keep mixing until you get a firm dough or crumb mixture that holds its shape and isn’t too sticky.
Roll the mixture into small balls and chill them for 30-60 minutes, or longer.
While the cookie balls harden in the fridge, melt two-thirds of the chocolate. Add in the remaining chocolate and stir until smooth.
When the chocolate is at the right temperature, remove the truffle balls from the fridge and dip one at a time into the melted chocolate.
BAKING TIP: Use a fork to submerge the truffle balls in the melted chocolate mixture so that any excess chocolate can easily drip off.
Place each chocolate-coated cookie truffle ball on a sheet of parchment paper as you go along. Make sure to immediately sprinkle each chocolate truffle with any leftover cookie crumbs (or chocolate sprinkles) while they are still wet.
These chocolate chip truffles should be stored in an airtight container in the fridge and will last for up to 1 week.
Yes, you can freeze these truffles for up to 3 months in an airtight container. Chocolate bloom (white or gray streaks) may develop due to temperature changes, but it’s still safe to eat and doesn’t affect the delicious flavor of these truffles. I wouldn’t freeze these cookie truffles if you are trying to make them ahead for a special occasion.
Homemade truffles are an easy way to satisfy those sweet tooth cravings without devouring an entire dessert! They’re also incredibly fun to make, which is why I keep adding to the list:
Chilling firms up the dough so the balls hold their shape and don’t fall apart or become misshapen when you dip them in warm melted chocolate.
Yes, simply use gluten-free chocolate chip cookies (store-bought or homemade). The rest of the ingredients are naturally gluten-free.
Cookie truffles are cookie balls dipped in a chocolate coating, while cookie balls are usually just the chilled, uncoated raw cookie dough mixture.
Absolutely! Store-bought or homemade Oreos cookies, shortbread cookies, peanut butter cookies, Biscoff (Bastogne) cookies, or ginger snaps all work beautifully with the same method. For more inspiration, check out this delicious collection of cookie recipes.
Use a food processor or high-speed blender for the finest, most even crumbs. A sealed bag crushed with a rolling pin works but may leave uneven chunks.
Aim for about 1-inch/2.5 cm balls which are roughly the size of a standard truffle or a large marble. This size ensures they hold together well, dip easily in chocolate, and give you that perfect bite-sized portion.
While this recipe uses fine crumbs of leftover cookies, you could easily decorate the tops of these truffles with mini chocolate chips, finely chopped chocolate, chocolate sprinkles, or chopped candy.
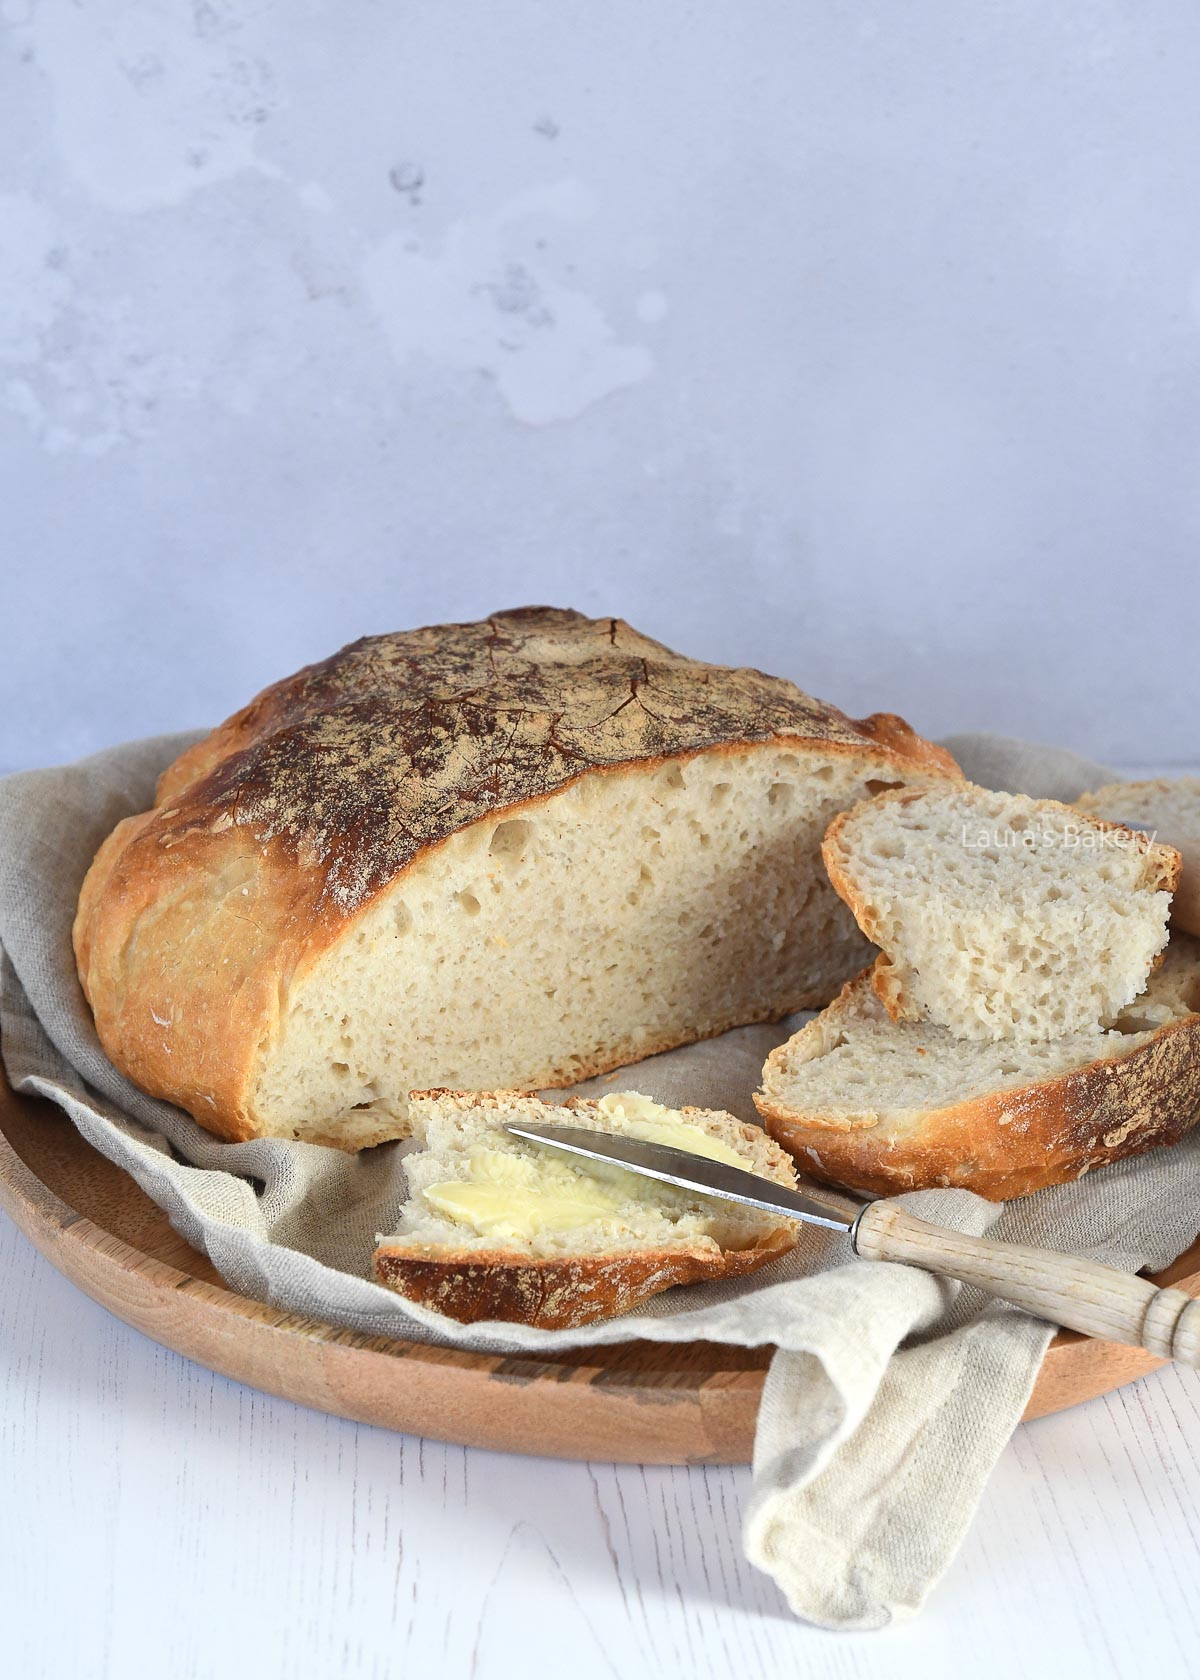
No-knead bread is incredibly easy and just as tasty as traditional kneaded bread! While the recipe does ask for patience with the long rising time, apart from that, a few minutes of work is all you need.
I don’t bake bread as often as I’d like, but I absolutely love it, especially no-knead recipes like these no knead buns. While traditional kneaded bread recipes have their place, I’ll often turn to a no-knead version for these reasons:
Could this no-knead bread be any easier? I think not! With even fewer ingredients than my naan bread recipe and some planning ahead, you can enjoy the benefits of homemade crusty bread. Make sure to read the recipe card below for the full details:
Mix all the ingredients in a bowl with a spatula until fully combined. Cover and let it rise for about 12 hours, until doubled in size. This rising time may go faster on warm days and slower on cold days, so expect anything between 8-18 hours.
Once the initial rise is done, generously flour your work surface and turn the dough out. Fold it over itself a few times using floured spatulas, then quickly shape into a ball. Place the dough on parchment paper, dust with flour, cover, and let it rise again for 2 hours.
Preheat the oven to 480°F/250°C (conventional oven) and place a cast iron pot (with lid) inside to heat.
Carefully remove the hot pot from the oven. Transfer the dough (on parchment paper) into the pot. Cover the pot with the lid, and bake for 25-30 minutes. Remove the lid and bake for another 10-15 minutes.
Remove the baked bread from the pot and let it cool completely on a wire rack before slicing to serve.
BAKING TIP: Keep a close eye on your bread, especially when baking without a lid. Mine browned very quickly at that point, and you obviously want to avoid dry, black bread.
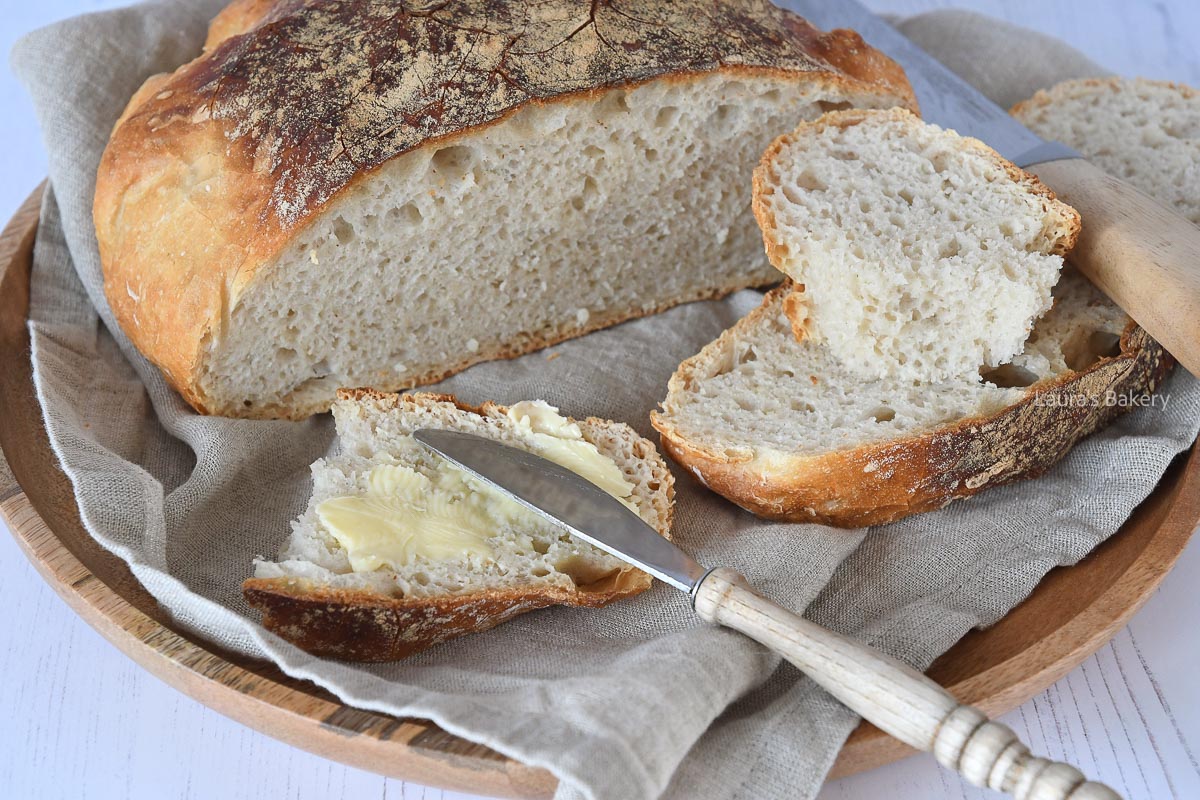
This no-knead bread can be stored in an airtight bag or container at room temperature for 3-4 days. Keep in mind that the beautiful crust will start to lose its crispy texture while stored.
Absolutely! Once completely cool, wrap the entire loaf or individual slices tightly in plastic wrap and transfer to an airtight bag to store in the freezer for up to 3 months. Thaw overnight on the countertop.
You can reheat the bread in the oven at 400°F/200°C (conventional oven) for 5-10 minutes after lightly dampening the crust with water, which can help to restore a crispy exterior.
If this no-knead recipe has rekindled your bread-baking passion, you’re not alone. My own recipe collection keeps growing right alongside yours. For more inspiration, check out these delicious variations:
Low yeast and no kneading bread recipes require a long, slow fermentation to develop gluten structure and deep flavor. This extended rise time allows enzymes to break down the starches naturally, replacing the need for physical kneading while creating a crisp crust with air bubbles in the crumb.
Turn stale no-knead bread into breadcrumbs to add a crispy element to casseroles or as a binder for meatballs. You can also make easy homemade croutons, French toast, bread pudding, or simply toast it for dipping into this comforting tomato soup.
Enjoy a slice with your favorite sandwich spread or jam. You can try my homemade strawberry jam, fig jam, blueberry jam, plum jam, or rhubarb jam. It’s also great with a slather of butter or toast slices in the oven with garlic butter and shredded cheese.
Of course you can! An easy way to add flavor to this no-knead bread recipe is by adding seeds or bagel seasoning on top of the bread loaf just before baking.
I haven’t tried this myself, but there shouldn’t be any issue with substituting a gluten-free flour for the all-purpose flour.
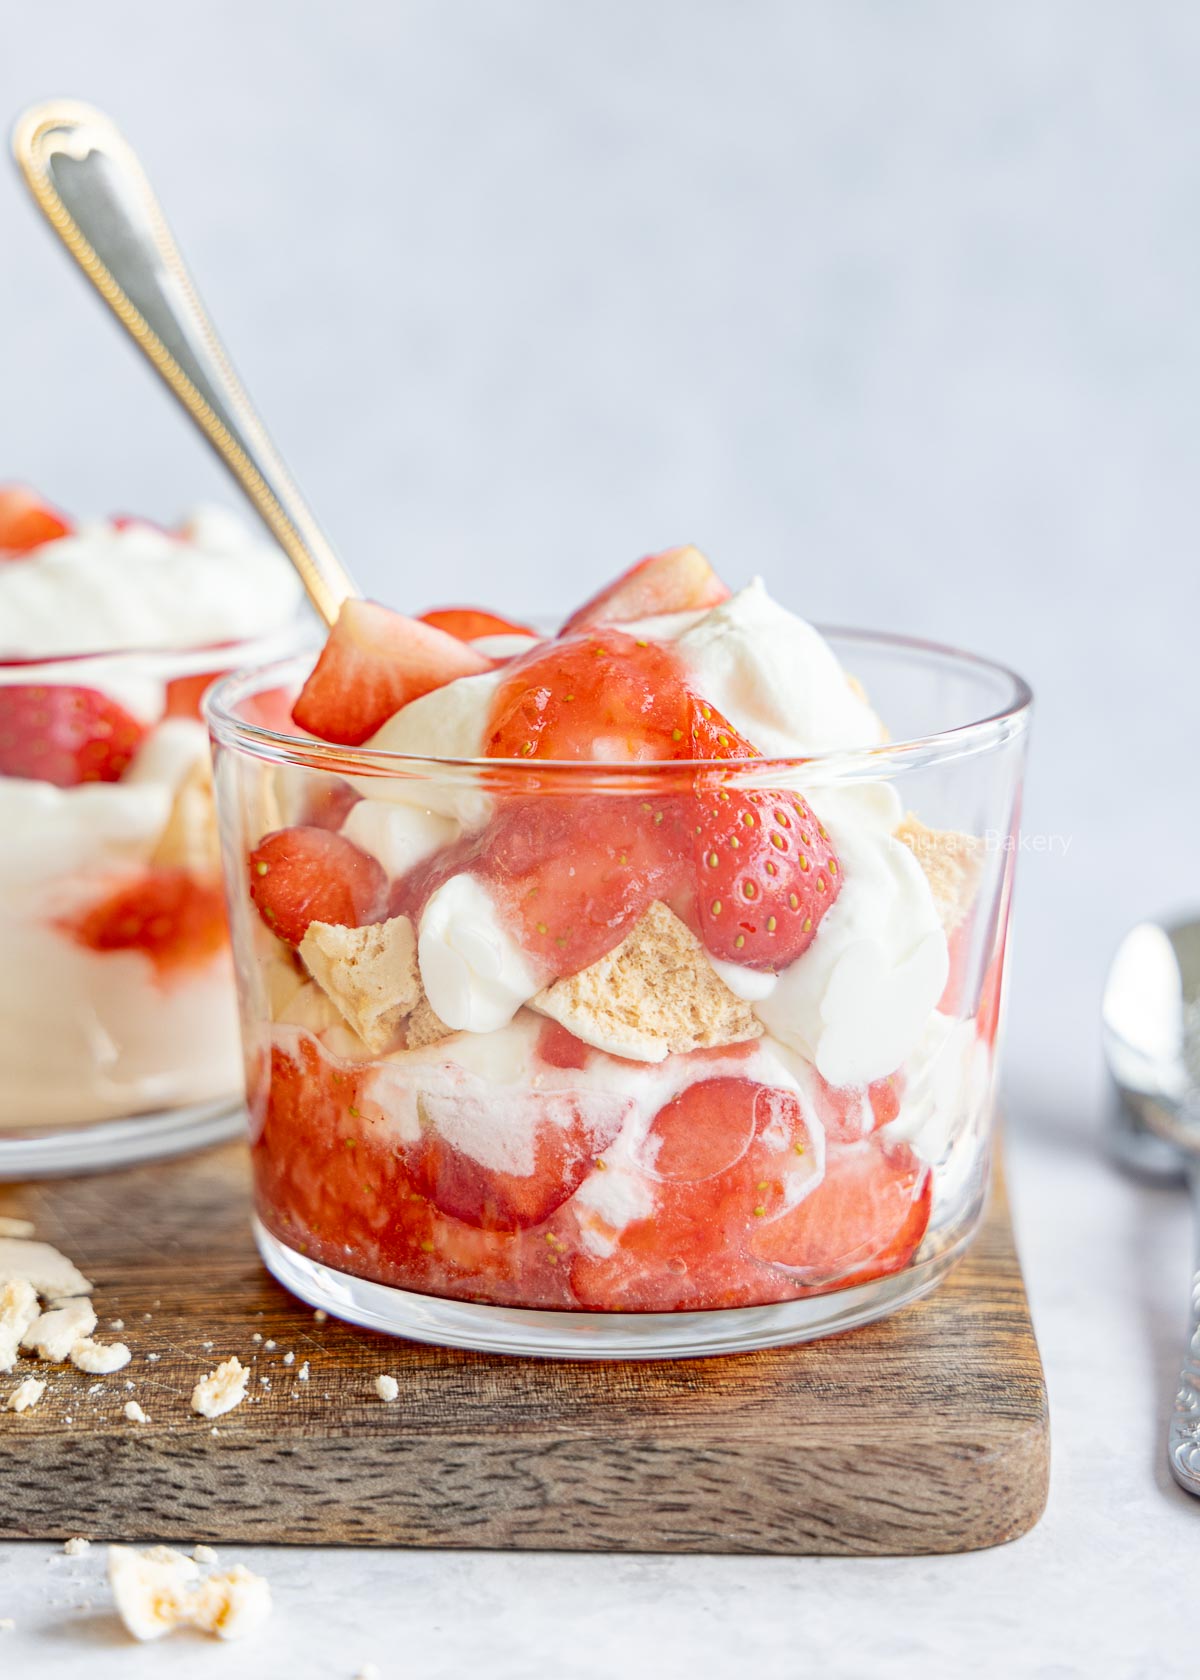
Want to make an impressive and delicious dessert without spending hours in the kitchen? This easy Eton Mess recipe comes together in no time and is a classic British dessert that always impresses. It’s simple to make and a guaranteed crowd-pleaser for both kids and adults.
This is a fantastic summer dessert, although it’s also often served during the holiday season as part of a Christmas dinner menu. And for good reason: it looks elegant and indulgent while being incredibly easy to prepare.
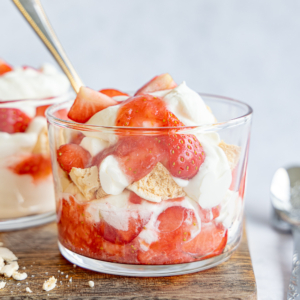
Eton Mess is a traditional British dessert made with three simple components: strawberries, whipped cream, and meringue.
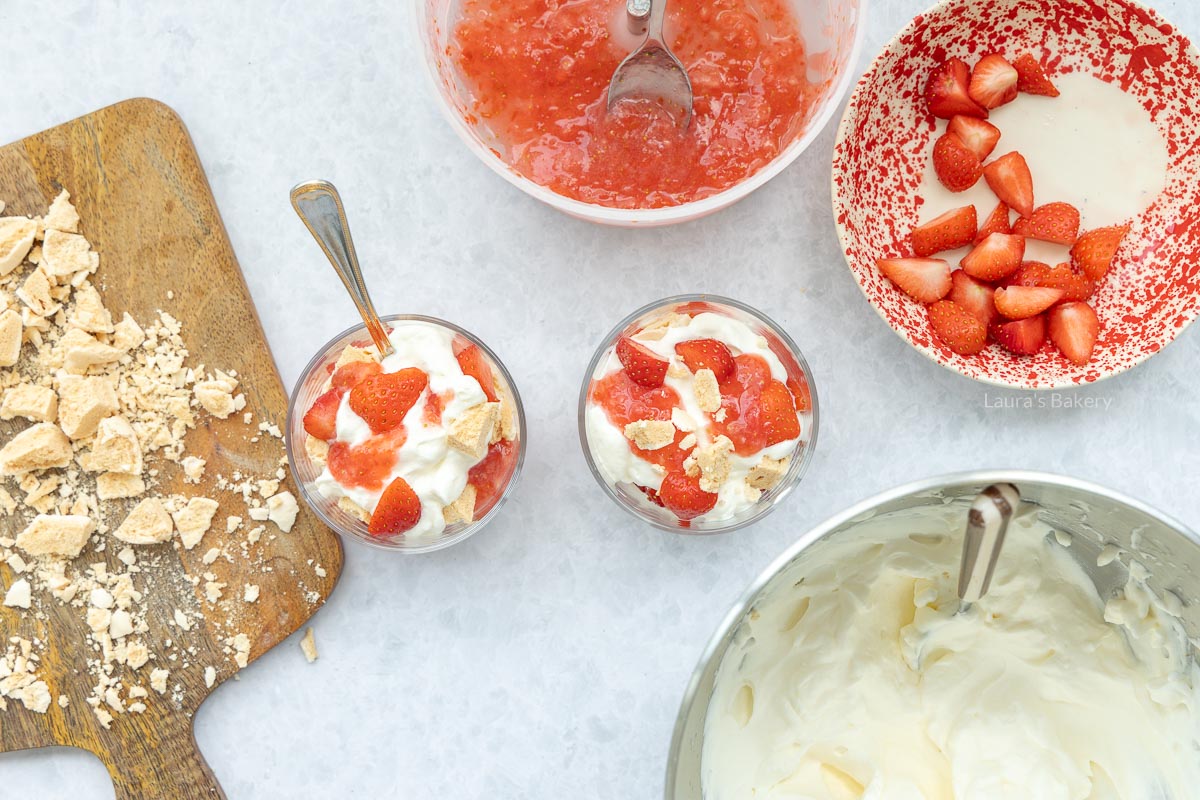
The ingredients are layered together in a glass, creating a deliberately messy appearance, hence the name “mess.” The dessert originated at England’s famous Eton College, where it was traditionally served during annual cricket matches.
While both desserts are British classics that combine fruit and cream, they’re quite different in structure and presentation. A trifle (like this blackberry trifle) is typically made with layers of cake, cream (often mascarpone-based), and fruit. It’s carefully layered in a large glass bowl and has a more polished appearance.
Eton Mess, on the other hand, is meant to look rustic and playful. It uses different ingredients and is usually served in individual dessert glasses rather than one large dish.
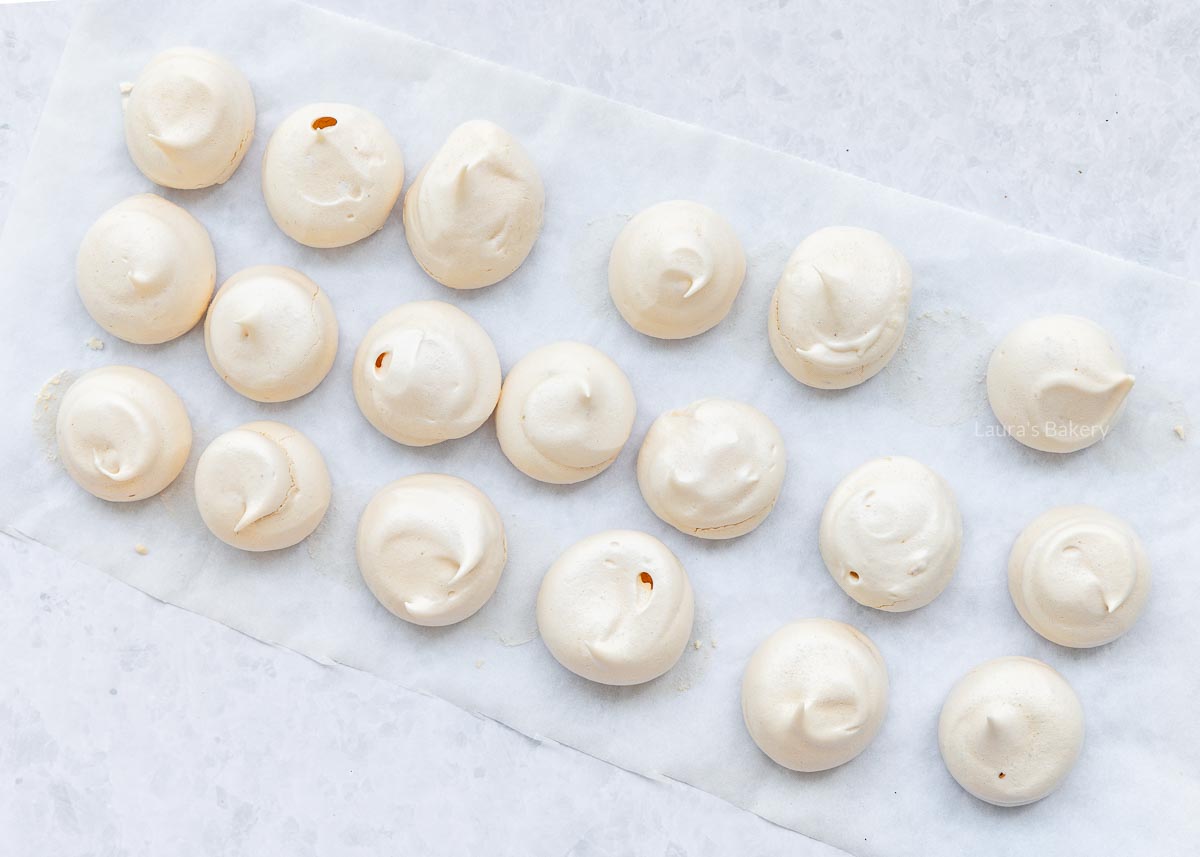
Eton Mess is a great excuse to bake your own meringues, but it’s also a perfect way to use up leftover meringue cookies. Of course, store-bought meringues work just as well.
And trust me, the combination of crisp meringue and soft whipped cream is absolutely irresistible.
BAKING TIP: For an extra festive presentation, serve your Eton Mess in pretty dessert glasses. Small mason jars work beautifully too.
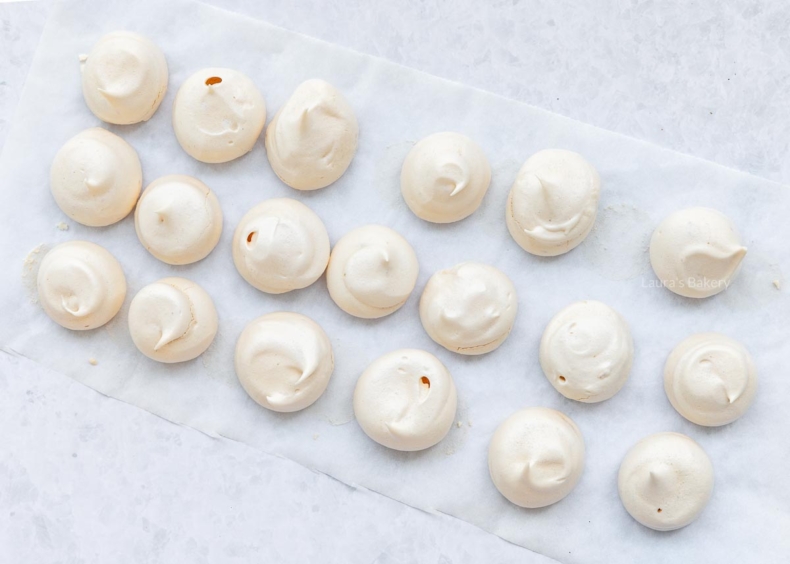
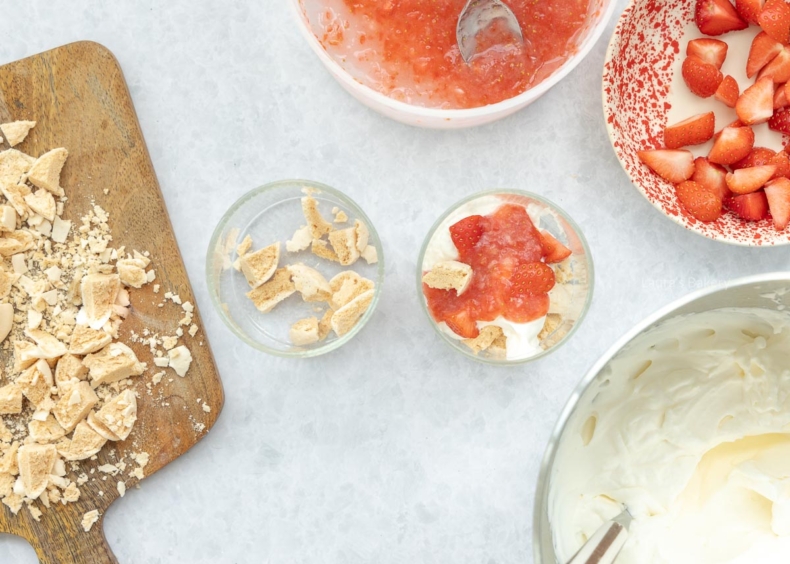
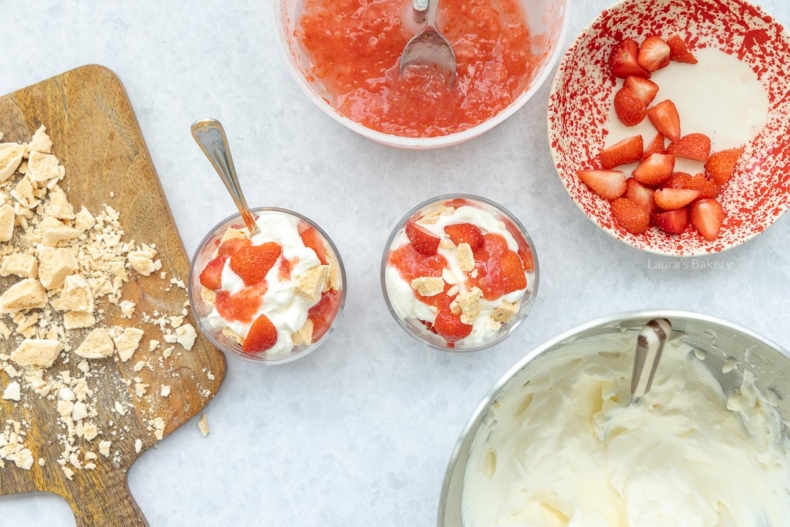
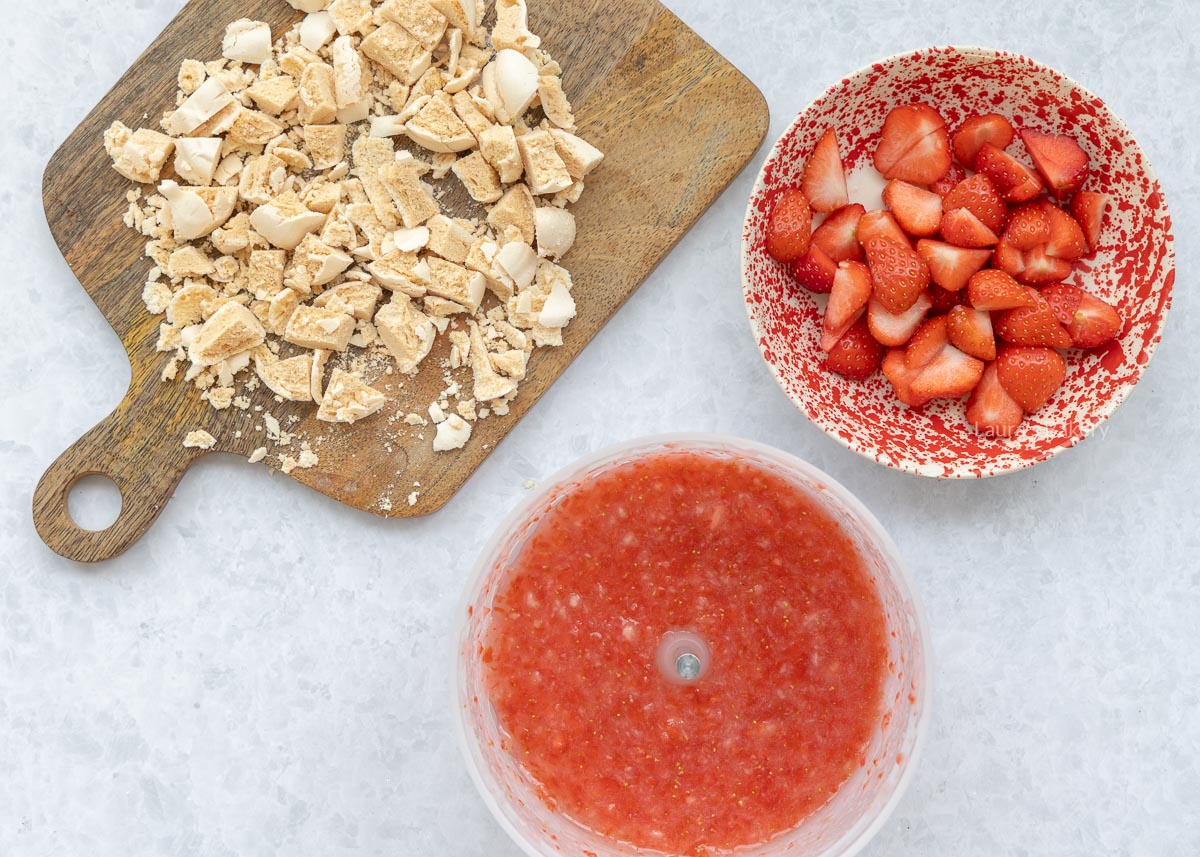
Crumble the meringues with your hands or a sharp knife
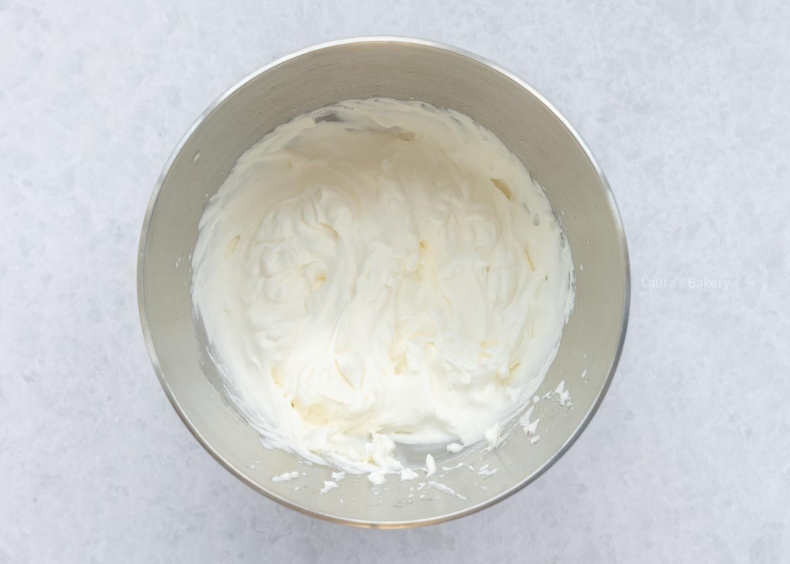
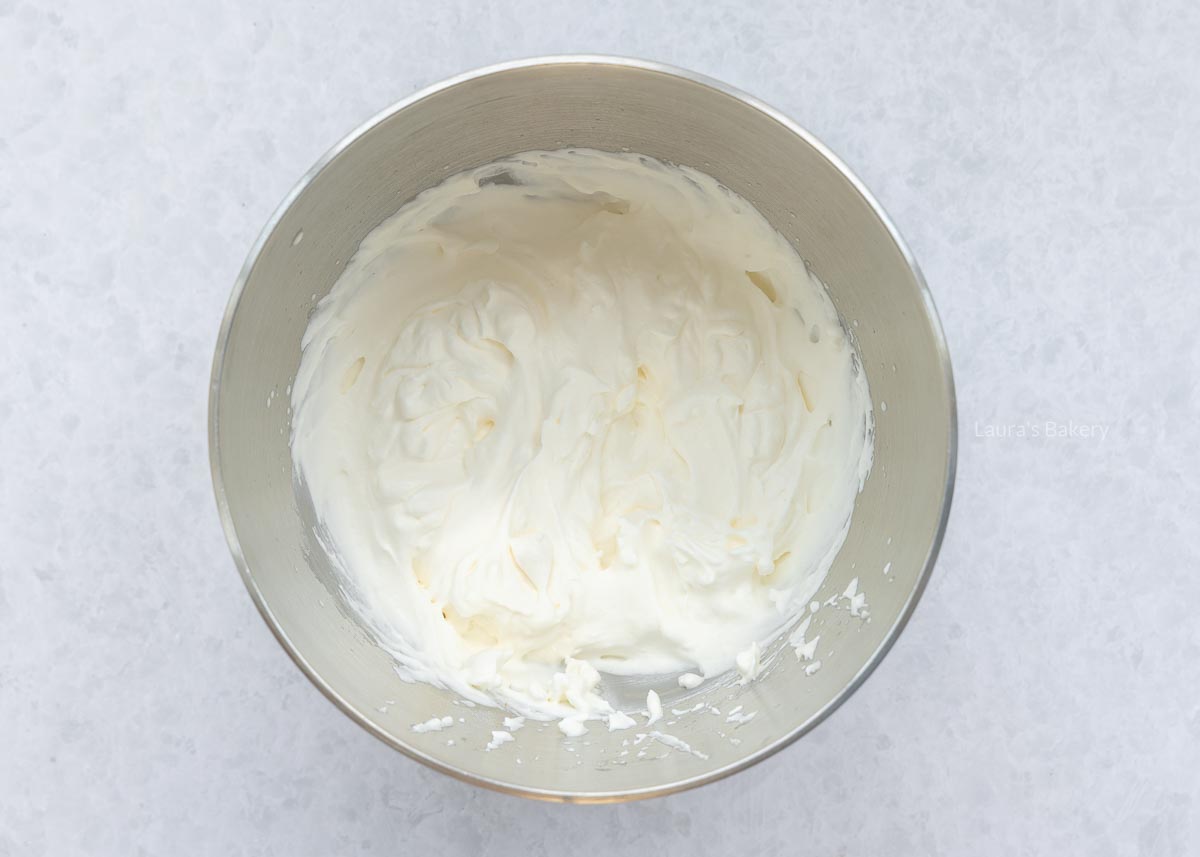
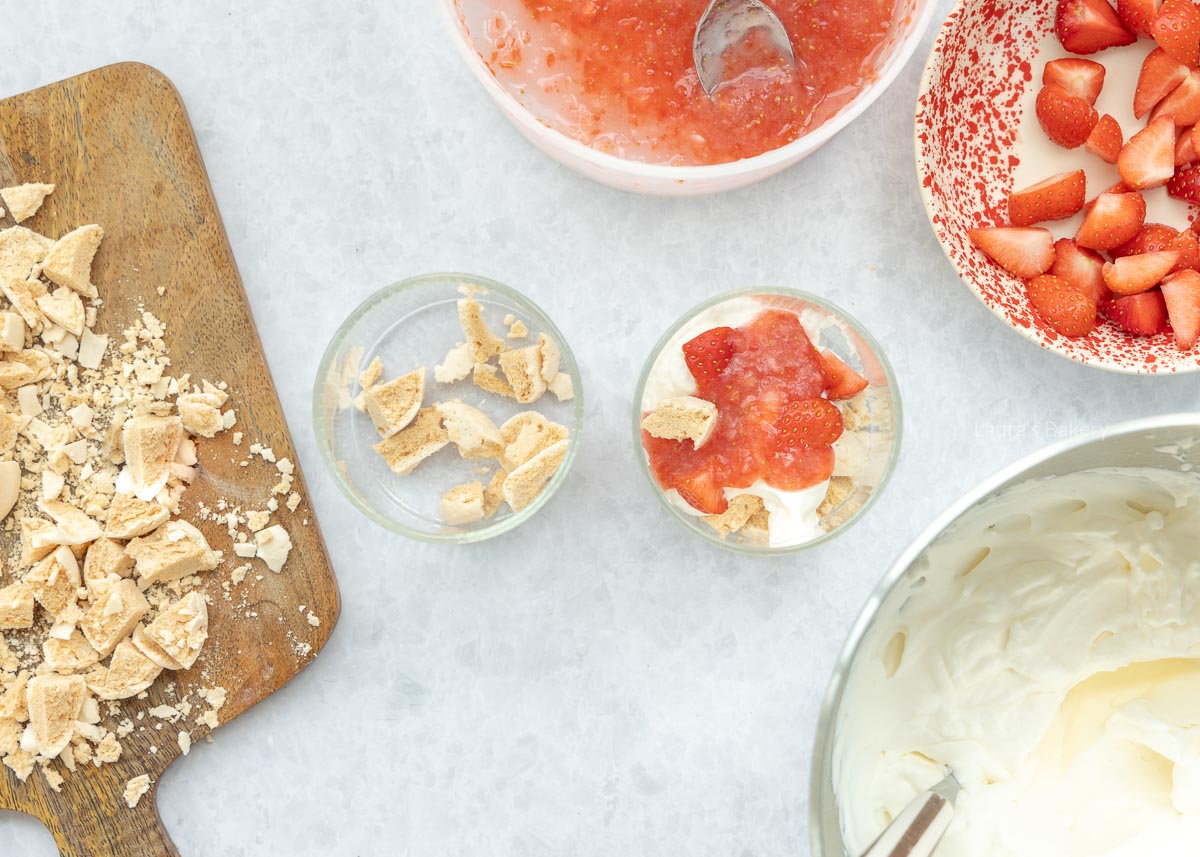
Whip the cream to soft peaks with the sugar
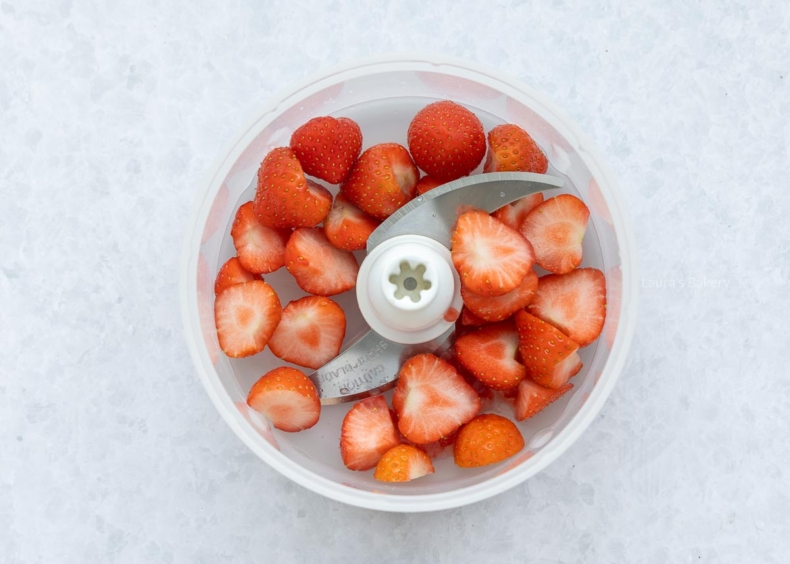
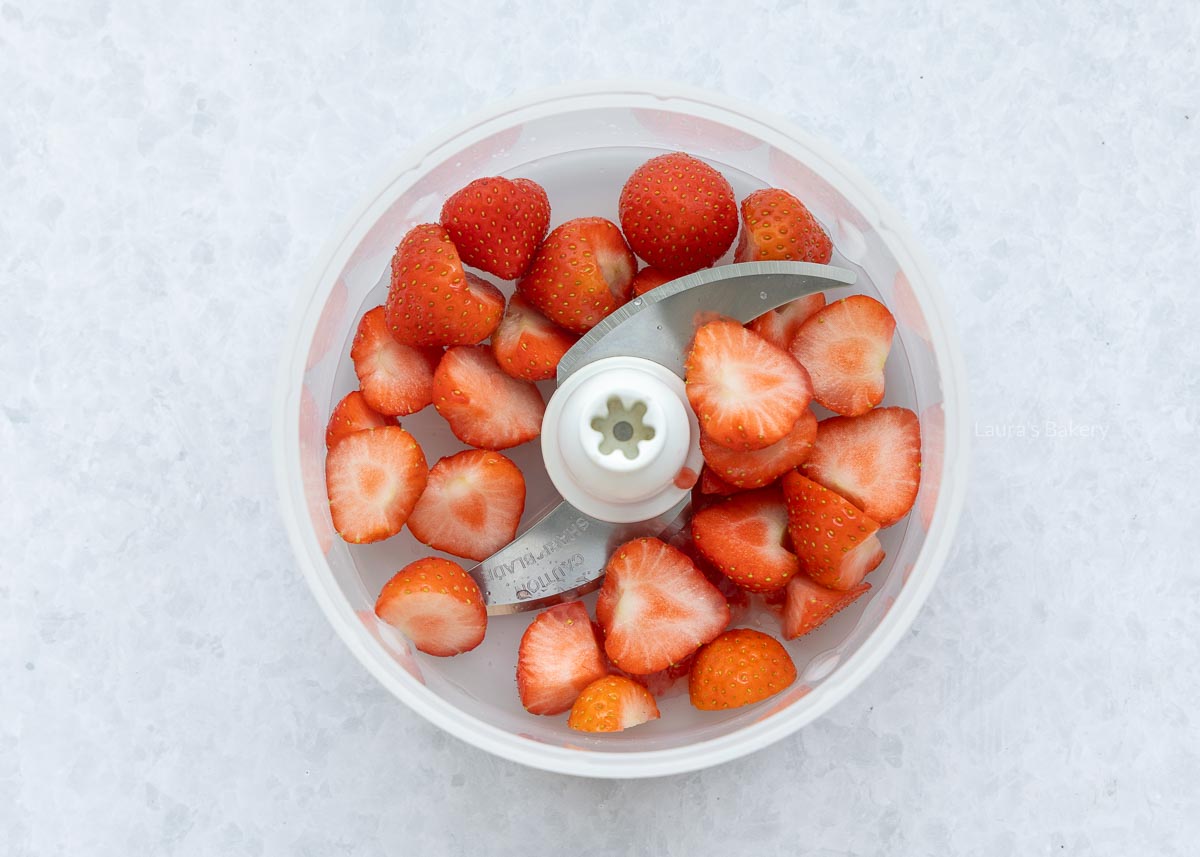
Puree 150 grams/5.5 oz cleaned strawberries with one tablespoon of powdered sugar
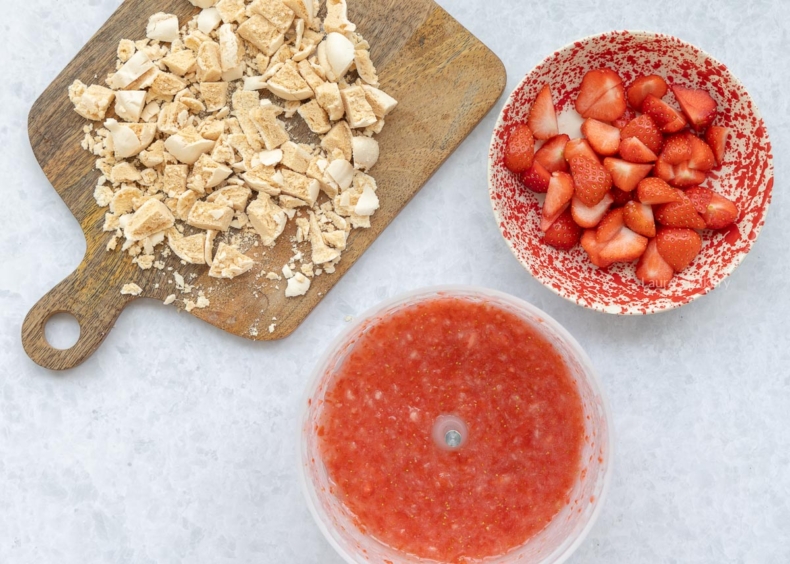
Cut the leftover strawberries and assemble all ingredients
This dessert is definitely at its best when served immediately. However, you can prepare the individual components one or even several days ahead of time.
The meringues can be baked one to two weeks in advance, the whipped cream can be prepared the day before and kept covered in the refrigerator, and the strawberry puree can also be made ahead. With those elements ready to go, assembling the dessert takes just minutes.
Once assembled, Eton Mess can be stored in the refrigerator for 1-2 days if covered. Keep in mind that the meringues will lose their crunch as they absorb moisture from the cream and fruit.
No, this dessert is not suitable for freezing.
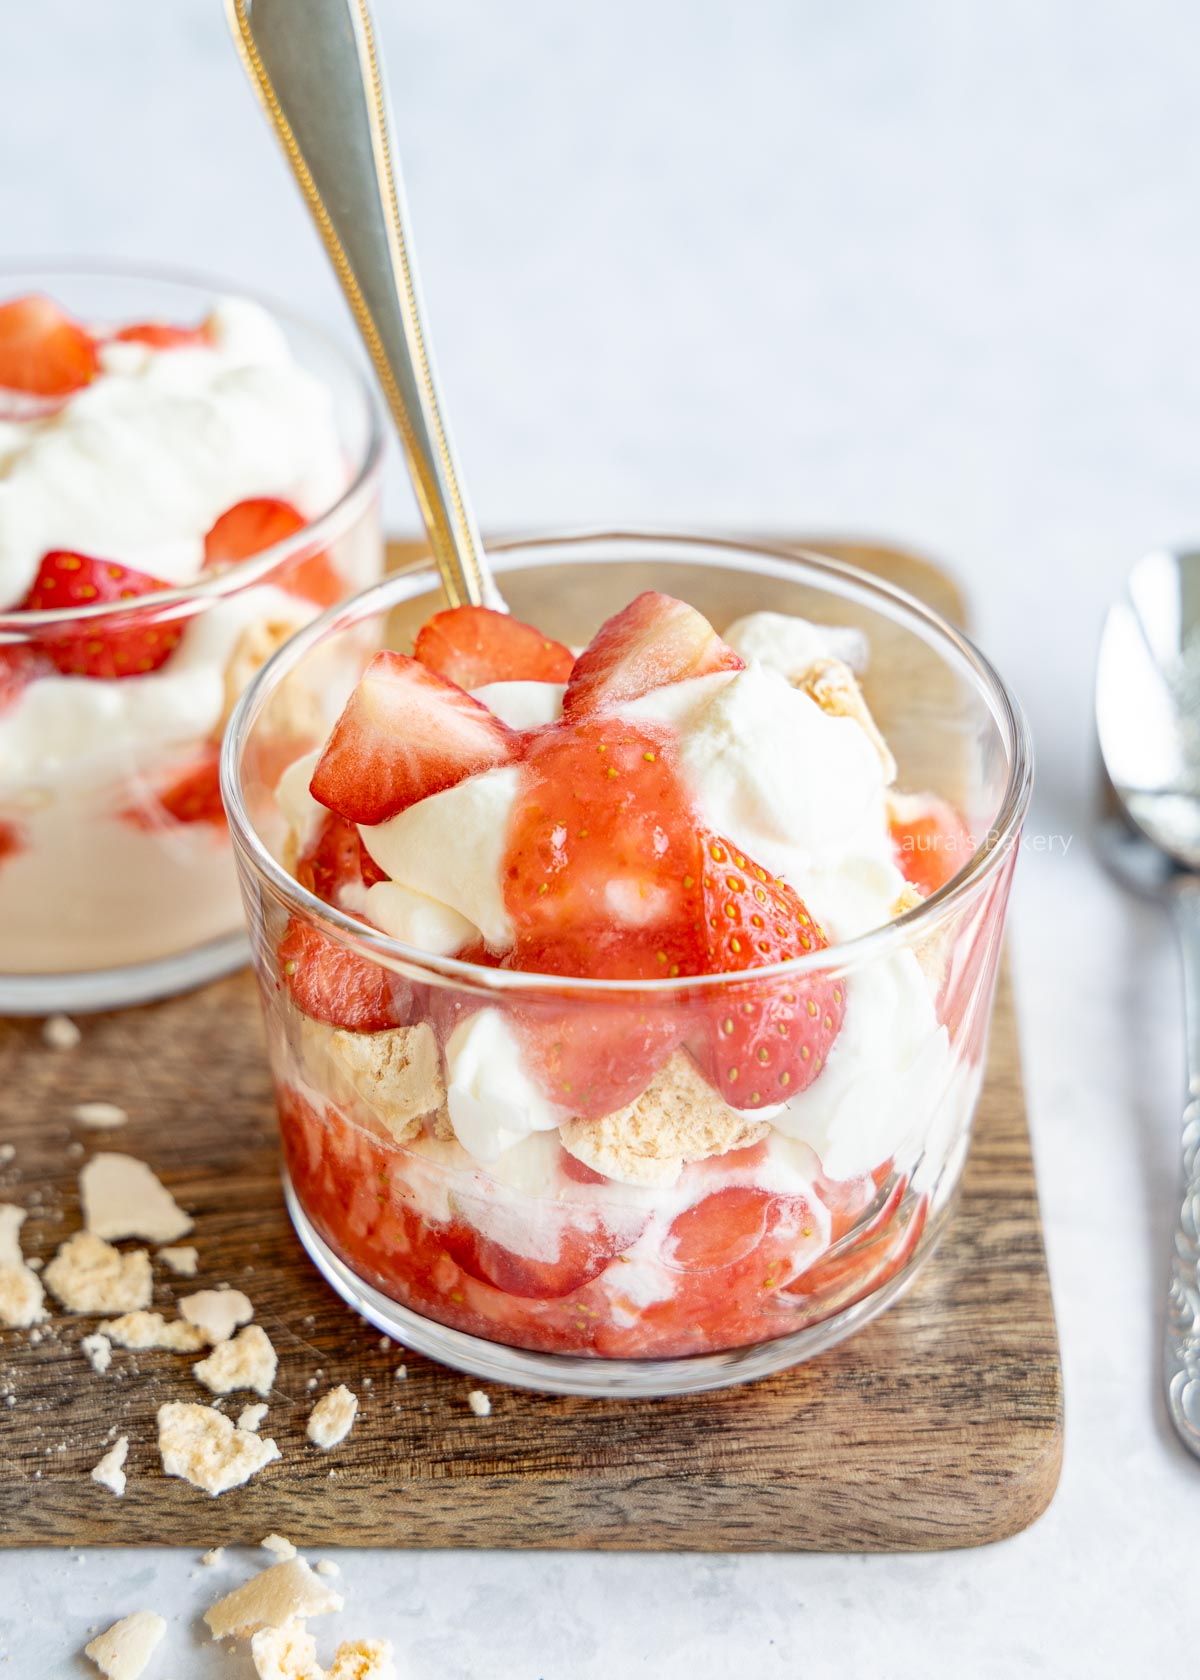
You can, but technically it won’t be Eton Mess anymore. Try replacing the meringue with ladyfingers or another crunchy cookie if you prefer.
Absolutely! There are plenty of ways to customize the meringues. Some delicious options include:
A mixed berry version is one of my favorites, but passion fruit also makes a delicious variation. Try:
You can, but frozen fruit tends to release more moisture than fresh fruit, which can affect the crispness of the meringue. It’s not my first choice for flavor and texture, but it does work. Just make sure the fruit is fully thawed and patted dry before using.
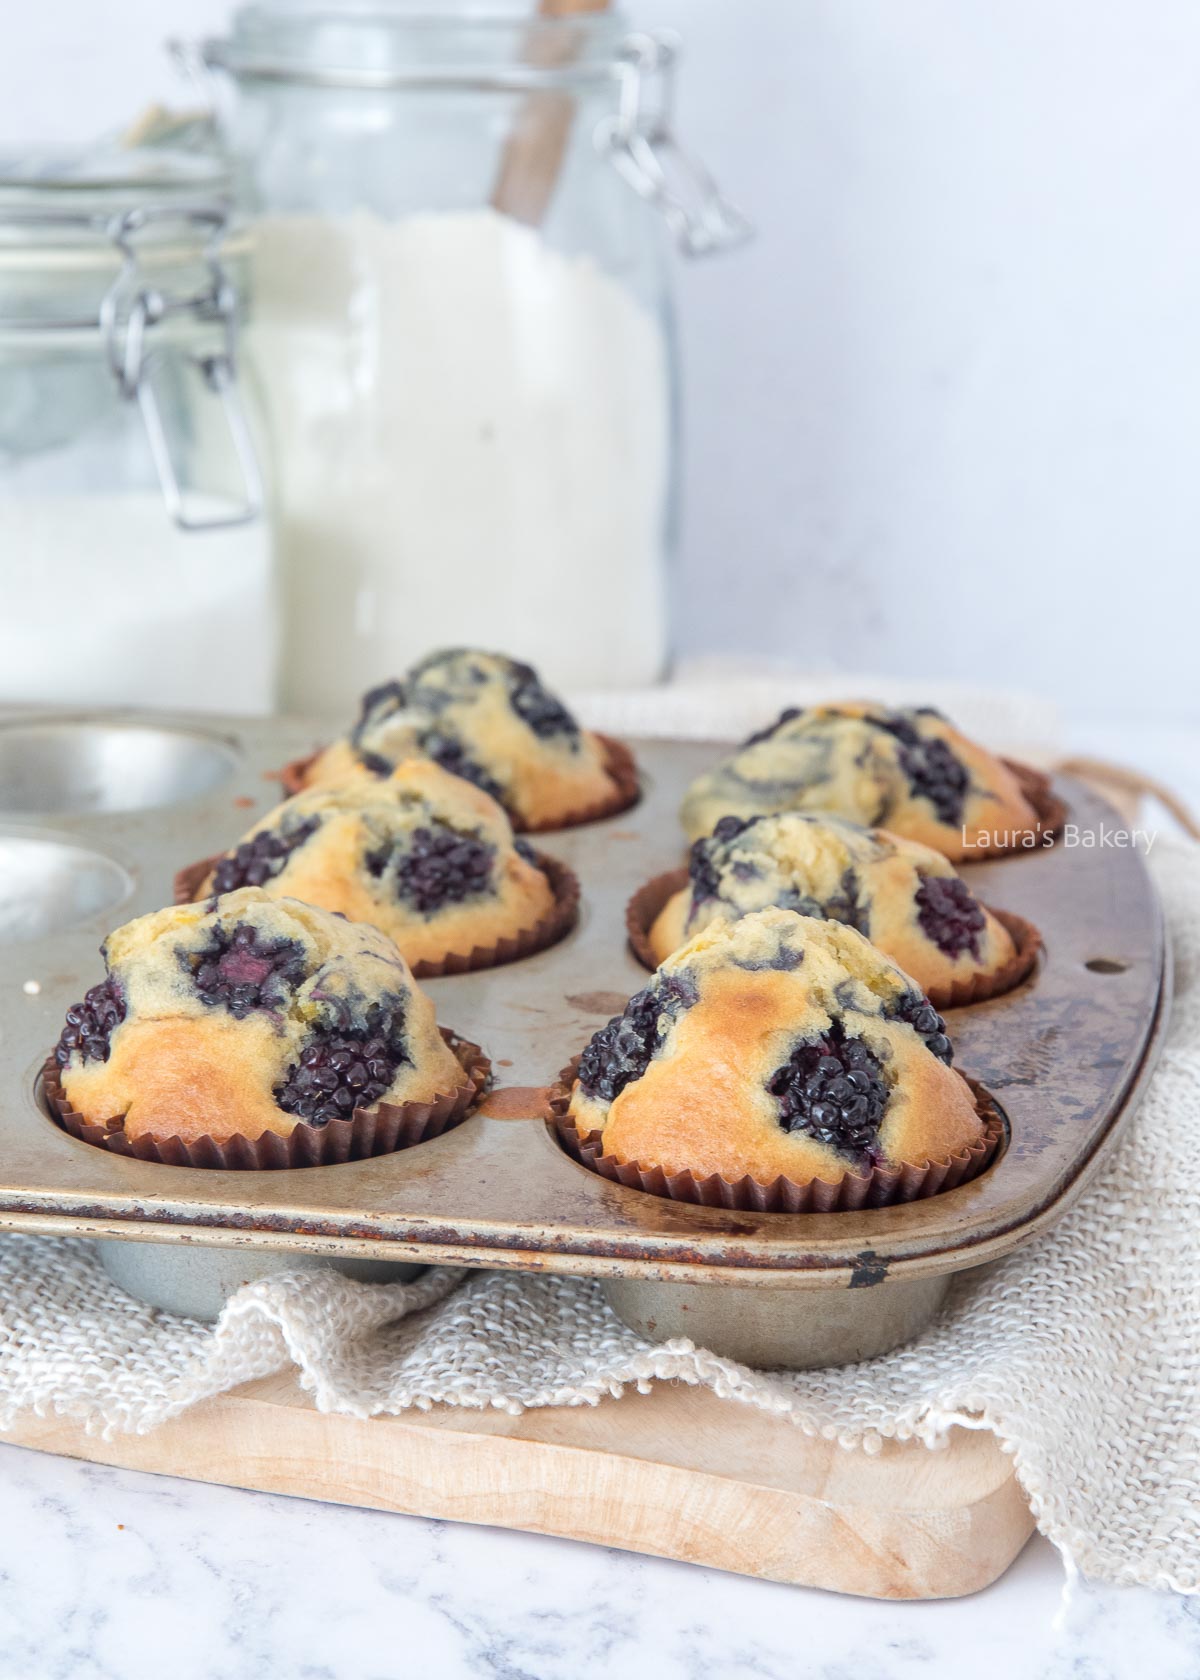
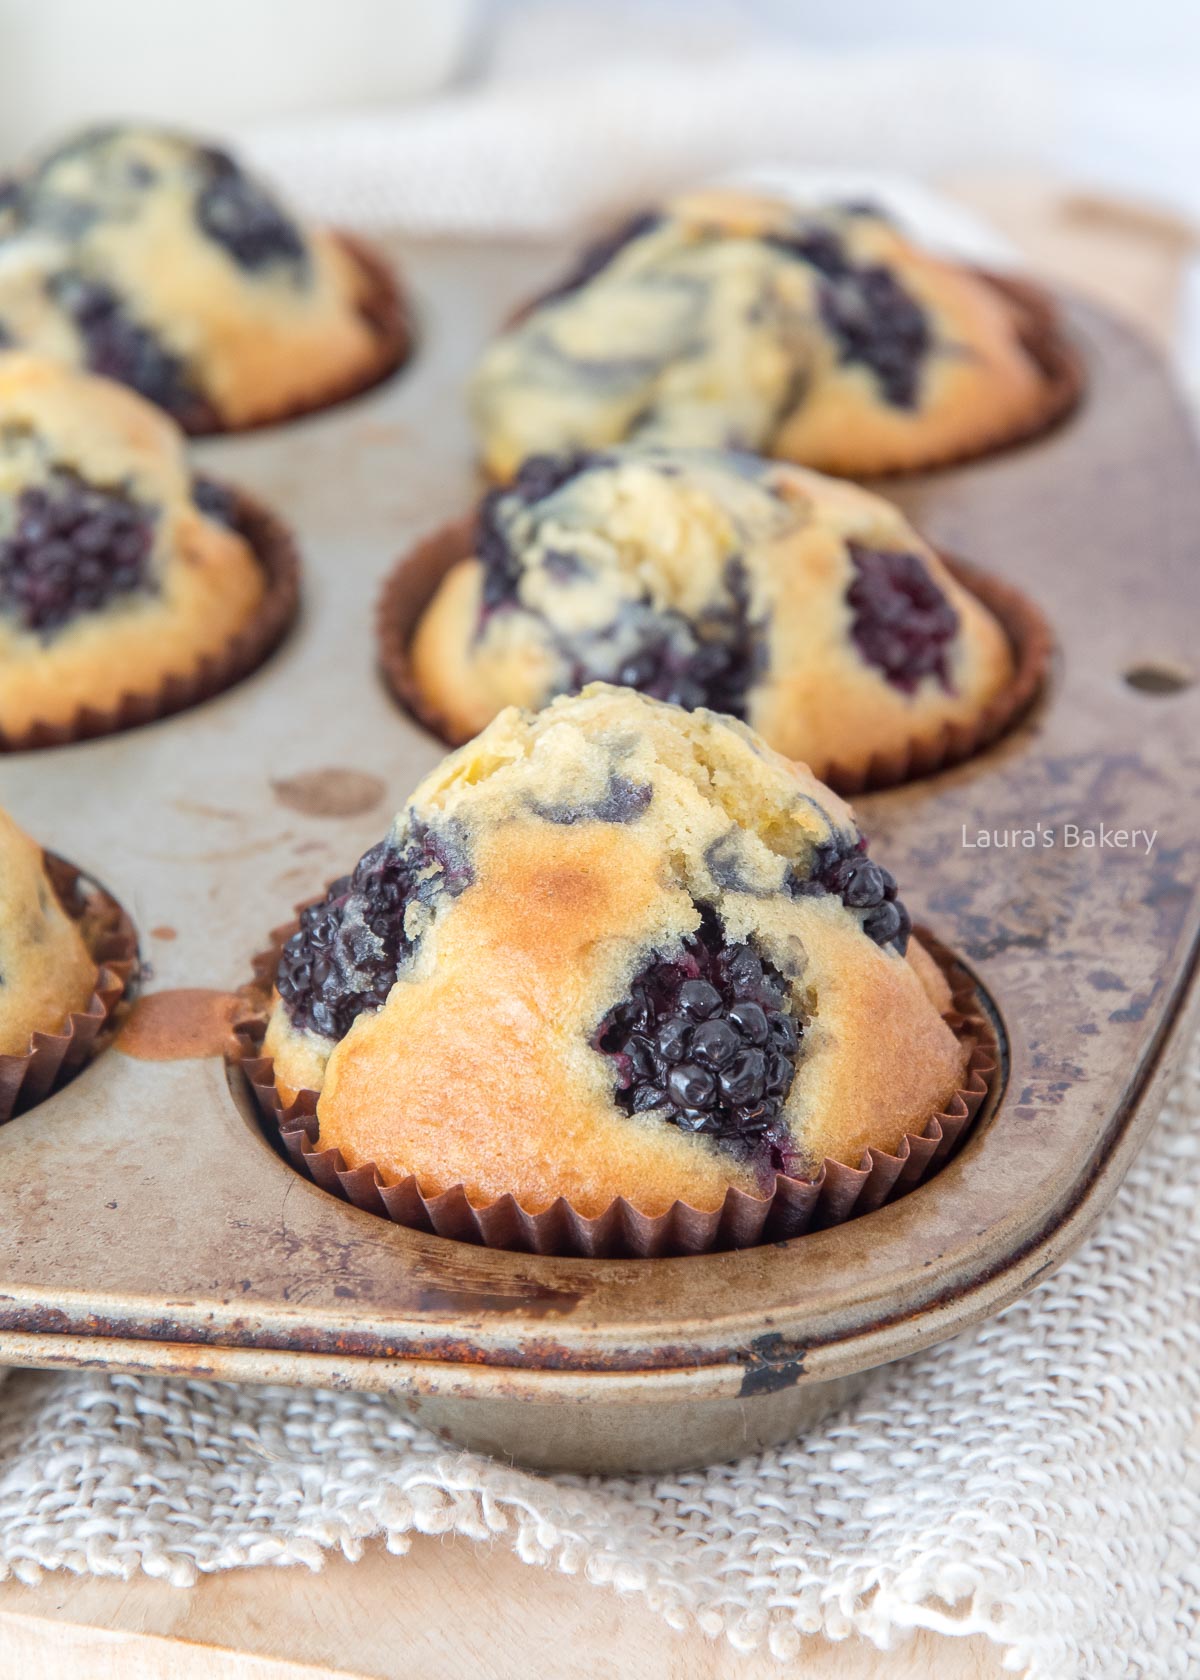
Muffins will always be a favorite around here, especially these lemon blackberry muffins. Because they taste amazing of course, but also for one very simple reason: you don’t need a mixer!
This delicious recipe for lemon blackberry muffins is not only easy to make without a mixer, it’s also the perfect balance between fresh and sweet. The oil used keeps the muffins extra moist and delicious and of course, using sweet blackberries will also help make this your favorite muffin recipe yet!
For making these delicious muffins you need the following ingredients. As usual, make sure to double-check the exact quantities in the recipe card below.
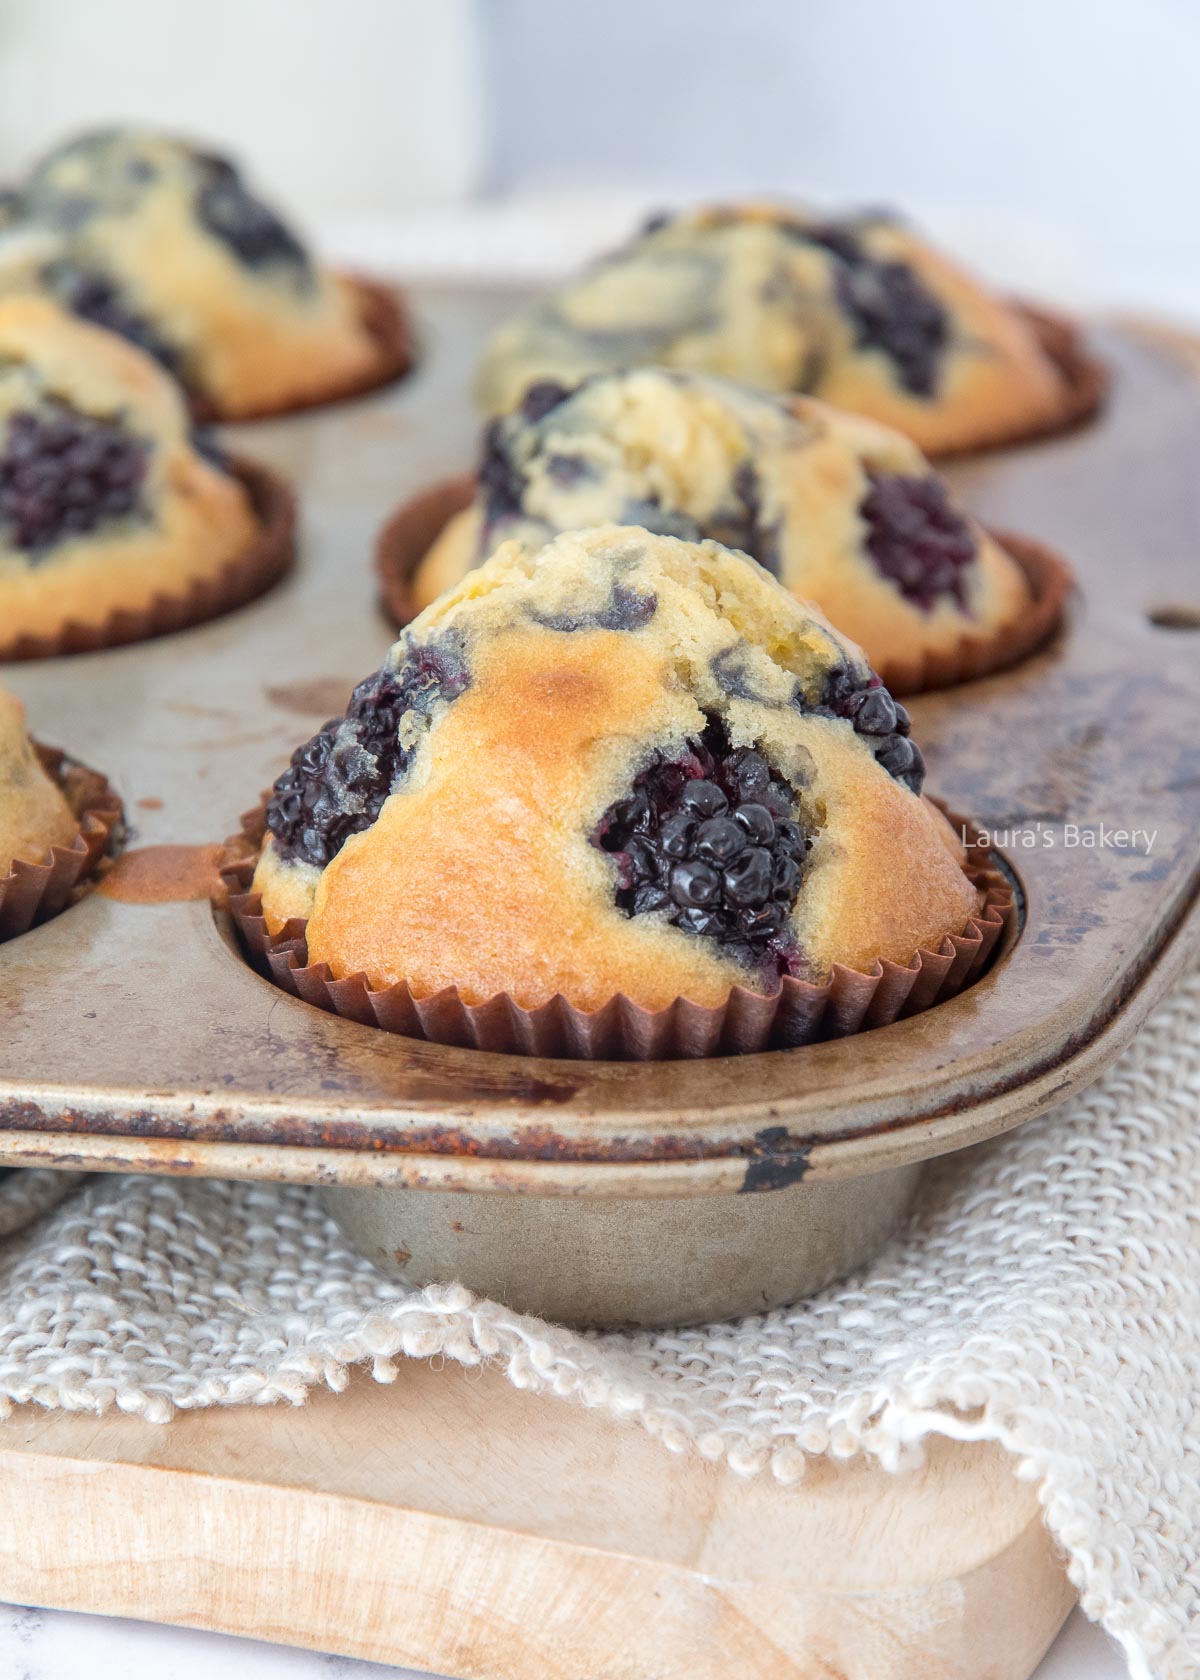
To start making the lemon blackberry muffins you take a large bowl and add the sugar, flour, baking powder, baking soda, salt and lemon zest. Use a spatula to stir through it.
In a separate bowl, combine the wet ingredients; eggs, milk, sunflower oil and the vanilla extract. Whisk until it is smooth.
Now simply add the wet ingredients to the dry ingredients and use a spatula to mix. As soon as it is combined stop mixing. It’s fine if the batter contains a few lumps. Cut the blackberries into smaller pieces. I tend to cut them in half.
Now add a little bit of the muffin batter into each muffin liner and place a few of the blackberry pieces on top. Add more batter and more berries. Layering the fruit like this helps to distribute the berries evenly through the muffin batter. And with delicate fruit like blackberries it prevents bruised fruit (and purple batter)!
I made two layers of the batter and the blackberries. Finish with a few blackberry pieces on the muffin tops. It’s fine to fill them almost to the top.
Bake for about 20 minutes at 400˚F/200˚C (conventional oven) until golden brown and fully baked.
You can store the muffins in an airtight container outside of the fridge for about 3-4 days.
Yes, these muffins freeze really well. I like to freeze them in single portions for ease of enjoyment later. Defrost them at room temperature before serving or briefly heat them in the oven.
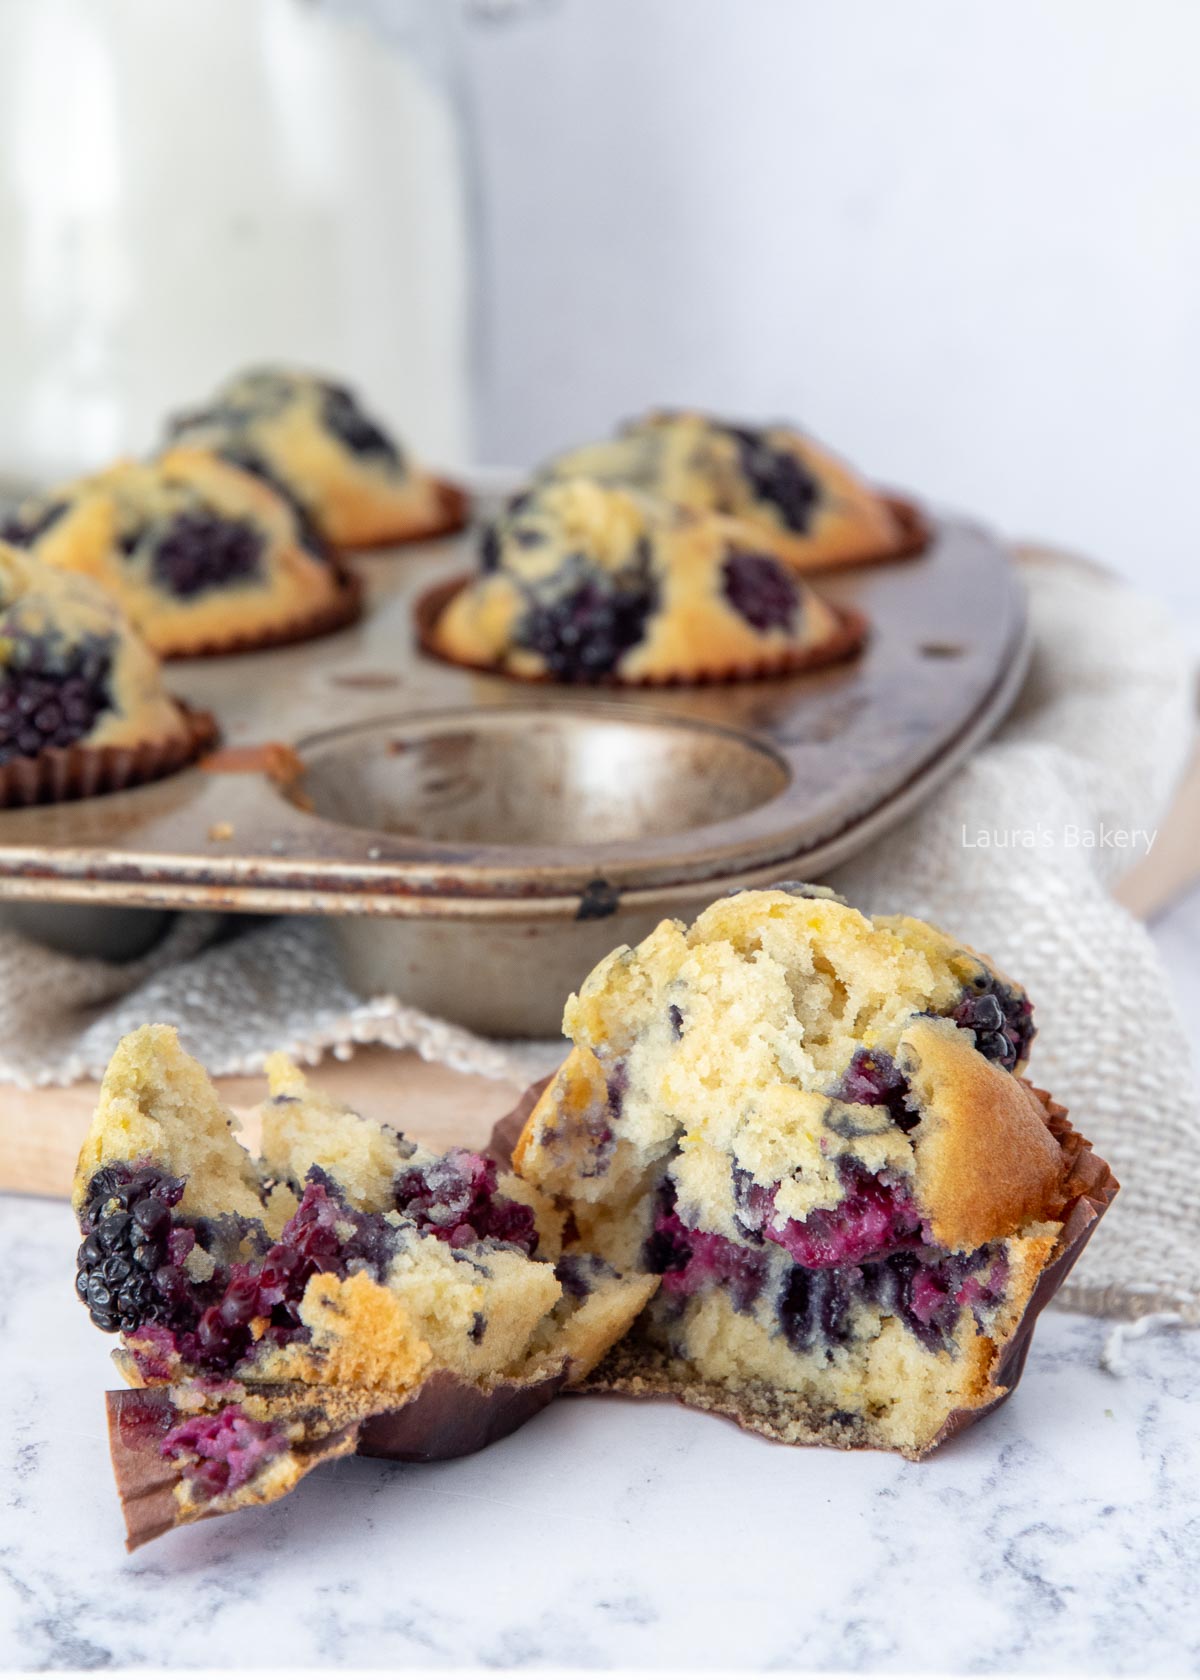
If you also love recipes that don’t require a mixer, there are plenty more options besides these lemon blackberry muffins. Especially handy if you simply don’t own a hand mixer or stand mixer.
A few favorites:
There are many more recipes you can make without a mixer, but these are a few of my personal favorites.
Now that blackberries are in season, I always have them at home. They go into my yogurt, but I also love using them in baking recipes. This blackberry tiramisu was a huge hit here at home.
You can of course buy blackberries at the grocery store, but many people also pick them fresh when they’re in season. That often means ending up with lots of blackberries to use up.
Before using them in a recipe, make sure to wash them well first. After that, they’re perfect for snacking or baking. Whenever I have a big batch of blackberries, I love making blackberry curd and blackberry jam. Stored in a sealed glass jar, it keeps really well.
Homemade jam is a great way to use up lots of fruit that might otherwise go to waste. Plus, you can enjoy baking with blackberries even in the middle of winter when they’re out of season and much more expensive.
Fresh blackberries are my favorite, but frozen blackberries work too. Keep in mind they release more moisture, which can affect both the baking time and the final texture. To help prevent this, let the berries thaw first and drain off the excess liquid.
I always use sunflower oil. Any neutral-flavored oil works well. Olive oil, for example, is not the best choice for sweet muffins.
There are actually quite a few differences. From butter versus oil in the batter to whether or not they’re topped with frosting. Muffins are generally a little less sweet and have a more rustic texture compared to cupcakes. Check out this article on the difference between cupcakes and muffins.
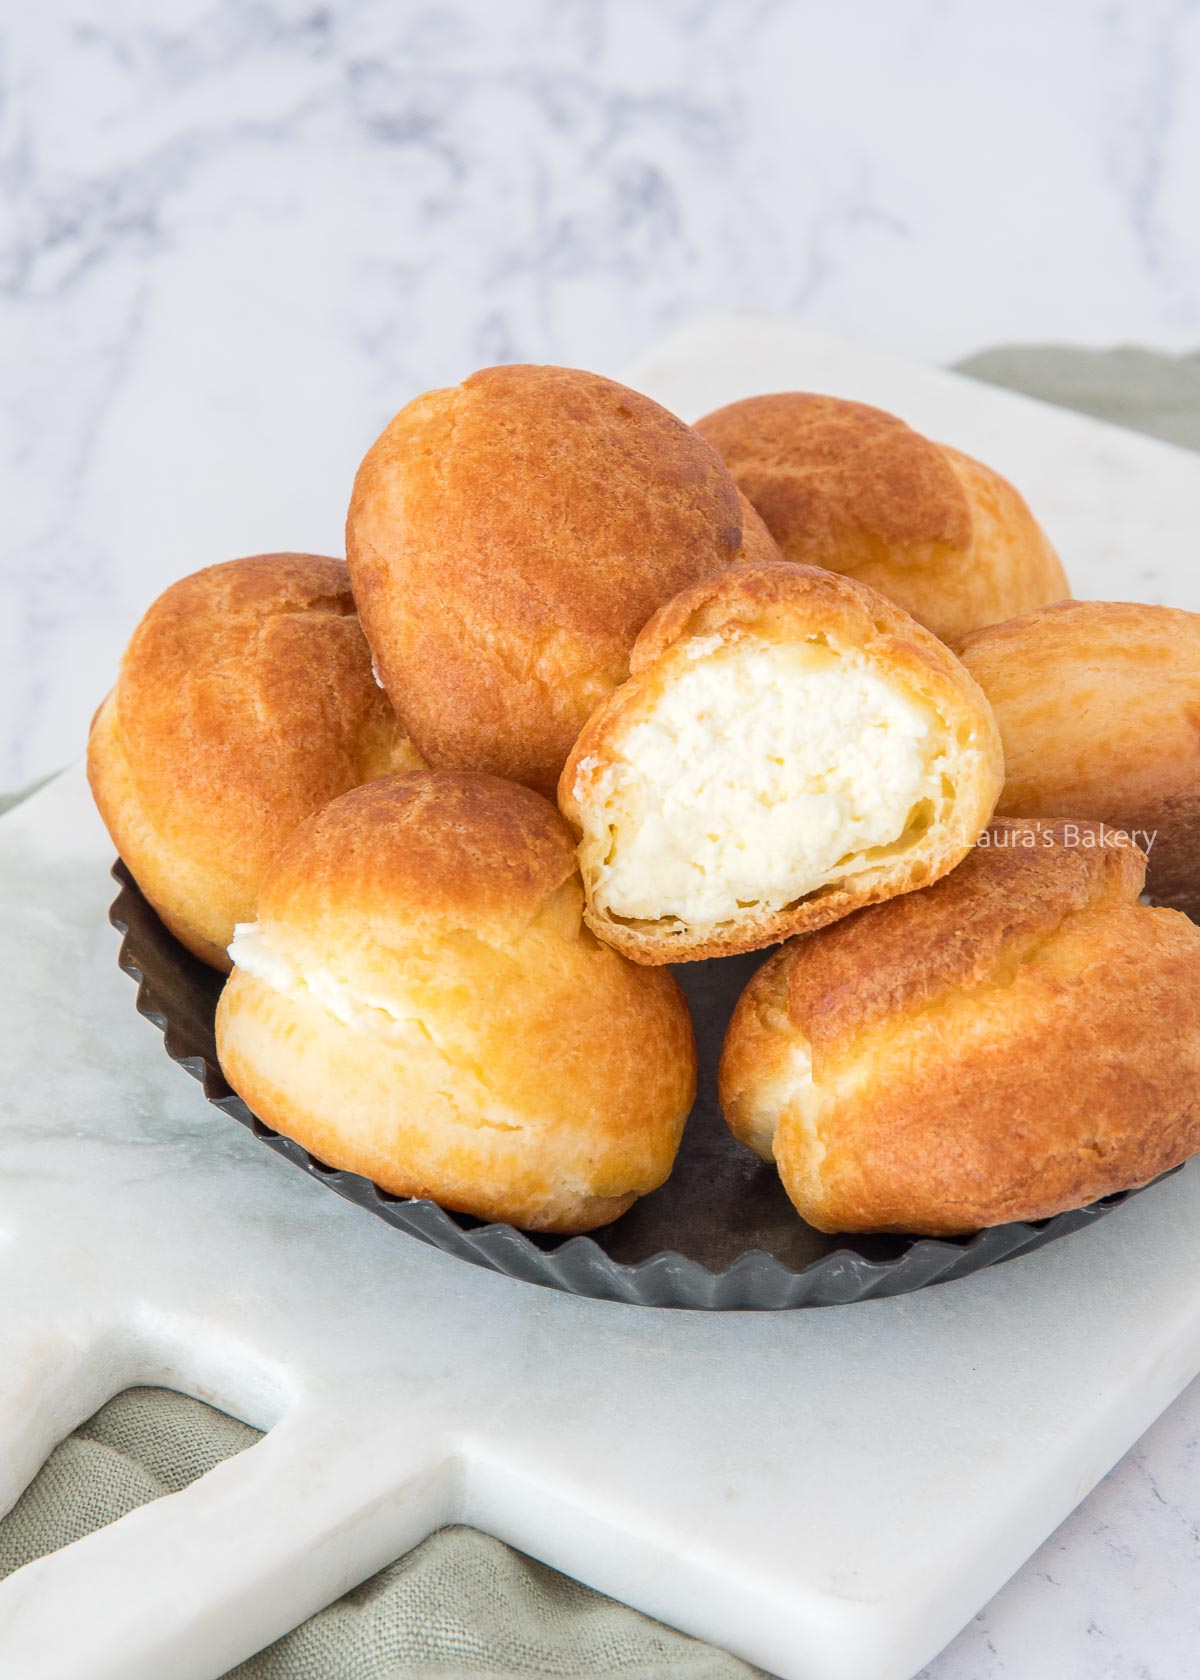
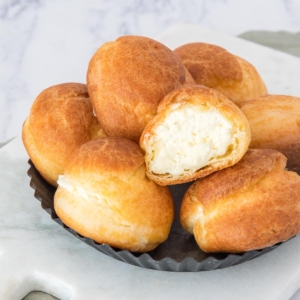
There’s nothing quite like freshly filled cream puffs. A fragile, golden orb of choux pastry encasing sweet, silky vanilla whipped cream in every bite! Dust with powdered sugar and enjoy them as a sweet treat with a hot beverage or as a light dessert.
Master French choux pastry, and a world of possibilities opens up, starting with a batch of irresistible cream puffs. Filled with simple vanilla whipped cream, this classic French dessert is effortlessly impressive and suits any occasion.
With your French pastry dough ready, all that’s needed is a light, vanilla-infused whipped cream to complete these classic cream puffs. Make sure to follow the recipe card below for the full details:
BAKING TIP: Make sure to allow the baked cream puff shells to cool completely before filling them or the residual heat will make the creamy filling runny.
Start by preparing the choux pastry according to the recipe. Remember, you’re going to halve the ingredients for making the right amount of pastry puffs for the amount of cream filling in this recipe.
Next, whip the heavy cream with the vanilla sugar and stabilizer, if using, until stiff peaks form. Pipe the filling in a piping bag with a small round tip.
Insert the tip into the bottom of each pastry puff and fill each with the cream filling. Alternatively, you can cut a small hole in each pastry puff to fill generously.

Once filled with sweet cream, these perfect cream puffs should be stored in an airtight container in the fridge for 2-3 days.
I don’t recommend freezing these cream puffs once they have been filled as it can affect the texture of the filling. Instead, you could prepare and bake the cream puff shells to store in the freezer for up to 1 month and then thaw, reheat, and fill with fresh whipped cream mixture.
The best desserts often play with contrasting textures. And for me, nothing beats a creamy filling inside a crisp pastry shell or crust.
While whipped cream is a favorite choice, a more traditional filling for pastry puffs is rich vanilla pastry cream. That said, you can also have fun and fill them with an instant pudding mix, ice cream, sweetened cream cheese, Cool Whip, decadent chocolate ganache, or even curd like my homemade lemon curd.
These cream puffs are great served as a standalone treat or dessert, or you can enjoy them alongside a chocolate fondue that you can dip these pastry puffs into.
Leave them plain, sprinkle the top of the pastry puffs with powdered sugar, or drizzle with a chocolate glaze.
I recommend making the pâte à choux (pastry shells) in advance to save time and store them unfilled at room temperature in an airtight container for 1-2 days or in the freezer for longer.
When ready to enjoy, make the filling from scratch and reheat the pastry shells in the oven to regain some crispiness. Fill them and serve.
Yes, you can. While the traditional method is to fill the pastry puffs with piped whipped cream filling, you can cut the shells in half and sandwich them with the whipped cream instead.