How to temper chocolate without a thermometer

Posted: September 1, 2024 Last modified: September 5, 2024
How to temper chocolate without a thermometer

Yes you can temper chocolate without using a thermometer! How you do it I’ll explain here.

How to temper chocolate without a thermometer

A few years ago, I knew nothing about melting chocolate or the world of chocolate, but I wanted to know why it stayed so soft after it had set to room temperature, so I did some research. If you’ve ever melted chocolate, you’ve probably come across the word tempering. In a nutshell, by heating the chocolate you break up the cocoa butter and crystal structure of the sugar, and by lowering the temperature you repair them.

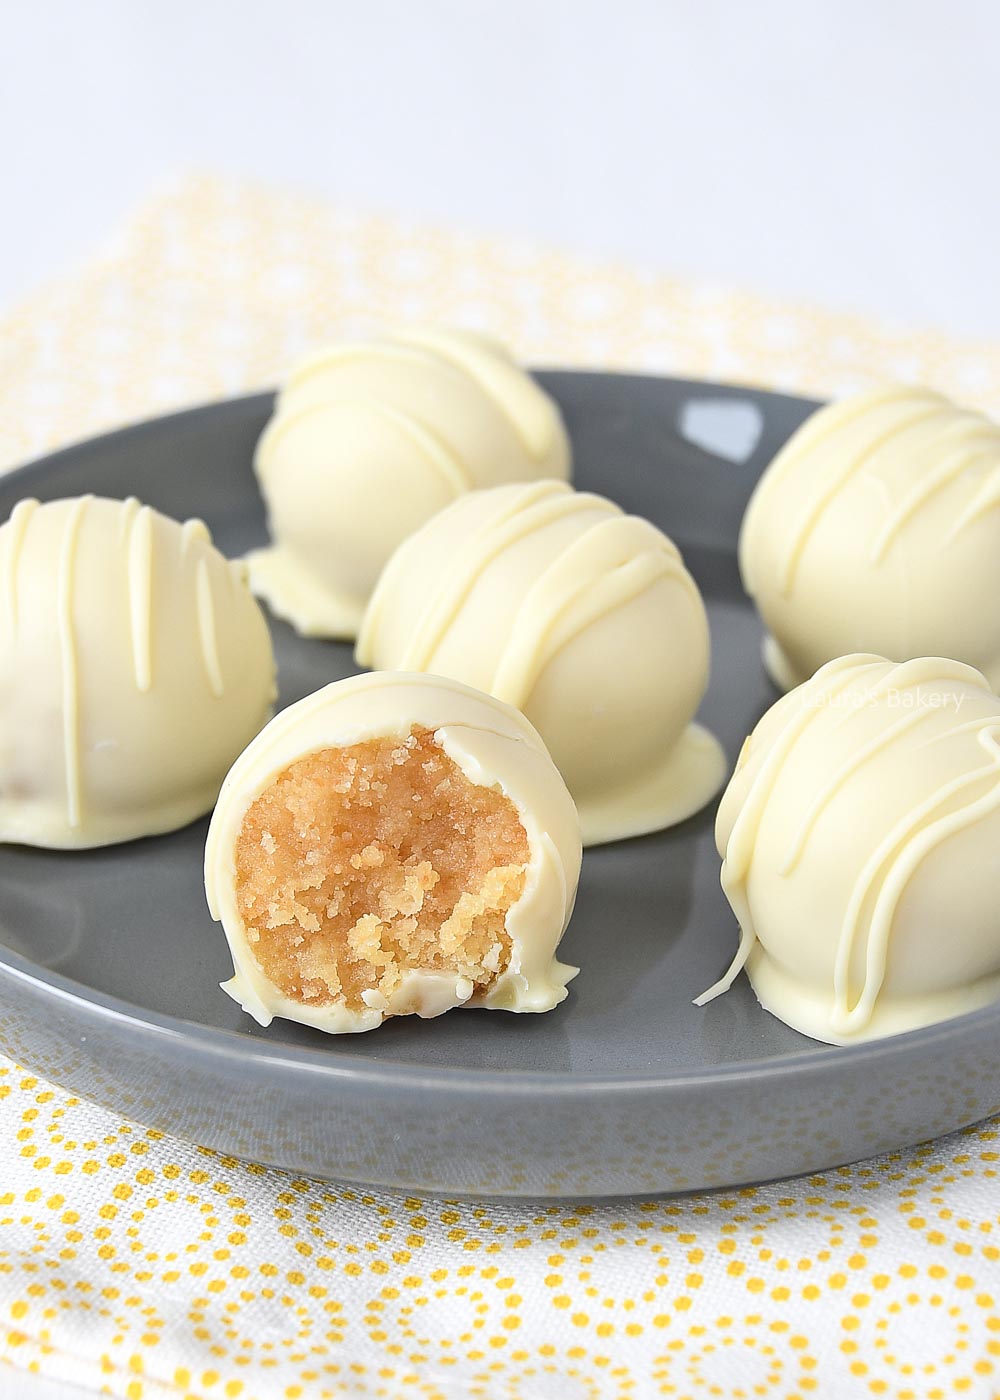
Before the chocolate sets again, you are able to change the shape of the chocolate. For example; dipping truffles in melted chocolate, making chocolate-covered pretzels or simply filling a candy mould. Or try and make these traditional ‘bokkenpootjes‘! Today I’ll share my top tip for tempered chocolate without a candy thermometer.

temper chocolate without a thermometer

temper chocolate without thermometer

With or without a thermometer

There are two ways to temper your chocolate: with or without a thermometer. Without a thermometer, the tempering process is a little less fiddly and therefore easier, but because you can’t be sure of the exact temperature, there’s a chance it won’t be quite right.

Nevertheless, I almost always opt for the tempering method without a thermometer. I do this by melting part of the chocolate and then adding the rest. This is also called the seeding method. When I first started using this method it didn’t always work, but now that I got the hang of it it hardly ever goes wrong.

With a little practice you get to know how chocolate behaves and you will know when it has just the right temperature. Of course there are a couple of tips and tricks on how to get this right. I’ll explain below.

Au bain marie/double boiler

First you start by dividing the chocolate into three separate parts. Melt two of them at a time and add the last one later to lower the temperature. Due to the different temperatures of the chocolate, the mixture will cool down.

Chocolate can be melted in a double boiler or in the microwave. Different types of chocolate will react different. Milk and dark chocolate are easier to melt than white chocolate. This is because white chocolate is sensitive to heat. If it gets too hot, it burns and becomes grainy. In the microwave, I always melt the chocolate in 10-second intervals in a microwave-safe bowl, so you can keep an eye on it and make sure it doesn’t go too fast and get too hot.

Of course, you can also melt the chocolate in a double boiler, just make sure the bowl does not touch the water and keep a close eye on it. For any type of chocolate, stop heating as soon as it is completely melted.

For a microwave you can use a glass bowl, for melting it in a double boiler you can use either a glass bowl or a heat proof bowl

Make sure the first part of the chocolate is completely melted before you add the remaining chocolate. The extra chocolate will bring down the heat of the already melted part which brings the temperature down and repairs the crystals.

Keep stirring until all chocolate has melted and is at the right temperature.

temper chocolate without thermometer

What is a double boiler

A double boiler (also called by the french name ‘au bain marie’) is usually a pan containing a small amount of water and a heat proof bowl that sits on top of the pan. You add the chocolate bars, chopped chocolate or couverture chocolate to the bowl and let it slowly melt. The bottom of the bowl should never touch the water bath in the pan and by heating the water in the pan the chocolate will slowly melt from the steam of the hot water. This is the best way to melt chocolate.

Upper lip

Once the chocolate is melted, check the temperature. Since you won’t be using a thermometer, you’ll have to rely on yourself with a simple trick. Dip the tip of your finger into the chocolate and dab it on your upper lip. Your skin is much more sensitive here, so it acts as a thermometer. Does the chocolate feel slightly cool? Then it’s at the desired temperature and you can keep working with it! If it is still a little warm, continue to stir gently, checking the temperature of the chocolate from time to time.

Some chocolate connoisseurs will raise their eyebrows and call me crazy (or maybe they will anyway) because this is not the official method. If you want to have absolute control over your chocolate tempering, use a thermometer. However, I learnt this trick from a chocolatier at the Baking Museum and it works every time (after a few practices). And since not every home baker has a (sugar) thermometer in the kitchen drawer, I’m happy to share this tip with you!

The result

Whichever method you use, once the chocolate is at the right temperature, you can work with it. The result? The chocolate sets faster, has a beautiful glossy finish and you hear the desired ‘snap’ when you break the chocolate. No more dull, whitish and soft chocolate! It might not work the first time, but don’t give up. I had to practice a few times too before I got the hang of it and knew exactly how the chocolate should feel in terms of temperature.

Do you prefer to play it safe? Soon I will also cover the traditional method with the thermometer method of tempering.

Links in this article may be affiliate links. If you purchase something through such a link, I will receive a small commission, without you paying anything extra.

Leave a comment

Your email address will not be published. Required fields are marked *