Can I use fresh passion fruit instead of frozen pulp?
Yes! Simply scoop out the pulp from fresh passion fruits. Strain if needed to remove excess seeds before measuring.
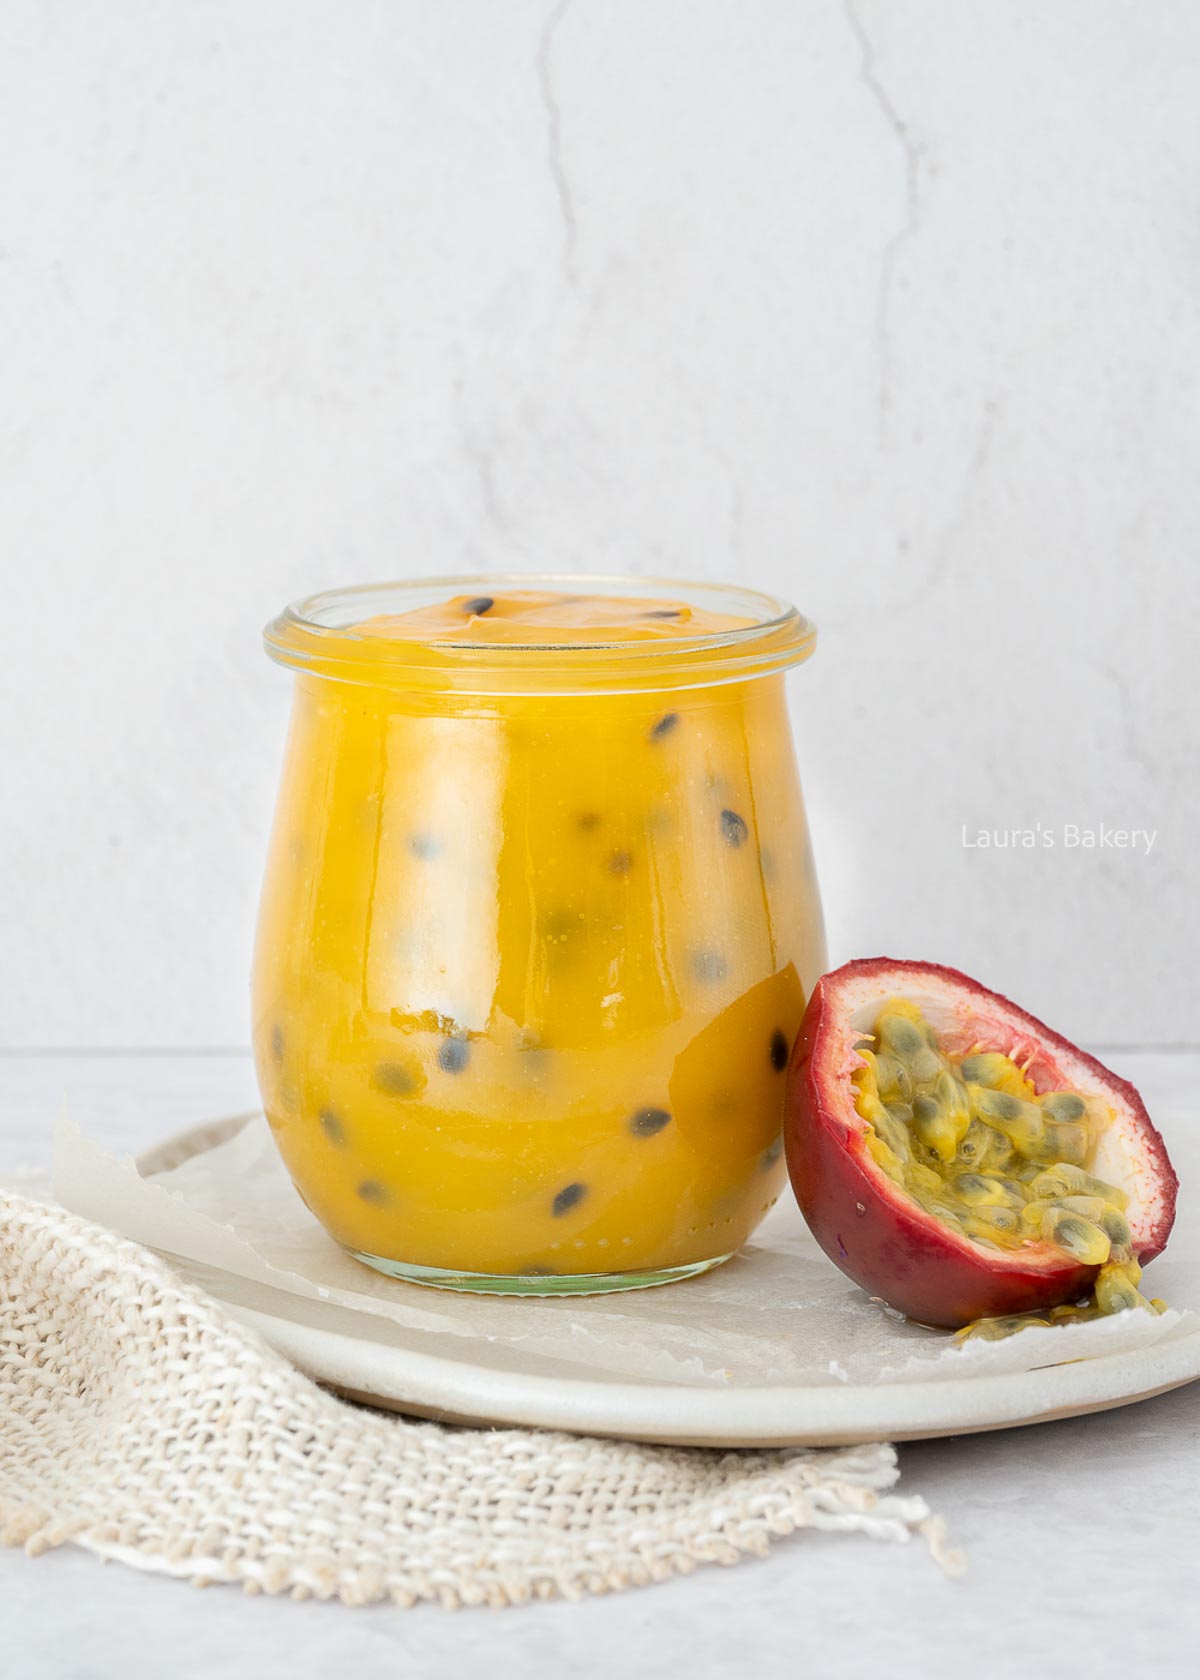
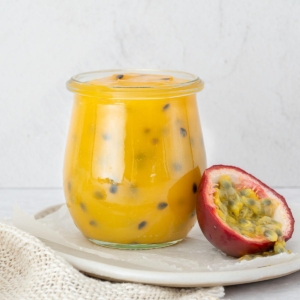
Passion fruit is one of those flavors I’ve completely rediscovered. So good! And this passionfruit curd is a must try if you love this fruit as much as I do!

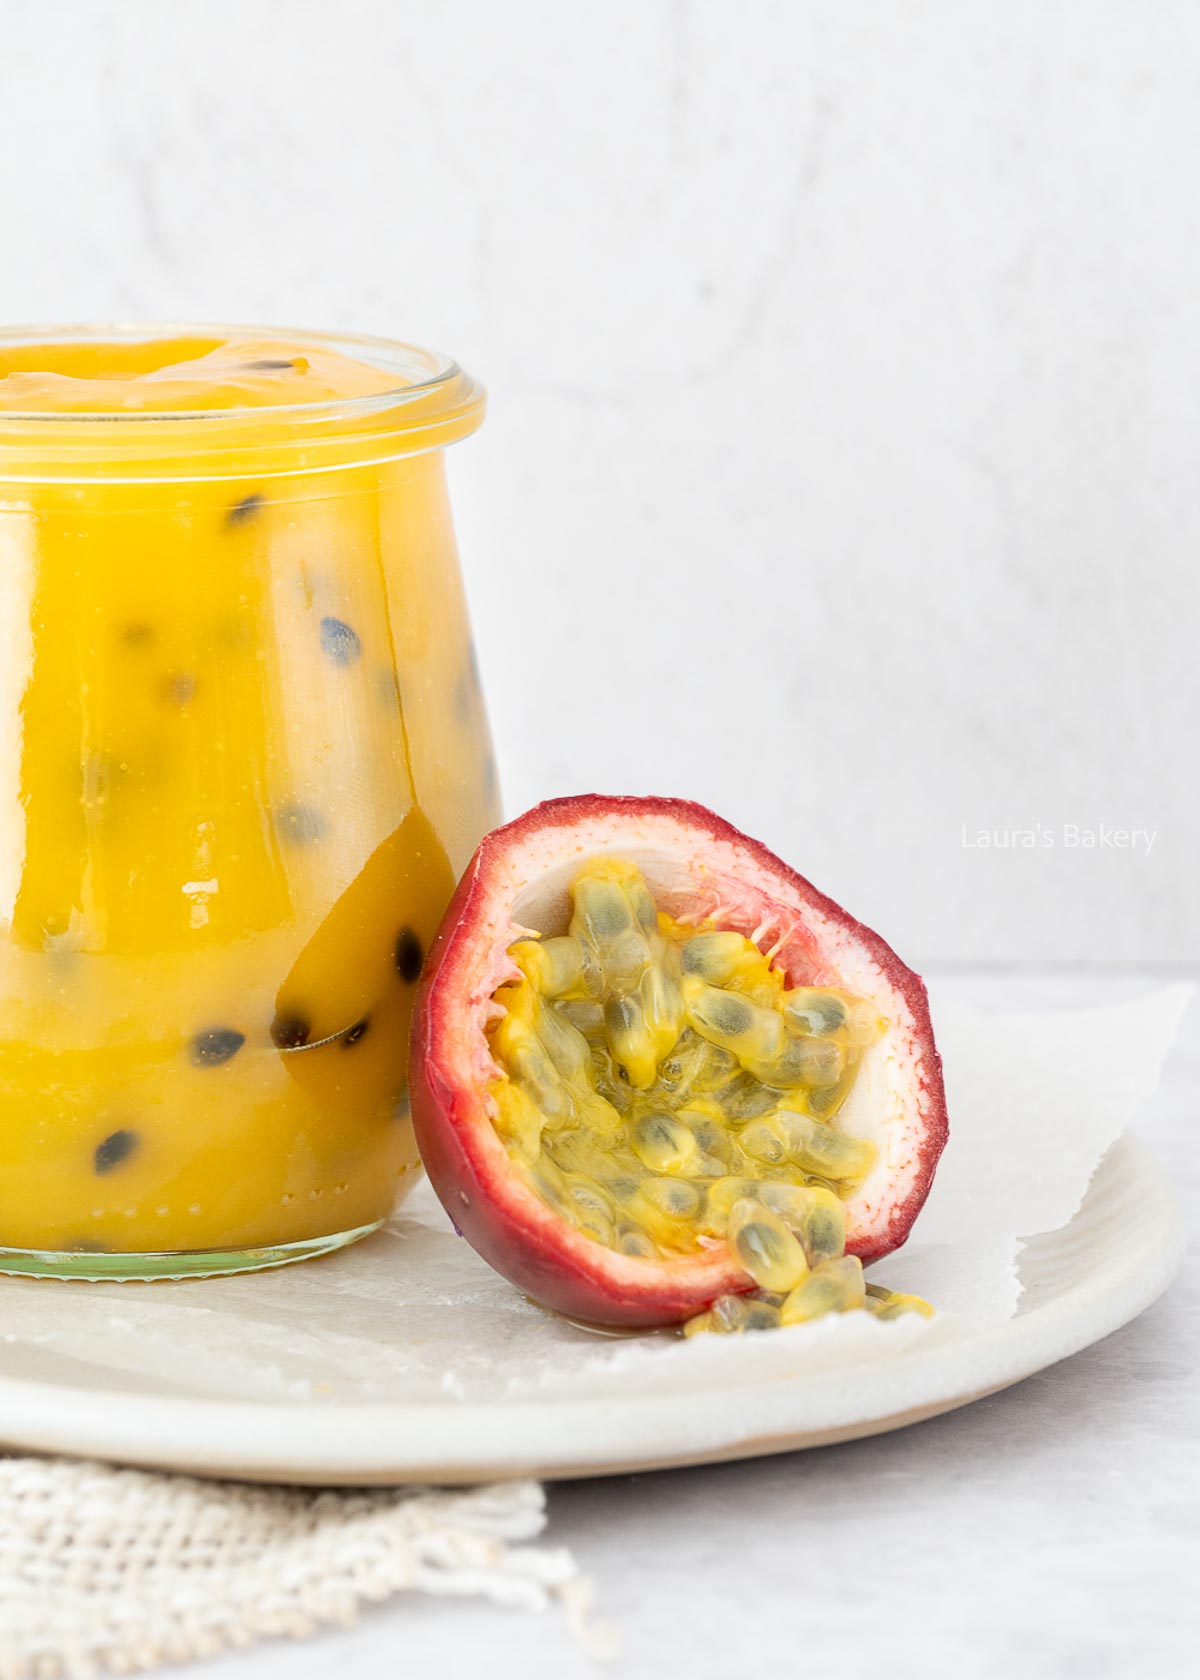
If you love a good lemon curd, you’ve got to try this passion fruit recipe!
When making the passion fruit curd you start by taking a small saucepan. Add the passion fruit pulp, lemon juice, sugar and the butter to the pan and melt it all together on low heat. You want the sugar to be completely dissolved.
In a separate bowl, you whisk the eggs with the cornstarch until it is smooth and without lumps. Once the passion fruit mixture is ready, you gradually add it to the egg yolks while you keep whisking. Make sure the passion fruit mix is not too hot when you’re doing this.
Once combined you add it all back to the saucepan. Cook on low heat, stirring constantly, until the mixture starts to boil. Let it boil for a short amount of time and then remove from the heat. It should have thickened nicely.
You can test this with the back of a spoon. Dip into the curd and run your finger through it. If the line stays visible it has thickened enough.
At this point you can add it to sterilized jars.
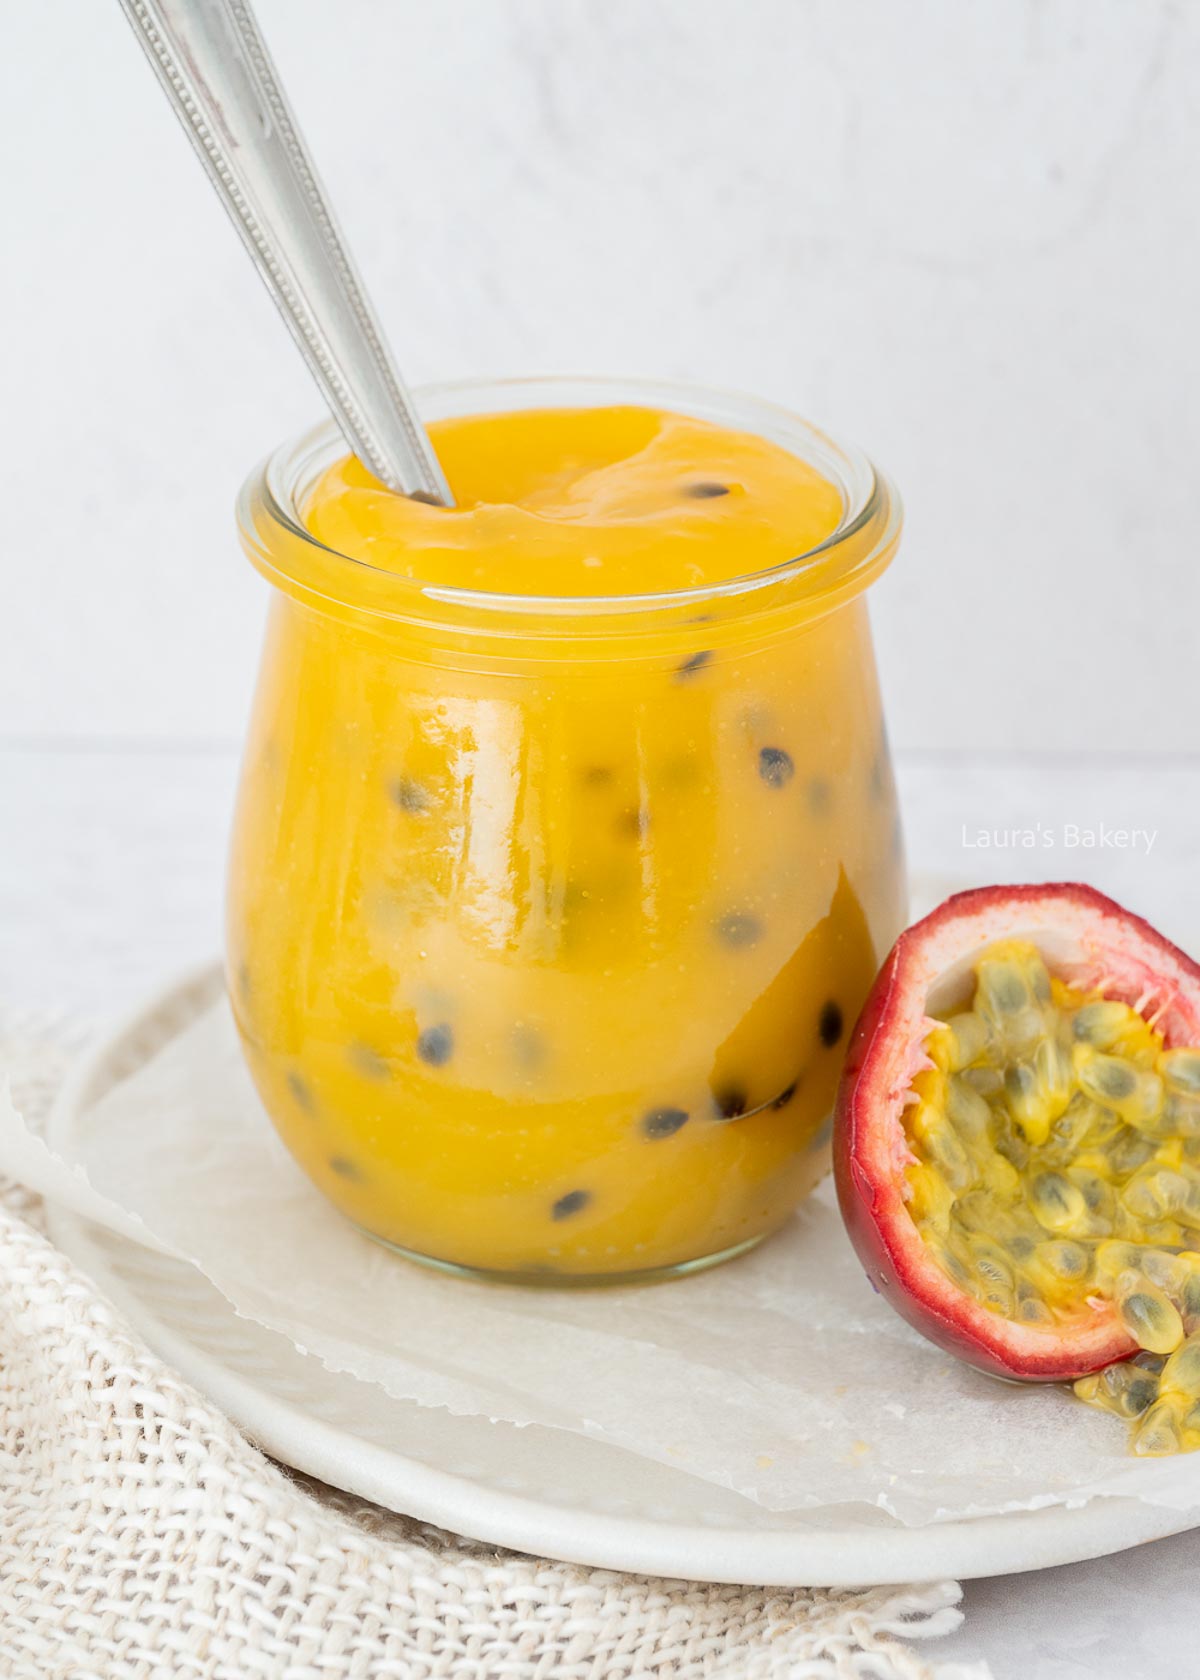
If you’ve properly sterilized the jars you can store this delicious passion fruit curd for up to a year in a cool and dark place.
You can also freeze the passion fruit curd for up to a year which is useful if you haven’t sterilized the jars properly. You can also freeze it in freezer bags or an airtight container.
While lemon curd is the first thing that usually comes to mind, there are a lot more options when making homemade curds. Check the recipes below.
Once you’ve made this passion fruit curd recipe there are endless ways to use it. I love scooping some on my bowl of yogurt in the morning, but it’s also just as delicious served with pancakes or ice cream.
And of course, you can use it in almost all recipes that use lemon curd, like in these lemon curd cookies or the mini lemon meringue tarts.
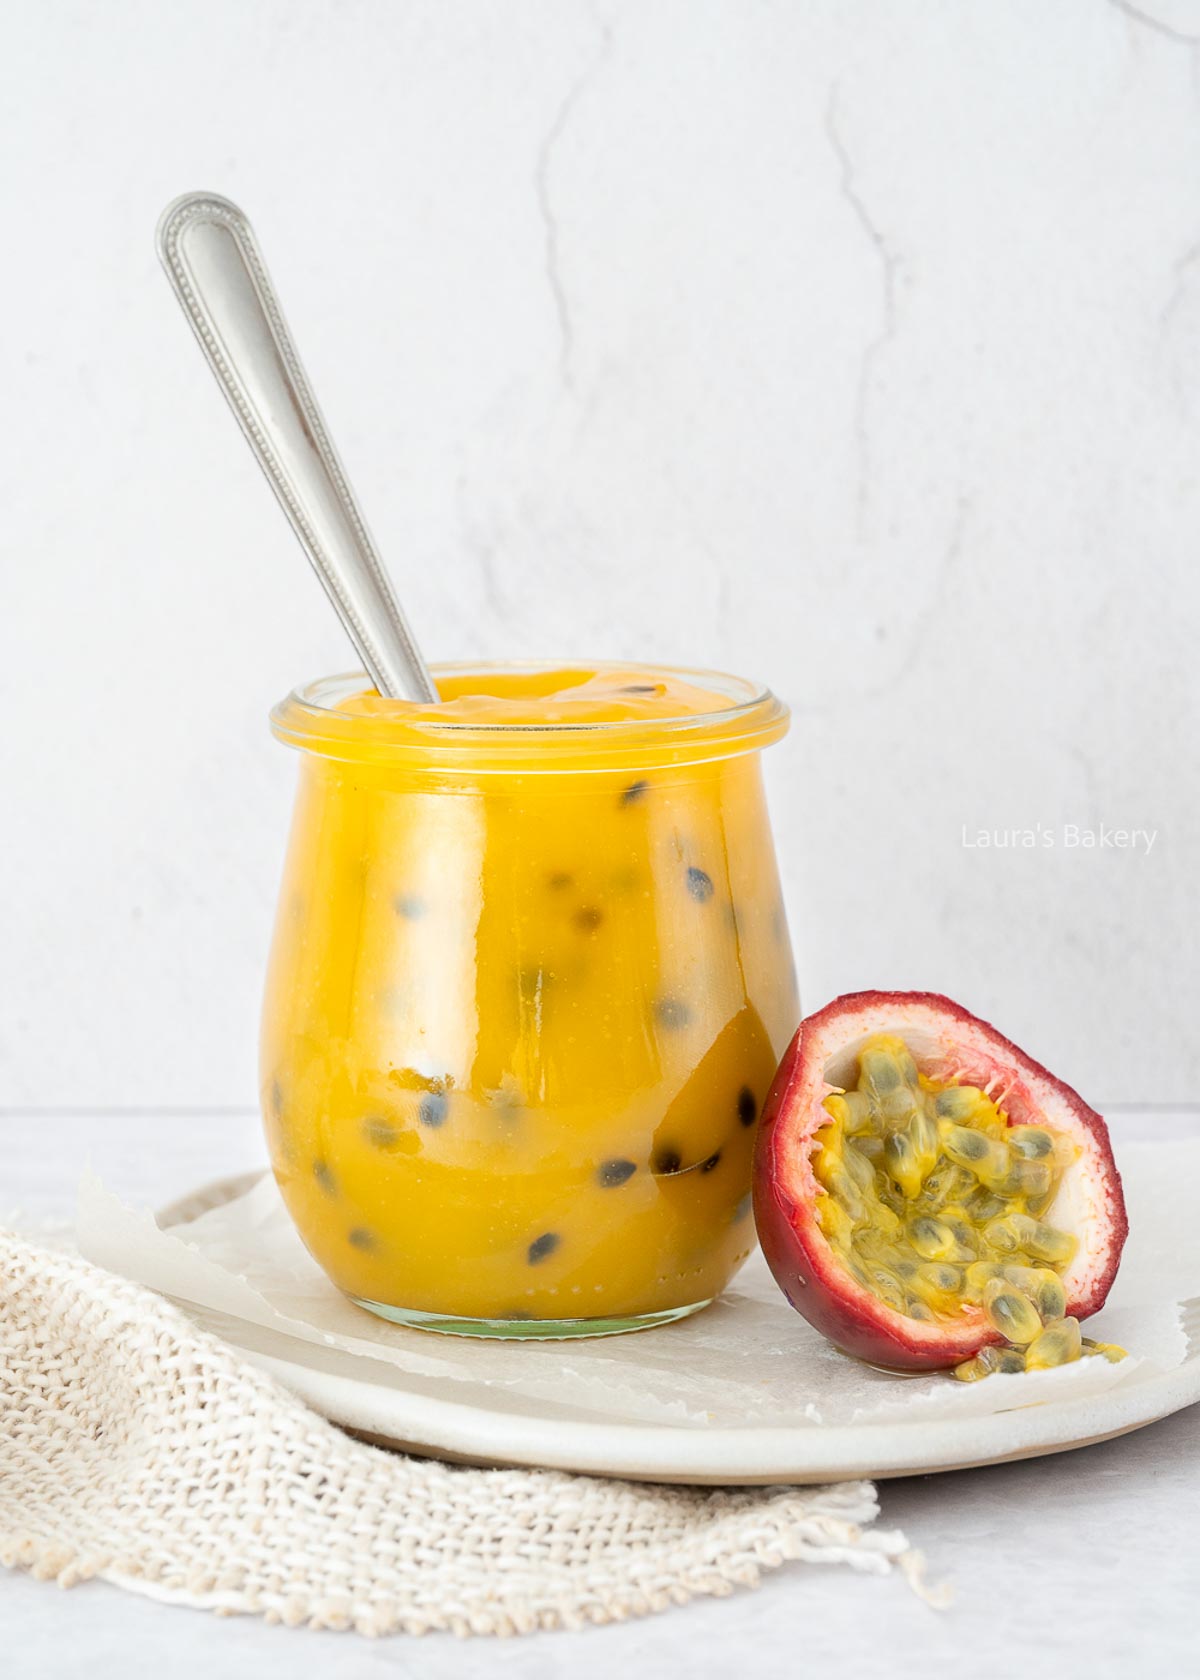
Yes! Simply scoop out the pulp from fresh passion fruits. Strain if needed to remove excess seeds before measuring.
No, that’s completely optional. The seeds add a light crunch and make the curd clearly recognizable as passion fruit, but you can strain them out for a smooth curd.
You can reduce the sugar slightly, but keep in mind that sugar also helps with thickness and preservation. Reducing it too much may affect the texture.
This usually happens if the heat is too high or the eggs cook too quickly. Always cook the curd over low to medium heat and stir constantly.
The curd thickens as it cools. It should be thick enough to coat the back of a spoon when warm and become spreadable once chilled.

There is something so satisfying about edible cookie dough and turning it into delicious cookie dough Easter eggs was a logical next step. They’re perfect for the Easter table but you can make them into any shape you like!
These cookie dough chocolate eggs are perfect for Easter, but you can shape them into balls or bars and eat it year round. There is no baking required, making it super easy and quick. They’re fun to decorate with whatever you like and can be made ahead for your Easter party!
If you want to make these Easter egg cookie dough truffles you need the following ingredients. Make sure to check the quantities and full list of ingredients in the recipe card below:
Making the cookie dough Easter eggs is basically making cookie dough but without baking it. If you’re worried about bacteria you can briefly place the dough in the oven for 5 minutes at 180˚C/350˚F (conventional oven).
To make the cookie dough you start by creaming the butter with the two sugars. Add the milk and the vanilla extract and mix it until combined. Now add the flour, salt and chocolate chips and knead it all into a firm dough.
The next step is to divide the dough into 25 equal pieces and roll each one into an egg shape. Place on some wax paper or parchment paper and refrigerate for at least an hour.
The next step is to coat the Easter eggs with melted chocolate. I melt around 2/3 of the chocolate using a double boiler. Remove from the heat and add the remaining chocolate. This essentially tempers the chocolate without a thermometer.
Dip the eggs one by one and place them on a piece of parchment paper. Sprinkle with your sprinkles of choice before the chocolate sets. Let the chocolate harden completely before serving your Easter egg truffles.

You can store the Easter egg truffles in an airtight container for up to a week.
If you want to freeze the cookie dough eggs, it is best to do so without the chocolate coating to prevent white spots. You can freeze the cookie dough for up to 3 months.
If you love baking for Easter make sure to check out these delicious and easy Easter recipes too!
Yes! This recipe does not contain eggs. As an added precaution, you can heat the cookie dough in the oven to eliminate any potential bacteria.
It’s not recommended. Raw flour can contain bacteria, so heat-treating it is an important step when making edible cookie dough.
Both milk chocolate and dark chocolate work well. Use good-quality chocolate for the smoothest coating and best flavor.
Yes, candy melts are a great alternative and make decorating even easier. They also don’t require tempering.
Make sure the dough is chilled well before dipping in the melted chocolate. If the dough feels too soft, place it back in the refrigerator for 15-20 minutes.
Definitely! Try chopped mini eggs, sprinkles, crushed cookies, or peanut butter chips for variation.
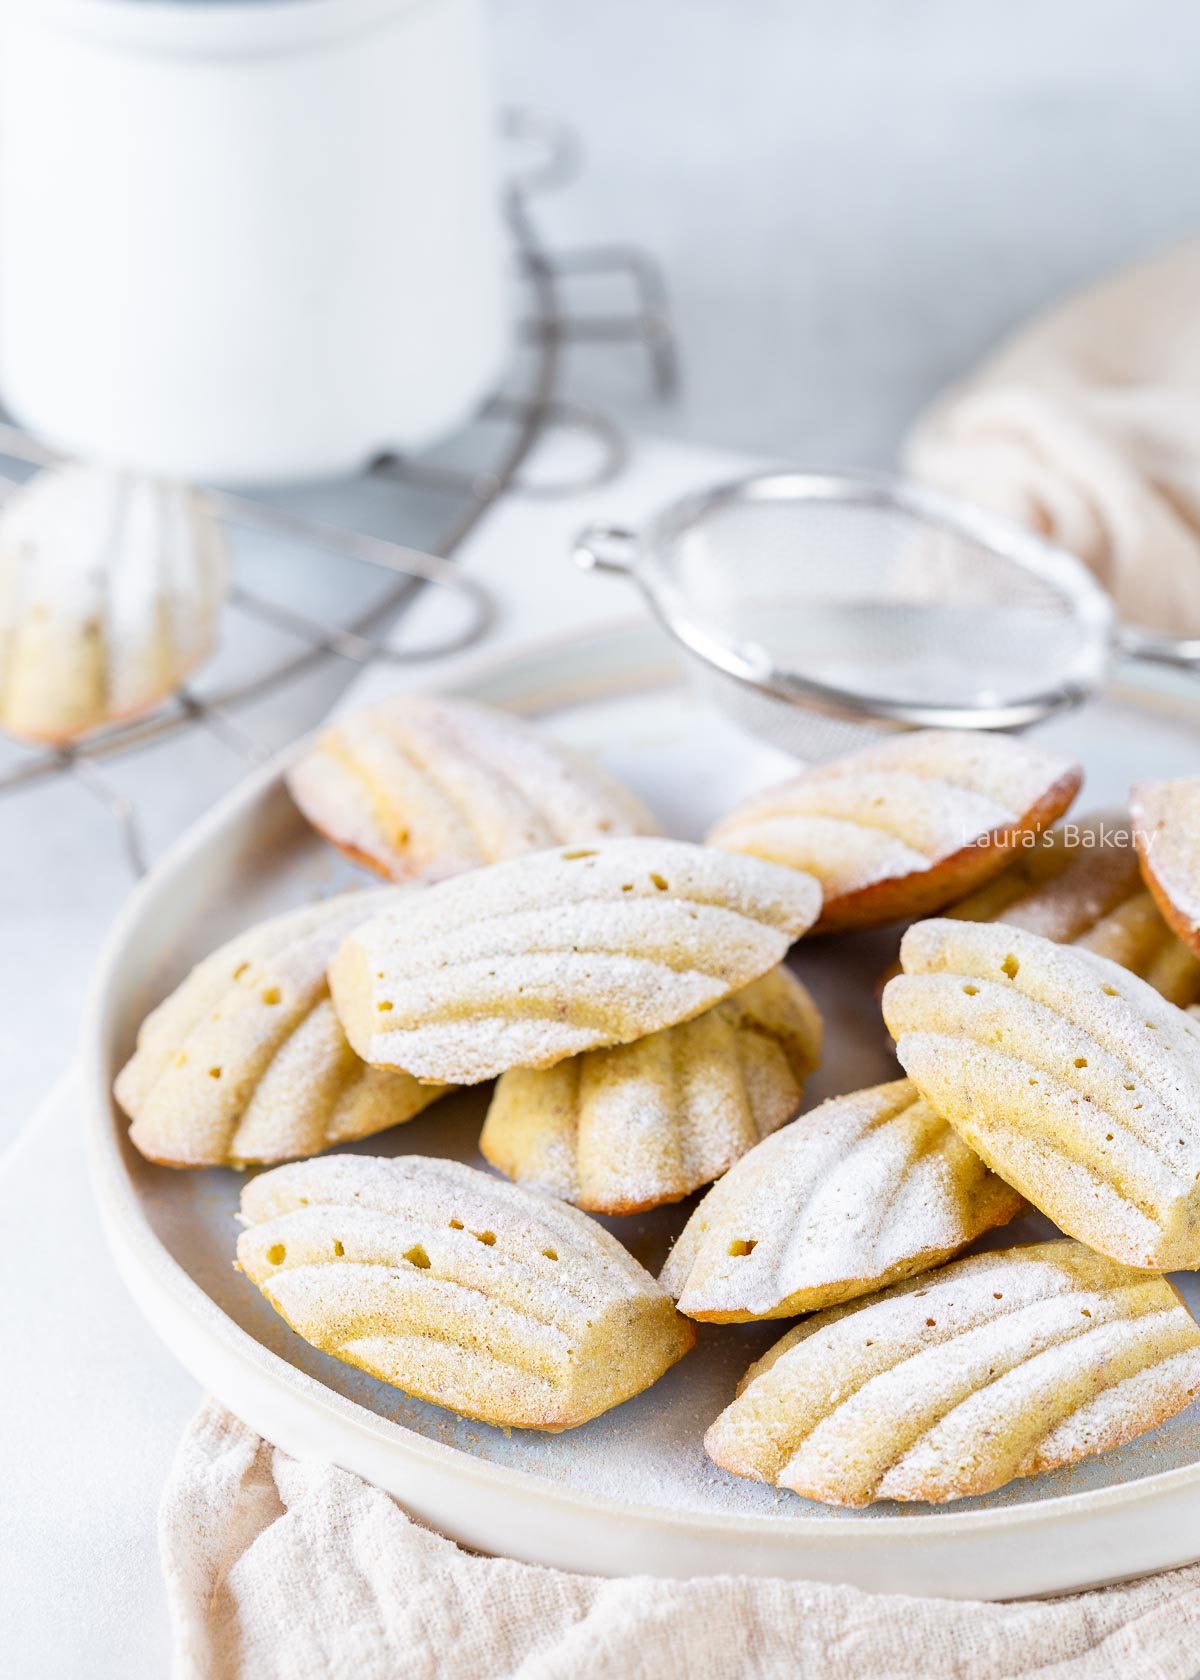
If you love madeleines, these pretty pistachio madeleines are a must try. They are easy and delicious and also have lemon inside. The recipe comes from a book by Caroline van Dorenmalen.
This pistachio madeleine recipe uses nut flour (the pistachio) as well as a lot less sugar than I would normally use in madeleines. That makes them extra special and perfect for when you’re mindful of the amount of sugar in your baking.
Less sweet but still very indulgent! If you’re looking for the basic madeleine recipe check here.
The ingredients for these lemon pistachio madeleines are slightly different from my usual madeleine recipe like in this chocolate dipped madeleine recipe. Make sure to double check the quantities in the recipe card below:

It’s worth noting that the biggest difference between these pistachio lemon madeleines versus a more regular madeleine like my chocolate chip madeleines is that they are a bit denser and less fluffy. I think this is due to the use of coconut oil and the specific flour mixture you’ll use for this recipe. I added a bit more baking powder just to get that lift, but they do not have that classic hump like regular madeleines.
You start by first grinding the pistachio with a bit of powdered sugar into a fine flour. Don’t grind it for too long as you do not want a pistachio paste.
In a separate bowl, add the eggs and beat until they are light and airy. Add honey, coconut oil and lemon juice and mix for another minute or so on high speed.
Combine the dry ingredients (flour, pistachio, salt, and baking powder) and add this to your egg mixture in batches. Fold in the vanilla and lemon zest and make sure not to overmix.
Let the batter rest in the fridge for about 15 minutes. Grease a madeleine pan and dust it lightly with flour. Divide the batter over the madeleine mold. You can do this with spoons or use a piping bag. Make sure to fill them but just not right to the top. Tap the pan twice on the counter to release any air bubbles. (If you take a look at the photos you will notice that mine have some air bubbles. I used a silicone baking mold which meant I could not tap it on the counter!)
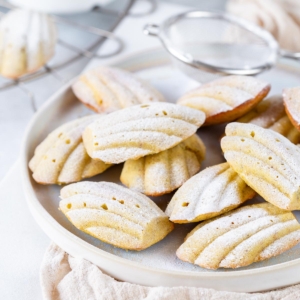
Bake at 350˚F/175˚C (conventional oven) for 14-15 minutes or until cooked through and lightly golden. Remove from the pan straight from the oven and let them cool on a wire rack. If you want you can dust them with icing sugar.

Stored in an airtight container, these madeleines will keep for about 4-5 days.
Yes. Let them cool completely and make sure to freeze them in an airtight container.
If you love pistachio, I have a few other fun recipes for you to try:

Yes, absolutely. All-purpose flour works perfectly in this recipe. Use the same amount as listed.
Yes. Almonds or hazelnuts are great alternatives. Keep in mind that pistachios have a milder, slightly sweet flavor, so other nuts may change the taste a bit.
The use of coconut oil and the shorter resting time can result in a denser batter, which means the traditional hump may be less pronounced. Adding extra baking powder (as done in this recipe) helps make them lighter.
Yes. Replace the coconut oil with the same amount of melted butter. This may give you a slightly lighter texture and a more classic madeleine flavor.
Yes. Resting the batter helps hydrate the flour and improves the texture of the madeleines. Even a short rest of 15 minutes makes a difference.
Because of the coconut oil, it’s best to bake the batter shortly after resting. If refrigerated too long, the batter can firm up too much and affect the texture.

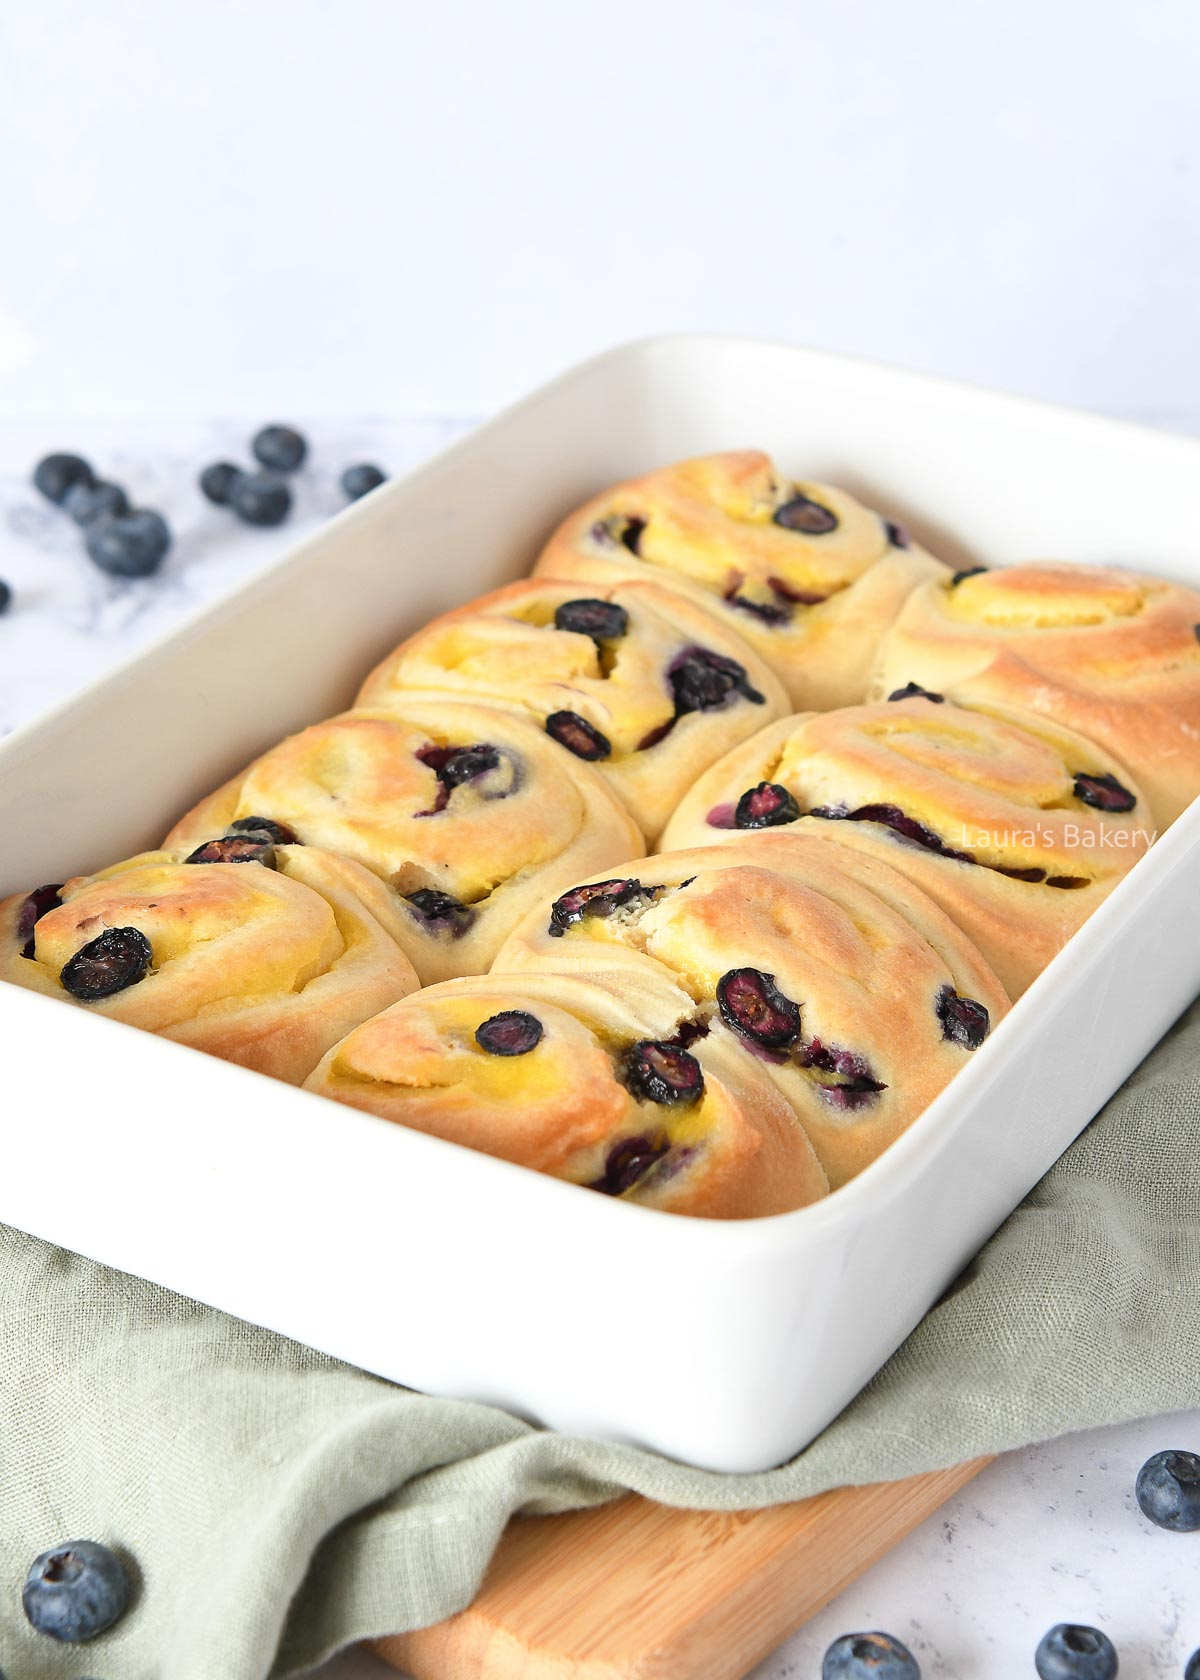
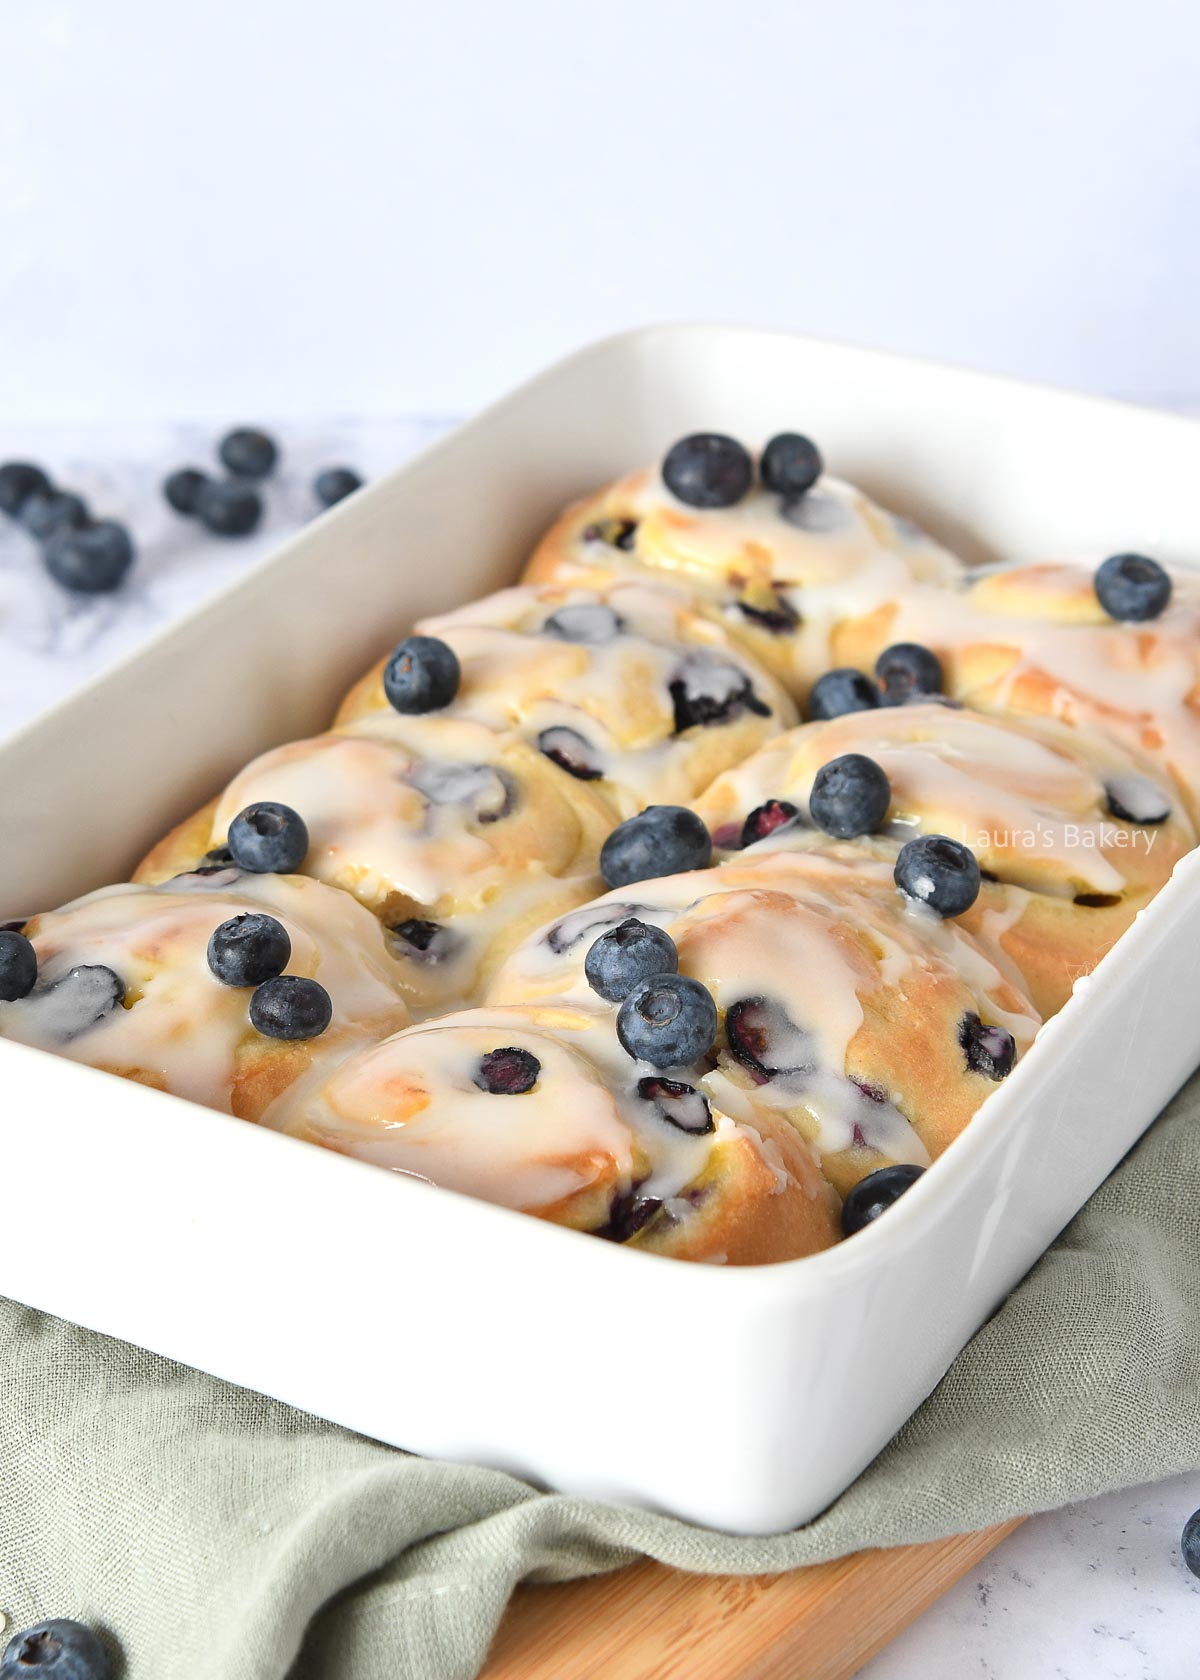
Love cinnamon rolls? These blueberry rolls with pastry cream are next level! The cream melts into the rolls, making these absolutely irresistible.
These blueberry rolls with pastry cream are soft, fluffy and creamy. All in one bite.
The juicy blueberries makes them just fresh enough to cut through the sweetness. They’re perfect for serving for (Easter) brunch!
For making these blueberry rolls I am using my basic sweet dough recipe which is perfect for this. In addition you need the following ingredients:
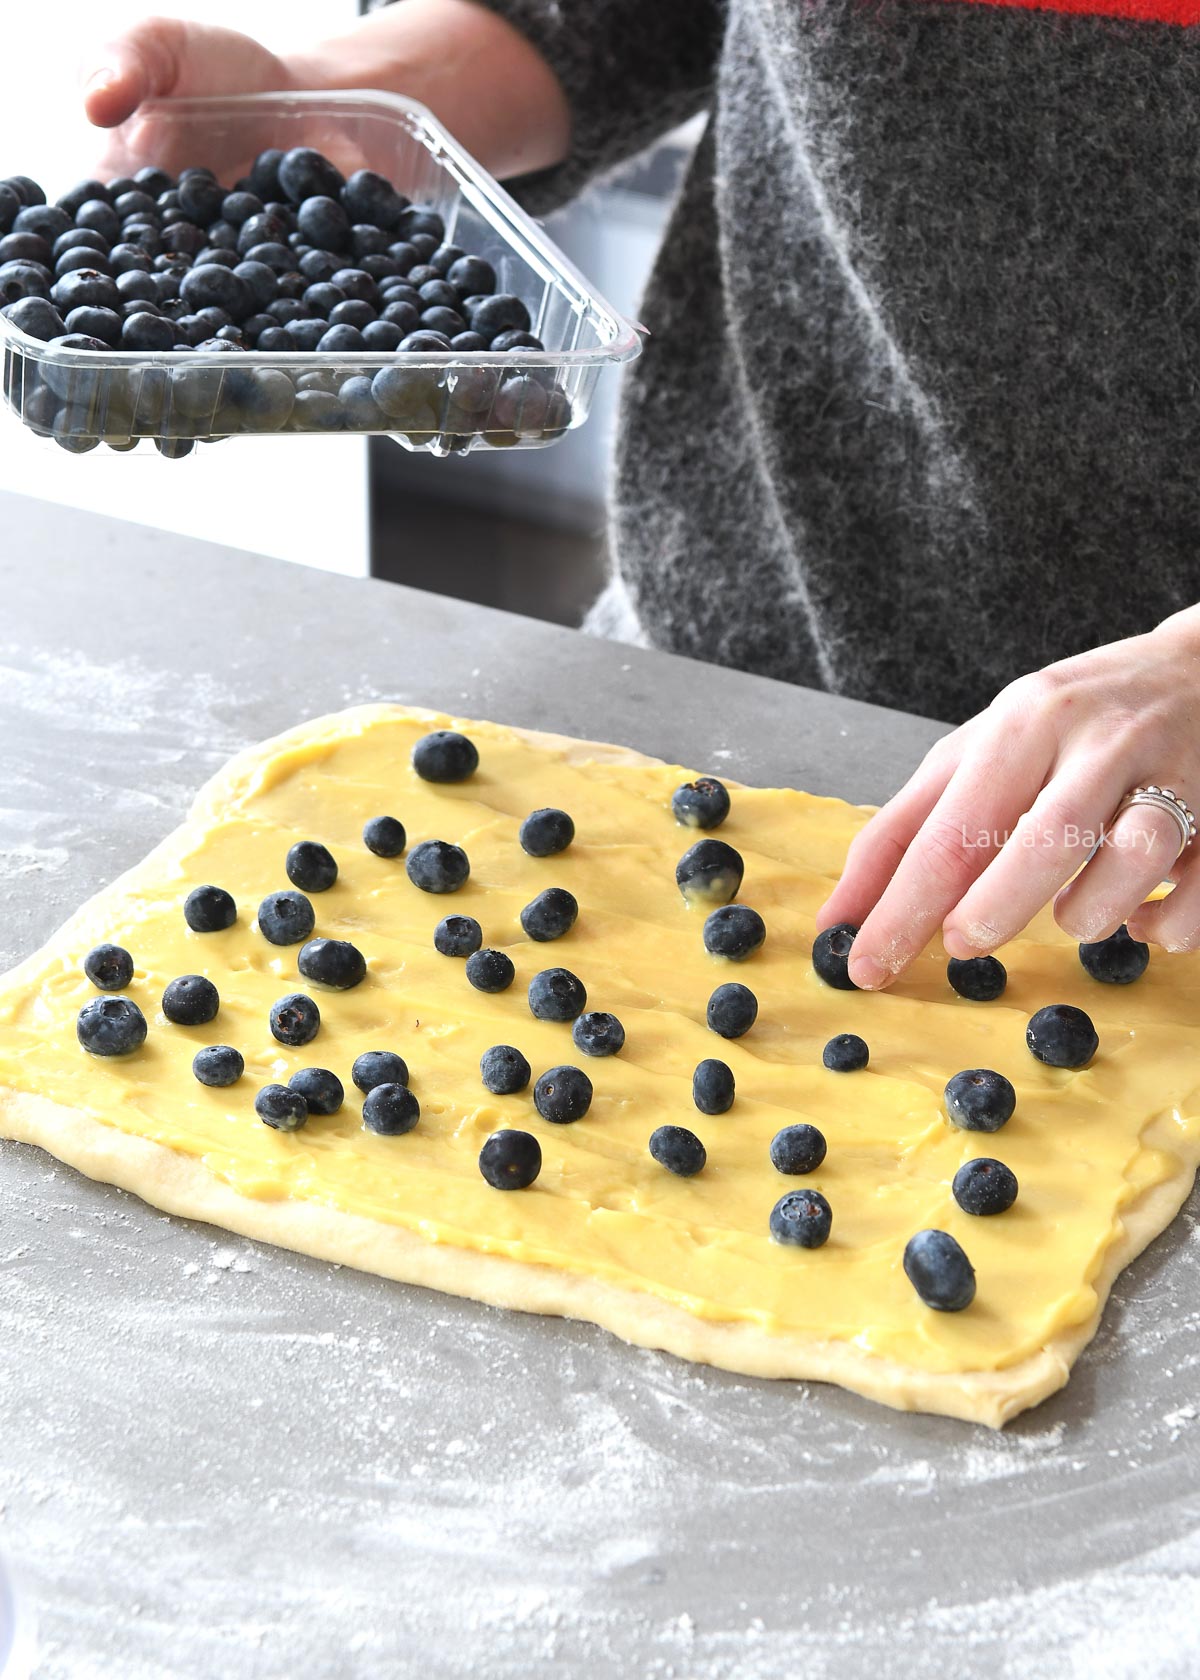
Make the dough for the rolls first. While the dough rises prepare the pastry cream. Once both are complete, assemble by rolling out the dough into a rectangle and spread the pastry cream over the top.
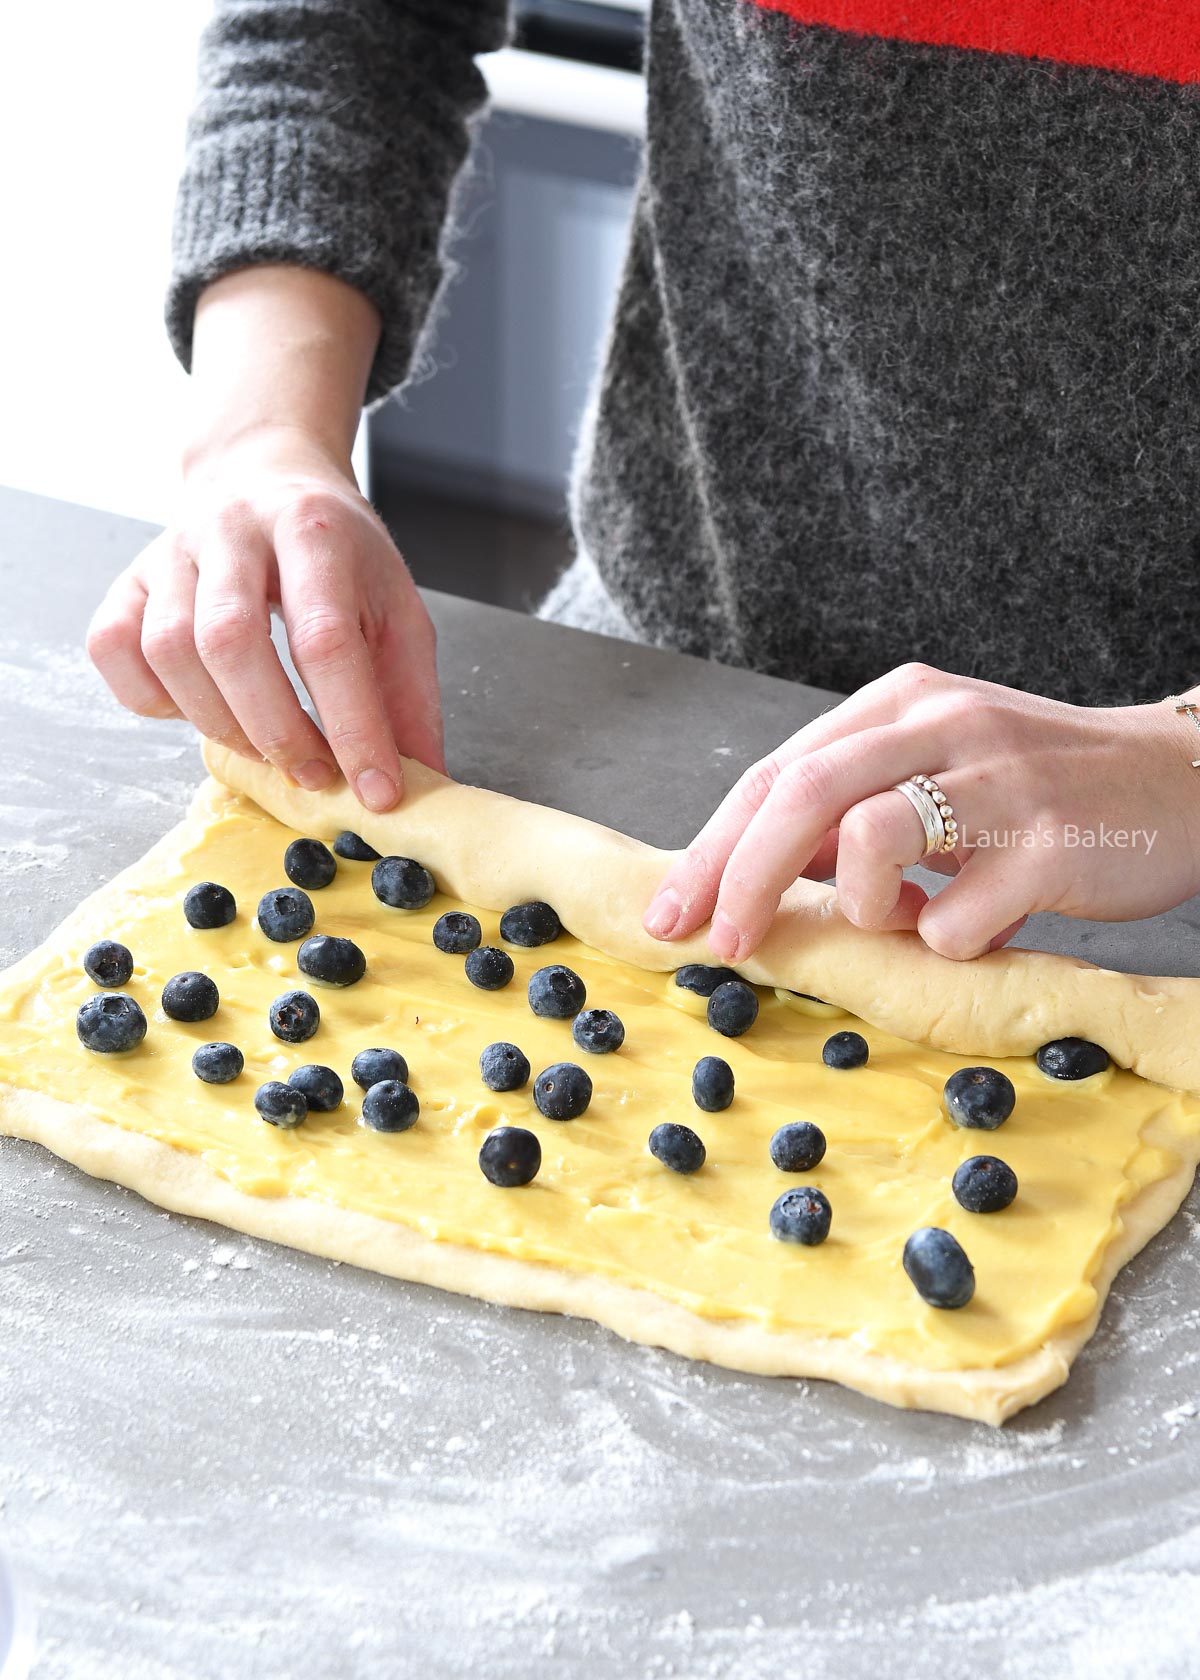
Add the blueberries and roll this up tightly. Using a sharp knife cute the roll into 12 equal sized pieces and add to a greased baking dish. Make sure to leave a little bit of space in between each roll, so they have some room to rise.
Bake the rolls in the preheated oven for about 30 minutes or until golden brown. Take out of the oven and let it cool slightly. Drizzle the glaze over the top and serve them warm with extra blueberries.
Once the rolls are completely cooled down, wrap them properly and store them outside of the fridge for up to 4 days.
If you want to freeze these blueberry rolls, don’t add the glaze but do that after defrosting. Once frozen they will keep for up to three months.
if you love blueberries as much as I do you might want to give these recipes a try too!
Yes! You can prepare the pastry cream a day in advance and store it covered in the refrigerator. The rolls themselves are best baked fresh, but you can assemble them a few hours ahead and keep them covered in the fridge until ready to bake.
Yes, frozen blueberries work well. Use them straight from the freezer and don’t thaw them first, this helps prevent excess moisture and color bleeding into the dough.
Baking the pastry cream inside the rolls allows it to soak into the dough as it bakes, creating extra-soft, rich rolls with a custardy center.
You can, but homemade pastry cream gives the best flavor and texture. If using store-bought, choose a thick, high-quality version so it doesn’t run out during baking.
The rolls should be puffed, golden brown on top, and fully set in the center. If they brown too quickly, loosely cover them with foil during the last 5-10 minutes of baking.
Definitely! Raspberries, chopped strawberries, or even lemon zest pair beautifully with the pastry cream. Just avoid very juicy fruit or reduce the amount slightly.

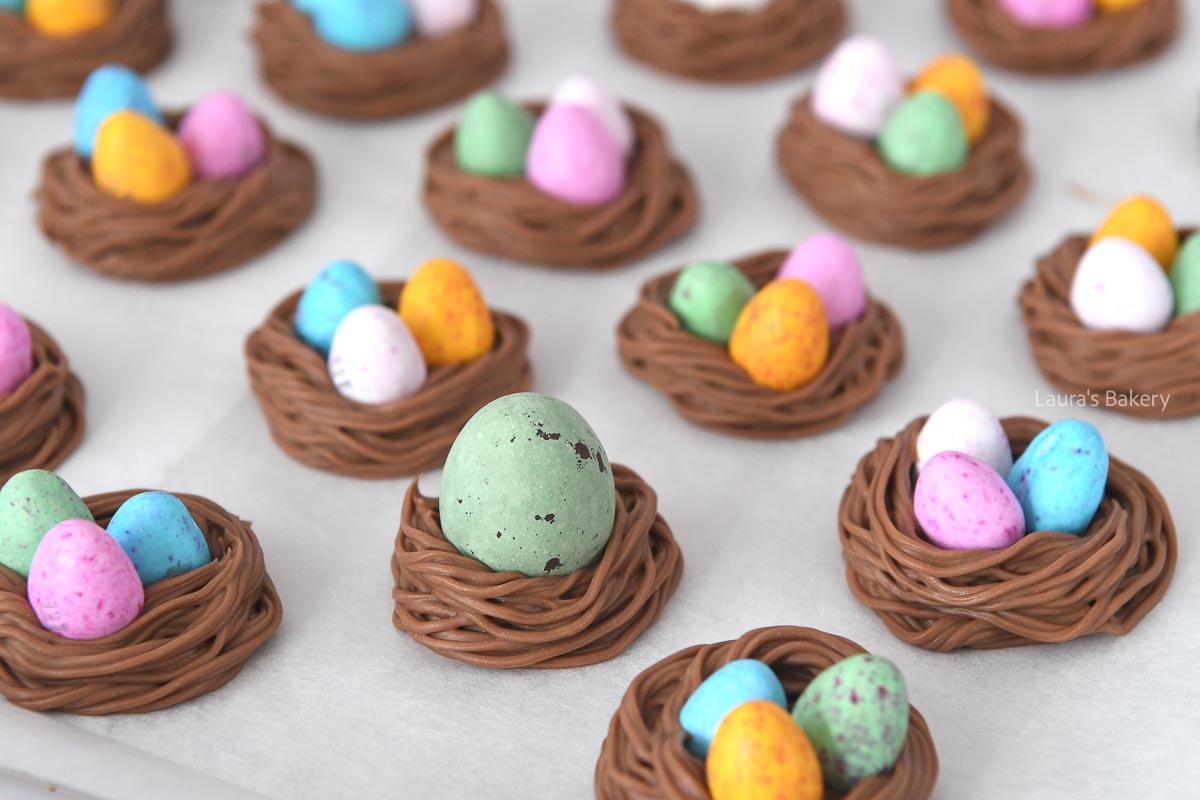
Looking for a super easy and fun treat to make? These chocolate egg nests are easy to make and use just a few simple ingredients. Perfect for Easter!
These cute chocolate easter nests come together in no time at all. They’re perfect for the Easter table and can be filled with your favorite chocolate eggs, jelly beans, cadbury mini eggs or even rice krispies!
They also keep for quite a while making them ideal to prepare in advance of the Easter festivities. Fun to make with kids too!
For making around 24 pieces of chocolate nests you will need the following ingredients
For making these chocolate nests you ideally use a grass piping tip like the Wilton #233 (the same one I used on the Easter egg cupcakes), but you can also use a small round piping tip or even just a piping bag if that’s all you have. It might take a bit longer to make the nest shape but that’s ok too!
You start by melting the chocolate and letting it cool a little bit while you whip the butter to a light and creamy consistency. Now add the melted chocolate and mix till you have a smooth mixture.
Transfer to a piping bag and pipe small nests of around 1.5 to 2 inches (4-5 cm) in diameter. Fill them with either small eggs or use one bigger egg.
You can store these cute easter treats in a cool, dry place. Do not place in the fridge as the moisture in the fridge will ruin the treats. You can store them for up to 4 weeks in an airtight container.
Freezing is not recommended due to the moisture and condensation which will affect the chocolate.
If you’re looking for more fun Easter recipes to try, why not check out the recipes below:
Yes! You can use dark or white chocolate instead of milk chocolate. Just keep in mind that white chocolate is sweeter and a bit softer, so the nests may set slightly less firm.
No, a special piping tip is not required. A multi-hole piping tip (like Wilton #233) makes the nests look more realistic, but you can also simply snip a small hole in a piping bag. It will just take a little longer to pipe each nest.
Absolutely. These chocolate Easter egg nests are perfect for making ahead. Stored properly, they will keep well for several weeks.
Small dragée eggs work best, but you can use any small chocolate eggs you like. One larger egg per nest also works nicely for a slightly different look.
If the mixture feels too soft, the chocolate may still be too warm. Let it cool for a few more minutes and beat again until it thickens slightly.
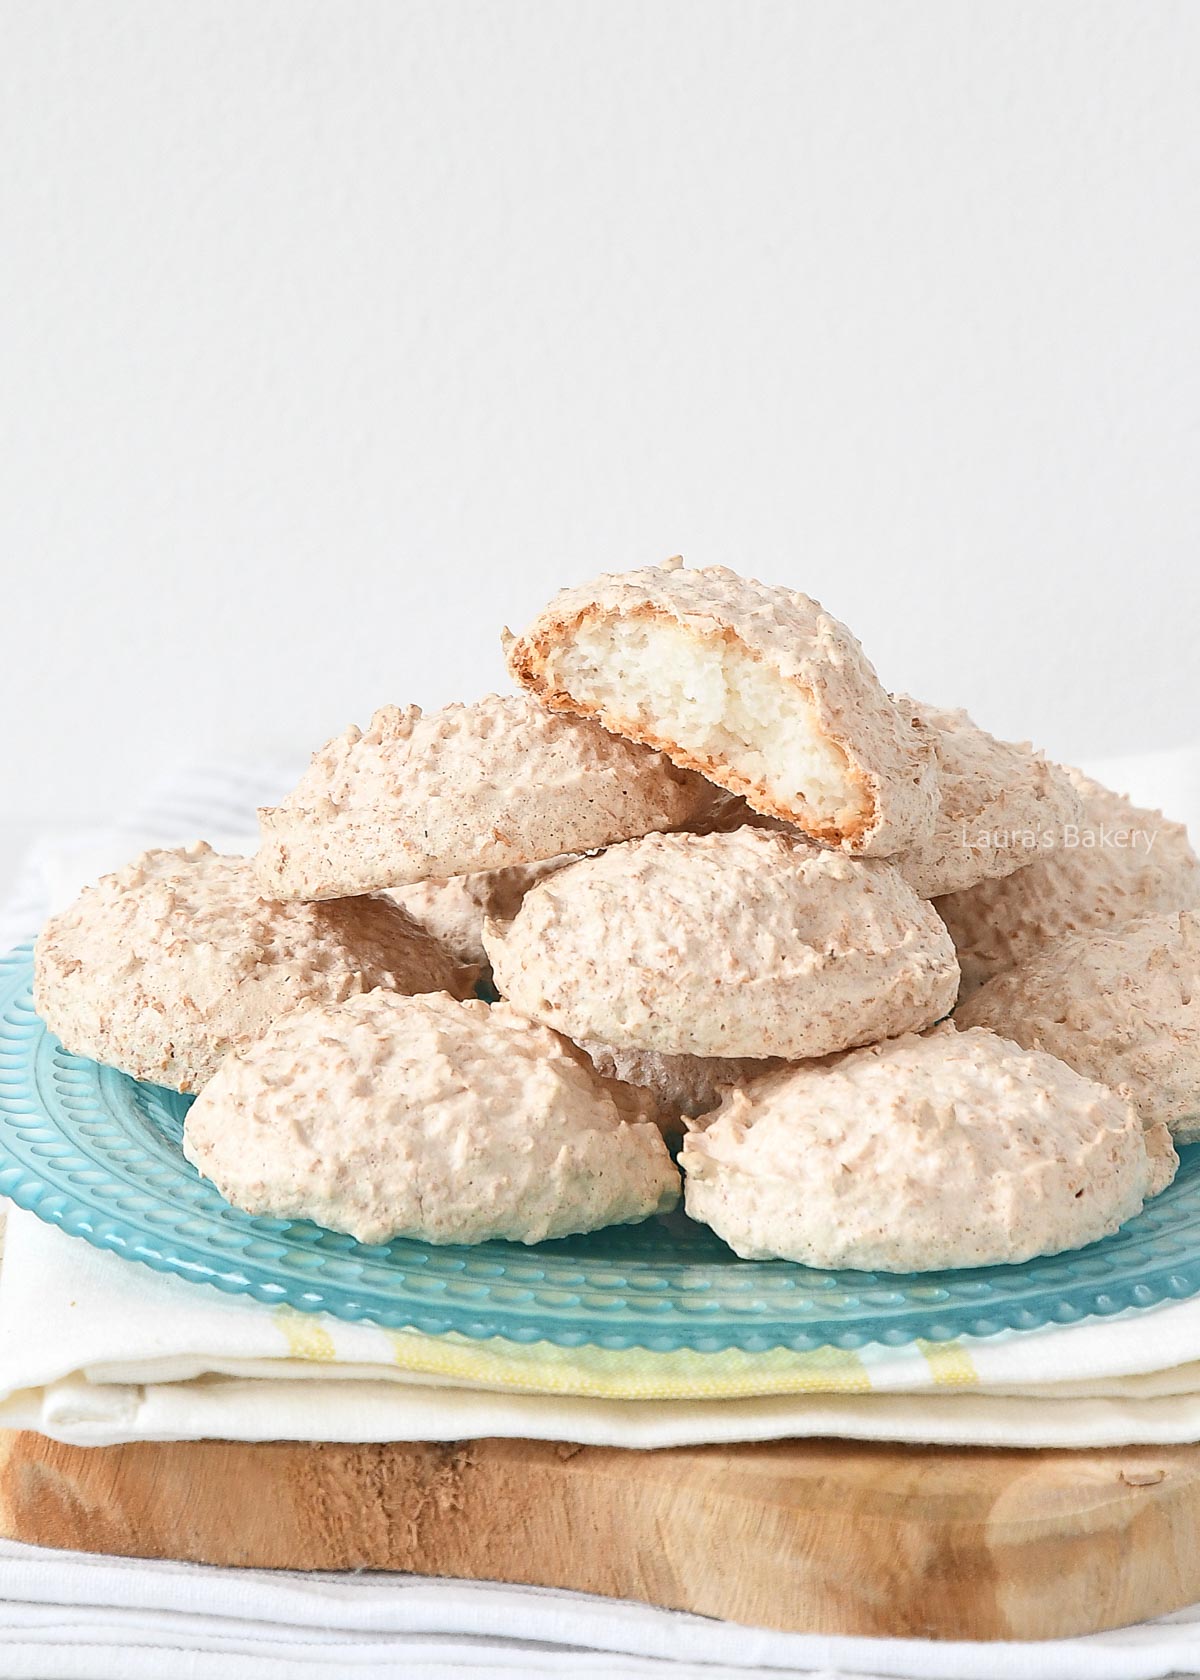
If you are on the hunt for an easy coconut cookie recipe, these coconut macaroon cookies fit the bill. You use no more than 3 ingredients and you’ll have some amazing tasting cookies in no time at all. Even if you’re not a big fan of coconut, these might just change your mind!
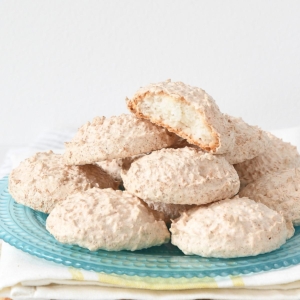
These easy coconut macaroons use only 3 ingredients and keep for days. If you can whip up egg whites you can make these cookies.
They’re crunchy on the outside and have that classic chewy center that we all love! They’re also naturally gluten-free.
In terms of ingredients it doesn’t get any easier than these
Start by taking a large bowl and make sure it is completely grease-free. Whip the egg whites with the sugar till you have stiff peaks forming.
Now add the shredded coconut and gently fold this into the meringue. That’s really all there is to it! I did say it was incredibly simple right?
Now use an ice cream scoop or a cookie scoop to shape the coconut macaroons on a lined baking sheet. They don’t spread a lot in the oven so you can pack quite a few onto one baking tray.
Place in the preheated oven at 340˚F/170˚C for about 20-25 minutes. Let them cool on a wire rack and enjoy!
TIP: You can also dip them in melted chocolate for an extra special version.
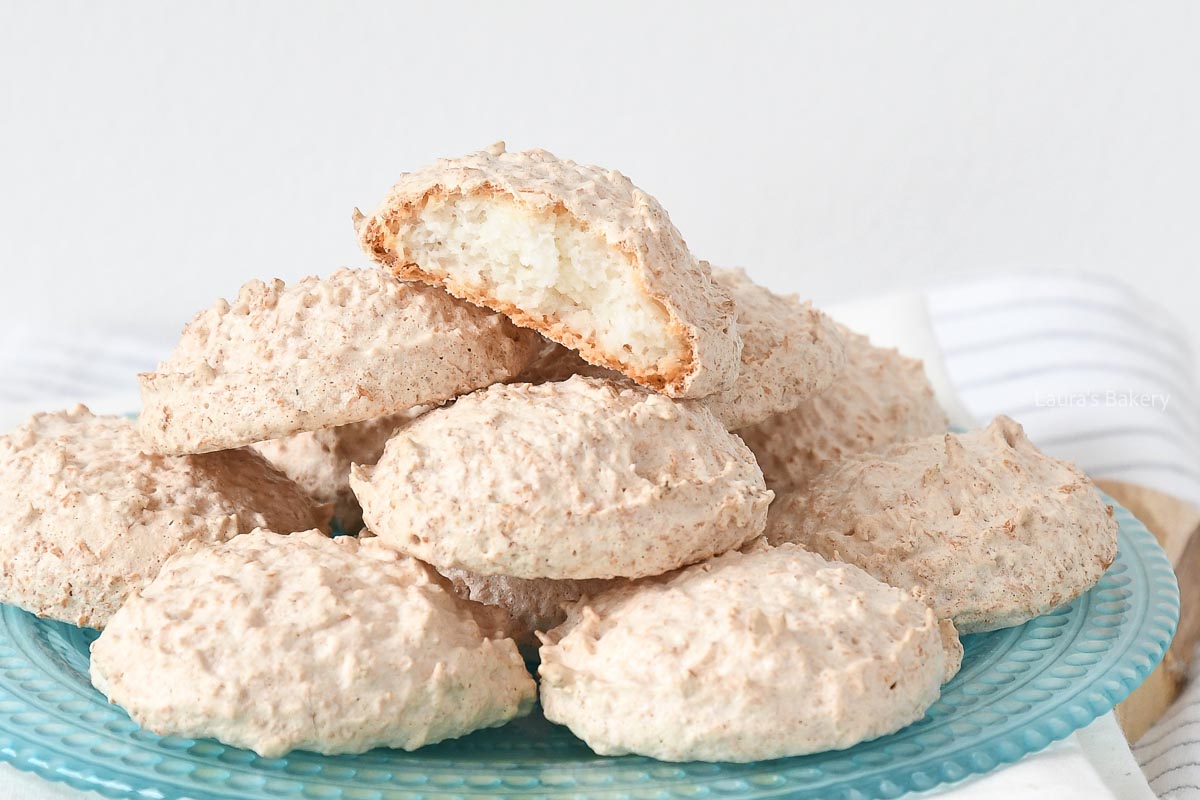
You can store the coconut macaroons in an airtight container for up to about 1 week.
Yes you can freeze these coconut macaroons for up to 3 months in an airtight container.
Are you a fan of easy cookie recipes? I’ve got quite a few lined up!
Yes, unsweetened shredded coconut works perfectly. If you prefer sweeter macaroons, you can use sweetened coconut or add a little extra sugar to the meringue. I use unsweetened myself.
Superfine sugar dissolves more easily in the egg whites and gives a smoother meringue. Regular granulated sugar will work too, but beat the meringue a little longer to make sure the sugar has fully dissolved.
This usually means the egg whites weren’t beaten stiff enough. Make sure you beat them until they hold firm peaks before folding in the coconut. Also make sure that you don’t loose too much air while folding the coconut in.
Definitely. A little vanilla extract, almond extract, or a drizzle of melted chocolate after baking are all delicious additions.
Yes, this recipe is naturally gluten-free since it contains no flour or other ingredients with gluten.
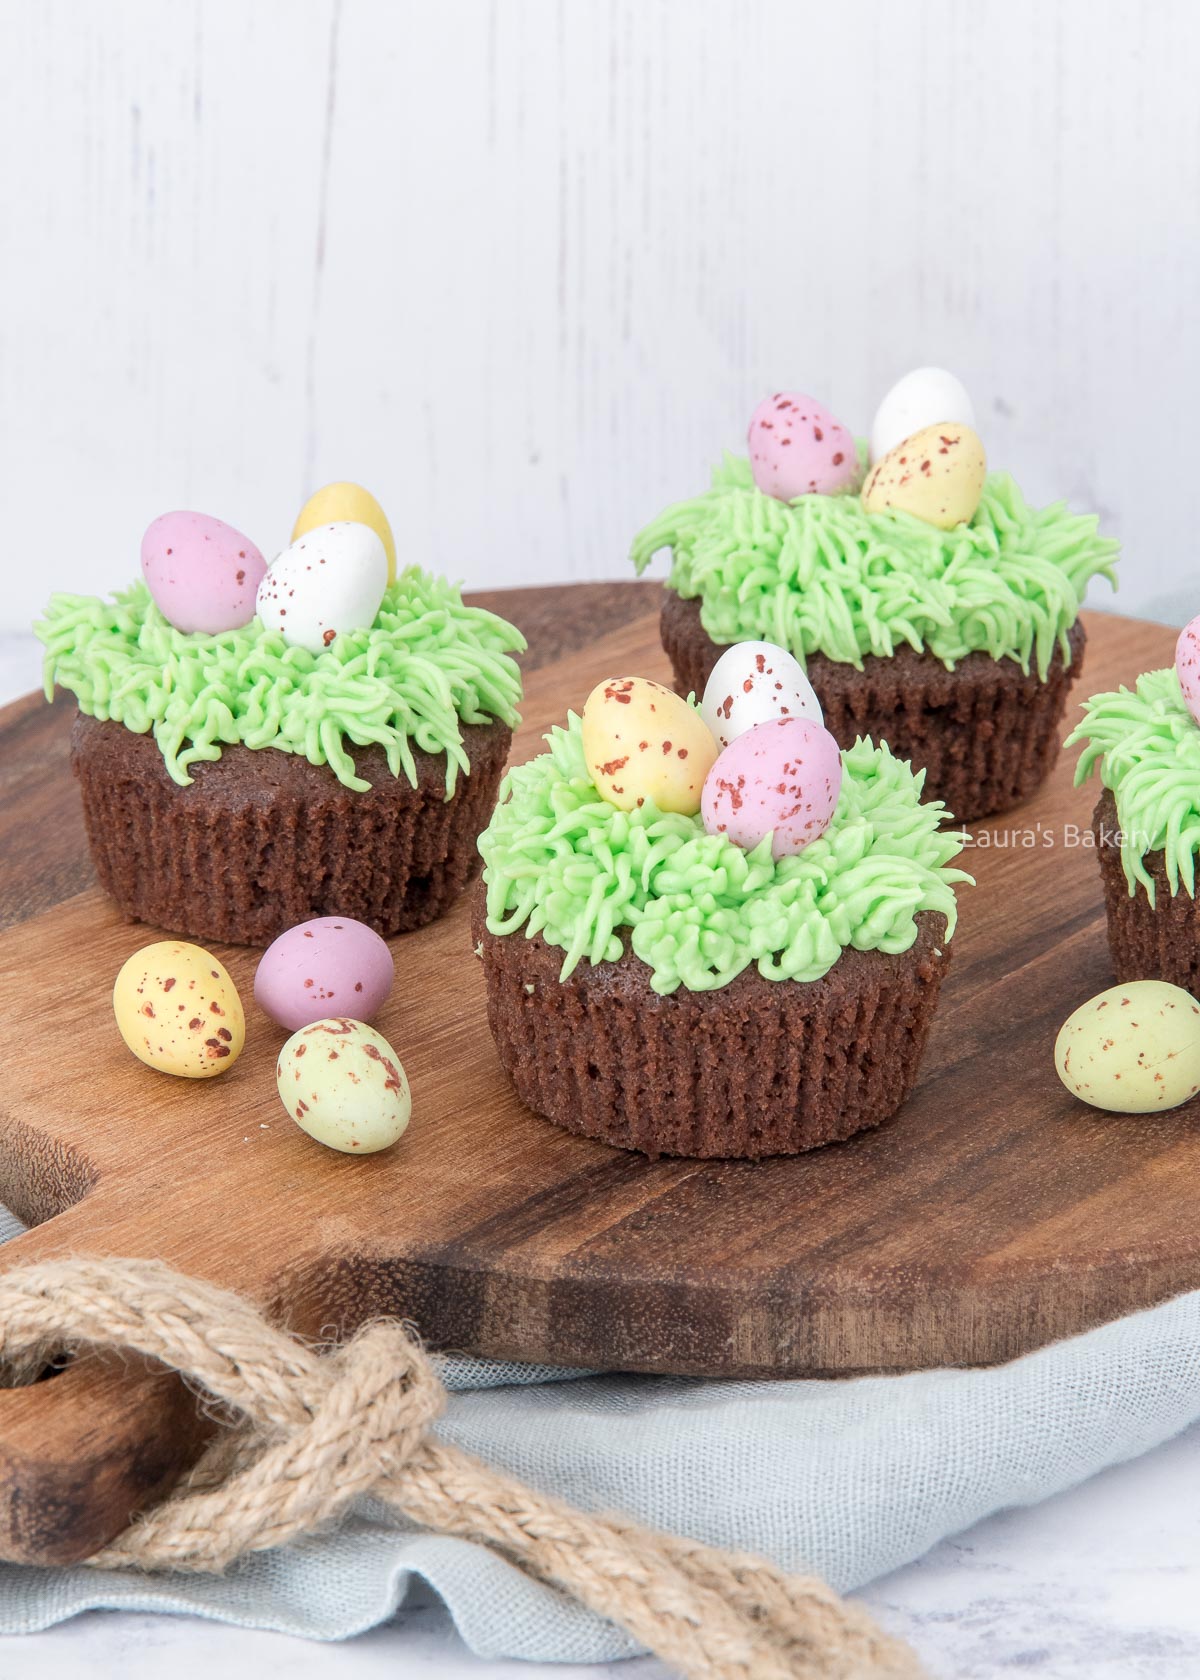
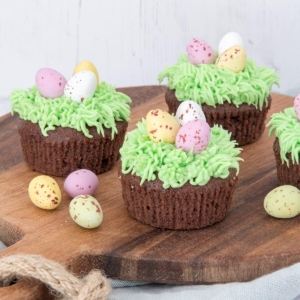
Delicious light and fluffy chocolate cupcakes with perfect Easter decoration on top. Use green buttercream for the grass and add a few small Easter eggs. Perfect Easter egg cupcakes!
These Easter egg cupcakes look a bit like a spring garden, complete with grass and Easter egg, making them perfect for the Easter table.
They’re easy but look impressive and with classic flavors that you’ll love. Fun to decorate too!
Make sure to double check the exact quantities and ingredients in the recipe card below:
Making the cupcake batter is pretty straightforward and no different from making regular easter cupcakes. It’s the frosting on top of the cupcake that make these special!
While your cupcakes are cooling down on a wire rack you can make the buttercream frosting. I tint mine a light green color and transfer them to a piping bag with a grass tip (I use this Wilton #233).
Now you pipe the green grass onto the top of the cupcakes. It doesn’t have to be really neat. It will look fun anyway!
On top of the frosting you nestle some Easter egg candies. Whatever you favorite kind of candy eggs, and that is all there is to these delicious Easter egg cupcakes.
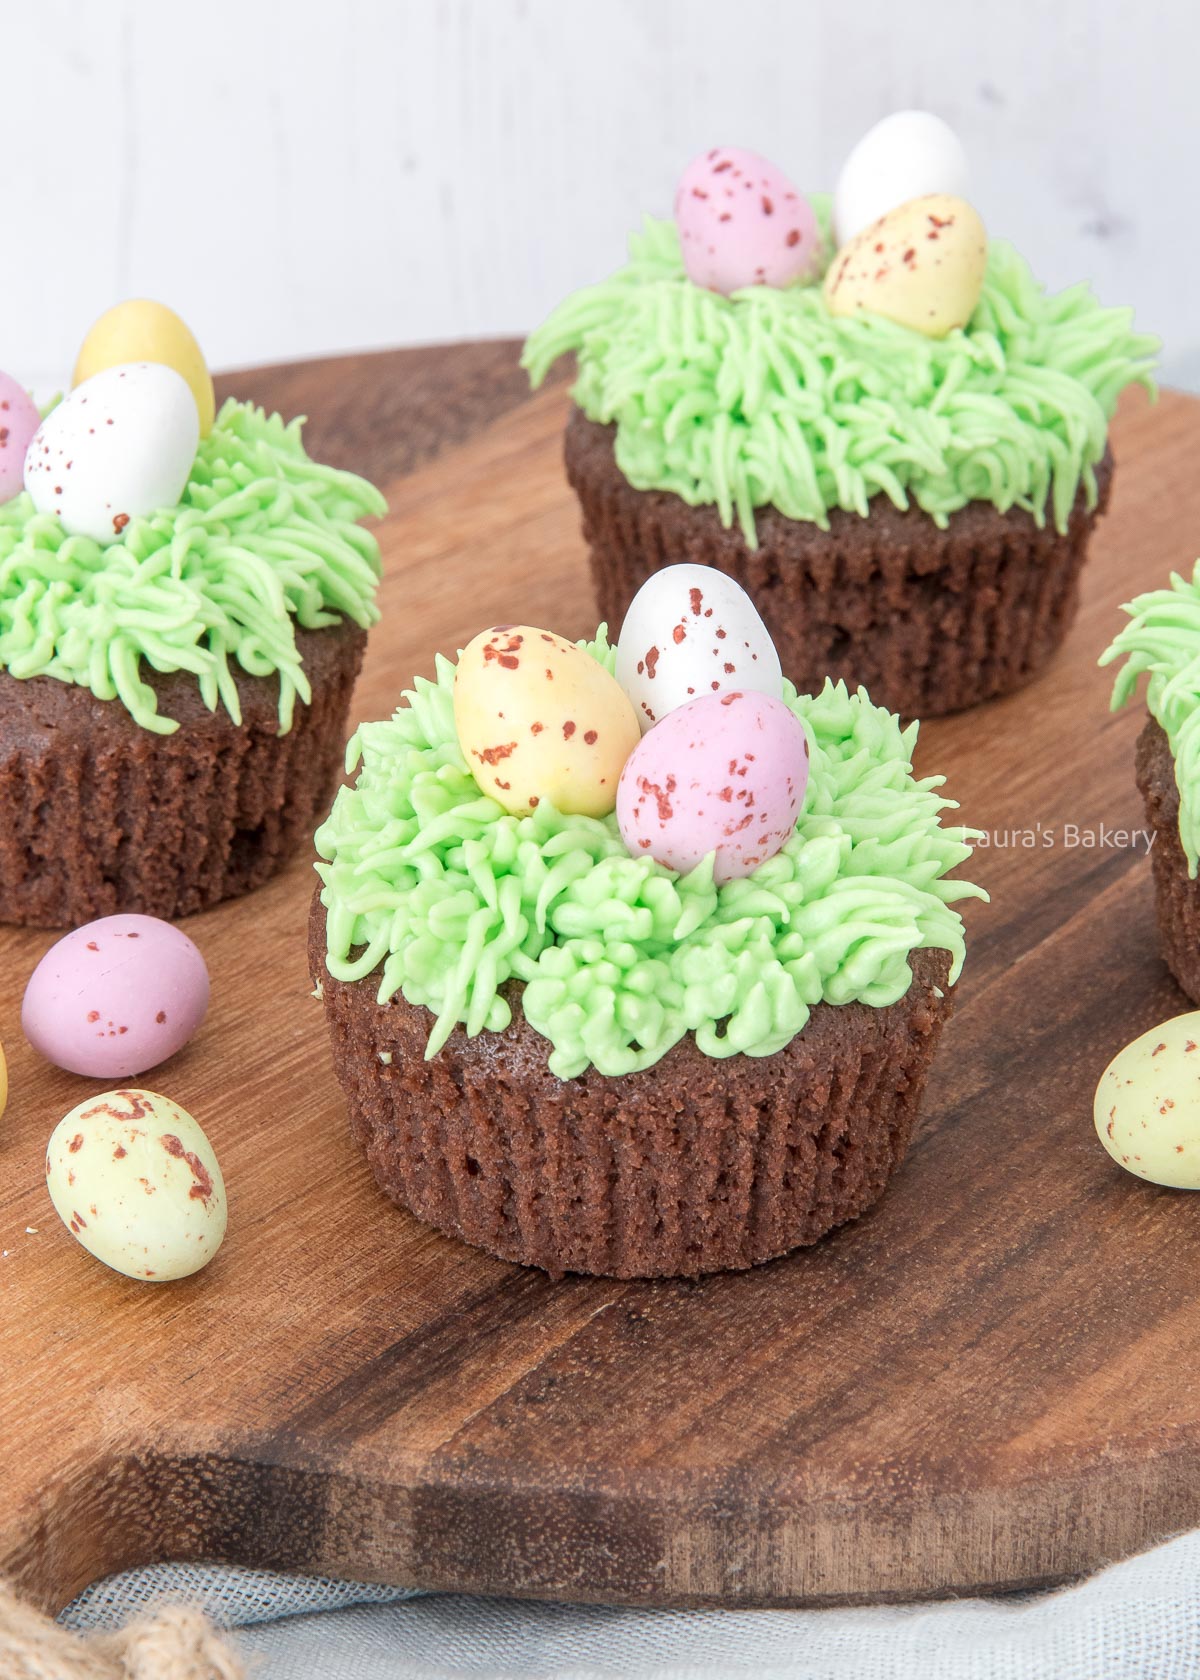
You can store these pretty cupcakes in a cool place (not in the fridge!) for about 4-5 days. Place the cupcakes in an airtight container.
You can make the cupcakes and freeze them properly wrapped but without the decorations. Once decorated eat them within a few days.
If you’re looking for more fun ways to make delicious Easter recipes? I’ve got you covered!
Gel food coloring works best, as it gives a vibrant color without thinning the buttercream. Liquid coloring will also work, but add it sparingly.
A grass tip (such as Wilton #233) gives the best effect, but if you don’t have one, you can use a star tip or simply spread the buttercream with a knife for a more rustic look.
Yes! Vanilla, lemon, or even carrot cupcakes work beautifully with this decoration. Just use your favorite cupcake recipe as the base.
Small chocolate eggs, jelly beans, or mini candy-coated eggs work best. Choose lightweight candies so they don’t sink into the buttercream.
Definitely. You can hollow out the center and fill them with chocolate spread, ganache, jam, or even mini chocolate eggs for a fun surprise.
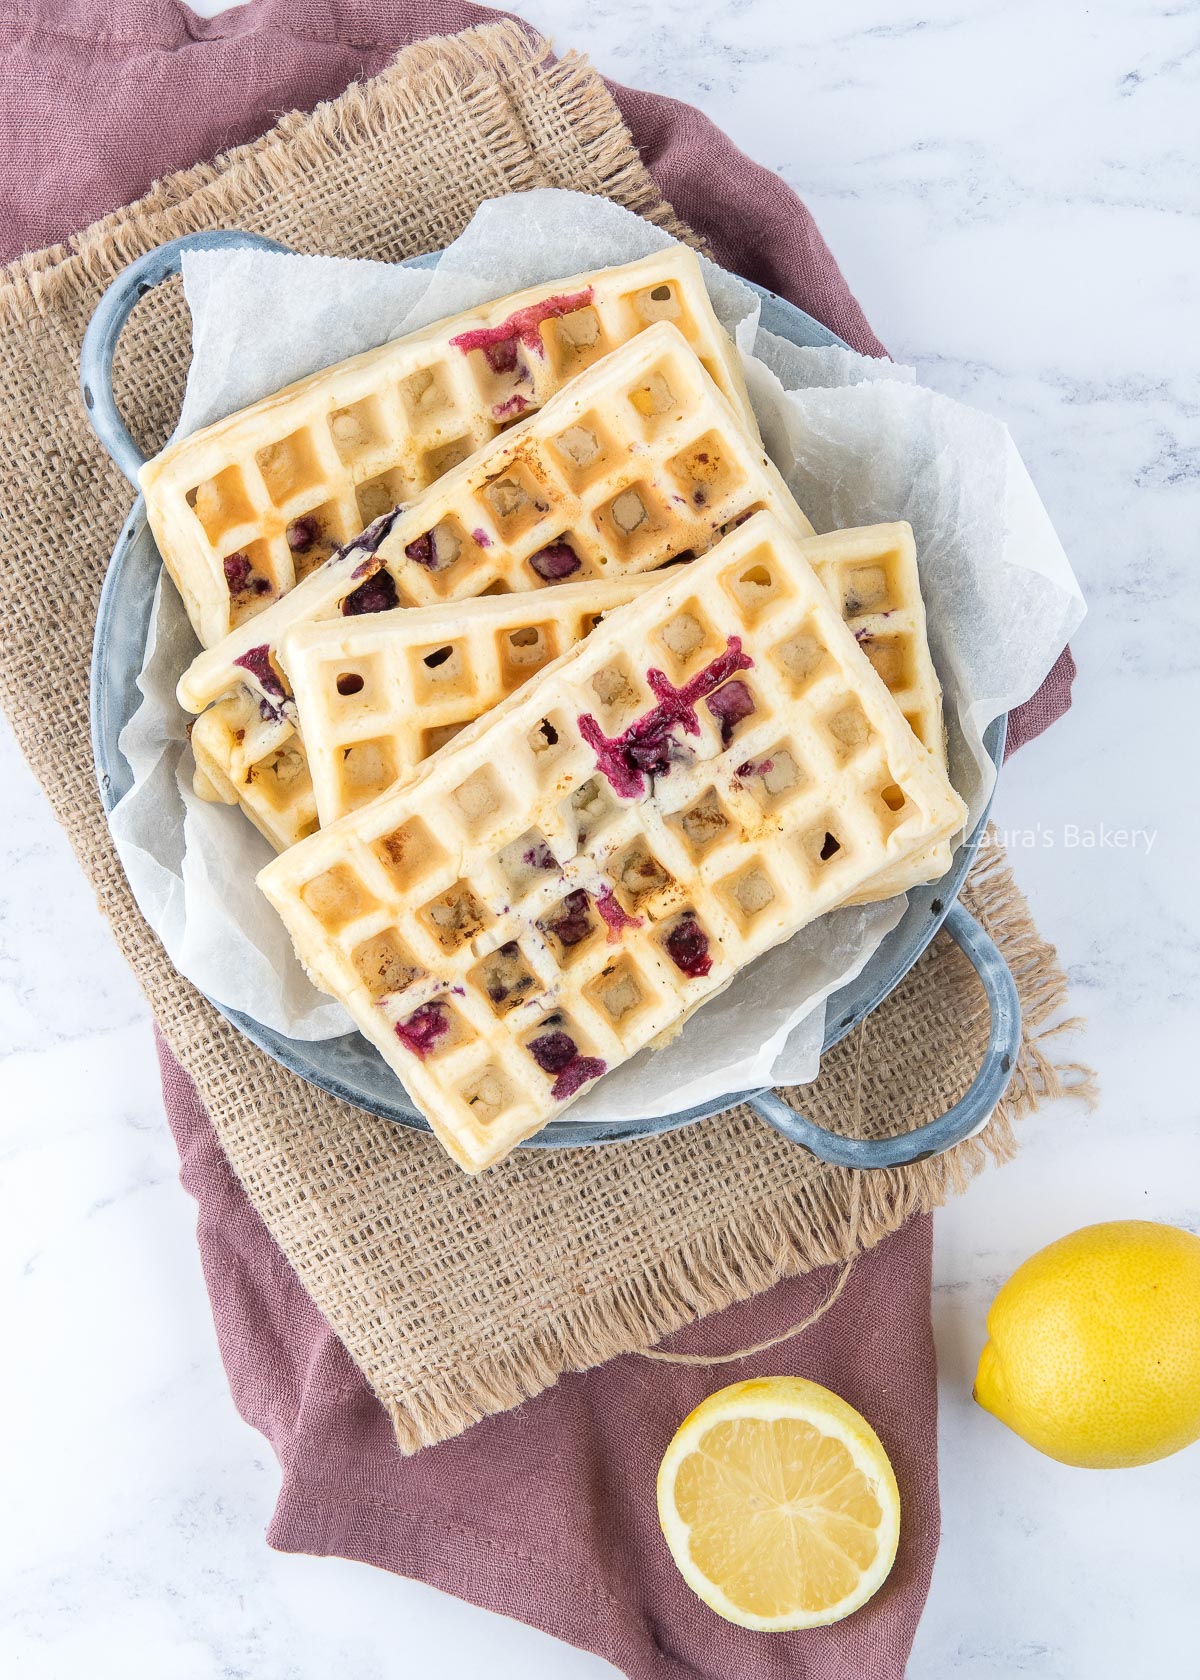
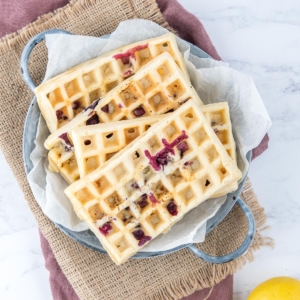
If there is one combination of flavors that wins for me around the beginning of spring and Easter, it must be lemon and blueberries! They combine perfectly in these delicious blueberry lemon waffles. Fresh blueberries and delicious lemons win every time! (like in this blueberry lemon tartlets or the blueberry lemon cookies!)
These blueberry lemon waffles have fresh and bright flavors. They are absolutely perfect for any time of day.
Great as a lazy weekend breakfast but also perfect as a snack or even for dessert. The batter is easy and you need just one bowl and a waffle maker to make these!
The batter makes about 10 waffles but you can easily half the amount if you want to make less (or double for more!). The total amount also depends on the size of your waffle maker.
Take a large mixing bowl and add the dry ingredients (flour, baking powder, salt, sugar and lemon zest) and mix it through to combine.
Add the wet ingredients (eggs, milk, oil and lemon juice) and mix until you have a smooth waffle batter. Gently fold the blueberries in.
Heat your waffle iron and grease it with either oil or cooking spray. Depending on the size of your waffle iron, fill the plates with about 1.5 to 2 scoops of batter. Close the iron and bake until the waffles are golden brown.
How long they need depends on your machine. Mine usually take about 5-7 minutes.
Remove the waffle from the iron and let it cool on a wire rack. The waffles will firm up once they cool.
Serve the waffles with maple syrup, lemon curd or make a delicious blueberry sauce. Any other fresh fruits will work with these delicious lemon blueberry waffles!
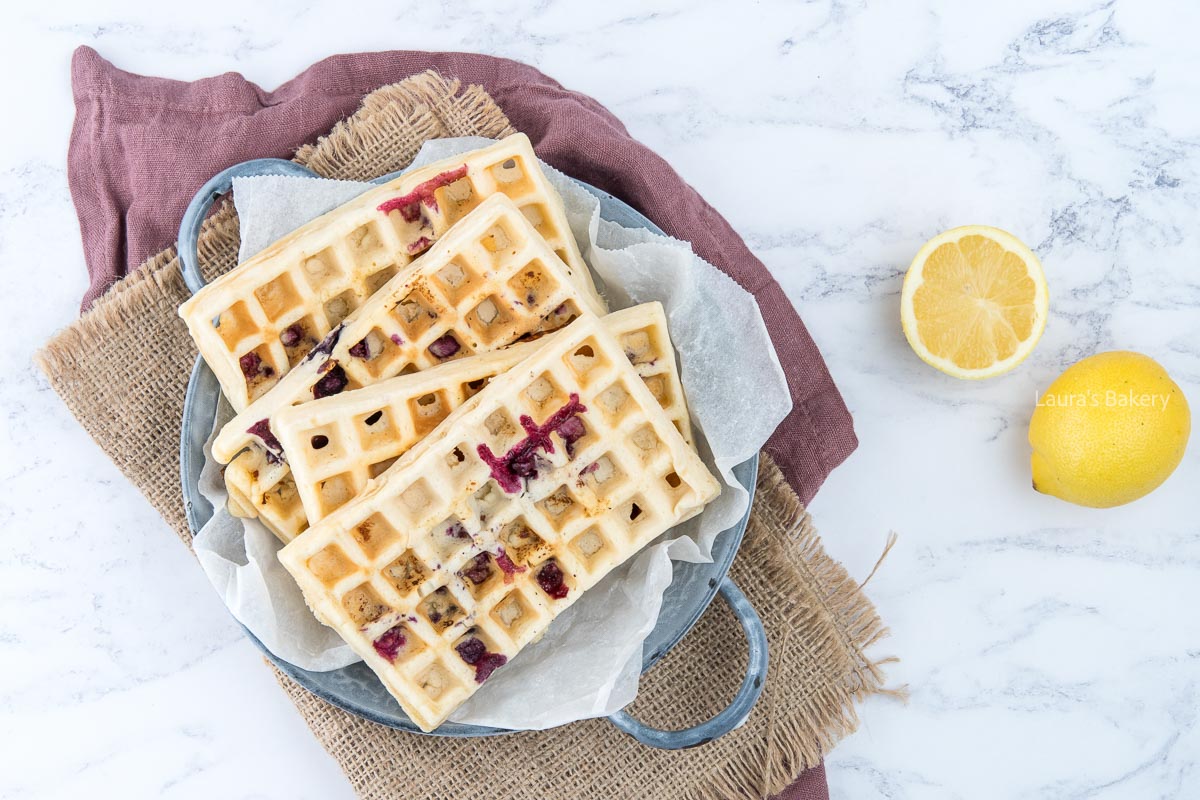
Store the blueberry lemon waffles in an airtight container for 3-4 days. You can easily reheat them in a toaster if you want to.
Absolutely. The waffles freeze great and you can store them for 3 months that way.
Yes, absolutely. You can use frozen blueberries straight from the freezer. Don’t thaw them first, as that can make the batter too wet and turn it purple.
You can prepare the batter a few hours in advance and keep it covered in the refrigerator. Give it a quick stir before baking, as it may thicken slightly.
You can substitute it with another neutral oil such as vegetable oil or canola oil. Melted butter also works and adds a richer flavor.
Fresh lemon juice is highly recommended for the best flavor, especially since lemon is a key ingredient here. In a pinch, bottled lemon juice will work, but the flavor will be less vibrant.
Place baked waffles on a wire rack in a low oven (about 200°F / 95°C) to keep them warm without losing their crisp edges.
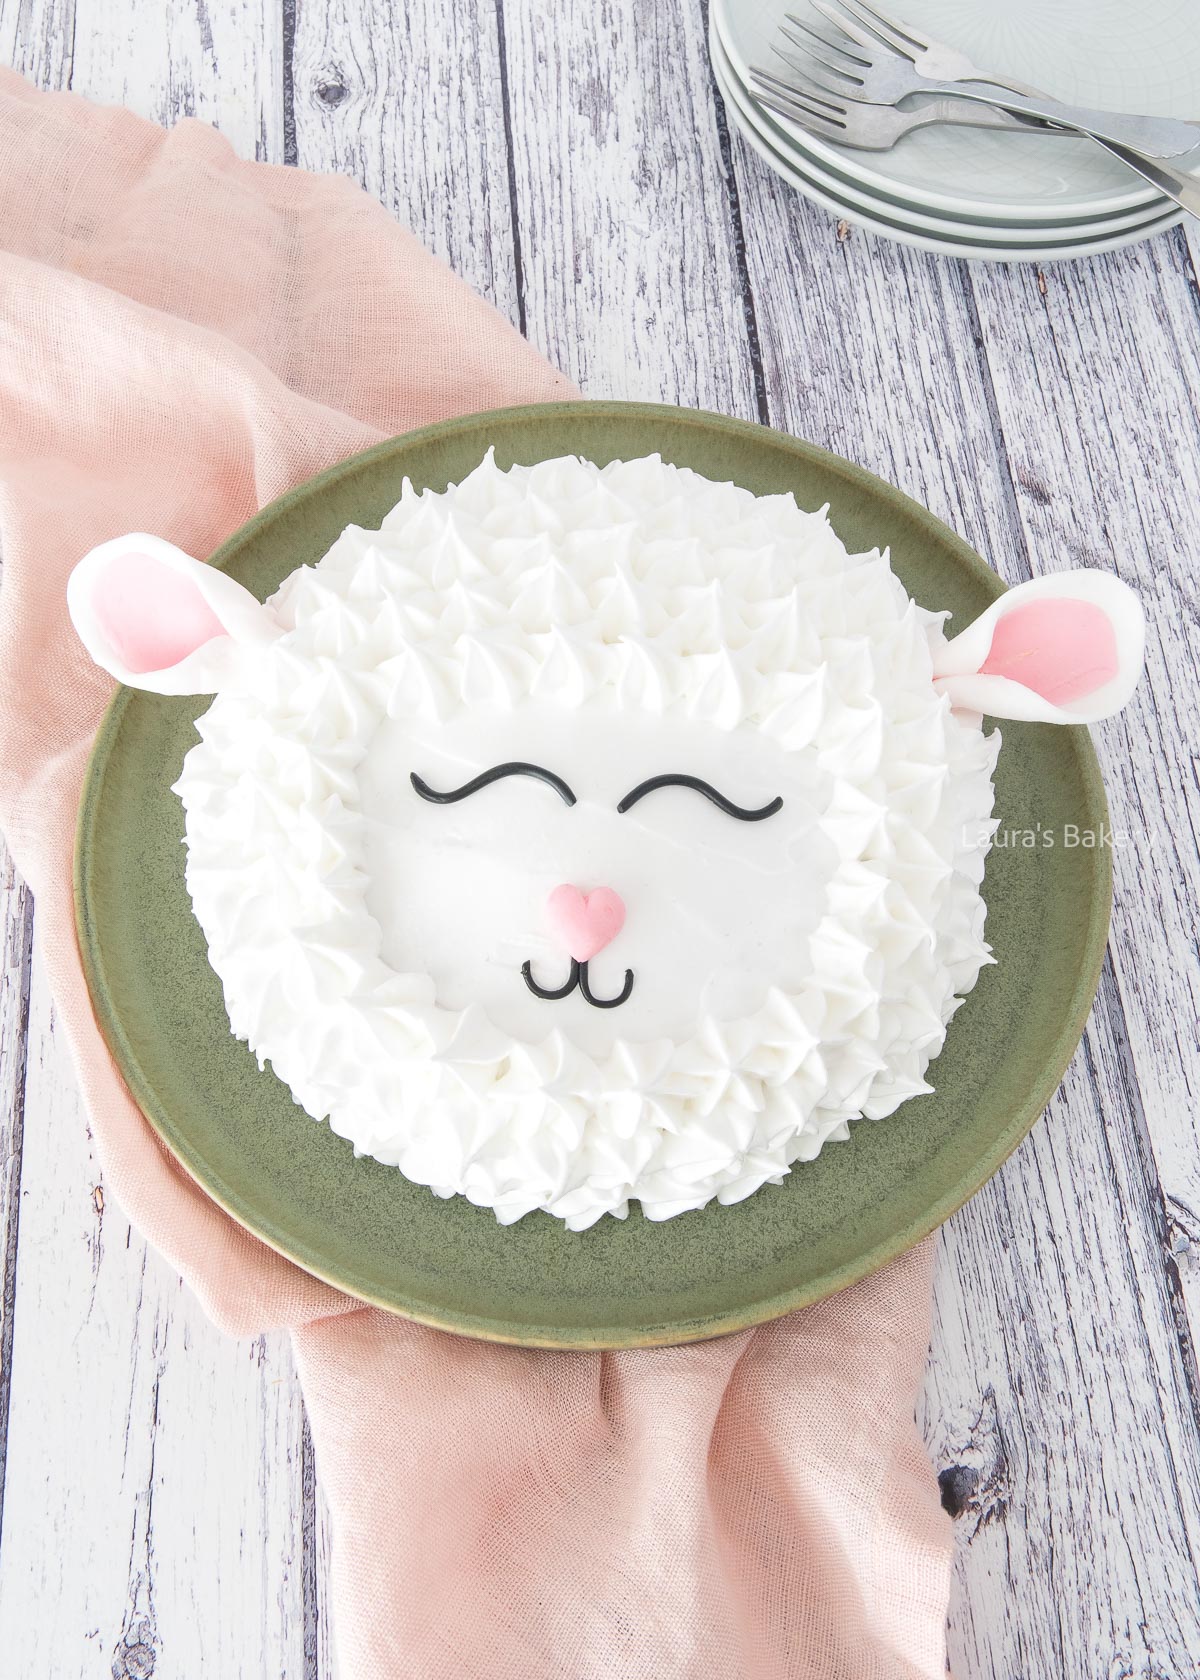
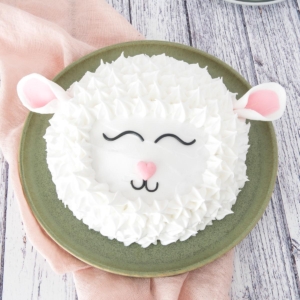
If you’re looking for a fun cake to bake this Easter you’ve found it. This Easter lamb cake is super easy to make, tastes delicious and looks even cuter! It’s the perfect combination of a delicious cake, homemade lemon curd en Italian meringue.
This cute Easter lamb cake is for four people, making it perfect for a small Easter gathering. No huge leftovers and just enough to enjoy.
It’s cute but still very impressive with a lovely fresh lemon flavor. And don’t forget the amazing Italian meringue, perfect for the start of spring with this lemon meringue lamb cake!
This recipe is for four people but if you want to bake it for more you can easily adjust the quantities. For the lamb cake mold I did use a small springform pan of around 6 inch. Make sure to double-check the quantities in the recipe card below.
You first start by making the batter for the cake. While I used a regular round tin you could also use a lamb mold in the shape of a lamb if you could find that. Not necessary and the decorations make it cute enough!
You bake the cake until it is cooked through and golden brown. Let it cool down completely before moving on to the next part.
The meringue I used for this recipe is Italian meringue also called cooked meringue, making it safe to eat. For making this you split the eggs and keep the egg yolks separate.
You could use those yolks to make lemon curd! Make sure to use a grease free large bowl and an electric mixer to whip the egg whites to stiff peaks.
Heat the sugar and water and slowly add this mixture to the meringue. Beat this until the meringue cools down to about lukewarm.
Now comes the fun part. First start by slicing the cake horizontally and fill with lemon curd. Cover the top and the sides of the cake with a thin layer of meringue.
It helps to draw an outline of the face of the lamb with a toothpick so you know where all the elements will go.
I used a star shaped tip for piping the fluffy lamb wool on the cake, keeping the face open. Now make the face decorations from fondant and you’re cake is good to go! Don’t forget the ears! 😉
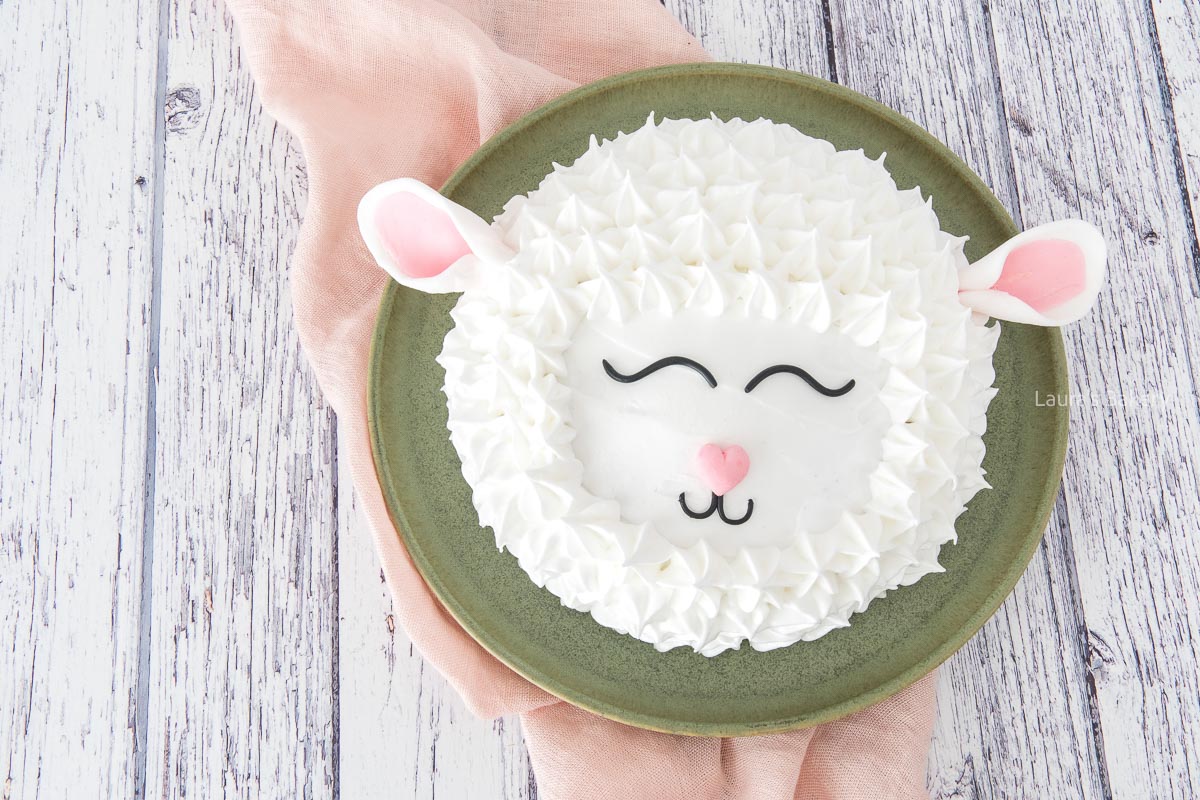
Store leftovers of the cake in the fridge for up to 3 days. Cover it with foil or use an airtight container.
You can freeze the baked and unfilled cake but it is not recommended to freeze the cake once you’ve added the meringue. For a perfect lamb cake you eat it straight away.
Yes. You can bake the lemon cake a day ahead and store it well wrapped at room temperature. Assemble and decorate the cake on the day you plan to serve it for the best look and texture.
Yes. Italian meringue is made by pouring hot sugar syrup (121°C / 250°F) into whipped egg whites, which makes it safe to eat without baking.
Absolutely. Store-bought lemon curd works perfectly here and saves time. Of course, homemade lemon curd is also delicious if you have it on hand.
Fondant works best for clean shapes, but you can also use marzipan if you prefer. In a pinch, you could even use small pieces of chocolate for the eyes and nose. Melt the chocolate and use a small piping bag to pipe the shapes you need.
A small open star tip works best to create the fluffy “wool” effect. A round tip will work too, but the texture will be a bit smoother.
You can pipe small meringue cookies and bake them for 1½-2 hours at 100°C / 210°F, or use it to top cupcakes or mini lemon meringue desserts.

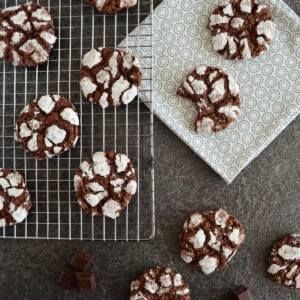
Cookies with a pretty cracked look; these delicious and easy chocolate crinkle cookies are one of my favorites cookies to make. The powdered sugar on top makes them so special!
This chocolate crinkle cookies recipe is not only easy to make, it is crispy on the outside and soft on the inside.
They have a delicious fudgy chocolate flavor and are perfect for making ahead. It’s a guaranteed crowd pleaser!
These easy cookies don’t need many ingredients but this is what you need. Make sure to double check the exact ingredients in the recipe card below:
Make sure to have all ingredients at room temperature before you start baking.
If you love baking cookies with chocolate, make sure to check the recipes below as well:
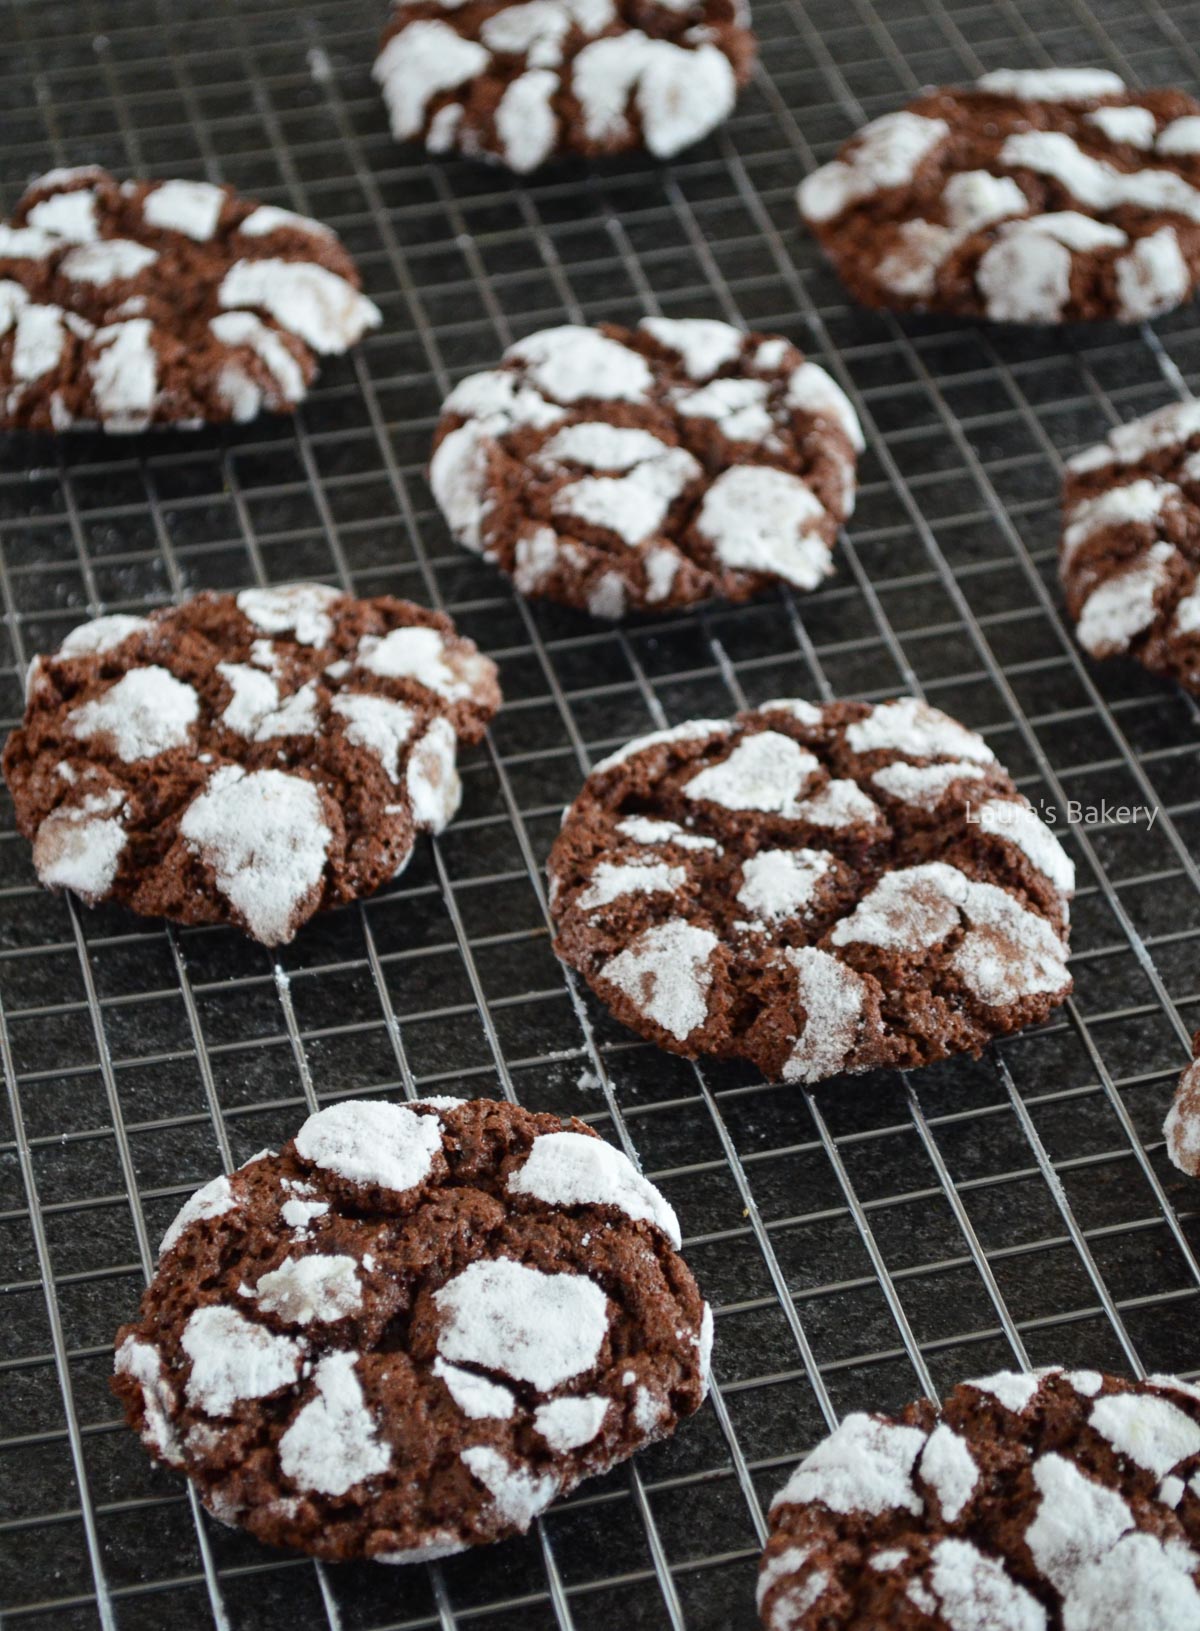
Start by melting 1/4 of the chocolate with the butter in a double boiler and stir until you have a smooth mix. Chop the rest of the remaining chocolate or you can use chocolate chips
Add sugar and eggs to the chocolate and butter and mix it. Add the dry ingredients and turn it into a smooth mix. Now fold in the chopped chocolate. Let the dough rest in the fridge for at least 2 hours.
Roll the dough into cookie dough balls of roughly the size of a ping-pong ball. Roll each of the balls into the powdered sugar and place them on a baking sheet lined with parchment paper.
Bake the cookies for 17 minutes at 350˚F/180˚C. Let the baked cookies cool down on a wire rack.
You can store the chocolate crinkle cookies in a cookie jar or airtight container for 4-6 weeks.
Yes you can freeze the cookies, place the baked cookies into an airtight container and freeze like that for up to 3 months.
Or freeze the unbaked dough in a freezer bag. You can bake them straight from the freezer, they wil need a few minutes extra baking time. The dough keeps well for up to 3 months in the freezer.
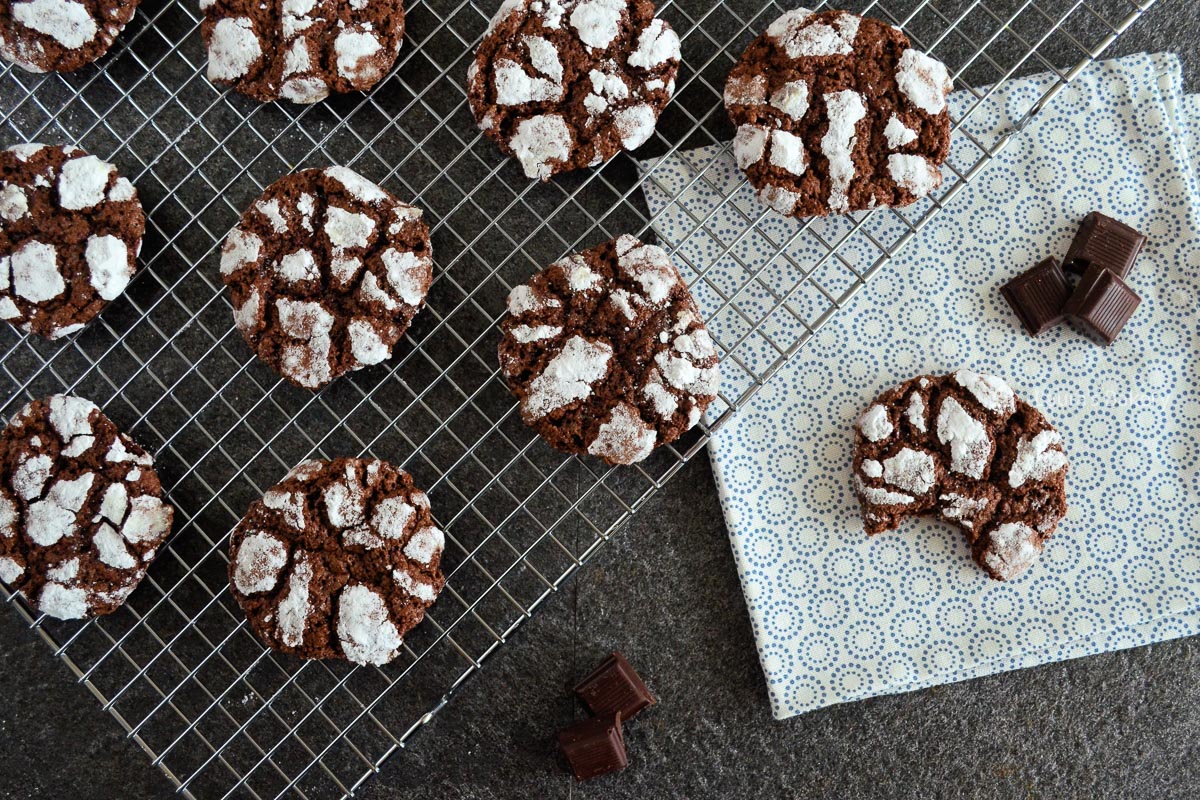
Crinkles usually form when the outside of the cookie sets quickly while the inside continues to spread. Make sure the dough is well chilled and that the oven is fully preheated. Also, roll the dough generously in powdered sugar.
This can happen if the dough is too warm or if there isn’t enough powdered sugar. Chilling the dough for at least 2 hours and rolling the dough balls in a thick layer of powdered sugar helps keep that snowy look.
Yes! You can make the dough up to 24 hours in advance and keep it covered in the refrigerator. Let it sit at room temperature for a few minutes before rolling if it’s very firm.
You can, but the cookies will be sweeter and less intense in chocolate flavor. Dark chocolate gives the best balance with the cocoa powder and powdered sugar coating.
Overbaking is usually the cause. The cookies should still look slightly soft in the center when you take them out of the oven. They’ll firm up as they cool.
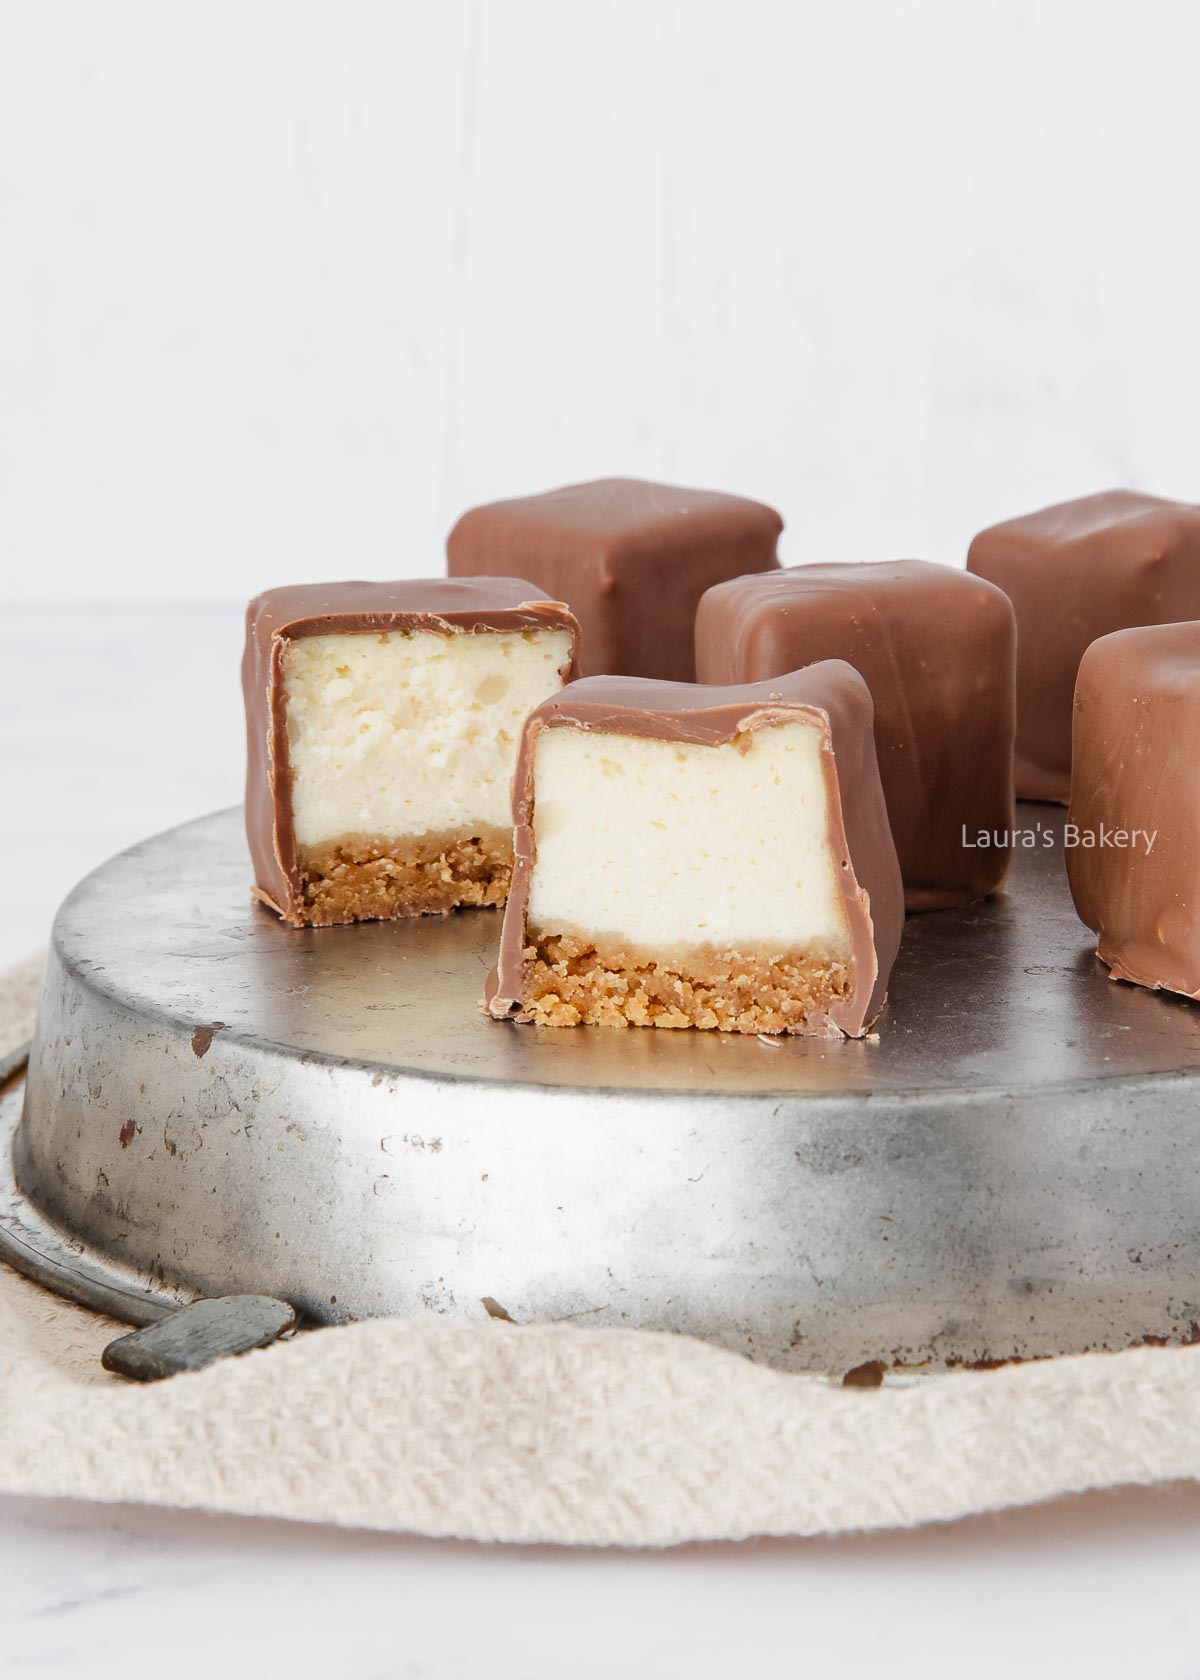
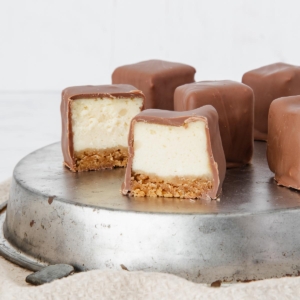
If you have a love for creamy cheesecake you will want to try these insanely good chocolate covered cheesecake bites. Super easy to make and the perfect treat for any occasion!
These chocolate covered cheesecake bites are the best of both worlds; creamy cheesecake on the inside and delicious milk chocolate on the outside.
They’re the perfect bite-sized treats, can easily be made ahead and are great for sharing (or not sharing. I won’t judge!)
For making this recipe you will need to make a cheesecake. I use a square baking pan so it’s easy to cut in cubes and dip those in chocolate later.
You first start by making the cheesecake. Melt the butter and add to the cookie crumbs. Press into a baking tin (a square pan works best here) firmly and cool until ready to use.
Make the cheesecake filling and pour onto the crumbs. Bake in the oven for about 55 minutes or until set. Let the cheesecake cool in the oven with the door slightly ajar and refrigerate overnight. You want them to be really cool.
Once set you slice them into bite-sized pieces. I first cut the cheesecake in four and each square into 9 cubes. You’ll have a total of 36 pieces.
Sounds like a lot but trust me when I say they’ll be gone in no time! It’s a perfect little treat. But if you’re worried you will have too many? You can easily freeze half of the pieces and use those at a later date.
For dipping the cheesecake bites you first melt 2/3 of the chocolate in a double boiler and once melted you add the rest of the chocolate chips. Check this article on how to temper chocolate without a thermometer.
Once the chocolate is melted, dip each cheesecake bite into the dipping chocolate and place it on a sheet of parchment paper to set.
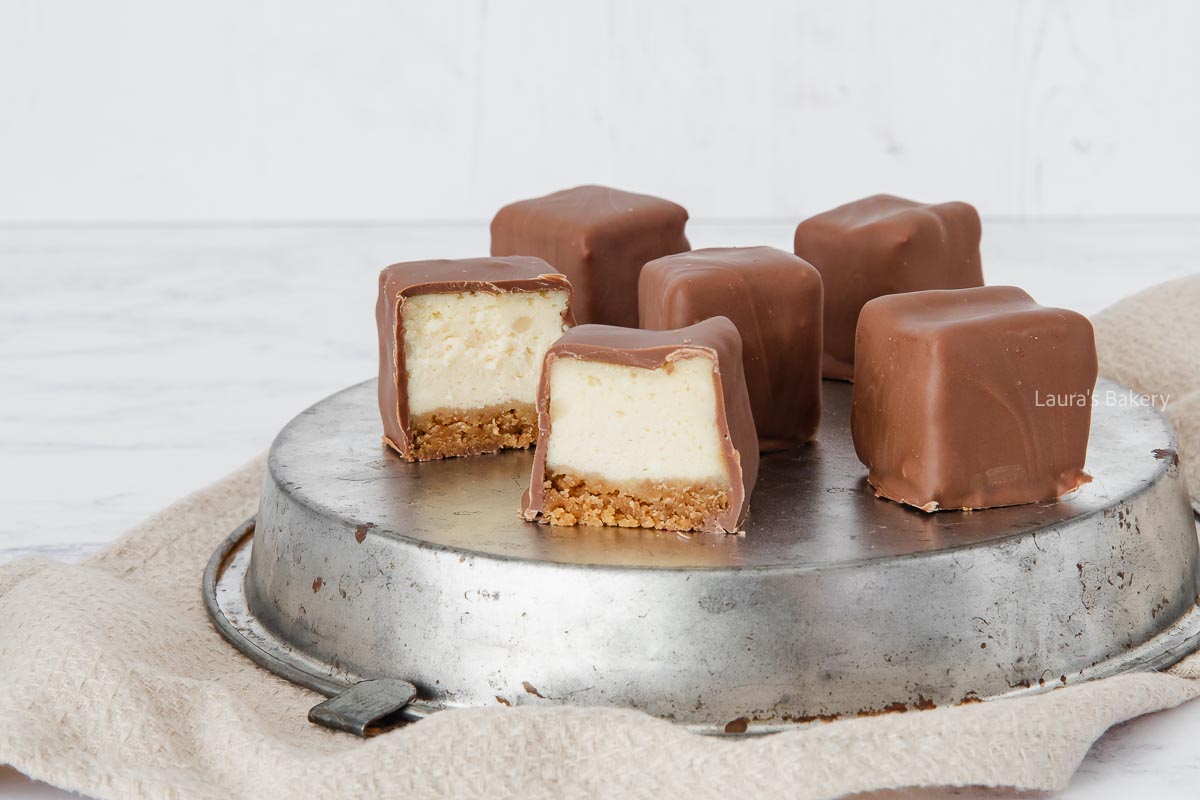
Properly packed in an airtight container they keep for 3-4 days in the fridge.
If you want to freeze part of the bites do so without the chocolate. That way you can store them for three months and you can dip the frozen cheesecake into the chocolate once you’re ready to eat them.
It is possible to freeze with the chocolate layer, but freezing and thawing can effect how the chocolate looks.
Of course you can use just about any cheesecake recipe and turn them into bites! Try with any of the cheesecakes below:
Milk chocolate works beautifully, but dark or white chocolate are great options too. Use good-quality chocolate for the best flavor and smoothest coating.
This usually happens if the chocolate is too thick or the cheesecake is too cold. Let the melted chocolate cool slightly after melting and work quickly for the smoothest result.
Tempering isn’t strictly necessary since the bonbons are stored in the fridge, but: if you want a shinier finish and a firmer snap, you should definitely temper the chocolate. Without tempering, chocolate can look dull, have white stripes and is often a bit soft.
Not at all. Since the cheesecake is cut into cubes and coated in chocolate, any cracks will be completely hidden.
Definitely! Lemon zest, orange zest, espresso powder, or a swirl of caramel or fruit puree all work beautifully.
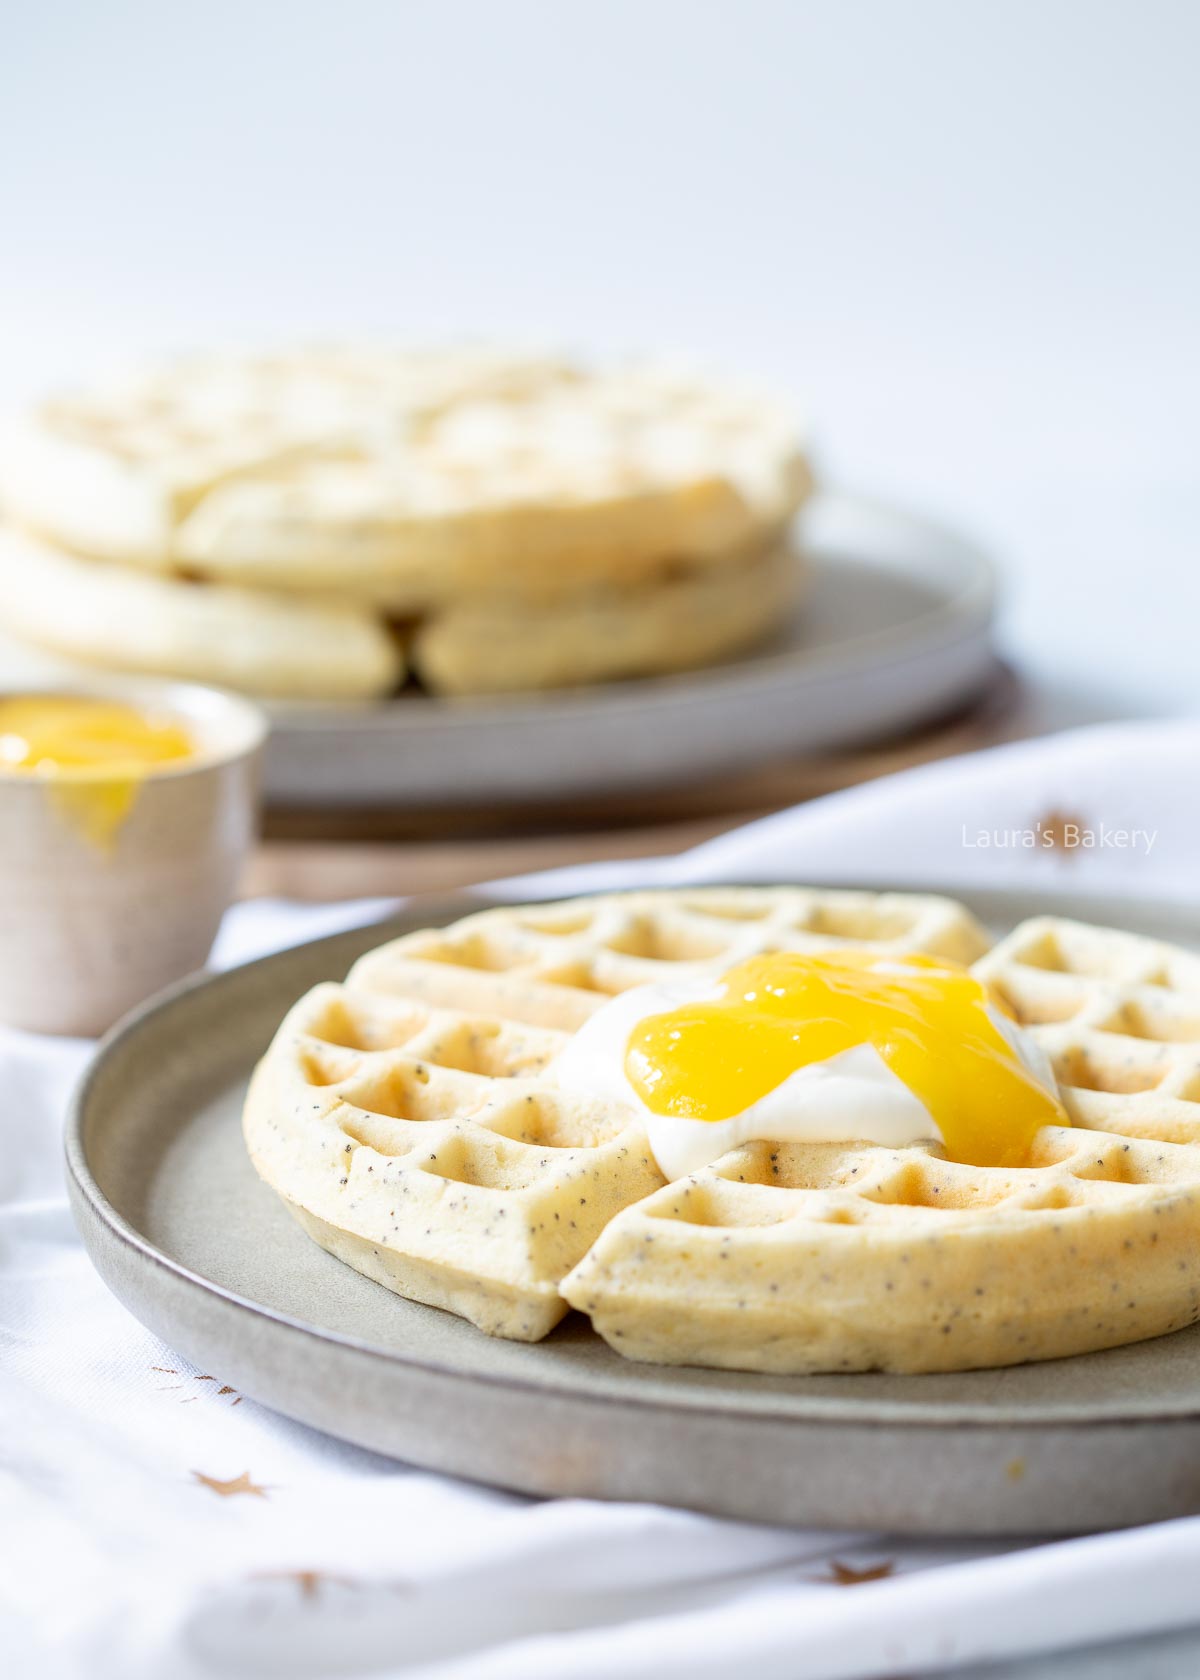
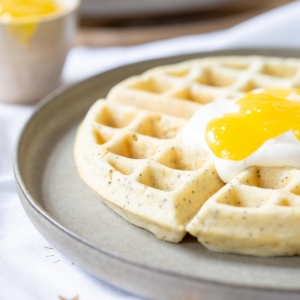
Lemon and poppy seeds are a classic combination and while I already have quite a few with this particular combination online, these lemon poppy seed waffles are a must try. Delicious when served with lemon curd!
These waffles with lemon and poppy seed are a classic combination that never fails to impress. Perfect for a festive breakfast or brunch, these are light, fluffy and full of flavor.
Soft on the inside with a slight crunch from the poppy seeds. Easy to use with customizable toppings. They’re also freezer friendly!
Making these delicious waffles is easy to do and so tasty! You’ll need the following ingredients:
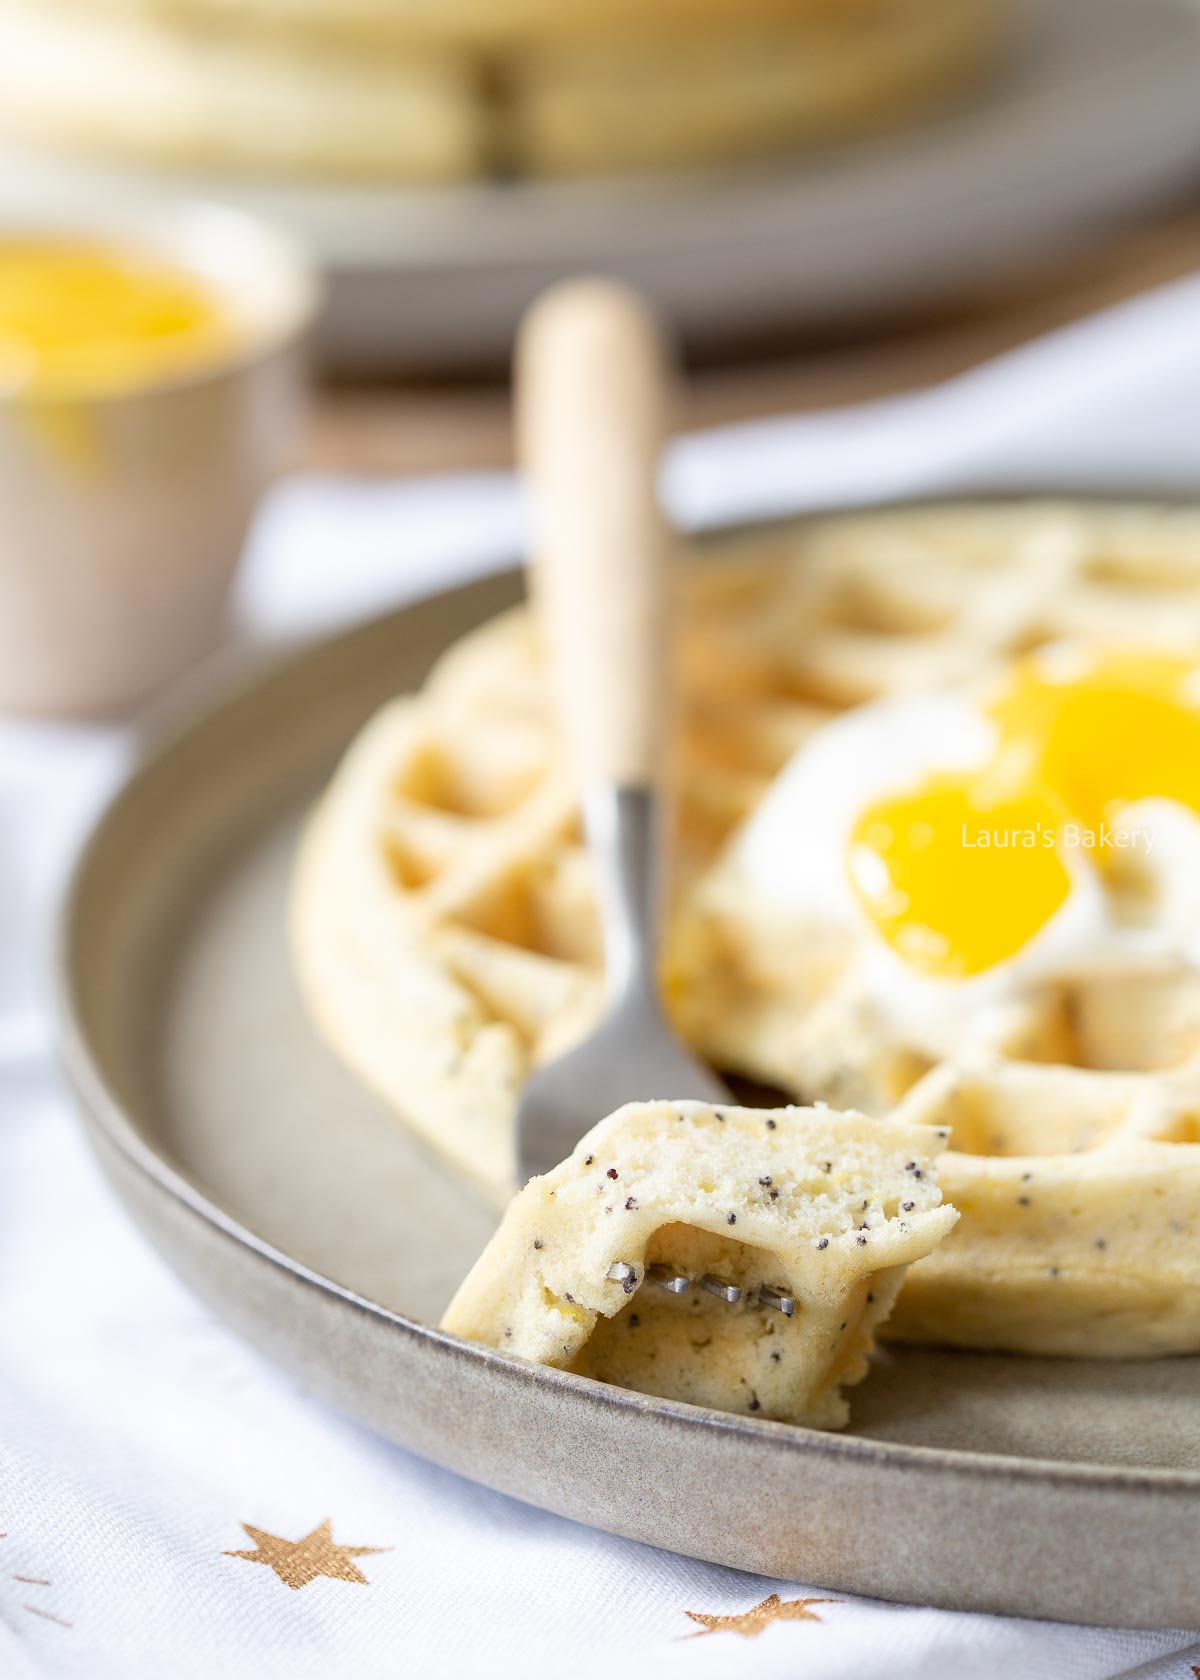
Making these lemon poppyseed waffles is really super easy to do. You start by taking a large bowl and add all the dry ingredients (flour, baking powder, salt, sugar and the poppy seeds) Whisk to combine. Now add the wet ingredients and again whisk until you have a smooth batter.
Preheat your waffle maker and grease it lightly. You can use a brush for doing this but I usually go for a cooking spray as it makes it even faster. You can also use melted butter, coconut oil, sunflower oil or something similar.
How much waffle batter you have to add to the hot waffle iron depends on the size of your waffle maker. So it’s a bit hard to give a guideline there. But in general adding 1,5 to 2 ice cream scoops should be enough or about half a cup of batter.
The waffle maker I used here was pretty large so I needed 3 scoops per waffle. Close the waffle maker and bake the waffles until golden brown.
Times per waffle also vary depending on the size so roughly between 5 to 7 minutes but make sure to double check the instruction of your machine.
Take the waffles out and remember that they will crisp up after you’ve taken them out.
Waffles are always best enjoyed after they’ve come out of the machine but you can store them for 2-3 days and reheat them in a toaster or in the oven before eating. Don’t store the batter, it’s best used right away.
Freezing the waffles is the perfect way to keep them for longer. Freeze properly wrapped or in an airtight container for up to three months.
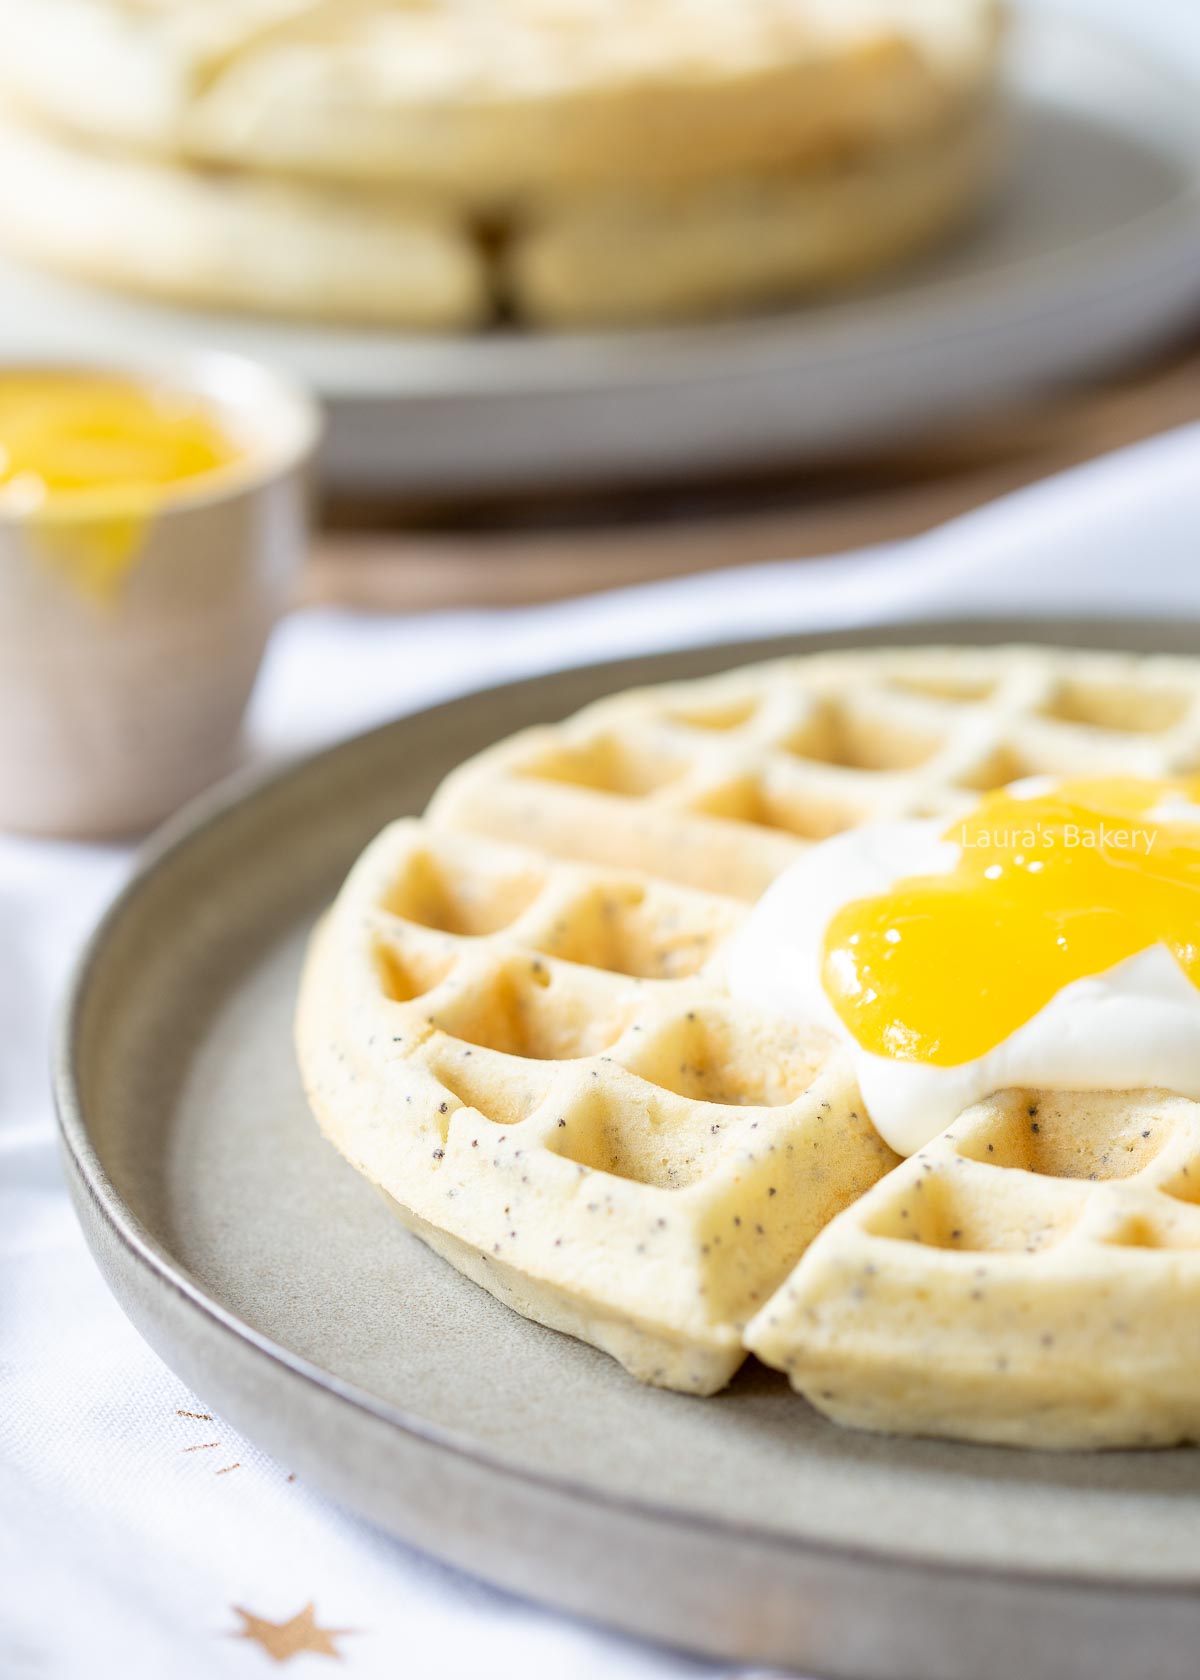
Lemon and poppy seed are two ingredients I love using in all kinds of recipes. Besides these delicious waffles, I’ve already baked plenty of other treats with lemon and poppy seed, including:
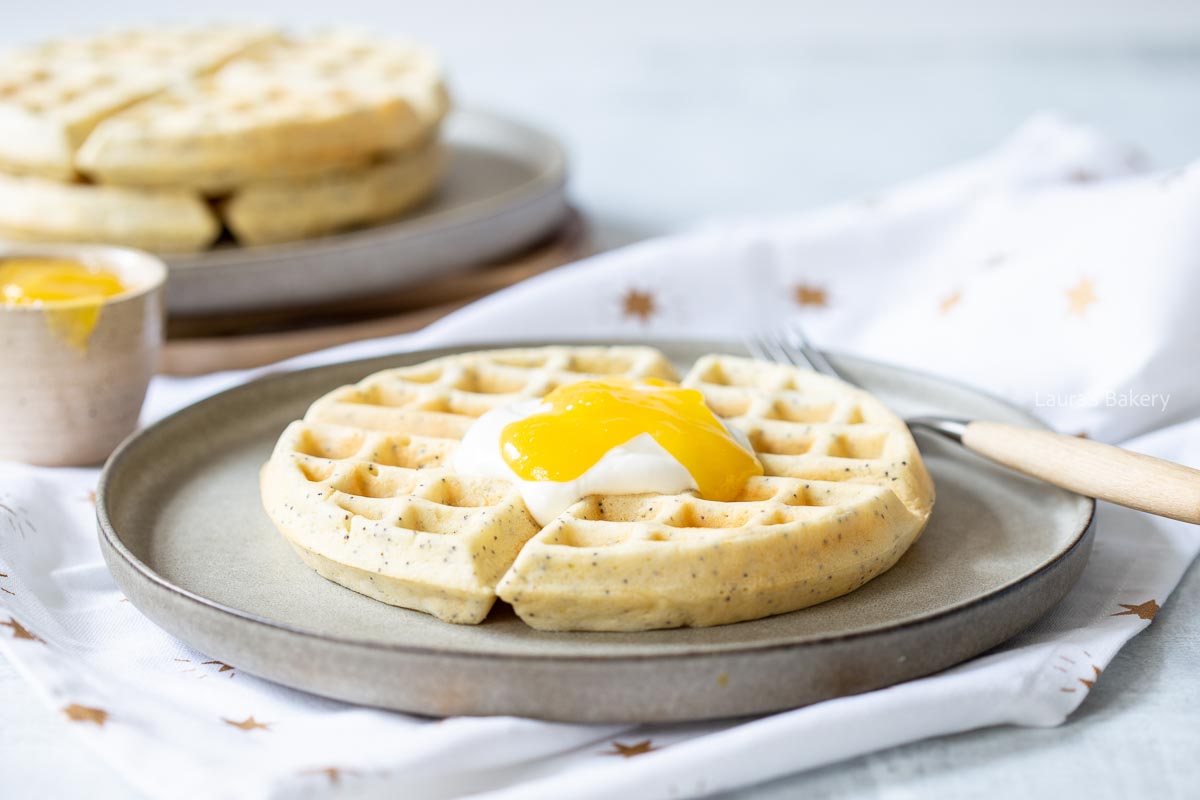
It’s best to bake the waffles right away. Because the batter contains baking powder, it loses its lifting power if it sits too long. For the best fluffy texture, mix and bake immediately.
The toaster works great for reheating and gives the waffles a slightly crisp exterior. You can also warm them in the oven at 350°F (180°C) for a few minutes. Sometimes I even reheat them in my toaster, just put them in like a slice of bread.
Fresh lemon juice and zest are highly recommended for the best flavor. Bottled lemon juice will work in a pinch, but you’ll miss out on that fresh, vibrant lemon taste.
Yes, you can leave them out if you prefer. The waffles will still be delicious, just without the subtle crunch and nutty flavor poppy seeds add.
Yes. Use a plant-based milk (such as almond, coconut milk or oat milk) and a dairy-free yogurt or whipped topping. Just keep in mind that the flavor and texture may change slightly.
Waffles soften quickly when stacked or covered. Let them cool on a wire rack and serve immediately. For extra crispiness, you can keep them warm in the oven directly on the rack.