Can you taste the zucchini in this cake?
No, not at all. The zucchini mainly adds moisture and a soft texture, but the flavor is completely neutral. The lemon is what you really taste.
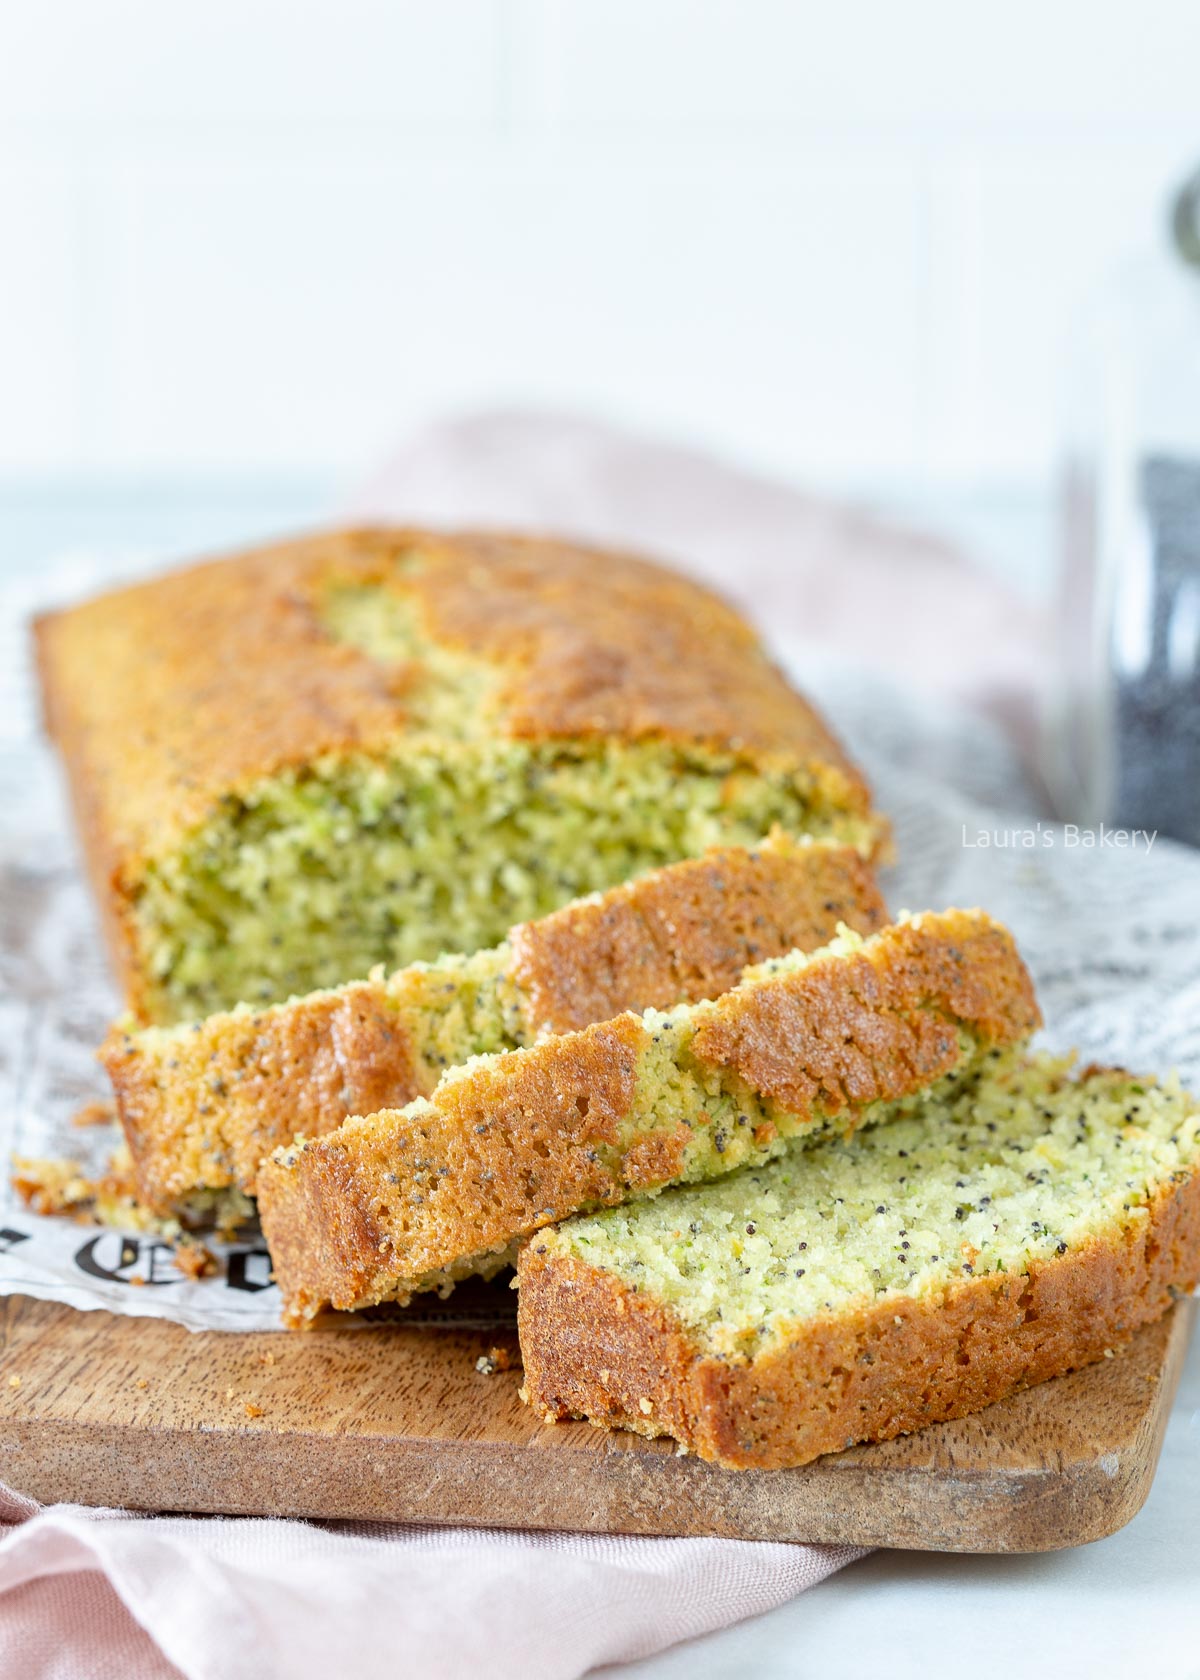
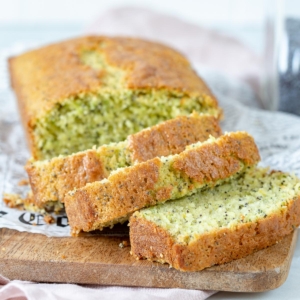
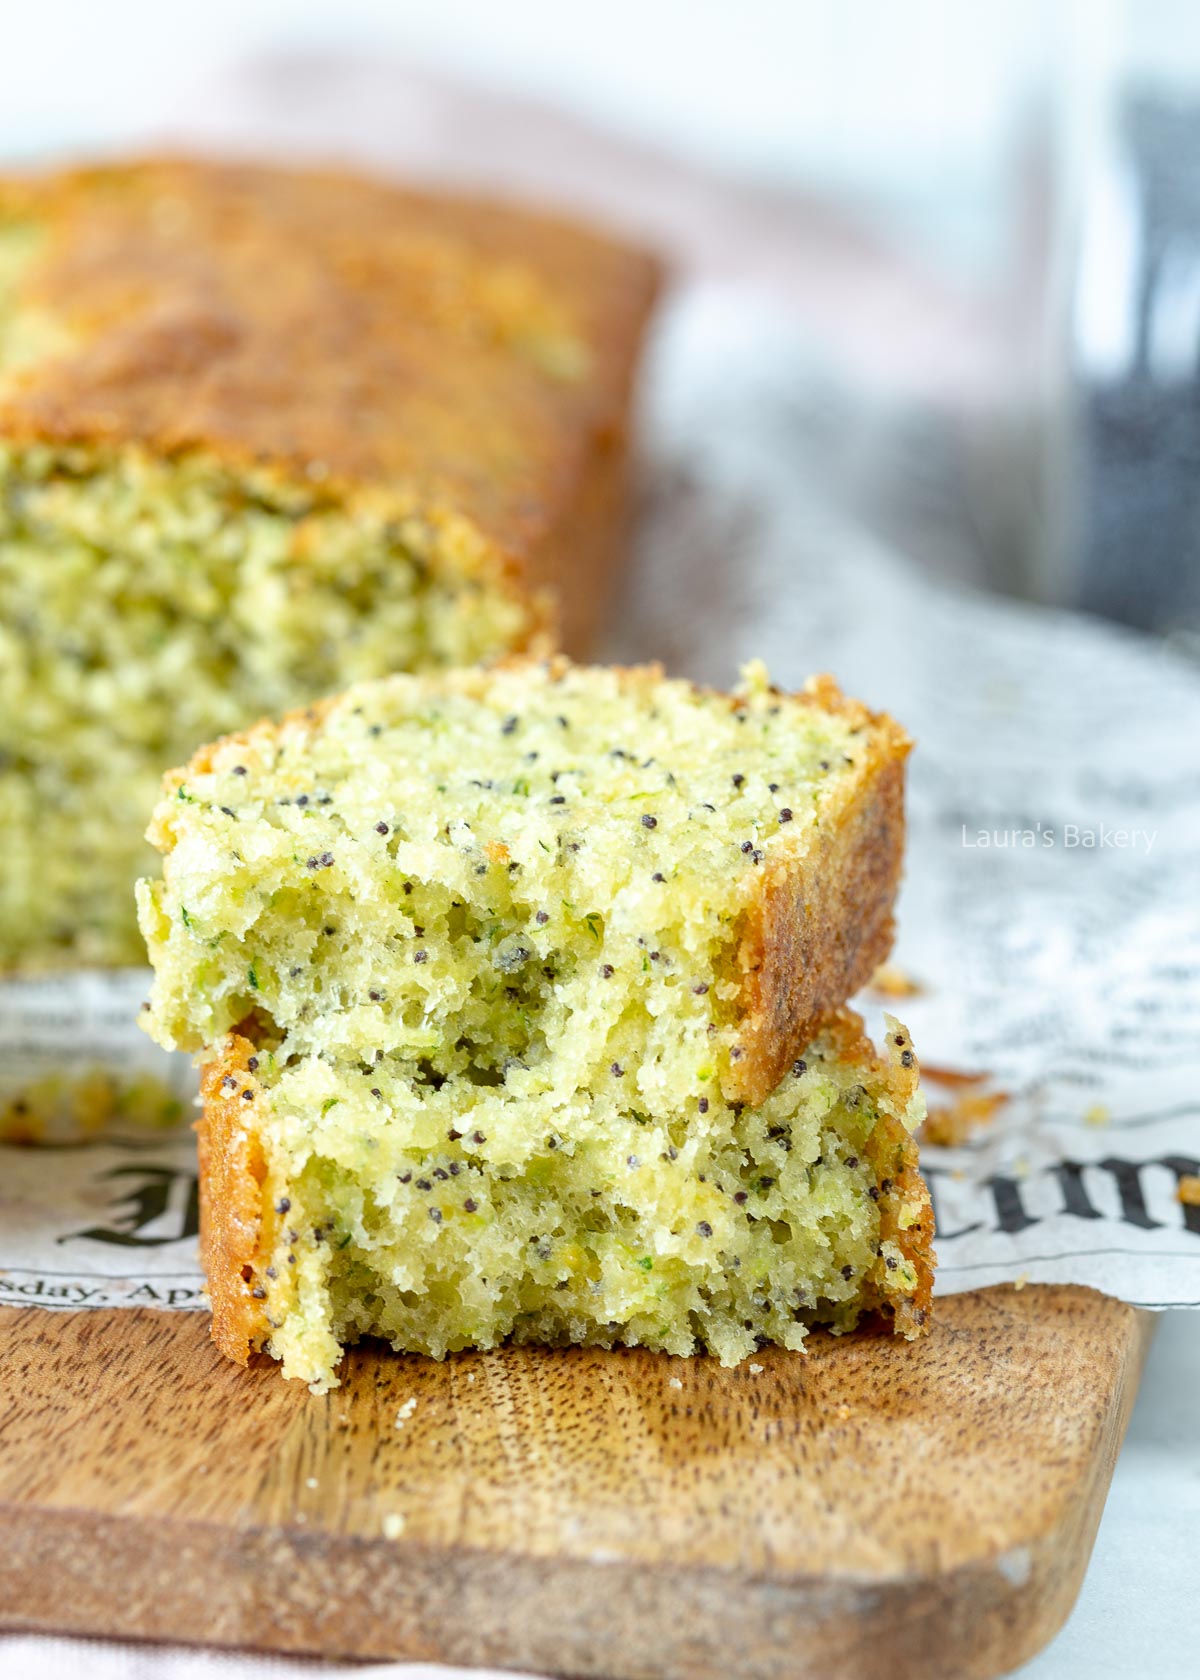
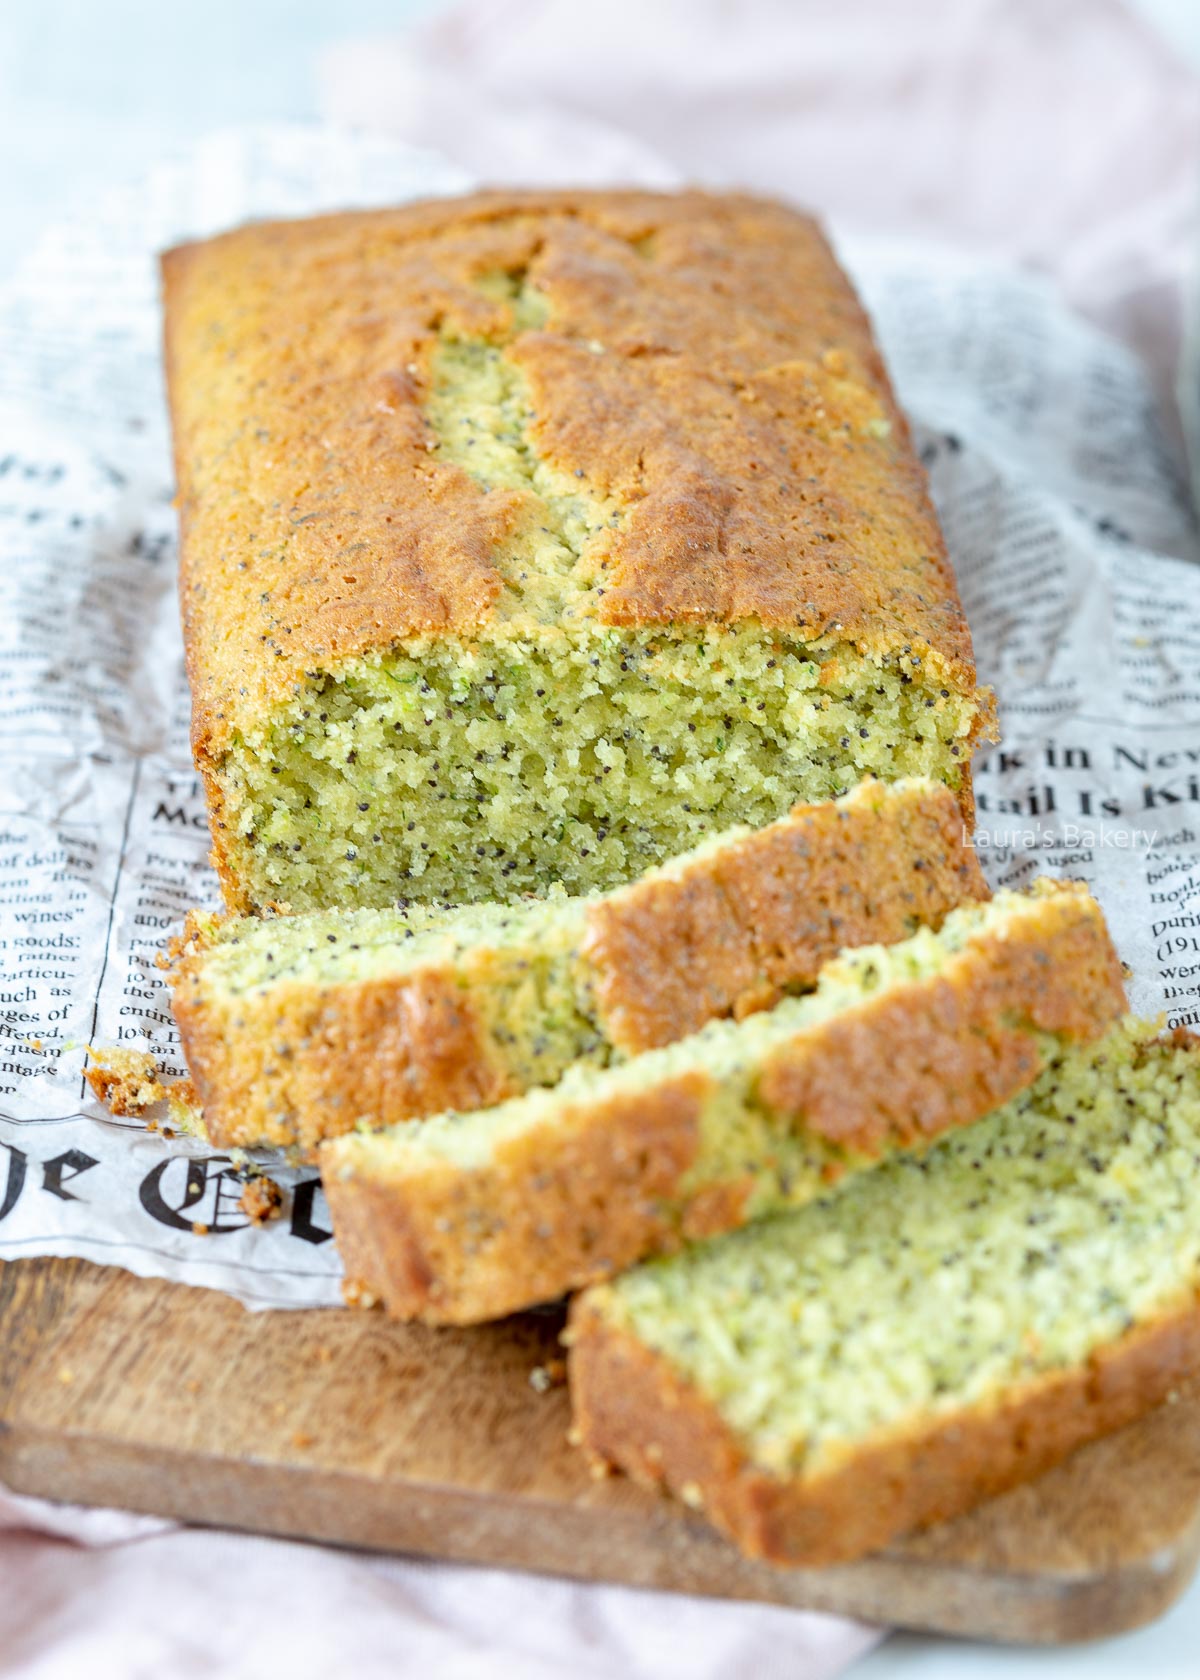
One of the fun things about baking with zucchini is that it is incredibly easy to add to a cake. It makes it more moist and delicious, and as a bonus, it also contains vegetables! This lemon poppy seed zucchini bread is absolutely scrumptious!

The zucchini keeps the cake incredibly delicious and moist without making it dense. The lemon lifts the flavor, and the poppy seeds add some crunch and texture to the cake.
And of course it is also really easy to make! The fact that it has some added vegetables is a bonus too. It’s also perfect for zucchini season. I love the combination of lemon and poppy seed like in these lemon poppy seed waffles or in this lemon poppy seed banana bread too.
I adapted the recipe slightly from the cookbook ‘Baking with vegetables’ by Liana Wallentinson. The original was gluten-free, but due to my changes, it no longer is.
Since this is such an easy recipe, you really don’t need a food processor to make it (although it does make the mixing part easier). I place the eggs and sugar into a large bowl and mix it until light and fluffy. Add the lemon zest and vanilla, and fold it in.
Use a separate bowl to add the flour, cornstarch, baking powder, poppy seeds, and a pinch of salt. Mix it through and add to the large bowl. Add the melted butter as well, and stir until combined.
Drain any excess liquid from the grated zucchini if it’s really wet and add to the cake. This is not a necessary step but depending on the time of year, zucchini can contain more moisture.
Pour into a loaf pan lined with parchment paper and bake in the oven for about 35 to 40 minutes or until it is done. Let it cool briefly in the tin and then transfer to a wire rack to cool down completely.
It’s delicious on its own, but you could also add an easy lemon glaze as well.
You can store the lemon zucchini bread in an airtight container at room temperature for 2-3 days. You can also refrigerate it for slightly longer if you want it fresher.
I love freezing this cake in slices for easy use any time I want, and it’s a great way to always have an easy snack handy.
If you love zucchini as much as I do, make sure to check out the recipes below:
No, not at all. The zucchini mainly adds moisture and a soft texture, but the flavor is completely neutral. The lemon is what you really taste.
No, for this recipe you don’t need to. The moisture from the zucchini actually helps create a tender cake. Just grate it finely and add it straight to the batter. If it is really wet, you might want to squeeze it just a little.
You can, but the texture will be slightly different. The cornstarch helps create a lighter, softer crumb. If you skip it, replace it with the same amount of flour.
Yes! Replace the all-purpose flour with rice flour and add 1 tablespoon of psyllium husk for structure. This was actually how the original recipe was developed.
You can substitute the melted butter with a neutral oil like vegetable or sunflower oil. The cake will still be moist, but slightly less rich in flavor.
This can happen if the eggs and sugar weren’t beaten long enough or if the batter was overmixed after adding the flour. Make sure to beat well at the start and gently fold the rest.
Absolutely! A simple lemon glaze (powdered sugar + lemon juice) works beautifully. You could also add a light cream cheese frosting for a richer version.
Yes, you can. Divide the batter over a lined muffin tin and bake at the same temperature for about 18-22 minutes, or until a toothpick comes out clean.
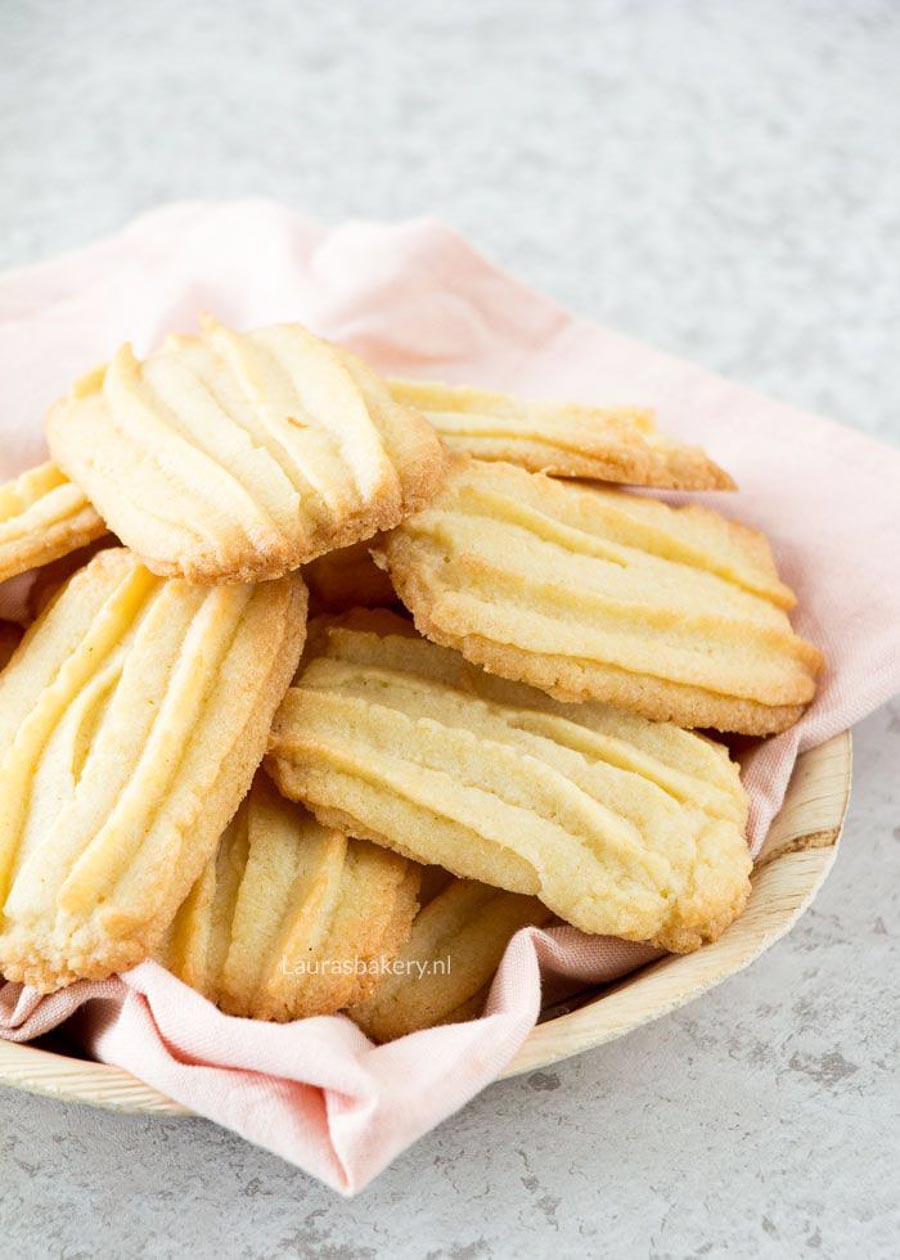
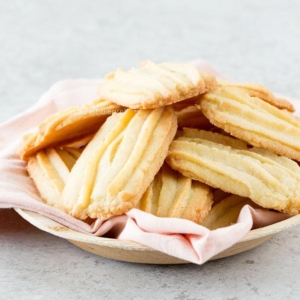
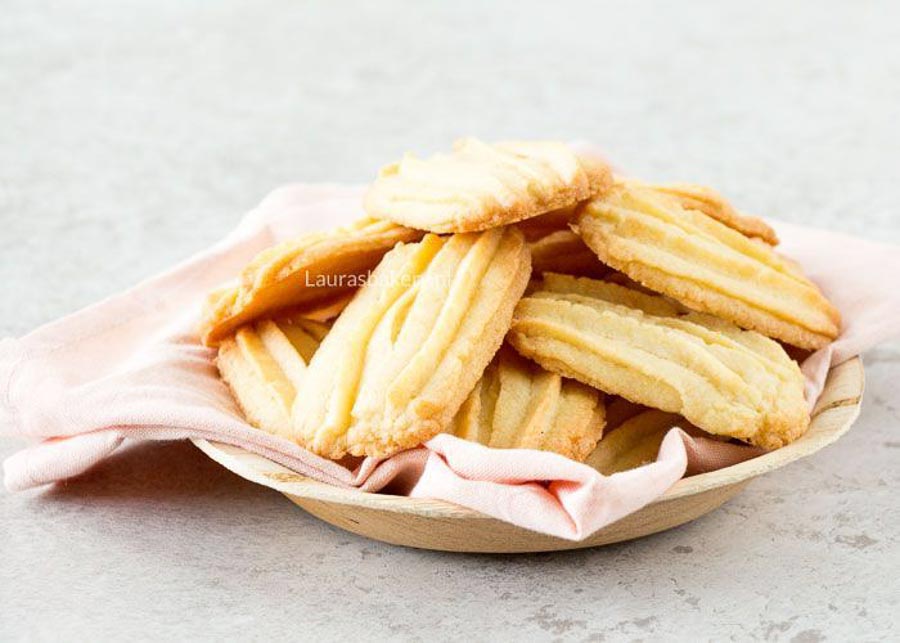
Today I am sharing another delicious Dutch cookie with you: spritz cookies or butter spritz cookies. They’re one of my favorite cookies here in the Netherlands and quite easy to make, despite appearances.
These butter spritz cookies are a Dutch classic, and they’re easy to make. Plus, you can make all sorts of different designs with the dough.
They are also really easy to customize. Dip them into chocolate, for instance, to create a different flavor, or make different intricate shapes to your heart’s desire.
And if you love Dutch cookies, be sure to check out this round-up of 10 traditional Dutch cookie recipes.
The good news is that these cookies use simple ingredients that you’ll probably already have in your pantry.
A traditional butter spritz cookie recipe is made with what’s called a rubbing dough. This is essentially the same as a creamed butter dough.
Traditionally, this dough is made by hand directly on the countertop. That means rubbing the butter and sugar together with your hands until the mixture becomes very creamy and pale. After that, the remaining ingredients are rubbed in by hand as well.
This rubbing technique makes the dough light and what bakers call “salve-like.” The best way to understand that term is to think of the soft, creamy texture of a cream or ointment from the drugstore: that same soft and smooth texture is what your dough should have. If your dough isn’t soft and creamy, you won’t be able to pipe it.
Nowadays, bakeries use large mixers with paddle attachments to create a rubbing dough. For this recipe, I used my stand mixer at home, which works perfectly.
So yes, you can absolutely make butter spritz cookies with a stand mixer. You want the dough to be smooth and soft enough for piping it onto parchment paper to get that signature texture and shape.
The first, essential, step for making these cookies is to make sure your butter is soft. Not melted, just really soft. If not soft enough, there is no way you will be able to pipe the cookies.
Also make sure you rub or mix the butter long enough. Don’t rush this step, as the mixture should be really pale, soft and creamy.
Once that is the case, add the dough into a pastry bag fitted with a piping tip. Another thing to make sure is that you use strong pastry bags. The dough will be soft but still firmer than most batters. You need a bag that is strong enough and doesn’t break if you have to use some force.
Also make sure you use the dough right away. This is one dough that cannot be stored. If you leave it for too long it will loose its airy and creamy texture. Not what you want.
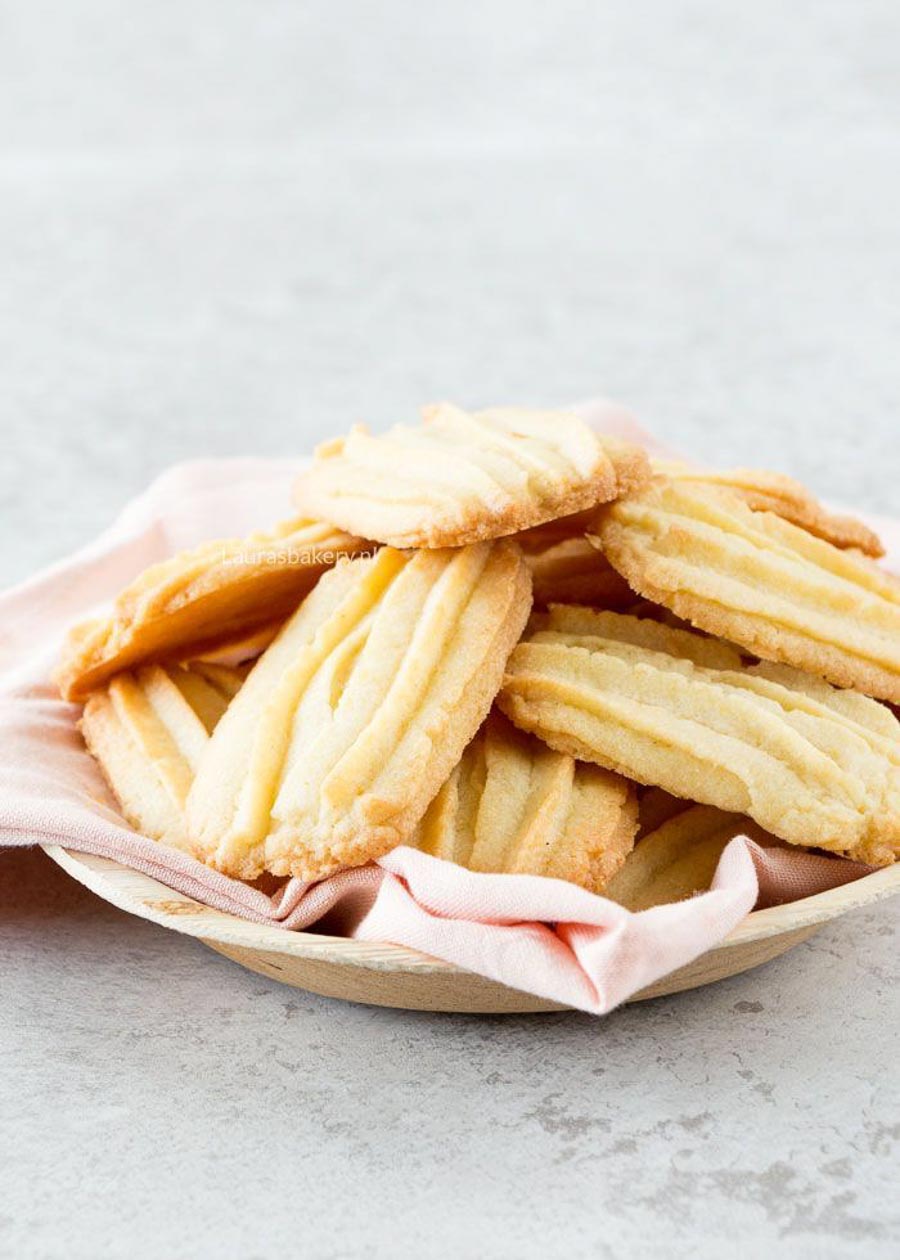
Traditionally, butter spritz cookies are piped in zigzag stripes across the cookie sheet. Once baked, they are then cut into individual cookies right away after baking. I chose to pipe individual cookies, which might be the easiest way to start.
BAKING TIP: To get the classic ridges of sprits cookies, use a piping bag fitted with a star tip (for example a 1M tip).
These delicious buttery cookies keep in an airtight container or cookie tin for 4 to 6 weeks.
You can freeze the baked cookies in a proper freezer bag for up to 3 months.
My collection of delicious Dutch cookies is ever expanding on the site.
Use a paddle attachment (also called a flat beater).
The cookies need to cool completely after baking so they can firm up and become crisp. If they’re still soft after cooling, they may have needed a little more time in the oven.
You can briefly warm the outside of the bowl with a blow dryer, but be careful not to melt the butter.
Lightly beat an egg in a small bowl. Then weigh 25 grams/0.9 oz of the beaten egg in another bowl. It is about half an egg.
Your butter may have been too soft or melted. When the butter is too soft, the cookies spread too much while baking.
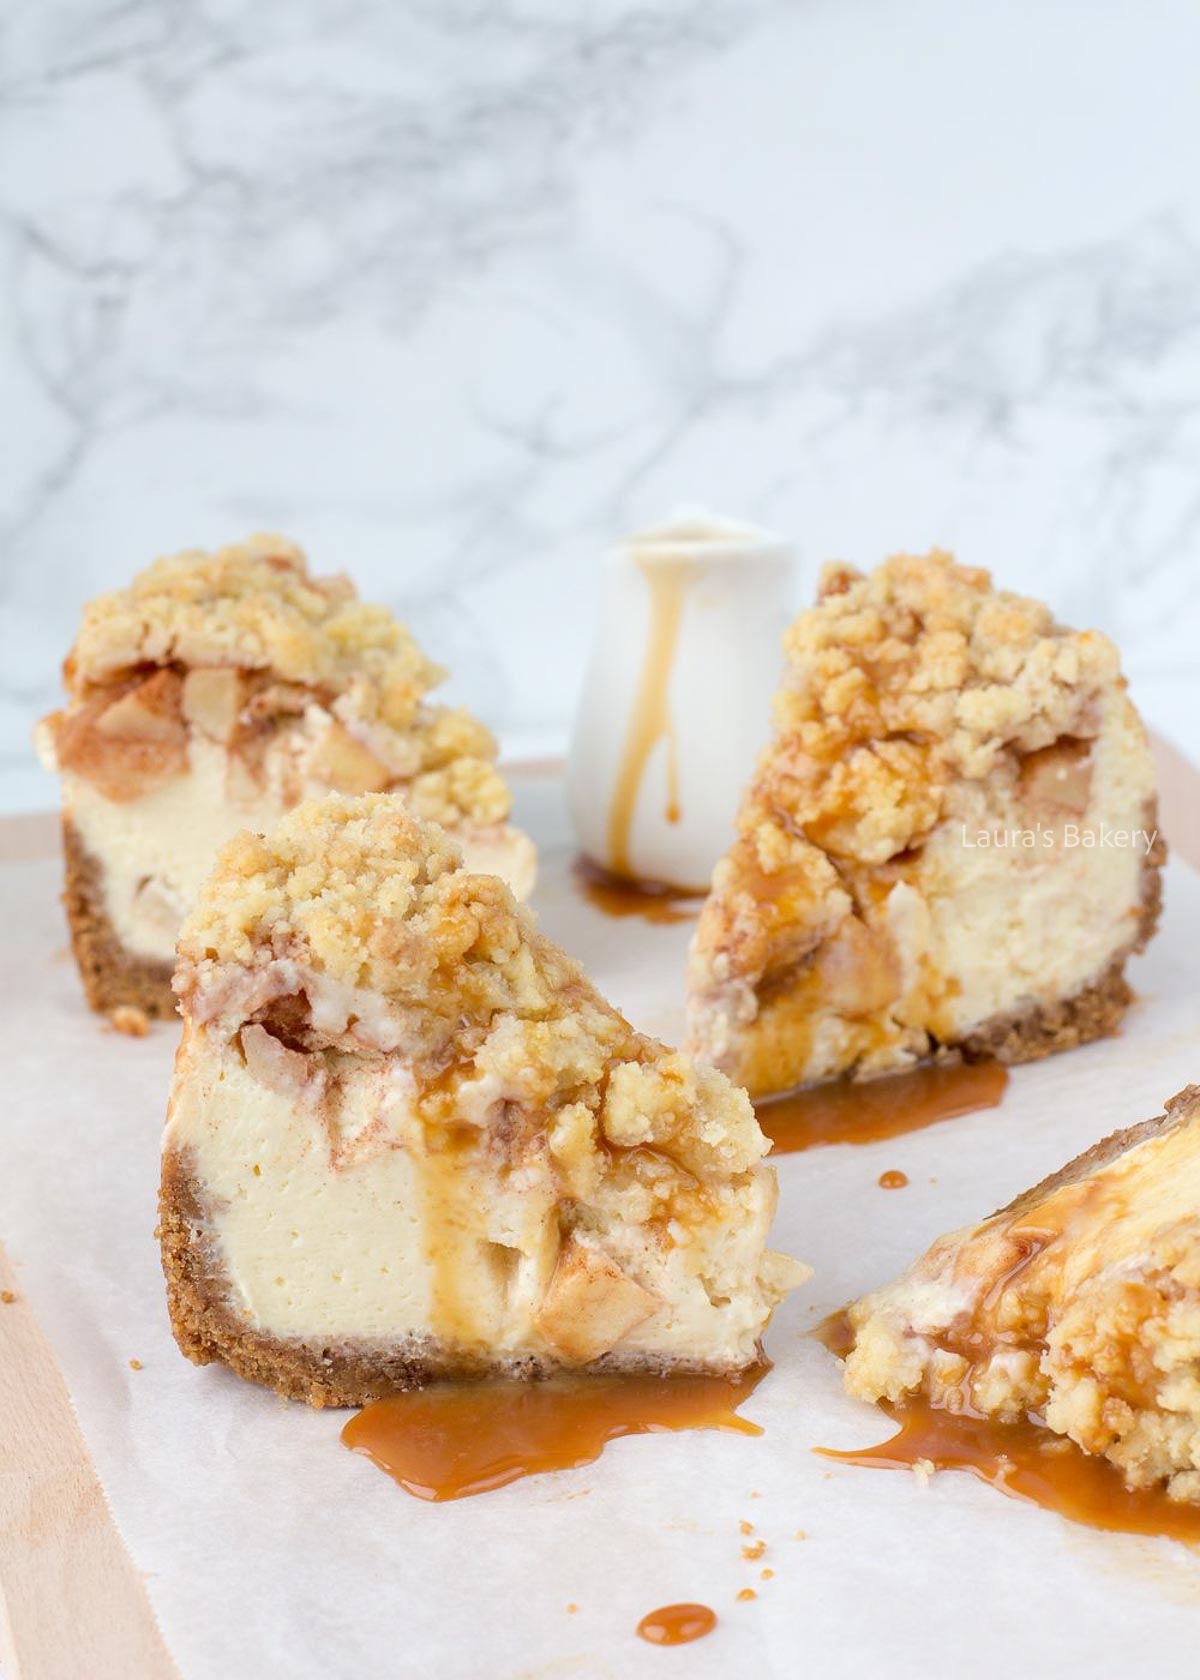
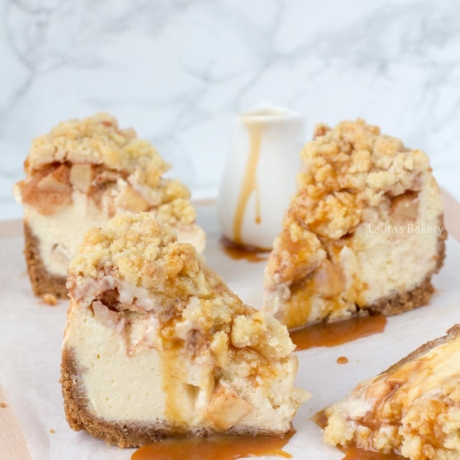
This apple crumble cheesecake combines two classic desserts into one irresistible treat. A buttery biscuit base, creamy cinnamon spiced filling with diced apples, and a golden crumble topping. Enjoy a slice with a generous drizzle of homemade caramel sauce.
Why choose between two desserts when you can have both? This apple crumble cheesecake recipe combines the best of homemade apple crumble and vanilla cheesecake in one slice. Plus, it needs to chill overnight, making it the perfect make ahead dessert.
This apple crumble cheesecake recipe calls for a buttery biscuit base, cinnamon and apple cheesecake filling, and a crumble topping using ingredients you likely already have on hand.
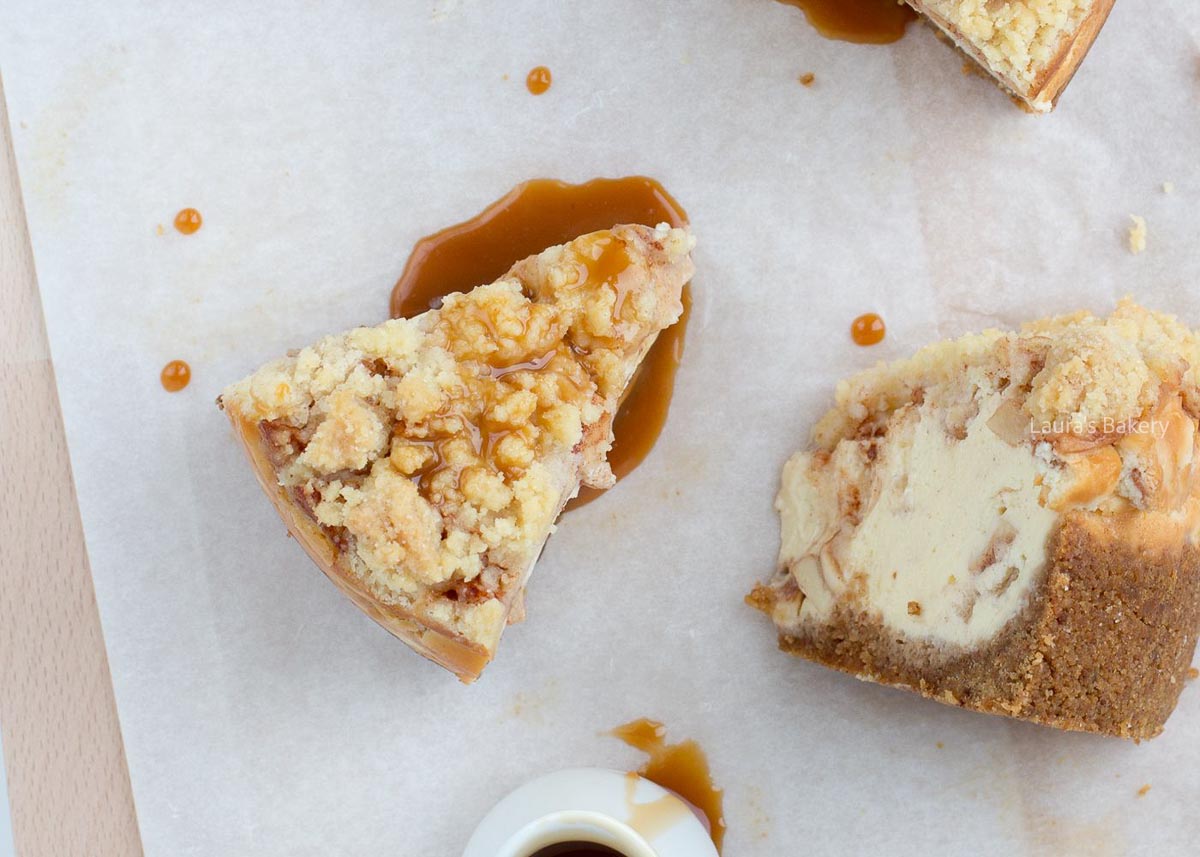
This recipe is easy to make and I will show you how to do it yourself.
Start by finely crushing the digestive biscuits in a food processor, then mix the crumbs with 1 teaspoon of cinnamon and 100 grams/3.53 oz of melted unsalted butter until combined.
Press the mixture firmly into the bottom of a springform pan, lined with parchment paper.
Beat cold cream cheese with 180 grams/6.35 oz of fine granulated sugar until smooth and creamy, then add the eggs one at a time, mixing until each is fully incorporated.
Stir the vanilla extract into the sour cream, and add to the mixture along with 20 grams/0.71 oz of all-purpose flour. Mix until smooth, but don’t overmix.
Peel and dice the apples into small pieces. Toss the diced apples in 2 teaspoons of cinnamon and 50 grams/1.76 oz of fine granulated sugar, then fold one-third of the apple mixture into the batter.
Pour the batter over the crust, smooth the top, and scatter the remaining apples evenly over the cheesecake layer.
Combine 75 grams/2.65 oz of unsalted butter, 100 grams/3.53 oz of fine granulated sugar, 100 grams/3.53 oz of all-purpose flour, and a pinch of salt, then rub together with your fingers until the mixture is crumbly.
Sprinkle the crumble evenly over the apples, then bake at 300°F/150°C (conventional oven) for 60 minutes. Turn off the oven and let the cheesecake cool inside with the door slightly open, then refrigerate overnight or for at least 6 to 8 hours to fully set.
Serve with a drizzle of this easy caramel sauce, if desired.
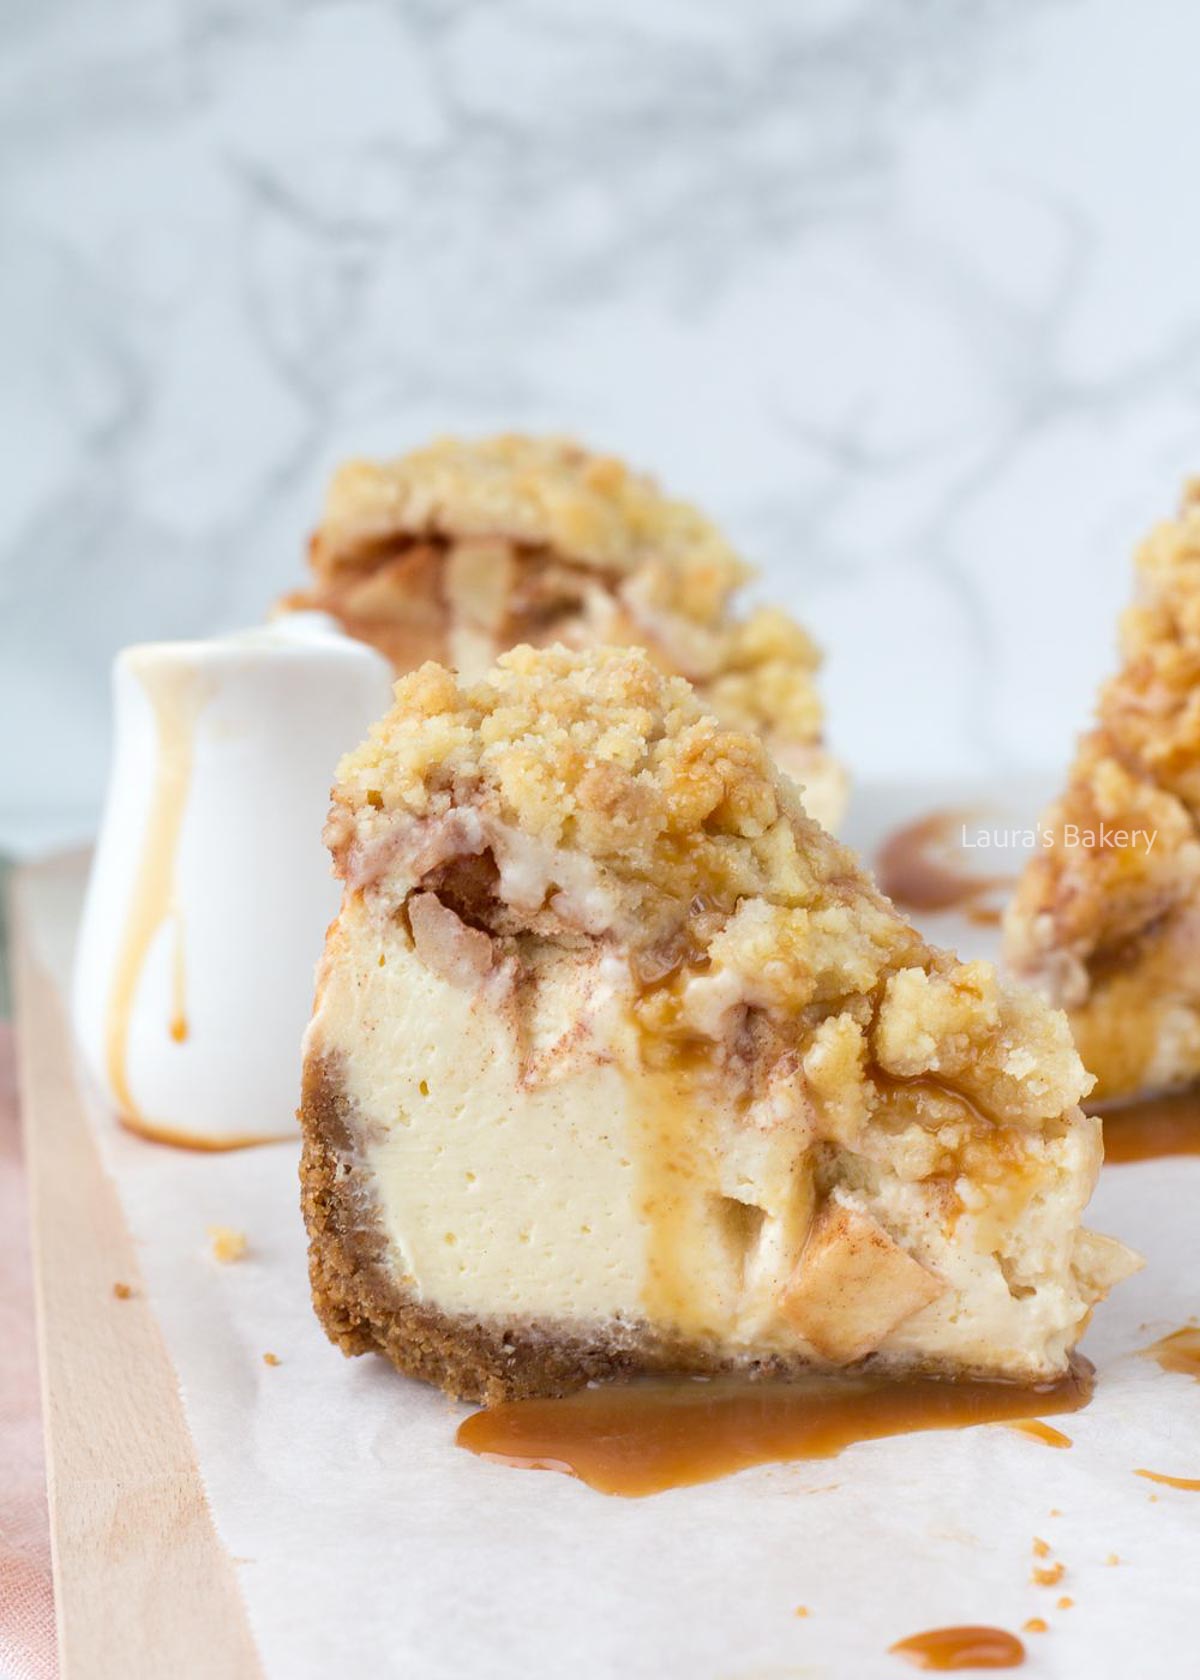
Apple crumble cheesecake can be stored in the fridge for 3-4 days. Make sure to place the entire cheesecake or leftover individual slices in an airtight container.
Yes, this apple crumble cheesecake can be frozen. Wrap individual slices tightly in foil and store in the freezer for up to 1 month. Allow to thaw in the refrigerator.
If you love the combination of creamy cheesecake and fruit, you’ll want to try these other fruit-infused cheesecakes next. It’s an easy way to add flavor and texture without fuss.
I’ve used whole wheat digestive biscuits for the crust, but you can also use many varieties, such as Graham cracker biscuits, tea biscuits, Bastogne cookies, Oreos, chocolate chip cookies, or gingerbread cookies. For precise measurements, check out the recommendations listed in my recipe for easy homemade cheesecake.
Absolutely! I like to use mini cheesecake pans with removable bottoms. Bake the mini cheesecakes at the same temperature of 300°F/150°C (conventional oven) for approximately 15–25 minutes, depending on the size of your mini cheesecake pans. The cooling process with the oven door slightly open and the chilling time in the fridge remains the same.
I prefer to use firm, sweet and sour apples, like you’d use to make a traditional apple pie. Granny Smith, Pink Lady, or Honeycrisp are all great choices, but feel free to use your favorite. If you prefer sweeter apples or tarter ones, go for it. Just keep in mind that tart apples may need a little extra sugar, so adjust accordingly.
Definitely! In fact, this cheesecake tastes even better the next day. Simply bake it, let it cool completely, then store it in the fridge overnight. This allows the flavors to develop and the cheesecake layer to set beautifully.
Not a fan of apples? No problem! This crumble cheesecake recipe works beautifully with other fruit too. Check out this blueberry crumble cheesecake recipe as a delicious example. Or go for something completely different with this coffee crumble cake.
Add cinnamon to the crumble for a stronger flavor. You can also add sultanas or pieces of nuts to the crumble topping.
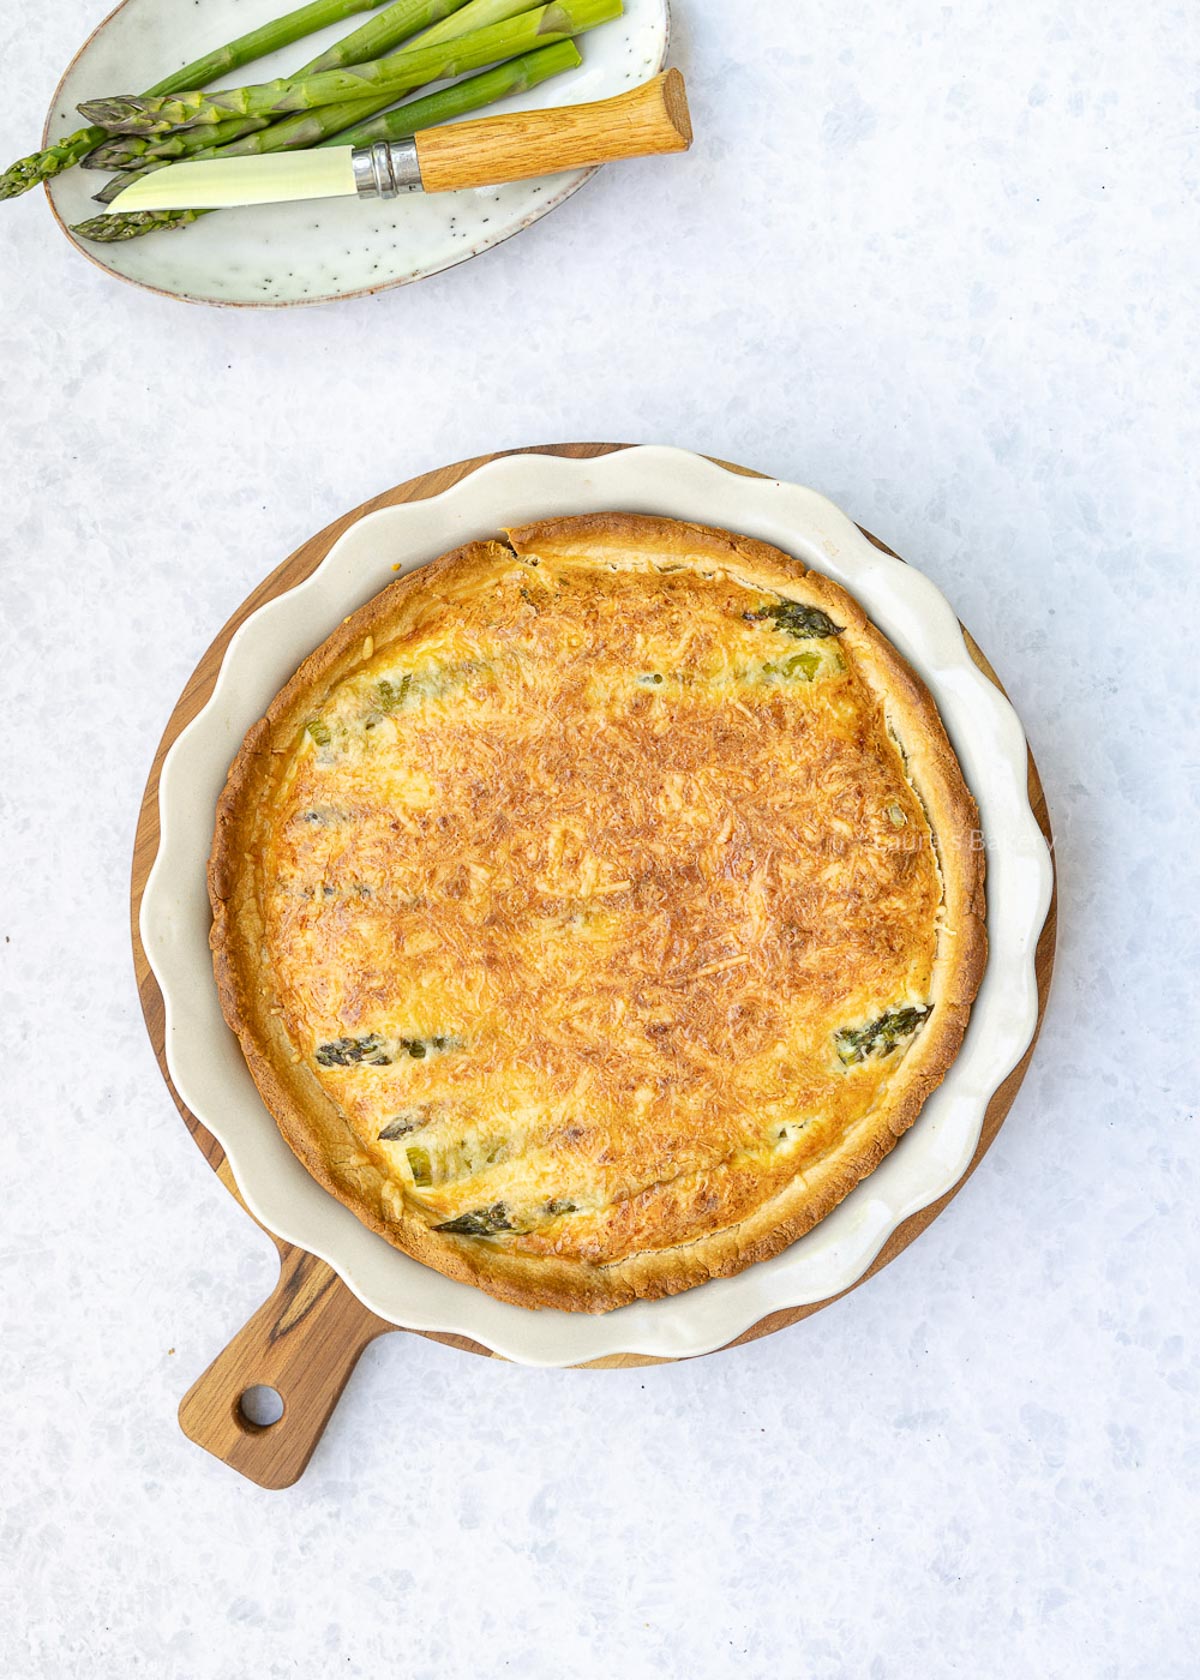
This delicious and easy asparagus quiche is made with green asparagus. While white asparagus, also known as ‘white gold’, is delicious, I tend to prefer the green ones. Nothing is better than fresh asparagus for me!
This is the perfect spring recipe, since green asparagus spears are at their best from April to June. It’s super easy to make and a great make-ahead meal, too. It’s vegetarian but bursting with flavor, and the combination of thyme, creamy filling, and melted cheese makes this a clear winner. It’s also pretty easy to customize to your liking.
While this is a vegetarian quiche, it would also work really well if you added a bit of salmon to the mix or ham slices.
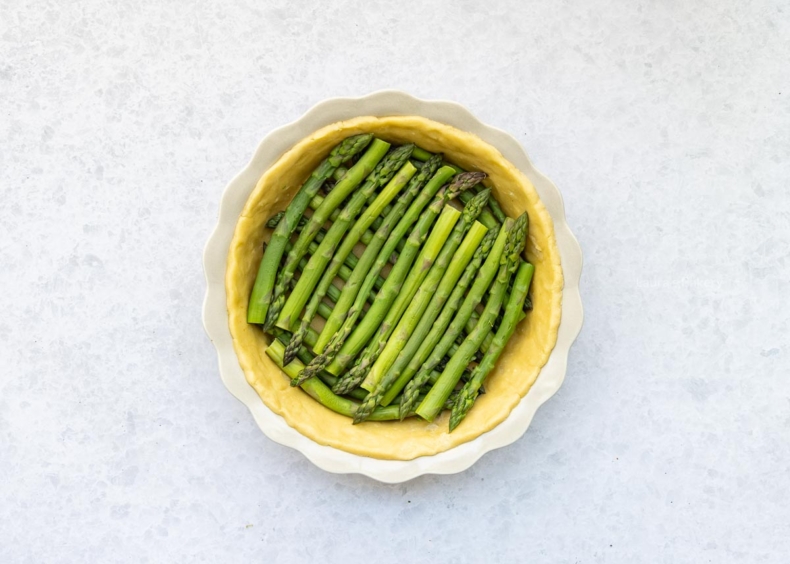
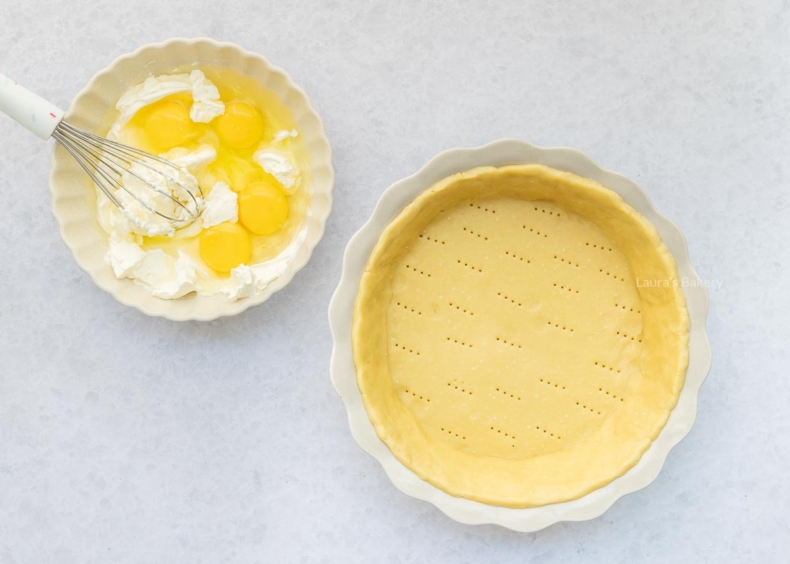
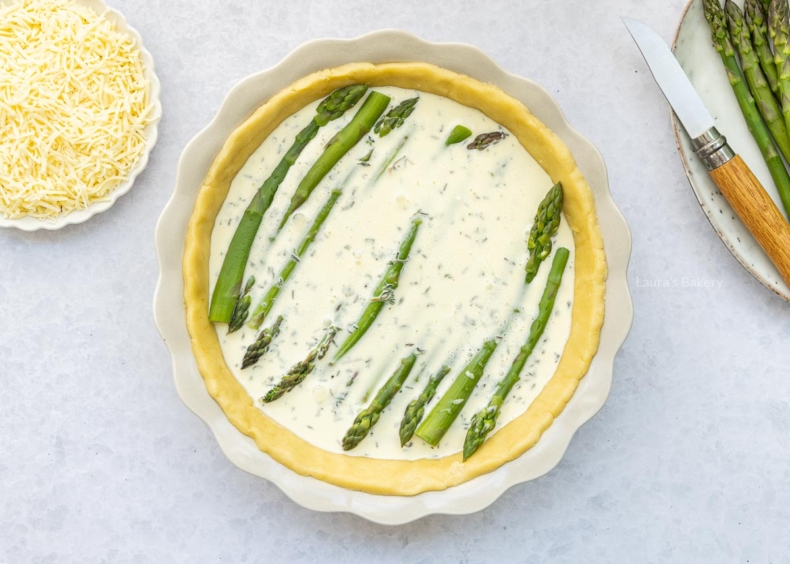
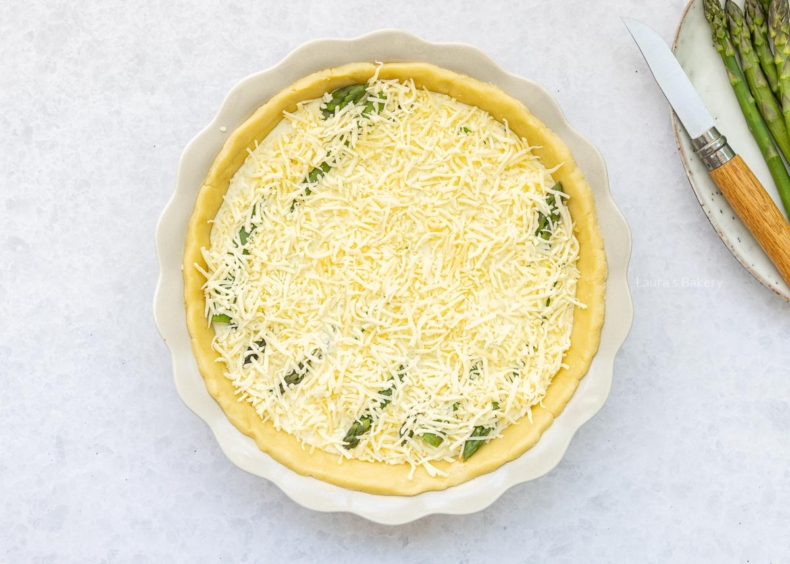
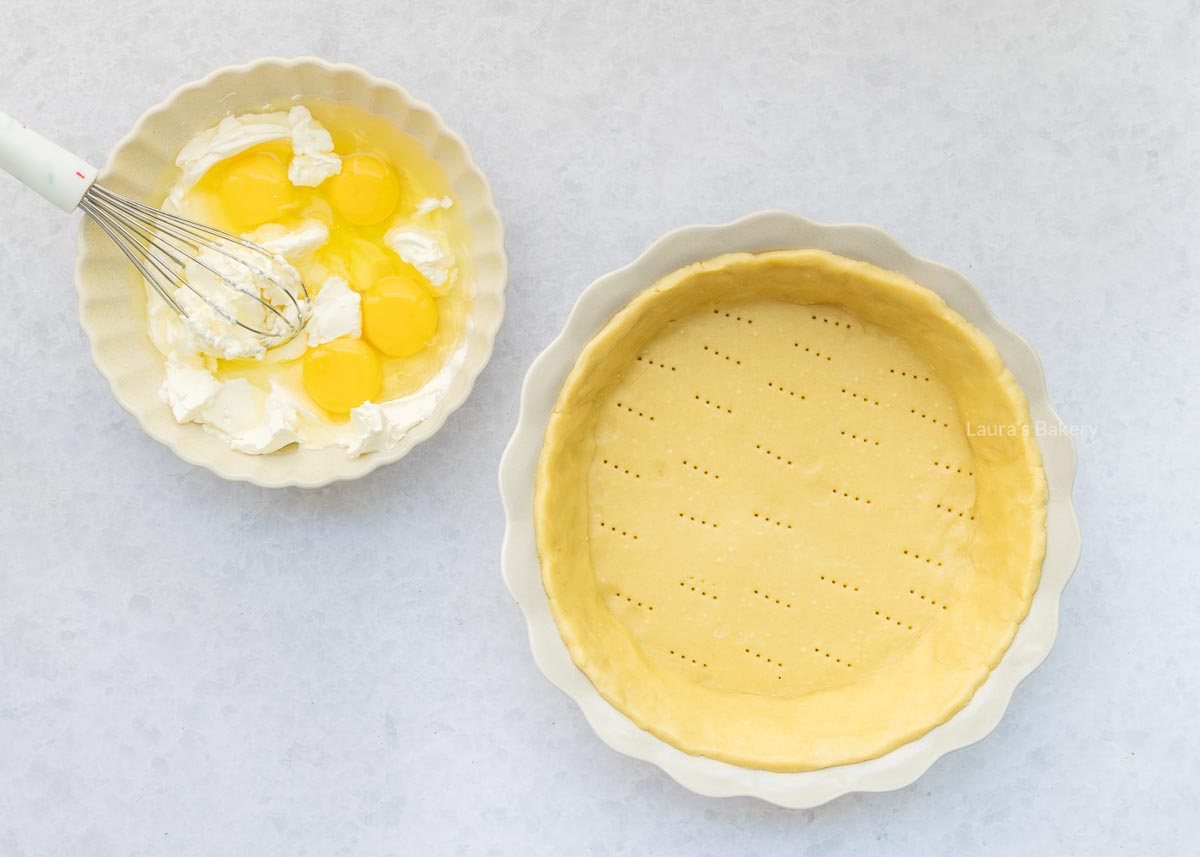
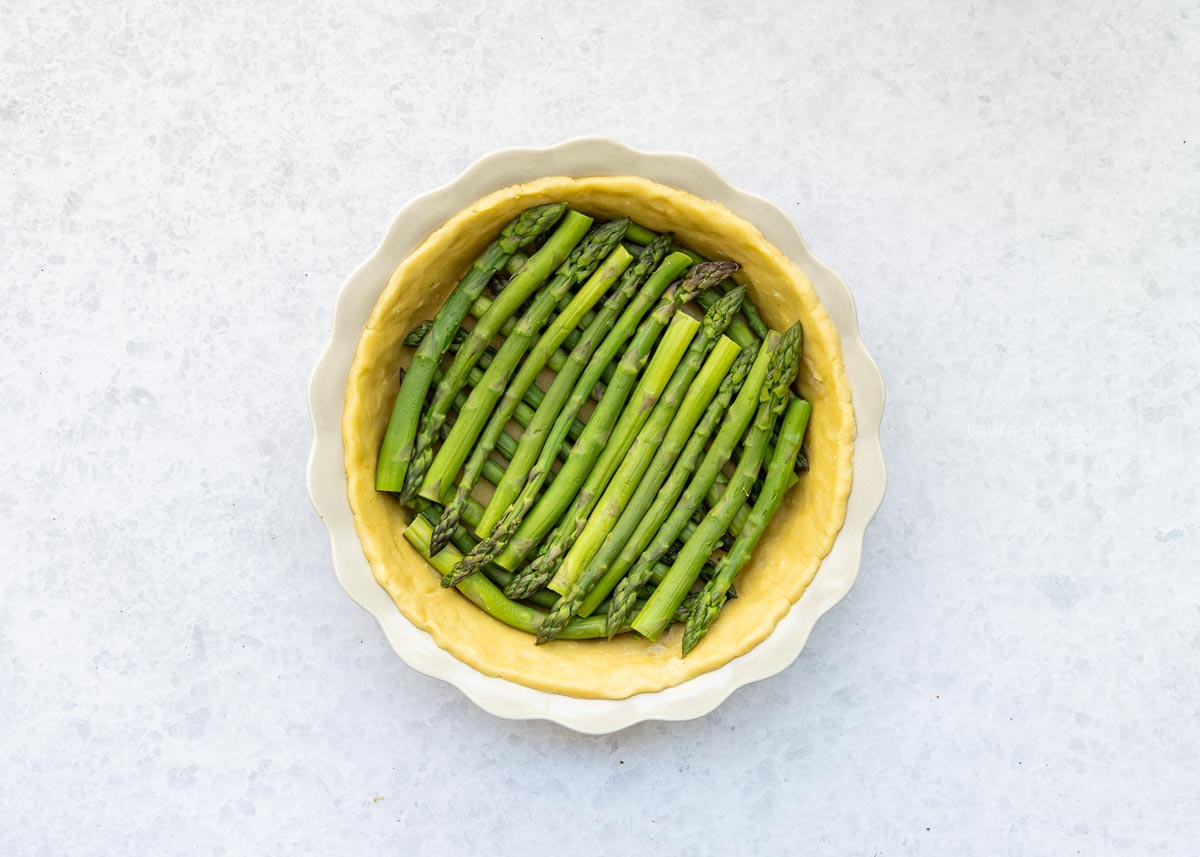
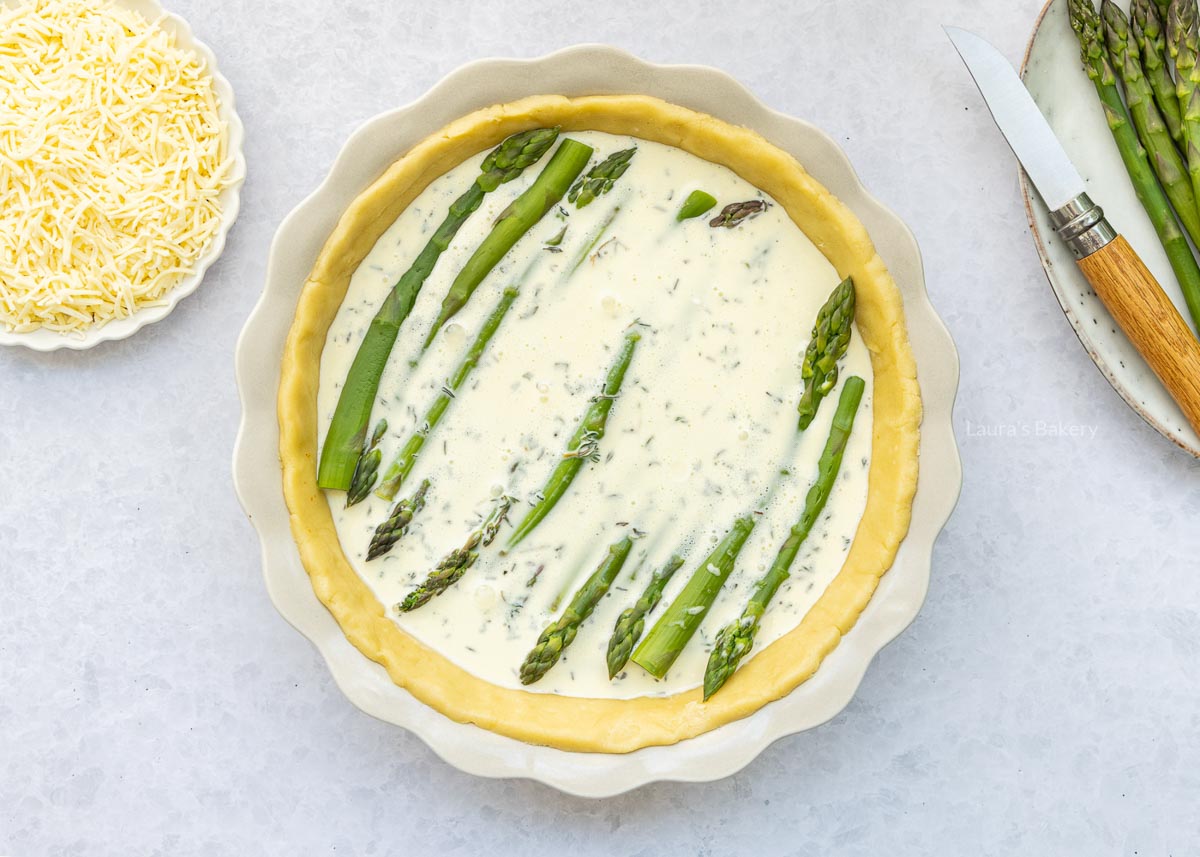
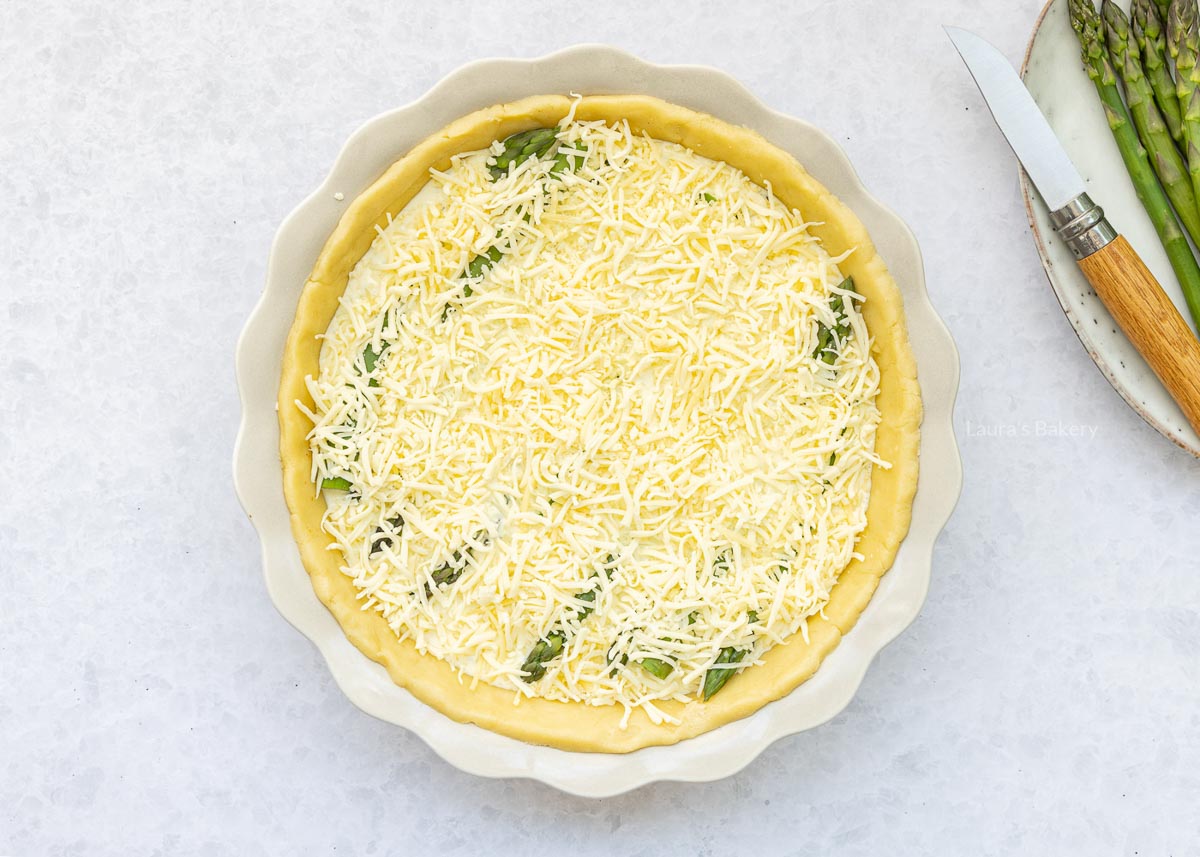
Divide the asparagus over the crust

This green asparagus quiche stores well in both the refrigerator and the freezer. It’s ideal to prepare over the weekend if you have a busy week ahead.
If you’re not serving the quiche immediately or don’t eat it all at once, you can store it in the refrigerator for 3-4 days. Make sure to wrap it airtight.
Yes, green asparagus quiche freezes perfectly. Wrap it tightly (you can also freeze individual slices) and it will keep for up to 3 months. Reheat it for about 15-20 minutes at 350°F/180°C (conventional oven).
If you love a savory tart or quiche recipe check out the recipes below as well

Absolutely. For example, mix 100 grams (3.5 oz) of smoked salmon pieces into the filling.
You can, but you’ll miss an important flavor component. You could replace the thyme with dill, adding half to the filling and sprinkling the rest over the quiche when serving.
Absolutely. Simply swap the crust for puff pastry. Make it yourself with this puff pastry recipe or use store-bought.

These lemon meringue cupcakes are made with my vanilla cupcake recipe, but I’ve also mixed in some fresh lemon zest for a bright citrus boost. Once cooled, the cupcakes get hallowed out and filled with homemade lemon curd, then finished with a luxurious Italian meringue. It’s everything you love about lemon meringue pie, but in cupcake form!
These adorable lemon meringue pie cupcakes deliver all the classic flavors of a traditional lemon meringue pie in a fresh new form, much like these mini lemon meringue tarts and deconstructed lemon meringue pie dessert. Even better, you can reduce assembly time by preparing the vanilla cupcakes and lemon curd ahead of time.
Fresh lemon zest in the cupcake batter creates the perfect pairing with the lemon curd filling. And, of course, no lemon meringue dessert is complete without the Italian meringue topping; piped in delicate rosettes and lightly torched for a spectacular effect. They’re almost too pretty to eat!
This recipe calls for three main components: vanilla cupcakes, lemon curd, and Italian meringue. The real fun comes with putting it all together.
What sets this lemon meringue cupcakes recipe apart, beyond the three main recipe components, are the right tools: an apple corer for clean, hollowed out centers, piping bags for the curd and meringue, and a kitchen torch for perfectly golden edges.
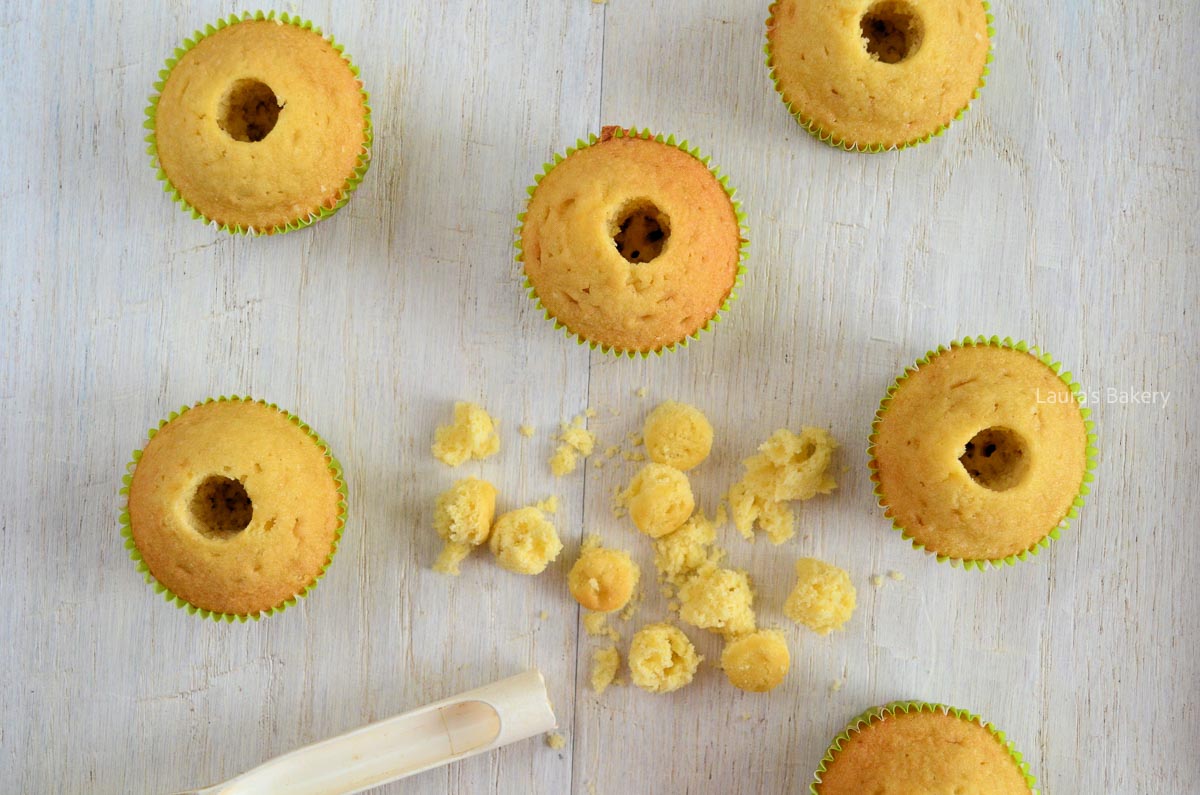
It all starts by making the cupcakes, lemon curd, and Italian meringue according to the recipes for these three main components. Once the cupcakes have cooled, use an apple corer to hallow out the centers. If you like, you can snack on those delicious pieces of cake or use them to make a smaller batch of cake balls, like these red velvet cake balls.
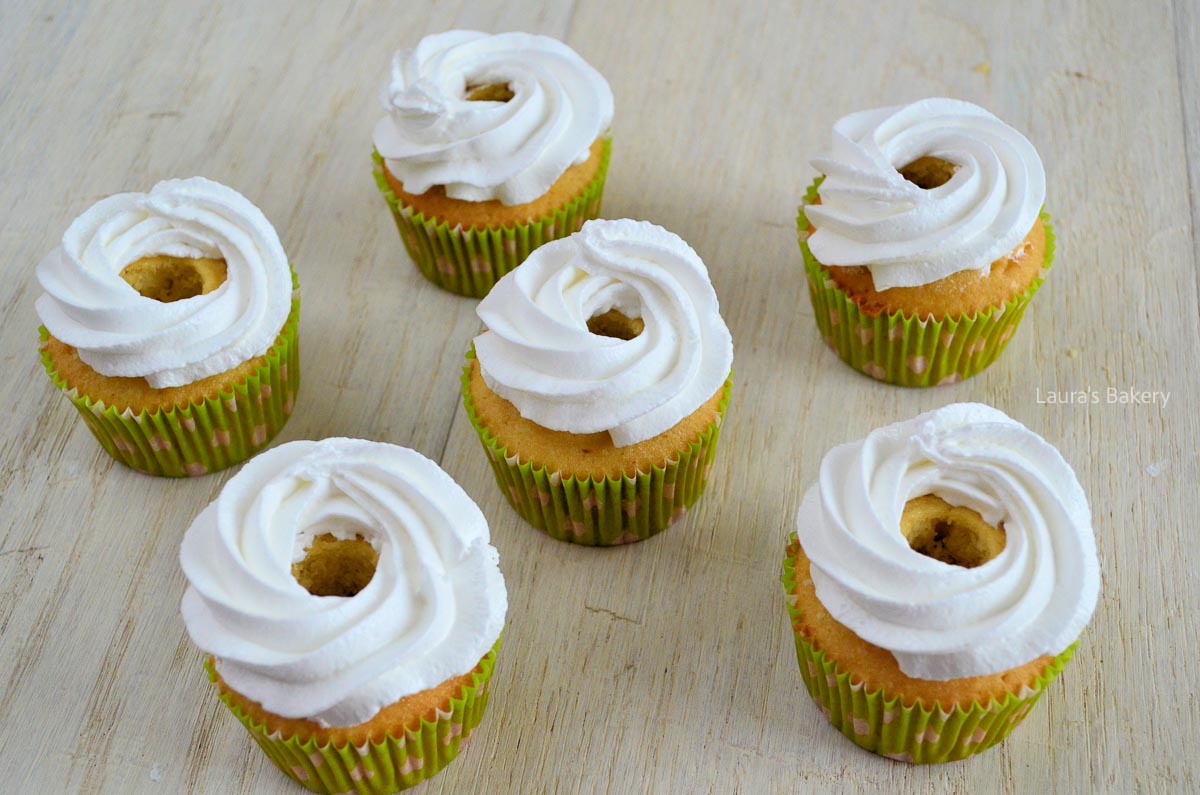
With the lemon curd and Italian meringue ready, add them to separate piping bags. I found that a Wilton tip 1M was ideal for piping open rosettes on each cupcake, keeping the hallowed center uncovered. For a special touch, use a kitchen torch to gently brown the edges of the meringue.
Lastly, fill each cupcake with lemon curd. You now have 12 beautiful lemon meringue cupcakes that will impress anyone you serve them to!
Once assembled, these lemon meringue cupcakes can be stored in an airtight container or cake box at room temperature for 2-3 days, although the meringue will start to soften. I don’t recommend storing these lemon meringue cupcakes in the fridge as they tend to dry out.
Don’t freeze these lemon cupcakes once assembled as the meringue won’t hold up to the freezing and thawing. You can freeze the cupcakes and lemon curd separately as a way to make these elements ahead of time or if you have more than you need.
If properly stored, lemon curd can last for up to a year in the freezer. You can learn everything about how to store and freeze cupcakes here.
Elevate your cupcakes with a touch of creativity and a whole lot of deliciousness!
Absolutely! You can use a basic vanilla buttercream using flour, like my ermine frosting, a more silky smooth Swiss meringue buttercream, mascarpone cream, a flavored buttercream frosting, or something as simple and light as freshly whipped cream.
The cupcakes and lemon curd can be made 1-2 days in advance, but I suggest only filling the cupcakes with lemon curd and topping them with the piped meringue just before serving for best results.
Leftover lemon curd is great as a spread for other baked treats. Use the remaining meringue to make delicious classic meringue cookies, mini lemon meringue tarts, and more.
It’s important to only insert the apple corer about two-thirds of the way into each cupcake when removing the centers. That way, the lemon curd will not leak out through the bottom.
If you don’t have a kitchen torch to create beautiful golden edges to the meringue topping, simply place the lemon cupcakes under the broiler for a short time, keeping a close watch that the meringue doesn’t burn.
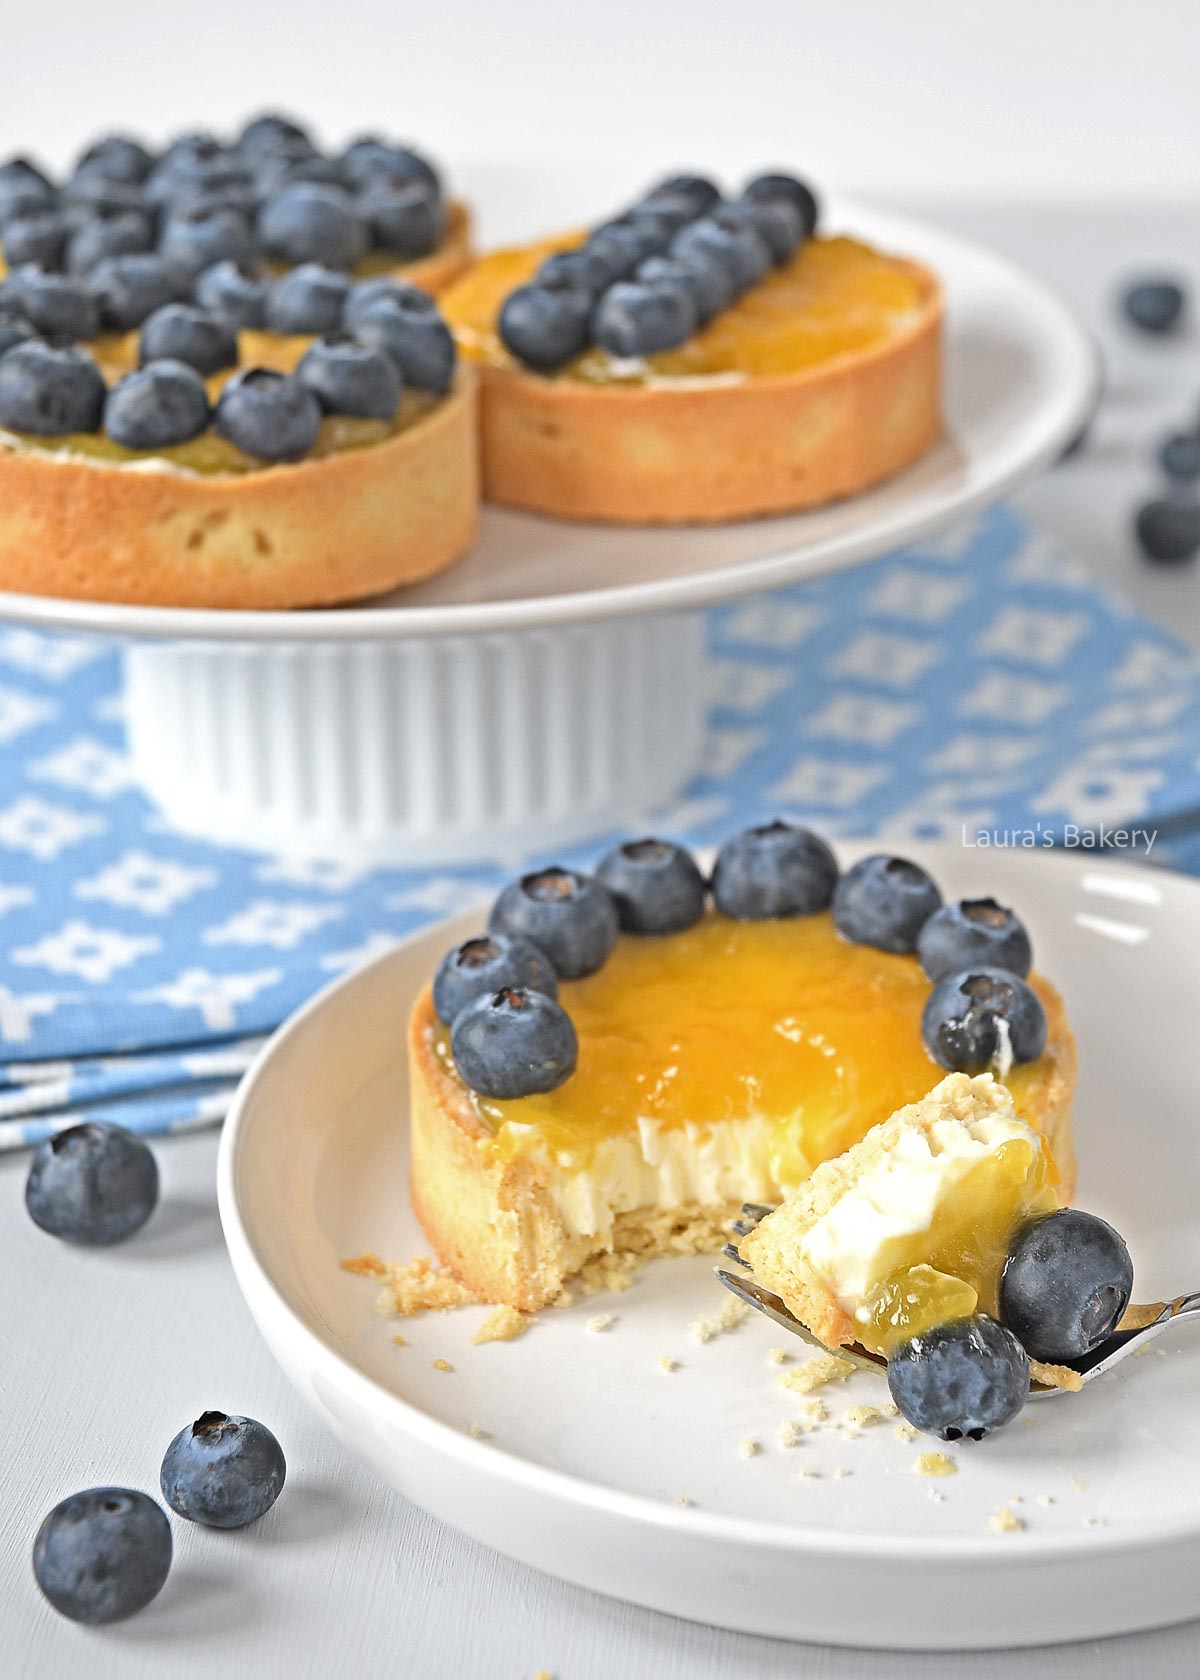
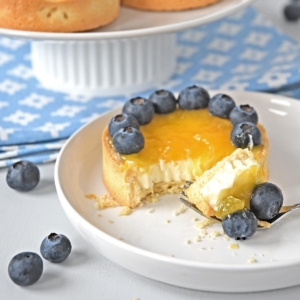
Not too long ago, I showed you how to make easy tartlet shells. So a tartlet recipe with a delicious filling had to follow, of course. I went for one of those classic combinations that is always delicious. Blueberry lemon tartlets!
There are so many reasons why these blueberry lemon tartlets are a must-make. The recipe is a combination of a couple of other recipes on the site.
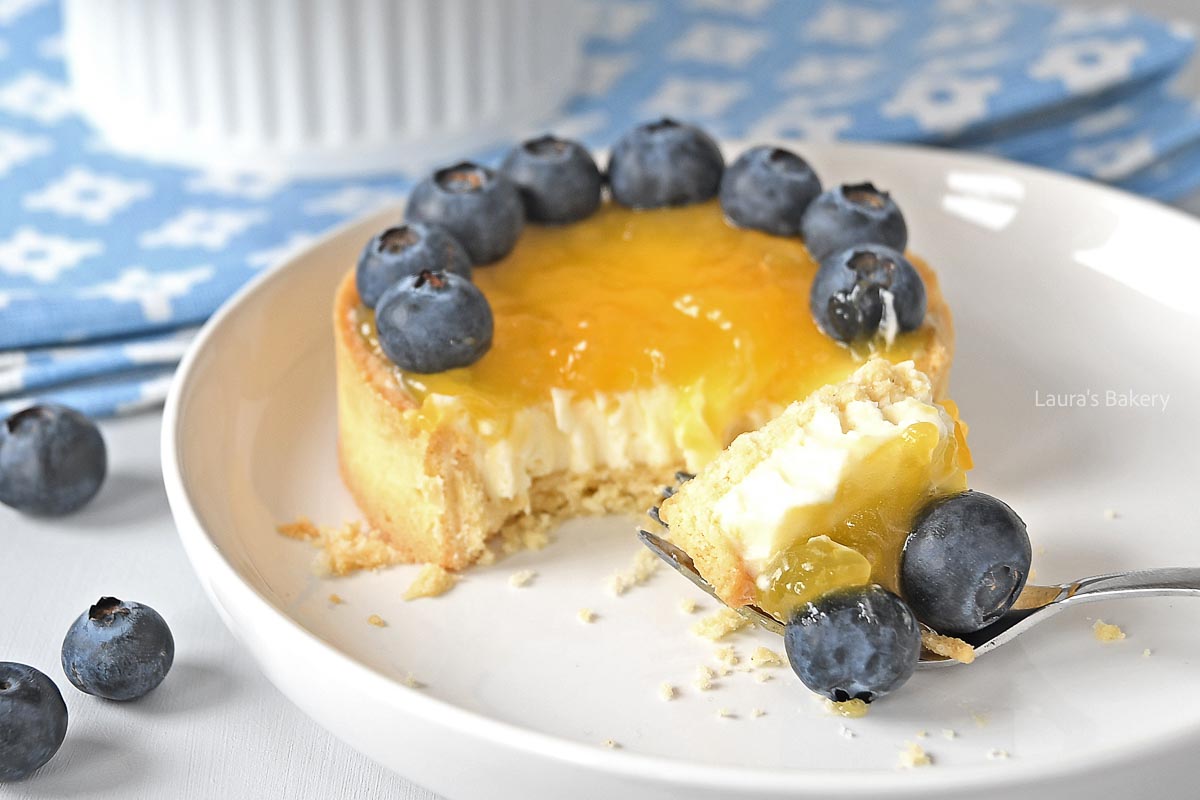
As mentioned, this blueberry lemon tart is a combination of various recipes. You can find the links to the recipes both here and below in the recipe card.
The lemon curd recipe can easily be made a day in advance, and the tartlet shells can also be prepared a day before. The same is true for the mascarpone cream.
Of course, you don’t have to make it all in advance, but the lemon curd is the one best made ahead of time. That way it can properly set before you use it in this tart recipe.
Once everything is ready, it is simply a matter of assembling the different components, and your blueberry tarts are ready!
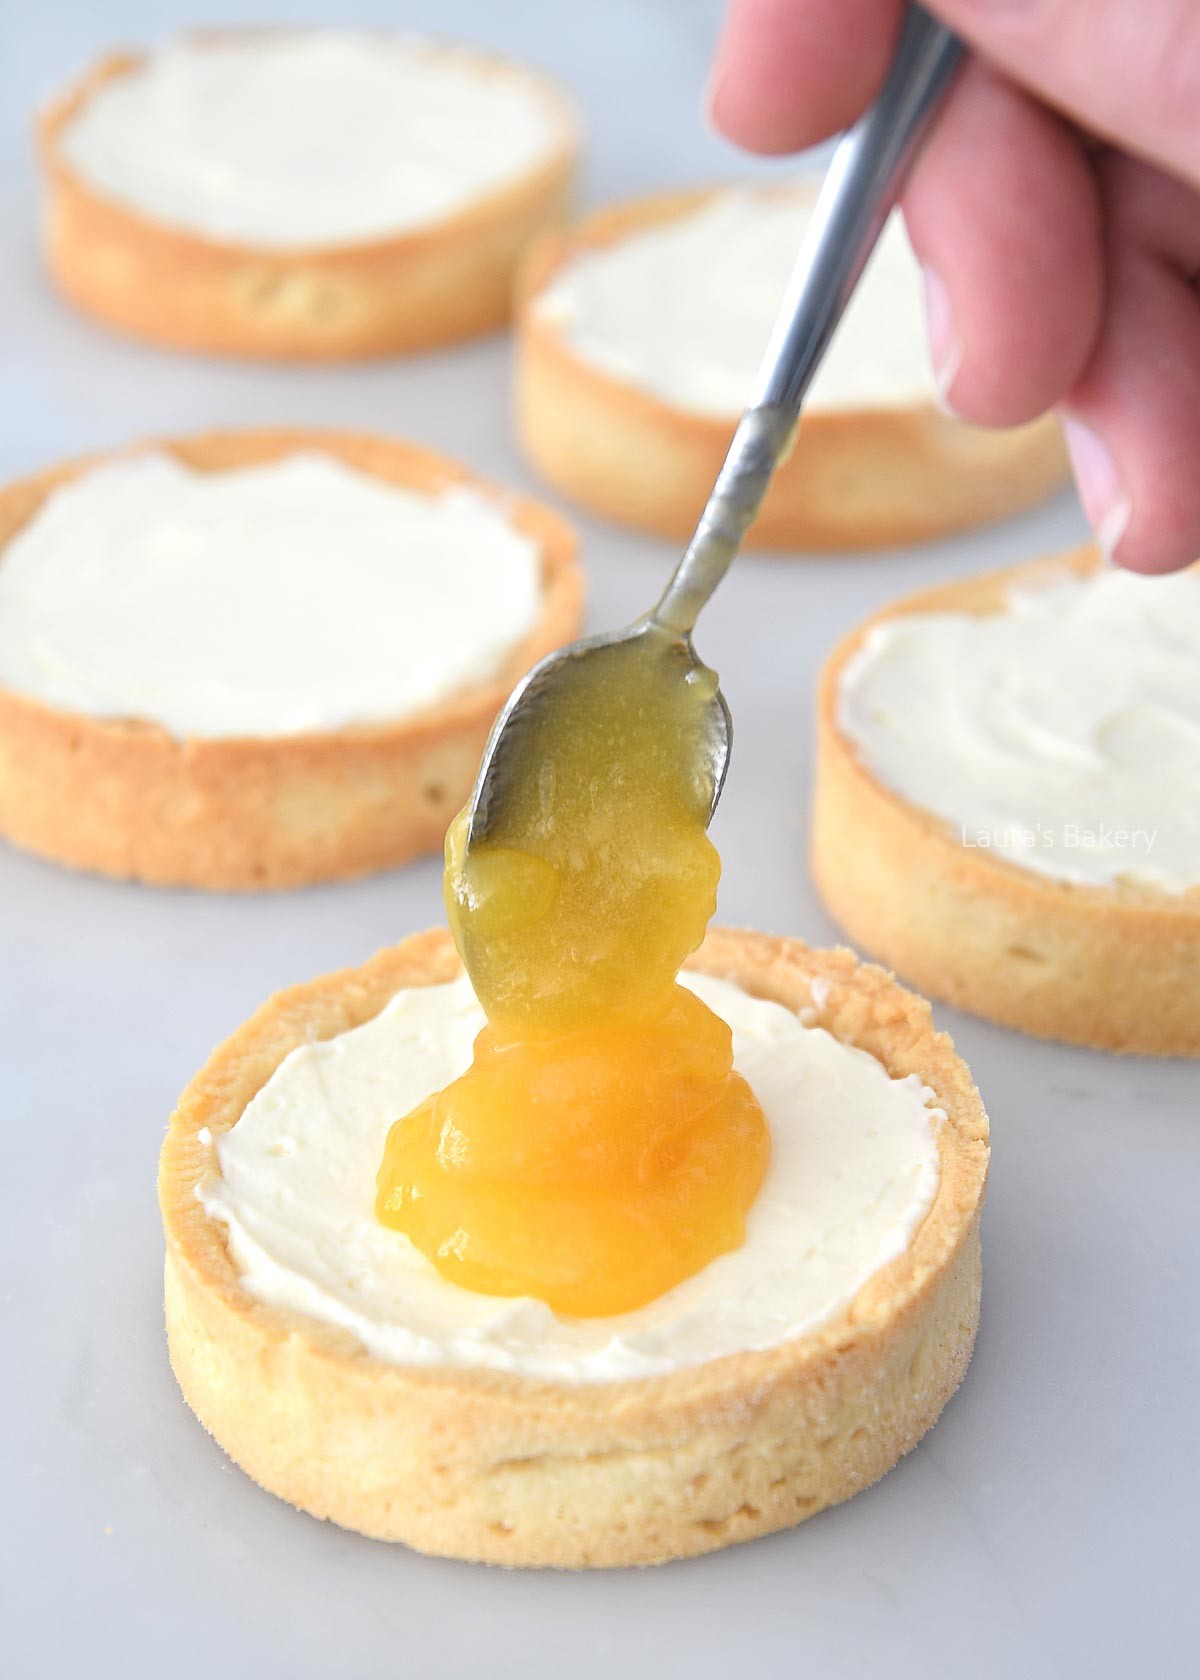
I start by filling the tart shells with the mascarpone cream. Fill them just below the rim and add the lemon curd to the filling. I used around 2 to 3 teaspoons, so that means you will have leftovers if you make the full lemon curd recipe.
TIP: Lemon curd is always delicious, and you can use it, for instance, in these lemon curd cookies, the mini lemon meringue tarts, or the lemon raspberry tiramisu.

You can store the blueberry lemon tartlets in the fridge in an airtight container for 2-3 days.
Once assembled, I would not recommend freezing the lemon tarts.
Blueberry and lemon is classic combination like in these delicious recipes as well:

Yes, you can prepare most components of this recipe ahead of time. The tart shells, lemon curd, and mascarpone cream can all be made a day in advance. Assemble the tartlets shortly before serving for the best texture.
Absolutely. Homemade lemon curd has the freshest flavor, but store-bought lemon curd works perfectly if you want to save time.
Fresh blueberries work best because they keep their shape and don’t release as much moisture. If you use frozen blueberries, let them thaw first and pat them dry with paper towels.
If you can’t find mascarpone, you can substitute it with a mixture of cream cheese and a little heavy cream to get a similar creamy texture.
Yes, you can make this recipe as one larger tart. Simply use a tart pan and adjust the baking time for the crust, if needed.
Definitely! These tartlets also work well with raspberries, strawberries, blackberries, or a mix of summer berries.
Make sure the shells are fully baked and cooled before filling them. Assembling the tartlets shortly before serving also helps keep the crust crisp.

Are you looking for a fun and easy recipe to make Easter egg fudge? I’ve got you covered. I love creating easy fudge recipes, and this one is perfect for this time of year (but can also easily be adapted).
This easy fudge recipe is a no-fail, no-bake recipe that literally takes just a few minutes to make. Perfect if you want something quick and impressive for Easter. With only 4 ingredients, the end result is creamy, rich and indulgent!
Easter is the perfect excuse to do fun things with chocolate. And this recipe is no exception. Plus, you need just a few ingredients.
If you’ve tried any of my other fudge recipes (like this pecan caramel and chocolate fudge!) you know that I like to keep things simple. For this recipe, you need a small baking dish, lined with parchment paper.
Remove the foil from all of the Easter eggs if necessary.
Add the condensed milk, chocolate, and vanilla into a saucepan. Heat it over low heat while you keep stirring until the chocolate is completely melted.
Pour the chocolate mixture into the prepared baking dish and gently press the Easter eggs on top of the fudge. Don’t press too hard. Since the fudge mixture is warm, it’s normal for them to melt slightly. If you do not press them too hard, they will keep their shape.
Let the fudge cool and set in about 3 hours. You can place it in the fridge covered in plastic wrap if you want to. Once it is set, you can slice it into squares.

It’s best to store the Easter egg fudge in the fridge for up to a week. Make sure to cover it properly or place in an airtight container.
Yes, you can freeze the Easter egg fudge in an airtight container for up to three months.
If you love fudge as much as I do, make sure to check out these delicious fudge recipes as well!
Absolutely! While milk chocolate gives this fudge a classic creamy flavor, you can also use dark chocolate for a richer taste or white chocolate for a sweeter version. You can even mix different chocolates.
Any mini Easter eggs will work, solid, filled, or even crunchy ones. Keep in mind that softer fillings (like praline or caramel) blend more into the fudge, while firmer fillings will keep their shape better.
This usually happens if the mixture didn’t heat long enough for the chocolate to fully melt and bind with the condensed milk. Make sure everything is completely smooth before pouring it into the pan. Also, chilling it in the fridge helps it firm up nicely.
Dip a sharp knife in hot water, wipe it dry, and then slice. Repeat between cuts for clean, sharp edges. This is especially helpful since the Easter eggs can be quite firm.
They may soften slightly from the heat, but if you gently press them in and leave them undisturbed, they’ll mostly hold their shape inside the fudge.
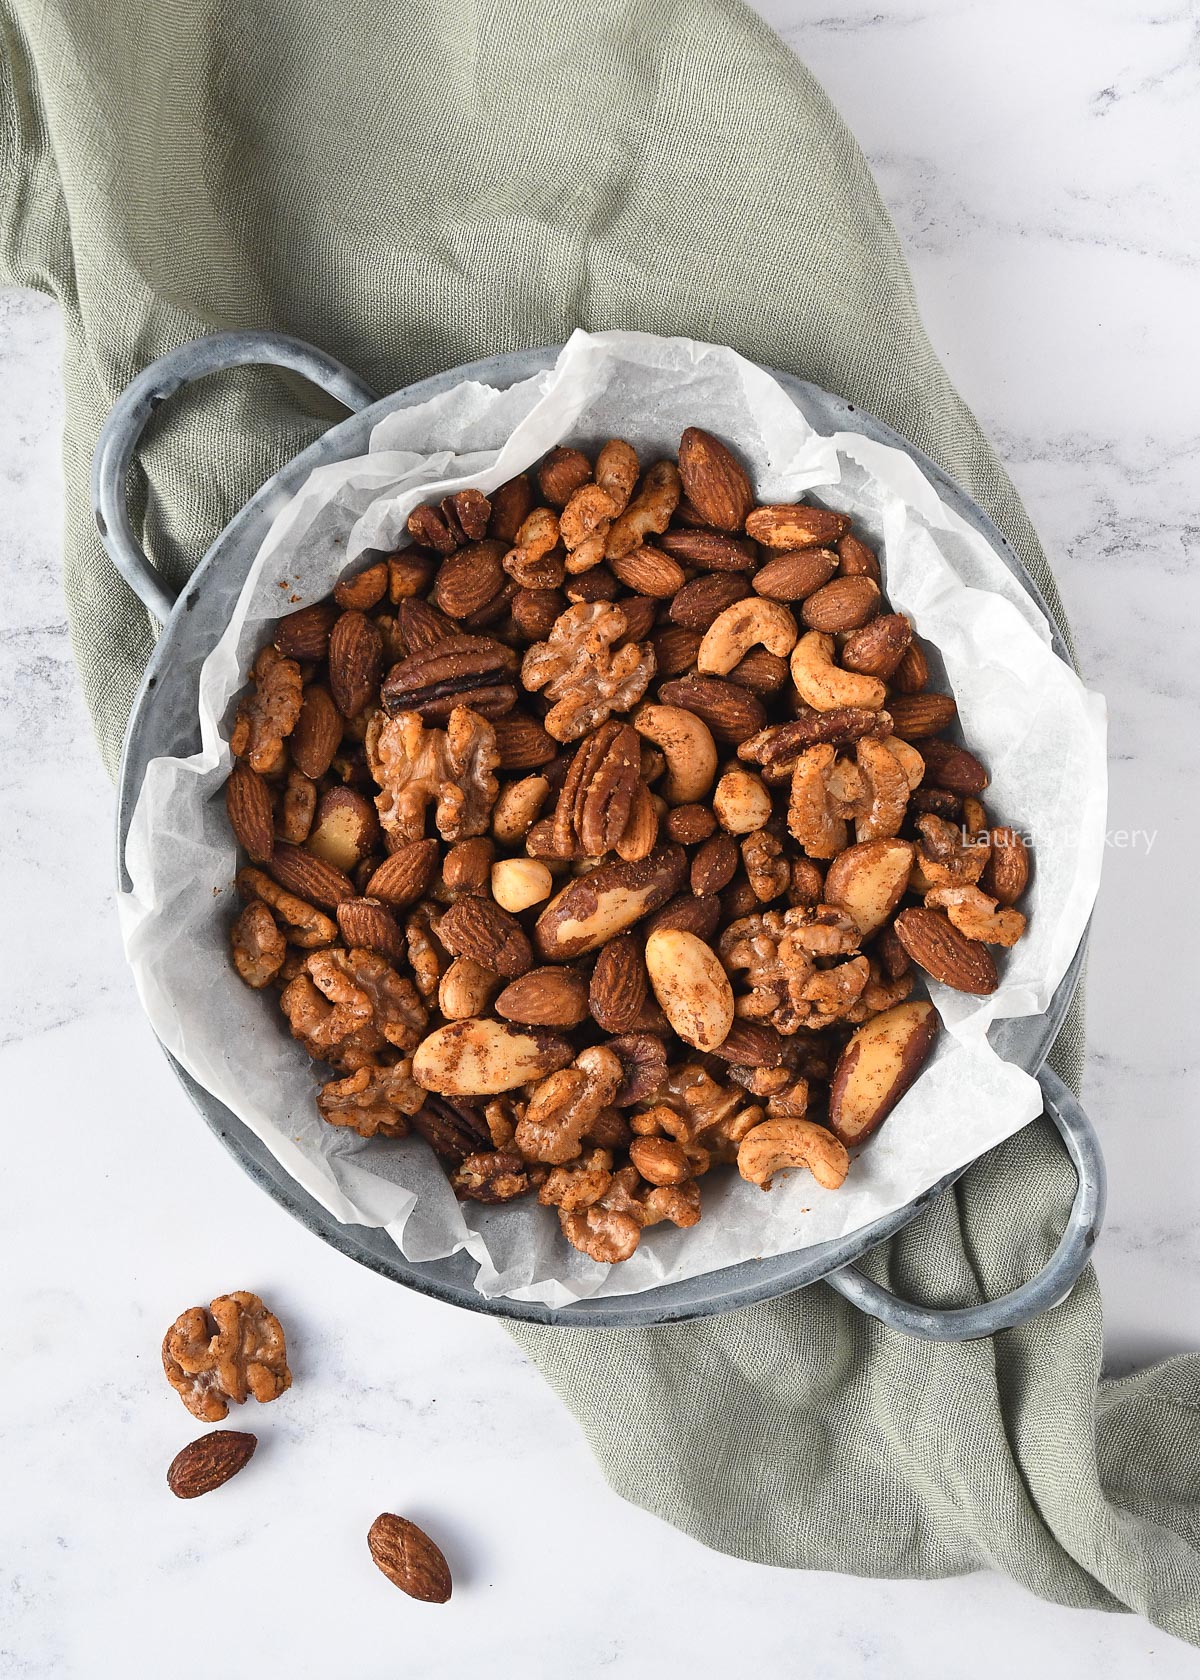
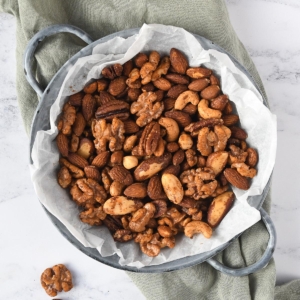
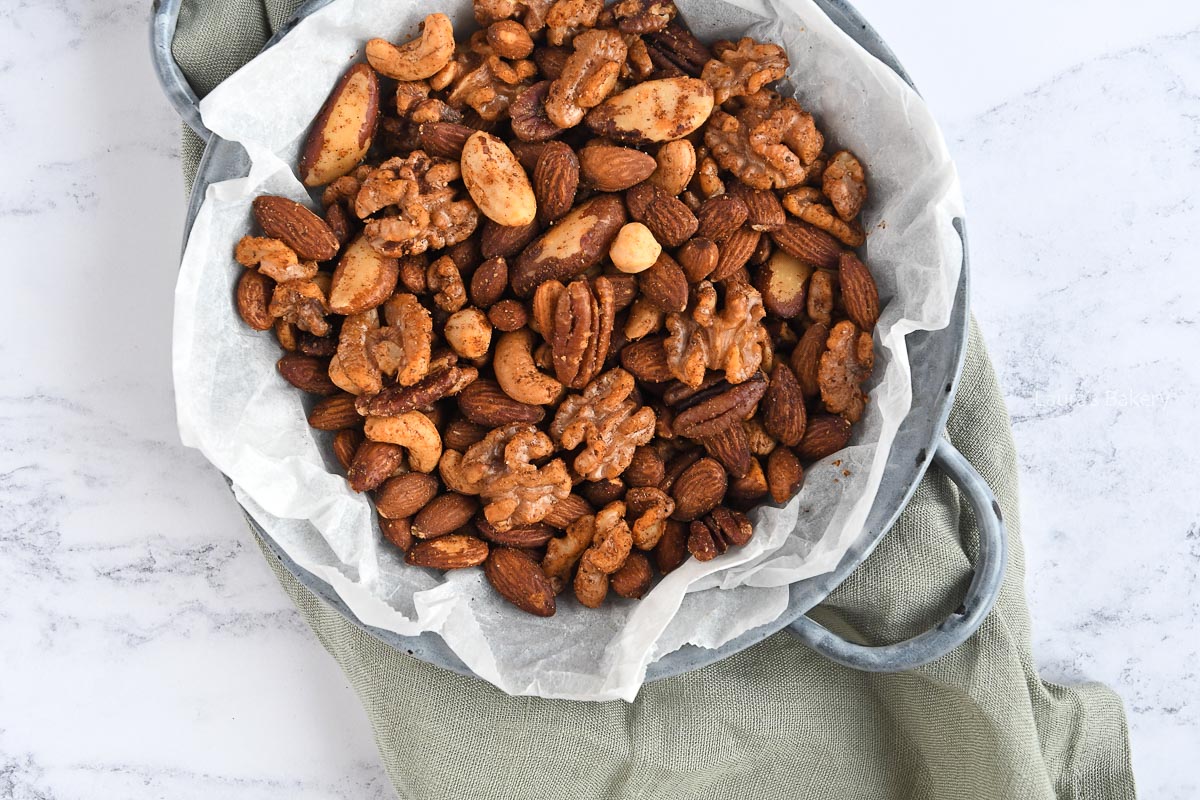
Spicy roasted nuts are a quick and easy snack or party appetizer, loaded with rich savory flavor and irresistible crunch. Enjoy them alongside a mojito, sprinkled over a fresh salad, or nibbled on whenever the craving strikes. Adjust the seasoning to suit your taste.
There are many reasons you’ll love this recipe!
Spicy roasted nuts show you just how easy it is to make a shareable snack or party appetizer with just 5 ingredients! Make sure to double check the recipe card for the full ingredients:
Start by adding the nuts and oil to a mixing bowl, then add the minimum amount of spices listed in the recipe card and stir well to combine. Taste the nuts and adjust the seasoning if needed, keeping in mind that the flavors will mellow slightly during baking.
Spread the nuts out evenly on a baking sheet lined with parchment paper to minimize mess and sticking to the pan. Bake for 10-12 minutes at 350°F/175°C (conventional oven), stirring once halfway through.
Let the nuts cool before serving or storing. Enjoy!
Once cool, store these roasted nuts in an airtight container at room temperature. They’ll keep well for at least 2 weeks.
I don’t recommend freezing seasoned and roasted nuts, but you can store raw unsalted, unroasted nuts in freezer-safe bags in the freezer for up to a year.
It’s a great way to preserve bulk nuts that you buy on sale for various recipes made throughout the year.
Whip up a batch of these snackable bites. They’re guaranteed to disappear at your next gathering!
Absolutely! Coat the seasoned nuts with maple syrup or honey for a delicious sweet and savory flavor profile. Make sure to line the baking sheet with parchment paper to prevent the syrup or honey from getting stuck to the pan.
Yes. Unsalted melted butter is a great alternative to olive oil for coating the raw nuts. It adds richness and extra depth of flavor to this savory roasted nuts recipe.
Use your favorite nuts to make these spiced roasted nuts. Walnuts, pecans, almonds, peanuts, pistachios, macadamia nuts, and hazelnuts are all delicious options.
Feel free to experiment with pepitas (pumpkin seeds), ground cinnamon, finely chopped fresh rosemary, garlic powder, or a sweetener (honey or pure maple syrup).
No. These roasted mixed nuts have a lovely touch of spice and warmth from the paprika and cayenne pepper. I prefer to add these spices gradually and taste as I go for better control of the level of seasoning. For a spicier version, add in some chili powder or increase the cayenne pepper.
The olive oil helps the seasoning adhere to the nuts. You could use another fat, such as melted unsalted butter.

This recipe came about because my dad kept bringing home delicious lemon raspberry muffins from the supermarket every time he went grocery shopping. I couldn’t resist trying to make them myself. And it’s a winner!
There are many reasons you’ll love this recipe!
These lemon raspberry muffins don’t need a lot of special ingredients and you’ll probably have most already on hand! Make sure to double check the recipe card for full ingredients:
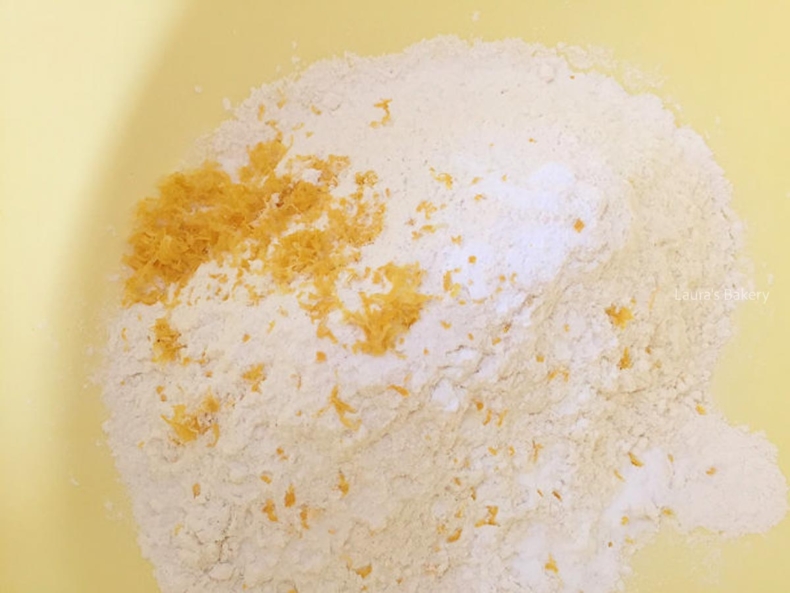
Add all dry ingredients together in a bowl and mix
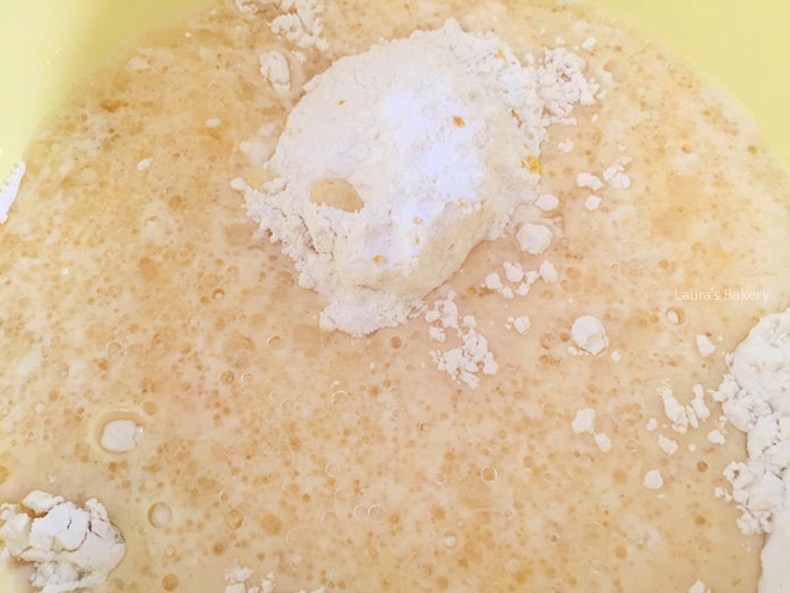
Mix the wet ingredients and add to the dry ingredients
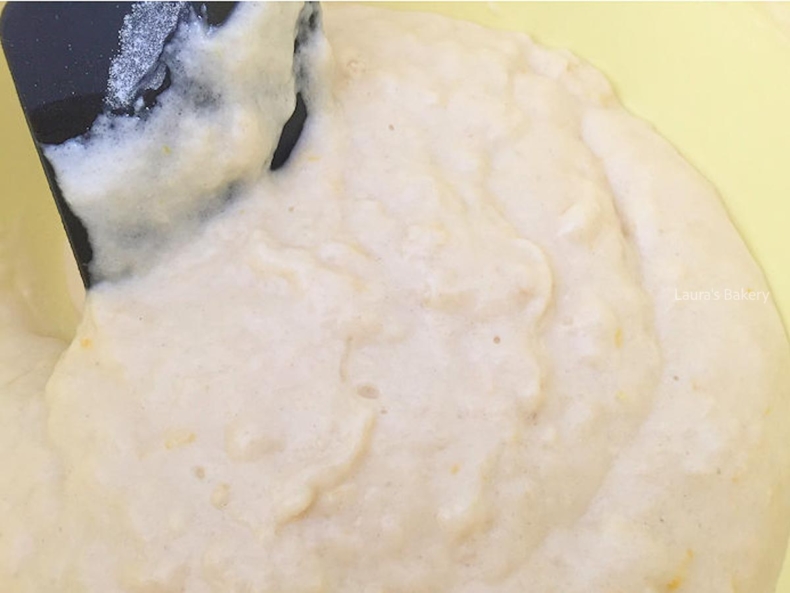
Add half of the batter into the cupcake liners
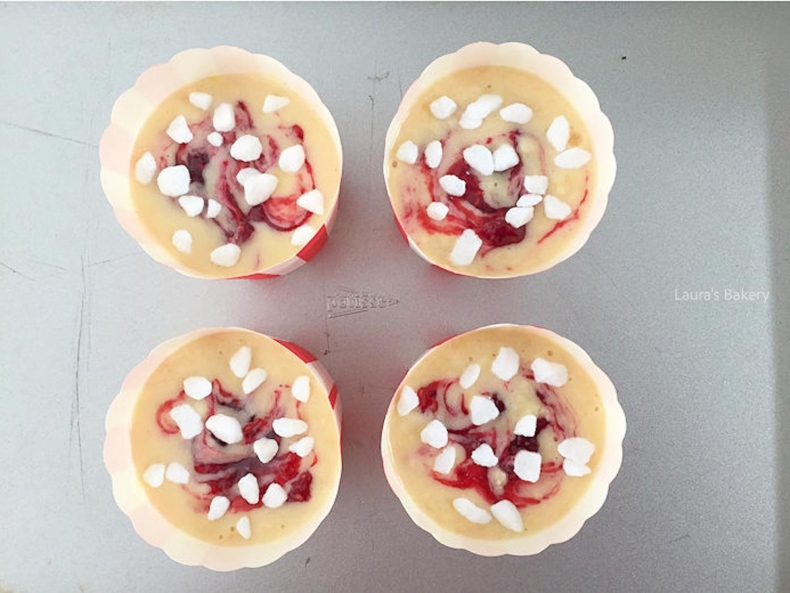
Add a bit of jam and more batter, end with pearl sugar and a little jam swirl. Bake and cool
You can store these lemon raspberry muffins in an airtight container outside of the fridge for up to a week.
These also freeze really well. Make sure to properly wrap them and you can keep them for three months like that.
I’ve got lots of delicious muffin recipes you can try if you’re as big a fan as my dad!
Yes, you can. Fresh or frozen raspberries work well in this recipe. If you use frozen raspberries, add them straight from the freezer so they don’t bleed too much into the batter.
This usually happens when the batter is overmixed. Mix the wet and dry ingredients gently until just combined. A few small lumps in the batter are perfectly fine.
Absolutely. These muffins keep well for several days, making them perfect to bake ahead for breakfast, brunch, or a snack.
Yes. You can use another neutral oil such as canola oil or vegetable oil. Melted butter can also be used, though the muffins may be slightly less moist.
Definitely. The pearl sugar is optional and mainly for decoration and a little crunch. The muffins will still taste delicious without it.
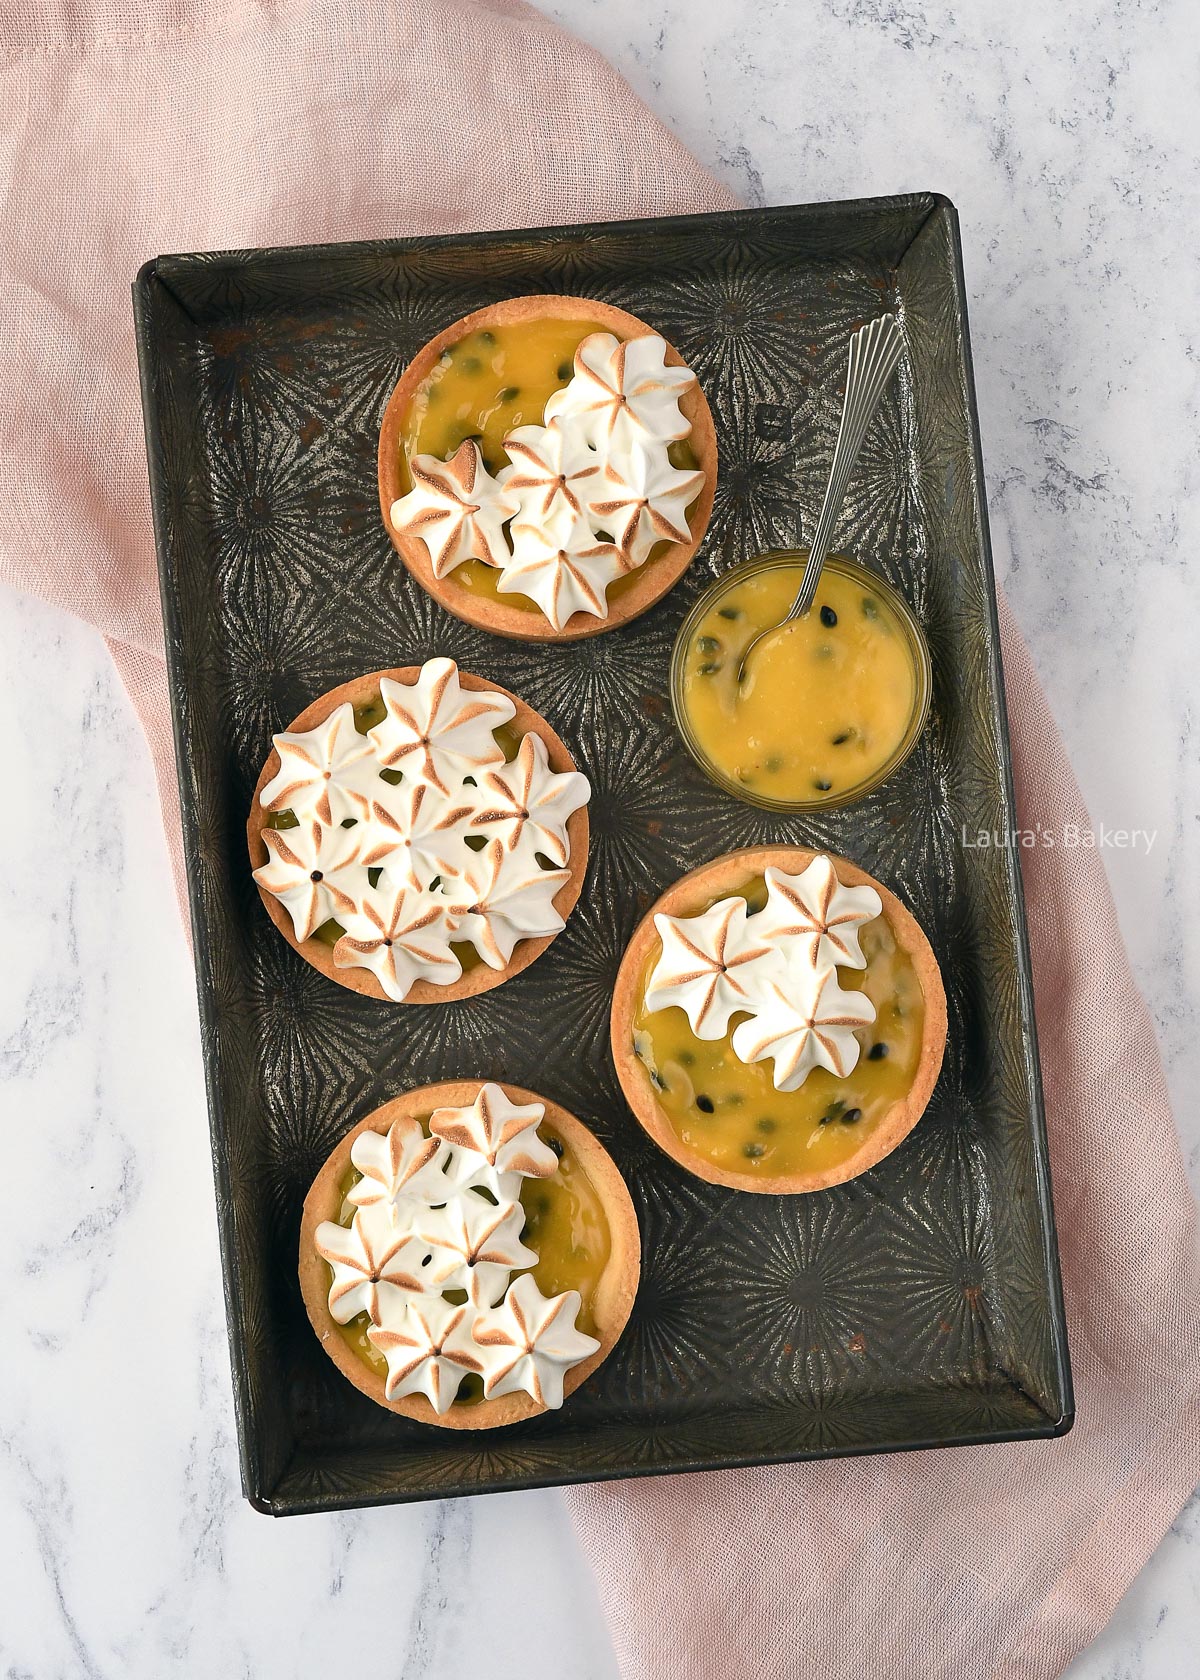
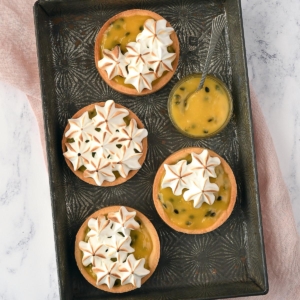
These cute passion fruit meringue tarts fill crisp tartlet shells with fresh passion fruit curd and a silky smooth meringue topping.
They make stunning treats for high tea or when you’re looking for an elegant dessert for special occasions, like Easter. Lightly toast the meringue topping with a crème brûlée burner/kitchen torch for added effect.
There are many reasons you’ll love this recipe!
These passion fruit meringue tarts are made with just 5 ingredients which you likely already have on hand. Don’t forget to double check the recipe card for full ingredients:
Start by preparing the passion fruit curd according to the recipe. Let the curd cool completely.
Make the tartlet shells according to the recipe. Allow the shells to cool completely before filling. In the meantime, prepare the meringue.
Beat the egg whites with the superfine sugar until almost stiff. Add the powdered sugar and beat to stiff peaks. Transfer the meringue to a piping bag fitted with a star tip.
Fill the tartlet shells with the passion fruit curd. Pipe small dollops of meringue on top of each tartlet until the curd is fully covered.
Use a crème brûlée torch to lightly brown the meringue. If you don’t have a torch, place the tartlets under a hot broiler briefly, keeping a close eye on them.
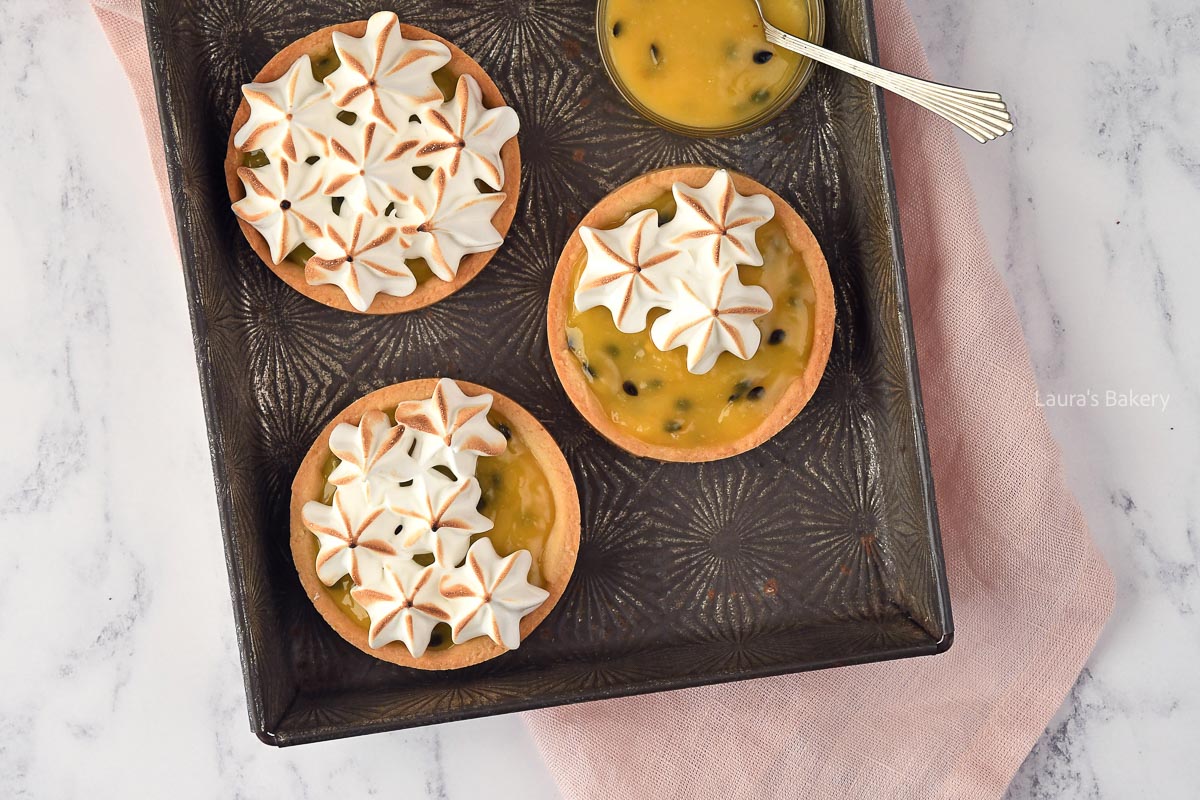
You can store these assembled passion fruit meringue tarts in an airtight container, or covered, in the fridge for 2-3 days.
Assembled passion fruit meringue tarts should not be stored in the freezer as the light and crisp meringue topping will become soggy, watery, or rubbery.
If you’re a lover of sweet tarts like I am, make sure to try these easy recipes!
Yes, you can. Both the passion fruit curd and the tartlet shells can be made ahead of time. The shells will keep for at least two weeks in an airtight container. After preparation, you can store the curd in a sealed container in the fridge for 2-3 weeks.
I don’t recommend making the meringue topping in advance and storing it in the fridge for later use. The moisture in the fridge does not combine with the sugar in the meringue and the quality will deteriorate slightly after a night in the fridge.
It’s not compulsory to toast or torch the meringue topping, but it does add golden brown details to the meringue which is so pretty and easy to do. You can lightly toast the piped meringue with a crème brûlée burner/kitchen torch.
No problem! Add the assembled passion fruit meringue tarts under a hot broiler very briefly to achieve that same golden brown effect on the piped meringue. Make sure to keep a close watch that it doesn’t burn.
Absolutely. Keep in mind that Italian meringue is cooked and you’ll need to make use of a sugar thermometer, which will tell you when it’s ready. You can follow my Italian meringue recipe for fail-proof results.
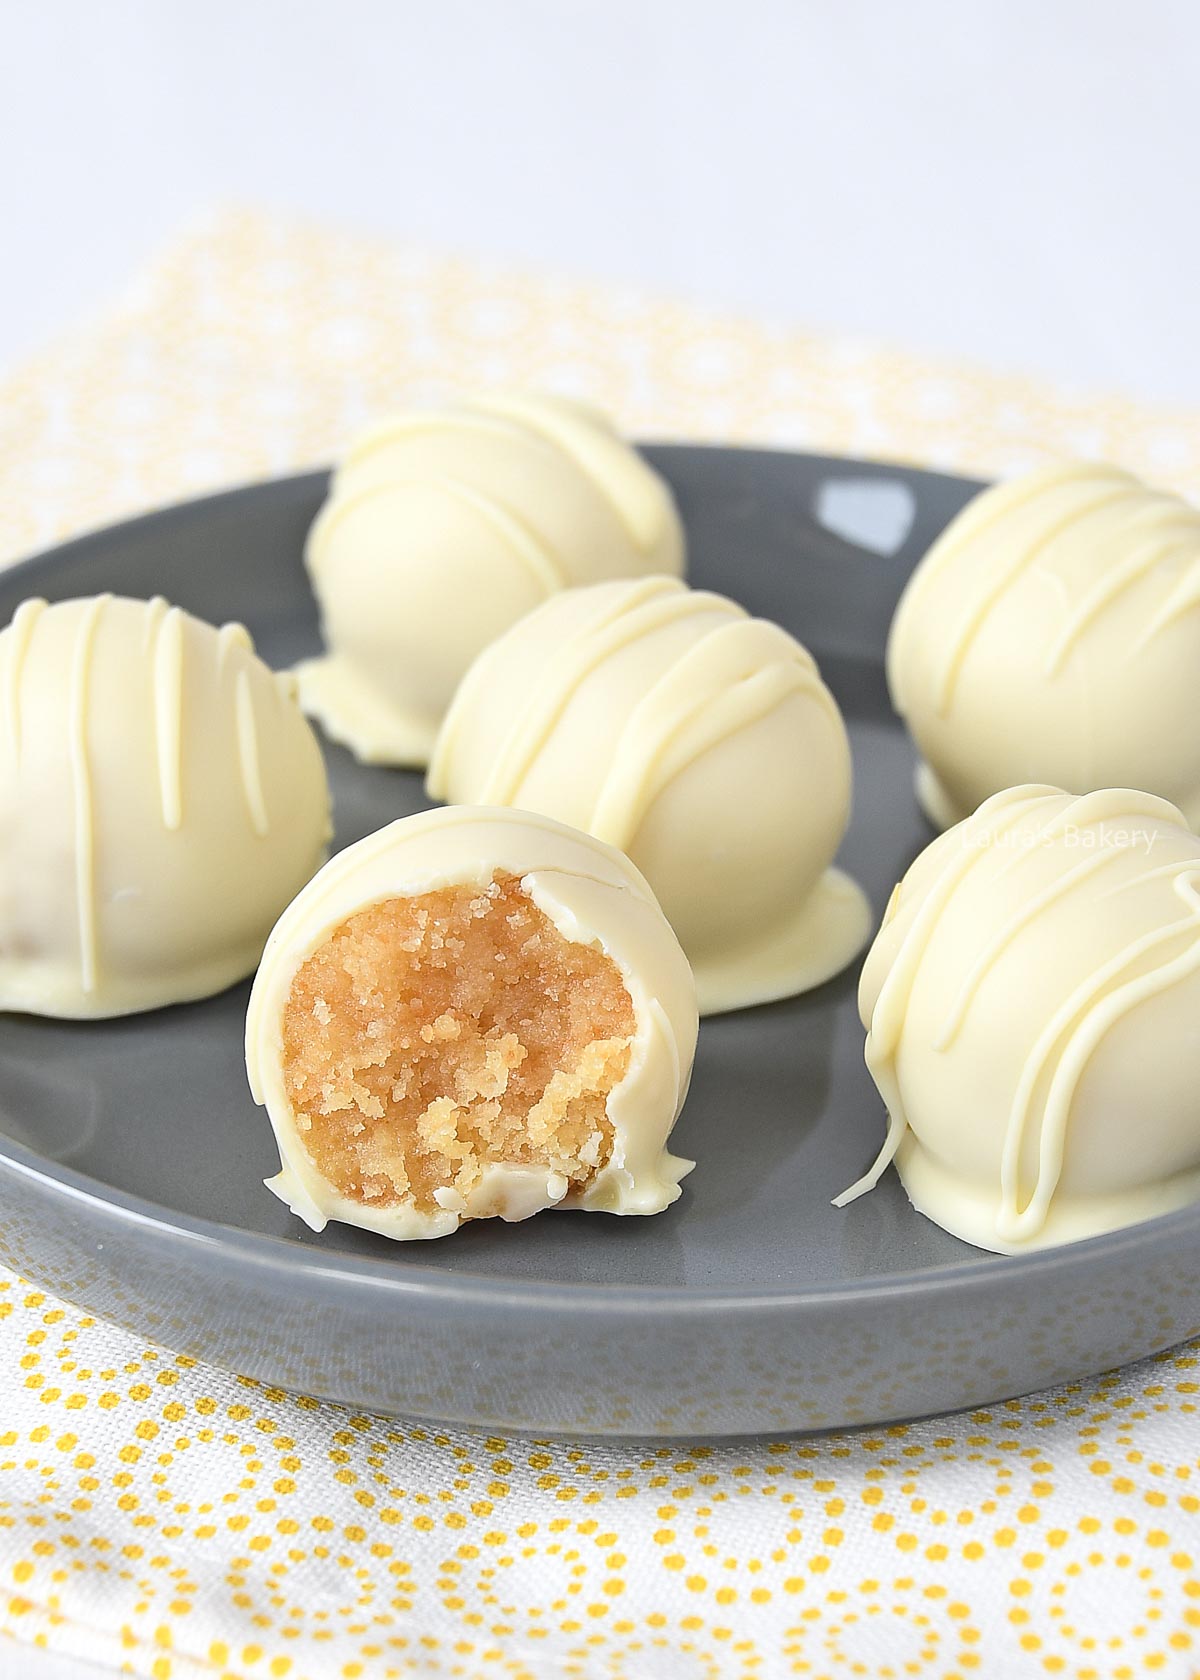
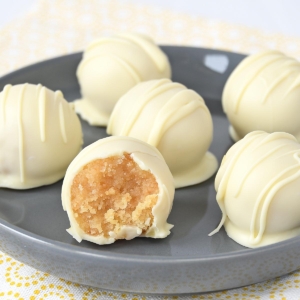
Today I have one of my easiest recipes to share with you; lemon cake balls. I like to call them lemon curd cake truffles too as they can easily be presented on a plate and they do look a bit like truffles.
Instead of using cream cheese for shaping the lemon cake balls, I went with lemon curd. That gives this a lovely lemon flavor.
Making these lemon cake pops is really super easy and you need the following:
Making these lemon cake truffles, you first start by crumbling all the cake. Add the lemon curd to the crumbled cake and mix it properly. Once you pinch a bit together and it sticks, you know that the mixture is ready.
At this stage it might still be a bit crumbly, so don’t add extra lemon curd yet.
Roll the mixture into 12 balls and place them in the refrigerator to chill. You can use lollipop sticks if you want to, but I didn’t.
Now once the balls are cold enough you melt the chocolate in a double boiler. First melt 2/3 of the chocolate, take off the heat and add the remaining 1/3 of chocolate.
Not sure how to temper chocolate? Make sure to read this article on an easy way to temper chocolate without a thermometer.
Prepare a baking sheet with parchment paper and dip each lemon cake ball into the melted chocolate. I usually use two forks for doing this.
Place them on the parchment paper and let it set completely. Drizzle the rest of the melted chocolate over the cake balls. Start by drizzling it over the first one you dipped.
Let the chocolate set completely before serving.
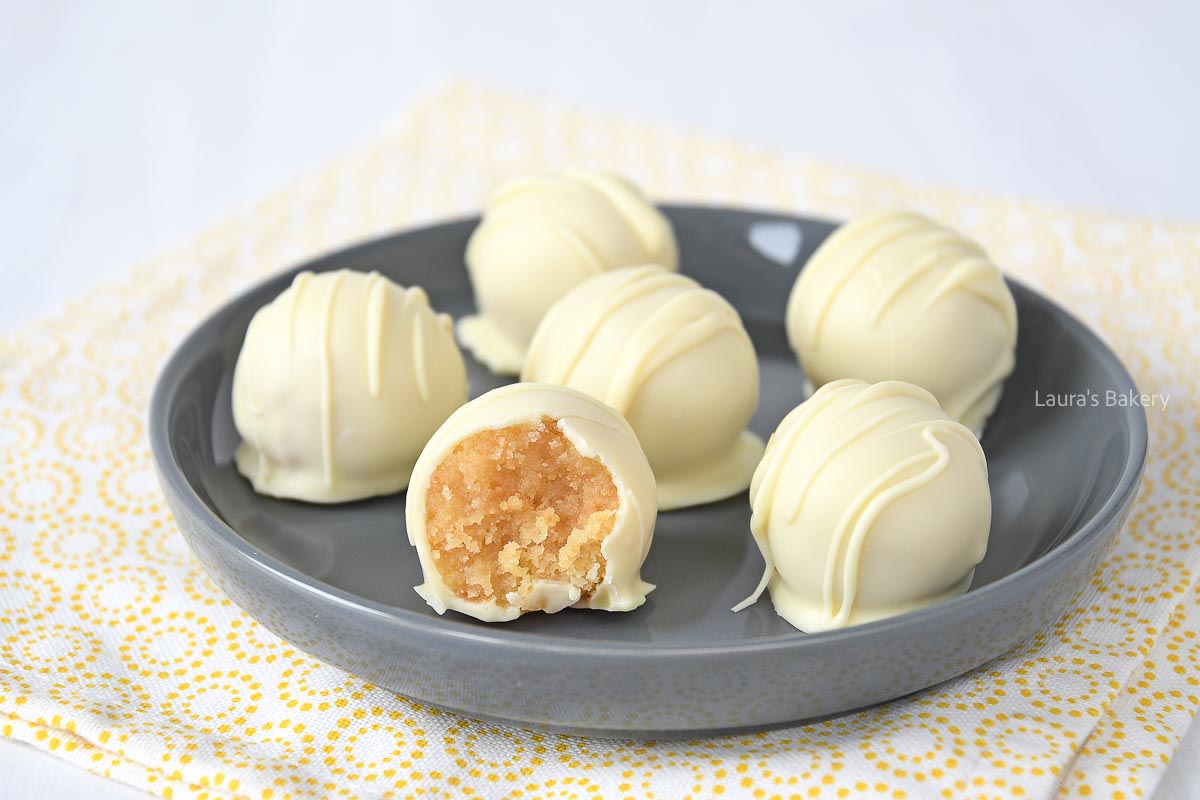
You can store these lemon cake balls in the fridge for up to 3 or 4 days. Since they do not contain cream cheese, you can also keep them outside of the fridge for a few days.
Make sure to properly store them in an airtight container. Keep in mind that chocolate in the fridge might turn white. Since it’s white chocolate you won’t really see it, but if you’re using other chocolate you will.
Yes you can also freeze these sweet treats both with or without the chocolate. Make sure to properly wrap them so there is no moisture getting to the chocolate. Once frozen, you can store them for up to 2 months.
Yes, both work perfectly. Homemade lemon curd usually has a fresher flavor, but store-bought lemon curd is a great and convenient option.
A soft, slightly moist cake works best. Pound cake, vanilla cake, or butter cake are great choices. Avoid very dry cakes, as they may need extra lemon curd to hold the mixture together.
Add a little extra lemon curd, about a teaspoon at a time, until the mixture holds together when you squeeze it into a ball. Also keep in mind that the cake might need a little time to soak up the liquid, so let it rest if needed. Be careful not to add too much, or the mixture may become too soft.
Absolutely. You can drizzle extra chocolate over the truffles, add sprinkles, or sprinkle a little lemon zest on top before the chocolate sets.
Chilling helps the truffles firm up so they keep their shape when you dip them in the melted chocolate. It also makes them easier to handle.

These cute little crescent roll egg cups are made using crescent dough and are great for your Easter brunch or any brunch! If you love crescent rolls you might want to try making these easy egg cups!
Apart from the ingredients listed below you will need a muffin pan to make these crescent roll egg cups
The recipe is pretty basic, but there are also plenty of ways to make it your own. Think about adding a bit of pesto, sun dried tomatoes, fresh herbs (chives, parsley or cilantro) or adding various spices.
Add a bit of chili powder for a bit of a spicy kick or test with different kinds of cheeses. Also check out this recipe for easy crescent roll cinnamon buns.

For making these crescent cups I start with lining the muffin cup with paper or paper liners. You don’t have to use a paper liner, but it is easier to work with. You can also fold your own using parchment paper.
Now take a piece of the crescent dough and use it to line the muffins cups. Make sure to press the perforated seams together firmly.
Some bits of dough sticking out on top is fine, but you will want to avoid having double dough layers. You still need to have space for the eggs to go in.
Place a slice of bacon in each egg cup and press it down a bit. Crack one egg into each cavity. Sprinkle some grated cheese over the eggs and season with salt and pepper.
Bake in a preheated oven at 200˚C/400˚F (conventional oven) for about 12 to 15 minutes or until golden and cooked.
Before you remove the muffins from the tin, let them cool slightly. That will make it easier for them to release.
These are best when eaten straight away, but they are also delicious once cooled down.
You can store them in an airtight container for about 2 to 3 days in the fridge. If you want to reheat them, place them in the oven for 10 minutes at 180˚C/350˚F (conventional oven).
Yes you can also freeze these egg cups. Make sure to let them cool completely and use a freezer bag or freezer container to store in the freezer for up to three months. You can reheat them from frozen right away
Smaller eggs work best to prevent overflow, but large eggs can be used. If you use large eggs, be careful not to overfill the dough.
Yes, that is a perfect substitute for the crescent rolls. If you can’t find crescent rolls, using puff pastry is fine.
Cheese, spinach, mushrooms, ham, sausage, or herbs all work well and are easy add-ins or swaps.
Reheat leftover crescent roll egg cups in a 350°F/180°C conventional oven for about 8 to 10 minutes until warmed through and flaky again.