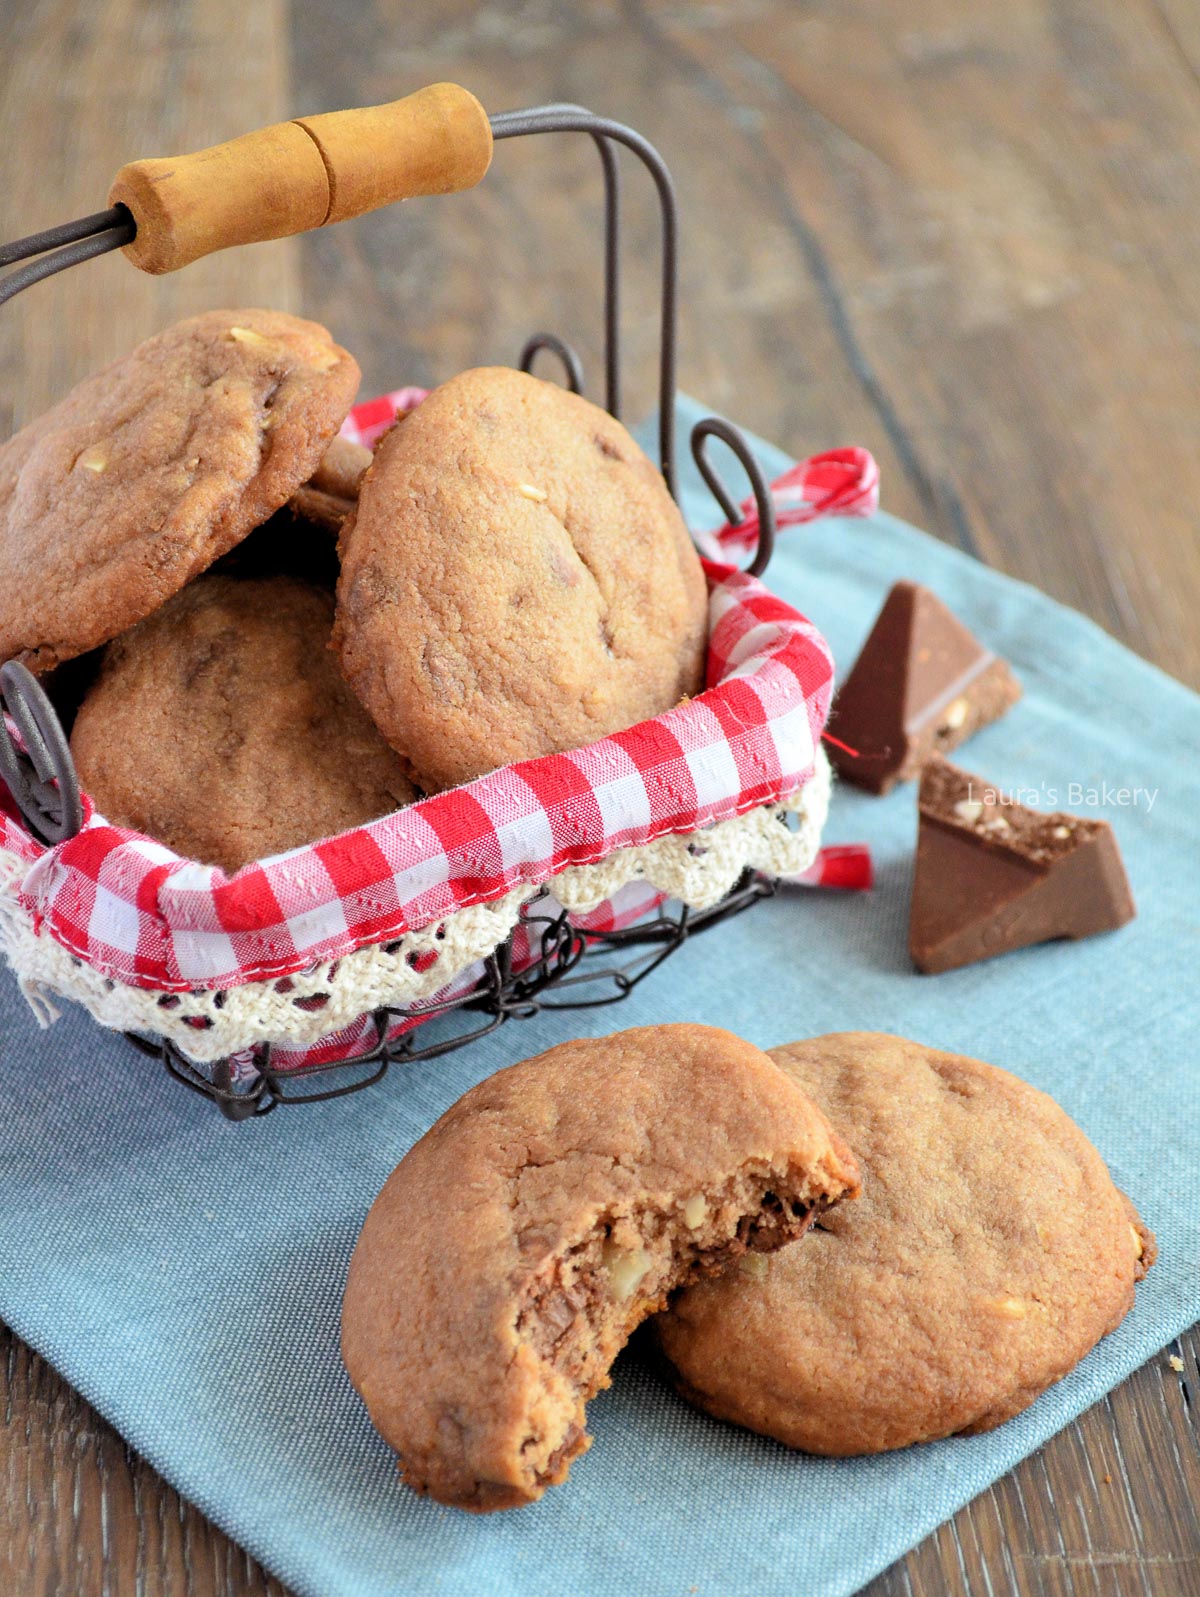
Toblerone cookies-2

If you love Toblerone chocolate and love baking cookies, this recipe is for you! It’s easy to make and the addition of the Toblerone makes this one of my favorite cookies!

Why You'll Love This Recipe

These easy cookies are filled with chopped Toblerone and have the perfect chewy texture. It’s great to make in advance and it’s a fun twist on classic chocolate cookies!

My batch of cookies was gone in no time, everybody loves them!

Recipe Ingredients

The base of this recipe is my regular cookies recipe and it just has a fun little twist by adding toblerone bars.

  • all-purpose flour
  • butter – make sure to use the unsalted version
  • sugar – I used brown sugar but white sugar is fine too
  • almonds – the almonds give the cookies a delicious extra crunch
  • Toblerone pieces – of course you can also use other milk chocolate if you prefer. Using Swiss chocolate is delicious but not a must.
  • Cocoa powder
  • Honey 

More Easy Cookie Recipes

Making easy and delicious cookies is what I love to do! Check out the cookies below as well!


How To Make Toblerone Cookies

Toblerone cookies how to
1

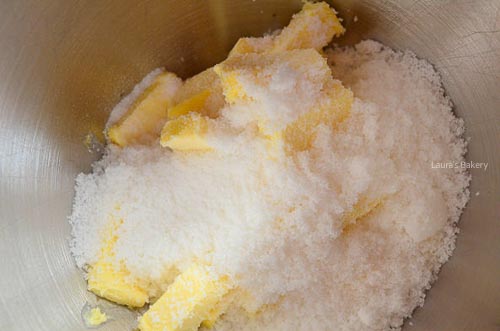
Take a large bowl and add butter sugar and vanilla sugar together

Open lightbox for image about Take a large bowl and add butter sugar and vanilla sugar together
Toblerone cookies
4

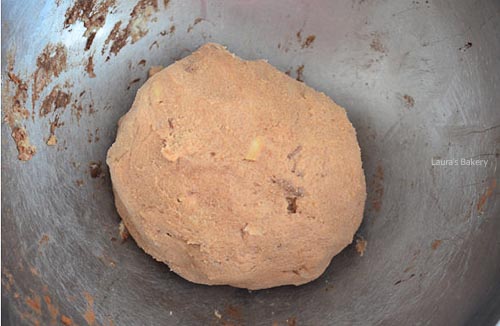
Add chopped chocolate, honey and cocoa powder and mix together. Chill the dough

Open lightbox for image about Add chopped chocolate, honey and cocoa powder and mix together. Chill the dough
1/4

Making the cookie dough

It’s important that you mix the sugar and butter for a few minutes until the sugar is (almost) dissolved and the mixture is light and creamy.

For the chocolate: you can chop this up as fine as you want. I like a combination of smaller and bigger chunks. Chill the dough for at least an hour, it’s important! (not sure why chilling dough makes all the difference?)

Roll the dough into evenly sized balls (use a cookie scoop if you want) and place on a baking sheet lined with parchment paper. At this point check if the dough is still cold. If not place the rolled cookies back into the fridge to chill a little more.

Once cold enough bake in the preheated oven for 16 minutes or until the edges of the cookies become golden brown. Let them cool down completely before diving in!

Storing Toblerone Cookies

You can store these cookies in an airtight container for about 4-5 weeks. They might get a bit softer due to the chocolate inside. A metal cookie jar is an even better option as they will stay crispy for longer.

Can you freeze Toblerone cookies?

Yes you can! Make sure to wrap them properly in an airtight container and freeze for up to three months.

Toblerone cookies-3

FAQ Toblerone Cookies

Can I use dark or white Toblerone instead of milk chocolate Toblerone?

Yes, absolutely. Milk chocolate Toblerone gives a classic, sweet flavor, but dark Toblerone works great if you prefer a slightly less sweet, more intense chocolate taste. Another brand of chocolate is also a good option.

Do I really need to chill the dough?

Yes, chilling the dough is important. It firms up the butter, prevents the cookies from spreading too much, and helps keep that chewy texture after baking.

Can I make the dough ahead of time?

Definitely. You can prepare the dough up to 48 hours in advance and store it covered in the refrigerator.

Why are my cookies spreading too much?

This usually happens if the dough is too warm. Make sure the dough is well chilled before baking and avoid placing it on a warm baking sheet.

Can I skip the almonds?

Yes. The almonds add crunch and complement the Toblerone, but you can leave them out or replace them with chopped hazelnuts or pecans if you like.

How do I know when the cookies are done?

The edges should be lightly golden while the centers still look soft. They will continue to set as they cool, which keeps them nice and chewy.


Toblerone cookies

Print Recipe

No votes yet

Toblerone Cookies

The recipe for Toblerone cookies: the delicious chocolate bar baked into a cookie. You’ll find the recipe for Toblerone cookies right here!
Preparation15 minutes
Cooking16 minutes
Chilling1 hour
Total1 hour 31 minutes
Servings: 21 cookies

Ingredients

  • 225 grams unsalted butter
  • 150 grams light brown sugar
  • 8 grams vanilla sugar
  • 1 egg yolk
  • 280 grams all-purpose flour
  • Pinch of salt
  • 30 grams almonds chopped
  • 100 grams Toblerone 1 bar, chopped
  • 2 tbsp honey
  • 2 tbsp cocoa powder

Instructions

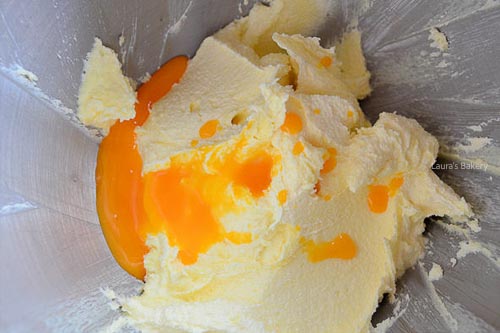
  • Cream the butter, sugar, and vanilla sugar until light and fluffy. Add the egg yolk and mix well.
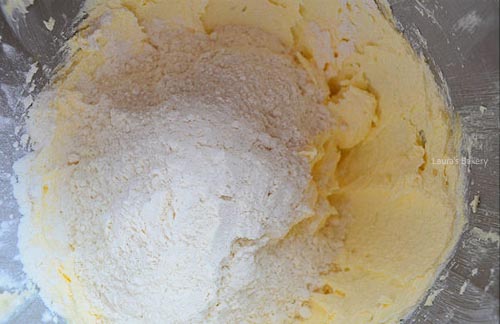
  • Add the flour and salt and mix until combined. Then add the almonds, Toblerone, honey, and cocoa powder and mix until you have a firm dough.
  • Chill the dough in the refrigerator for 1 hour.
  • Roll the cookie dough into balls and place them on a baking sheet. If the dough is still nice and cold, you can bake them right away; otherwise, let them firm up a bit more in the fridge.
  • Bake the cookies for 16 minutes at 190°C (375°F) using a conventional oven, until the edges start to turn golden. Let the cookies cool slightly on the baking sheet before transferring them to a wire rack to cool completely.
  • A little patience while they cool, but after that, it’s time to enjoy!
Mini oreo cheesecake-4

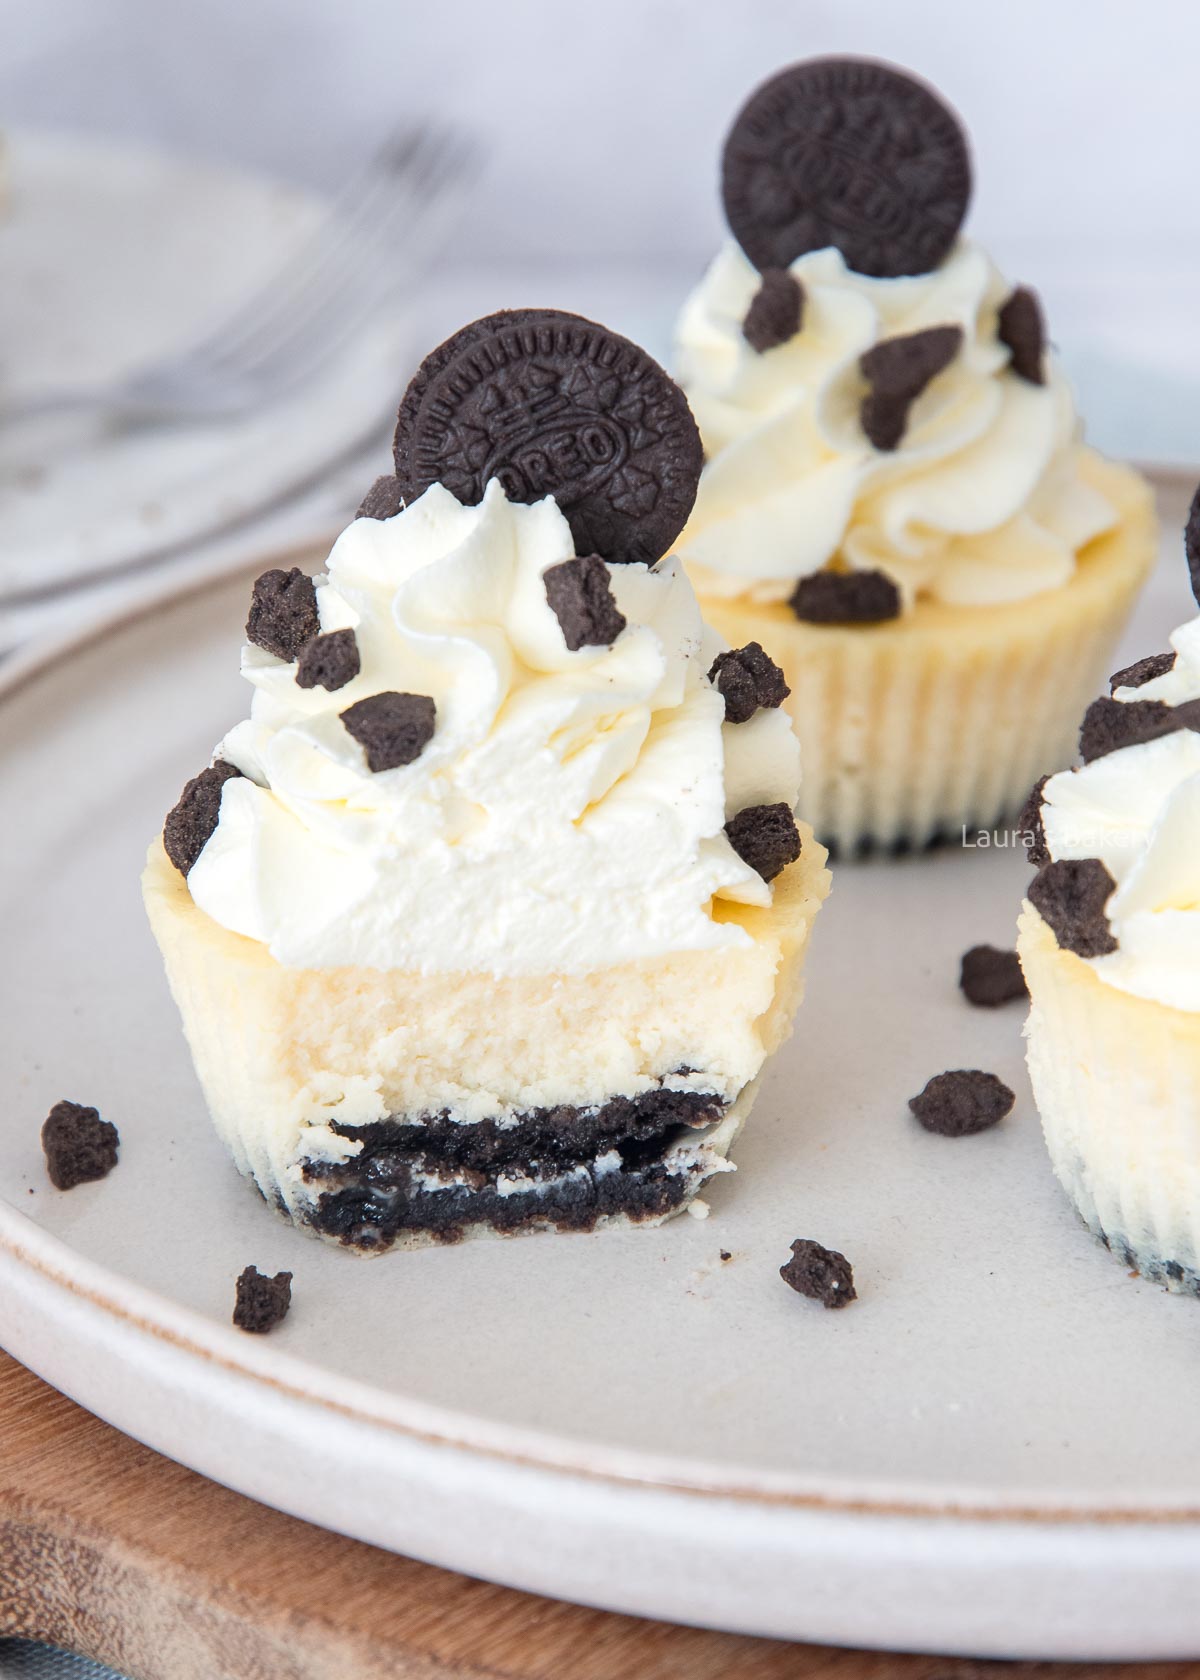
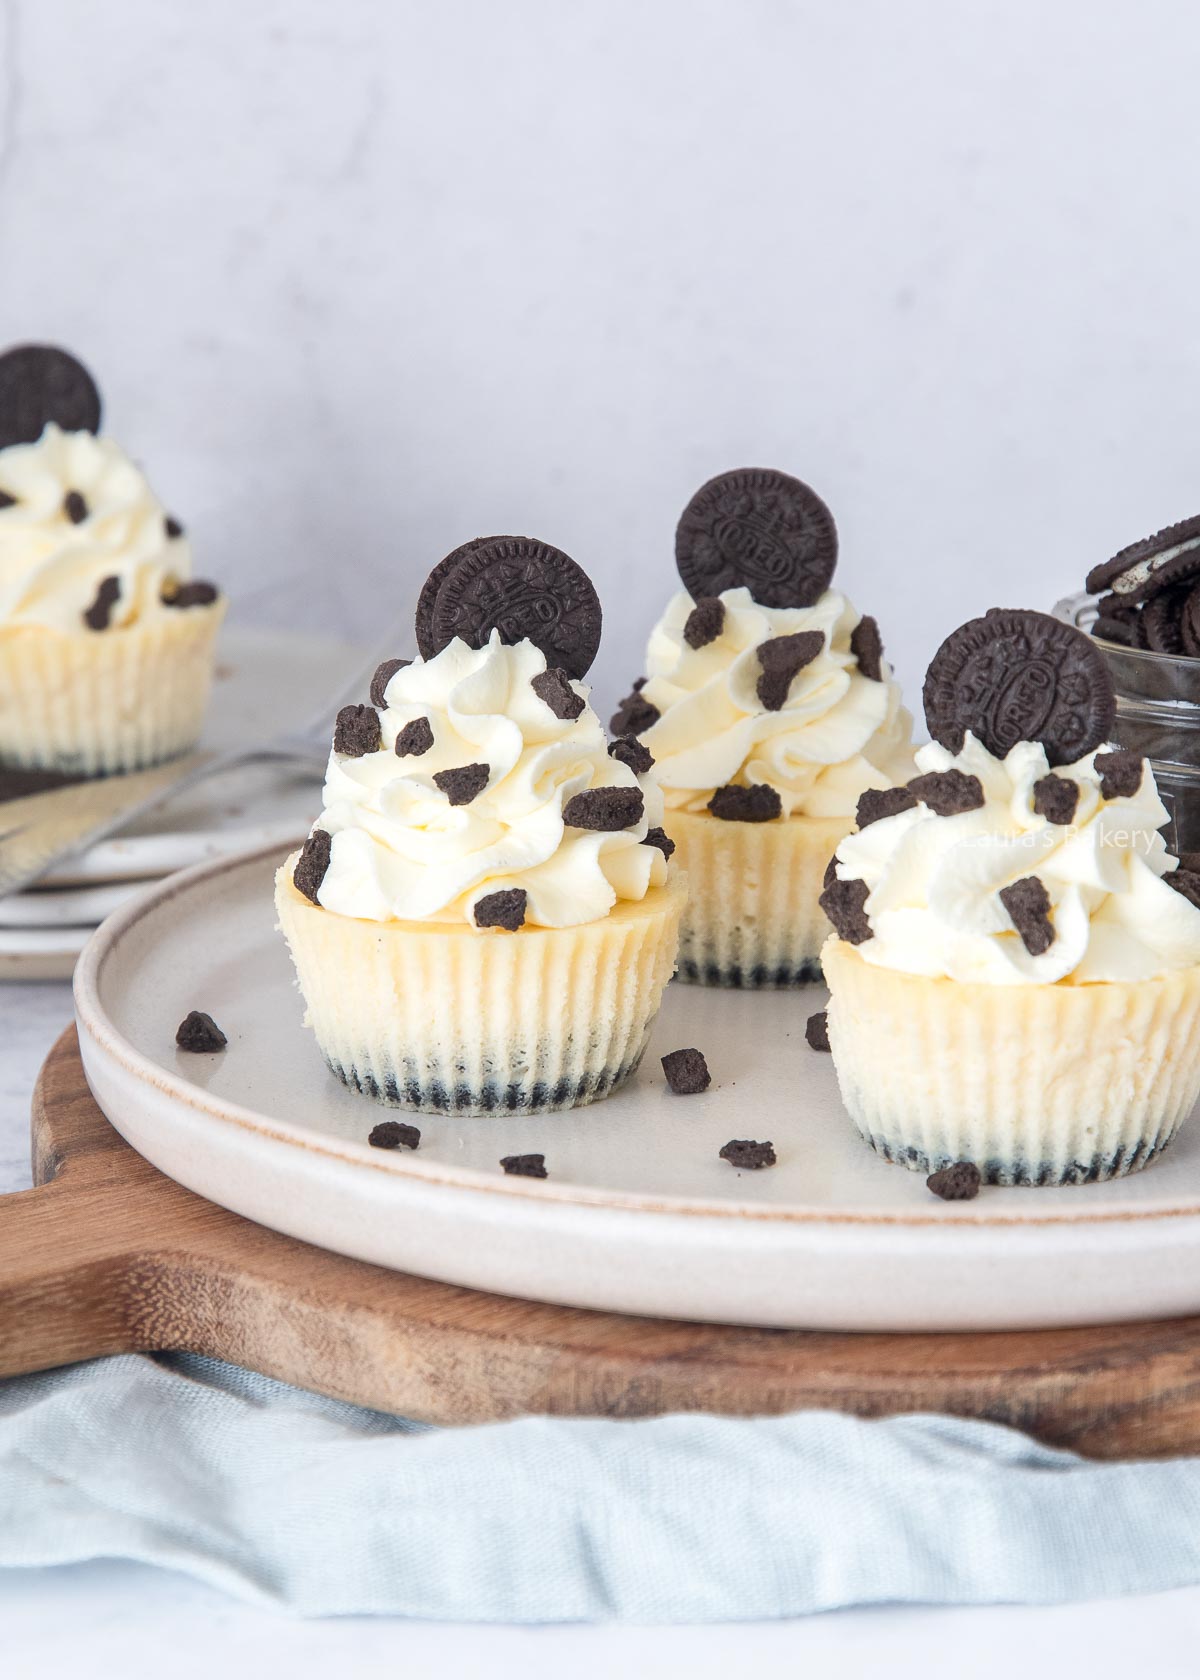
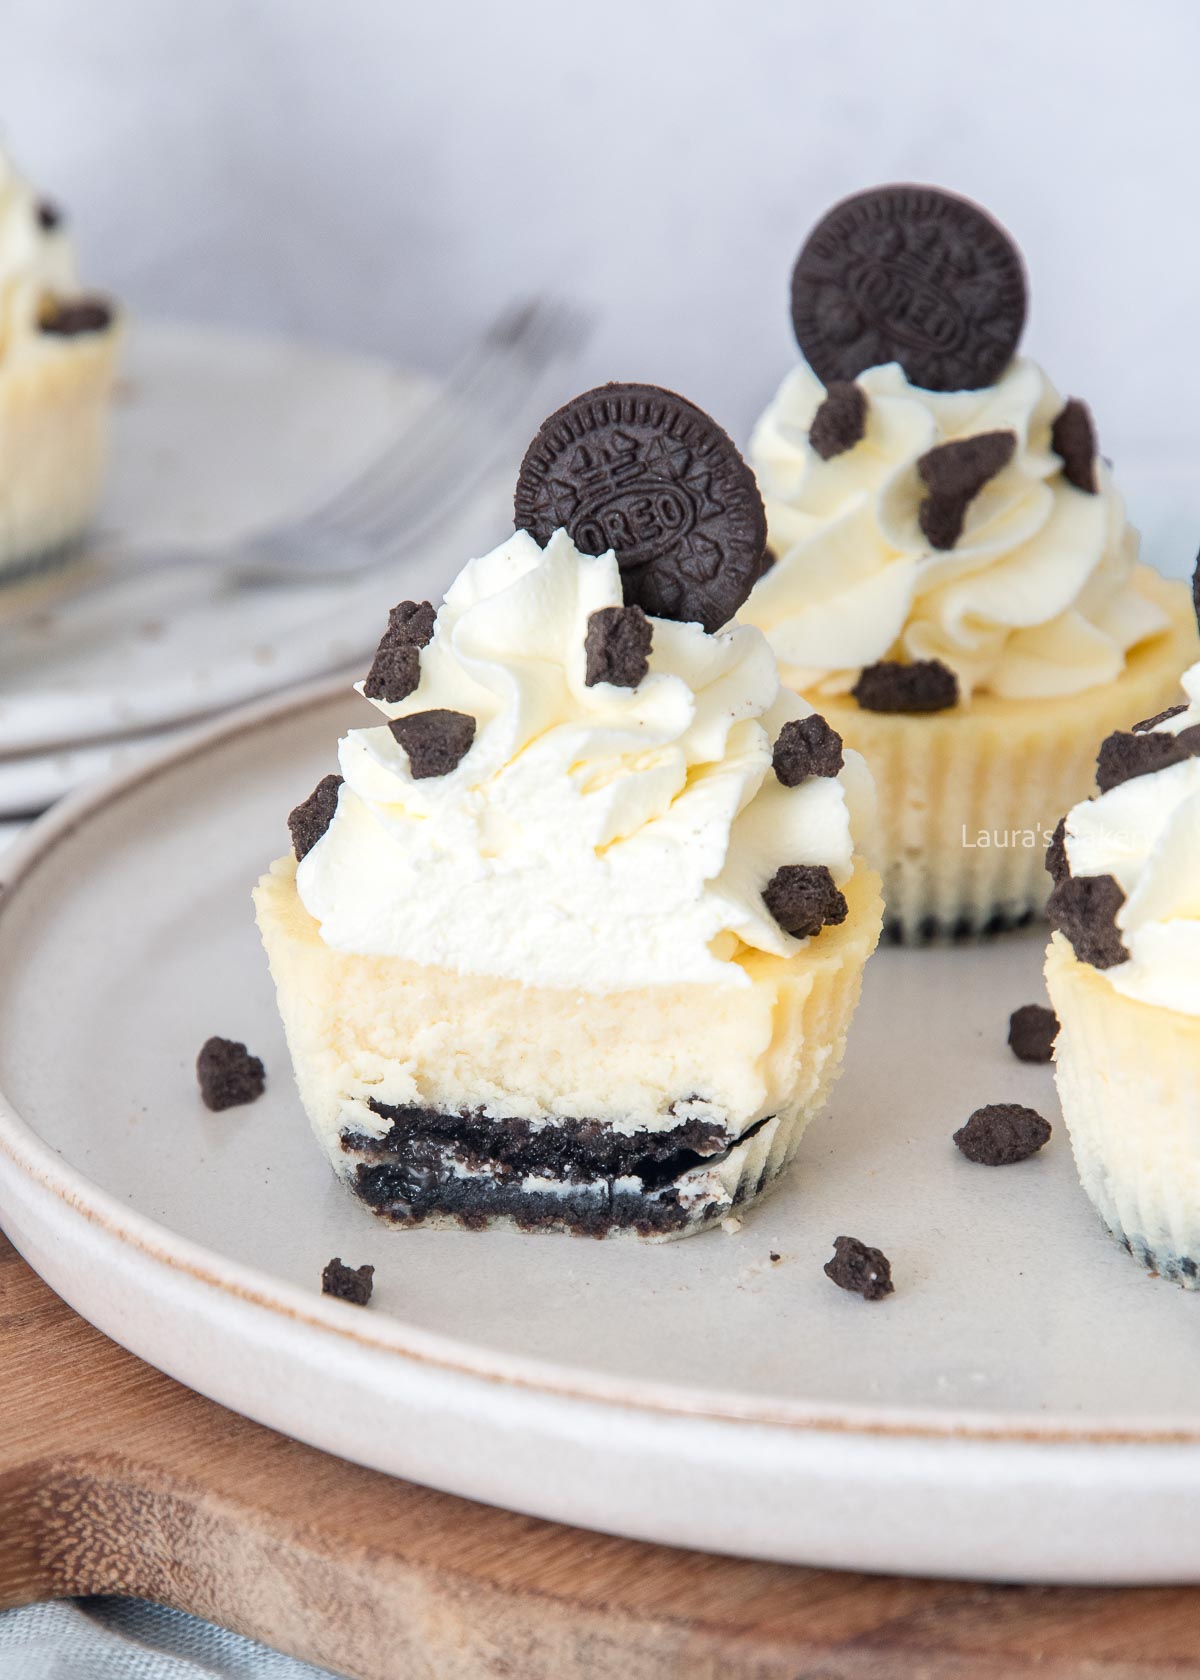
If you love Oreo cheesecake but think such a big cheesecake is not what you want; these mini Oreo cheesecakes are for you! They’re easy to make and perfect for serving at any kind of party!

Why You'll Love This Recipe

These mini Oreo cheesecakes are the perfect individual dessert: creamy, chocolatey, and just the right size.

They’re easy to make, great for parties or birthdays, and you don’t even need to fuss with a crust: the Oreo does all the work. Plus, they can be made ahead of time, which makes them ideal for any party!

Recipe Ingredients

For making these mini oreo cheesecakes you need pretty much the same ingredients as with any other cheesecake recipes with the exception of the Oreo cookies.

  • cream cheese – brands can vary but choose a firm cream cheese for best results
  • sugar – I use fine granulated sugar
  • sour cream – this adds a bit of freshness to the cheesecake filling
  • all-purpose flour – you need only a little bit of flour.
  • oreo cookies – for making the oreo cookie crust you need 16 cookies. One cookie first perfectly in the bottom of a muffin tin which makes them absolutely perfect for this recipe. You also need extra oreos for the crumbs and the topping.
  • mascarpone cream – (check the recipe for mascarpone cream here)
Mini oreo cheesecake-1

Tips for Mini Oreo Cheesecakes

With my basic recipe for mini cheesecakes, you can go in all kinds of directions and this Oreo version proves that once again.

For this recipe, I replaced the standard cheesecake crust with an Oreo crust. One cookie fits perfectly in the bottom of a cupcake liner.

The cheesecake filling itself stays the same, although you can also fold pieces of Oreo into the batter if you like. Especially for fans of these little dark chocolate cookies.

A cheesecake is perfectly delicious without a topping, but sometimes it’s a really tasty addition. For small cheesecakes, I like to add a swirl of mascarpone cream. Just like I did with these mini Oreo cheesecakes.

You can further decorate the swirl with fruit, sprinkles, cookie crumbs, and other treats. I chose a small Oreo cookie and some extra cookie crumbs. It looks festive and immediately shows what flavor the cheesecake is.

Storing Mini Oreo Cheesecakes

You can store the mini Oreo cheesecakes in the fridge for 2-3 days. Cover them with aluminum foil or place in an airtight container.

Can I freeze mini Oreo Cheesecake?

Yes you can freeze the mini Oreo cheesecakes but without the topping. Make sure to wrap them separately in plastic wrap and place them in a container for freezing.

Let them thaw in the fridge before adding fresh fruit or other decorations.

Recipes with Oreo Cookies

I absolutely love baking with Oreo cookies. They’re not only great to eat on their own, but also perfect for baking. From quick no-bake treats to festive desserts, you can do so much with Oreos. No wonder I’ve already made lots of recipes with them. Some favorites:

Mini oreo cheesecake-3

FAQ Mini Oreo Cheesecake

What kind of liners can I use for the mini Oreo cheesecakes?

I prefer to use silicone liners for these mini cheesecakes. They make it easy to remove the mini cheesecakes. Personally, I don’t find eating from a paper liner very convenient in this case, and paper liners also don’t release as well when it comes to cheesecakes. Silicone cupcake liners work perfectly

Do I need to use a muffin pan?

Silicone liners are sturdier than paper ones and hold their shape better, but I still find a muffin pan very handy when making mini cheesecakes. It also makes them easier to move.

Can I make this a day ahead?

Absolutely. In fact that is better as, just like with normal size cheesecakes, they need time to cool, set and rest. The size doesn’t change that.


Mini oreo cheesecake

Print Recipe

No votes yet

Mini Oreo Cheesecakes Recipe

Make mini Oreo cheesecakes that are just the right size for one person – pure indulgence!
Preparation15 minutes
Cooking20 minutes
Total35 minutes
Servings: 16 pieces

Ingredients

Cheesecakes

  • 16 Oreo cookies
  • 450 grams cream cheese
  • 130 grams superfine granulated sugar
  • 3 eggs
  • 90 grams sour cream
  • 15 grams all-purpose flour

Topping

Instructions

  • Place one Oreo cookie in the bottom of each cupcake liner.
  • In a bowl, beat the cream cheese and sugar until smooth.
  • Add the eggs, sour cream, and flour. Mix until you have a smooth cheesecake batter.
  • Divide the batter among the liners. They can be fairly full, I filled mine to about 2 mm below the rim.
  • Bake the mini cheesecakes for 20 minutes at 300°F (150°C), using a conventional oven. Let them cool in the oven with the door slightly open, then refrigerate for at least 6 hours.
  • Once cooled, prepare the mascarpone cream according to the recipe.
  • Top each mini cheesecake with a decorative swirl. Finish with a small Oreo and some cookie crumbs.
Nutella stuffed chocolate chip cookies-1

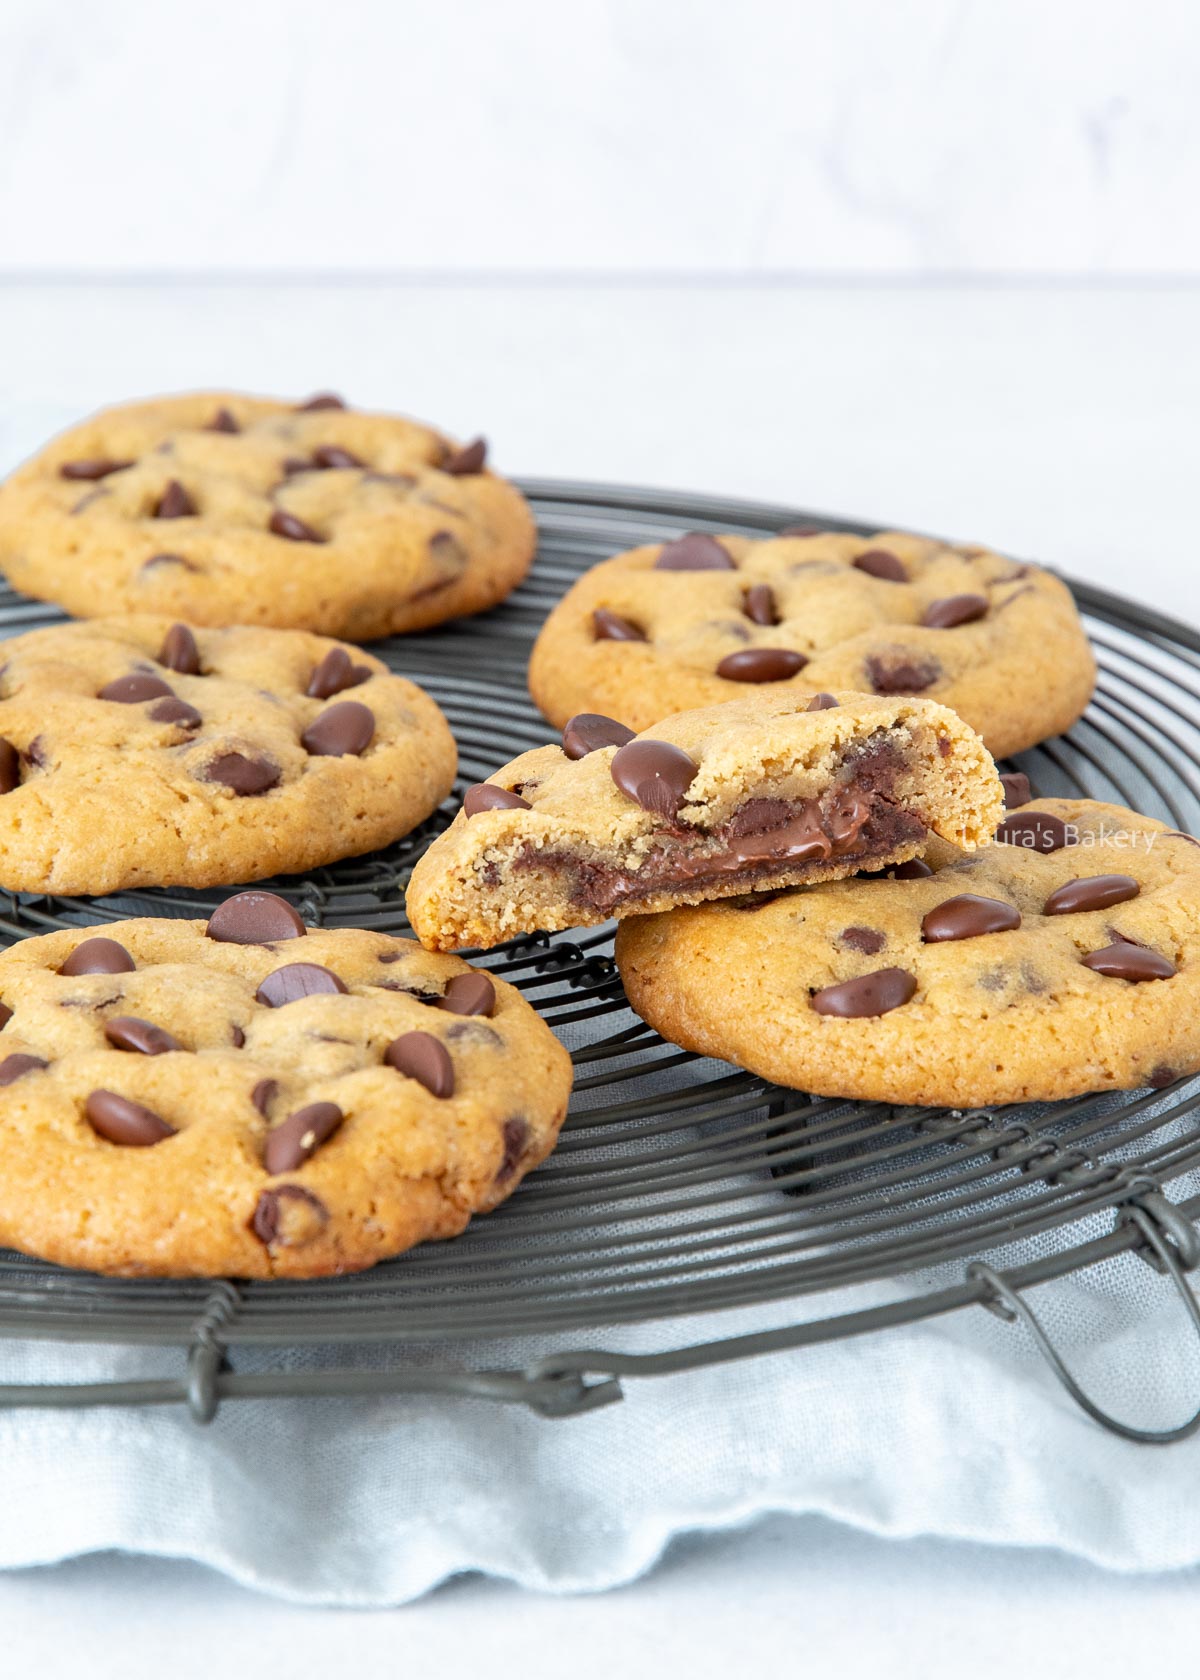
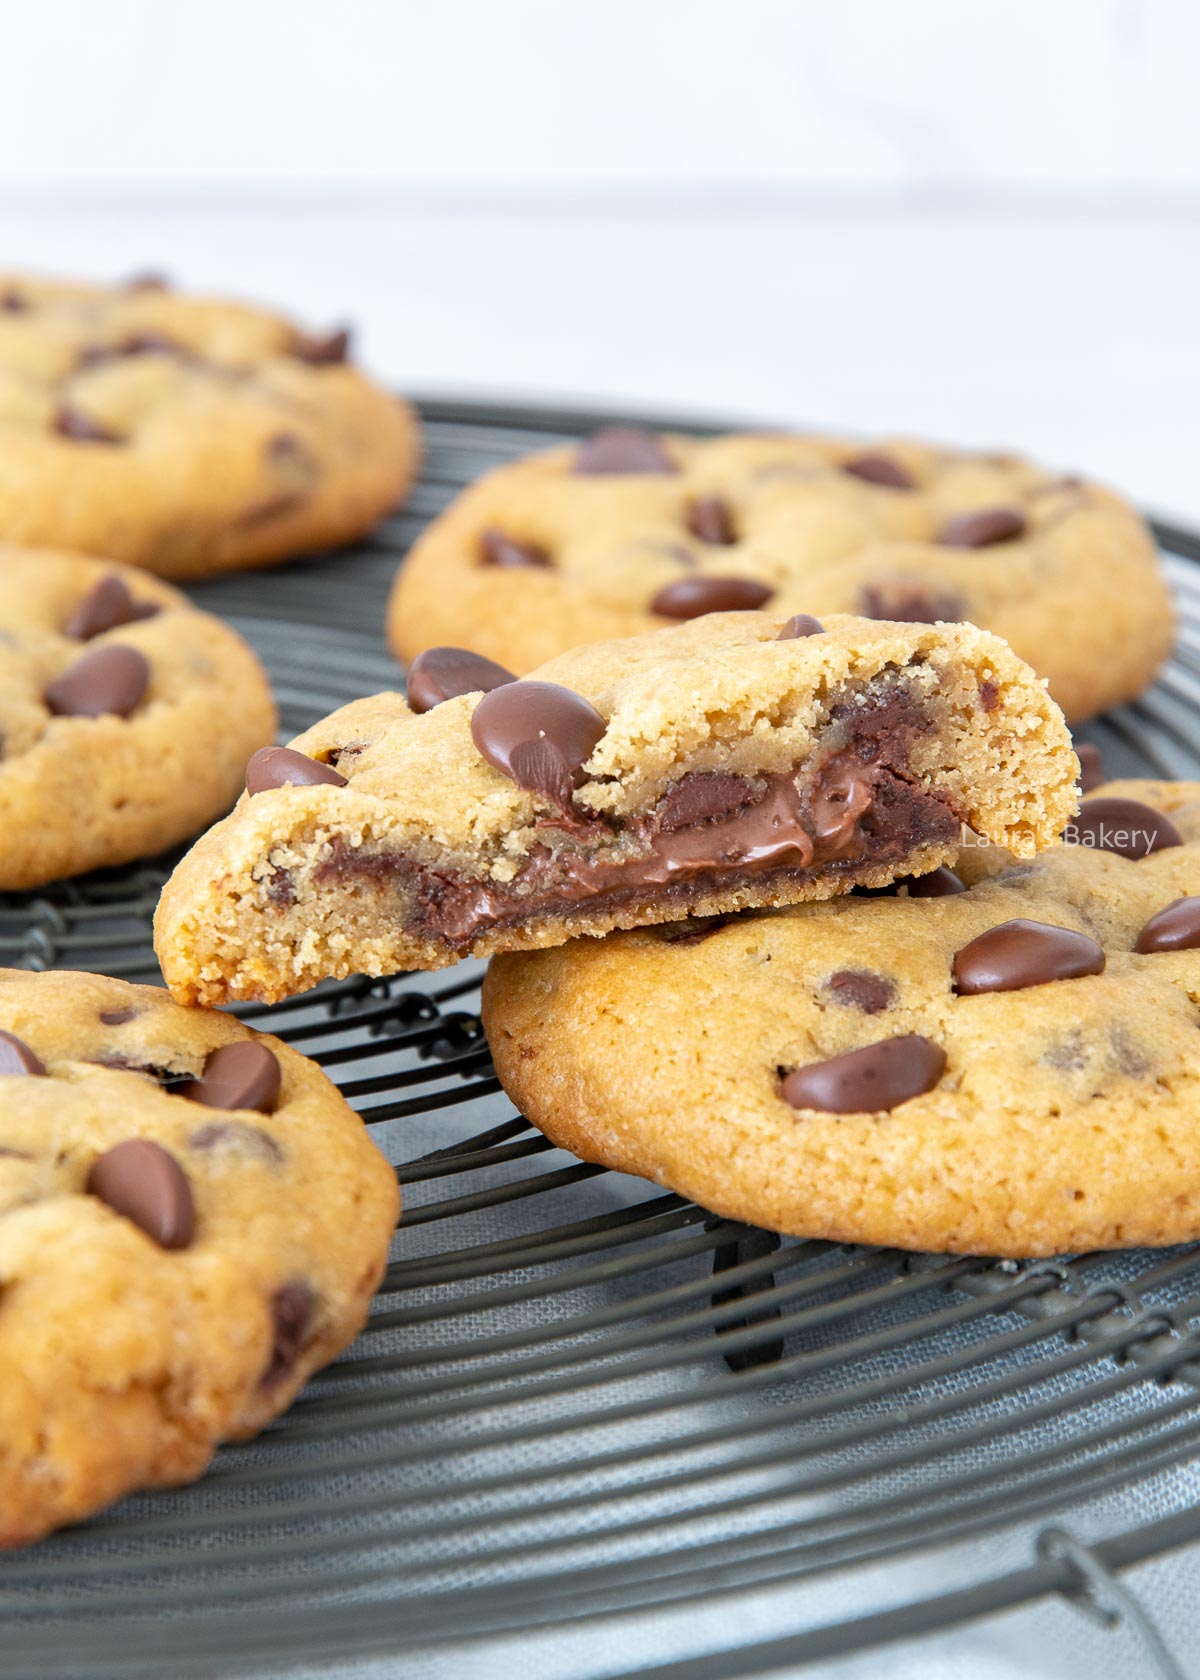
There is something so satisfying about a really good chocolate chip cookie. And these Nutella stuffed chocolate chip cookies have it all and more! The Nutella filling really makes them next level!

Why You'll Love This Recipe

These Nutella chocolate chip cookies are thick, soft, and irresistibly gooey thanks to the creamy Nutella center.

They’re easy to make with simple pantry ingredients, but feel extra special with that surprise filling inside. Perfect if you love classic chocolate chip cookies with a decadent twist.

Recipe Ingredients

As with any chocolate chip cookie the ingredients are pretty basic, but make sure to double check the ingredients and quantities in the recipe card below.

  • cookie ingredients – those are made up of butter, light brown sugar, granulated white sugar, egg, flour, vanilla and baking soda.
  • filling – to make these Nutella cookies you will need Nutella obviously although another brand works just as well. In addition to the regular chocolate chips of course!

Love Chocolate Chip Cookies?

Make sure to also check these chocolate chip recipes! Chocolate chips make everything better 😉

Nutella stuffed chocolate chip cookies-2

How To Make Nutella-Stuffed Chocolate Chip Cookies

For making the cookie dough I take a large bowl and add butter and both types of sugar and mix it until creamy. You can use a food processor with a paddle attachment or a regular electric mixer. Both work.

Add the egg and the vanilla extract and mix until smooth. Add the dry ingredients and as soon as the flour is incorporated stop mixing. Use a wooden spoon to gently add the chocolate chips and divide them evenly through the dough.

Wrap the dough in plastic wrap and let it rest in the refrigerator for at least 2-3 hours but overnight is even better. Divide the dough into 12 equal cookie dough balls.

How to fill the chocolate chip cookies with Nutella

The easiest method is to split each dough ball in half and flatten each half slightly. Spoon a teaspoon of Nutella onto one piece of dough, place the second piece on top, pinch the edges closed, and gently roll it back into a ball.

Place the dough balls on a baking sheet lined with parchment paper, leaving plenty of space between them, as these chewy cookies spread more than regular cookies because of the filling. Press a few extra chocolate chips into the tops.

Bake in a preheated oven at 170°C/340°F (conventional oven) for about 14-16 minutes, until golden brown.

The cookies will still be slightly soft when they come out of the oven. Let them cool on the baking sheet for a few minutes, then transfer to a wire rack to cool completely. And enjoy!

Storing Nutella Stuffed Chocolate Chip Cookies

Stored in an airtight container at room temperature these cookies will keep for about 1-2 weeks. Although they’re likely gone before that!

Can you freeze Nutella stuffed chocolate chip cookies?

These cookies freeze exceptionally well. Even better if you freeze the unbaked -but filled- cookies. Freezing the dough and baking straight from the freezer will ensure they will not spread as much.

Assemble the cookies with the Nutella filling, then place the dough balls on a baking sheet and freeze until solid. Transfer them to a freezer-safe bag or container and freeze for up to 2 months. Bake straight from frozen, just add 1-2 extra minutes to the baking time.

Freezing baked cookies:

Let the cookies cool completely, then freeze them in an airtight container for up to 2 months. Thaw at room temperature, or warm briefly in the oven to make them soft and gooey again.

FAQ Nutella Stuffed Chocolate Chip Cookies

Do I need to chill the cookie dough?

Yes, chilling the dough is important, and for these cookies even more than normal. It helps the cookies keep their shape and prevents them from spreading too much in the oven. For best results, chill the dough overnight.

Can I use another chocolate spread instead of Nutella?

Absolutely. Any thick chocolate or chocolate-hazelnut spread will work, but make sure it’s fairly firm so it doesn’t leak too much during baking.

Why are my cookies spreading too much?

This usually happens if the dough isn’t chilled long enough or if the Nutella filling is too soft. Chilling both the dough and the filling helps a lot.

Can I make these cookies without filling them?

Yes, you can skip the Nutella filling and bake them as thick chocolate chip cookies. Reduce the baking time slightly and keep an eye on them. Or just follow the recipe for regular chocolate chip cookies.


Nutella stuffed chocolate chip cookies

Print Recipe

No votes yet

Nutella Stuffed Chocolate Chip Cookies

A delicious chocolate chip cookie that’s extra soft and gooey thanks to the Nutella filling. Highly recommended, if you ask me.
Preparation15 minutes
Cooking15 minutes
Chilling3 hours
Total3 hours 30 minutes
Servings: 12 pieces

Ingredients

  • 100 grams unsalted butter
  • 120 grams light brown sugar
  • 30 grams granulated sugar
  • 1 egg medium
  • 1 tsp vanilla extract
  • 220 grams all-purpose flour
  • Pinch of salt
  • 1 tsp baking soda
  • 12 tsp Nutella heaped
  • 100 grams chocolate chips milk or dark
  • Extra chocolate chips for decoration

Instructions

  • Add the butter, brown sugar, and granulated sugar to a bowl and mix until creamy. Add the egg and vanilla extract and mix until smooth.
  • Add the flour, salt, and baking soda, and stop mixing as soon as the flour is incorporated. Gently knead the chocolate chips evenly through the dough.
  • Wrap the dough in plastic wrap and let it rest in the refrigerator for at least 2-3 hours (overnight is best). Then divide the dough into 12 equal portions.
  • The easiest method is to split each dough ball in half and flatten each half slightly. Spoon a teaspoon of Nutella onto one piece of dough, place the second piece on top, pinch the edges closed, and gently roll it back into a ball.
  • Place the dough balls on a baking sheet, leaving plenty of space between them, as these cookies spread more than regular cookies because of the filling. Press a few extra chocolate chips into the tops.
  • Bake in a preheated oven at 170°C/340°F (conventional oven) for about 14-16 minutes, until golden brown. The cookies will still be slightly soft when they come out of the oven. Let them cool on the baking sheet for a few minutes, then transfer to a wire rack to cool completely.
cheese scones-2

Just as much of a cheese lover as I am? Then you’re going to love these cheese scones made with no fewer than three kinds of cheese. They’re easy to make yourself and so good!

Why You'll Love This Recipe

Three cheeses means maximum flavor. Cold butter keeps the scones light and tender, while self-rising flour does all the hard work for you. Soft on the inside, lightly crisp on the outside and very hard to stop eating.

Perfect for any high tea, Easter breakfast, Christmas brunch and many more occasions.

Recipe Ingredients

The ingredients for making cheese scones are pretty simple. I love savory scones anyway and you might have already seen the bacon and cheddar scones too.

  • dough – for this you’ll need self-rising flour, butter and milk. You can also use all-purpose flour mixed with baking powder.
  • cheeses – I used a blend of grated cheese; cheddar, mozzarella and Gouda. That said, you can pick other cheeses you like too!

Additional flavors you can add to the dough are mustard powder, cayenne pepper or something similar if you like it a bit spicier.

How To Make Cheese Scone Recipe

For making the best cheese scones you start with adding self-rising flour and butter into a large bowl. Since the dough is so easy to make, you do not need a food processor.

Use the tips of your fingers to rub the flour into the butter until you have a crumbly mixture. Once you’re at that stage add all of the cheeses and a bit of salt and pepper.

Last step is to add the milk and mix the scone dough with a spatula until a shaggy dough forms. Just knead it briefly until it just comes together. You don’t want to overwork the dough

Add the self-rising flour and butter cubes to a bowl. Rub the butter into the flour with your fingertips until the mixture looks crumbly.

Shape the dough into a ball and flatten it to a disc of about 1 to 1.5 inch (3cm) thickness. Cut it with a sharp knife into 8 wedges.

cheese scones-4

Storing Cheese Scones

You can store the flaky cheese scones at room temperature for 2-3 days. I always like them best fresh out of the oven, but you can keep them longer.

Can I reheat sones?

Yes you can! Reheat in the oven for about 5-8 minutes.

Can I freeze cheese scones

Yes you can freeze the scones both unbaked and baked. Store in an airtight container for up to three months in the freezer.

More Recipes with Cheese

I can’t get enough of cheese. Did you know my blog has plenty more delicious cheese recipes? From crispy cheese twists and breads to savory pies, there’s something for every cheese lover!

Are you a true cheese fan? Then homemade cheese fondue is also highly recommended! In this article, you’ll find exactly how to make a creamy, flavorful cheese fondue and which dippers go best with it.

cheese scones-3

FAQ Cheese Scones

Can I use different types of cheese?

Yes! Feel free to swap in other cheeses like Parmesan, Gruyère, or Emmental. Just keep the total amount of cheese the same.

What should I serve with cheese scones?

They’re delicious with (herb) cream cheese, butter, or even a bit of mustard or chutney. Perfect for brunch, lunch, or a savory snack.

Can I freeze the dough?

Yes, you can freeze the unbaked, shaped scones. Bake straight from frozen, adding a few extra minutes to the baking time.

Why are my scones dry?

This usually happens when the dough is overworked. Knead just until everything comes together for the best texture.


Cheese scones

Print Recipe

No votes yet

Cheese Scones

These cheese scones contain no fewer than three types of cheese – a scone made for true cheese lovers.
Preparation10 minutes
Cooking15 minutes
Total25 minutes
Servings: 8 scones

Ingredients

  • 275 grams self-rising flour
  • 40 grams unsalted butter cut into cubes
  • 50 grams grated cheddar cheese
  • 50 grams grated mozzarella cheese
  • 50 grams grated Gouda cheese
  • Salt and pepper
  • 150 ml milk 2% or whole

Instructions

  • Add the self-rising flour and butter cubes to a bowl. Rub the butter into the flour with your fingertips until the mixture looks crumbly.
  • Once crumbly, add the three cheeses and season with a pinch of salt and some pepper.
  • Finally, add the milk and stir with a spatula until a shaggy dough forms. Knead briefly by hand until it comes together.
  • Shape the dough into a ball and flatten it into a round disk about 3-4 cm (about 1½ inches) thick. Cut into 8 wedges using a sharp knife.
  • Place the scones on a baking sheet lined with parchment paper. Brush the tops with a little milk.
  • Bake for 12-15 minutes in a preheated oven at 425°F (220°C), conventional oven.
Honeycomb recipe-3

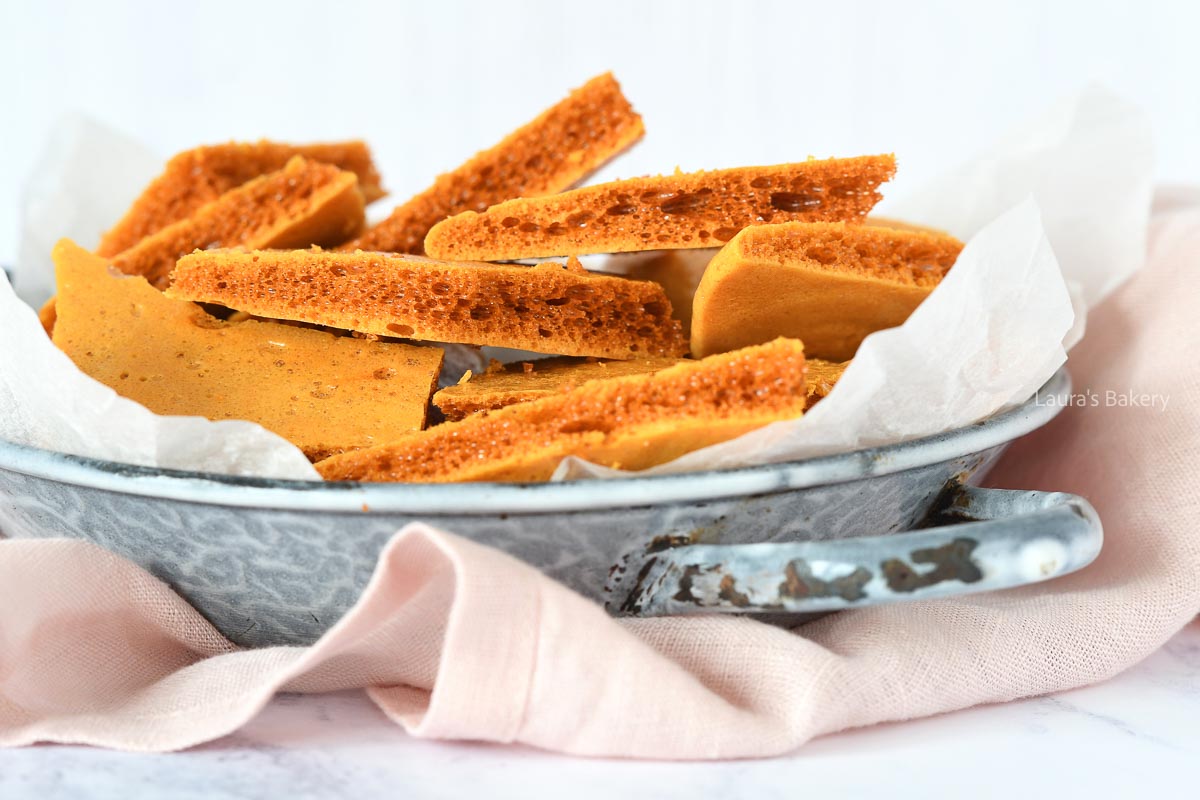
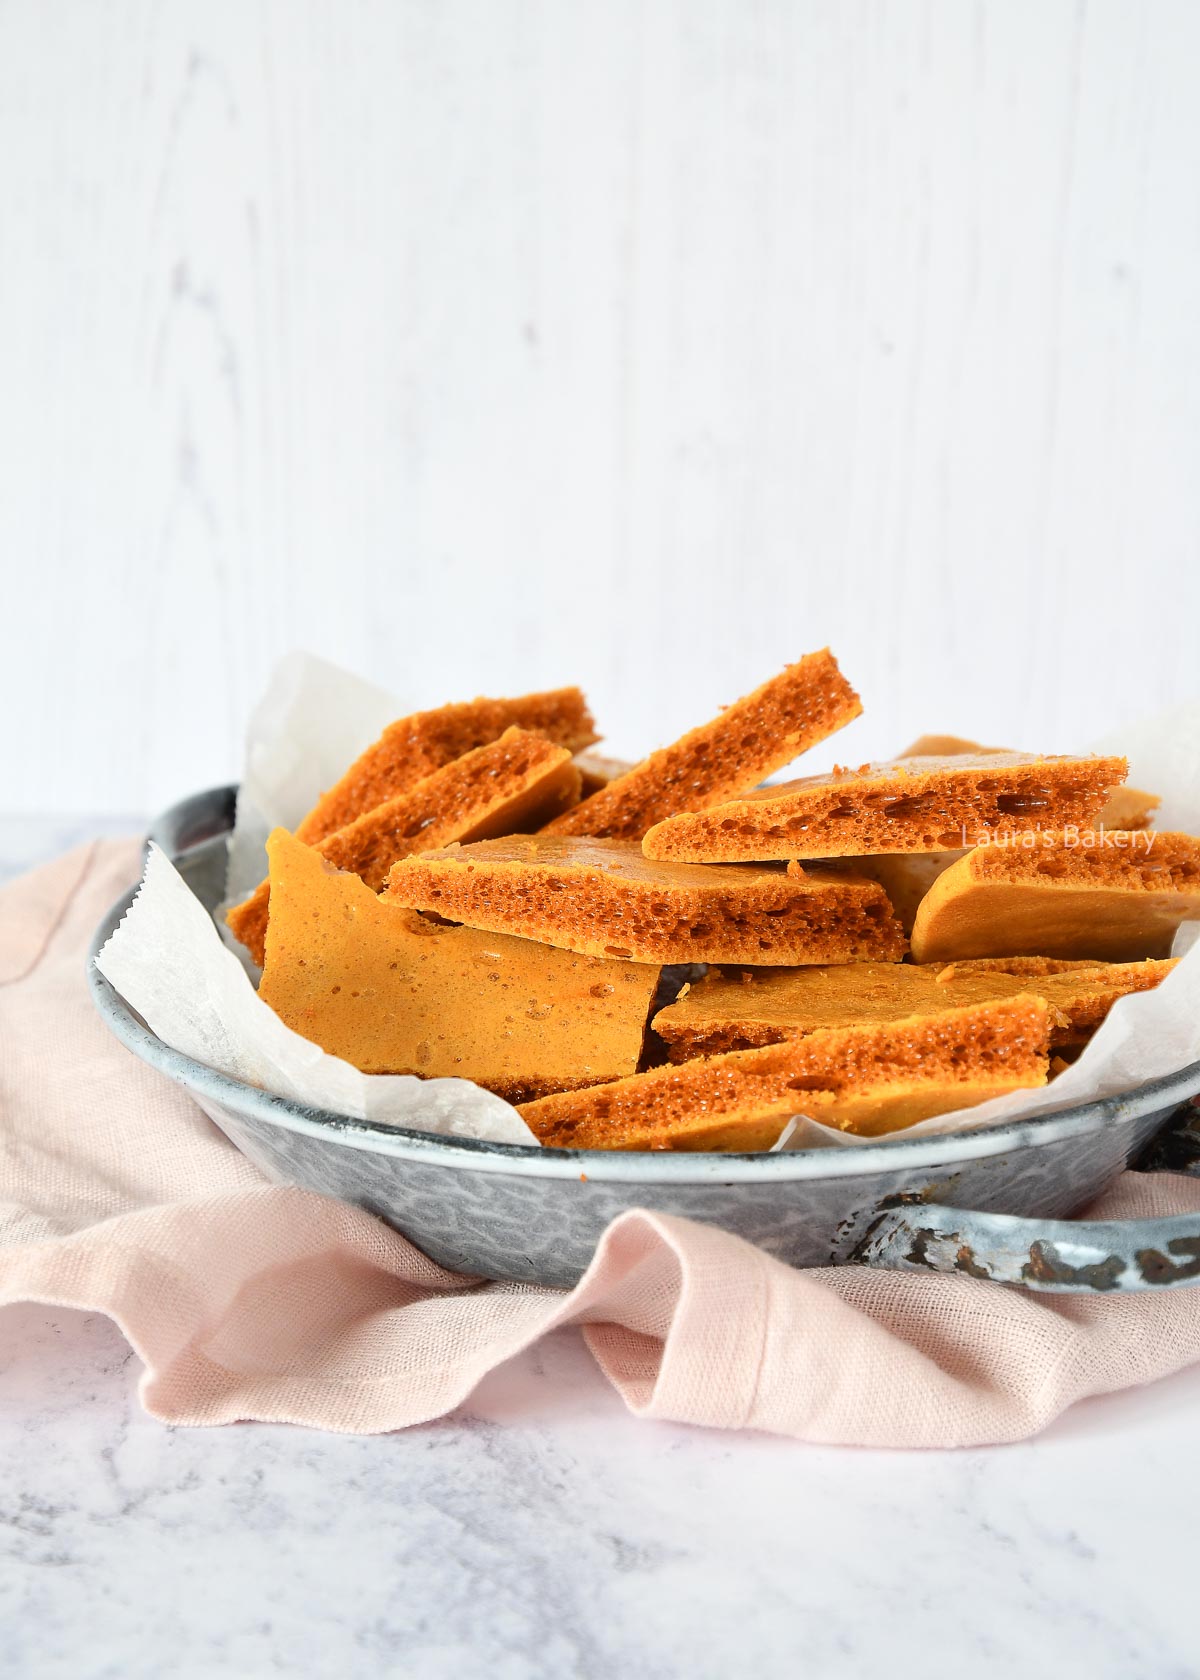
South Africa was the first place I ever tasted honeycomb and it has been on my baking list ever since that moment. I totally loved it. Making honeycomb is not difficult at all and I’ll show you how to do it!

Why You'll Love This Recipe

This homemade honeycomb is surprisingly easy to make with just three simple ingredients. It’s light, airy, and perfectly crunchy, with a deep caramel flavor that’s hard to resist.

No special equipment needed, just trust your senses. Delicious on its own, dipped in chocolate, or chopped up and added to desserts.

Honeycomb recipe-2

What Is Honeycomb?

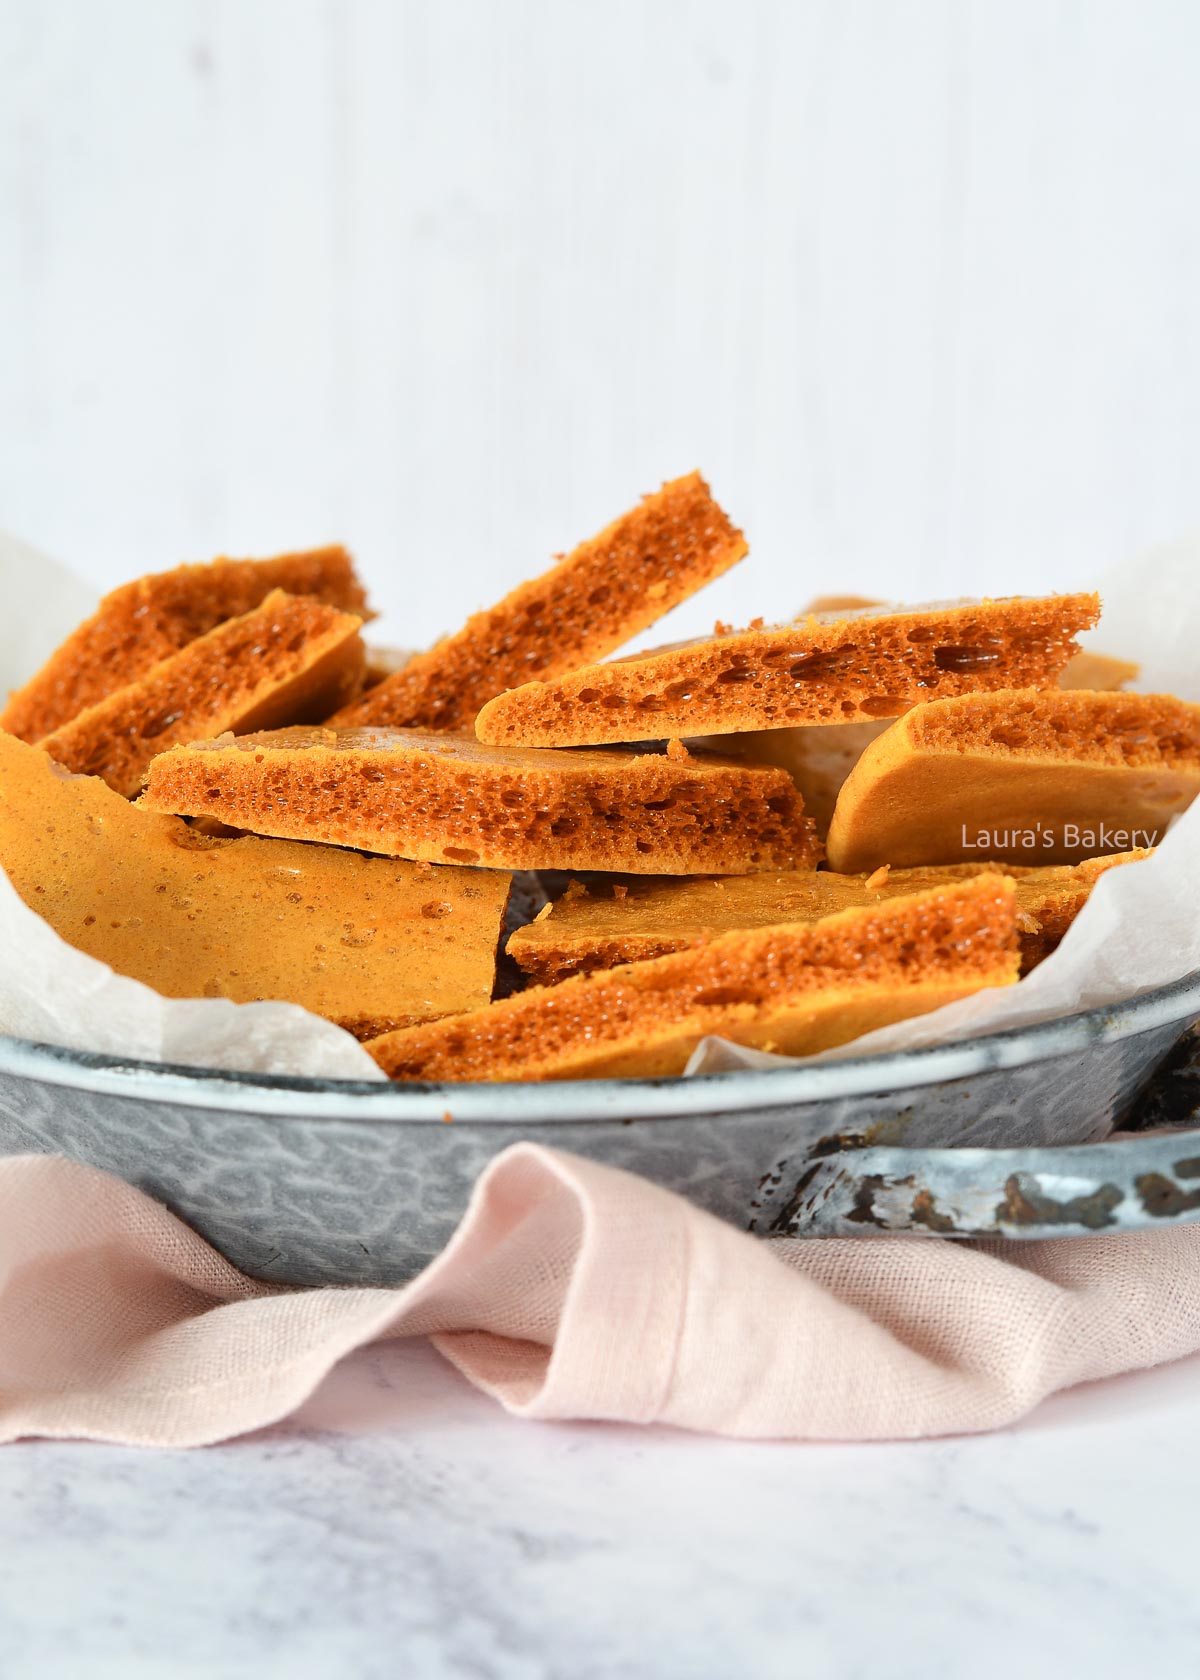
Honeycomb is a light, airy, and brittle caramel candy made by heating sugar and honey (or syrup) and then adding baking soda.

The baking soda reacts with the hot caramel, creating tiny air bubbles that give honeycomb its signature sponge-like structure. Once cooled, it becomes crisp and crunchy with a deep caramel flavor.

Honeycomb is delicious on its own, but it’s also often dipped in chocolate or broken into pieces and added to desserts like ice cream, cakes, and brownies.

In some countries it’s known by other names -such as Hokey Pokey in New Zealand- and it’s loved for its dramatic looks and texture.

Recipe Ingredients

While honeycomb looks very complicated it is actually really easy and you need only the following three ingredients:

  • sugar – you will need granulated white sugar for making this
  • honey – golden syrup will also work
  • baking soda – since the baking soda is the acting agent in this recipe you cannot skip it or the sugar mixture will not do anything

How To Make Honeycomb

Start by setting up the baking sheet with parchment paper, so that is ready to go. Take a sauce pan with a heavy bottom that can handle the heat. I prefer to use a pan that is not dark on the inside. You want to be able to see the color of the caramel change!

Add the sugar and the honey together and heat it gently while stirring to combine. As soon as it starts to boil stop stirring. Don’t move away from the stove as things can go quickly at this point. Let it boil until the caramel turns an amber color.

Now add the baking soda and stir quickly. It will start to bubble immediately. Pour the hot mixture onto the prepared baking sheet and let it cool down undisturbed.

Once it is cooled completely to room temperature you can break it into pieces with a sharp knife or your hands.

Storing Honeycomb

You can store the honeycomb pieces in an airtight container for 3 to 4 days.

Can you freeze honeycomb?

No that will not work as honeycomb is very sensitive to moisture.

In the freezer, condensation forms as it freezes and especially when it thaws, which causes the honeycomb to become sticky, chewy, or even collapse. You’ll lose that light, crisp, crunchy texture that makes honeycomb so good.

Honeycomb recipe-1

FAQ Honeycomb Recipe

Why did my honeycomb turn sticky?

Honeycomb absorbs moisture very easily. If it’s humid or not stored in an airtight container, it can become sticky or chewy. Always let it cool completely and store it in a dry place.

Can I make honeycomb without a candy thermometer?

Yes. A thermometer is helpful, but not required. Watch the color of the caramel, once it turns a deep amber color, it’s ready for the baking soda.

Why do you add baking soda to honeycomb?

The baking soda reacts with the hot caramel and creates bubbles. This reaction gives honeycomb its light, airy, sponge-like texture.

Can I use golden syrup or corn syrup instead of honey?

Yes, you can substitute honey with golden syrup or light corn syrup. The flavor will be slightly different, but the texture will still work well.

Is honeycomb the same as sponge toffee or Hokey Pokey?

Yes. Honeycomb is also known as sponge toffee or cinder toffee, and in New Zealand it’s called Hokey Pokey. The recipe and texture are essentially the same.


Honeycomb recipe

Print Recipe

No votes yet

Honeycomb

Honeycomb is a light, airy, brittle caramel candy. The best honeycomb is easy to make at home with just three ingredients.
Preparation15 minutes
Total15 minutes
Servings: 1 portion

Ingredients

  • 200 grams granulated sugar
  • 50 grams honey
  • 10 grams baking soda

Instructions

  • Line a baking sheet with parchment paper and set aside.
  • Add the sugar and honey to a heavy-bottomed saucepan. Heat gently and stir until combined. Once the mixture starts to boil, stop stirring. Stay close and wait until the caramel turns an amber color.
  • Add the baking soda and stir quickly. Pour the hot mixture onto the prepared baking sheet and let it sit undisturbed.
  • Once the honeycomb has cooled completely, cut it into pieces with a sharp knife or break it into chunks.

Notes

  • Caution: Do not touch the caramel or honeycomb while hot, you don’t want to burn your fingers. Let it cool completely first.
  • You can also use a candy thermometer; aim for a temperature of about 300°F (150°C).
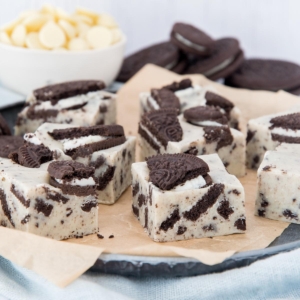
White chocolate oreo fudge-2

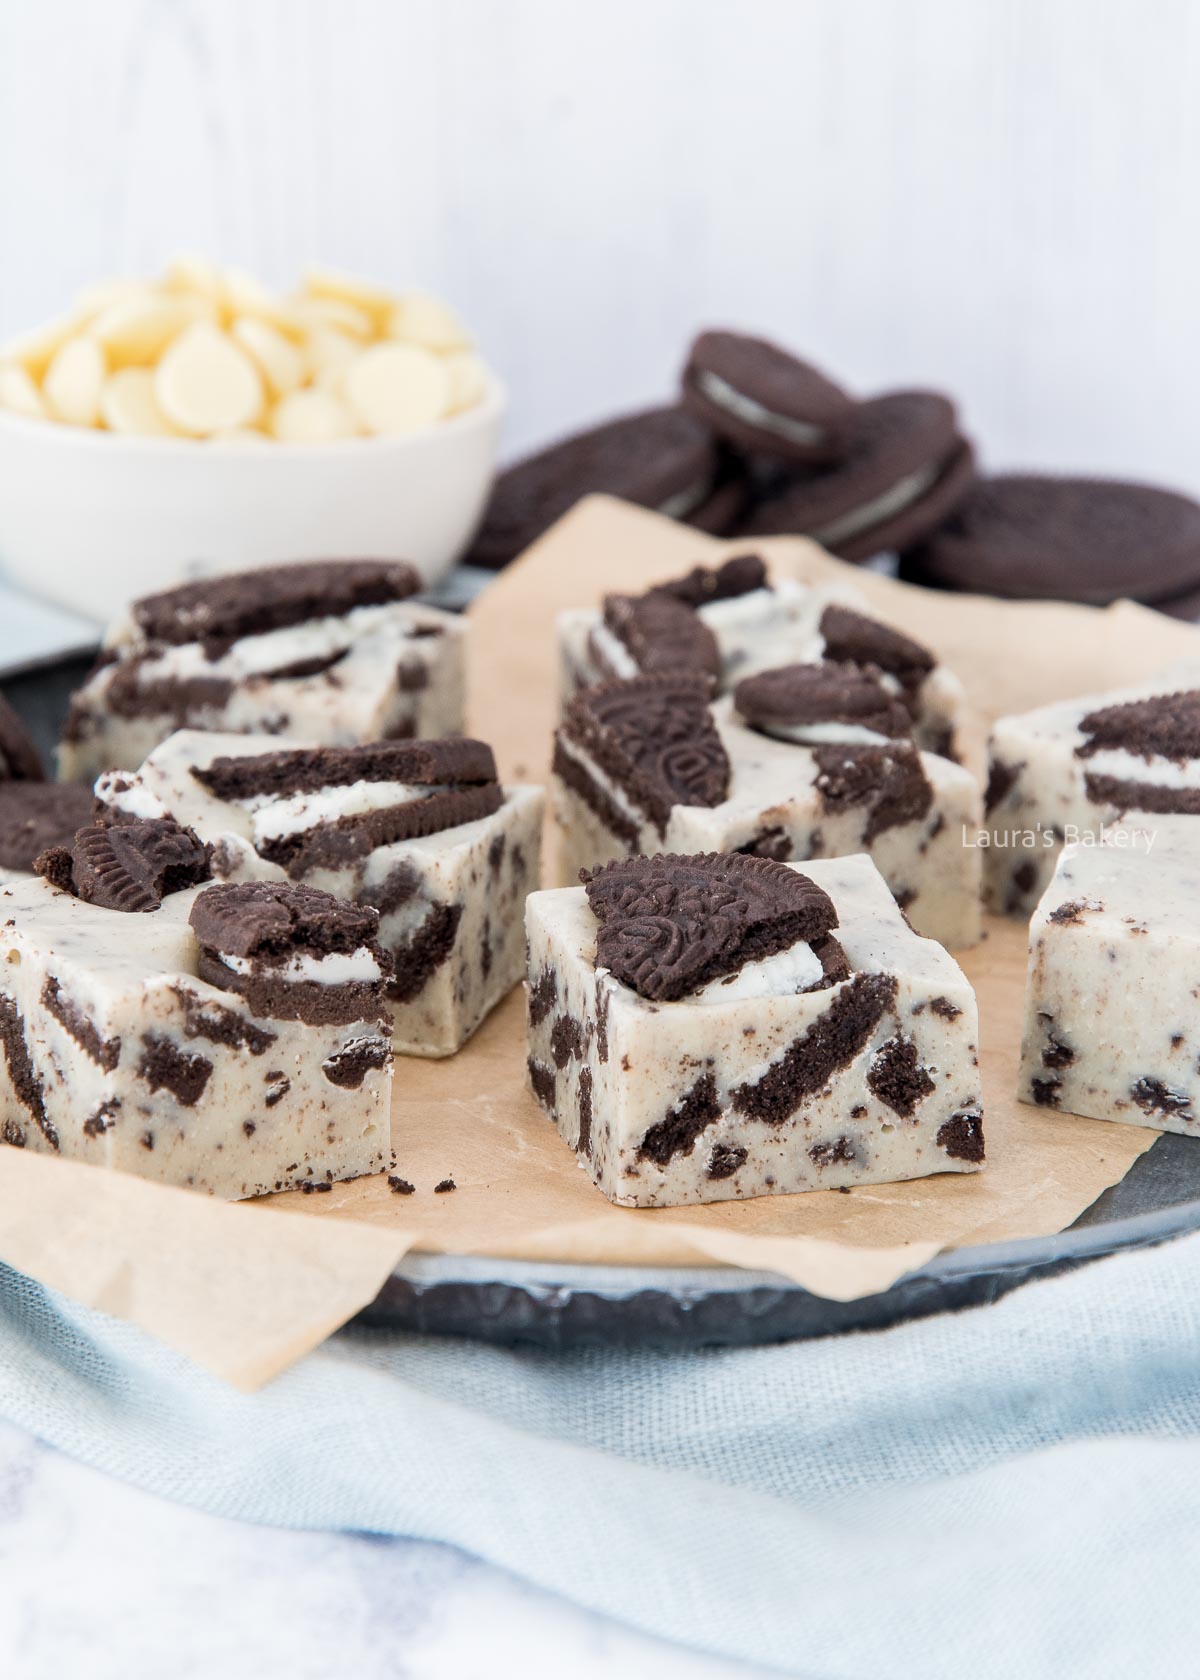
Fudge is one of those recipes that seem complicated but are so easy to make. This white chocolate Oreo fudge is one of my absolute favorites. If you’re an Oreo lover make sure to try these!

Why You'll Love This Recipe

This white chocolate Oreo fudge is incredibly easy to make. No baking required and you need only a handful of basic ingredients.

Ultra creamy thanks to the condensed milk and the white chocolate. I love an easy fudge recipe such as this bounty fudge too!

Recipe Ingredients

For this easy Oreo fudge recipe you need just a few ingredients.

  • sweetened condensed milk – this is an essential element for making this Oreo fudge. You can replace it with coconut condensed milk if you want but I have not tried this myself.
  • white chocolate – you need quite a bit of white chocolate chips to make this. Obviously you could use other chocolate if you want
  • Oreo – while Oreos are the logical choice, you can also use other cookies if you want to make another flavor of cookie fudge.

How To Make White Chocolate Oreo Fudge

Making this easy dessert is pretty straightforward. I used a 6 x 9 inch baking dish for making the homemade fudge, but you can use another form as well. Line the dish with baking paper to make sure you can remove the fudge once cooled.

Take a small sauce pan and add the white chocolate and the condensed milk. Melt it slowly on low heat and keep stirring constantly until the mixture is smooth and combined.

Stir the vanilla extract and the chopped Oreo cookies in. Mix it quickly and pour into the prepared pan. Smooth the top of the fudge and decorate with additional Oreo cookies.

Let it set at room temperature for about an hour. Cover with plastic wrap and place in the fridge for at least three hours. It’s better to chill it overnight though.

White chocolate oreo fudge-1

Recipes with Oreo Cookies

I’m a big fan of baking with Oreo cookies. They’re not only delicious on their own, but also perfect for baking. From quick no-bake treats to festive desserts, you can do it all with Oreos.

No wonder I’ve already made so many recipes with them. A few favorites:

Storing White Chocolate Oreo Cookie Fudge

Stored in an airtight container you can keep this tasty fudge for at least a week.

Can you freeze white chocolate Oreo fudge?

You can freeze fudge as well. Make sure to let it cool and set completely before slicing into squares. Wrap it properly and freeze for up to three months.

If you take it out of the freezer let it thaw in the fridge and let it come to room temperature before serving. The cookies might become a bit softer.

FAQ White Chocolate Oreo Fudge

Can I use milk or dark chocolate instead of white chocolate?

Yes, you can substitute white chocolate with milk or dark chocolate. Keep in mind that the flavor and sweetness will change slightly.

Do I need to bake this fudge?

No, this is a no-bake recipe. The fudge sets in the refrigerator, making it quick and easy to prepare.

Can I make this fudge ahead of time?

Absolutely. Oreo fudge is ideal for making ahead, especially for holidays or parties. It can be made several days in advance or frozen.

Why is my fudge too soft?

This usually happens if the fudge hasn’t chilled long enough or if the chocolate-to-condensed-milk ratio is off. Let it set longer in the fridge or measure ingredients carefully next time.

Can I add other mix-ins?

Yes! Chopped nuts, mini marshmallows, or different cookie flavors work great. Just don’t overload the fudge so it still sets properly.


White chocolate oreo fudge

Print Recipe

No votes yet

White Chocolate Oreo Fudge

Creamy white chocolate fudge loaded with Oreo cookies. Pure indulgence!
Preparation10 minutes
Chilling time4 hours
Total4 hours 10 minutes
Servings: 40 pieces

Ingredients

  • 1 can sweetened condensed milk 14 oz / 397 g
  • 400 grams white chocolate
  • 1 tsp vanilla extract
  • 150 grams Oreo cookies chopped
  • Extra Oreos for decorating

Instructions

  • Line a baking dish (about 6×9 inches / 16×24 cm) with parchment paper.
  • Place the white chocolate and sweetened condensed milk in a small saucepan. Melt over low heat, stirring constantly, until smooth and fully combined.
  • Once melted, stir in the vanilla extract and chopped Oreos. Mix quickly, then pour the mixture into the prepared pan. Spread evenly and decorate with extra Oreos.
  • Let the Oreo fudge cool and set. Leave it at room temperature for about 1 hour, then cover and transfer to the refrigerator. After about 3 hours it will be firm enough to cut into squares, but I prefer letting it chill overnight.
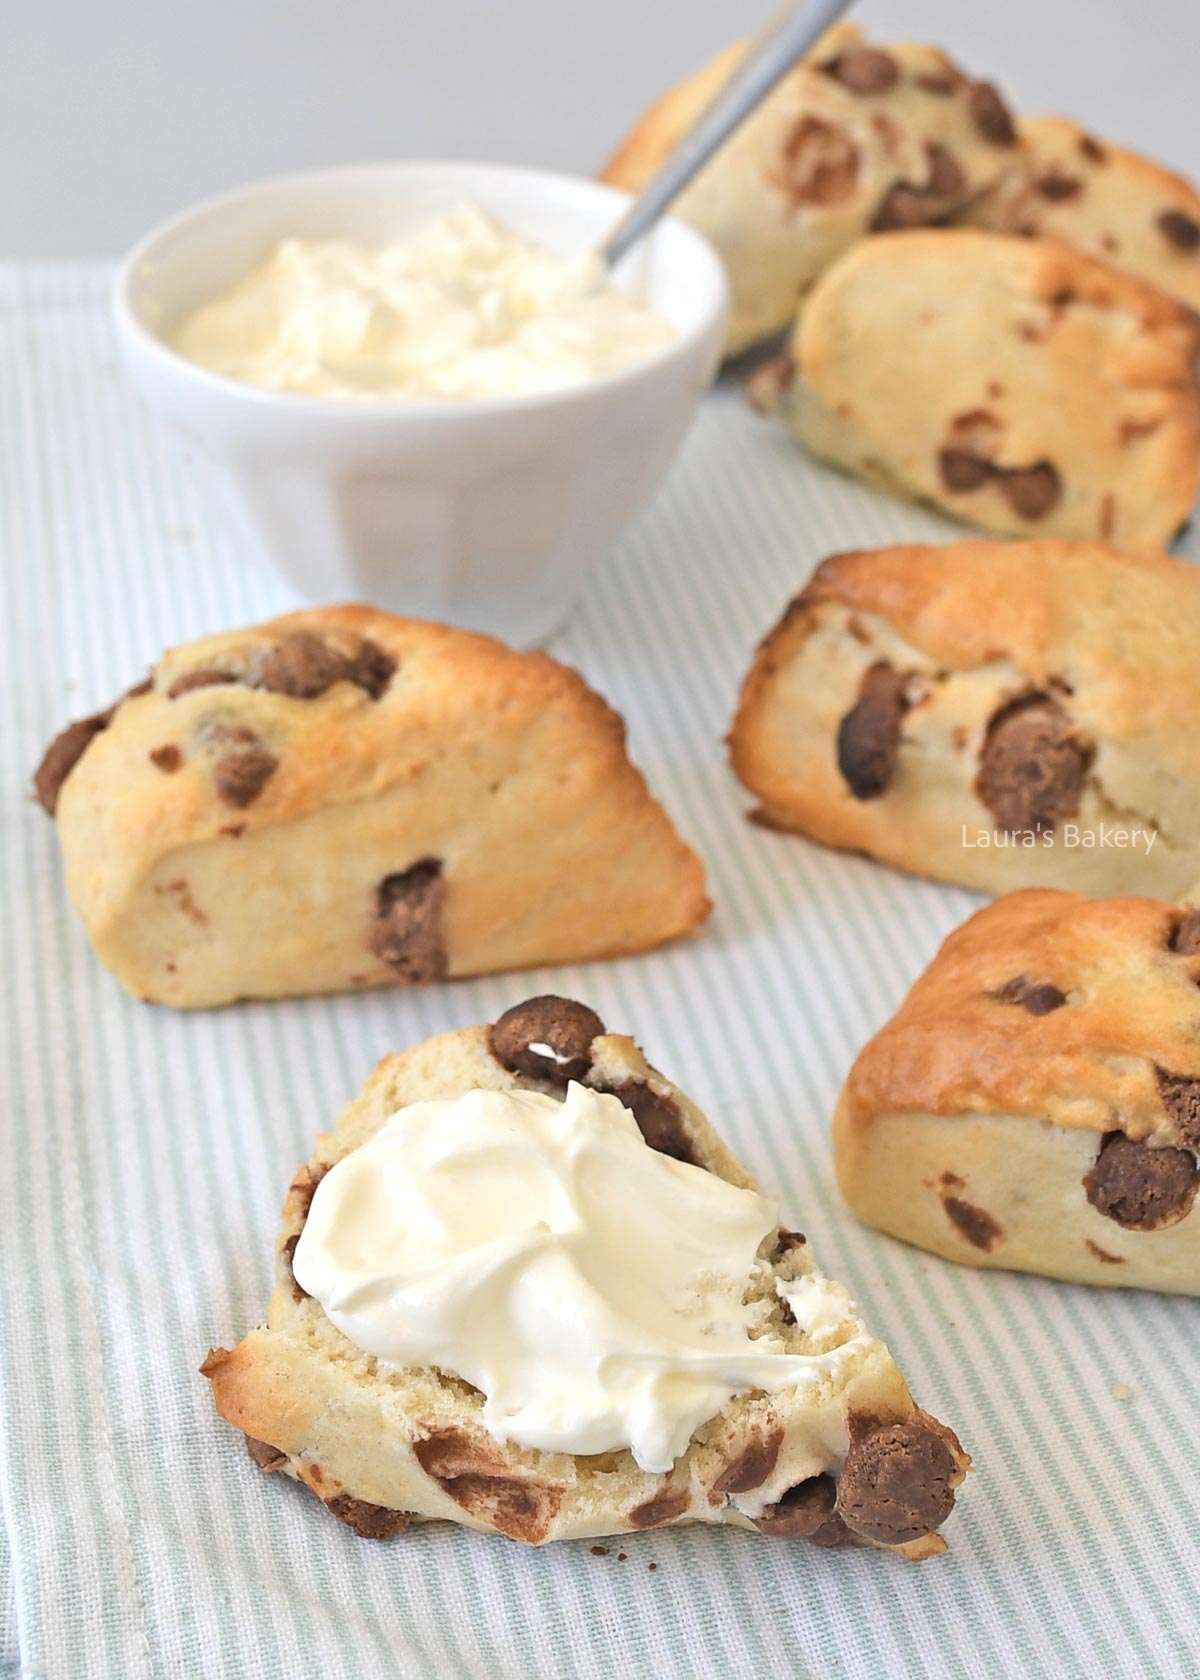
Chocolate chip scones-1

If you love scones, this delicious and easy recipe for chocolate chip scones is a must try! They’re going to be a hit at the Easter breakfast table!

Why You'll Love This Recipe

Easy to make, beautifully fluffy, and loaded with chocolate chips.

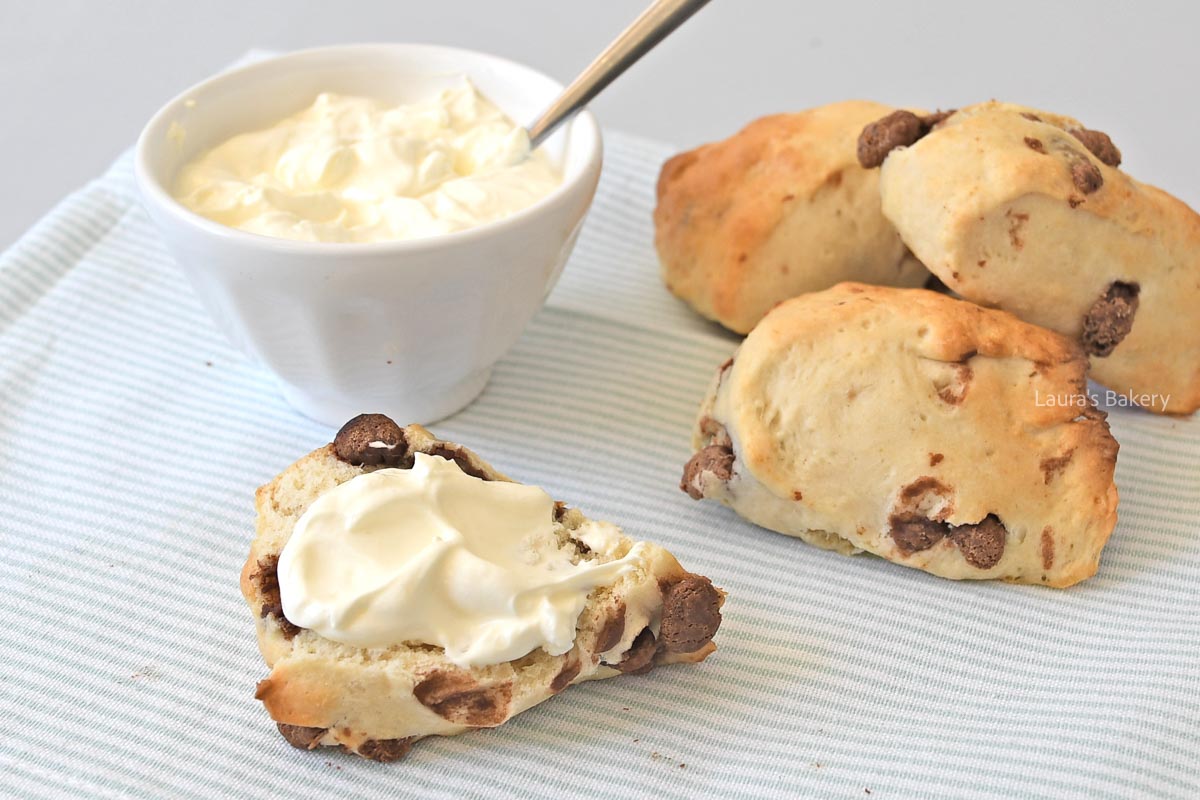
These scones are a guaranteed crowd-pleaser for breakfast or brunch. Spread them with either clotted cream, heavy cream or a delicious chocolate spread!

Recipe Ingredients

For making this delicious scone recipe you need just a couple of simple ingredients.

  • butter – always use unsalted butter
  • self-rising flour
  • sugar – make sure to use the superfine kind of sugar
  • chocolate chips – you can use any kind you like. I went with dark chocolate, but white or milk chocolate would work too
  • milk – use whole milk for best results and you need just a little bit for brushing the scones

Other than those ingredients it is easy to use a pastry brush for brushing on the milk and if you want perfectly sized scones you might want to use a round pastry cutter.

That said; it works fine to form the dough in a round disc and slice it in 8 scones. Like a pizza.

Chocolate chip scones-2

How To Make Chocolate Chip Scones

The first step in making these scones with chocolate chips is to add the flour and the butter together. Using the tips of your fingers rub it into a crumbly flour mixture. Add the other dry ingredients (sugar, salt, chocolate chips) and stir it in.

The last step is to add the milk and briefly knead this into a soft dough. Key for making homemade scones is to make sure not to overwork the dough. If it just comes together it’s done.

Now turn the dough into a round disc shape roughly 3 cm or 1.25 inch thick and cut out 8 wedges.

Place the scones on a baking tray and brush with a bit of milk. Bake in the oven until golden brown in about 12 to 15 minutes.

Want More Scones Recipes?

I have shared already quite a few delicious and special scones recipes before. Check them out:

Storing Chocolate Chip Scones

You can store the chocolate chip scones at room temperature for about 2-3 days. I love them best when they come fresh out of the oven but reheating is easy to do.

Can you freeze chocolate chip scones?

Yes you can freeze these scones properly wrapped for up to three months.

FAQ Chocolate Chip Scones

Can I make these scones ahead of time?

Yes. You can bake them a day ahead and store them at room temperature in an airtight container. Warm them briefly before serving for the best texture.

What kind of chocolate works best?

Chocolate chips are easiest, but chopped dark or semi-sweet chocolate works just as well.

Why didn’t my scones rise well?

This usually happens if the dough is overworked or the self-rising flour isn’t fresh. Handle the dough gently and make sure your leavening is still active.


Chocolate chip scones

Print Recipe

No votes yet

Chocolate Chip Scones

A delicious sweet treat for Easter breakfast: chocolate chip scones. Lovely with clotted cream, but absolutely delicious with chocolate spread as well.
Preparation10 minutes
Cooking15 minutes
Total25 minutes
Servings: 8 scones

Ingredients

  • 40 grams unsalted butter
  • 225 grams self-rising flour
  • 30 grams superfine sugar
  • Pinch of salt
  • 80 grams chocolate chips
  • 110 ml milk
  • Extra milk for brushing

Instructions

  • Add the self-rising flour and the cubes of butter to a bowl. Rub the butter into the flour with your fingertips until the mixture resembles coarse crumbs. Stir in the sugar, salt, and chocolate chips.
  • Add the milk last and stir until you have a shaggy mixture. Knead briefly by hand until it forms a smooth, soft dough.
  • Roll or press the dough into a round disc about 1¼ inches (3 cm) thick. Cut the dough into 8 wedges using a knife or bench scraper. Place the scones on a baking sheet lined with parchment paper and brush the tops with a little milk.
  • Bake for 12-15 minutes at 425°F (220°C) using a conventional oven.
  • Serve the scones with clotted cream and an extra topping like jam, which pairs beautifully with the chocolate chips. Or simply spread them with chocolate spread, also delicious!
Beef carpaccio crostini-2

Crazy about carpaccio as a dish, but do you prefer bite-size appetizers? Then these carpaccio crostini are exactly what you’re looking for. A crispy little toast topped with your favorite classic appetizer.

Why You'll Love This Recipe

These beef carpaccio crostinis are quick to make, look impressive, and are packed with classic Italian flavors.

The crispy crostini pair perfectly with tender carpaccio, creamy pesto, and nutty Parmesan, making them an ideal appetizer for parties or casual get-togethers.

Simple ingredients, minimal prep, and guaranteed to disappear fast.

Beef carpaccio crostini-1

Recipe Ingredients

You need just a few simple ingredients to make these beef carpaccio crostini but there are a couple of variations you can use.

  • crostini – I like making them myself using a baguette, check my recipe for making crostini
  • carpaccio – you can make your own carpaccio using raw beef tenderloin but I prefer to buy the piece of beef already sliced. That makes this a much easier and quicker appetizer
  • pesto –  I use a regular green basil pesto. You can also use another pesto if you prefer but I find basil pesto to give the best flavor
  • pine nuts – briefly roasted pine nuts give it a great crunch
  • parmesan shavings – a classic when it comes to carpaccio and a must for this recipe as well. You can also use pecorino or Grana Padano if you cannot find Parmesan
  • arugula – if you don’t like arugula you can also use lamb’s lettuce or use fresh basil or other fresh herbs as a substitute

How to Make Beef Carpaccio Crostini

The base for this delicious party snack is my crostini recipe. You can buy ready-made crostini at some supermarkets or specialty food stores, but they’re very easy to make yourself with just a bit of time and effort.

These crostini are topped with the main ingredients of a traditional Italian beef carpaccio: thin slices of beef, pesto, pine nuts, Parmesan cheese, and arugula. That’s all there is to it and they’re guaranteed to be a hit!

Beef carpaccio crostini-3

What Are Crostini?

Crostini are Italian toasted bread slices made from thinly sliced baguette or French bread. Brushed with a little olive oil, they turn into wonderfully crispy toasts in the oven.

Topped with all kinds of savory ingredients, they’re served as a small bite for lunch or drinks. You might be reminded of bruschetta, which is made with thicker slices of rustic bread. They also make a delicious appetizer.

BAKING TIP: Brush the sliced bread with a bit of extra virgin olive oil so it bakes up nice and crispy in the oven. I like using a silicone pastry brush, it’s easy to clean and dishwasher-safe.

How to Store Carpaccio Crostini

Once the crostini are topped, they should be served immediately. If they sit too long, the crostini will soften and won’t taste nearly as good. So don’t top too many at once.
You’ll want to be sure they’re all eaten right away. And once your guests have tasted these carpaccio crostini, I can’t imagine there will be any left over. 😉

How Long Do Carpaccio Crostini Keep?

You can prep and store the individual components ahead of time. Store the baked crostini for up to one week in an airtight container, kept at room temperature.

Homemade pesto will keep for about a week in the refrigerator. For the other toppings, follow the storage instructions on the packaging.

Freezing these carpaccio crostini is not recommended.
More Italian Style dishes

I love the flavors of Italy and these recipes are just a small example of what you can do with it.
FAQ Beef Carpaccio Crostini

Can I add basil?

Absolutely, but keep in mind that basil flavor is already present in the pesto. You can supplement or replace the arugula with finely chopped fresh basil if you like.

Can I make a vegetarian version?

That should work just fine. I’ve made beet carpaccio before. It tastes very different, but it’s delicious. You can use a beet carpaccio recipe as the base topping for the crostini.

Can I prepare these ahead of time?

You can prep all components ahead of time and store them separately (see the detailed storage tips above). Only assemble the crostini with the carpaccio toppings right before serving.

Can I substitute the pesto?

Truffle tapenade or truffle mayonnaise are delicious alternatives to pesto in this recipe.


Beef carpaccio crostini

Print Recipe

No votes yet

Beef Carpaccio Crostini Recipe

The perfect combination of the classic carpaccio appetizer and crispy Italian crostini.
Preparation5 minutes
Cooking5 minutes
Total10 minutes
Servings: 8 slices

Ingredients

Crostini

  • 1 small baguette
  • Olive oil
  • Coarse sea salt

Carpaccio Topping

  • 100 grams pesto
  • 120 grams carpaccio about 8 slices
  • 50 grams pine nuts toasted
  • 50 grams shaved Parmesan cheese
  • 1 handful arugula

Instructions

  • Slice the baguette into thin slices, no thicker than ½ inch (1 cm). Line a baking sheet with parchment paper and place the slices on it.
  • Brush both sides of the bread slices with olive oil and sprinkle with coarse sea salt. Bake for 10 minutes at 350°F /180°C (conventional oven) until golden brown.
  • Once the crostini have cooled, top them by spreading a little pesto on each slice. Add some carpaccio and finish with Parmesan cheese, pine nuts, and a bit of arugula.
  • Your carpaccio crostini are ready to serve, enjoy!
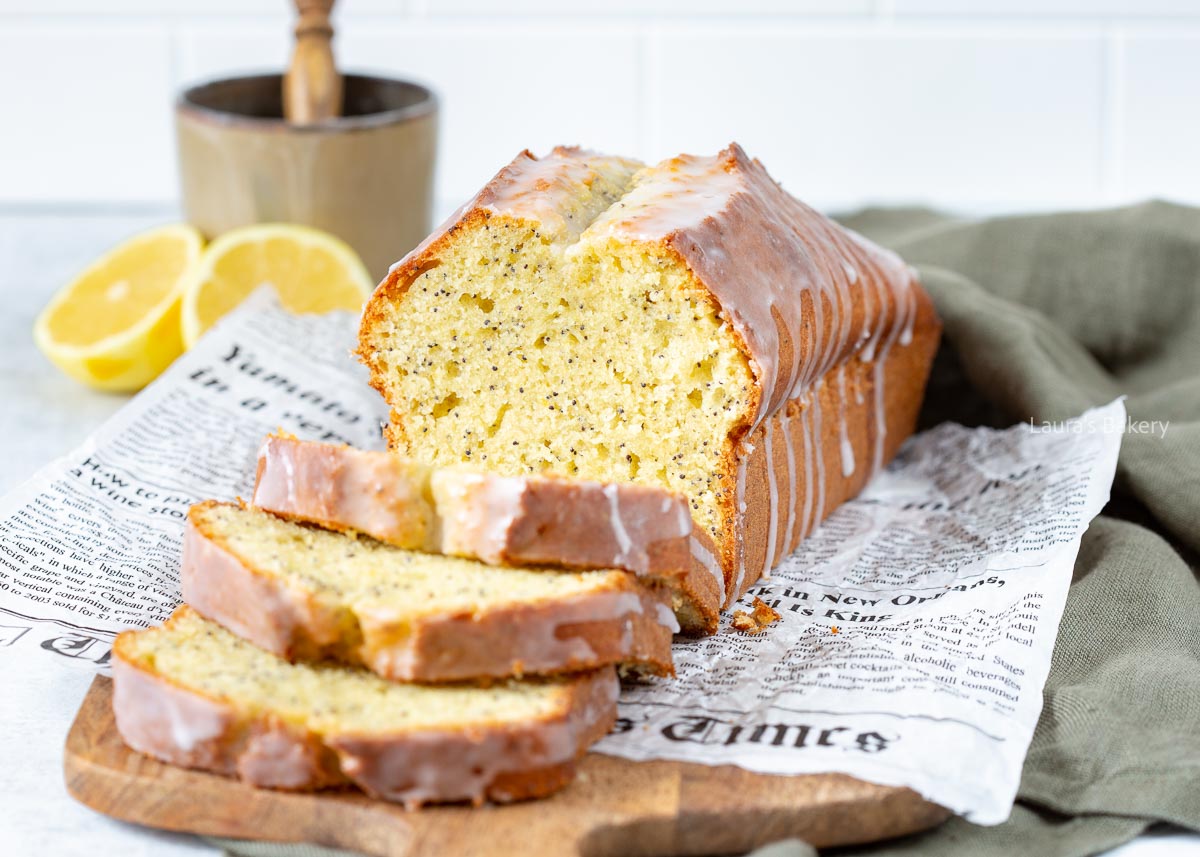
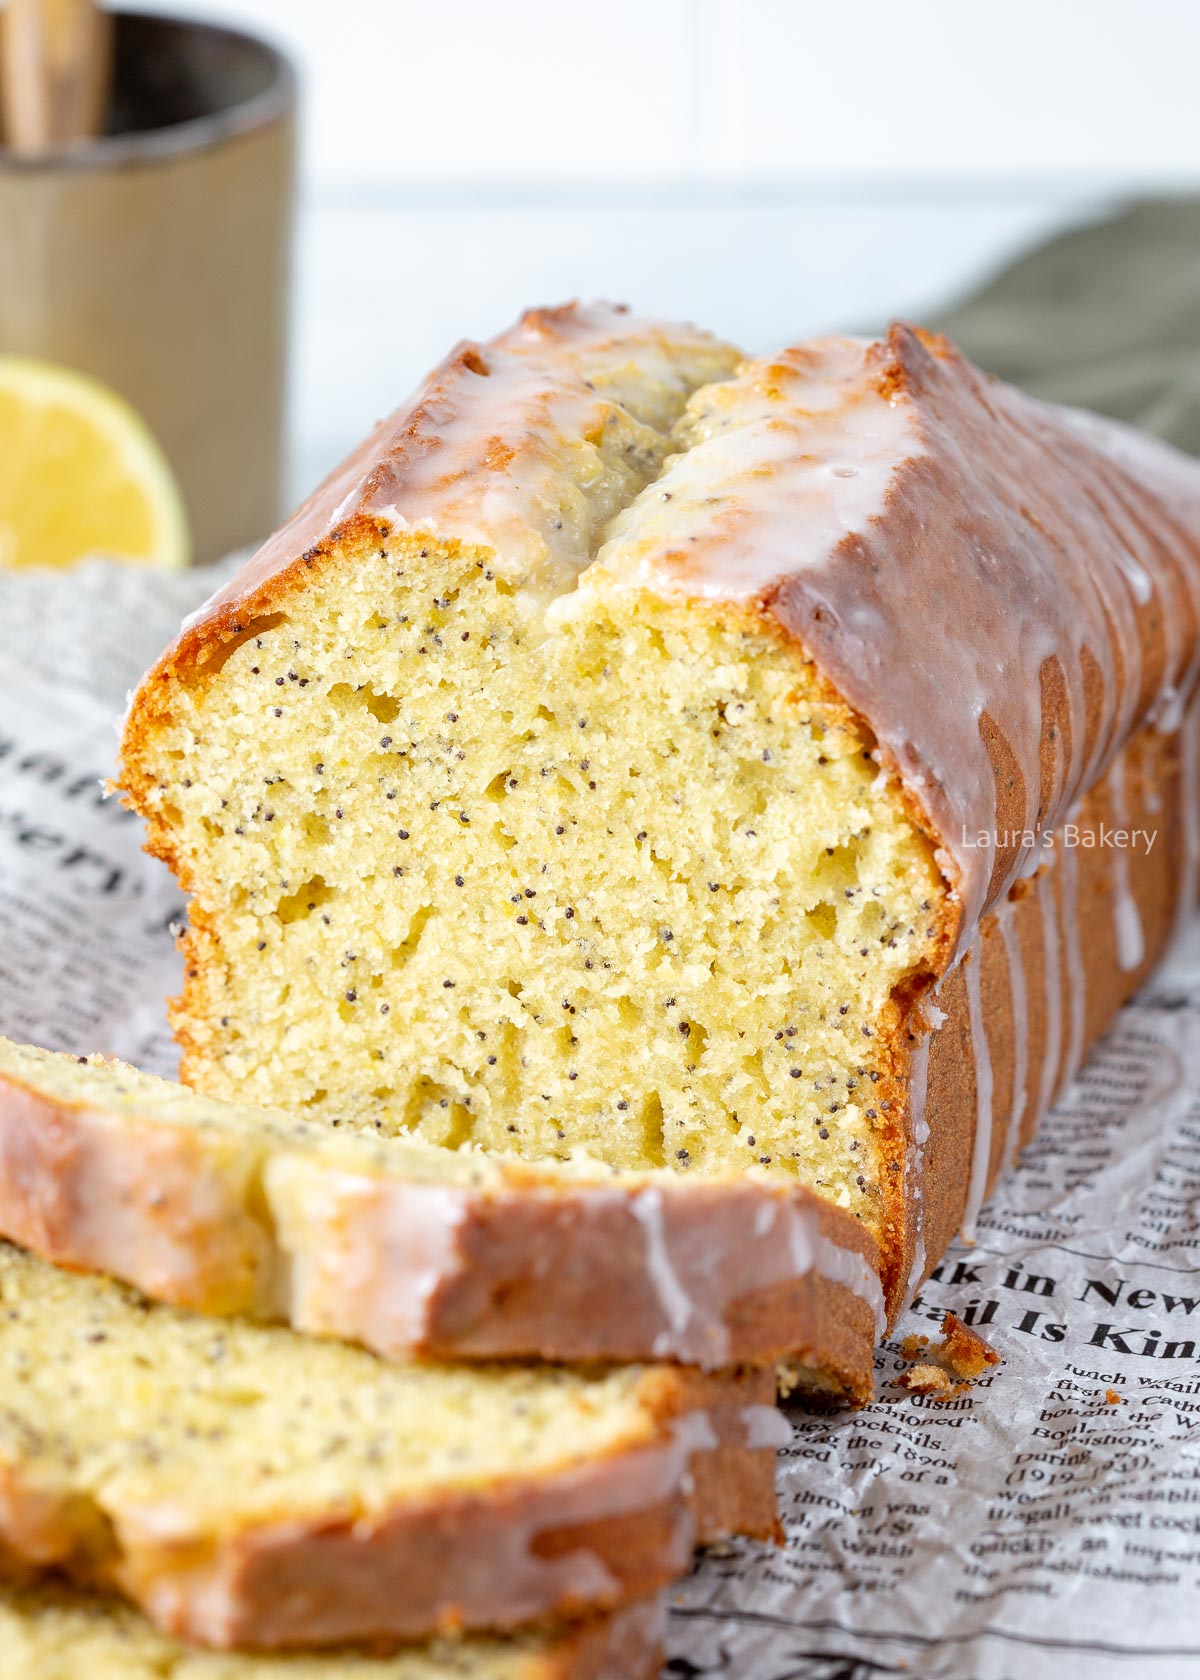
Lemon Poppy Seed Pound Cake-1

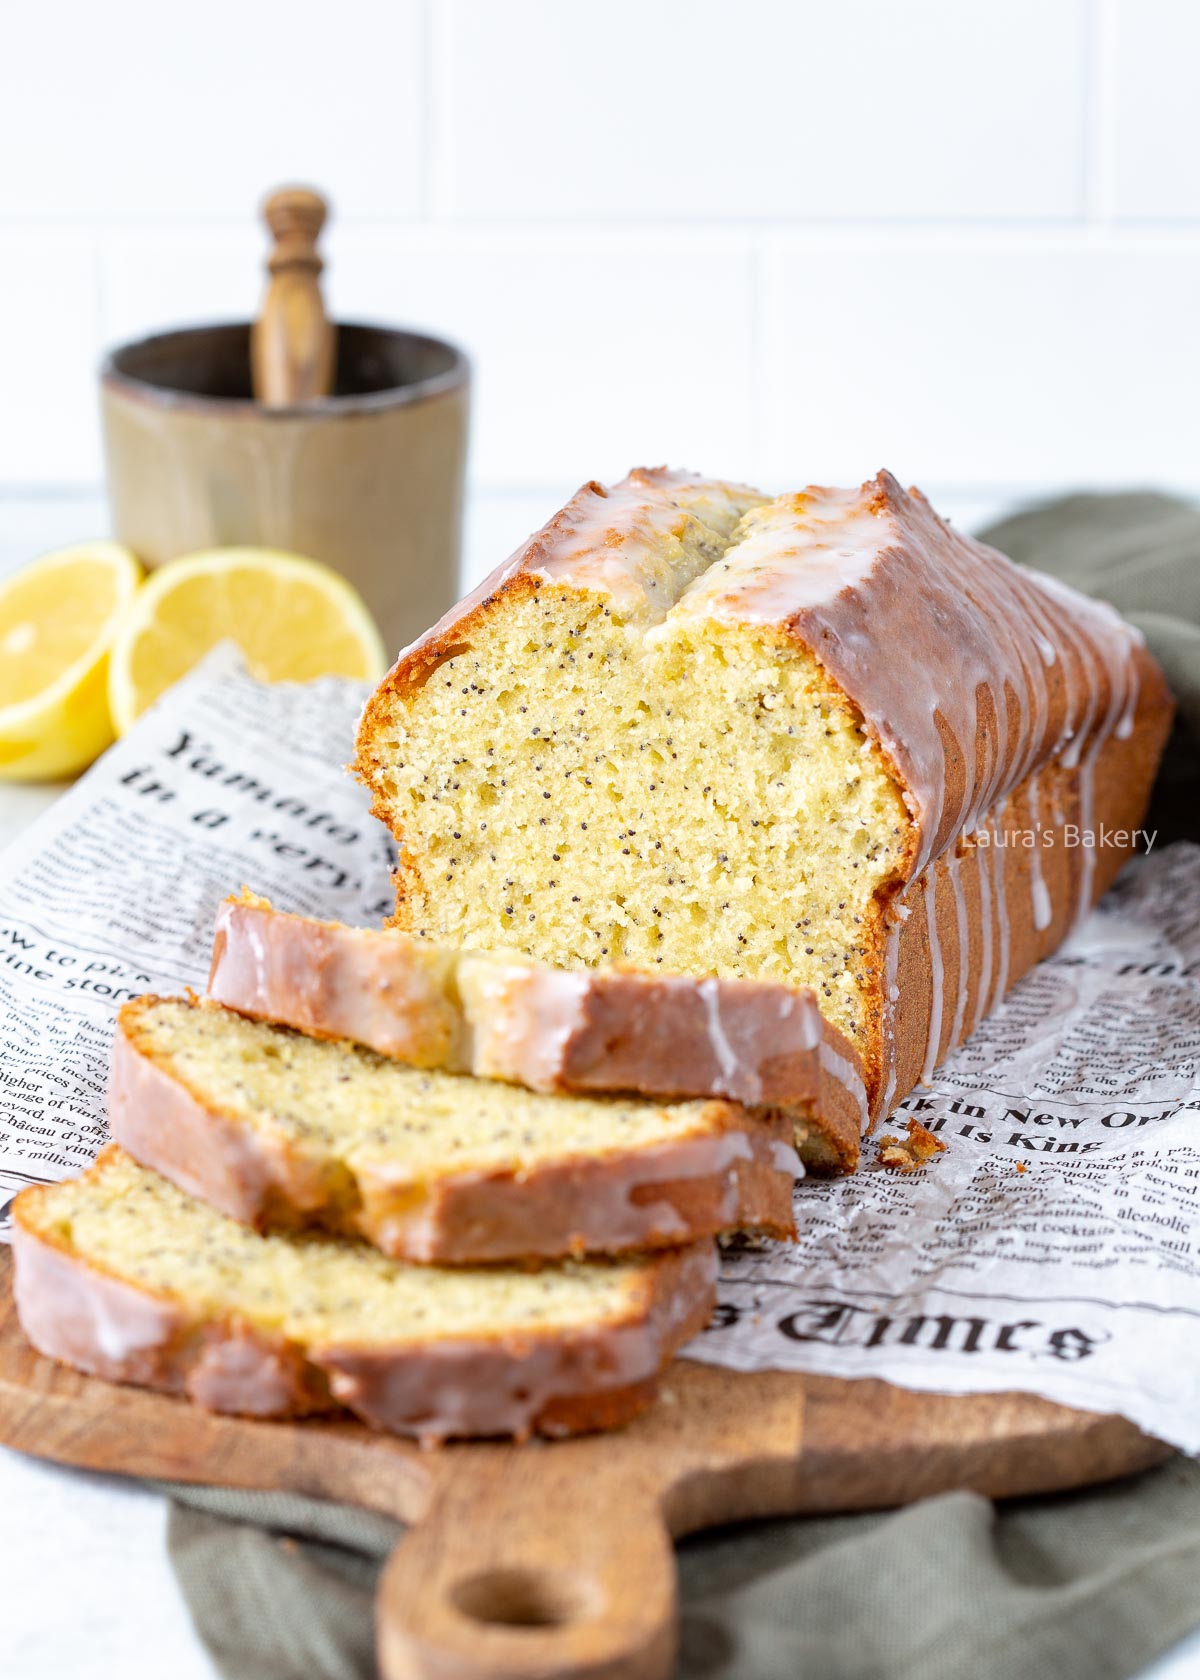
The combination of lemon and poppy seed is not as common in the Netherlands as it is in the US, but it is becoming more popular here as well. And with good reason as it is one of my favorite flavor combinations! This pound cake also features a delicious lemon glaze to finish it off perfectly.

Why You'll Love This Recipe

This lemon poppy seed pound cake is soft and moist thanks to yogurt and oil. It has a bright, lemon flavor and a light crunch from the poppy seeds. The lemon glaze makes it extra special!

Lemon Poppy Seed Pound Cake-3

Recipe Ingredients

Making this lemon cake is simple and you don’t need fancy ingredients for making it. I’ll list a couple below and make sure to double check the recipe card for full details and description.

  • all purpose flour 
  • sugar – I used white caster sugar but a regular fine white sugar will work too.
  • lemon – obviously you can’t make a lemon poppy seed cake without lemon. I use the zest of 2 (organic) lemons. If not using organic make sure to scrub the skin of the lemon so it’s clean. Lime will also work but will give a different flavor. You will use the juice of the lemon for making the glaze
  • poppy seeds – I use about 2,5 tsp. You don’t need a huge amount of poppy seeds.
  • yogurt – I use whole yogurt and together with the sunflower oil that creates a delicious moist cake.
  • confectioners’ sugar – this is used for making the lemon glaze on top of the cake
  • oil – I’m using sunflower oil as it is pretty neutral in taste. Olive oil tends to have a stronger flavor and is less suitable to add to a lemon pound cake

How to Make a Lemon Poppy Seed Pound Cake

For making this lemon poppy seed pound cake I wanted something lovely and moist and so I went with yogurt and oil. If you use butter in a cake it will firm up more, like in my basic vanilla cake recipe. The oil and yogurt stay soft, creating a delicious crumb.

First start by taking a large bowl and add flour, sugar, baking powder, salt, lemon zest and poppy seeds. Mix it all together with a spatula.

In a separate bowl you add yogurt, eggs, vanilla extract and sunflower oil. Whisk the wet ingredients and add them to the dry ingredients in the first bowl.

You don’t need a food processor or a mixer to mix the two together. Just gently stir with the spatula and once combined stop mixing.

Pour the batter into a loaf pan lined with parchment paper and bake for about 50-55 minutes or until a wooden skewer comes out clean.

Let the cake cool down completely before making the lemon glaze. Let the glaze set before slicing the cake.

Lemon Poppy Seed Pound Cake-2

Which Lemons Should You Use for This Cake?

Of course, you’ll need plenty of lemons for a lemon poppy seed cake. I recommend using organic lemons, since the lemon zest is an essential flavor component in this recipe.

The lemon glaze is another important flavor element, and for that you can use the juice from the same lemons you zested.

Any leftover lemon juice is great for mixing into a salad dressing or homemade lemonade.

BAKING TIP: I use a Microplane zester for grating lemon zest. It has a good grip and produces very fine zest.

Storing Lemon Poppy Seed Pound Cake

You can store the pound cake at room temperature for 4-5 days. Wrap it in aluminum foil or place the cake in an airtight container.

Can you freeze lemon poppy seed cake?

You sure can. It’s very simple: wrap the lemon poppy seed cake tightly in plastic wrap, then place it in an additional plastic bag. An airtight container works too!

This prevents air and moisture from getting to the cake. Stored this way, the cake will keep for up to 3 months in the freezer.

More Lemon Poppy Seed Recipes

Lemons and poppy seeds are simply best friends when it comes to sweet baking. There are so many ways to combine these two delicious ingredients: think cookies, muffins, pancakes, and more. I’ve listed some tasty variations for you:

FAQ Lemon Poppy Seed Pound Cake

How do you let a cake cool?

Let the lemon poppy seed cake cool in the baking pan for about 10-15 minutes, then transfer it to a wire rack and let it cool completely.

Can you bake this cake in an air fryer?

In theory, all oven-safe baking pans can also be used in an air fryer. I’ve even made a layered carrot cake in the air fryer before. As long as the pan fits in your air fryer, you can bake this lemon poppy seed pound cake there. If you’re using a different pan size, you can easily convert it using the conversion tool.

Where should you place a cake in the oven?

Generally, cakes are baked in the center of the oven unless the recipe states otherwise. Since loaf pans are taller than brownie pans, I like to place a cake slightly below the center of the oven.


Lemon poppy seed pound cake

Print Recipe

No votes yet

Lemon Poppy Seed Pound Cake

With a slice of lemon poppy seed cake, you can make just about anyone happy. A deliciously soft, moist slice of cake topped with a fresh lemon glaze.
Preparation15 minutes
Cooking55 minutes
Total1 hour 10 minutes
Servings: 12 slices

Equipment

  • 10-inch (25 cm) loaf pan

Ingredients

  • 200 grams all-purpose flour
  • 175 grams white caster sugar or fine sugar
  • 2 tsp baking powder
  • Pinch of salt
  • Zest of 2 lemons
  • 10 grams poppy seeds
  • 175 ml yogurt
  • 3 eggs
  • 1 tsp vanilla extract
  • 100 ml sunflower oil
  • 150 grams powdered sugar

Instructions

  • Take two bowls. In the first bowl, combine the flour, sugar, baking powder, salt, lemon zest, and poppy seeds. Mix together with a spatula.
  • In the second bowl, mix the yogurt, eggs, vanilla extract, and sunflower oil. Whisk these wet ingredients into the bowl with the flour mixture.
  • Use a spatula to gently mix until you have a smooth batter. Once the dry ingredients are incorporated, stop mixing.
  • Pour the batter into a loaf pan lined with parchment paper and bake at 345°F (175°C) for 50-55 minutes, until done.
  • Once the cake has cooled, make the glaze by mixing 3 tablespoons lemon juice with 150 grams (1¼ cups) powdered sugar. The glaze should be thick but pourable. Add more lemon juice or powdered sugar if needed.
  • Pour the glaze over the cake and let it set before slicing.
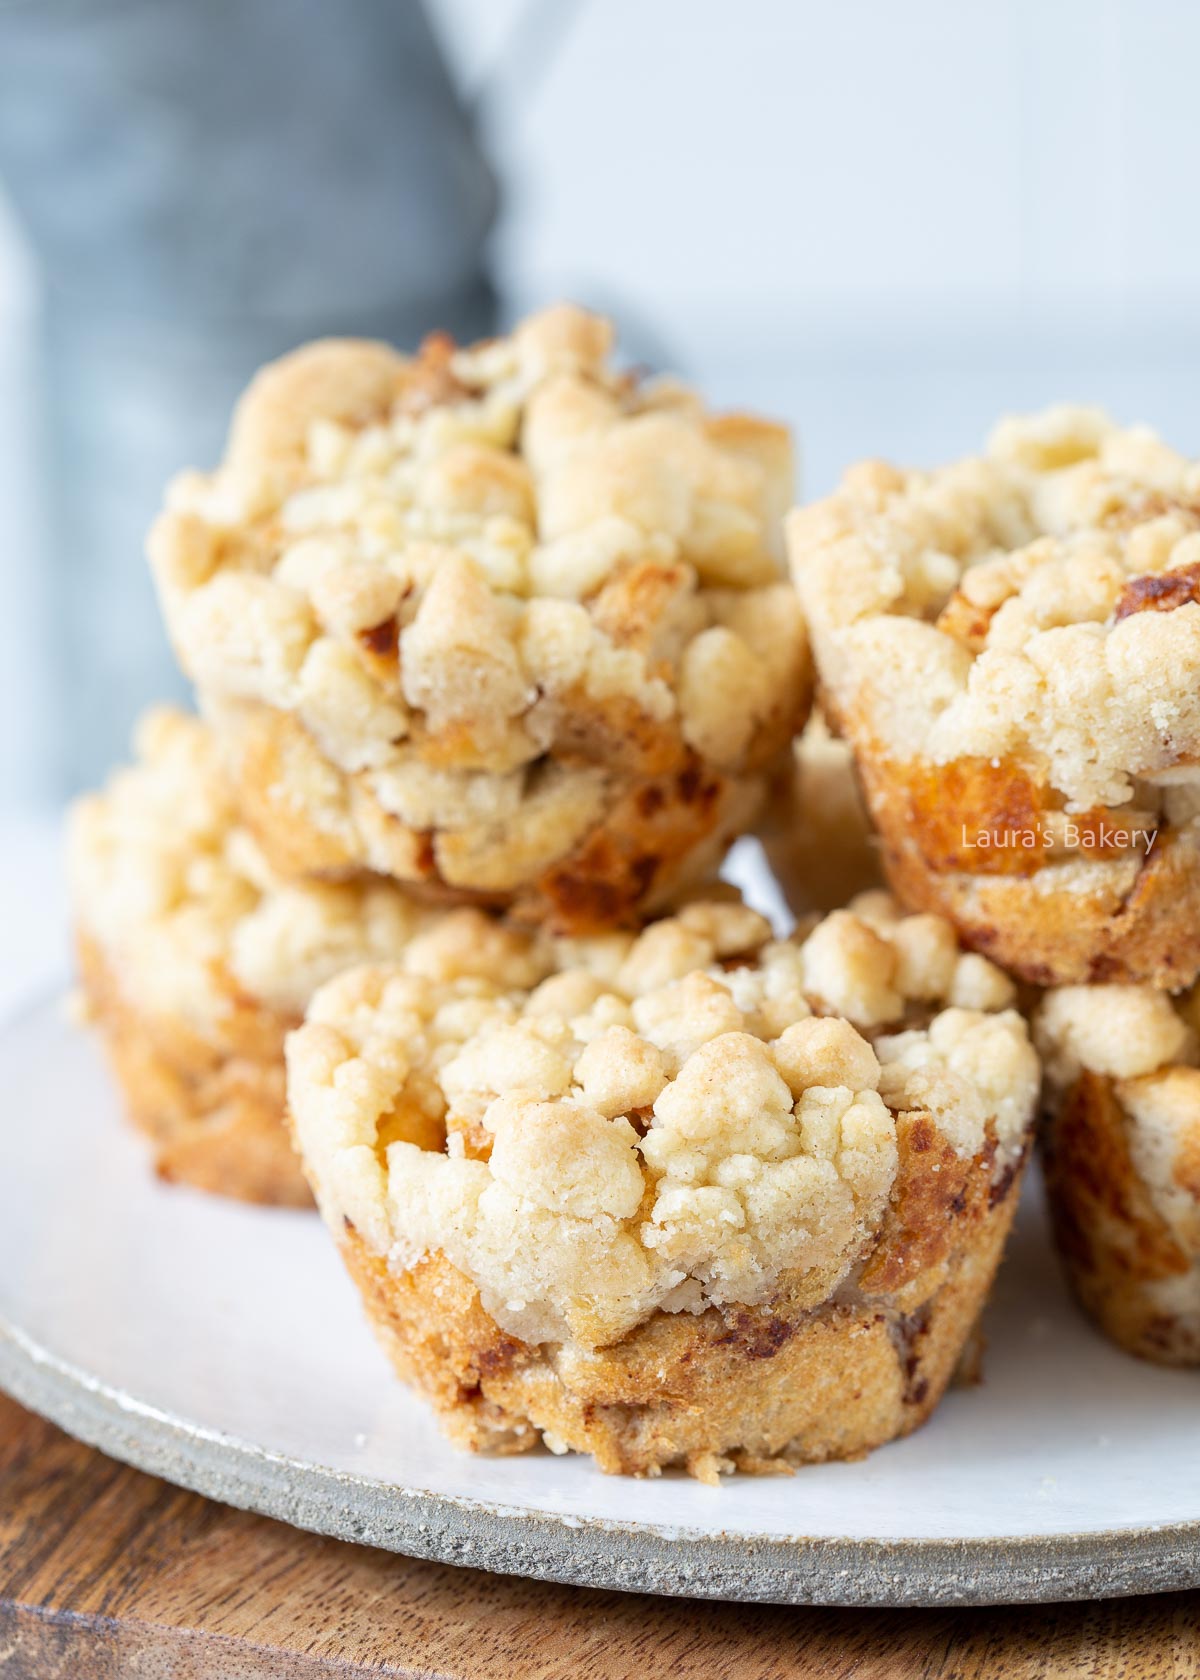
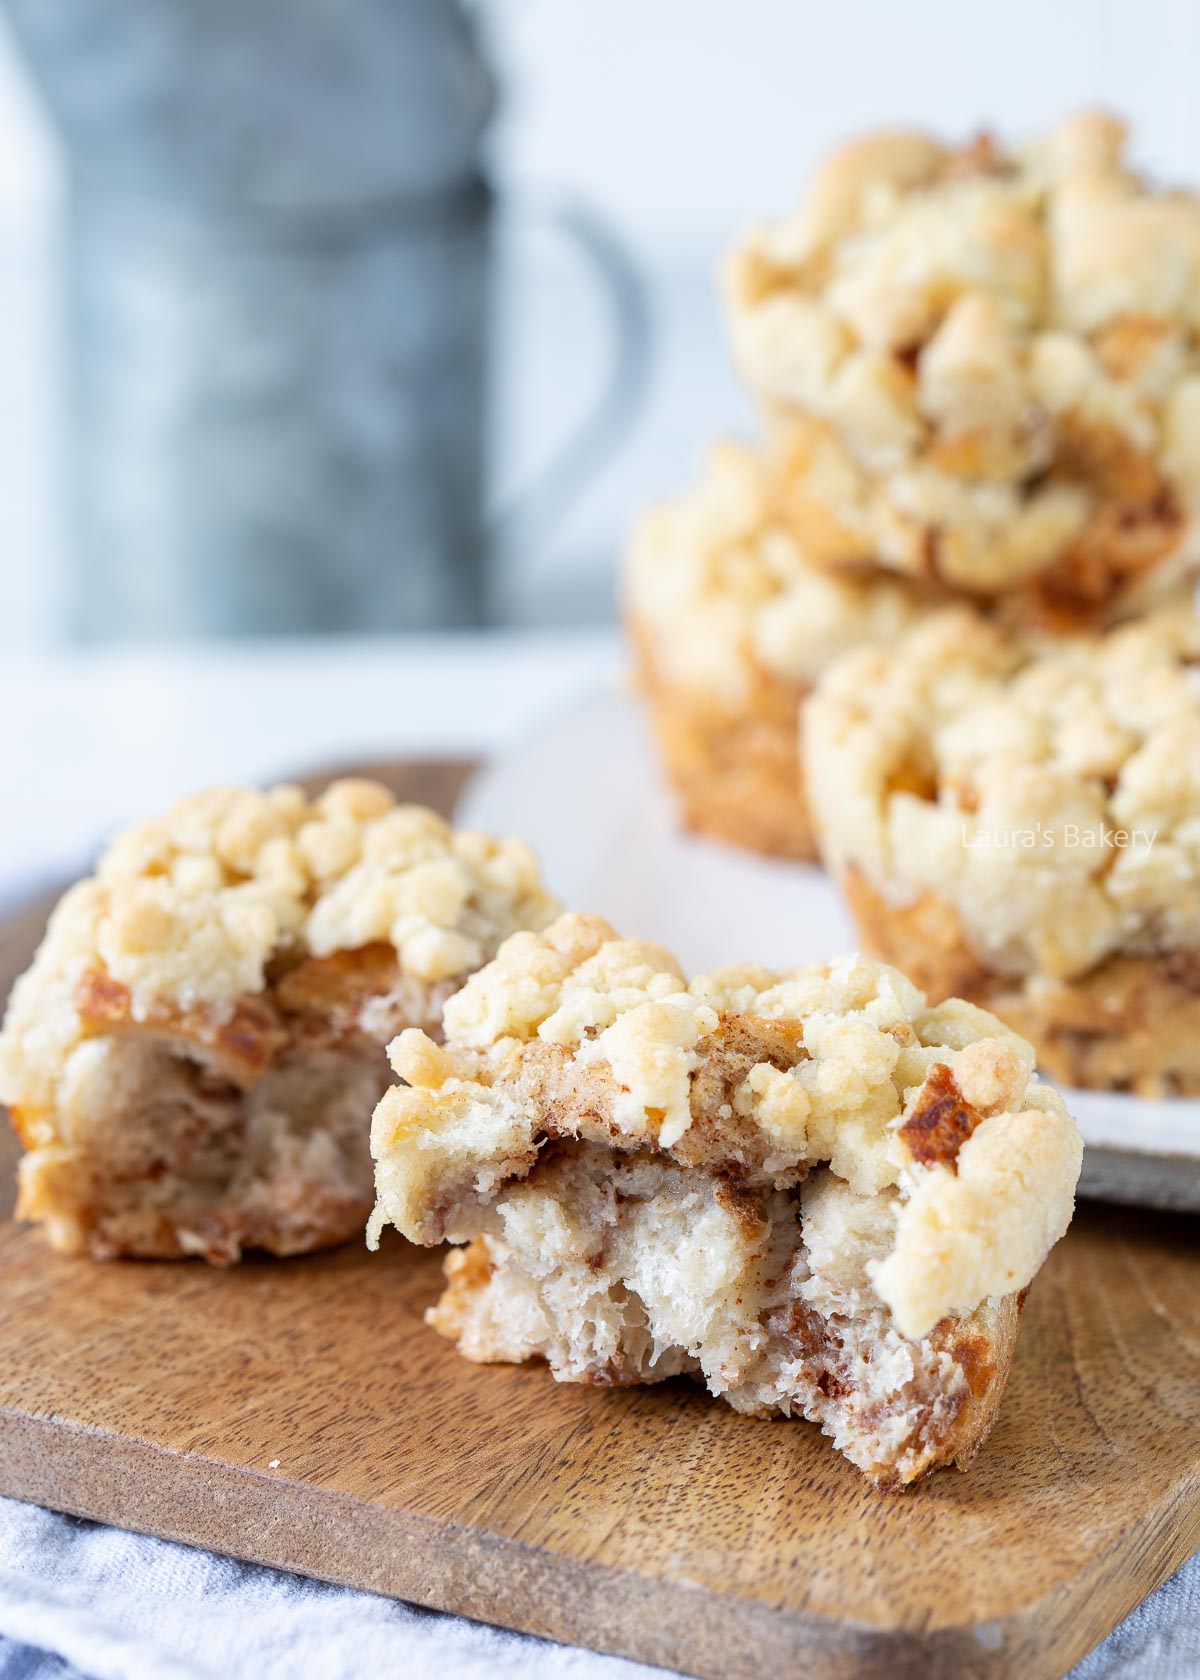
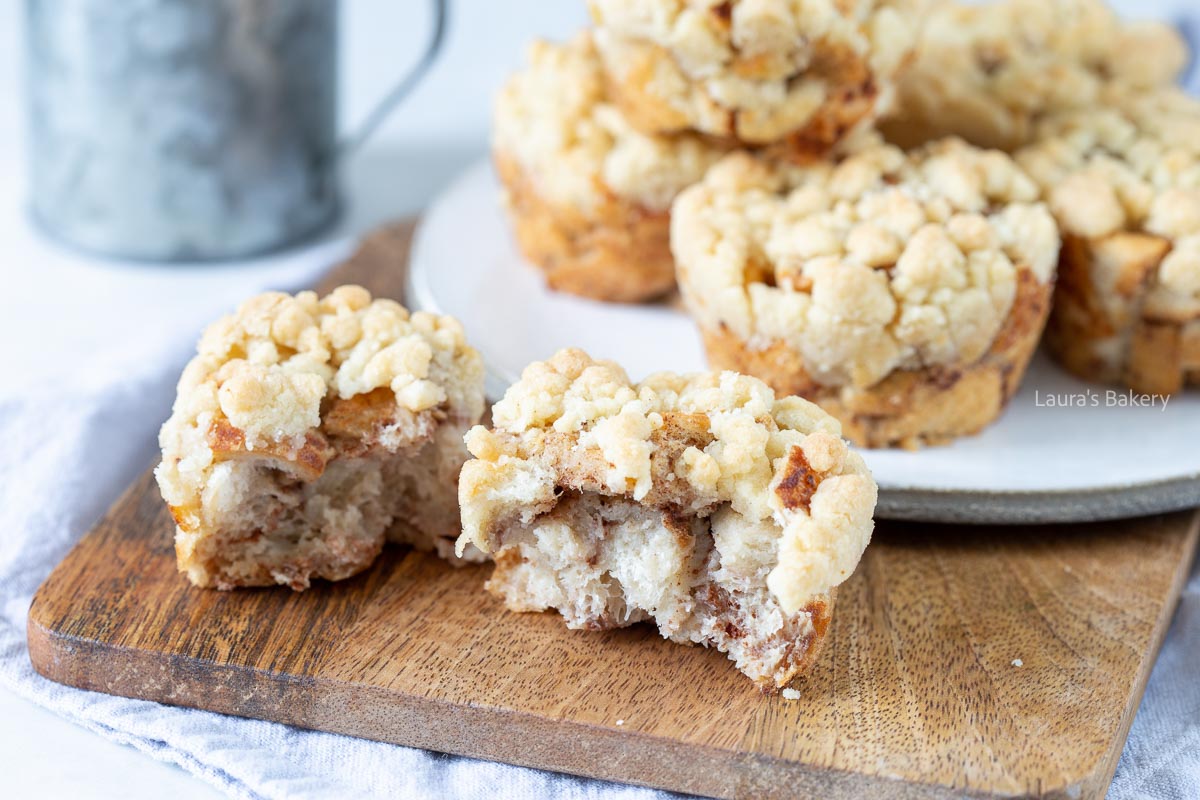
Baked French Toast Muffins-1

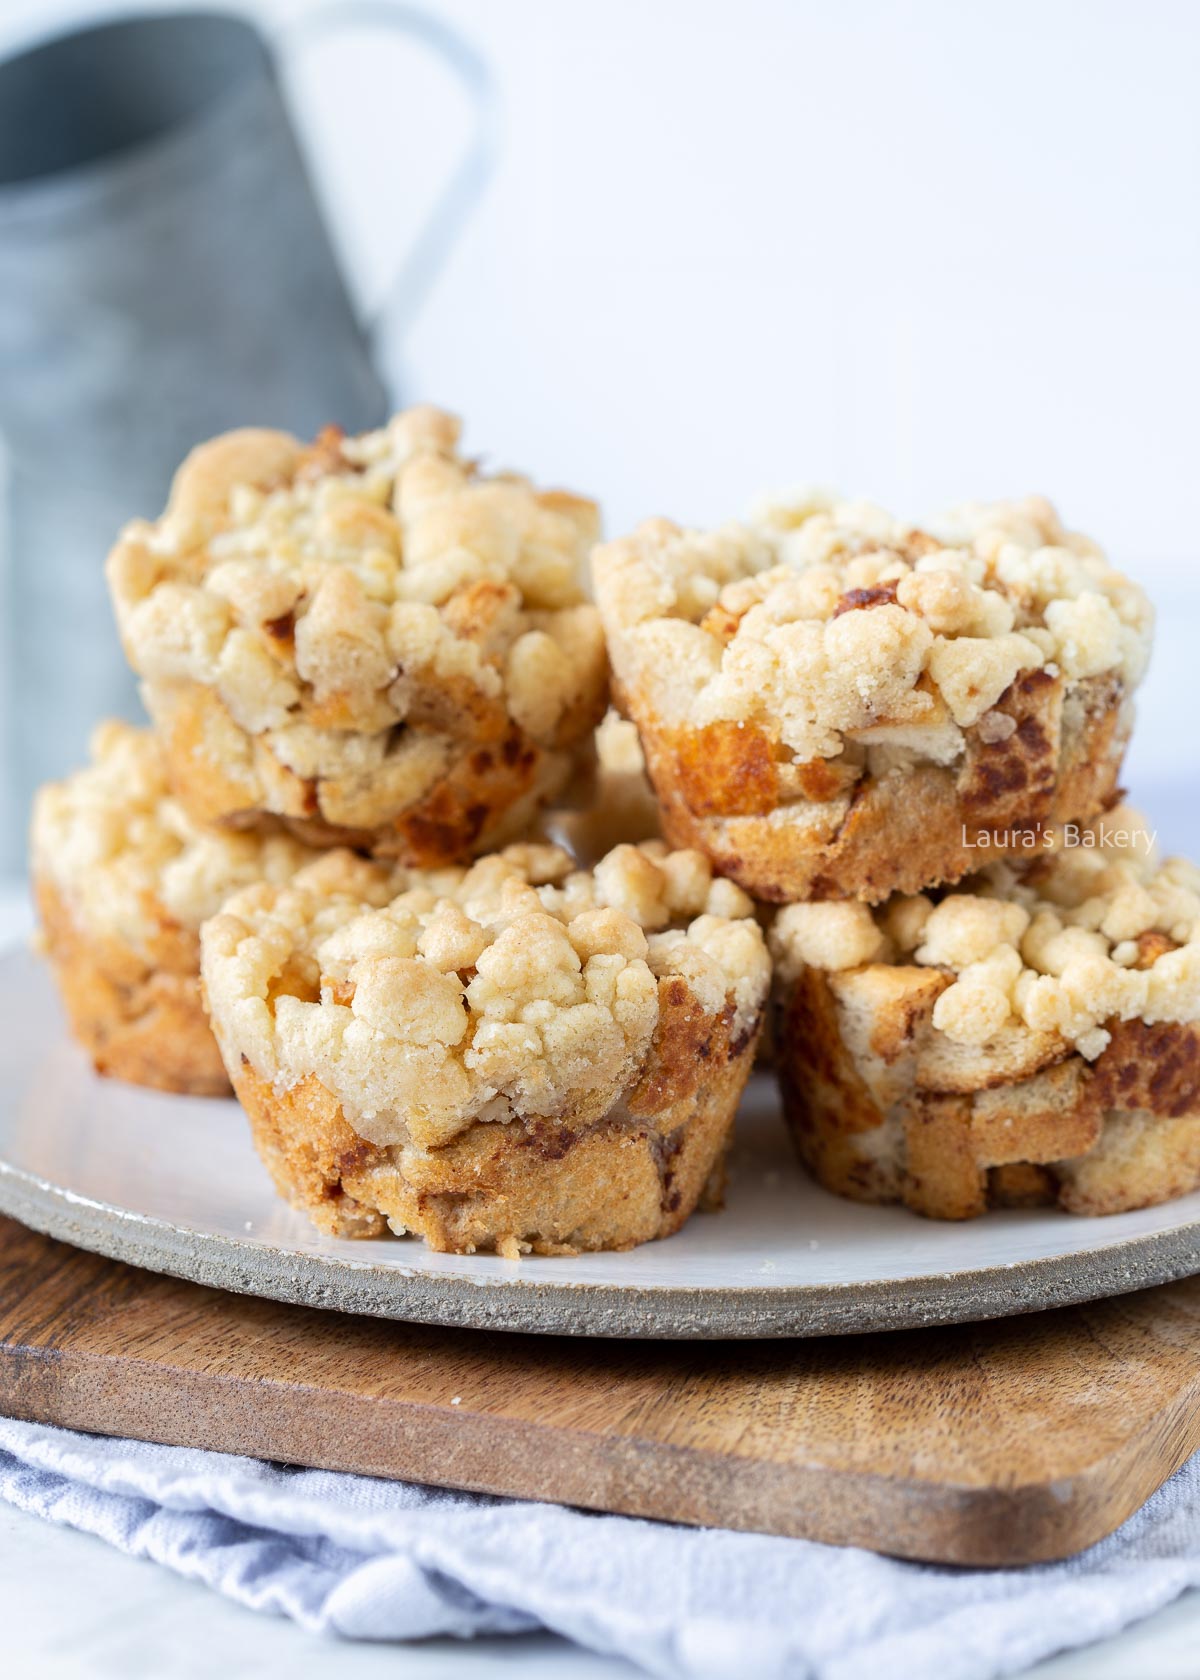
Delicious moist muffins with all the flavor of French toast! These baked French toast muffins are as delicious as they sound. Try them once and you can’t resist making them again and again!

Why You'll Love This Recipe

It has all the flavor of a classic French toast but there is no standing at the stove. It has a delicious crunchy crumble topping and a soft center.

Perfect for easy breakfast, brunch or a quick snack.

Baked French Toast Muffins-4

Recipe Ingredients

I bake this easy french toast muffins recipe in a muffin form. It’s perfect for using up leftover brioche bread or regular stale bread (white or otherwise). Make sure to double check the exact ingredients in the recipe card below.

  • bread – I used leftover white bread, but it works with any kind of bread. The flavor will be subtly different if you use different bread. Brioche will be sweeter, regular white bread is less sweet.
  • milk – I used regular whole milk, but you can also use heavy cream if you want it even creamier.
  • egg – you will need one egg to create that perfect center
  • sugar – I used regular white sugar, but brown sugar will work too
  • crumble – the crumble I made using butter, sugar and a bit of flour

How To Make Baked French Toast Muffins

Start by greasing a muffin pan. You can also use muffin liners if you prefer. I didn’t use any and found they came out nicely.

Chop the bread into cubes. Divide the cubed bread into the pan and press it down firmly.

Take a small bowl and mix egg, milk, sugar and cinnamon together. Pour the mixture over the cups that are filled with the bread cubes. While the bread soaks you make the crumble.

Add butter, sugar and flour (and a little bit of salt) together and use your fingers to rub this into a crumbly mixture.

Sprinkle the streusel topping over the French toast mixture. Bake in a preheated oven at 180˚C/350˚F (conventional oven) for about 30 minutes until golden brown.

It’s the perfect breakfast and delicious served as it is, but also great with fresh fruit and a drizzle of maple syrup. You can also add some chocolate chips to the filling for a variation on the flavor.

It’s the perfect treat for days like Mother’s Day, Easter breakfast or Christmas morning.

Baked French Toast Muffins-2

Storing Baked French Toast Muffins

These french toast muffins are best served right away. That way they still have that crispy finish but if you want you can store them at room temperature for up to 2 days.

Can I freeze Baked French Toast Muffins?

Yes you can. Once they are baked you can wrap them properly and freeze for up to 2 months. Reheat them in the oven until they’ve crisped up and are warmed through.

More Muffins

If you love muffins, make sure to check out these delicious muffin recipes as well!

Baked French Toast Muffins-3

FAQ Baked French Toast Muffins

What type of bread works best?

White sandwich bread works great, but slightly stale bread is even better because it absorbs the milk mixture well. Brioche or challah are also delicious options.

Can I add fruit or other mix-ins?

Absolutely. Small pieces of apple, pear, berries, raisins, or chocolate chips work very well. Add them between the bread cubes or mix them into the muffin cups before baking.

Can I make this recipe dairy-free?

Yes, you can replace the milk with a plant-based alternative and use dairy-free butter for the crumble.


Baked french toast muffins

Print Recipe

No votes yet

Baked French Toast Muffins

Your guests will never get enough of these: delicious baked French toast muffins topped with a crunchy crumble.
Preparation10 minutes
Cooking30 minutes
Total40 minutes
Servings: 6 pieces

Equipment

  • Muffin pan

Ingredients

  • 5 slices white bread
  • 1 egg
  • 125 ml milk
  • 2 tbsp sugar
  • 1 tsp cinnamon

Crumble

  • 30 grams unsalted butter
  • 40 grams granulated sugar
  • 40 grams all-purpose flour
  • Pinch of salt

Instructions

  • Grease a muffin pan.
  • Cut the white bread into small cubes and divide them among the muffin cups (for six muffins). Press down firmly.
  • Whisk together the egg, milk, sugar, and cinnamon, then evenly pour the mixture over the bread-filled muffin cups.
  • In a separate bowl, rub the butter, sugar, flour, and salt together until crumbly. Sprinkle the crumble over the muffin cups.
  • Bake the French toast crumble muffins at 350°F (180°C), conventional oven, for about 30 minutes until cooked through and golden brown.
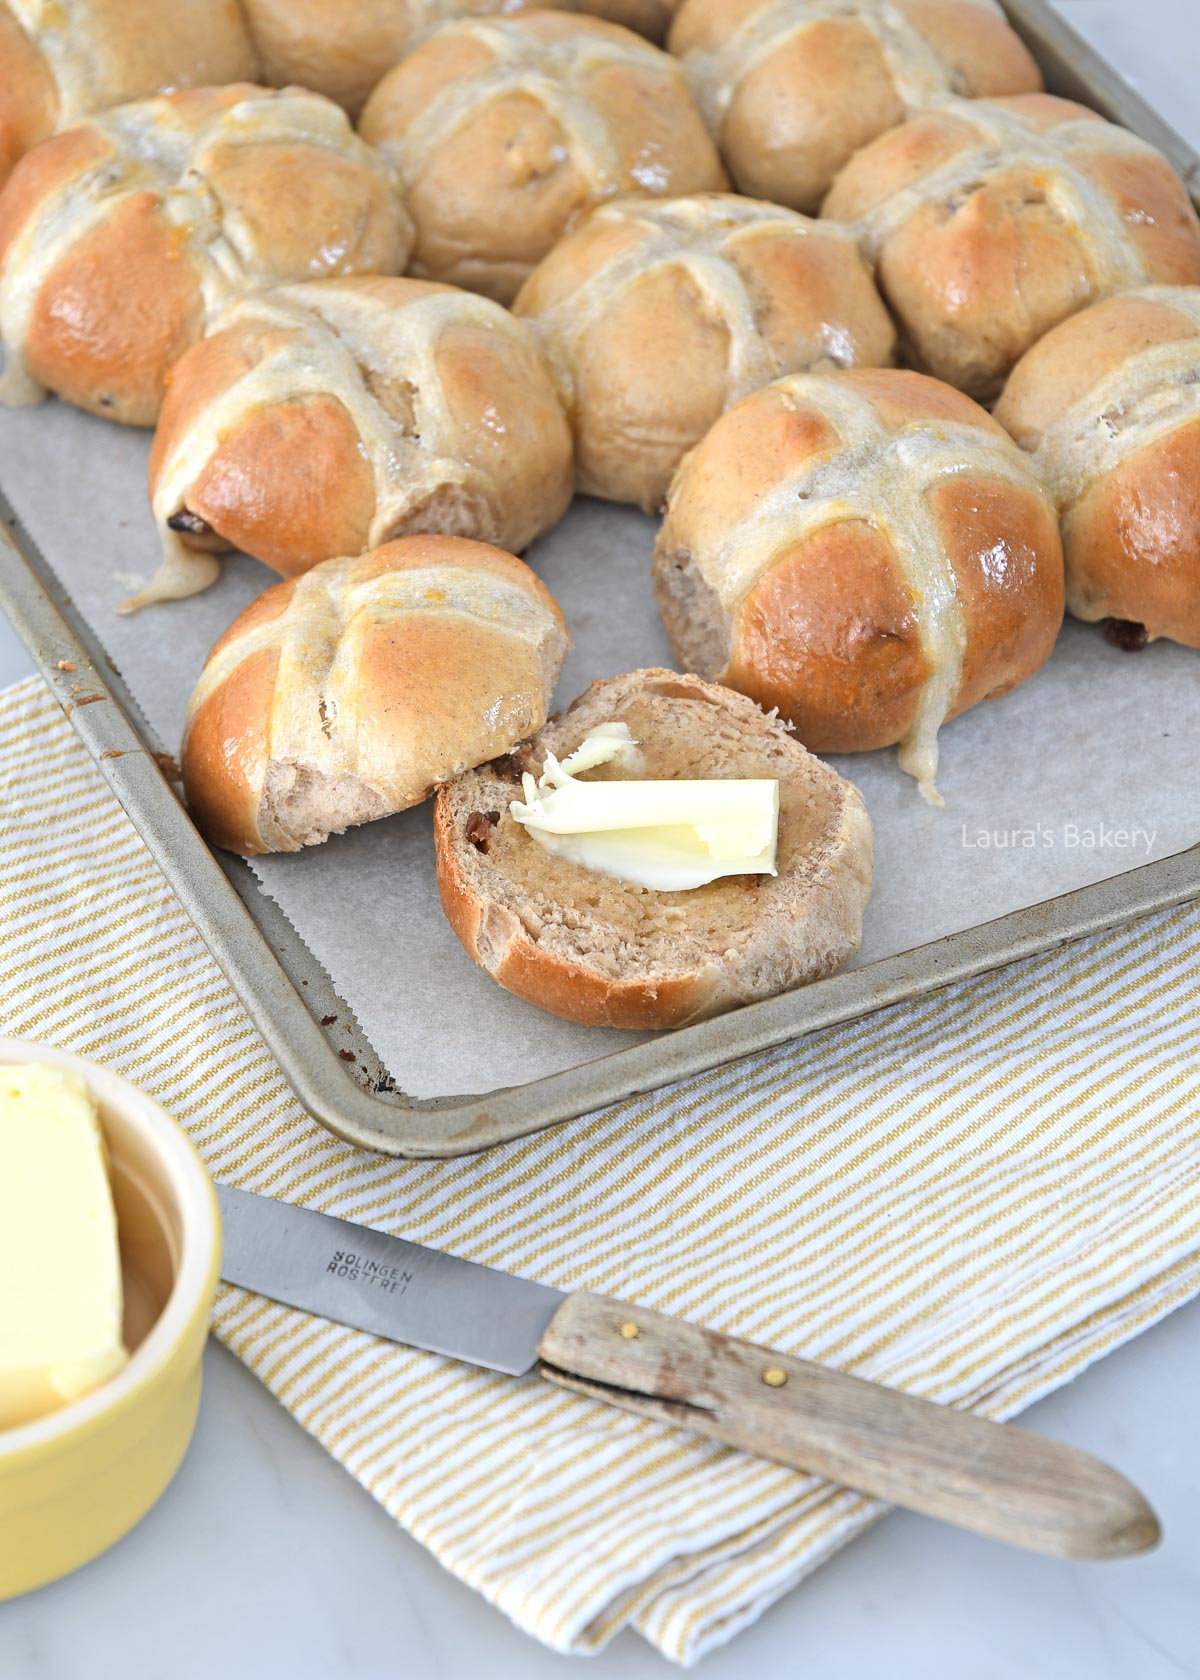
Hot cross buns-3

If you’ve never tried hot cross buns before, this is your chance. Hot cross buns are recognizable by the cross on top and are usually made around Easter. With this recipe, you can bake these delicious Easter rolls yourself!

Why You'll Love This Recipe

You’ll love this recipe because it gives you soft, lightly spiced Easter rolls with that classic sticky glaze, without any complicated steps.

They’re freezer-friendly, great to make ahead, and taste amazing warm with a pat of butter.

What Are Hot Cross Buns?

Over the past few years, quite a few bread recipes have ended up on my baking list, including these hot cross buns. These sweet rolls are traditionally made around Easter and are especially eaten on Good Friday.

The signature feature of hot cross buns is the cross on top, which you make using a simple flour paste. The bun itself is somewhat similar to raisin bread rolls, but with added spices.

In English recipes, you’ll often see “mixed spices”, but to keep things simple I used my speculaas spice mix. You can also easily replace this with gingerbread spices.

Perfect rolls for the Easter table!

Recipe Ingredients

For the ingredients there are two parts; one is for the dough and the other part is for the finish. Make sure to double check the exact ingredients in the recipe card below.

  • all-purpose flour
  • instant dry yeast – or active dry yeast is also fine
  • light brown sugar – you can replace with regular granulated sugar but the light brown sugar has a better texture for this recipe
  • spices – as mentioned you can either use speculaas spice mix or pumpkin pie spice mix as an alternatieve
  • milk – you will need a bit of whole milk
  • raisins – can also be replaced by currants, other dried fruit or dried cranberries

For decorating and brushing

  • all-purpose flour
  • water
  • apricot jam
Hot cross buns-5

How To Make Hot Cross Buns

Make the dough
1

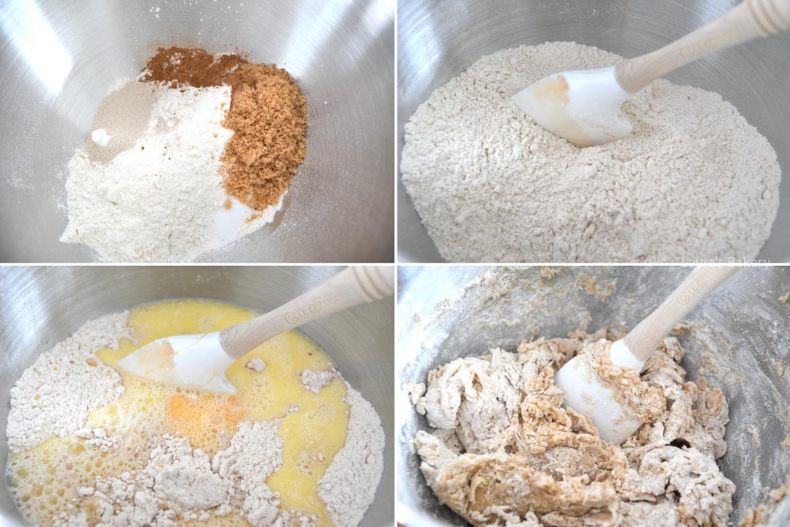
First make the dough into a smooth and elastic dough.

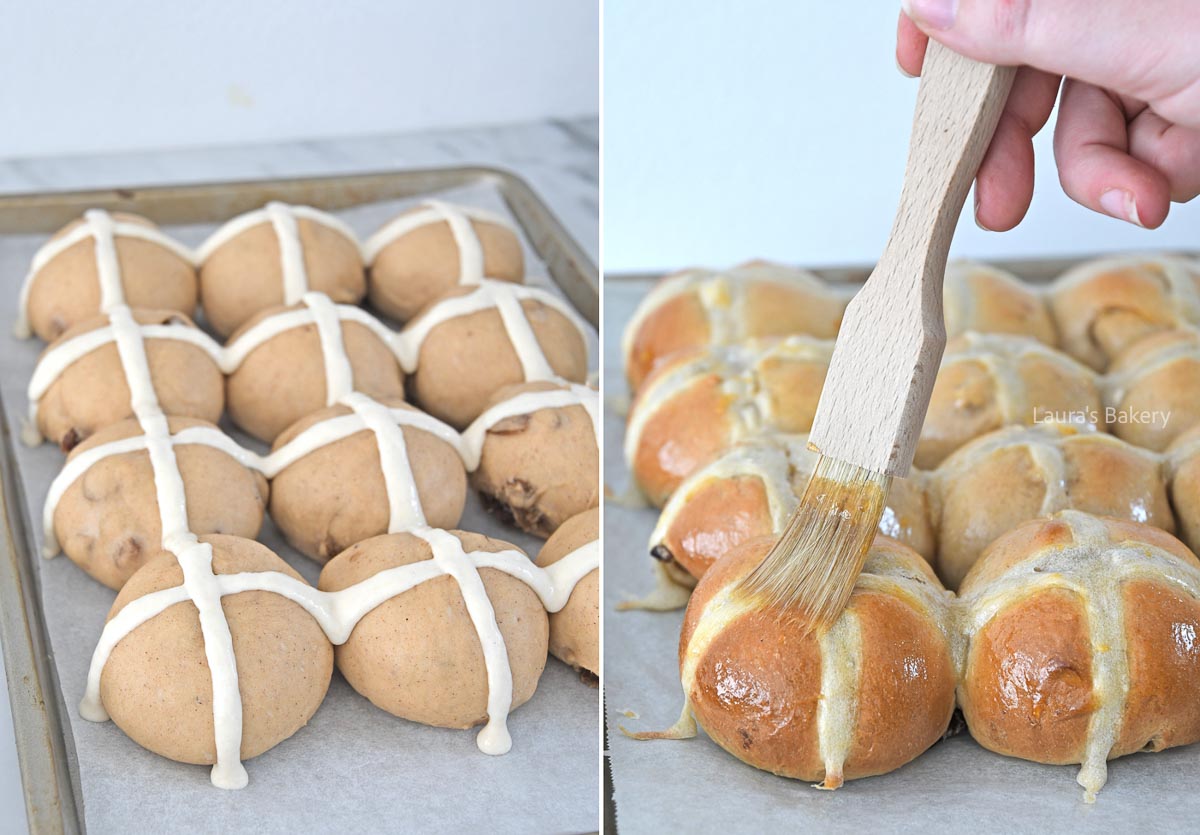
Open lightbox for image about First make the dough into a smooth and elastic dough.
Hot cross buns
2

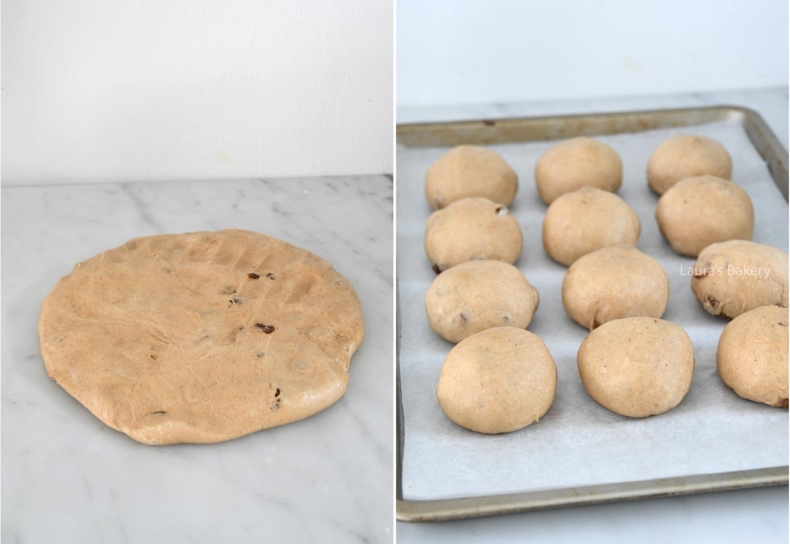
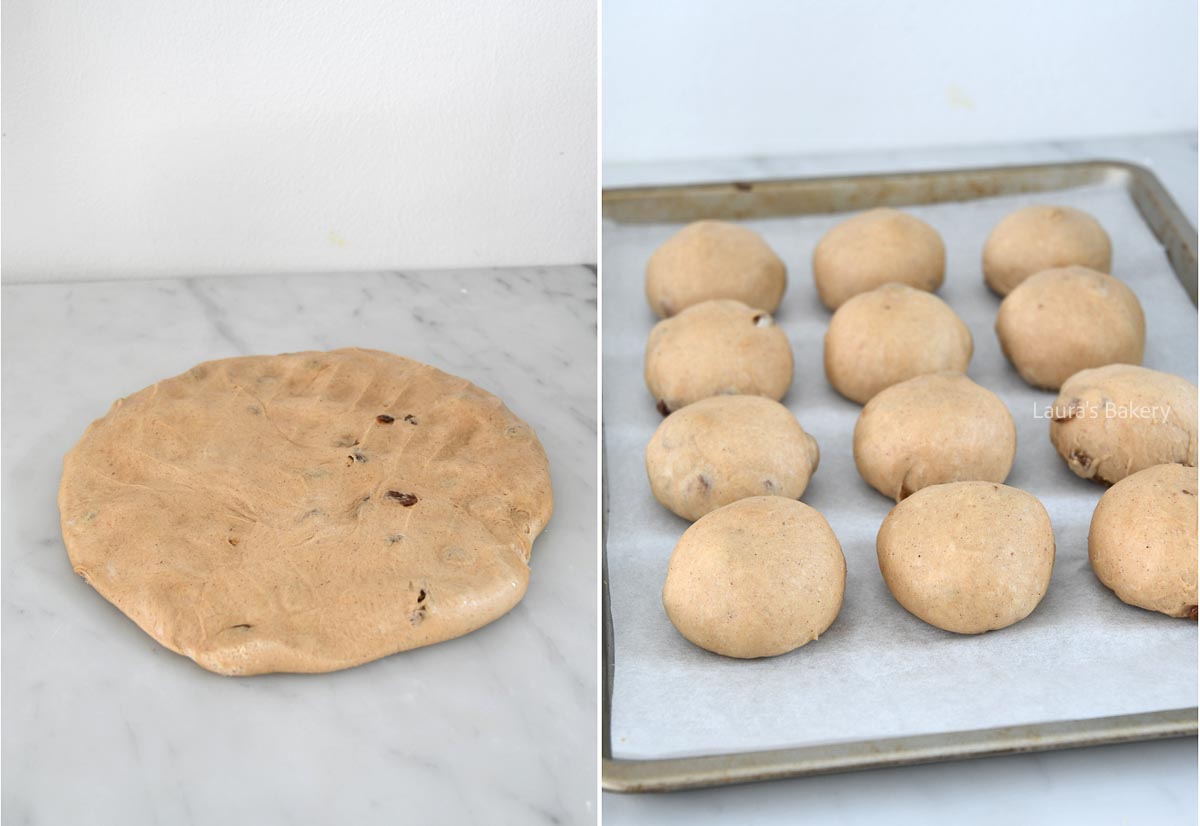
Once risen, turn the dough into balls and let it rise again.

Open lightbox for image about Once risen, turn the dough into balls and let it rise again.
Make the cross
3

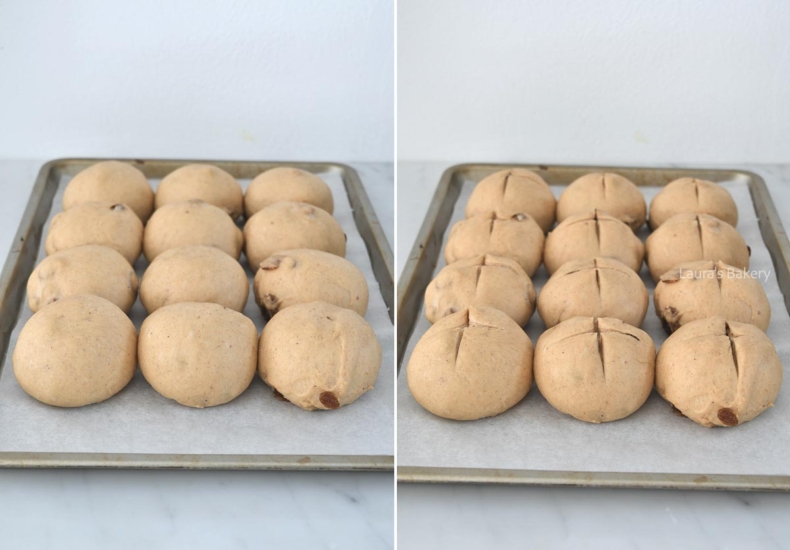
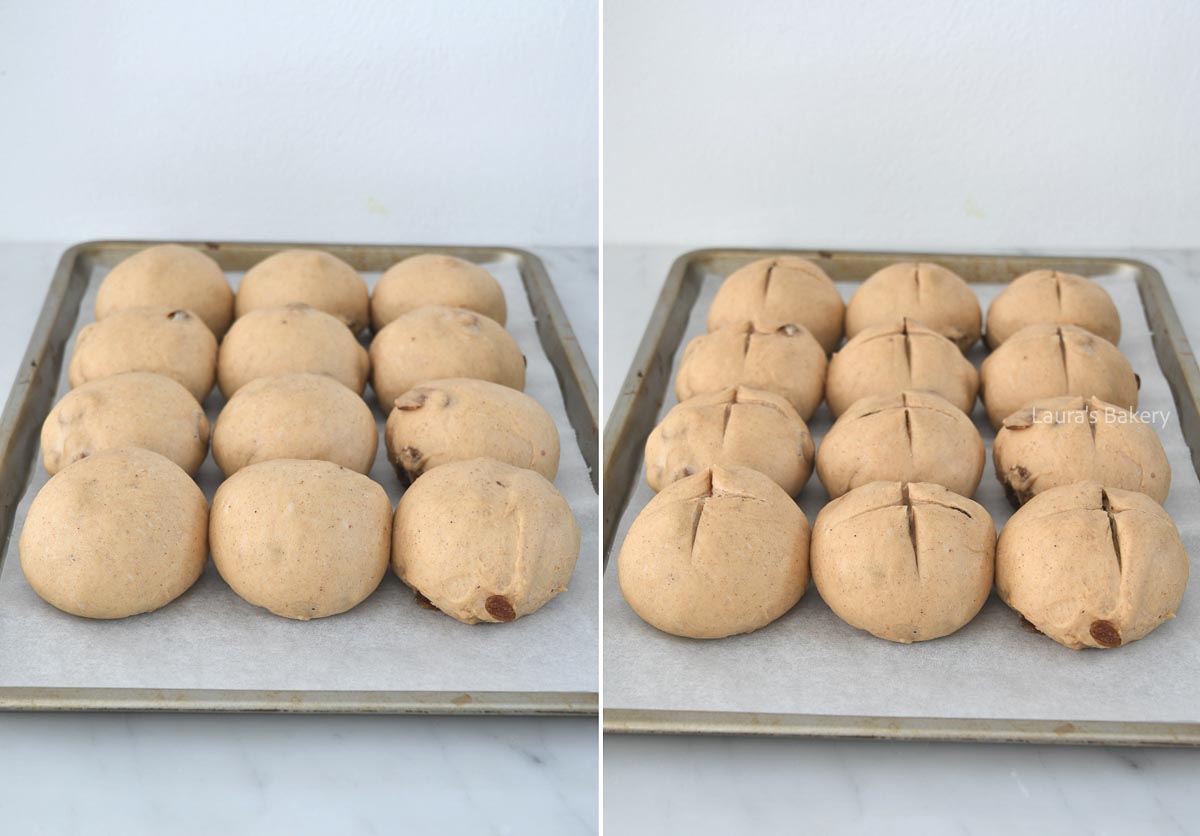
After the second rise score the buns with a sharp knife and make the cross.

Open lightbox for image about After the second rise score the buns with a sharp knife and make the cross.
Brush with jam
4

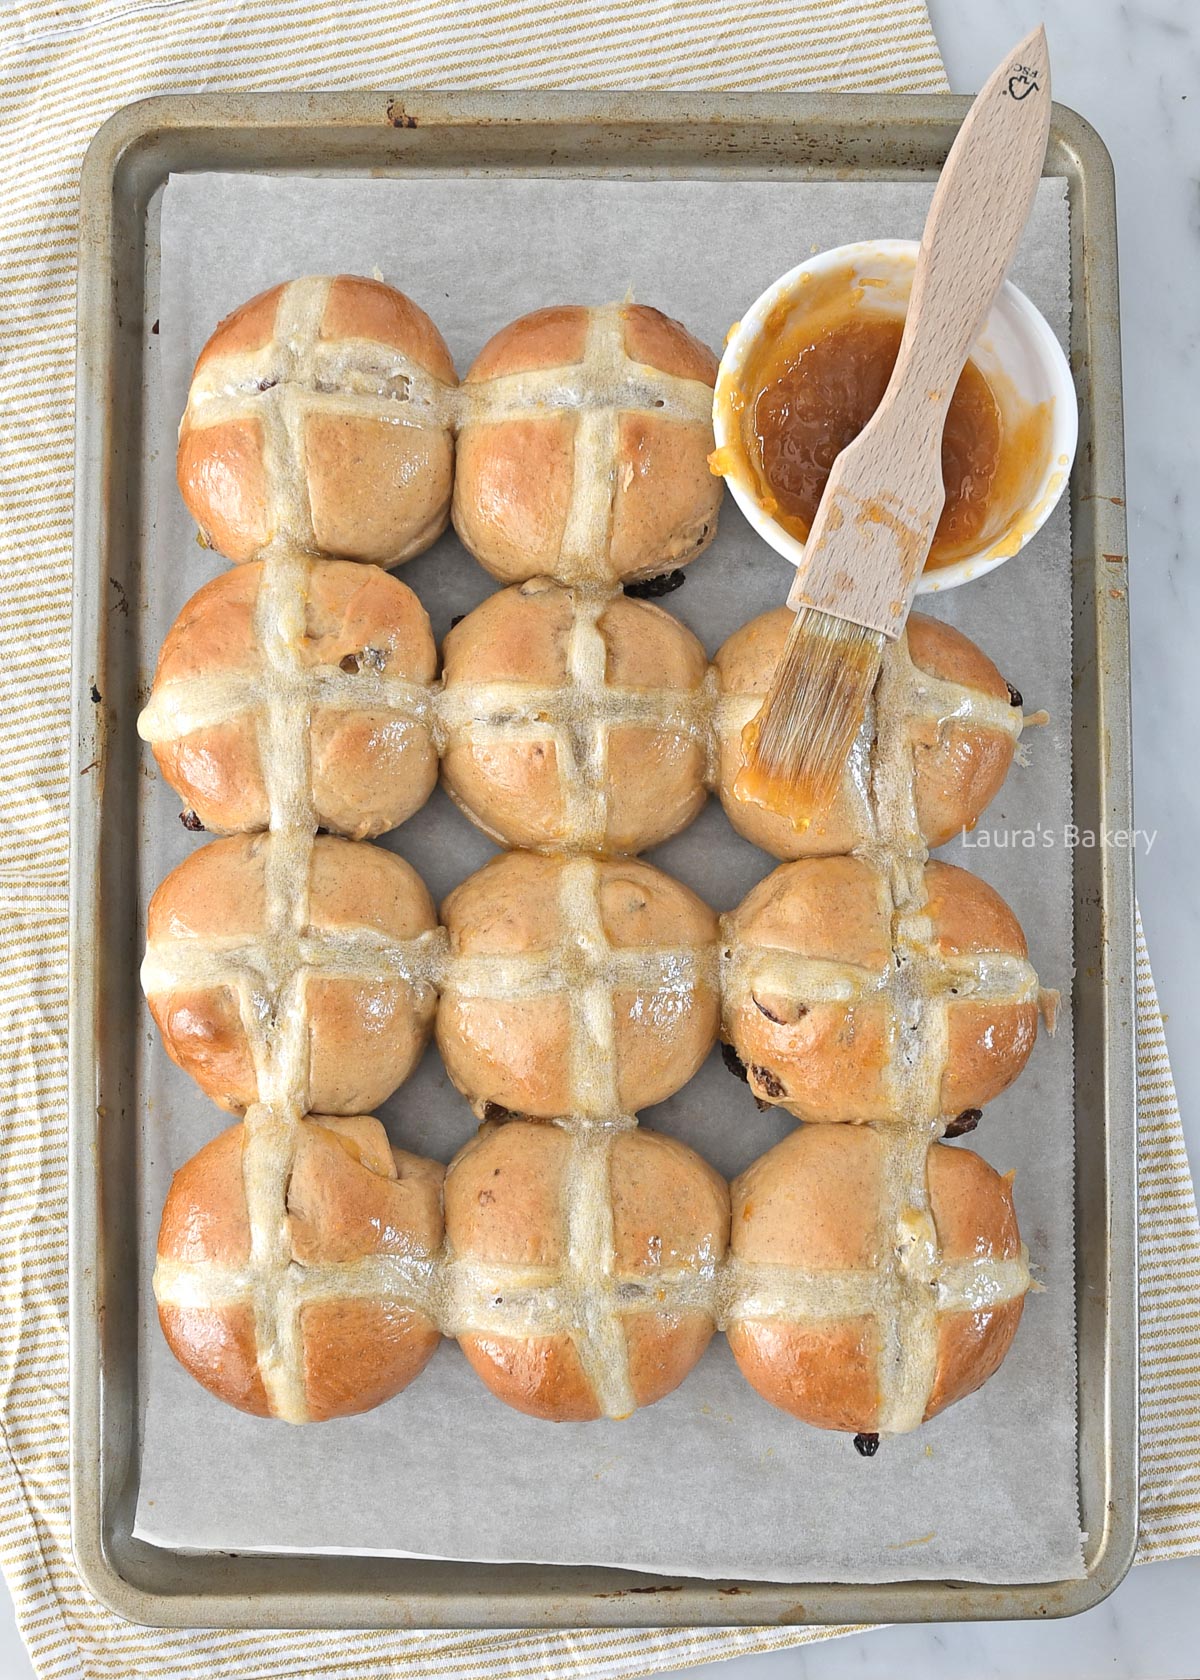
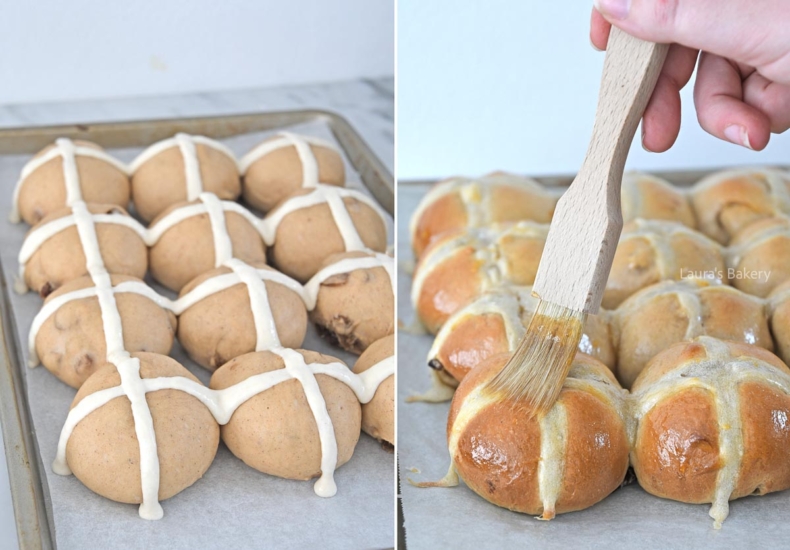
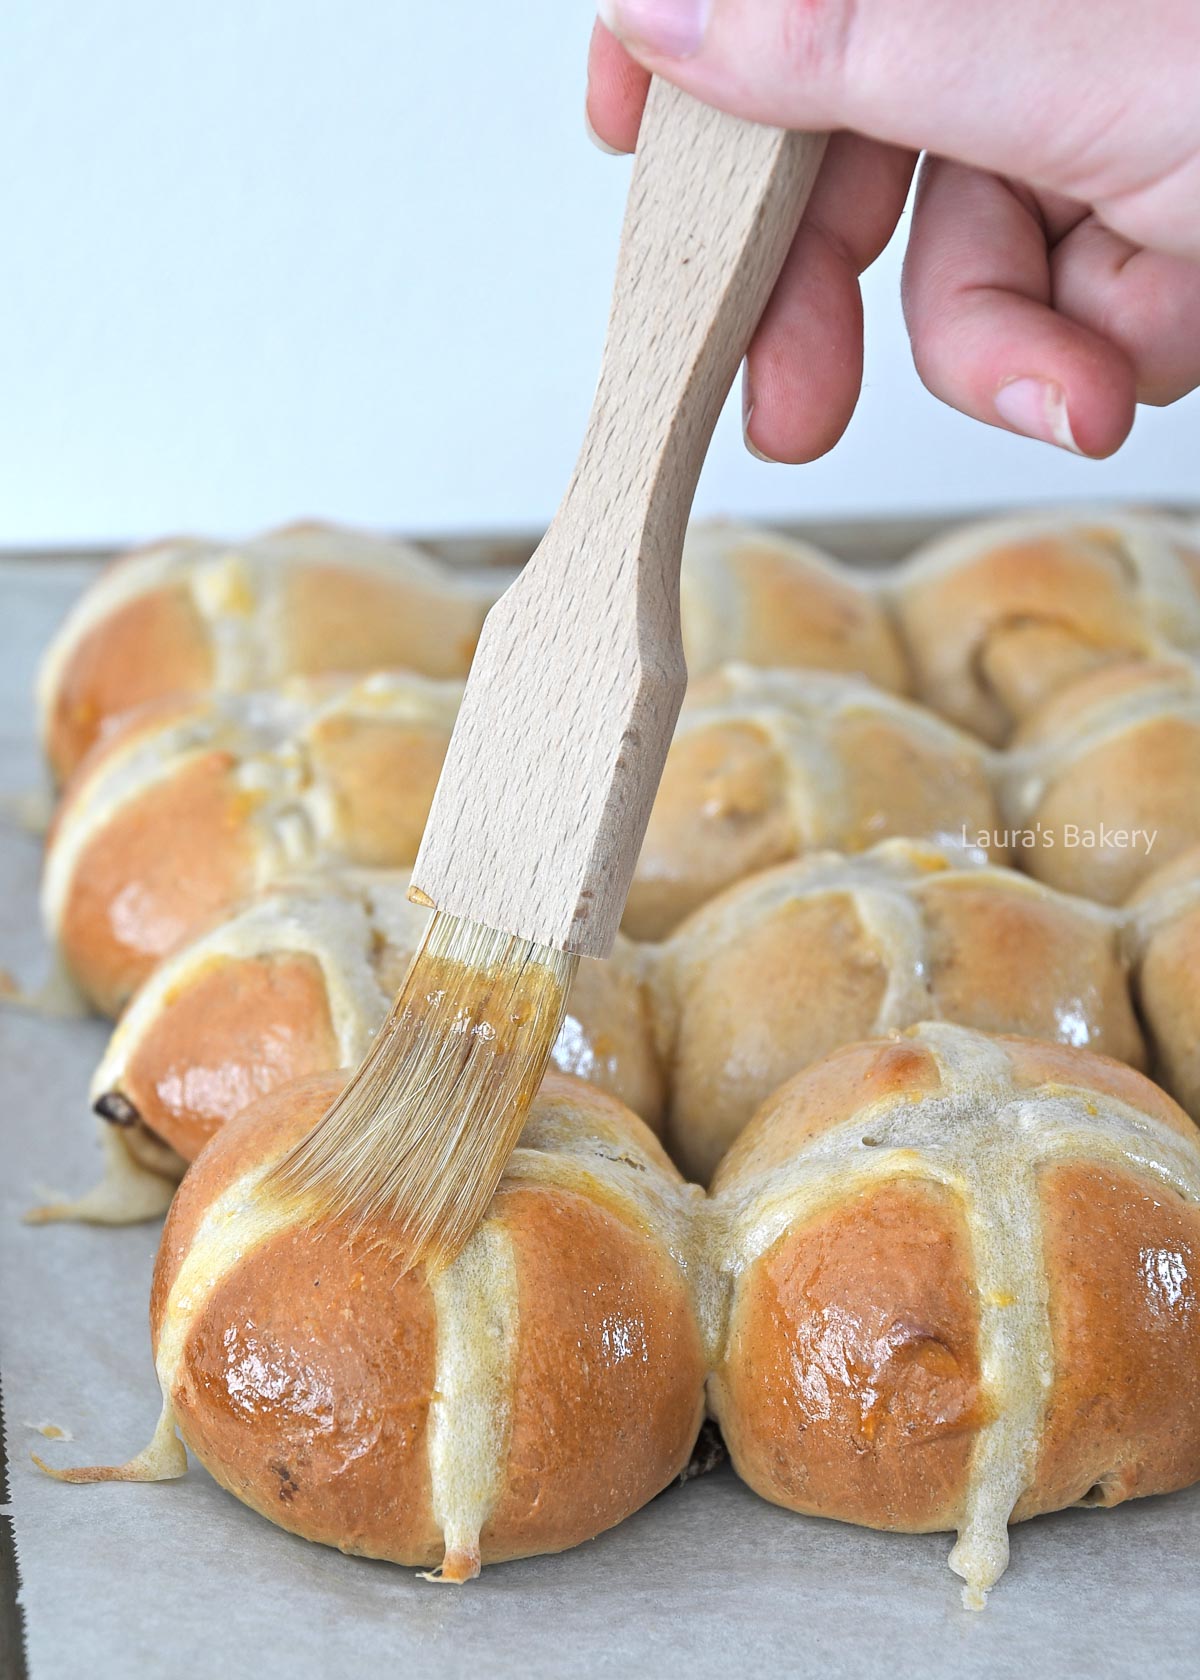
Add the flour paste cross and bake. Brush the warm buns with apricot jam.

Open lightbox for image about Add the flour paste cross and bake. Brush the warm buns with apricot jam.
1/4

More Easy Easter Recipes

Looking for other fun Easter recipes to make? These are just a few of my favorites:

Storing Hot Cross Buns

Once baked you can store hot cross buns in an airtight container for about 2 to 3 days.

Can you freeze hot cross buns?

You can also freeze the buns for about three months. If you’re planning on freezing them it is best to brush the buns with a little bit of melted butter instead of the jam.

Hot cross buns-2

FAQ Hot Cross Buns

Can I make the dough a day ahead and bake the rolls the next morning?

Yes! In my article on letting bread dough rise in the fridge, I explain everything. From when to refrigerate the dough to what to do the next day.

Can I make the buns without raisins?

Technically yes, but they will lose some sweetness. You can replace it with other dried fruit or dried cranberries if you prefer.

What kind of yeast do you mean by “dry yeast”?

I use instant yeast from the supermarket (the small packets). It’s also sometimes called active dry yeast.

Can I bake one large loaf with this dough instead?

Most likely, although I haven’t tested it. It reminds me of my Christmas stollen recipe, so you could loosely follow those baking instructions and timing.


Hot cross buns

Print Recipe

No votes yet

Hot Cross Buns Recipe

These sweet Easter rolls don’t just look cute, they taste amazing too. The spices really make the hot cross buns special.
Preparation2 hours 30 minutes
Cooking15 minutes
Total2 hours 45 minutes
Servings: 12 rolls

Ingredients

For the dough

  • 450 grams all-purpose flour
  • 10 grams instant dry yeast
  • 50 grams light brown sugar
  • 2 tsp speculaas spice mix or pumpkin pie spice as an alternative
  • 8 grams salt
  • 150 grams whole milk lukewarm
  • 50 grams water lukewarm
  • 1 egg beaten
  • 50 grams unsalted butter melted
  • 100 grams raisins or currants

For the cross + finishing

  • A little vegetable oil
  • 60 grams flour
  • 40-50 grams water
  • 2-3 tbsp apricot jam

Instructions

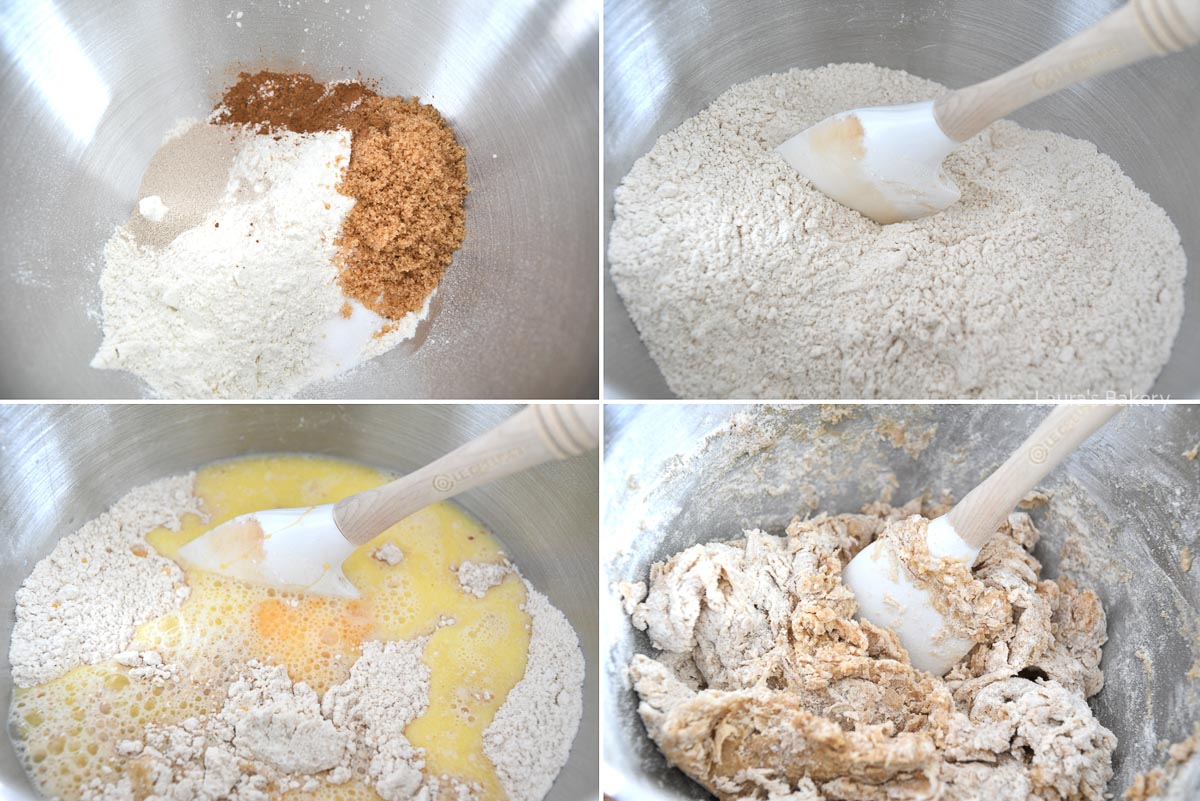
  • Add all dry ingredients for the dough (except the raisins) to a bowl and stir. Add the wet ingredients and stir with a spatula, then knead with a stand mixer for 10-15 minutes until smooth and elastic.
  • Near the end of kneading, add the raisins and knead until evenly distributed.
  • Place the dough ball into a lightly oiled bowl, cover, and let rise for about 60 minutes or until doubled in size.
  • Remove the dough and gently deflate. Divide into 12 equal pieces and shape into balls. Place on a baking sheet lined with parchment paper, leaving a few centimeters between them.
  • Cover and let rise again for about 60 minutes, or until doubled.
  • Towards the end of the second rise, mix the flour and water into a thick paste (start with 40 grams water). Transfer to a piping bag.
  • Score a cross into each roll using a sharp knife, then pipe the flour paste over the cuts to create crosses.
  • Bake at 200°C/390°F (conventional oven) for 12-15 minutes.
  • Near the end of baking, warm the apricot jam in a small saucepan and strain out any chunks. Brush the buns with the heated jam as soon as they come out of the oven.
  • Serve warm with a pat of butter, also delicious with a little extra apricot jam!
Oven baked sweet potato fries-3

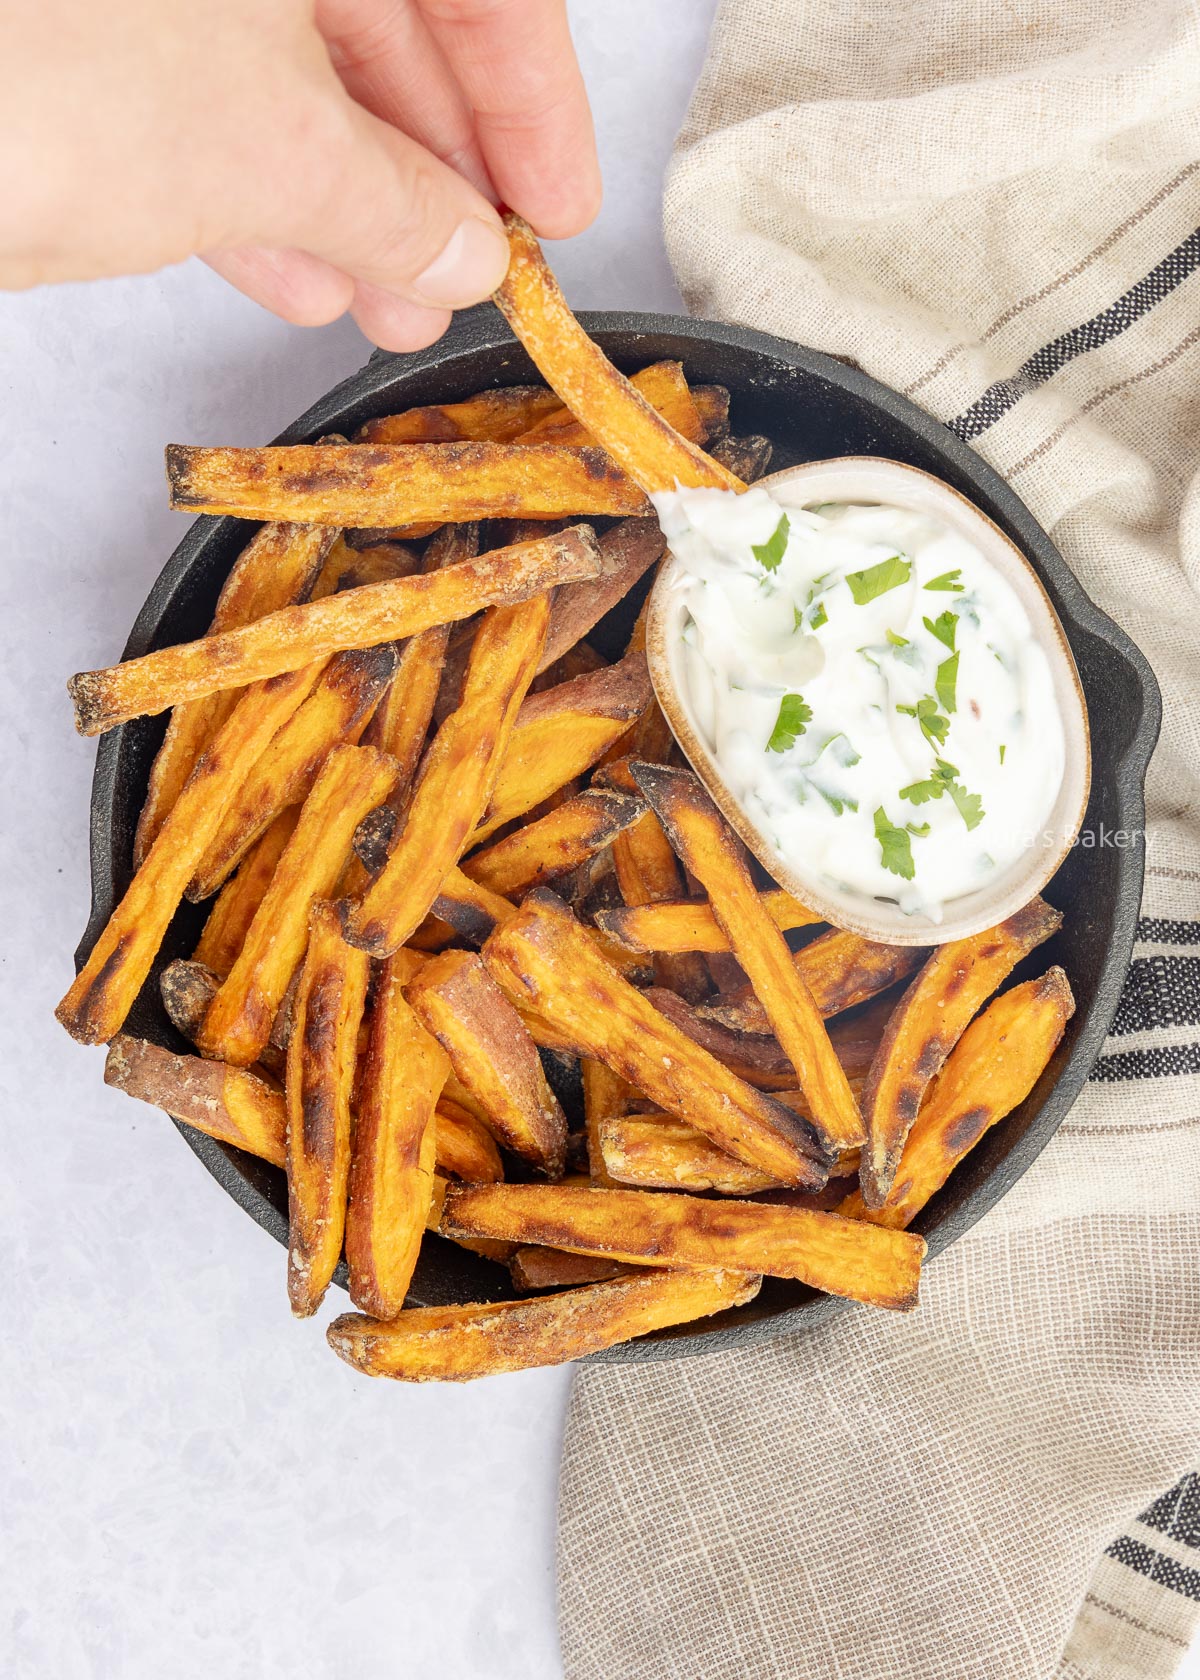
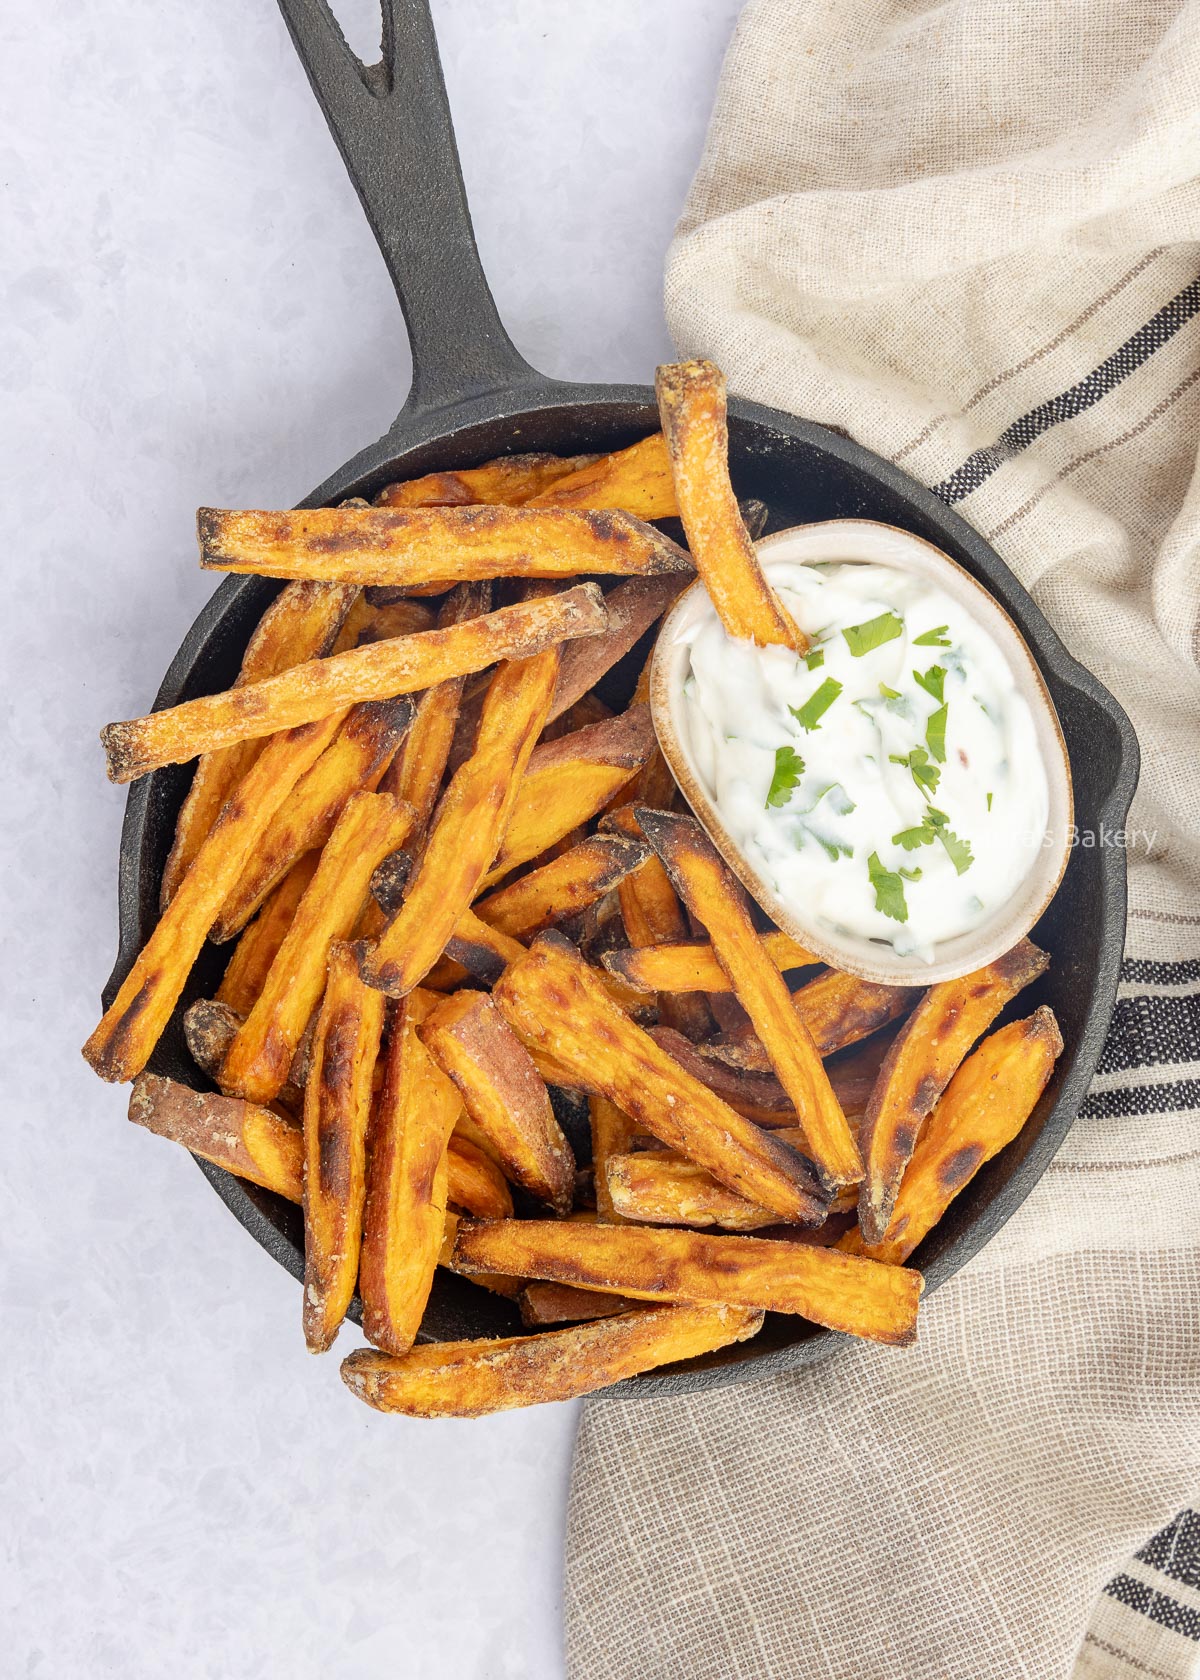
My oven has been working overtime to bake the crispiest sweet potato fries for you, and it worked! So definitely give this recipe a try if you want delicious oven baked sweet potato fries. I’m also sharing tips for making them in the air fryer.

Why You'll Love This Recipe

If you’ve tried making sweet potato fries and ended up with soft wedges, this method makes a big difference. With just a few simple tricks (like cornstarch!), they bake up with crisp edges and a soft center.

They’re naturally gluten-free, lighter than deep-fried fries, and pair with everything. From Tex-Mex bowls and mezze to a simple yogurt dip. Plus, you can make them in the oven or the air fryer depending on what you prefer.

Oven Baked Sweet Potato Fries

After all my test runs, I know exactly what you should -and especially what you shouldn’t- do. During my first test, the spices burned completely (oops).

And should you wash them or not, to get them extra crispy? In the end, I got them pretty crisp for oven fries (they’ll never get as crispy as deep-fried ones), so I’m sharing my method with you.

What You’ll Need

You will need just a few simple ingredients for making the sweet potato fries but make sure to check the recipe card for full details.

  • sweet potatoes – with or without skin; both work. I like them with the skin on for the look and the flavor. It’s also said to be healthier since the vitamins are right under the skin, but it’s up to you.
  • oil – sunflower oil or olive oil both work well.
  • corn starch – the secret ingredient for crispy oven fries!

You can optionally add extra’s like chili powder, garlic powder, black pepper or onion powder for extra flavor.

Oven baked sweet potato fries-5

Oven Baked Sweet Potato Fries How To

Line on a baking sheet
2

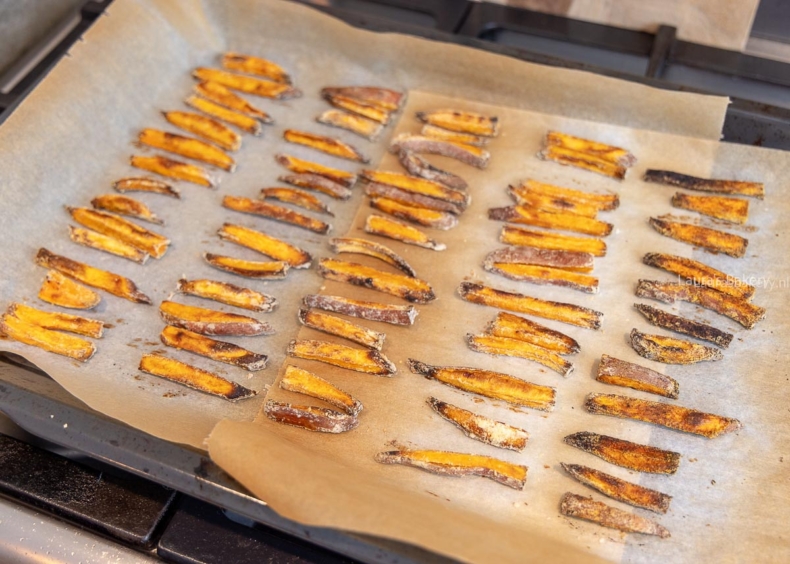
Line them on a baking sheet keeping enough space in between.

Open lightbox for image about Line them on a baking sheet keeping enough space in between.
1/2

How To Make Oven Baked Sweet Potato Fries

Sweet potatoes, compared to white potatoes, cook much quicker which makes this a great recipe.

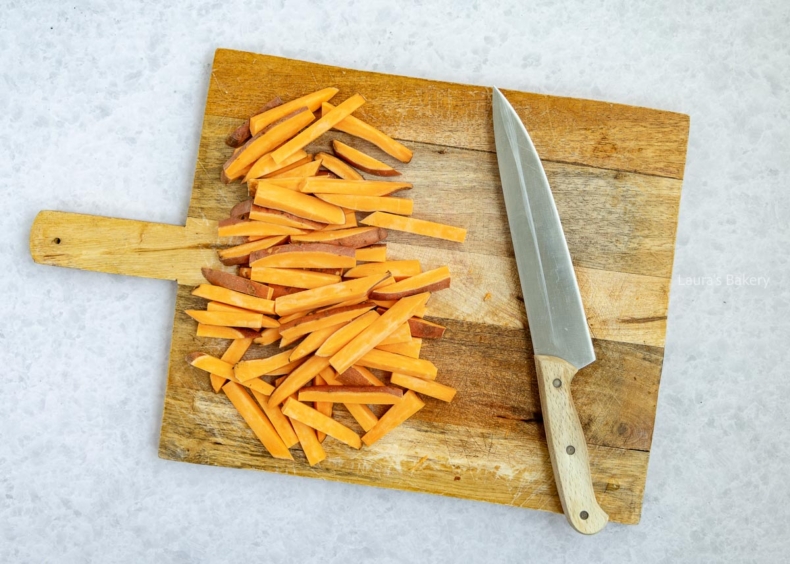
Start by preheating the oven to 425-455˚F (220-230 °C). Clean the sweet potatoes and cut them into evenly sized fries. To get the best results it helps if they’re somewhat similar in size so the bake time is equal. You can also cut them into wedges if you prefer.

Take a large bowl and add the potato wedges or fries. Add oil and toss to coat the potatoes. Add the cornstarch and salt and toss again.

Now spread the sweet potato pieces on a baking sheet lined with parchment paper keeping plenty of space in between. Bake for about 15 minutes, toss and return to the oven for an extra 10 minutes.

Check if they are golden brown and cooked through. They should have crispy edges but still be soft on the inside.

Oven baked sweet potato fries-4

Air Fryer Sweet Potato Fries

You can easily make these sweet potato fries in the air fryer too; the only thing I change is the temperature. I bake them at 200°C (about 400°F) and shake the basket three times so I can keep an eye on them and prevent burning.

An air fryer is basically a small convection oven, so the method is otherwise the same. Just make sure there’s enough space between the fries. There’s less room in the basket than on a sheet pan, so for crispier results you’ll need to cook them in batches.

How to Store Sweet Potato Fries

If it were up to me, sweet potato fries would never need storing, they disappear in one go here. They also lose their crispiness once stored. You can reheat them, but they’re never quite the same as when they’re freshly baked.

How long do oven-baked sweet potato fries keep?

You can store baked fries in an airtight container in the fridge for up to 2 days.

Storing Uncooked Fries

Place the cut fries in a bowl, cover with water, and refrigerate. Make sure they’re fully submerged. They keep like this for 24 hours.

Can you freeze sweet potato fries?

You can freeze cooked sweet potato fries. Stored airtight, they’ll keep for up to 3 months. After thawing, reheat them in the oven for 5-10 minutes, watching closely so they don’t burn.

More Snack Recipes

When serving these sweet potato fries, you might want to serve some extra snacks. A few of my favorite snacks are:

FAQ Oven Baked Sweet Potato Fries

How do I cut the sweet potato?

What often happened to me is that some fries were perfectly baked and others were burned, or worse: crispy at one end and soft at the other. So it starts with cutting evenly. I aim for 6-7 mm thickness (about ¼ inch). If you cut them thicker, you’ll sacrifice crispiness.

Should I wash the sweet potato in cold water first?

The big online debate: should you wash/soak them in water or not? I tested it thoroughly. My verdict: it’s not necessary. Soaking and drying did not make them any crispier.

Can I leave the oil out?

You don’t need much oil, but I don’t recommend skipping it entirely. It’s important for both flavor and texture.

Do I need to use cornstarch for these sweet potato fries?

Cornstarch is a magic ingredient. It’s great in batters, sauces, and -yes- for making sweet potato fries crispy. Tossing the uncooked fries in a small amount helps them bake up crispier. Just make sure you use the right amount.

How do I place the sweet potatoes on the baking sheet?

Make sure you make a single layer of the sweet potatoes. And don’t let them touch each other too much. For crispy baked sweet potato fries space is crucial. Halfway through baking, give them a toss.

When do you add the salt to the fries?

From all my tests, it didn’t matter much when I added the salt, but I slightly preferred salting before baking, so that’s how I wrote the recipe.

Do I add seasoning before baking?

Adding seasonings before baking didn’t improve the flavor, they often burned. Instead, add fresh or dried herbs to your dip or sprinkle over the fries right before serving.


Oven baked sweet potato fries

Print Recipe

No votes yet

Sweet Potato Fries Recipe

Who doesn’t want fries that also count as eating a little healthier? These oven-baked sweet potato fries make it possible! Serve with a fresh yogurt dip, they’ll be gone before you know it.
Preparation10 minutes
Cooking40 minutes
Total50 minutes
Servings: 3 portions

Ingredients

  • 500 grams sweet potatoes about 1 lb
  • 1 tbsp sunflower oil
  • 1 tbsp cornstarch
  • Salt to taste

Instructions

  • Preheat the oven to 220-230°C (425-445°F) using a conventional oven. Wash and scrub the potatoes (skin on). Cut into even fries about 6-7 mm (about ¼ inch) thick.
  • Add to a bowl with a little sunflower oil and toss to coat. Add cornstarch and salt, then toss again.
  • Spread the fries on a sheet pan with plenty of space between them. Bake for 15 minutes, then toss and return to the oven for 10 minutes.
  • Check if they need 5-10 minutes more or if they’re done. If they’re browning too quickly or still soft, adjust your oven temperature.
  • After 30-35 minutes, the fries should be crisp on the outside and tender inside. Serve with your favorite dip.