Can I make these mozzarella balls ahead of time?
Yes! In fact, they taste even better after marinating for a few hours. You can prepare them up to 2-3 days in advance and store them covered in the fridge.
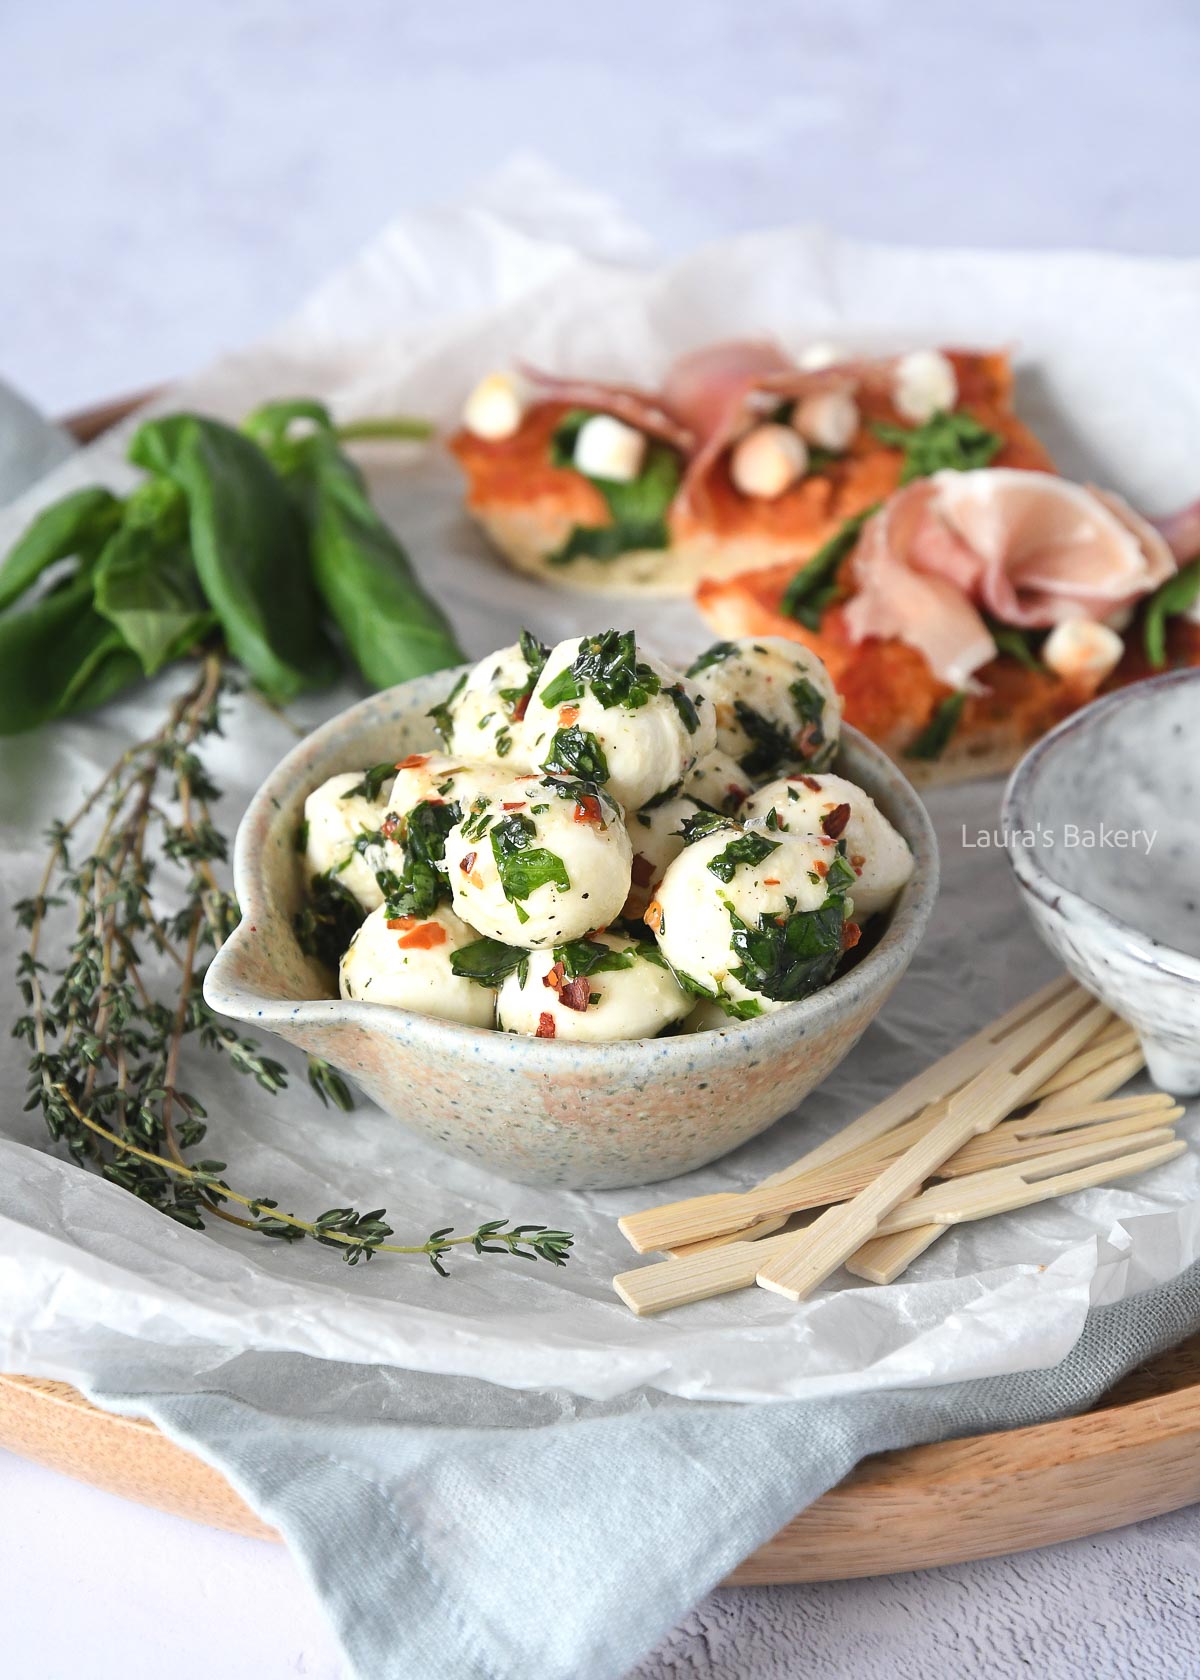
Looking for a simple appetizer? What about these marinated mozzarella balls! With fresh herbs, pepper, salt, olive oil, and a little bit of heat from the chili flakes, I can never get enough of them.
Put a bowl of these on the table during drinks or appetizers, and you’ll see – they’ll disappear in no time.
We all know mozzarella balls on a skewer with a cherry tomato and a basil leaf by now – the classic caprese combo that’s always a crowd-pleaser. I love it too, but there’s so much more you can do with mozzarella.
Personally, I often top a cracker (or something like these homemade crostini!) or crusty bread (like this Greek yogurt bread) with thin slices of mozzarella, add some fresh herbs and a few tomatoes, and it’s instantly delicious.
I usually have some leftover mozzarella, so I season the extra pieces and just snack on them as they are. So good!
Here are some more appetizers I love:

Other possible additions to this easy appetizer recipe are some lemon zest, fresh parsley, or a splash of balsamic vinegar. Make sure to double-check the quantities in the recipe card below.
There is something very satisfying about marinated cheese. It’s made with simple ingredients and ready in no time at all.
Just mix the marinade ingredients and add the mozzarella balls to it. Let it sit for about an hour and your appetizer is done.
Perfect for serving on a cheese board or antipasto platter too.
Once made these mozzarella balls can be stored in an airtight container in the fridge for a few days. I tend to store them in mason jars as it looks pretty too.
Make sure the olive oil mixture covers all the balls when you are storing them.
Yes! In fact, they taste even better after marinating for a few hours. You can prepare them up to 2-3 days in advance and store them covered in the fridge.
Fresh herbs give the best flavor, but you can substitute dried herbs if needed. Use about ⅓ of the amount, since dried herbs are more concentrated.
This recipe works best with small fresh mozzarella balls (bocconcini or ciliegine). If you only have a large ball of mozzarella, you can cut it into bite-sized pieces.
Absolutely! Lemon zest, a pinch of smoked paprika, or even a splash of balsamic vinegar are delicious variations.

These fun Twix cookies are a mix between thumbprint cookies and a Twix bar. Easy to make en absolutely delicious to eat!
This recipe for Twix cookies was developed from a combination of other recipes. One of them was caramel shortcake, which is basically just a giant Twix tart. Then I thought about the various kinds of thumbprint cookies (like these cranberry thumbprint cookies) I had made before.
What if I used that little cookie with the indentation in the middle as a base, filled it with caramel, and then drizzled some chocolate on top? Sounds like a winner to me right?
This combination has everything Twix candy bars do, but homemade and with even more caramel. So if Twix is your favorite candy bar, you might want to give this easy cookie recipe a try! And be sure to check out the Twix brownies as well.
Love Cookies? Check These Out As Well:

Make sure to double check the exact quantities in the recipe card below.
For making dulce the leche you will need a can of sweetened condensed milk. Place this in a large pot filled with water and make sure the can stays under water for the entire cooking time.
Bring to a boil and keep the boil going but not too hard. A soft rolling boil is enough. Let it simmer for about 3 hours and make sure to check the water level a couple of times and add water as needed.
After three hours, remove the can from the water with tongs and let it cool. And voila, magic has happened; you’ve got a delicious homemade caramel!
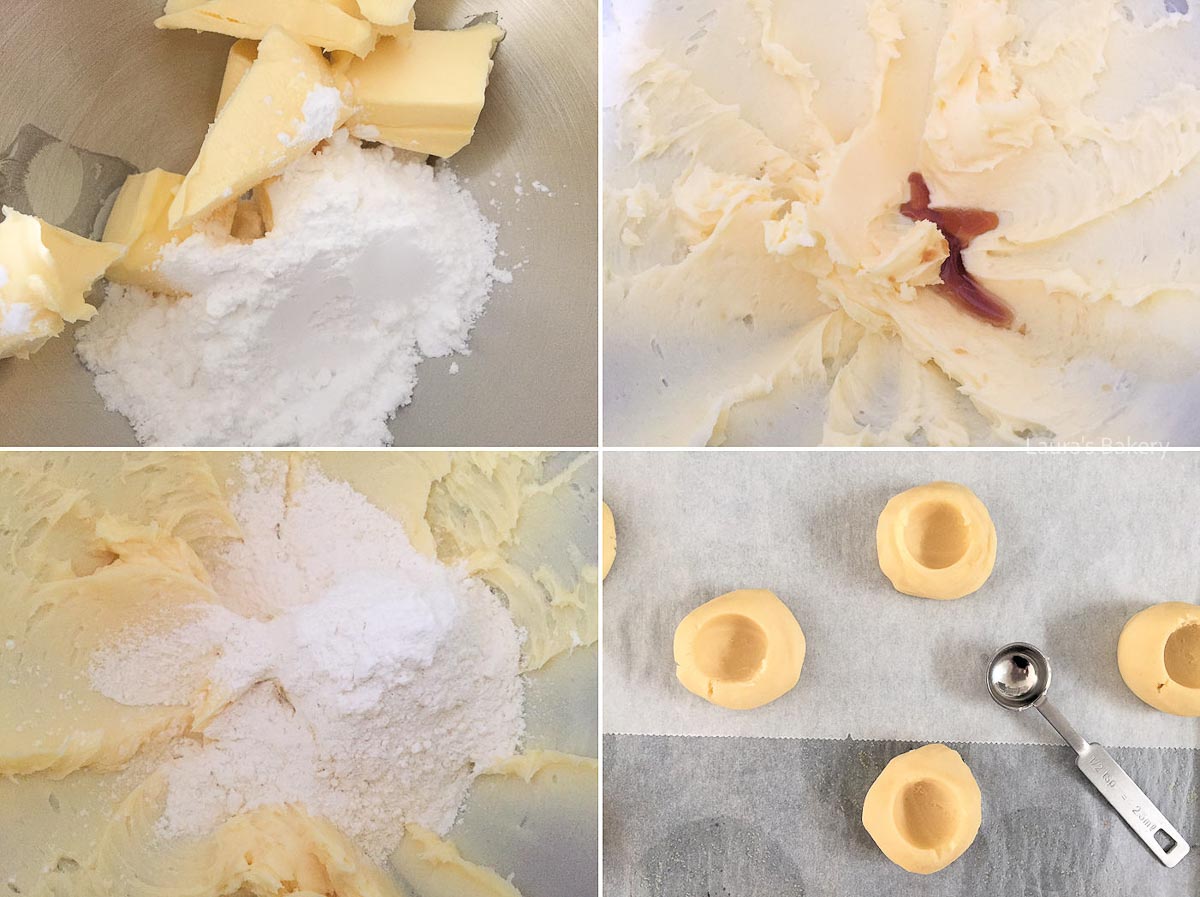
Making these Twix cookies is super easy to do. Start by mixing the butter and sugar until creamy. Add the vanilla and the flour and mix till you have a firm dough. Wrap the dough in plastic wrap and let it chill in the fridge for at least an hour.
Next you start by making the dough balls. You can use a cookie scoop or your hands to roll the cookies into balls. Place them on a cookie sheet or baking sheet and press an indentation into the cookies like you do with a thumbprint cookie. Bake at 180˚C/350˚F for about 14 minutes.
Let the cookies cool down on a wire rack and once cooled, spoon in the dulce de leche (this works easier if it is slightly warm so you have gooey caramel) and finish with the chocolate layer.
Now you have everything that homemade twix bars have but in the shape of a cookie!
Kept in an airtight container these cookies will last for 2-3 days with the caramel layer on top. Without the caramel they will keep for much longer (up to 4 weeks).
You can also freeze the cookie dough for up to 3 months and bake the dough straight from the freezer. The cookies with caramel and chocolate can be frozen too, again: for up to 3 months.
Keep in mind that the caramel will make the cookies a bit softer once added.
Yes! You can prepare the dough up to a week in advance. Keep it well wrapped in the fridge, then let it soften slightly before shaping into balls and baking.
Absolutely. You can freeze the unbaked cookie dough balls (with the indentations already made) for up to 3 months. Bake from frozen, adding an extra 1-2 minutes to the baking time. Baked cookies (without caramel filling) also freeze well for up to 3 months.
You can make your own by simmering a can of sweetened condensed milk until it thickens and turns golden brown. Or, as a quicker alternative, you could use store-bought caramel spread.
Definitely! Dark chocolate gives the cookies a richer, less sweet flavor, while milk chocolate makes them taste more like the classic Twix bar. Both work beautifully.
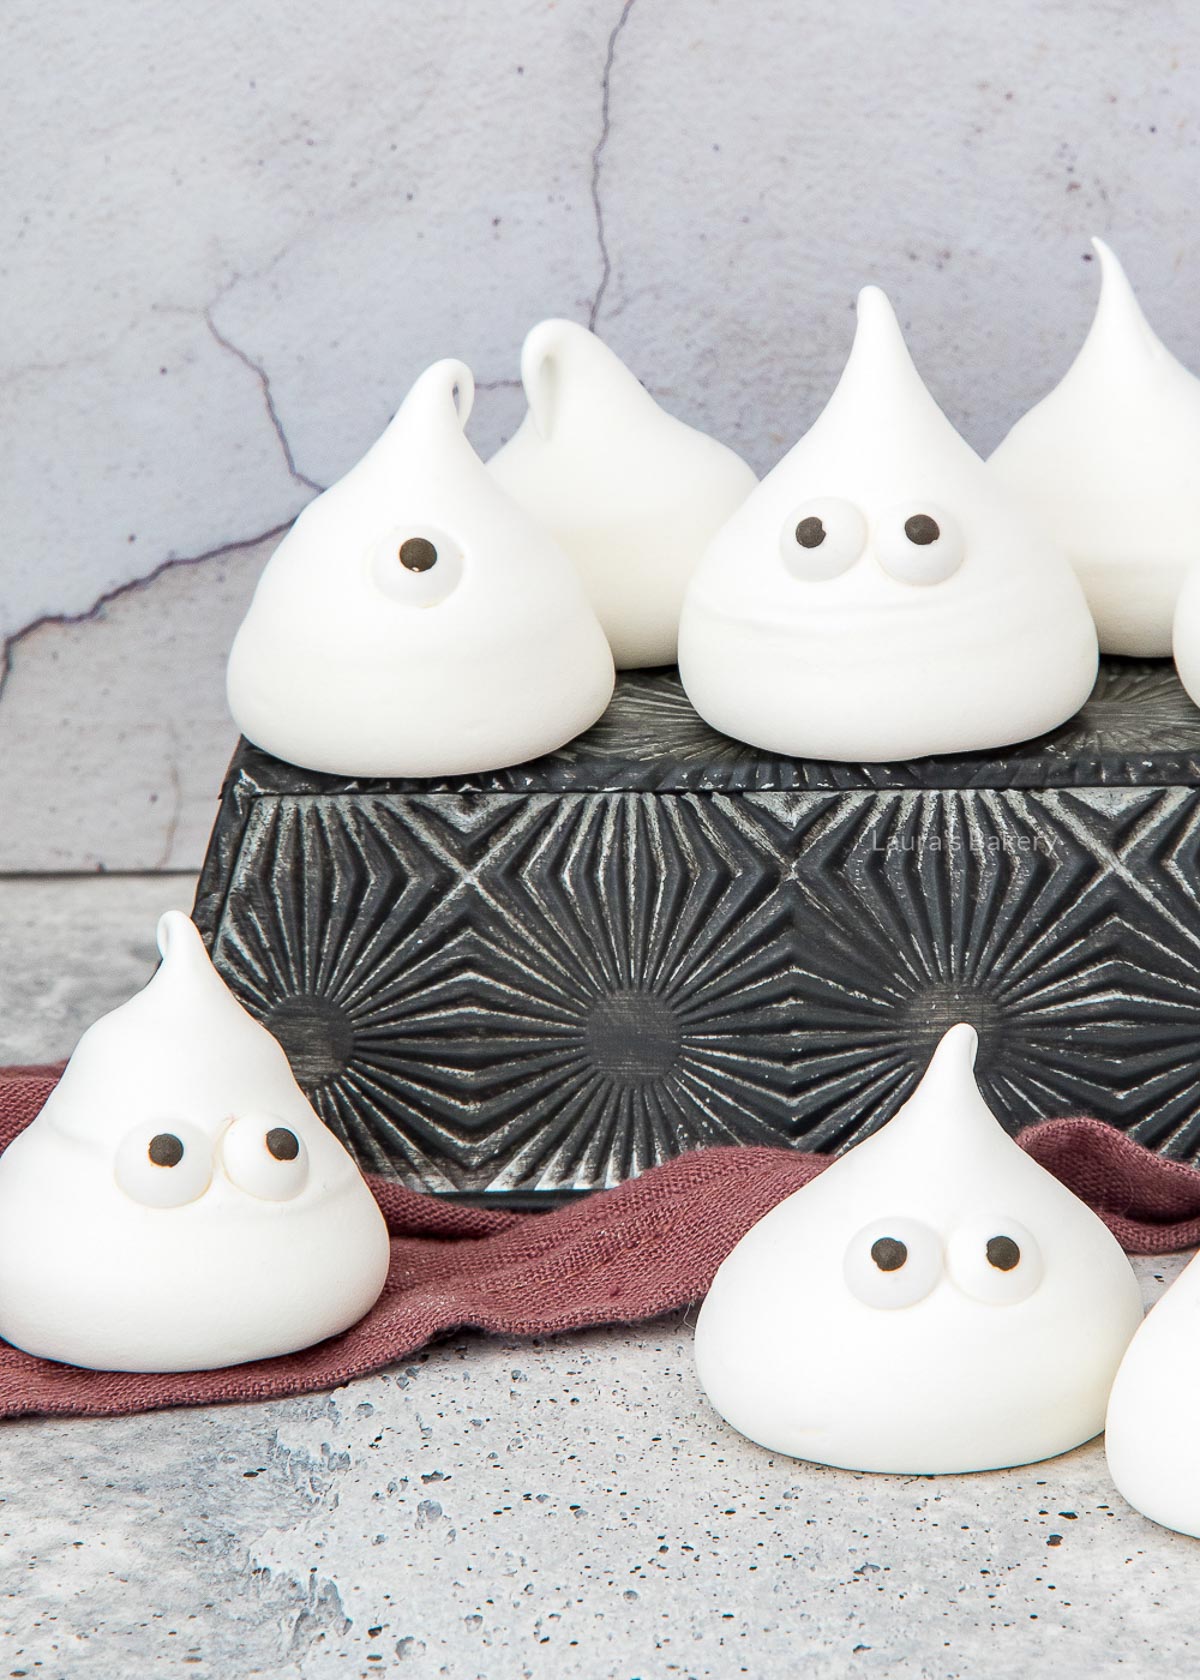
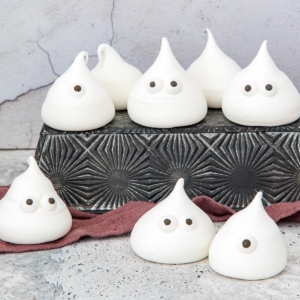
A super fun and tasty treat for a spooky party: homemade meringue ghosts! I mean; how cute do these look right?
They’re adorable and it makes me sing ‘Who you’re gonna call? Ghostbusters!’ all day long. Not sure if that is what you want, but regardless these super cute ghost meringues are the perfect Halloween treat.
What I love about meringue is how simple it is to make. The “batter” is ready in no time, and piping out the shapes is just as quick.
Then they go straight into the oven – the only thing that takes time is the drying. And you can have fun varying the ghost shapes as well. Another great thing to do with the kids.
Obviously, for making these meringue ghosts, you will need a meringue recipe. I generally use French meringue for making these ghosts, which you will find below.
Make sure to check the recipe card below for all ingredients and quantities.
The first step is making the meringue. You can use an electric mixer (handmixer or stand mixer) or use the whisk attachment of your food processor and whip the egg whites to stiff peaks.
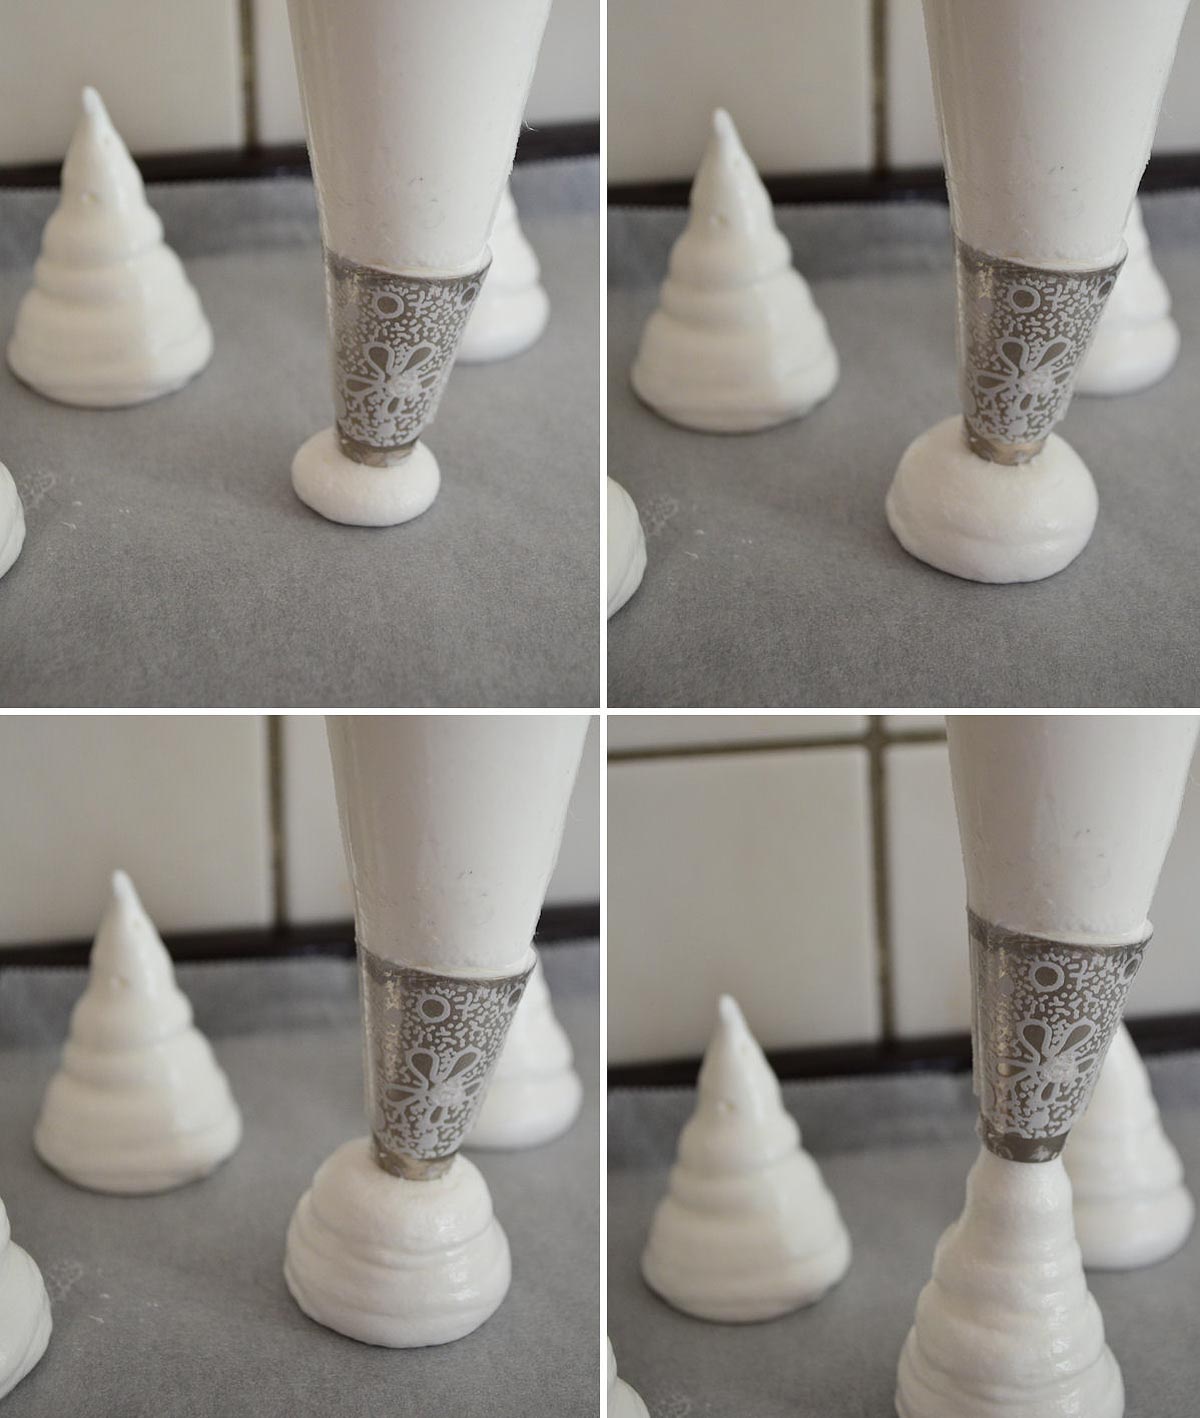
The next step is to pipe the ghost shapes. I use a pastry bag for that and use a plain round tip. Don’t make the tip too small. Now holding the piping bag straight you pipe little ghost shapes.
Hold the bag close to the surface and apply pressure to get the meringue mixture out. Once you have the preferred size you gently lift it upwards. You can vary with the ghost sizes too. Make a fun family with bigger and smaller ghosts.
If you use the sugar candy eyes, you can apply them right away. You can bake them with the meringues.
Now it’s time to get the meringues in the oven.
You don’t really bake meringues; at 100 °C (about 210 °F), they slowly dry out. That process takes around 2 hours. I don’t mind though – it gives me plenty of time to make other treats. Once they come out of the oven, they just need to cool down.
And if they don’t have eyes yet, it’s time to do that now!
So simple, right? The only challenge is having the patience while they’re in the oven. But hey, that just leaves you more time to whip up other fun Halloween bakes. Have you made something spooky yet for Halloween? Or try one of the below fun Halloween treats.
BAKING TIP: A fun alternative to candy eyes is to draw little faces on your meringue ghosts using a black edible marker.
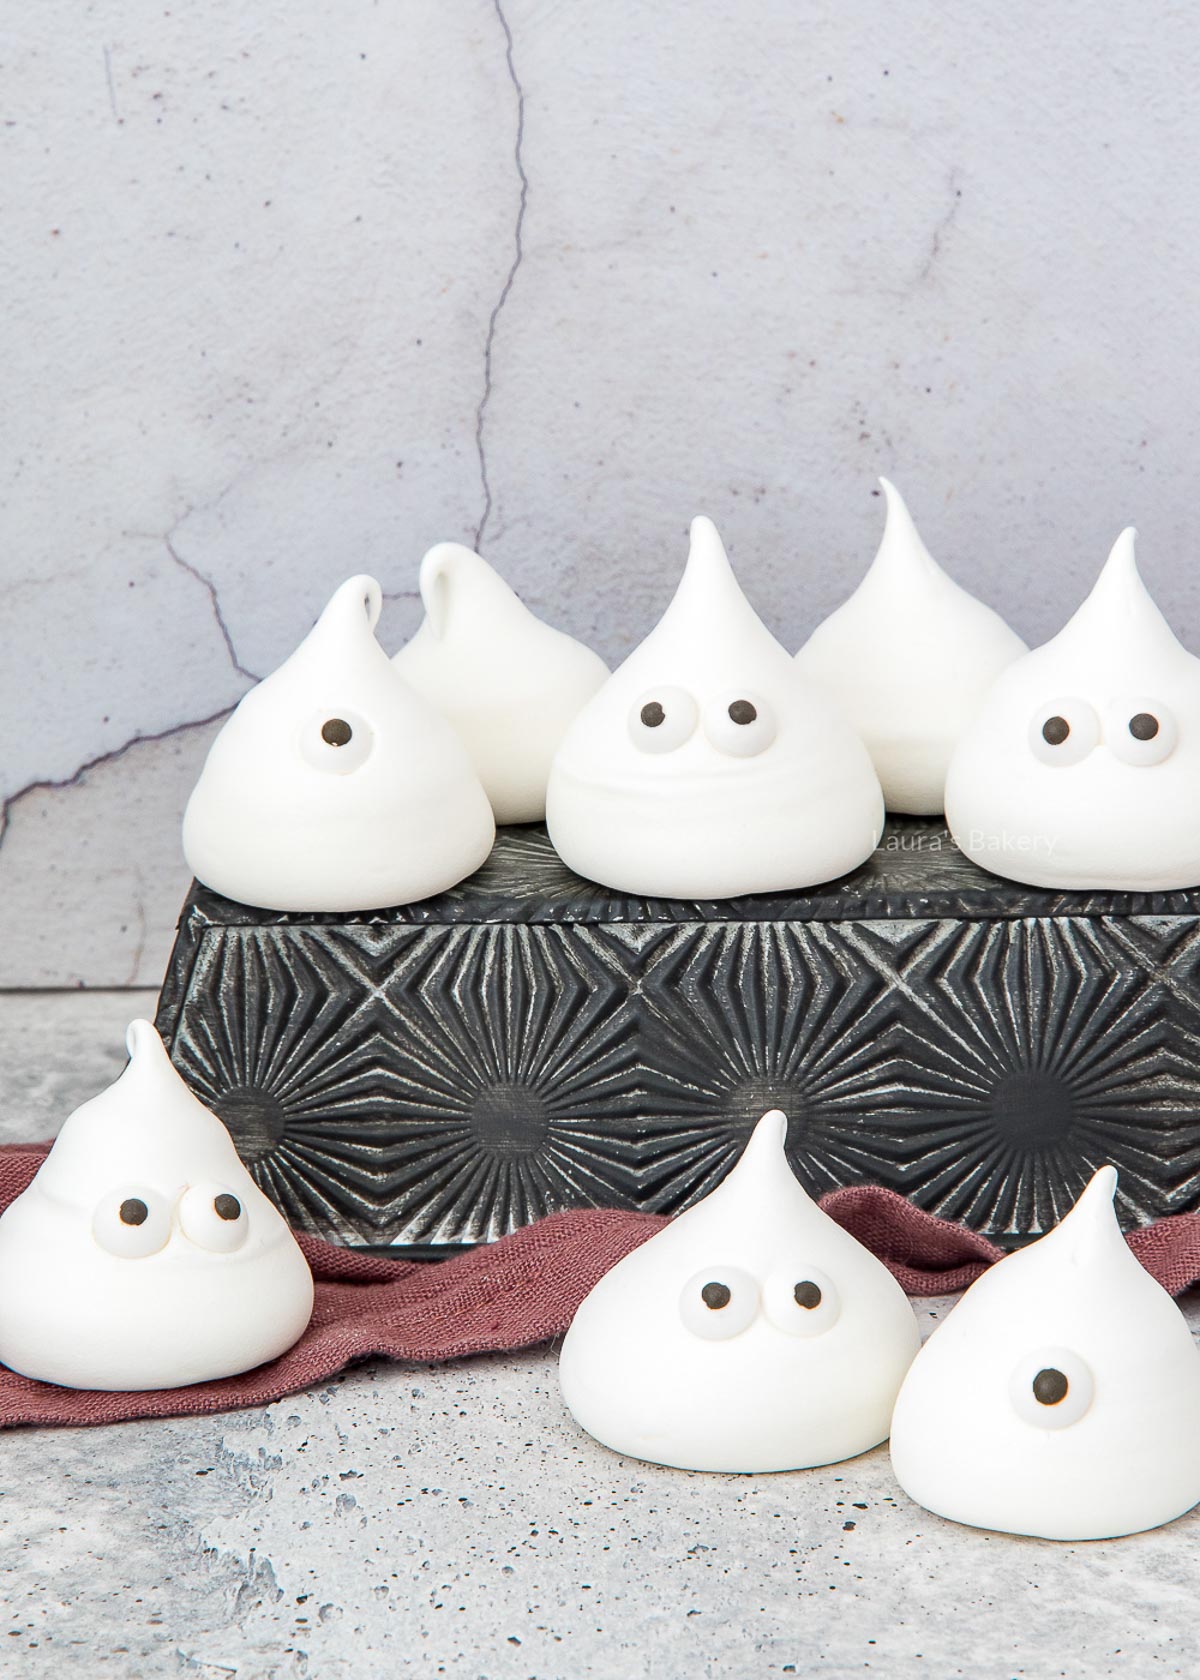
Yes! These keep well in an airtight container for 1-2 weeks, as long as they’re kept dry. That makes them a great make-ahead treat for Halloween parties.
Humidity is the biggest culprit. Store them in a cool, dry place and always in an airtight container. If your kitchen is humid, you can pop them back in the oven at a low temperature (around 90-100 °C / 195-210 °F) for 10-15 minutes to dry them out again.
Nope! You can draw faces with a black edible marker, pipe on melted chocolate, or even use mini chocolate chips as eyes.
Yes, both will work. Just be sure to follow the package instructions for converting to the right amount. I do like to use fresh egg whites myself, as that gives me the best and most firm meringue.
That usually means the oven temperature was too high. Meringues need to dry slowly at a low temperature. Make sure your oven is truly at 100 °C (210 °F) or even a touch lower. Each oven is different.
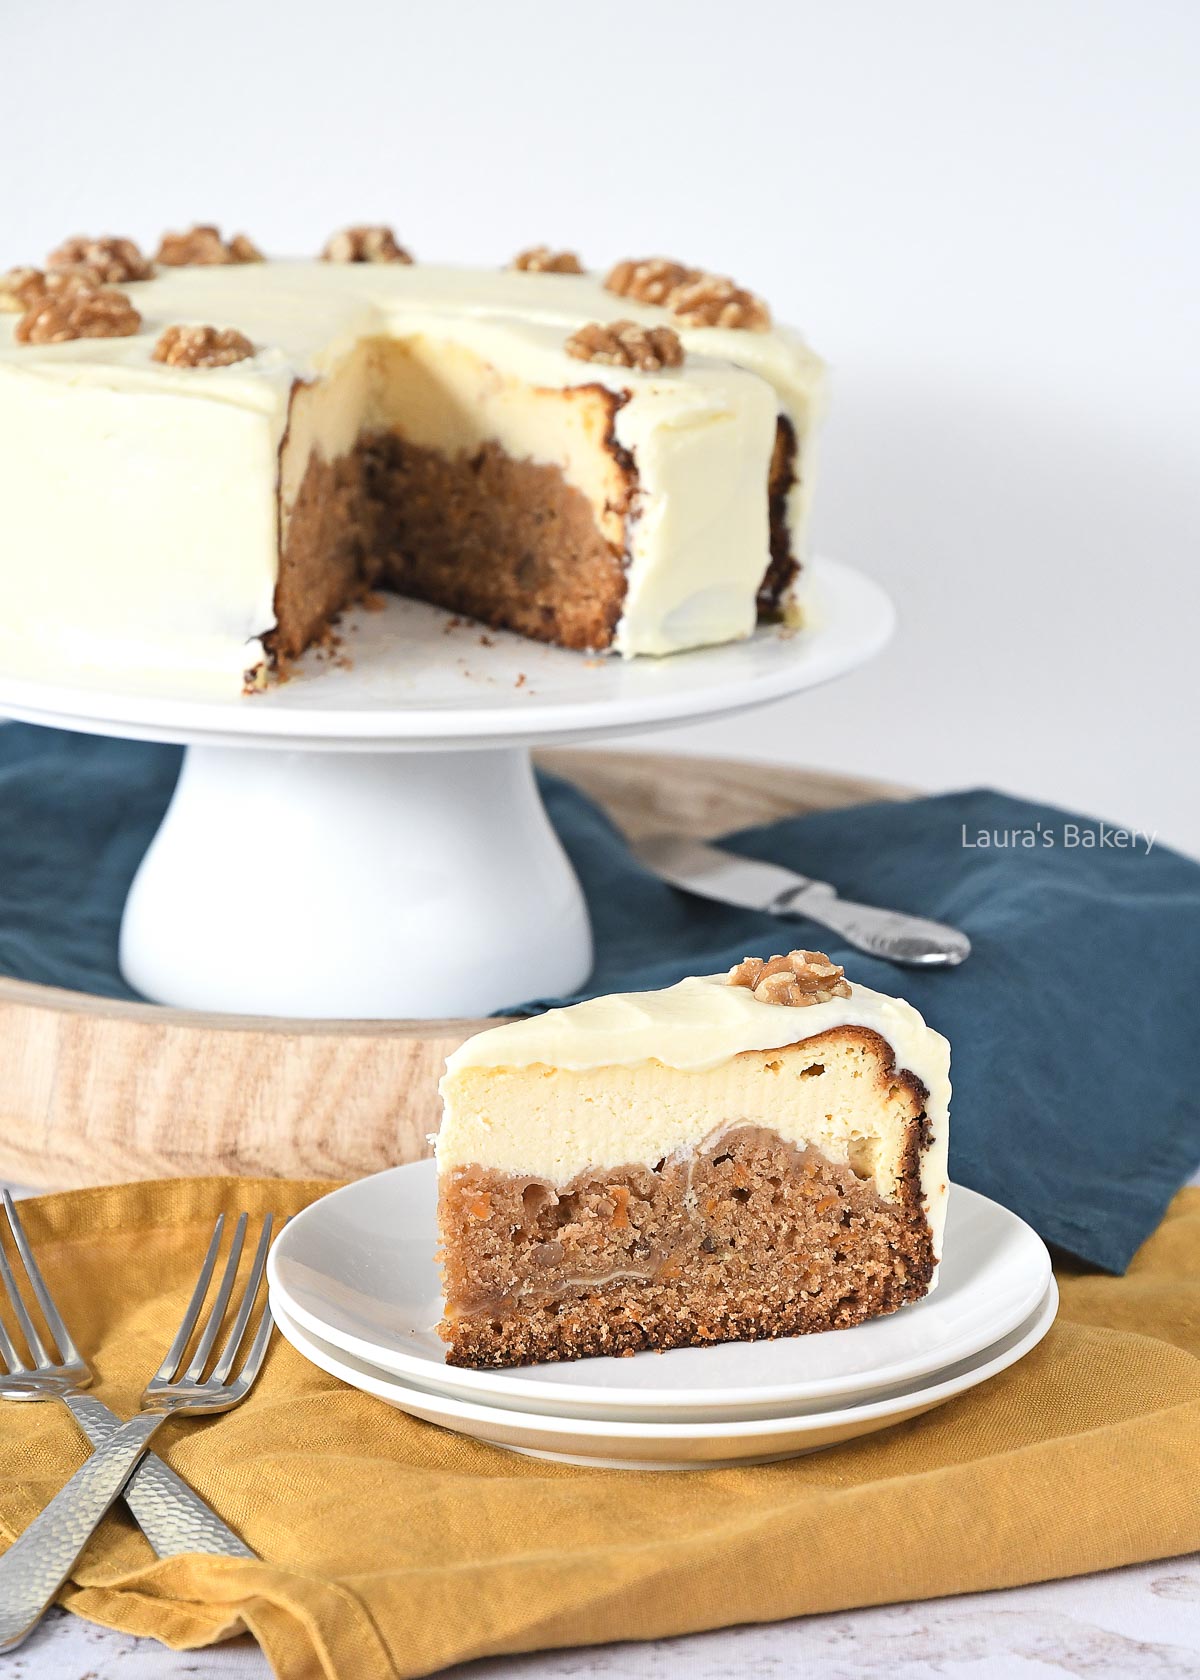
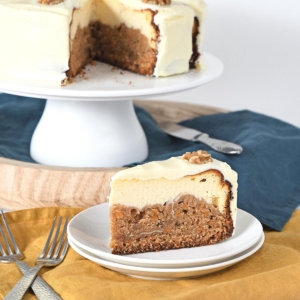
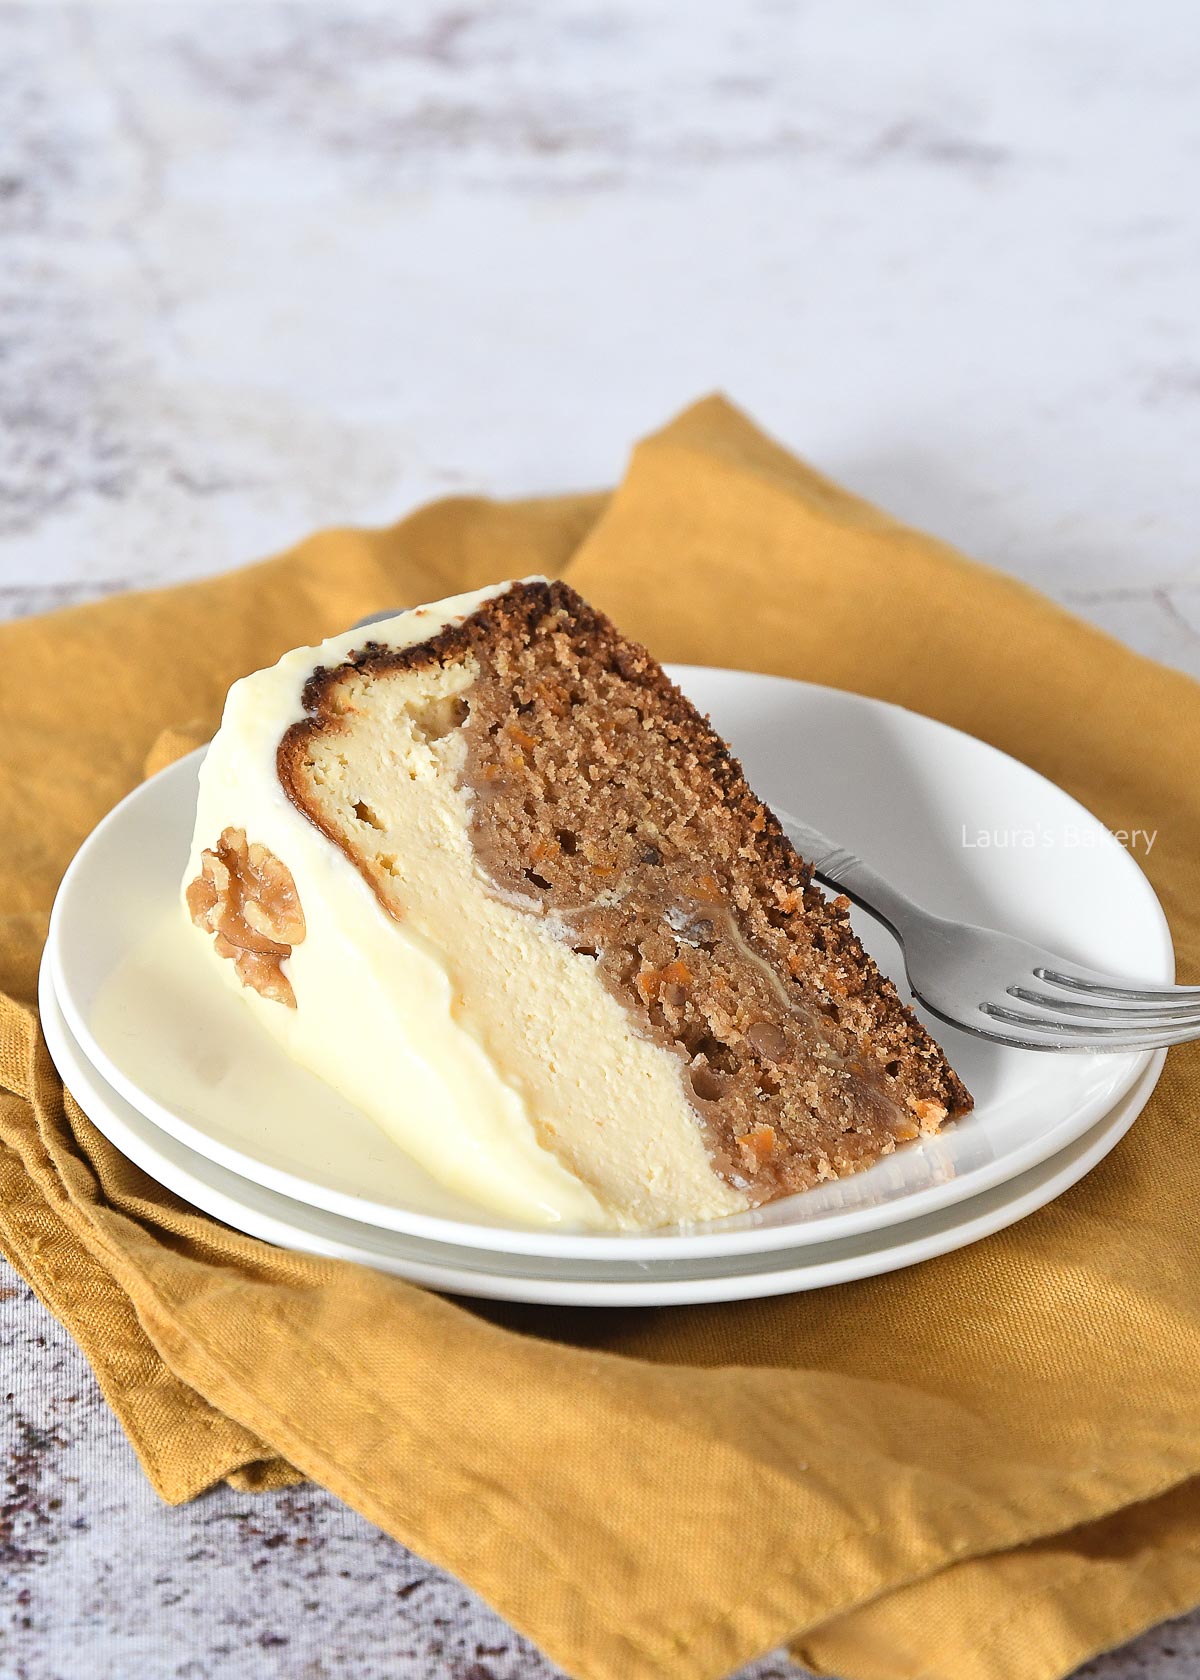
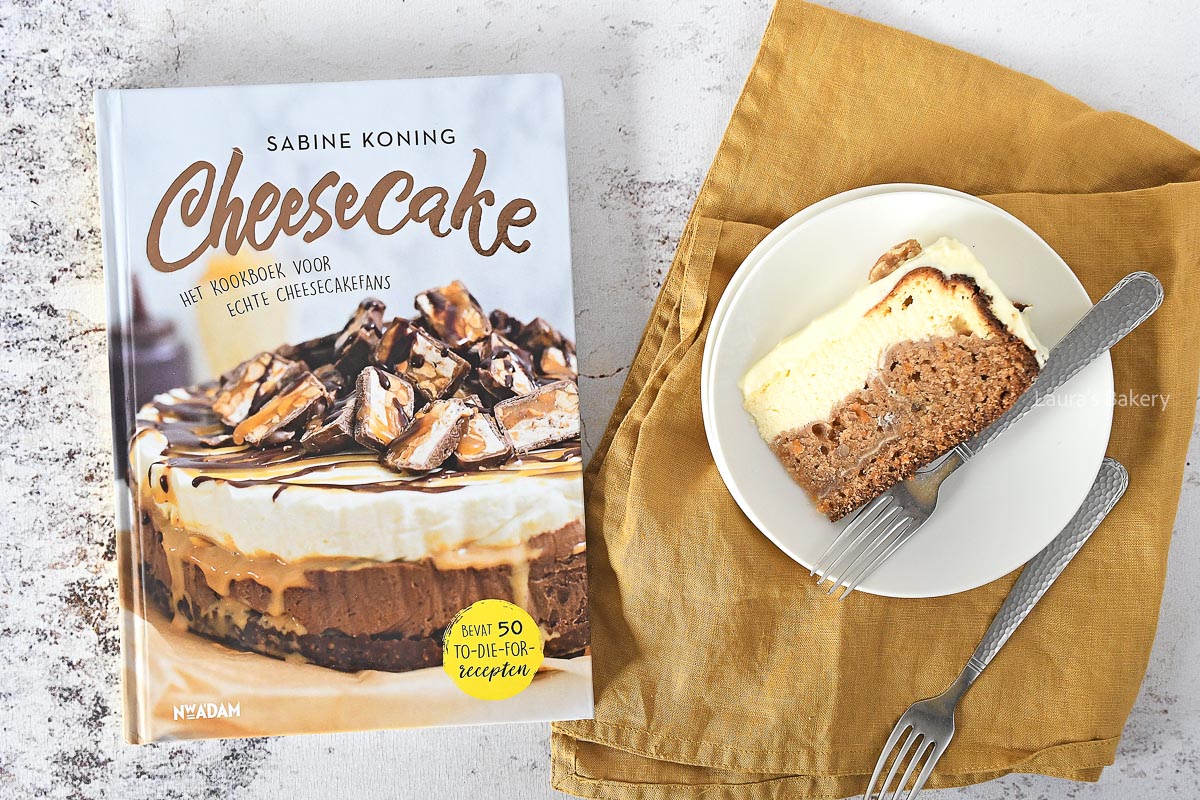
Cheesecakes. I love them! This carrot cake cheesecake is based on a recipe out of the book of one of my Dutch blogging friends: Ohmyfoodness.
I made just a few minor adjustments to the recipe as I thought walnuts are something that is essential in a carrot cake. I also change the cream cheese frosting a little bit so it would be firmer.
If you love cheesecake and you love carrot cake (like my favorite carrot cake recipe!) than this is the best of both worlds. A delicious carrot cake layer topped with a creamy cheesecake layer… Do I need to say more?
Make sure to double check full ingredients and quantities in the recipe card below.
For the carrot cake recipe you simply add all the ingredients into a large bowl. Mix until you have a thick batter and set aside.
To make the second layer, you add cream cheese and sugar into the bowl of a stand mixer. Beat until smooth and add the eggs one at a time. Scrape down the sides of the bowl occasionally and as a last step mix in the sour cream, vanilla extract, and corn starch.
Line an 8-inch (20 cm) springform pan with parchment paper. Spread half of the carrot cake batter on the bottom of the form.
Add about 1/4 to 1/3 of the cheesecake batter into the center, but don’t spread it evenly. Top with the remaining carrot cake batter and finish with the rest of the cheesecake batter. For that last layer, spread it evenly over the top of the cake.
Now bake the cake for about 80 minutes at 180˚C/350˚F. Cover the top of the cheesecake about halfway through with aluminum foil so it doesn’t get too dark. After baking turn of the oven and – with the door slightly ajar, let it cool for at least an hour. Place in the refrigerator to set completely.
Of course this is an optional step, but the frosting really does make a difference! Spread it over the cake and decorate with walnuts.
Me too! I’m sure you will like these too:
Yes, you can. If using all-purpose flour, check how to substitute in this article on self-rising flour.
Definitely. Neutral oils like canola or vegetable oil work just as well. Avoid strongly flavored oils such as olive oil. Or check this article on which oils you can use for baking.
Yes. This step helps the cheesecake set properly, develop the right texture, and makes it easier to slice cleanly. Check the article on making the perfect cheesecake for an explanation.
Yes, but it’s best to freeze it without the cream cheese frosting. Wrap the cake tightly in plastic wrap and foil. It will keep in the freezer for up to 3 months.
Cracking often happens if the cheesecake bakes too quickly or cools too fast. To prevent this, avoid overmixing the batter, don’t skip the cooling step in the oven, and cover the cake with foil halfway through baking.
Adding a small oven dish of water in the oven for some steam works too!

A few years ago, I really had to get used to dates, but by now I’m a big fan. Especially these bacon wrapped dates with cream cheese, they’re delicious.
The sweetness of the date pairs perfectly with the creaminess of the cheese and the saltiness of the bacon.
TIP: With the suggested baking time, the bacon is cooked but not crispy; feel free to leave them in the oven a little longer if you prefer them that way. An easy party snack that’s always a hit!
The combination of the sweet dates with the creamy cheese and the salty and crispy bacon is a classic. And for a good reason too. It’s the perfect appetizer or snack and guaranteed to be a crowd pleaser!
Make sure to use pitted dates to make it easier to make them. I love making this for all the holiday parties coming up soon!

If needed you can pit the dates with a small paring knife, but I like to buy them without the pits at the grocery store. Easier, although removing the pit doesn’t take much time.
Fill each date with cream cheese and wrap each individual date in a small slice of bacon.
Place the stuffed dates on a baking sheet lined with parchment paper and bake for about 8-10 minutes in a preheated oven at 180˚C/350˚F.
And that’s all there is to it! The perfect combination for your snacks. If you have any leftover dates; they will also be delicious on a salad or just as they are as a snack.
Looking for more inspiration for quick or easy party bites? Below you’ll find a selection of tasty recipes you can whip up in no time. Perfect appetizers for a casual get-together, a party, or just as a snack. Or serve it with a delicious mojito cocktail.

Yes! You can stuff and wrap the dates a few hours in advance. Keep them covered in the refrigerator until you’re ready to bake.
Definitely. Just extend the baking time by a few minutes until the bacon reaches your preferred crispness. Keep an eye on them so the dates don’t burn.
Thin-cut bacon is ideal because it cooks evenly and wraps easily around the dates. Thick-cut bacon may need extra baking time.
Yes. Goat cheese, blue cheese or even brie can be used for a more tangy or rich flavor.

The December month is getting closer and you know what that means! It means that cranberry season is upon us.
And while you actually use dried cranberries for this recipe for cranberry orange cookies (so you can make it all year round), I find it particularly good in December.
Perfect for your holiday cookie tray (next to, for instance, these cranberry thumbprint cookies, chocolate chip cookies or red velvet cookies.
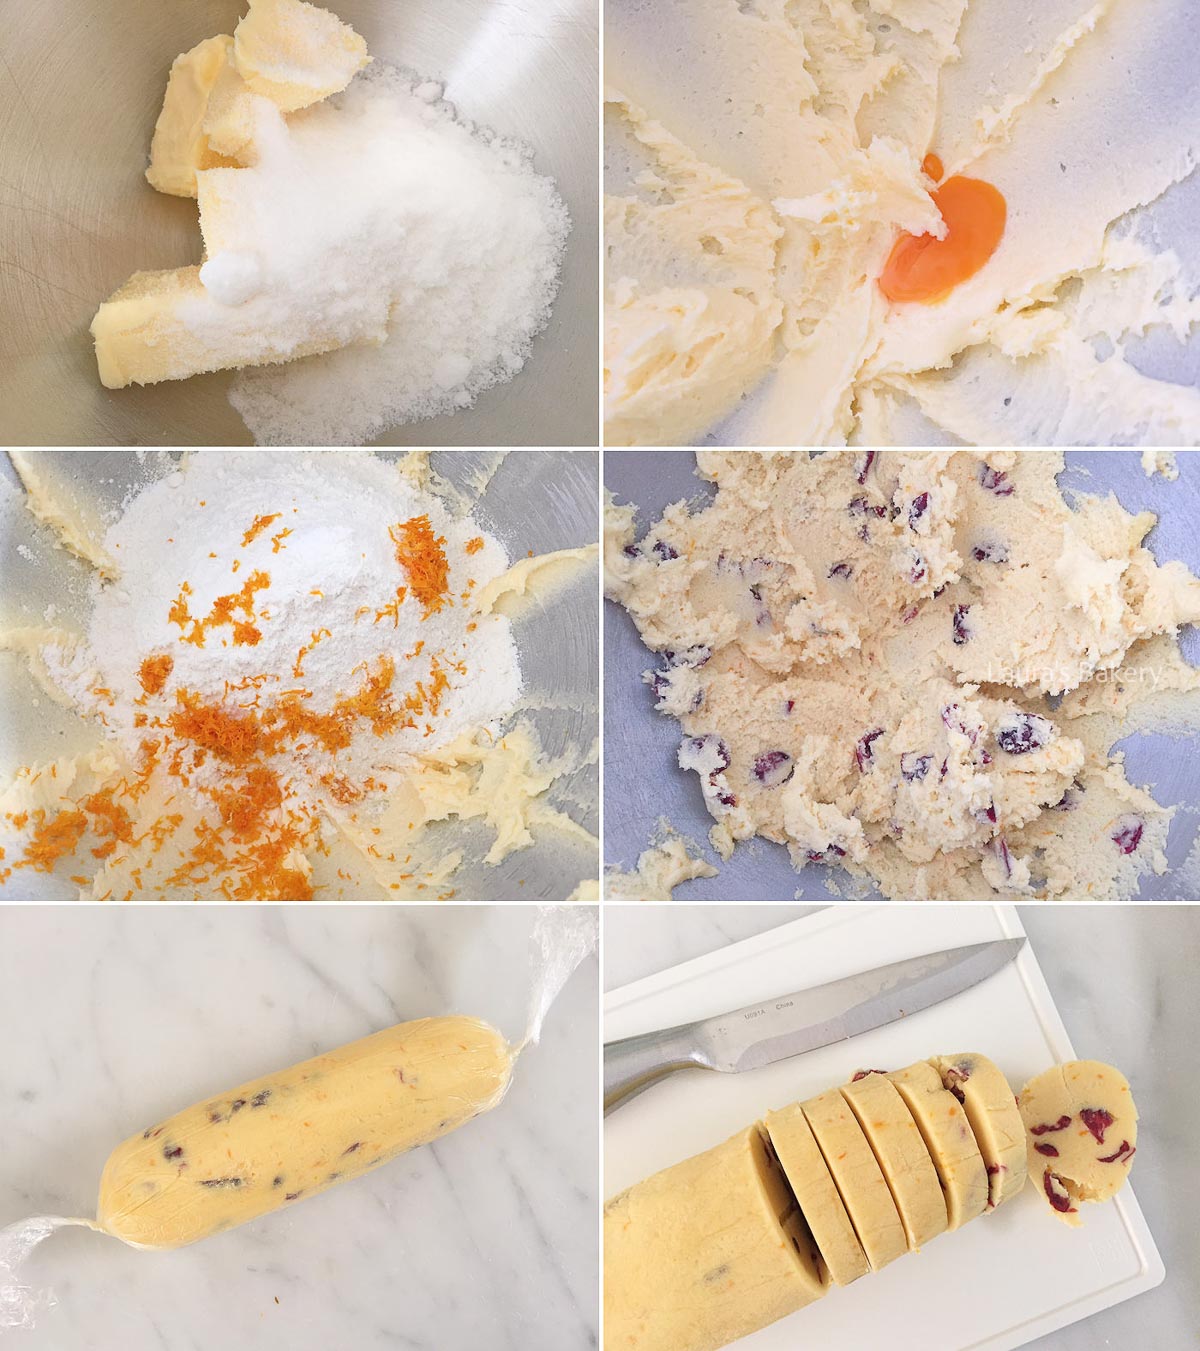
First step is to cream the butter with the sugar, vanilla sugar (or extract) in a large bowl. Add the egg yolk in and mix everything on medium speed until creamy. Scrape down the sides of the bowl as needed.
Next step add the flour and the salt as well as the orange peel to the bowl. Mix it until a cookie dough forms.
Now shape the dough into one or two cookie dough logs and make sure to wrap it tightly in plastic wrap and chill in the fridge for at least an hour. You can also freeze the dough at this point.
Once the dough is chilled slice it into rounds and place on a prepared baking sheet. Bake the cookies for about 12-14 minutes at 180˚C/350˚F or until lightly golden brown. Make sure to let the cookies cool down on a wire rack before you place the cooled cookies in a cookie jar.
You can store the cooled cookies in an airtight container for up to 4 weeks (although I do guarantee they will not last that long!).
One thing to note is that cookies can turn a little soft in a completely airtight container. It helps to store them in a metal tin which usually doesn’t completely close off. That way the cookies will remain crispier.
You can also freeze the cookies for about 3 months.

It depends on the recipe, but chilling usually helps the cookies keep their shape and prevents spreading too much while baking. If your dough feels soft or sticky, chilling for 30-60 minutes is recommended.
Definitely! White chocolate chips, dark chocolate chunks, or chopped pecans/walnuts all pair beautifully with cranberry and orange.
Dry cookies can happen if the flour was over-measured or if they were baked too long/hot. Use the spoon-and-level method for flour and check for doneness a minute or two earlier next time. Or even better: use a measuring scale!
Yes, you can substitute a good 1:1 gluten-free flour blend. The texture will change slightly, but the flavors will still be good. That said; I have not tested the cookies with a gluten-free flour blend.
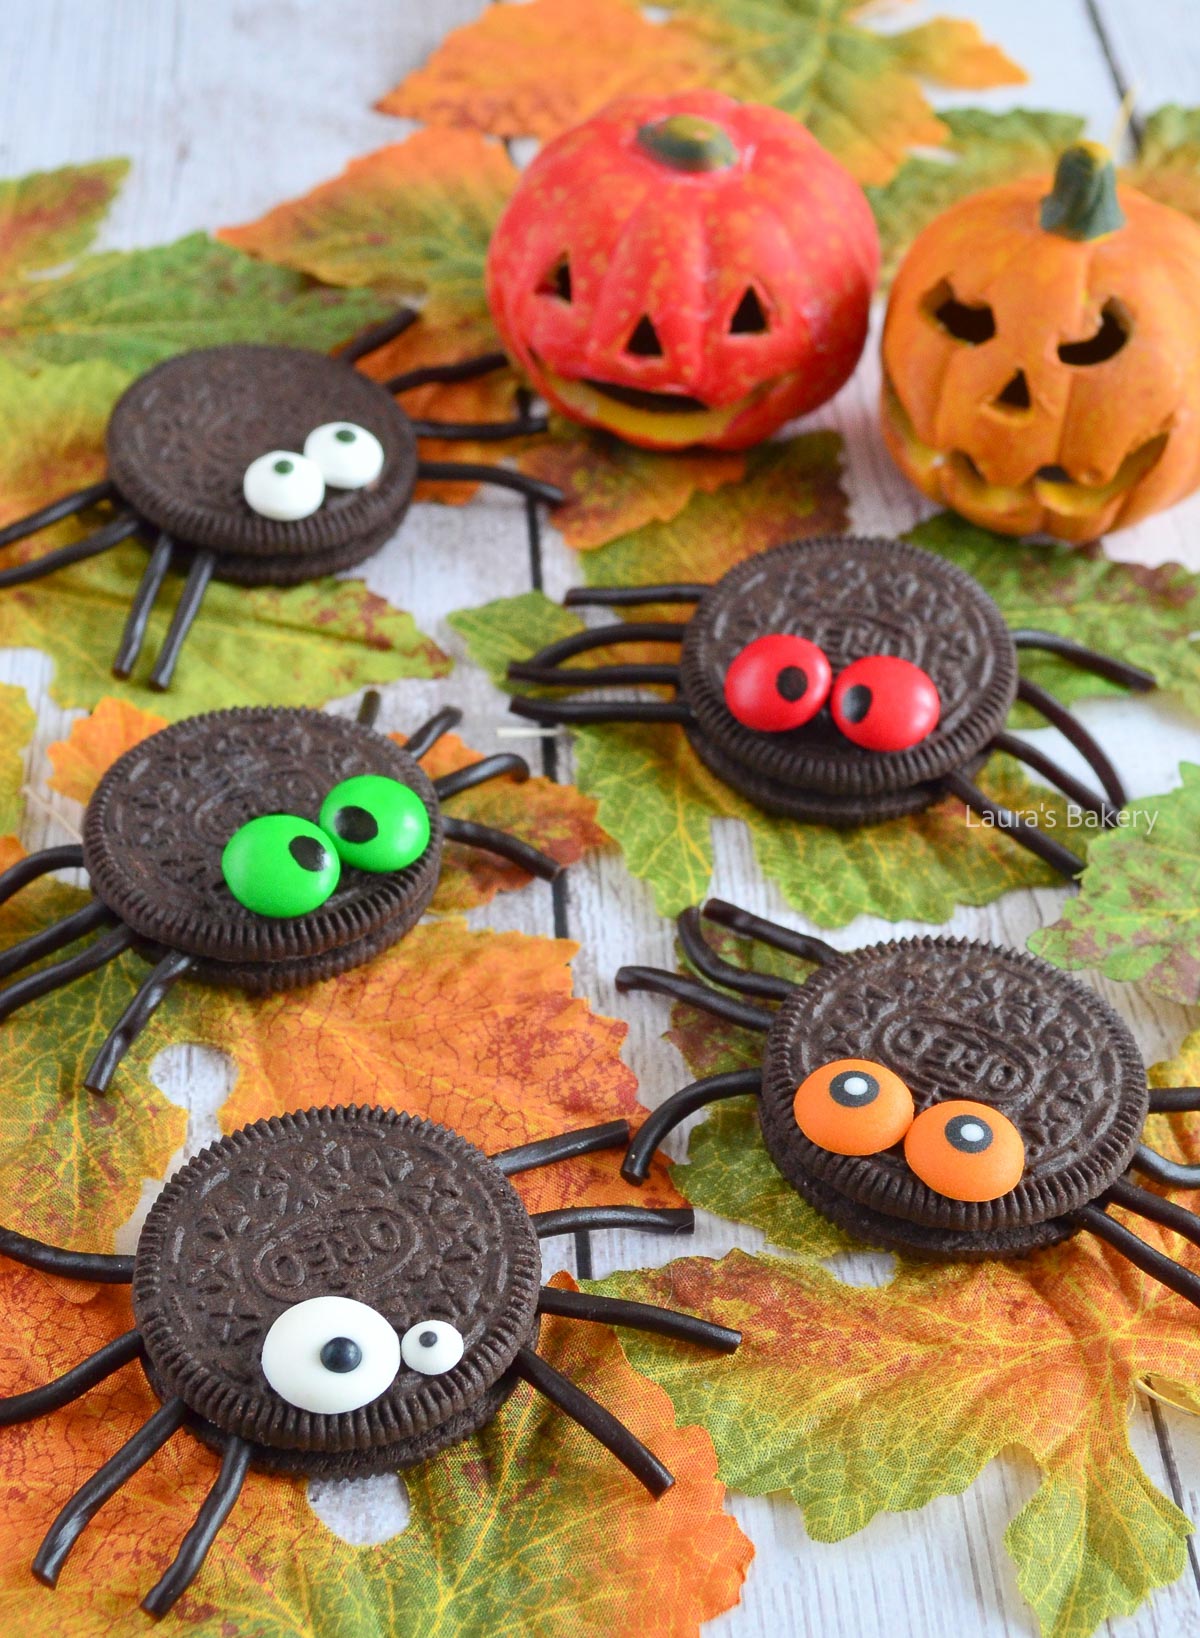
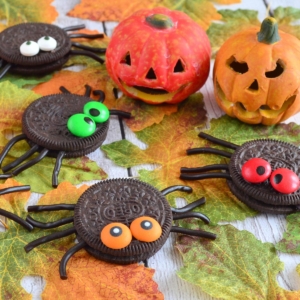
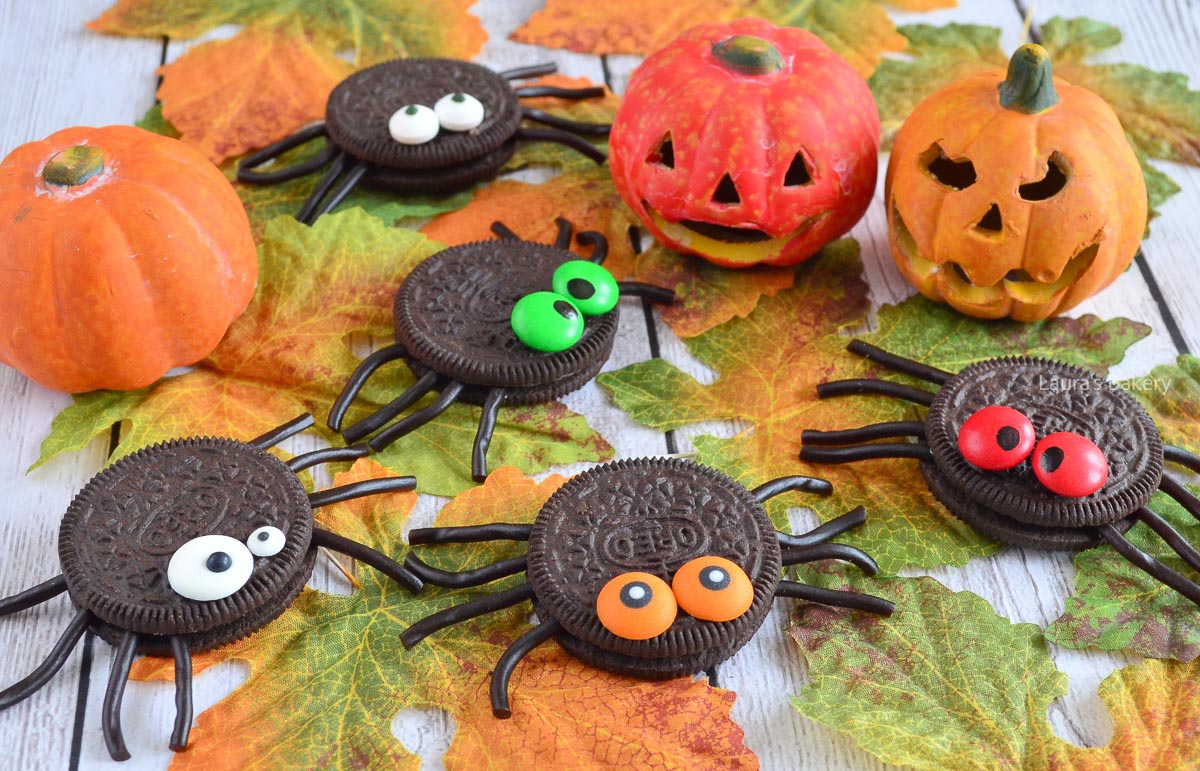
Oreo cookies are just so versatile. You can use Oreo cookies for all kind of baking recipes, but you can also make fun Halloween treats out of the cookies. I’ve previously turned them into mummies but this time I went with Oreo spider cookies. How cute are these?
These spooky spider cookies are so simple. You can make them as silly or spooky as you like. You could even add little teeth if you want.
I had fun using different kinds of eyes to make a cheerful and goofy collection of Oreo spiders cookies. And it’s absolutely fun to do this with kids too. Let your imagination run wild!
BAKING TIP: Go all out when it comes to the eyes for these Oreo spiders. I used M&M’s and different sizes of candy eyes.
Oreo’s are perfect for many baking recipes, these are a few of my favorites!
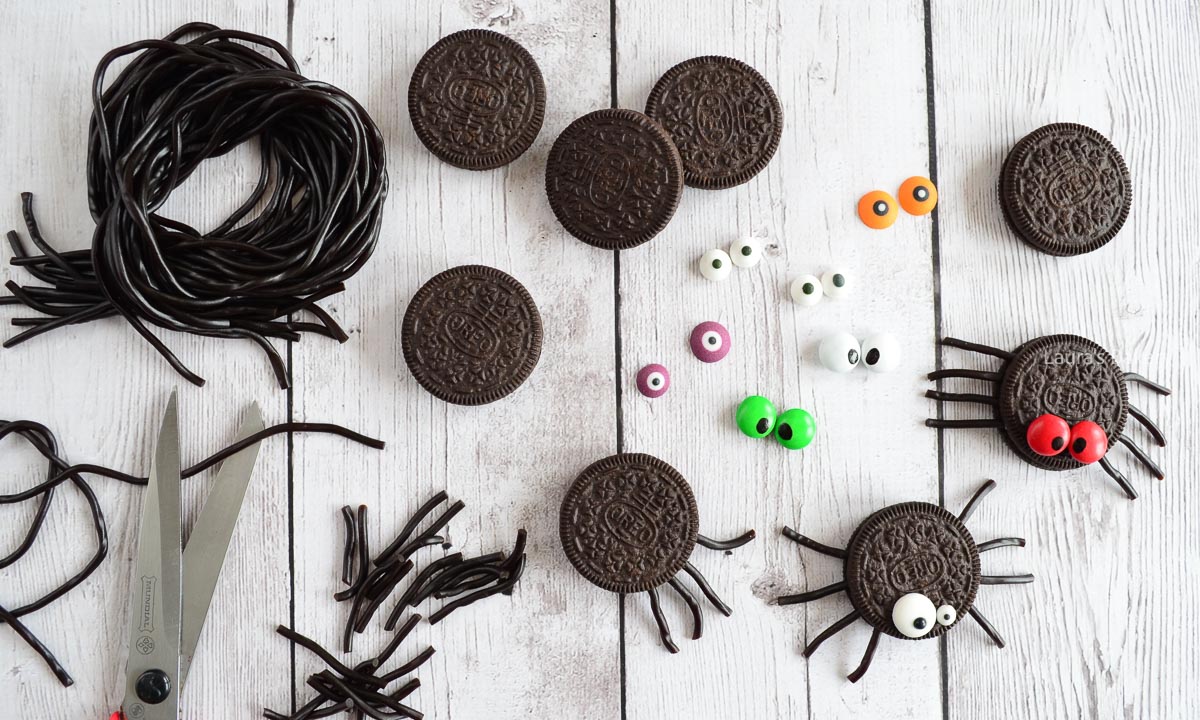
You need just a few simple ingredients for making these Oreo spider cookies. But you can vary however you like.
For the cute spider bodies you will need regular sized Oreo cookies. For the spider legs I’ve used string licorice (see note below for options)
For the eyes you can go with M&M’s, make your own with royal icing or buy candy eyes.
Depending on where you live in the world this might be an ingredient that is hard to find. You can replace the black licorice with Twizzlers pull & peel for instance.
Or use pokey sticks or pretzel sticks. At the end of the day it doesn’t have to look perfect.
Cut the licorice or Twizzlers into smaller pieces. Now take an Oreo cookie and insert the spider legs into the filling on the side of the oreo. Four legs on each side.
Now attach the eyes of your choice to the cookies. I used a bit of chocolate frosting to do this, but royal icing works or anything that is tasty and will stick on top of the oreos.
For the M&M eyes I used a black edible marker to draw on the M&M’s. But a bit of melted chocolate will work here too.
Yes! You can prepare them up to a week in advance. Just store the spiders in an airtight container at room temperature.
In the Netherlands, string licorice (“dropveters”) is common. In the US, the easiest substitute is Twizzlers Pull ‘n’ Peel, since you can separate the strands and cut them to size.
Not at all! You can also use pretzel sticks, thin chocolate-covered sticks (like Pocky), or even pipe chocolate “legs” onto parchment, let them harden, and attach them.
Most craft stores (like Michaels) and big-box stores (like Walmart or Target) carry Wilton candy eyes in the baking aisle. You can also order them online.
Melted chocolate works great for drawing pupils on M&Ms or making expressions on the eyes. Just use a toothpick or piping bag with a very fine tip.

I love all kinds of tiramisu with fruit in them, but this blueberry tiramisu really stands out. That’s partly because of the combination with lemon curd, which makes it such a wonderfully fresh dessert.
If you’re looking for a show-stopping dessert that’s both easy to prepare and looks beautiful, this tiramisu is perfect. After a few hours in the fridge, it sets nicely so you can cut it into neat slices to serve on plates.
When will you be trying this recipe? And if you love tiramisu; I’ve got a couple more lined up for you. Make sure to try this easy limoncello tiramisu, the raspberry and lemon tiramisu, blackberry tiramisu or the classic tiramisu.
BAKING TIP: You can prepare this tiramisu in a baking dish, layer it in small glasses, or even build it individually on plates.


In a large bowl add the heavy cream, mascarpone, lemon curd and sugar. Beat until soft peaks form and the mixture is smooth and thick.
In this case the dipping sauce consists of blueberry syrup which is diluted a bit. You will use this to dip the ladyfingers in.
Start by building the layers for the tiramisu. You begin with a layer of lady fingers dipped into the liquid. Spread just a little under half of your mascarpone mixture over the lady fingers. Scatter some blueberries over the tip and a little bit of the mascarpone over the berries. Make sure to keep about half of the mixture for the top layer.
Make the second layer and finish with the mascarpone. Cover the entire top of the tiramisu with blueberries. Cover with plastic wrap and let it set in the fridge for at least an hour. Serve chilled.
You can store the tiramisu in the fridge for 3-4 days. It will become a little bit more compact after a day but the flavors are also more intense.
I don’t recommend to freeze homemade tiramisu, as the texture will change slightly. It is possible though if you don’t mind a slightly different texture. In an airtight container, the tiramisu will keep for up to 3 months in the freezer.
Yes! In fact, it tastes even better the next day because the flavors have more time to blend. Just keep it covered in the fridge until serving.
Yes, but make sure to thaw and drain them well first, otherwise the tiramisu can become watery. Fresh blueberries will give the best texture and look.
You can substitute with diluted fruit juice (like blackcurrant or grape juice). A splash of lemon juice in the syrup also adds a nice tang.
Yes! Instead of a large dish, layer the tiramisu in small glasses, cups, or even build mini portions directly on plates.
No, you can beat the cream, mascarpone, lemon curd, and sugar all together in one step until smooth and thick.
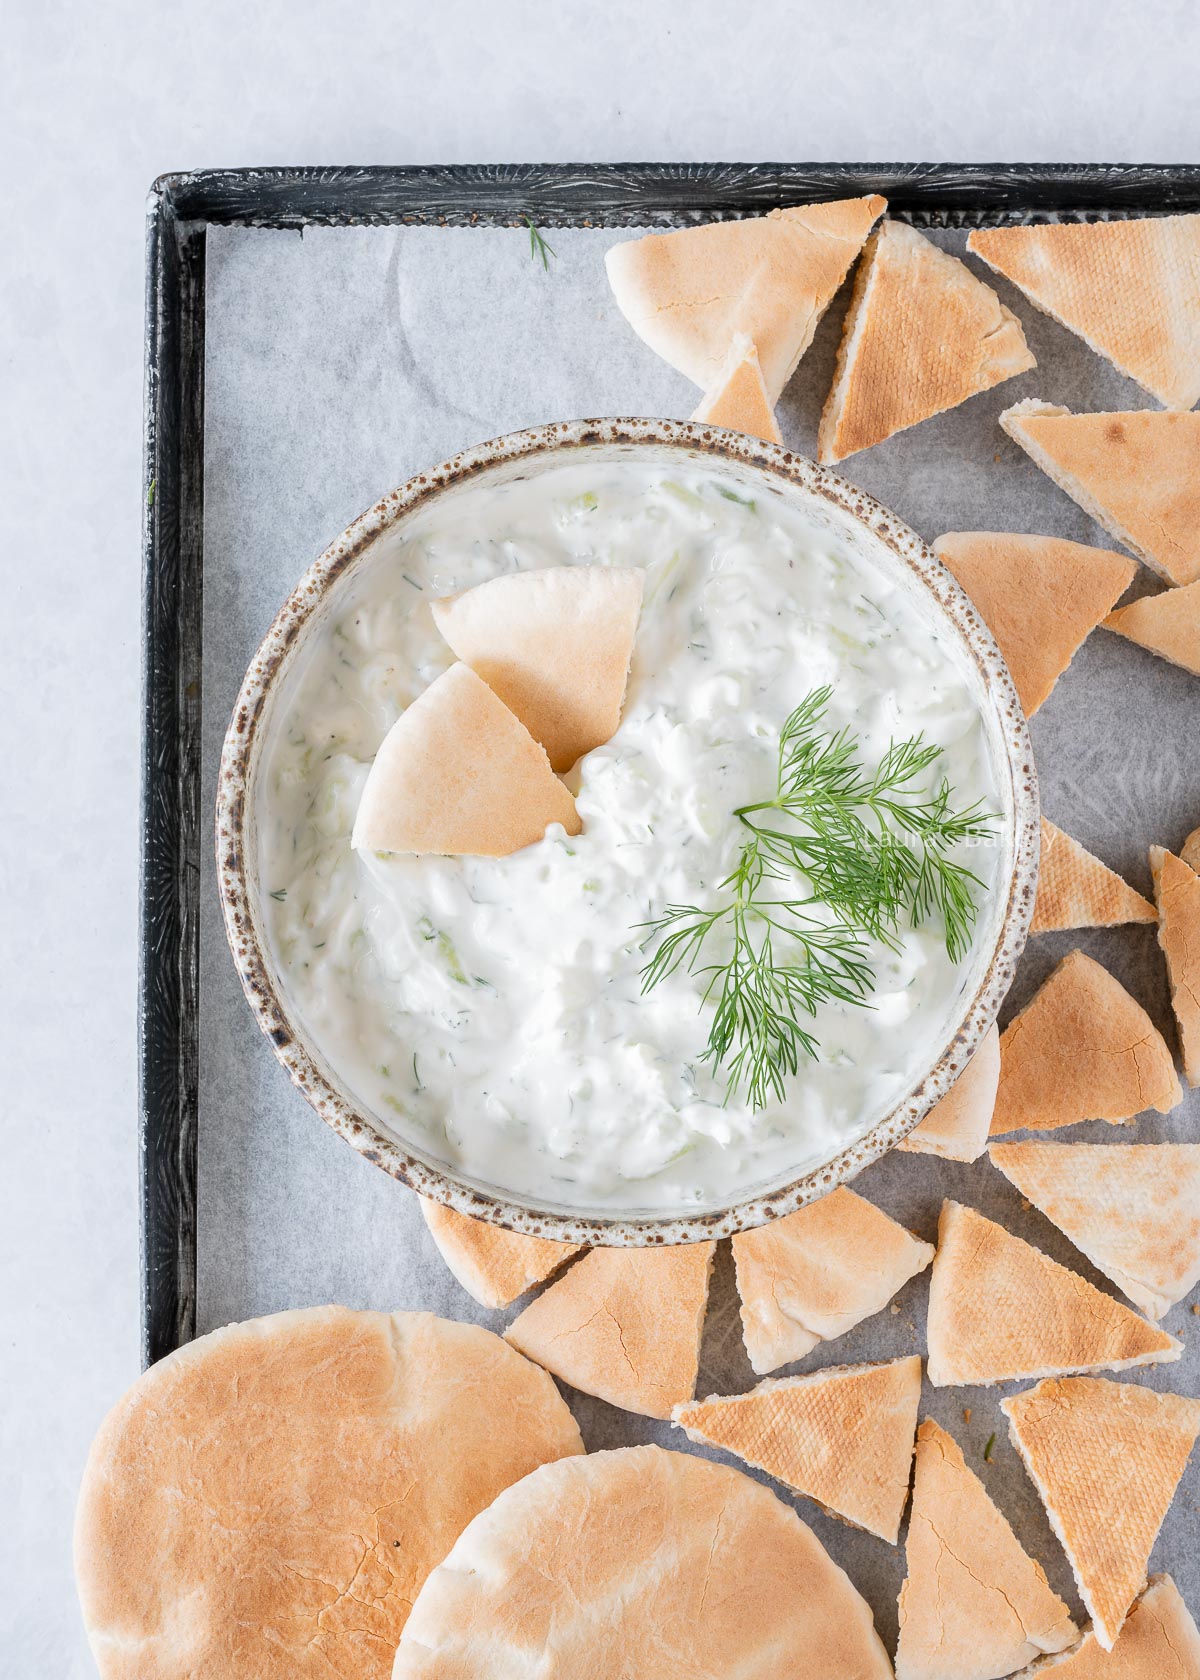
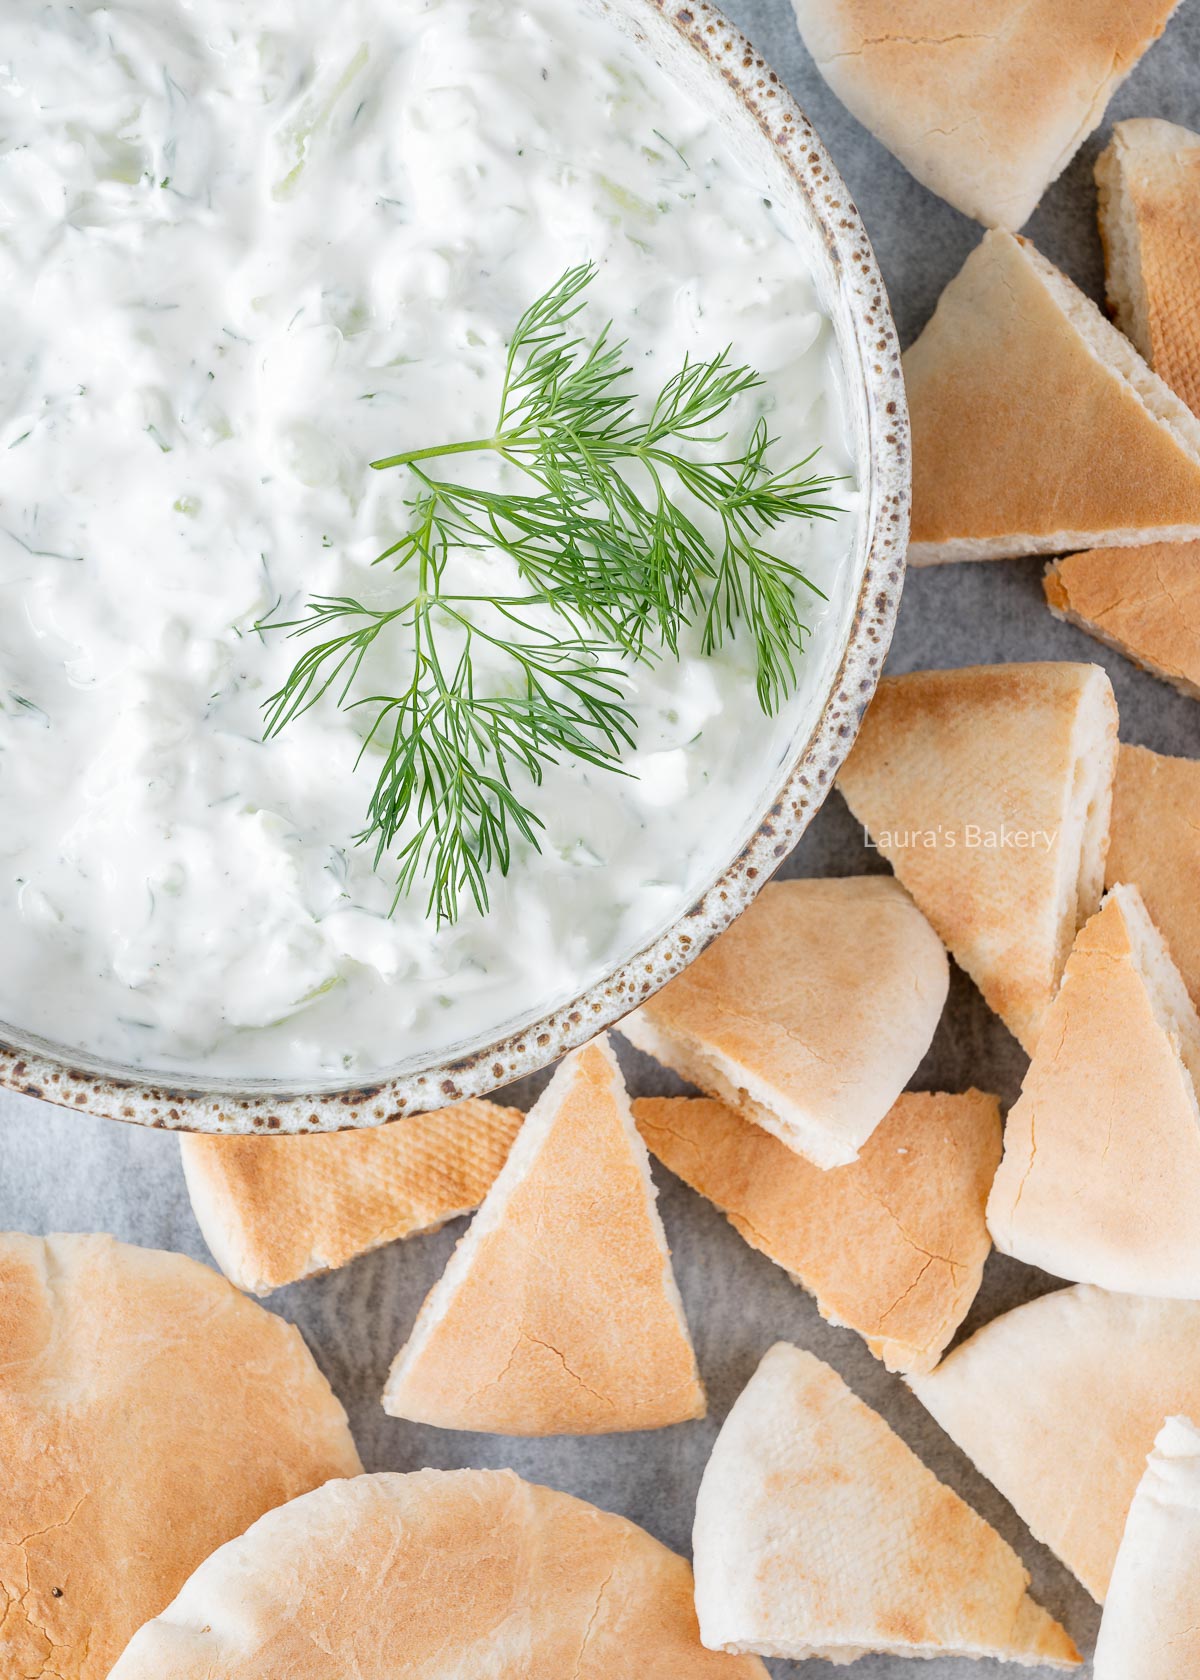
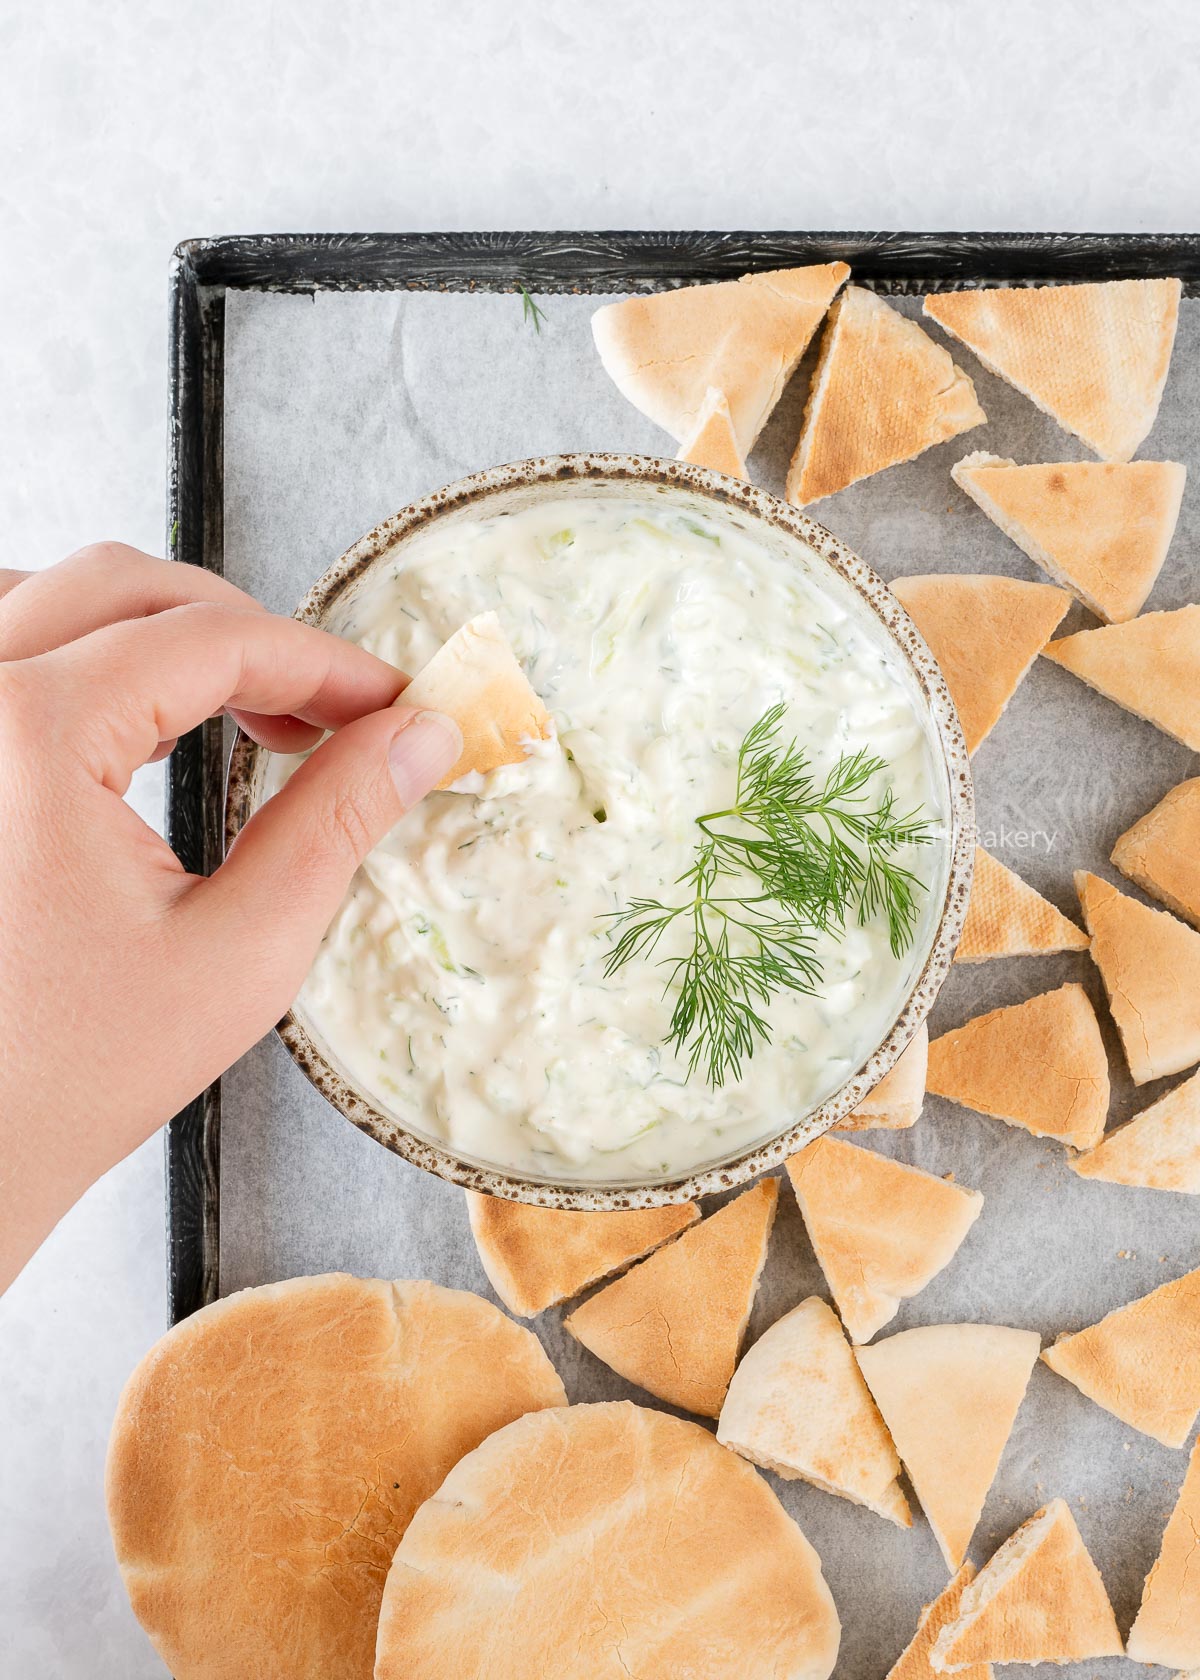
Years ago, I got a Greek cookbook for my birthday. The very first recipe I tried from it was tzatziki and it was delicious!
Later on, out of convenience, I did buy tzatziki from the supermarket once or twice, but it was nowhere near as good as the homemade version. Since then, no more store-bought tzatziki for me, I always make it myself. And honestly, it really doesn’t take that much time.

I really don’t mind using ready-made products from the store if they are good and delicious. But I’ve never tasted a store-bought tzatziki that could match or be better than my own recipe. I make it all the time and for food reasons:
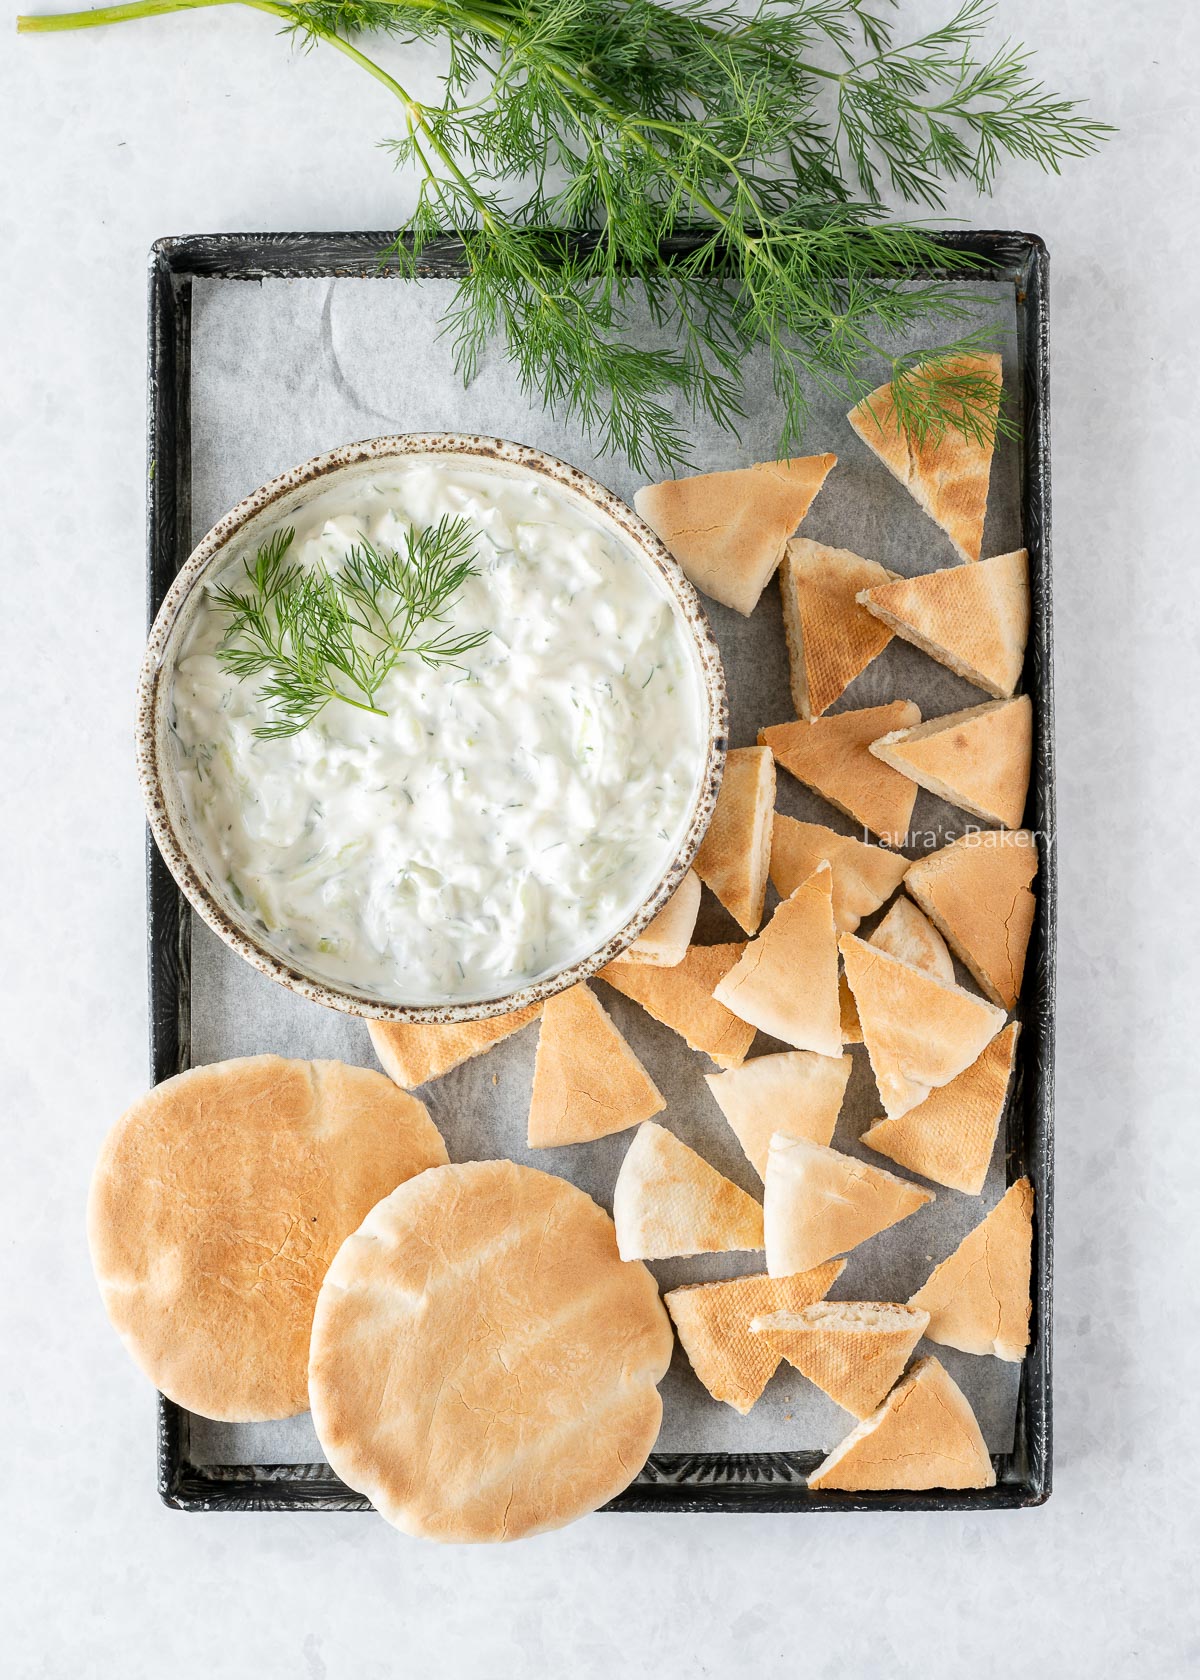
Make sure to double the exact quantities and full ingredients in the recipe card below.
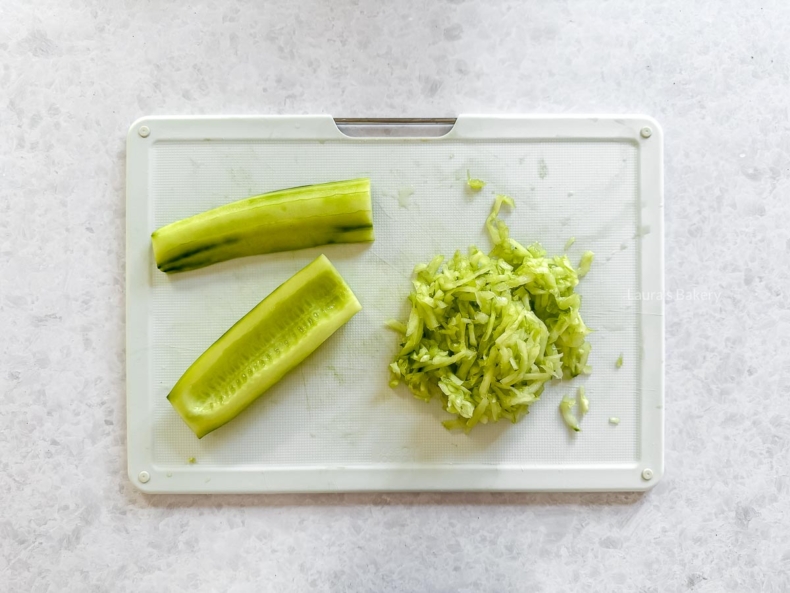
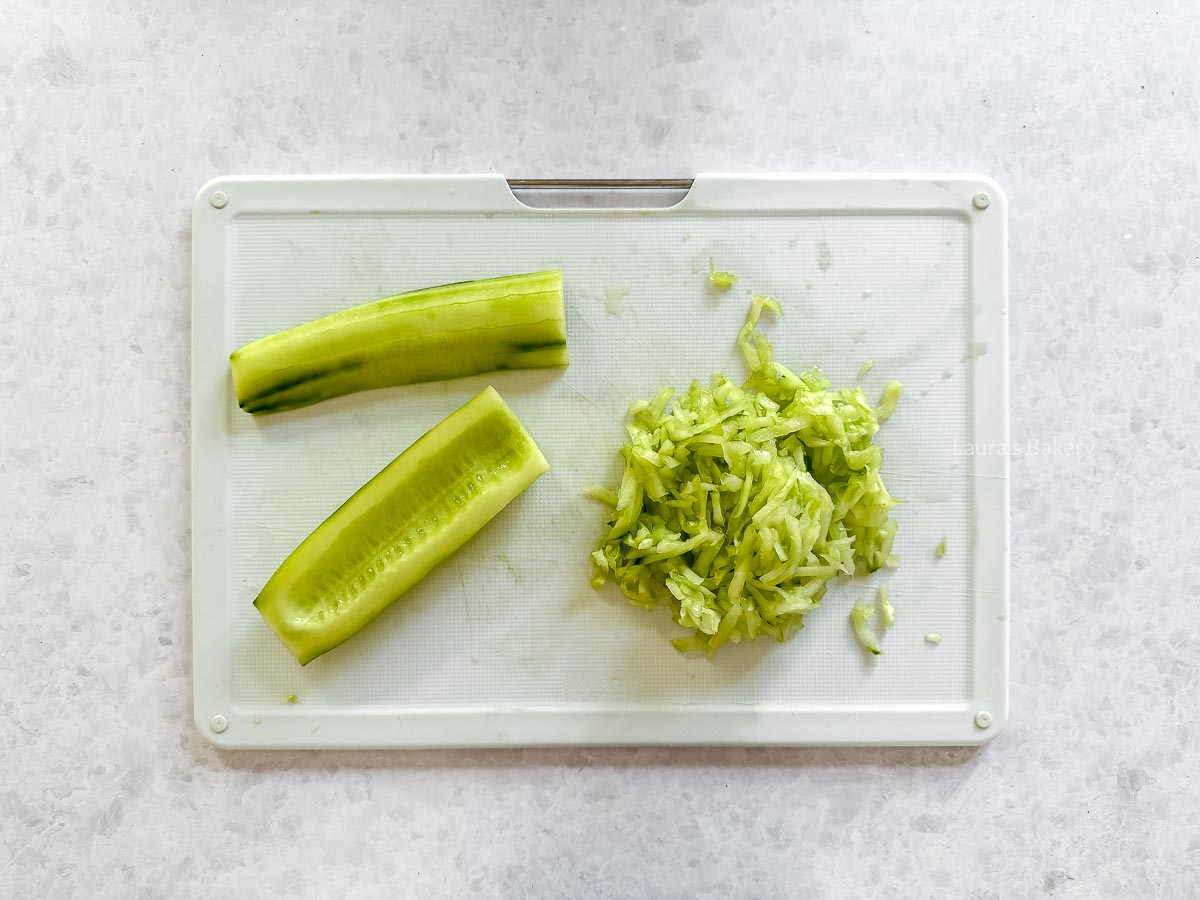
Clean the cucumber, remove the seeds and grate it on a coarse grater
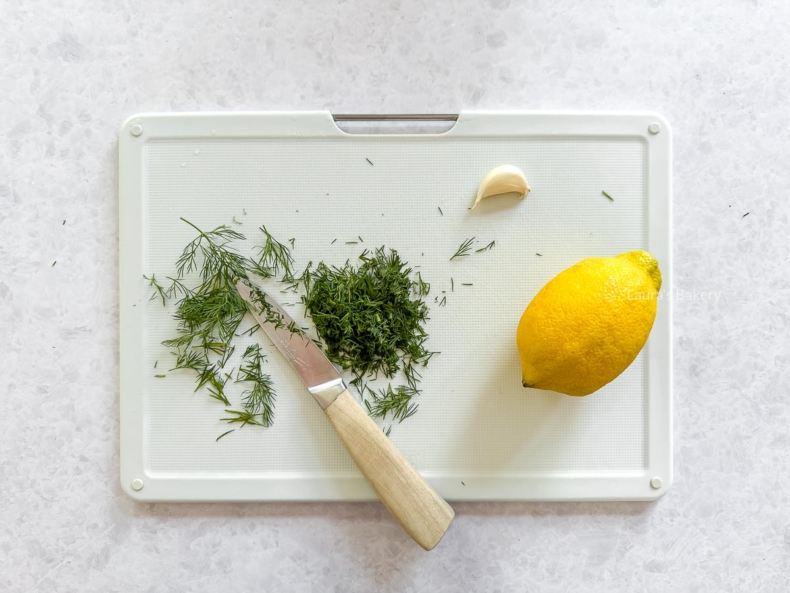
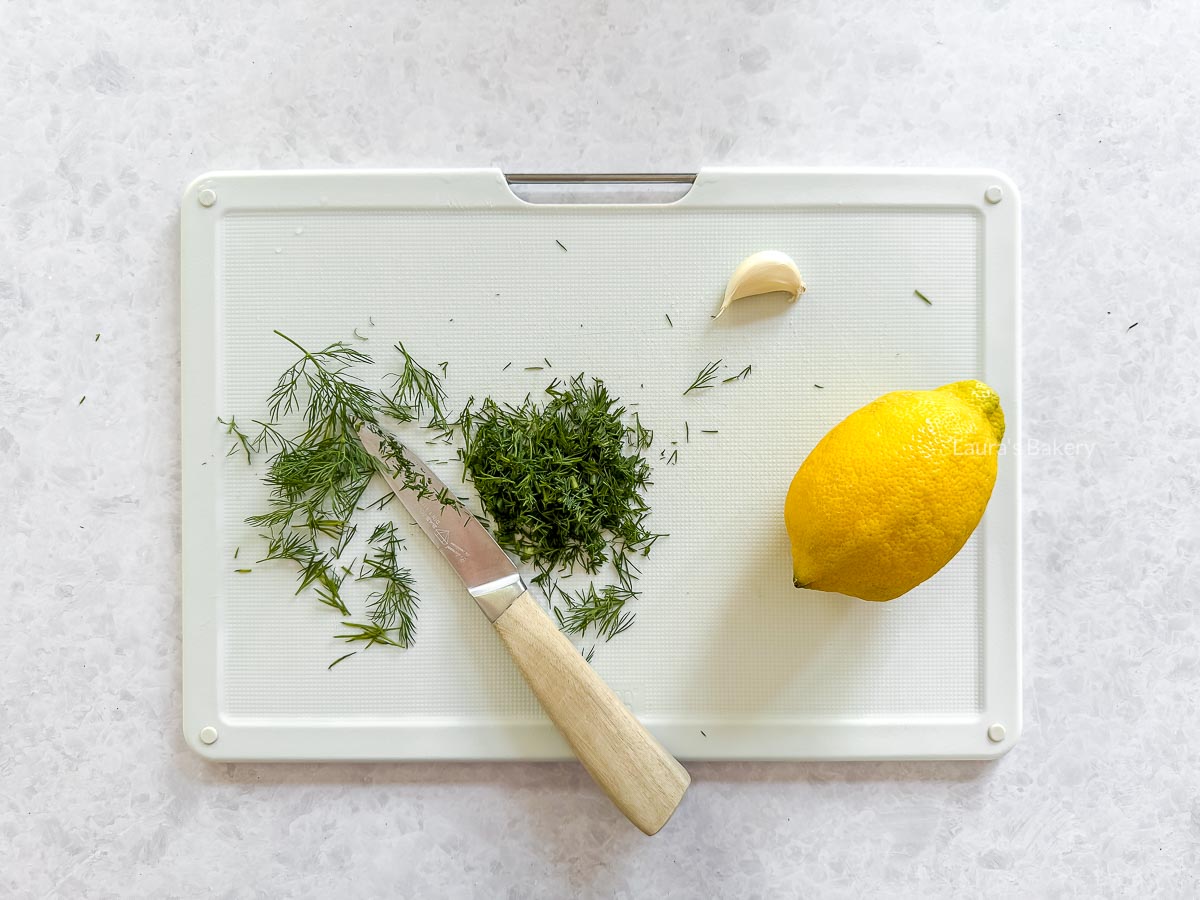
Slice the dill, chop the garlic and juice the lemon

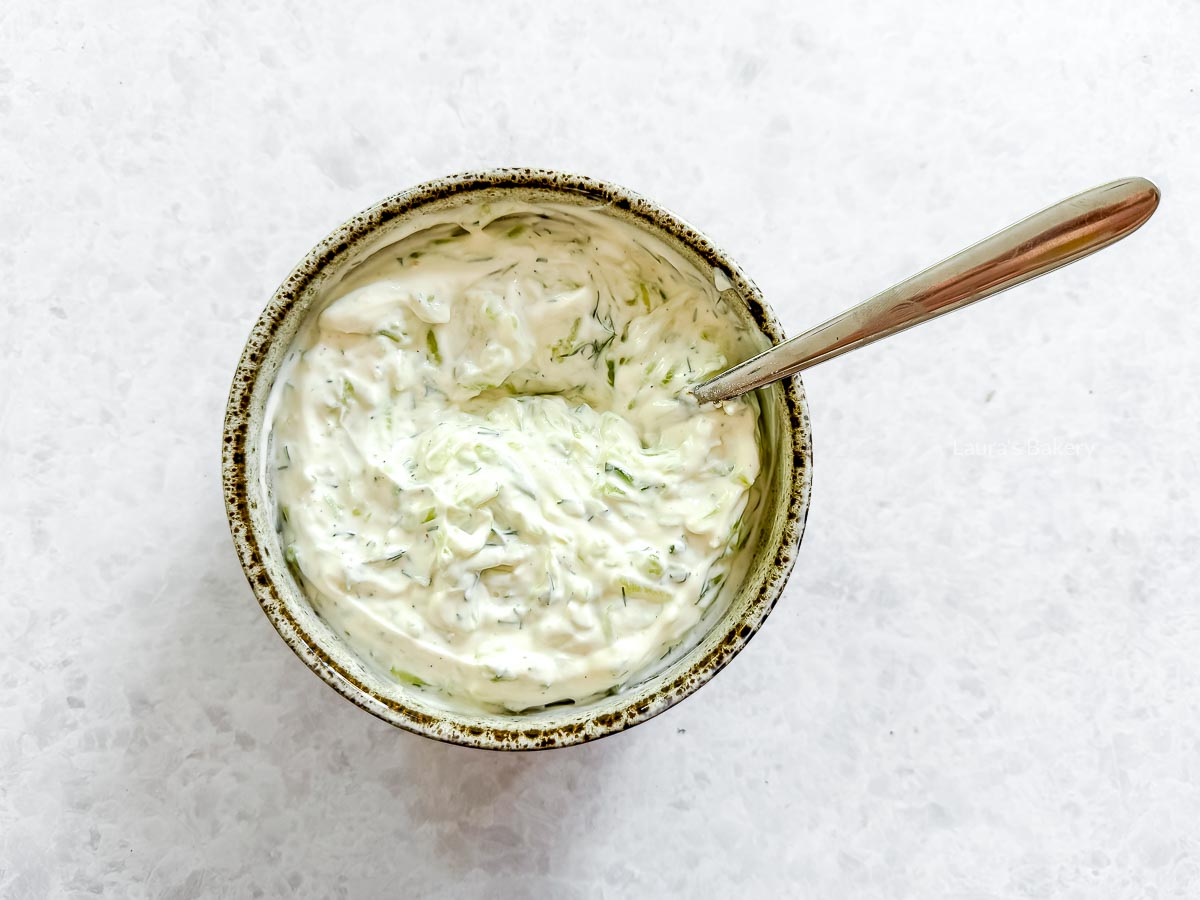
Add all ingredients together in a bowl
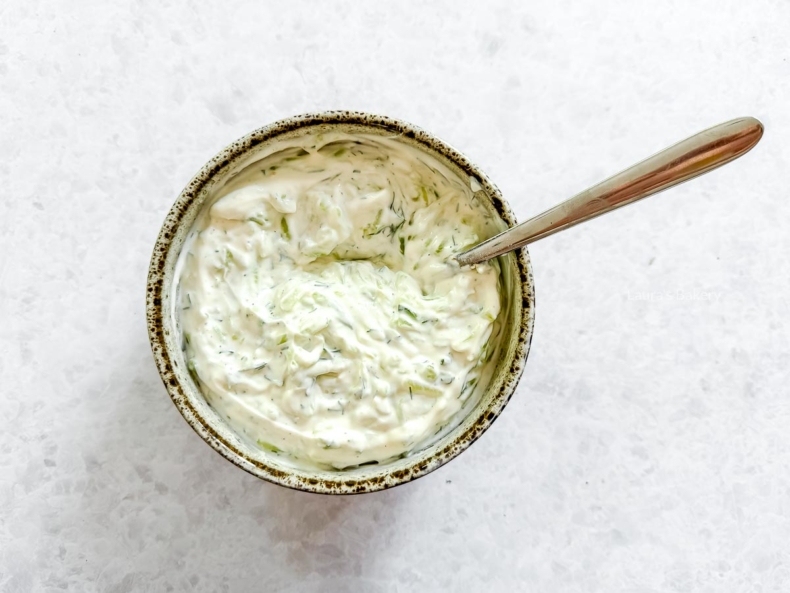
Stir together and your tzatziki is ready to serve!
Keep the tzatziki in the fridge for 3-4 days in an airtight container. One thing to keep in mind is that the garlic in the tzatziki might get stronger as you store it for longer. Just something to be aware of.
Freezing isn’t recommended. The yogurt tends to separate after thawing, and the texture becomes grainy. It’s best enjoyed fresh.
You can, but Greek yogurt is thicker and creamier, which makes the tzatziki rich and not too runny. If you use regular yogurt, let it drain through a cheesecloth or fine sieve for a couple of hours first if you still want the thicker and creamier result.
It’s up to you! Peeling makes the tzatziki smoother and less bitter. If you prefer a bit of texture and color, you can leave the peel on.
That usually happens if the cucumber still holds too much liquid. Be sure to grate it and squeeze out as much moisture as possible. Either with your hands, a clean kitchen towel or a sieve. Removing the seeds also helps.
It is delicious with a classic souvlaki of course but also goes well with – for instance – easy chicken skewers or keftedes. I always make it for every barbecue as it is also delicious just dipped with some crusty bread like my whole wheat no knead bread

Is there such a thing as too much chocolate? These triple chocolate cookies are very similar to regular chocolate chip cookies, but with just a bit of extra chocolate.
If you love chocolate, this cookie is a chocolate lover’s dream. It has three types of chocolate, which is seriously impossible to resist.
I wanted to make these triple chocolate cookies for quite a while. I had them on my to-do list forever but I’ve finally managed to check them off. The edges of the cookies are crisp but the inside is just that insanely good chewy center. The perfect cookie if you ask me.
For a full list of ingredients make sure to double check the quantities in the recipe card below.

Take a large bowl or use the bowl of a food processor. Add the butter (at room temperature) and brown sugar and beat until creamy.
Add the egg and vanilla extract in and mix until smooth. Scrape down the sides of the bowl if necessary with a spatula.
Add in the dry ingredients (flour, cocoa powder, salt, and baking soda). Mix until just combined. Don’t overmix.
Using a spatula or wooden spoon, fold in all the chocolate types until they are combined into the dough. Wrap the dough in plastic wrap and place in the fridge for at least an hour.
Prepare a baking tray with parchment paper and divide the dough into 16 equal portions. Roll into balls and place on the baking sheet.
Make sure to leave plenty of space between the cookies, as they will spread a bit. You will also likely need more than one baking sheet. Unless you have really large baking sheets.
As an optional extra, you can press a few extra chocolate chips into the top of the cookies. That not only looks good, but it creates that extra perfect texture you want.
Bake the cookies in the preheated oven for about 12-14 minutes until they are golden brown. Make sure to cool them on a cooling rack so they can crisp up.

I always bake using top and bottom heat (conventional oven). If you used a convection oven, lower the temperature by 10–20%. You can also try shortening the baking time.
Every oven is different, so a little experimenting may be needed. Using an oven thermometer can also help.
Absolutely! I usually use a mixer with dough hooks, but making it by hand works just as well. For creaming the butter and sugar, I do recommend an electric mixer. Or if you have really strong arms: a whisk could work too.
Yes! Wrap it tightly and freeze for up to 3 months.
Even better: freeze the dough as balls on a sheet. After they’re frozen, you put them in an airtight container or ziplock bag. This way you can easily bake just a few cookies at a time.
You can, but you’ll miss out on some chocolate flavor 😉. If you want to skip it, replace the 20 grams of cocoa powder with 20 grams of flour, or just make my basic chocolate chip cookie recipe and add three types of chocolate chips.

Halloween gets a little bigger in the Netherlands year over year, and even though I don’t really celebrate it myself, it is always fun making some special Halloween treats. This year I went with red velvet cake balls, yum!
I made the cake a bit brighter red than I usually would for a red velvet cake since it fits the theme so well. For the decoration, I kept it simple by mixing some of my favorite Halloween sprinkles.
I did consider turning them into creepy eyeballs, but maybe I’ll save that for another time. I’d want to make sure they don’t look too realistic, otherwise I’d lose my appetite quickly. That was definitely not the case with the truffles in the photo, those disappeared in no time!
It’s the perfect bite-sized Halloween treat and the fun part is that you can go wild with the decoration if you want. You can keep it fairly plain as I did or you can add little Halloween details like eyeballs or other funky elements.
Also for ease of use you can bake the red velvet using a red velvet cake mix, but maybe add a bit extra food coloring (depending on the mix).
BAKING TIP: To get that deep red color in red velvet cake, I use gel-based food coloring.
For the cake, you will need the usual ingredients. I’m just listing the more special ingredients for this recipe. Check the recipe card below for full details.

Once you’ve baked your cake and it has cooled down completely you can use your hands or an mixer to crumble the cake. Mix this with the cream cheese until you have a sticky dough-like mixture.
You can use a cookie scoop to make equal sized little balls. Depending on the size you’ll have around 15 balls. Cover them with plastic wrap and let it chill in the fridge for at least an hour. Or place in the freezer for 15 minutes.
Now melt the white chocolate using a double boiler (check my tips for tempering chocolate without a thermometer) and dip each ball into the white chocolate.
TIP: You can turn it into red velvet cake pops by adding lollipop sticks. I chose not to do that for this recipe.
Once you dipped the balls into the chocolate place them on a parchment-lined baking sheet and add your sprinkles immediately while the chocolate is still soft. Repeat for all balls and let the chocolate coating harden completely.
You can store the Halloween cake balls in the fridge in an airtight container for up to a week. In the freezer they will keep for up tot 3 months.
Are you also a fan of that velvety-soft texture and rich, creamy flavor of red velvet? Then you’ve come to the right place! From classic cakes to creative twists, these red velvet recipes are all worth trying:
Gel-based food coloring works best for red velvet because it gives a deep, vibrant color without thinning the batter. Liquid coloring often won’t give the same result.
Cream cheese gives the truffles their creamy texture and balances the sweetness. You could swap it with mascarpone or even a bit of frosting, but the flavor will change slightly.
Yes! If you’re short on time, you can use store-bought red velvet cake. Just crumble it up and continue with the recipe.
If they come straight out of the freezer, you want to dip them in chocolate immediately. If you wait, the cake balls wil get moist due to condensation. Moisture and chocolate don’t go well together.
Yes, you can freeze them for up to 3 months. Let them thaw in the fridge before serving. For best results, freeze them before dipping in chocolate, then coat immediately or once thawed (when there’s no moisture anymore).

As you may know (or maybe not!), we Dutch really love our traditional apple pie. I already have plenty of cheesecake recipes on the site, but recently I had an idea. What if I combined the two into one dessert: an apple pie cheesecake!
Could I create a cheesecake that not only tasted like apple pie but also looked like one? After some experimenting and trial runs, I figured it out – and believe me when I say, this is a recipe you’ll want to try!

(See the recipe card below for full ingredients and quantities)

Here’s the good news: you don’t need a water bath for this cheesecake, since the cheesecake layer is baked right into the apple filling.
Prepare your apple pie dough and divide it into three portions:
Line your springform pan with the bottom and side portions of dough, then set aside.
In a medium bowl, mix the cheesecake ingredients until smooth. Spread this batter evenly over the bottom crust and smooth the top.
Make your apple filling and spoon it over the cheesecake layer in an even layer. Press down gently so it sits nicely on top, but not too firmly – you don’t want it sinking completely. Finish with the lattice crust on top (see the step-by-step guide below in the recipe card).

Bake the cheesecake as you would a regular apple pie, but here’s the key difference: the cooling process.
Leave the apple pie cheesecake to cool completely in the springform before removing the ring. Then refrigerate it for at least a few hours to let the cheesecake layer set properly.
You can easily store the cheesecake in the fridge for about 2-3 days.
If you want to keep it for longer, make sure to freeze it in an airtight container and keep for up to two months.

Yes! In fact, this cheesecake tastes even better the next day. Bake it, let it cool completely, and store it in the fridge overnight so the flavors can develop and the cheesecake layer sets nicely.
Sweet apples like Jonagold, Gala, or Elstar work beautifully. If you prefer a more tart flavor, Granny Smith is also a great option.
Yes. Once fully cooled, wrap the cheesecake tightly in plastic wrap and then in foil. Freeze for up to 2 months. Thaw overnight in the fridge before serving.
The custard powder adds creaminess and helps the filling bind, but if you don’t have it, you can leave it out or replace it with a spoonful of cornstarch or instant vanilla pudding powder.
I recommend replacing it instead of leaving it out, because it also helps with absorbing moist from the apples. If you leave it out, it could be harder for the cheesecake layer to bake well.