Can I use frozen spinach?
Absolutely! Just make sure to thaw it completely and squeeze out any extra water before adding it to the rest of the ingredients.
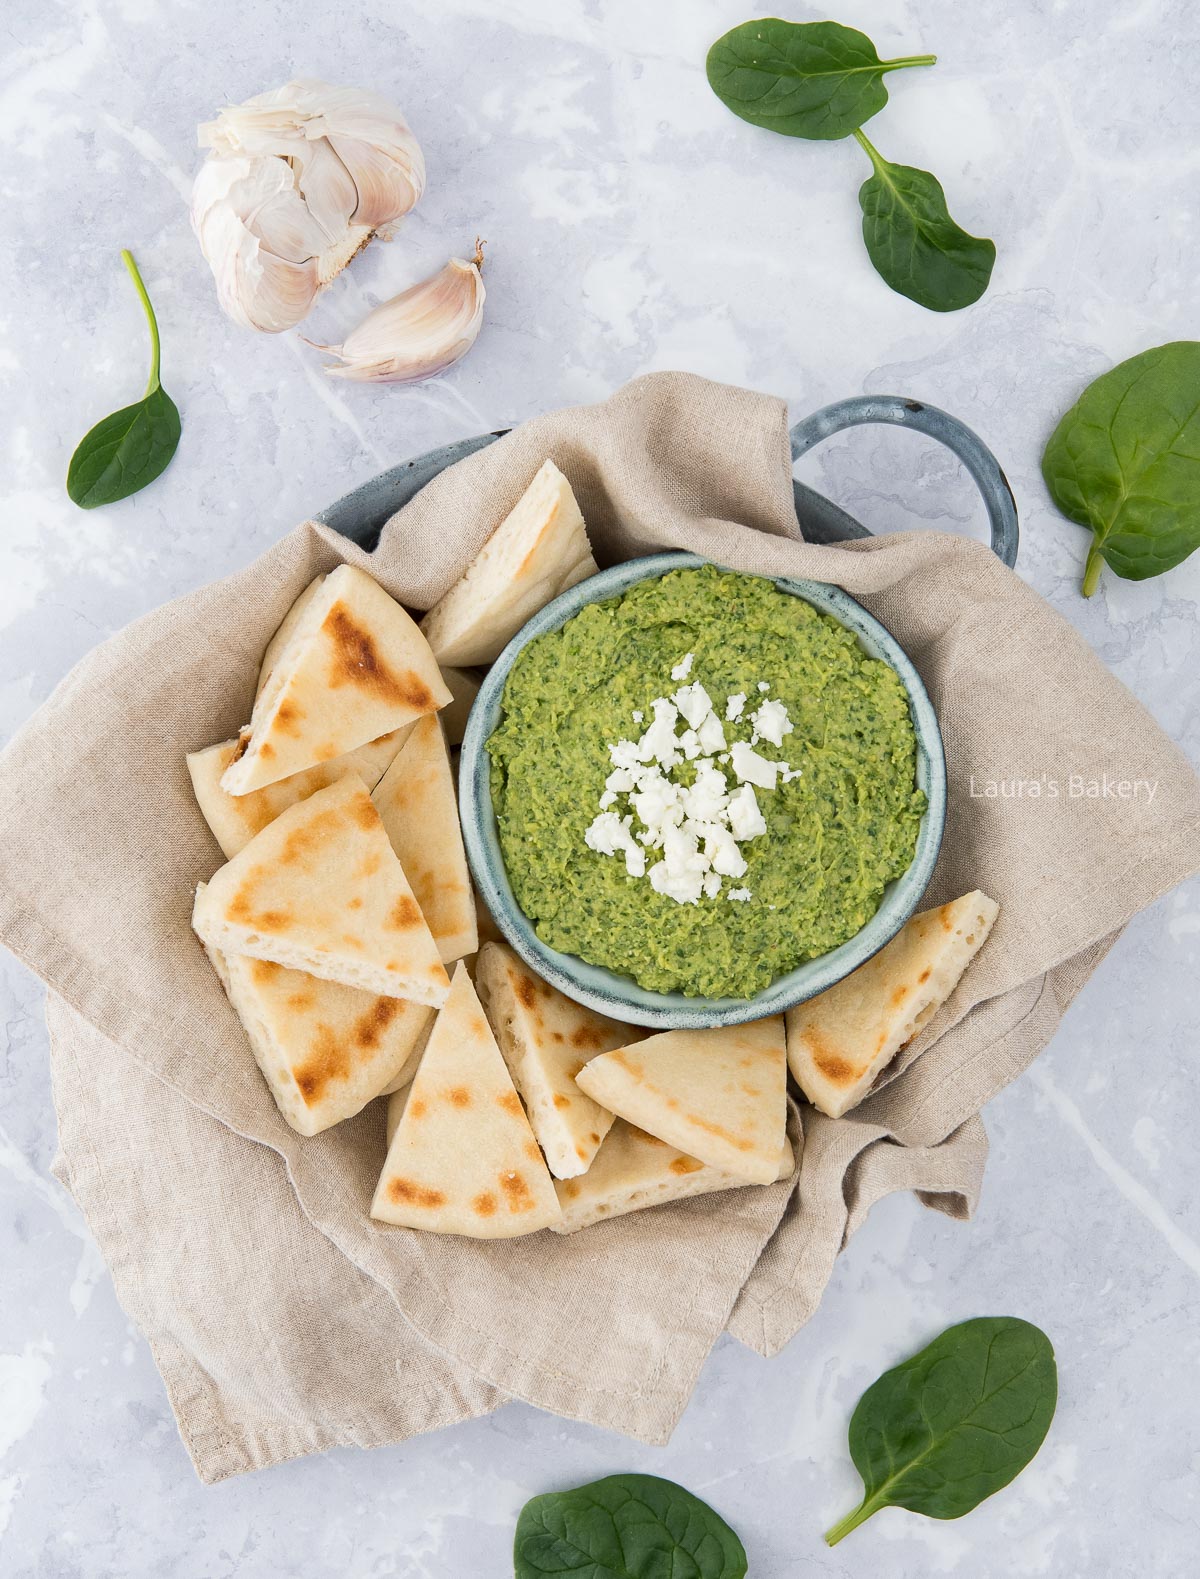
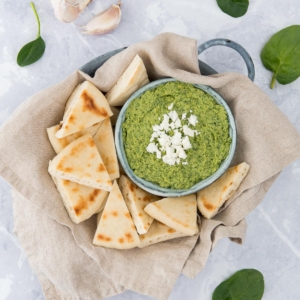
This creamy spinach and feta hummus is a blend of simple ingredients in one straightforward step. It’s the perfect condiment or appetizer, ideal for spreading on sandwiches, crunchy spelt seed crackers or dipping with veggies and warm pita bread.

What makes this spinach feta hummus a total standout? Just take a look for yourself!
Why settle for plain hummus when you can enjoy all those classic Mediterranean flavors boosted with nutritious spinach and creamy feta cheese? Simply combine, blend, and serve. Don’t forget to check the recipe card below for all the details.
To make this easy and delicious spinach and feta hummus, simply add all ingredients to a food processor and blend until smooth. Taste and adjust the seasoning with extra cumin, salt, and pepper if needed.
Serve it right away with your favorite dippers or cover it and store in the fridge to enjoy later.
Store leftover feta and spinach hummus in an airtight container in the fridge for up to a week. Always give your hummus a stir before serving again and if needed, mix in some olive oil and a splash of lemon juice if it has thickened.
Yes! This homemade hummus can be stored in the freezer for up to 3 months. Pour a thin layer of olive oil on top before freezing to help preserve the bright green color and flavor.
Looking for more easy recipes to dip into for parties or midday snacking? Don’t miss these top favorites:
Absolutely! Just make sure to thaw it completely and squeeze out any extra water before adding it to the rest of the ingredients.
Yes. For a delicious vegan spin, simply omit the feta and use a plant-based feta alternative or nutritional yeast that will mimic the cheesy flavor.
Enjoy this spinach and feta hummus with pita bread, Homemade oven baked tortilla chips, Cheesy Bread Sticks, or fresh vegetables (cucumber slices, bell peppers, cut carrots, cut celery, or chunks of sweet apple.
You can also enjoy this hummus as a spread on crusty bread, crisp crostini, or seeded crackers.
Leftovers are great, especially when thinned out to coat tender pasta or drizzle over roasted veggies and grain bowls.
No. You can add the fresh spinach directly to the food processor with the rest of the ingredients.
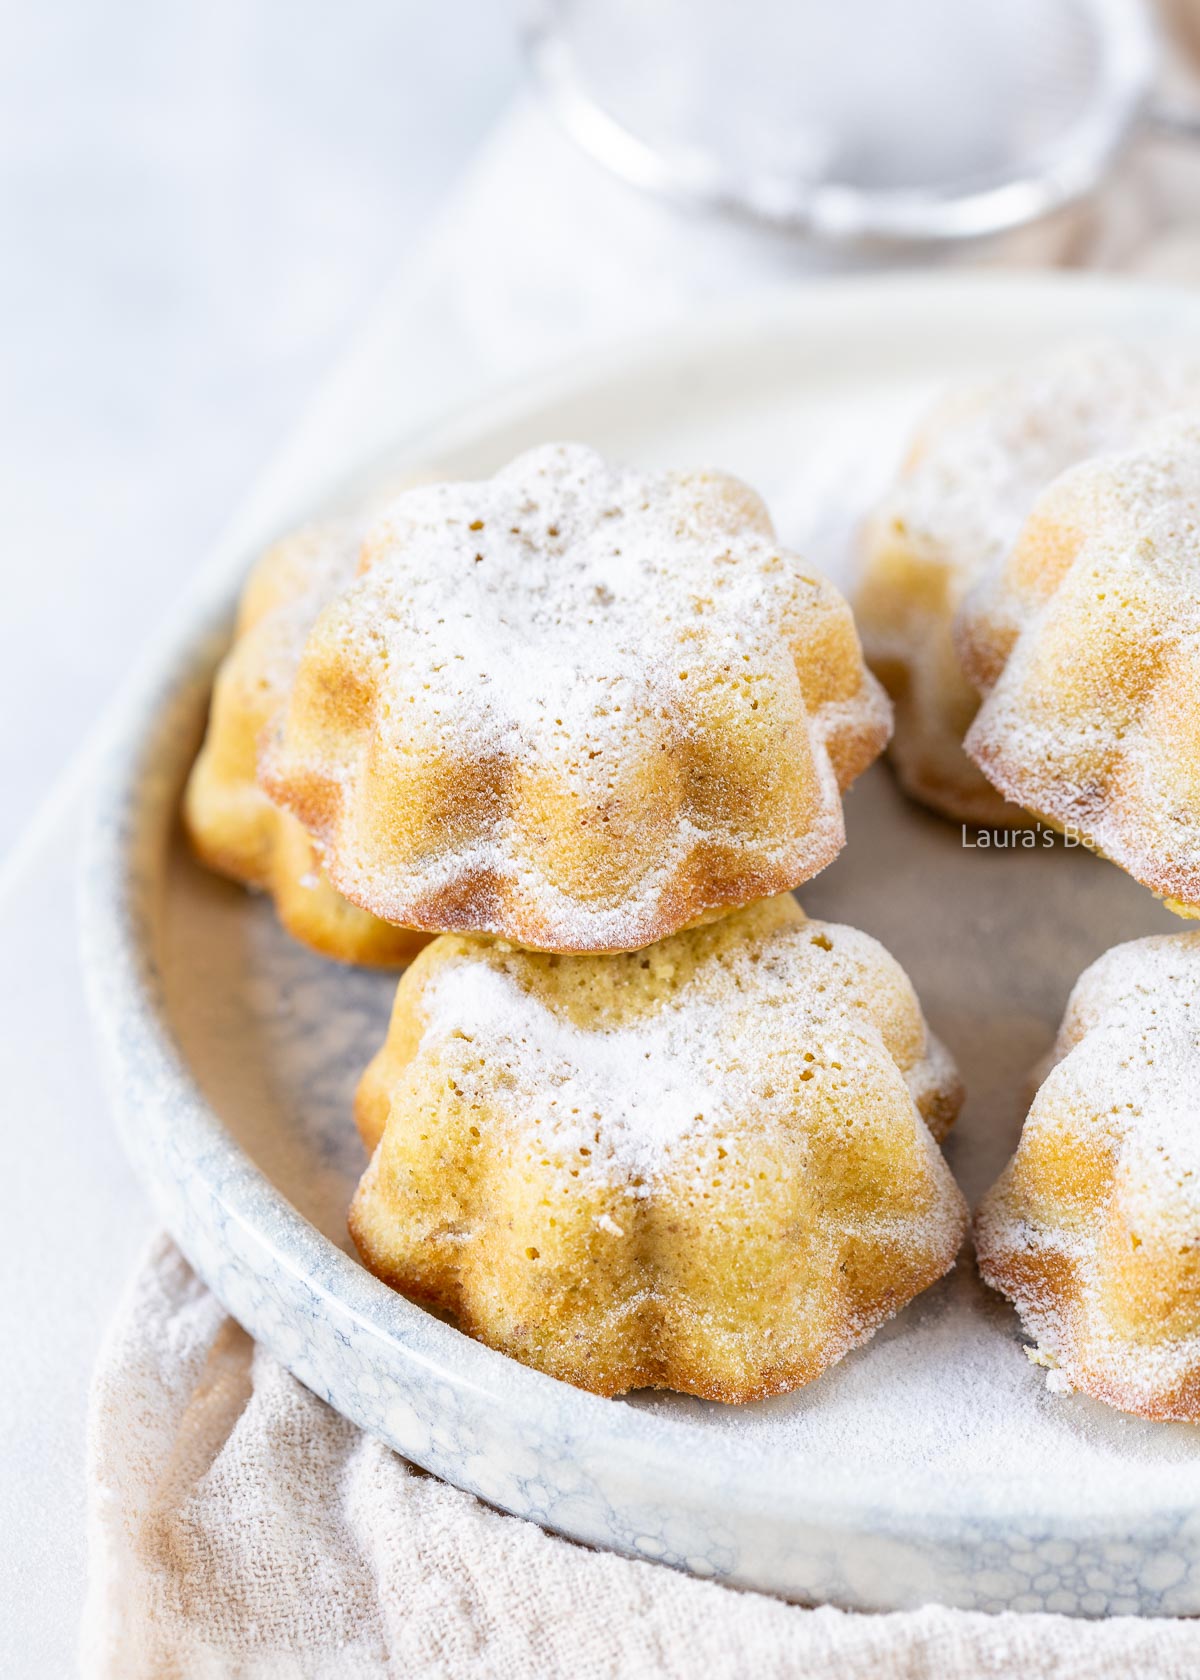
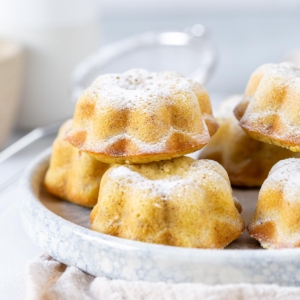
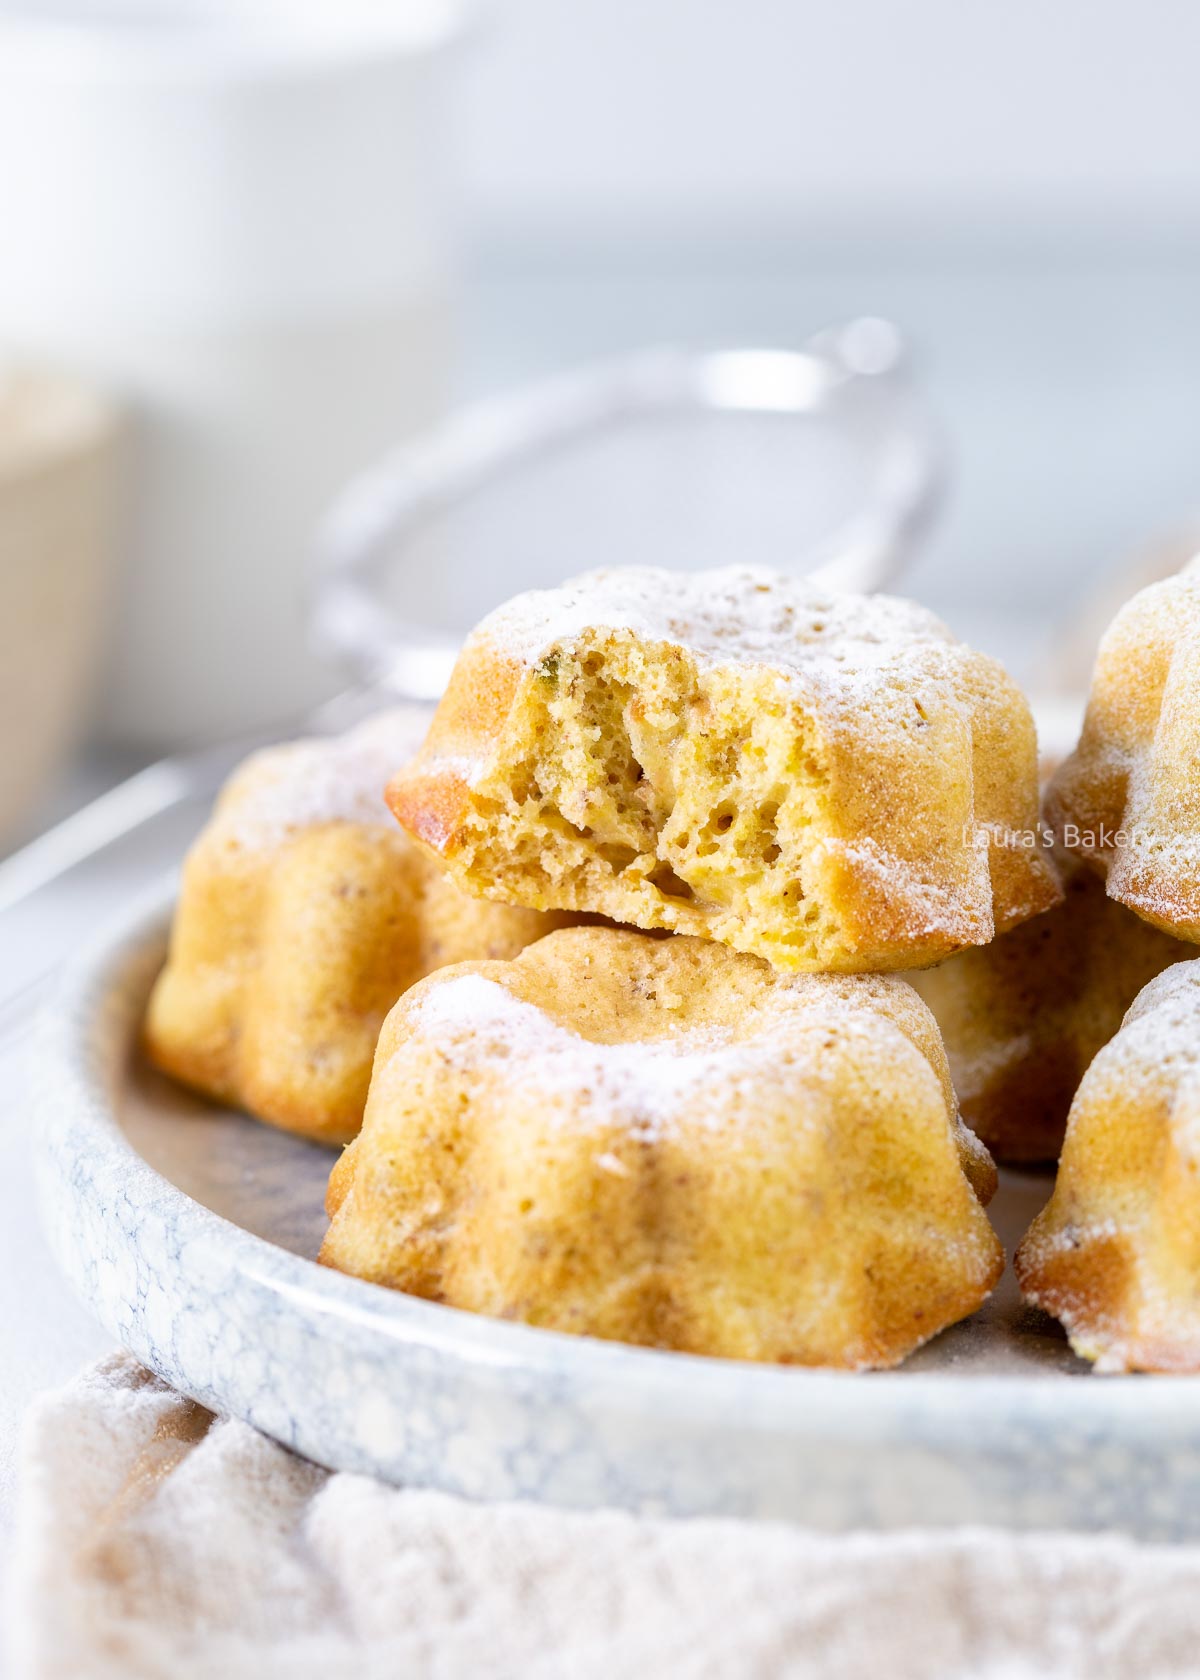
Wonderfully moist and full of flavor, these mini lemon bundt cakes are incredibly delicious and so easy to make. I baked them using mini bundt pans which makes these lemon cakes instantly cute, but you can also bake this recipe in a regular bundt pan. In that case, use the ingredients from the recipe card, but multiply by four. That should give you the needed quantities.
This easy mini lemon bundt cake recipe gives you a perfectly moist texture every time
Apart from the below ingredients, you will need a mini bundt cake pan or quadruple the quantities for a larger bundt pan. Always make sure to double-check the exact quantities and ingredients in the recipe card below
The first step in making these lemon mini bundt cakes is to prepare the bundt tin. Make sure to grease them well and lightly dust with flour. Tap out any excess flour you might have. Set aside while you prepare the batter.
Cream the butter and the sugar together until light and fluffy. I use a food processor with a paddle attachment for doing this. Once creamy I add the Greek yogurt, lemon zest and juice and mix it until smooth.
Next you add the egg. Mix it in and add the dry ingredients (baking powder, salt and flour). Don’t overmix in this step. Once they are combined, stop mixing.
Divide the batter over the tin and smooth the tops with a rubber spatula.
Bake the little cakes for about 15 minutes at 350˚F/180˚C (conventional oven). Make sure to double check if they are cooked through with a wooden skewer. Remove them from the pan immediately and let them cool on a wire rack.
These deliciously moist cakes keep outside of the fridge for about a week if properly placed in an airtight container. Don’t store them in the fridge as that will dry out the cakes.
Absolutely. These delicious cakes freeze well if you wrap them properly in freezer bags or plastic wrap.
I love the shape of a pretty bundt pan and so you will find a selection of bundt cake recipes on the site. A few favorites:
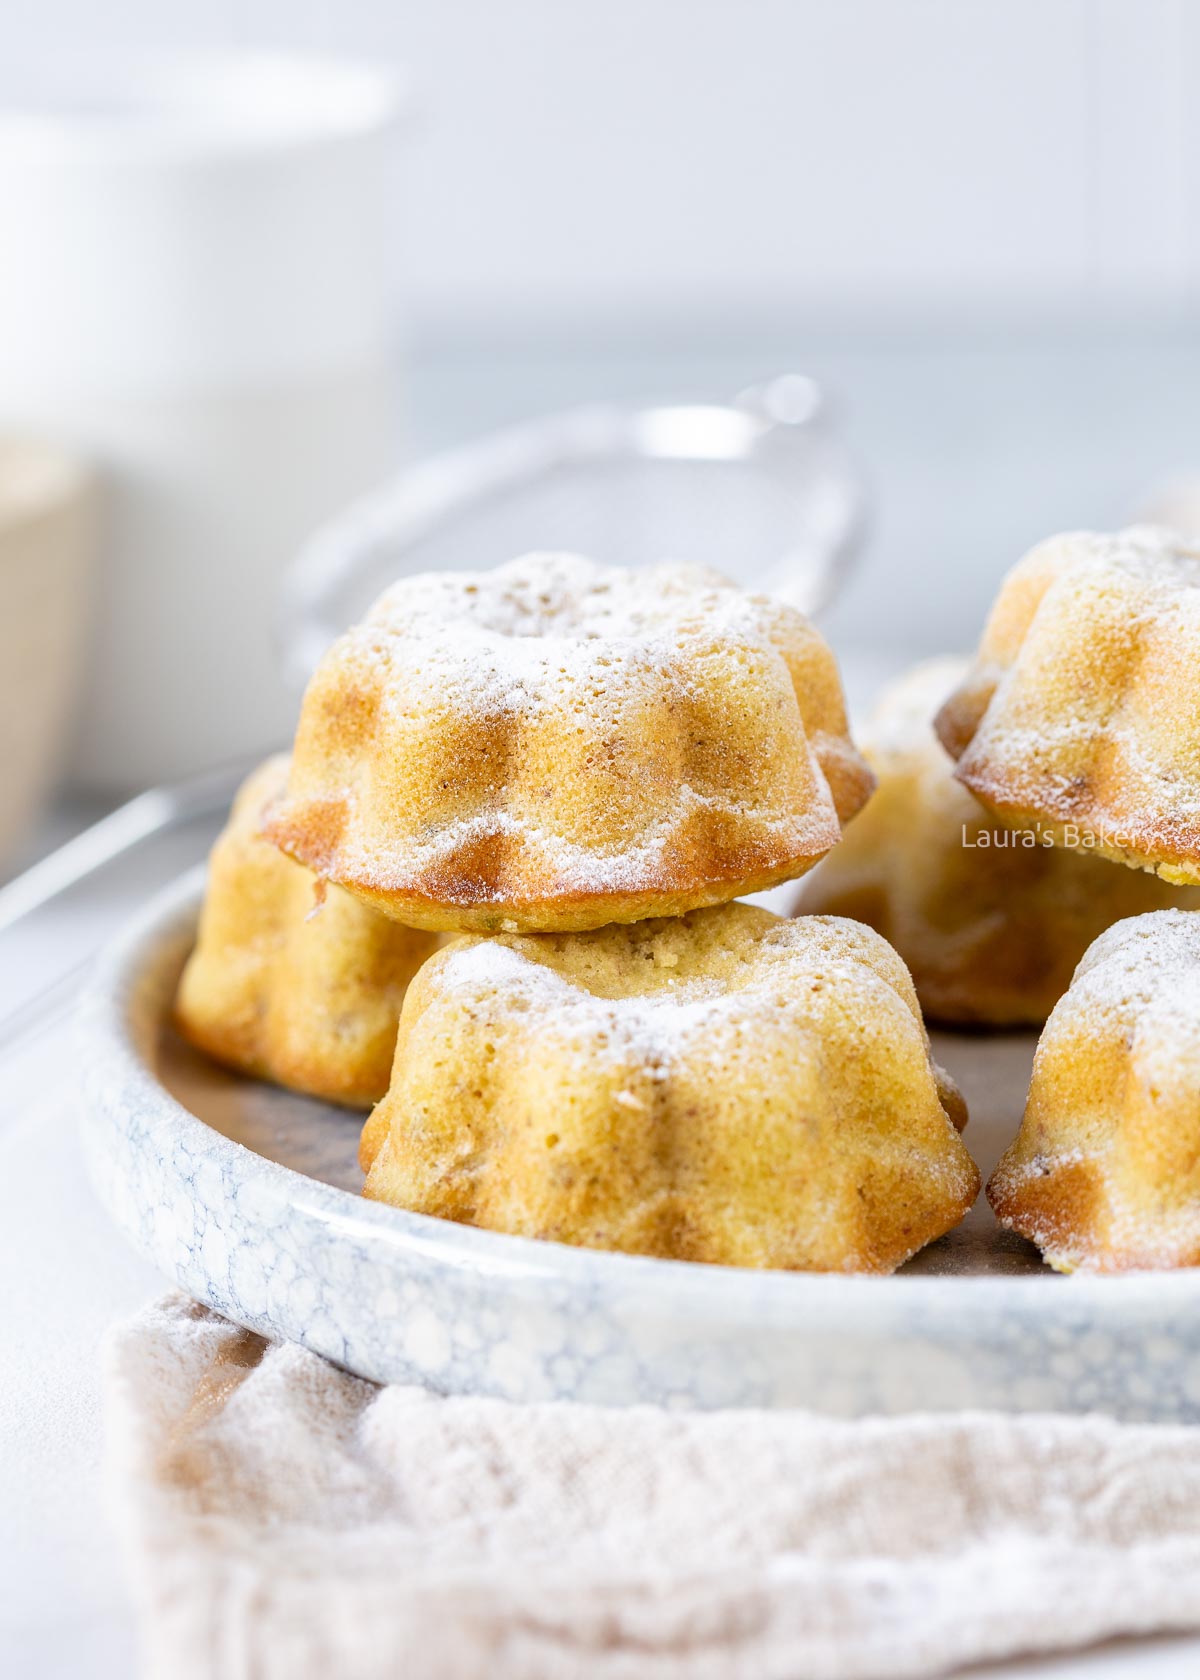
Yes, this recipe is specifically developed for a mini bundt pan. I used a 6-pcs mini bundt pan. If you want to use a different pan size, you’ll need to adjust the baking time and quantities accordingly.
Dusting the greased pan with flour helps the cakes release more easily and keeps the beautiful bundt shape intact. Make sure to double check all my tips on baking the perfect bundt cake.
Definitely! A simple lemon glaze, cream cheese frosting, or mascarpone cream tastes delicious with these mini lemon bundt cakes.
The cakes should look lightly golden and spring back when gently pressed. You can also insert a toothpick into the center – if it comes out clean, they’re ready.
Yes, but you’ll need to increase the ingredient amounts and adjust the baking time. A larger bundt cake will take considerably longer to bake than the mini versions.
This recipe is very versatile. White chocolate, raspberries, blueberries, poppy seeds, pistachios, or even a little vanilla extract all work beautifully with the lemon flavor.
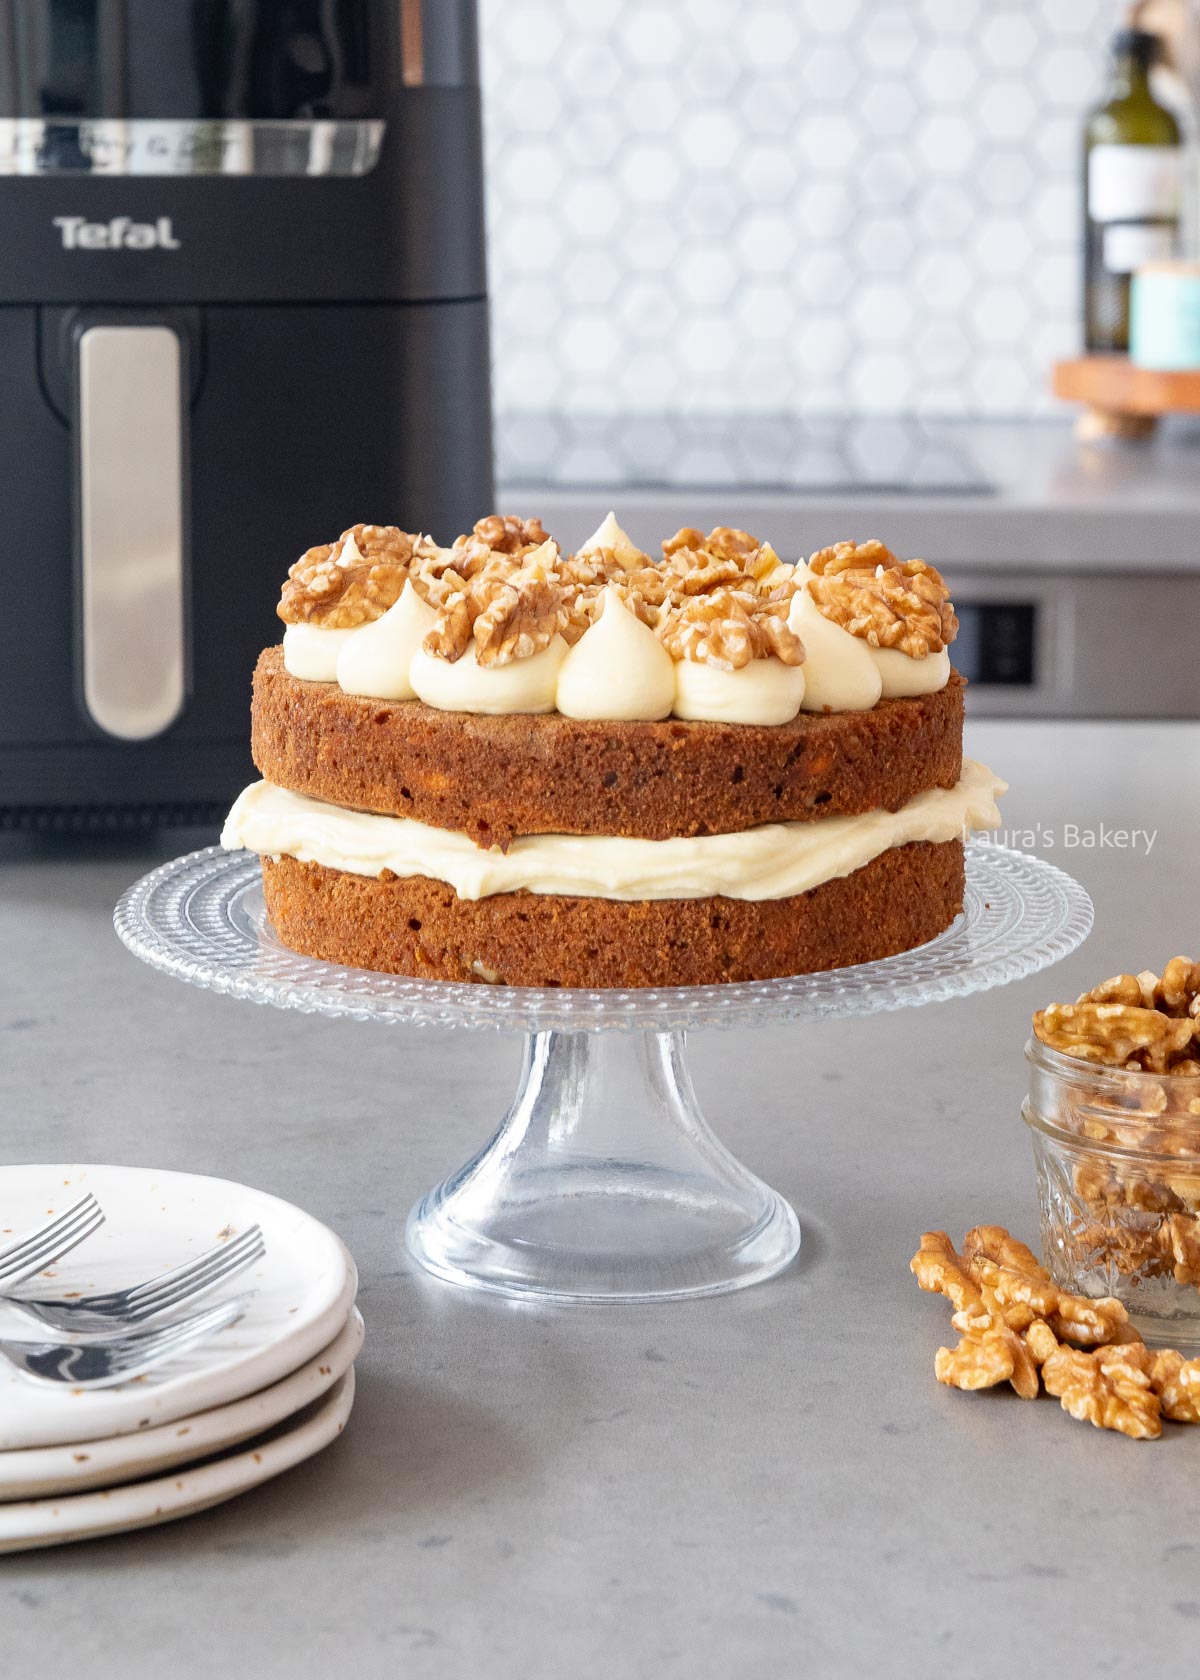
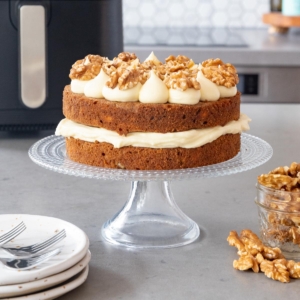
Did you know you can bake really well in an air fryer? I made a carrot cake in the air fryer and it turned out delicious! Even better, it was ready in no time. This air fryer carrot cake recipe will show you how!
There are so many reasons to love this delicious air fryer carrot cake!
This air fryer carrot cake uses pretty much the same ingredients as my more traditional carrot cake recipe. It’s just a little bit faster, but if you do not have an air fryer the oven will work too. Read on for more tips and be sure to check the full details and ingredients in the recipe card below.
While not included in this recipe, I sometimes also use a bit of orange zest to add even more flavor.
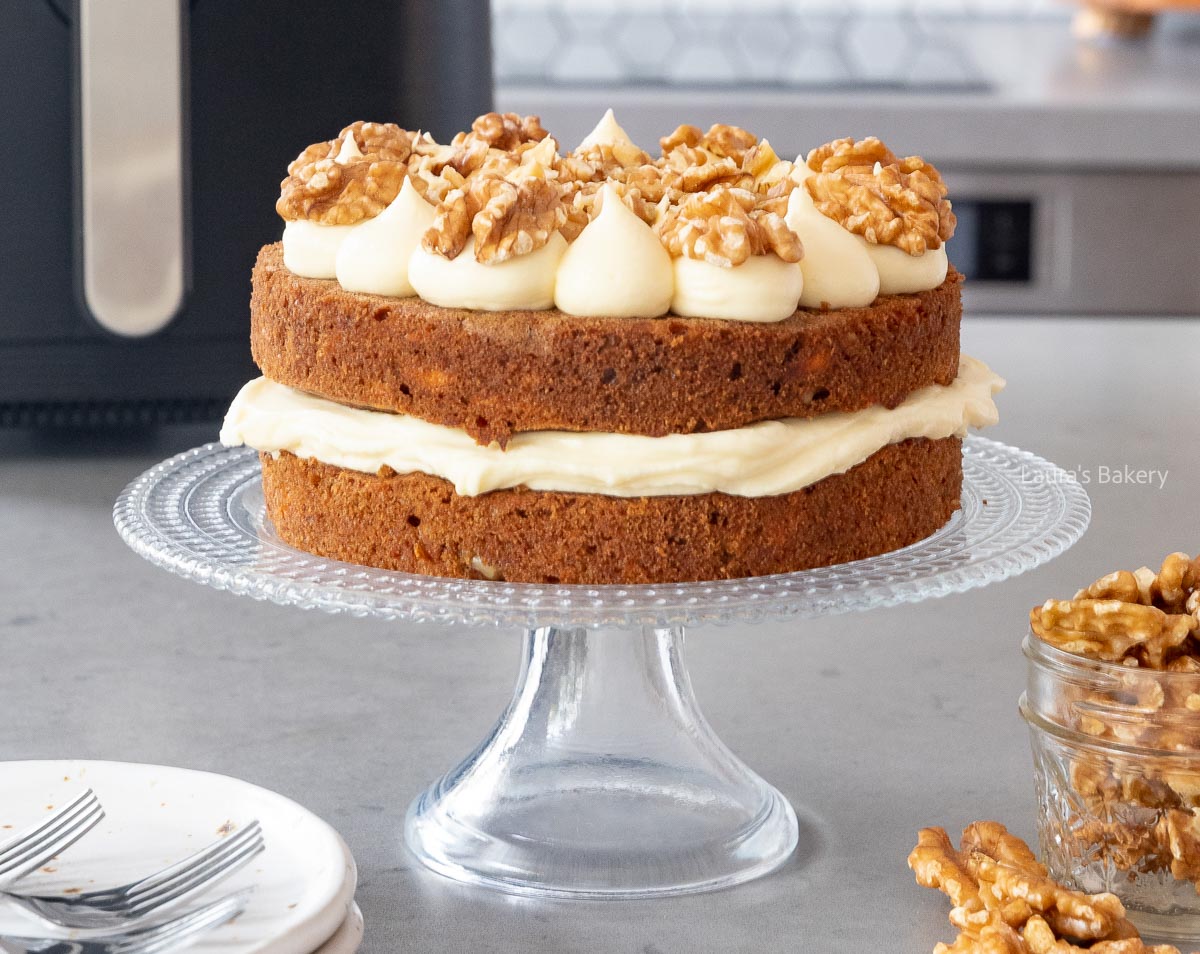
You might be wondering: why would you even want to bake a cake in an air fryer? Well, I found that it’s much faster. The air fryer heats up quicker (even though my oven is already pretty fast), and the baking time is slightly shorter compared to making carrot cake in the oven. Win-win!
If I had to mention a downside compared to the oven, it’s that you can only bake one layer of carrot cake at a time in the air fryer. But considering how quick it is, I didn’t find that a problem.
So it’s up to you whether you go for carrot cake in the air fryer or stick with the traditional oven method. Both work and will give you a delicious result.
To make the carrot cake in the air fryer you start by taking a large mixing bowl and whisk eggs, melted butter and vanilla together. Mix the sugar into it. Now add flour, baking powder, baking soda, salt and the spices. You don’t need to mix for very long. Stop mixing as soon as it comes together.
Once the batter is done, add the grated carrot and the walnuts.
I used two round 6-inch/15 cm baking pans as they needed to fit into the air fryer basket. Make sure to double check the size of your specific air fryer as measurements might vary. Make sure to line the bottom of the cake pan with parchment paper so they will release easier.
Divide the batter over both pans and bake the cakes one by one for about 18 minutes at 350˚F/175˚C (conventional oven). Check with a skewer in the center of the cake to make sure that they are completely cooked and let it cool down on a wire rack.
An air-fryer carrot cake is already delicious without the frosting but I added frosting in between the layers as well as on top of the cake. It gives it that tangy finish that works so well with the cake itself.
Start by taking a large bowl and beat the butter until light and creamy. Add the cream cheese and vanilla and mix until smooth.
Add the powdered sugar and mix until creamy. It’s best to chill until ready to use.
Of course, make sure that both cake halves are completely cooled down before you add the frosting on top. You can use a piping bag like I did on the top of the cake or go for a more rustic look and just use a spatula. Both work fine.
BAKING TIP: For decoration, you can make little carrots out of fondant or marzipan. They look perfect on this cake. Or keep it easy and use ready-made sugar carrot decorations.
Stored well covered in the refrigerator, the carrot cake will keep for 4-5 days. For the best taste, take it out about 30 minutes before serving so it can come to room temperature.
Yes, you can freeze carrot cake (well wrapped). It will keep for about 3 months.
Are you as much a fan of carrot cake as I am? Make sure to check out the recipes below as well:
Absolutely! Any air fryer will work. Sizes may vary, which can slightly affect baking time.
Yes, you can. This recipe is optimized for an air fryer, but it will also work in a conventional oven. Bake at 350°F/175°C and keep an eye on the time. Larger pans will need longer.
Yes, you can substitute the melted butter with an equal amount of vegetable oil (like canola or sunflower oil). The texture will be slightly different but still delicious.
Absolutely. You can omit them entirely or replace them with pecans or raisins.

Light, golden, and wonderfully versatile, this choux pastry recipe is easier than you think and the perfect starting point from classic cream puffs to a stunning croquembouche.
Whether you’re craving comforting cream puffs, sweet profiteroles, rich éclairs, or an impressive croquembouche, this choux pastry recipe will become your go-to for effortless, bakery-quality results

You probably already have these 6 basic staples in your kitchen right now, and while the ingredient list is wonderfully simple, following both the ingredients and their exact measurements is essential for success. Always check the full details in the recipe card below.
Because this recipe is a basic recipe for the choux pastry itself (and therefore not for the filling), I will not explain how to fill them in this article. However, you can head over to my cream puffs recipe which will provide a step-by-step guide on how to make and fill your cream puffs.
Apart from cream puffs (or profiteroles), this basic choux pastry recipe is ideal for making eclairs, fried churros, or a towering croquembouche. Load the baked pastry shells with an avocado chicken filling for a savory twist.
BAKING TIP: Pipe the choux pastry onto lightly moistened parchment paper. Because egg-rich doughs like this one need a humid environment to rise properly without drying out or burning, the damp paper creates just the right conditions, yielding beautifully puffed pastries with a light, airy center and a perfectly crisp exterior!


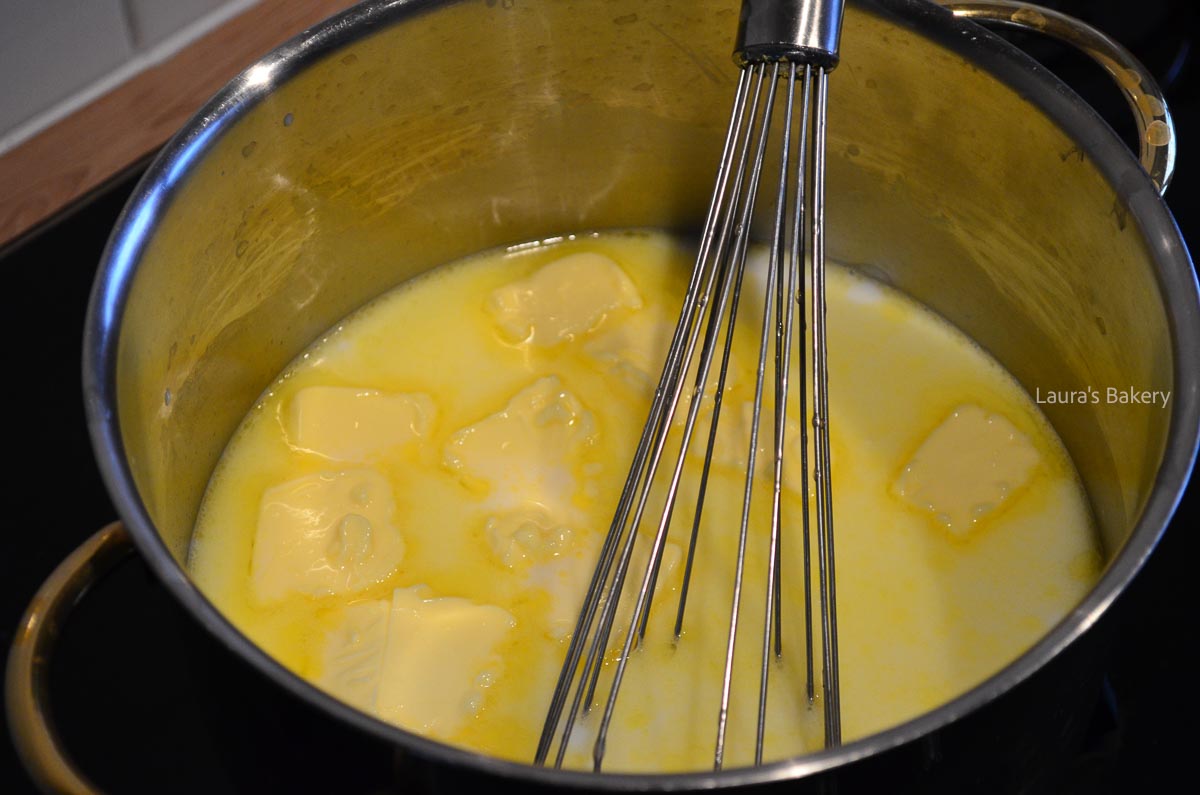
Bring the milk, butter, and water to a boil. Remove from heat.

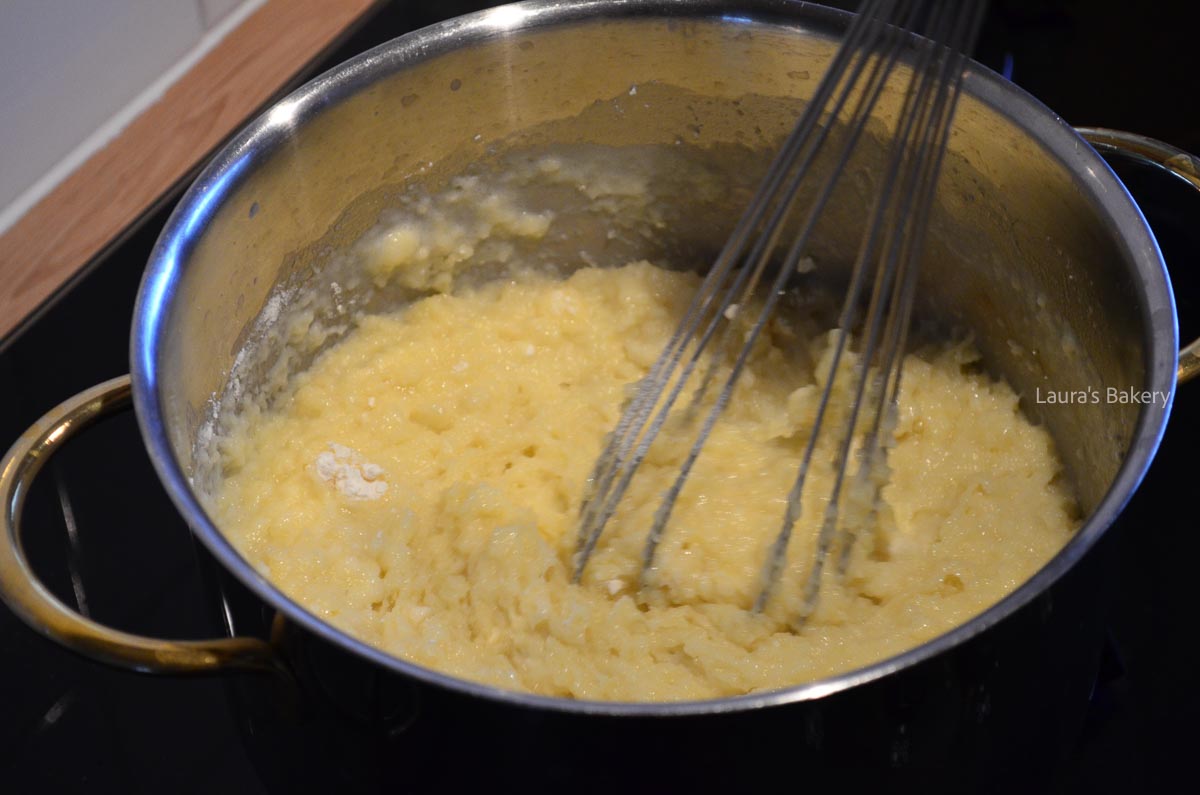
Whisk in flour and salt. Cook over low heat for a few minutes to form a dry dough ball.

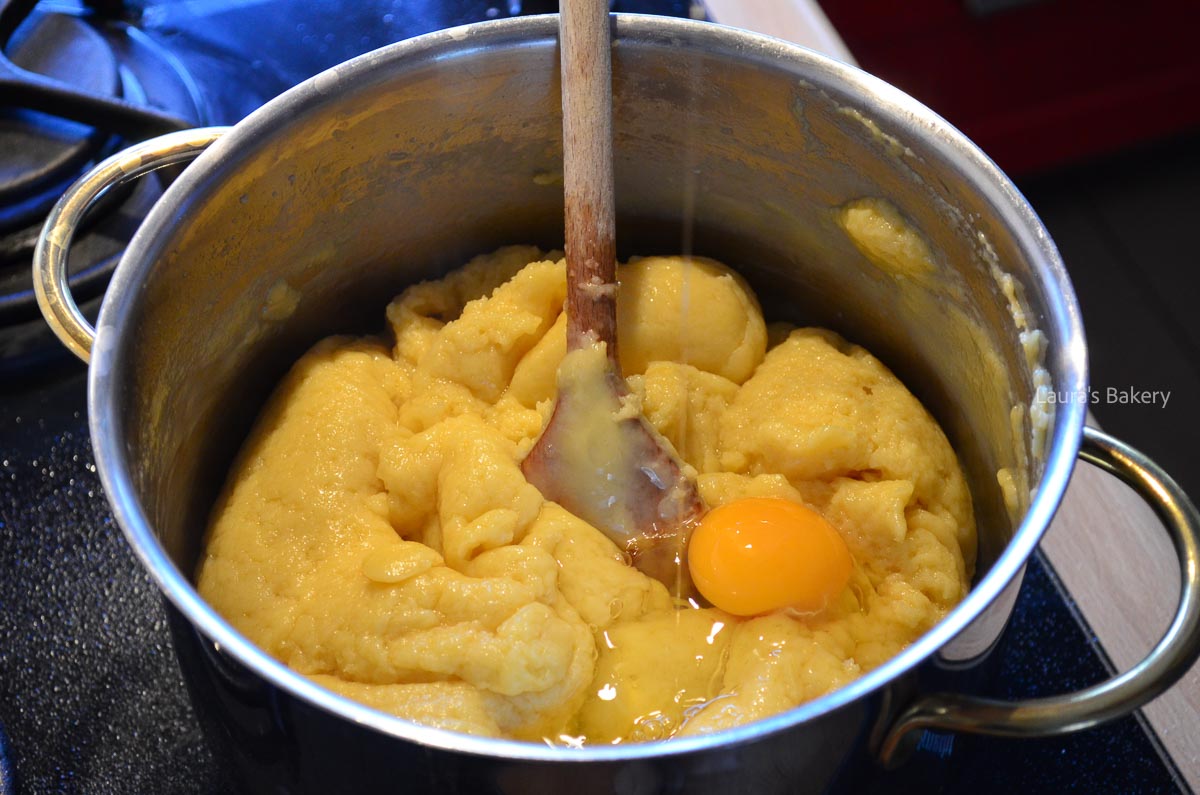
Transfer dough to a mixing bowl. Add eggs one at a time.

Mix until it comes together. Bake small dough mounds for 15-20 minutes.

Once completely cool, store leftover and empty pastry shells in an airtight container at room temperature for 2-3 days.
If these profiteroles have been filled with whipped cream, pastry cream, Swiss cream (a combination of whipped cream and pastry cream), or homemade lemon curd, make sure to store them in an airtight container in the fridge.
While I haven’t done this myself before, I have read that it should be possible to store unbaked choux pastry in a well-sealed piping bag in the refrigerator, ready to be used within the next day or so.
Yes! Freeze them completely cooled in airtight bags for up to 1 month.
Reheat leftover baked choux pastry shells at 300°F/150°C (conventional oven) to regain some crispiness before filling them.
There’s something deeply satisfying about making every part of a recipe from scratch. While preparing your own doughs and pastries might sometimes feel like an extra step, it truly elevates the final result to another level. Here are a few more of my favorite basic baking recipes to try:
The pastry shells (also referred to as pâte à choux) are done when they have an even golden brown color. They feel firm and airy and release easily from the baking sheet. Never open the oven during baking, as they will collapse.
If your pastry shells don’t rise while baking in the oven, it’s most likely that the pastry has not cooked for long enough on the heat.
Profiteroles that collapse after baking are usually undercooked. Make sure that your pastry shells are fully golden brown all over, including the folds in the pastry. If the folds are lighter in color, the shells could collapse in those spots.
“Choux” is French for “cabbage” which is the perfect description of these pastry shells once baked as they do closely resemble little cabbages!
Even though you won’t have much control over how choux pastries rise, I always try to pipe this French pastry dough evenly for uniform-sized baked pastries. You should also gently flatten any tips as you pipe to prevent the tips from turning too dark while baking.
No. The choux pastry dough should be firm, smooth, and glossy. The heat from the pan makes the dough firm. If your dough is too thin, it probably hasn’t been on the heat for long enough.
This choux pastry recipe also calls for medium-sized eggs. Using larger eggs could also make the dough overly thin.
Absolutely! It can take a bit of arm strength to mix in the eggs by hand, and you do need to work fairly quickly so that the eggs don’t start to cook.
If you feel you need assistance, use a hand mixer on low speed until the dough is smooth and glossy with a pipeable consistency.
The heat gelatinizes the starch in the flour, helping the pastry trap steam and puff up beautifully.

With an incredibly crisp phyllo shell wrapped around a savory chicken and Chinese stir-fry vegetable filling, these baked spring rolls deliver all the satisfaction of the takeout classic, right from your own oven!
Just like my crispy baked feta bites, these easy baked spring rolls prove that phyllo pastry is the secret to irresistible crunch, whether you’re feeding a crowd or treating yourself on a weeknight.

With just four key ingredients and your choice of seasoning, these crispy baked spring rolls will become your next favorite snack or party appetizer. Make sure to check the full details in the recipe card below:
COOKING TIP: You can season the filling however you like. For example, you can also add soy sauce or hoisin sauce to the filling.
Start by preparing the phyllo and noodles. If using frozen phyllo, thaw it according to package instructions. Prepare the rice noodles as directed on the package, typically by covering with boiling water until tender, then draining.
Cook the chicken and season generously. Remember, the noodles and vegetables will dilute the flavor. Add the stir-fry vegetables and cook for a few minutes. Stir in the vermicelli and mix until evenly combined.
Cut or fold the phyllo sheets to make 20 half-sheets. Brush one sheet lightly with olive oil, top with a second sheet, then brush again. You won’t need to layer with a second sheet if you are folding, but in that case, be sure to add oil between.
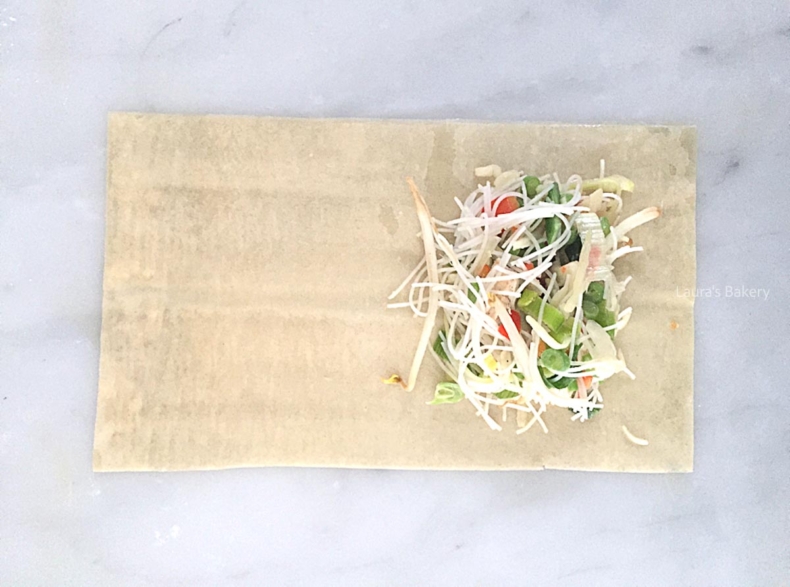
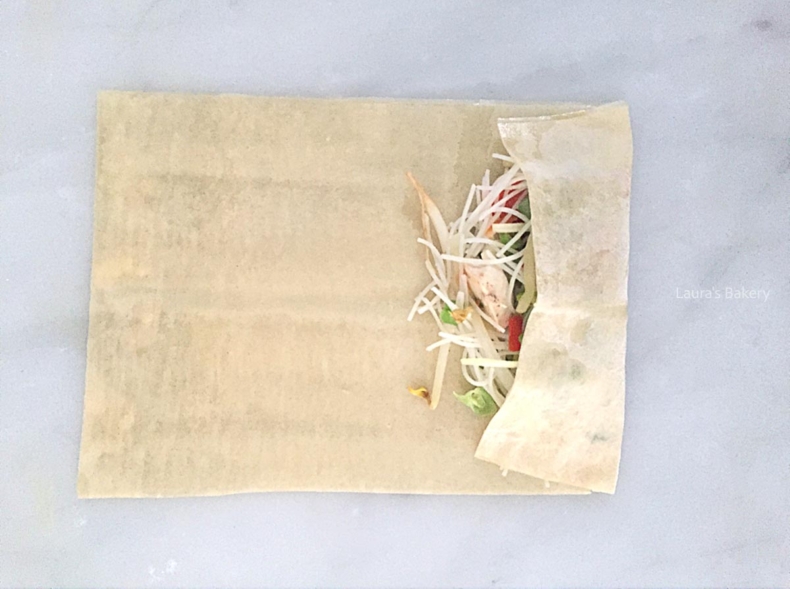
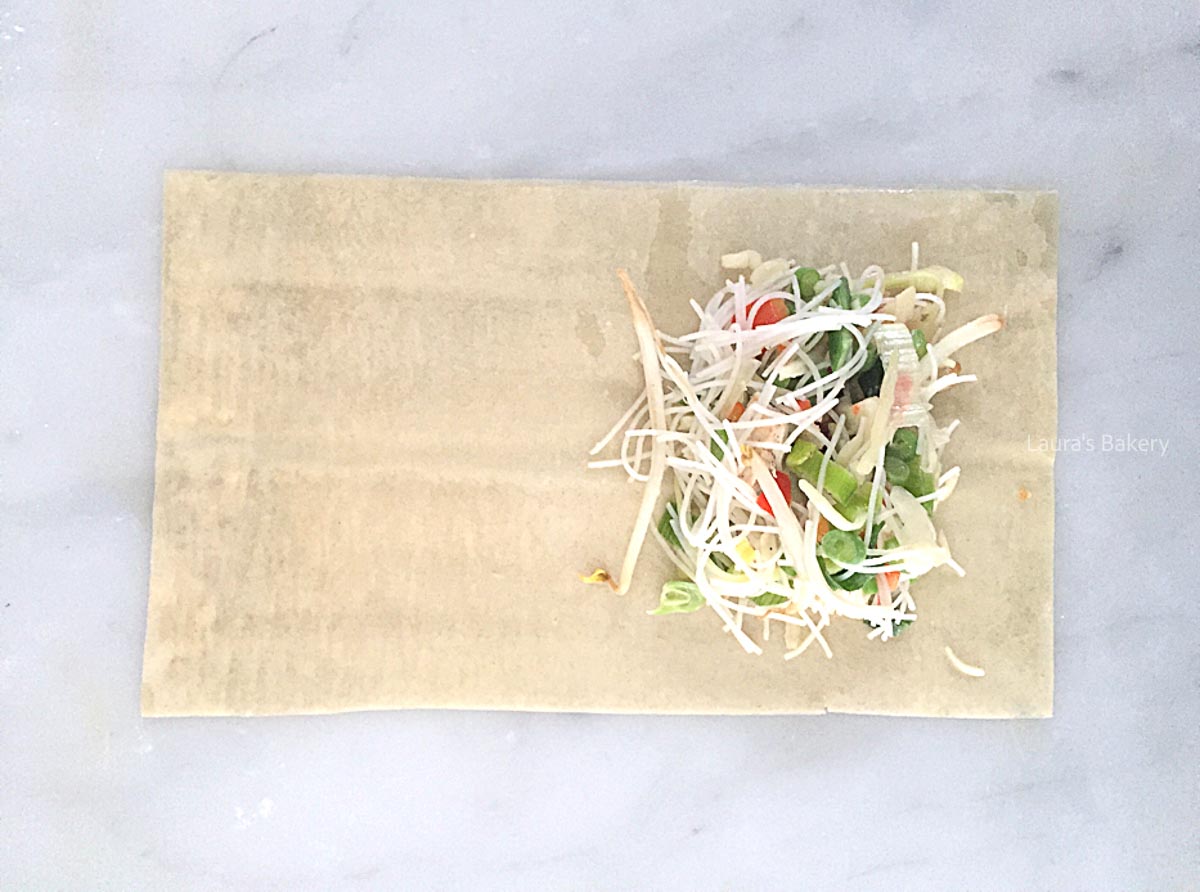
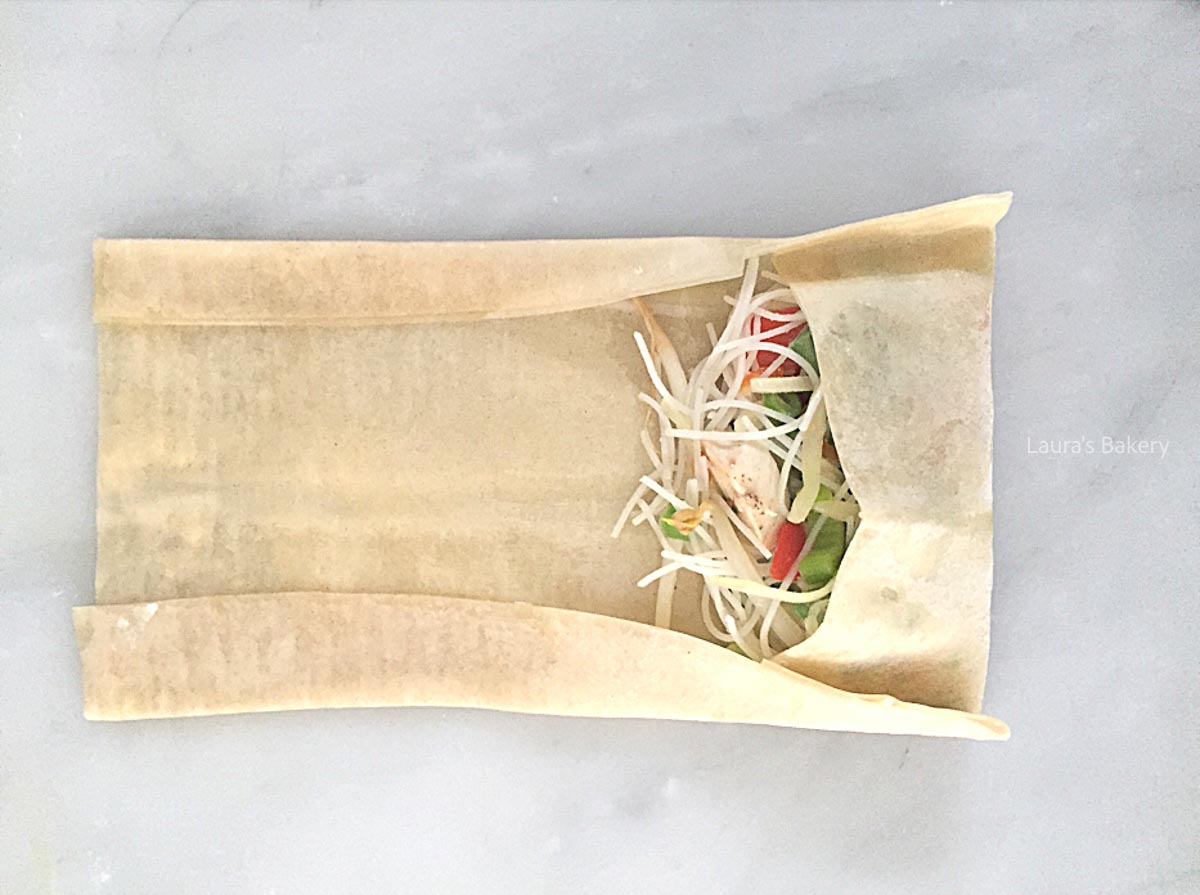
Place the filling on the lower half, leaving the edges clear.
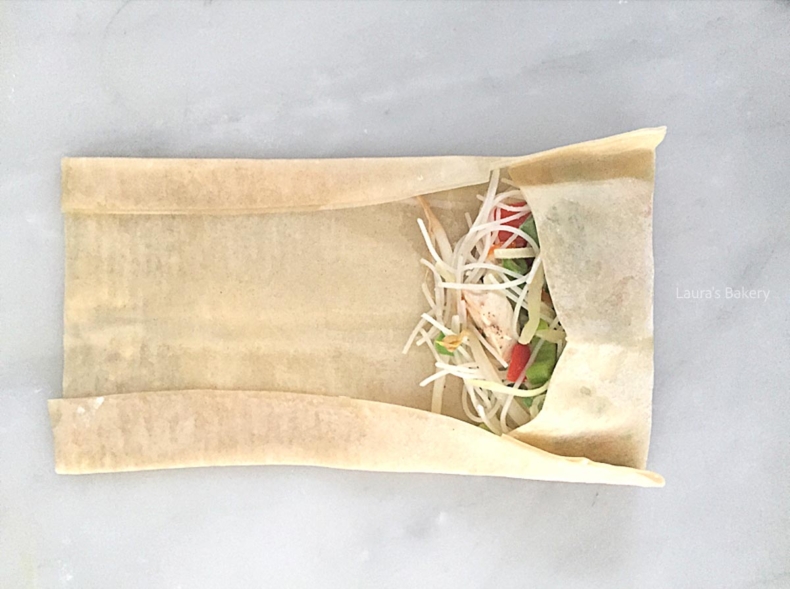
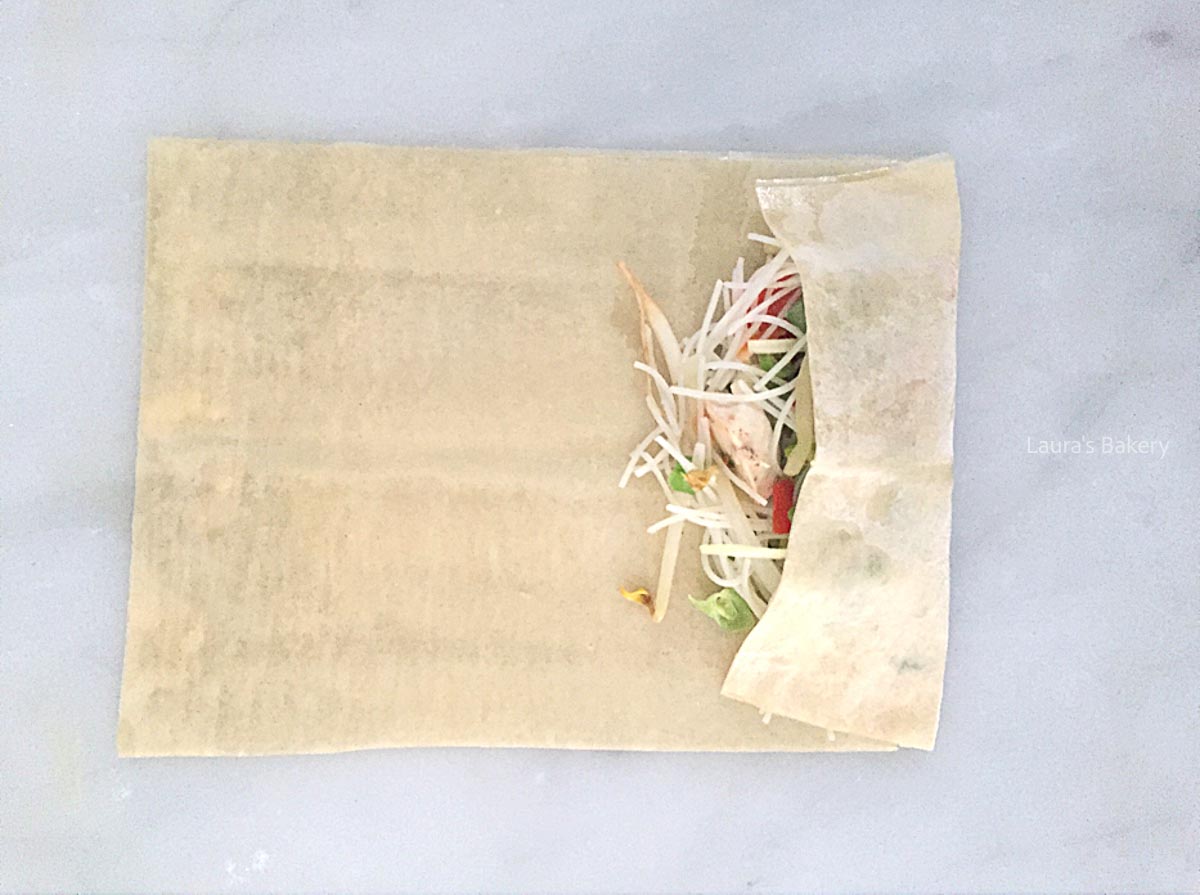
Fold in the sides of the phyllo sheet
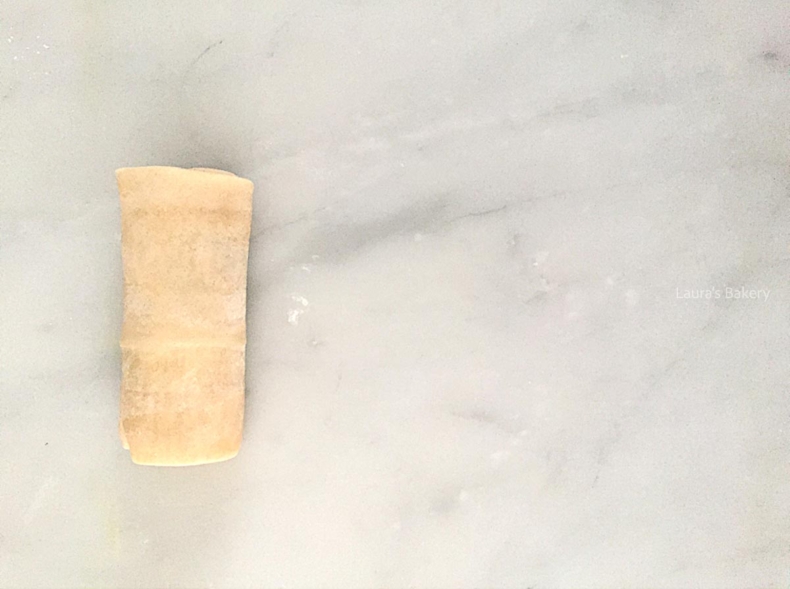
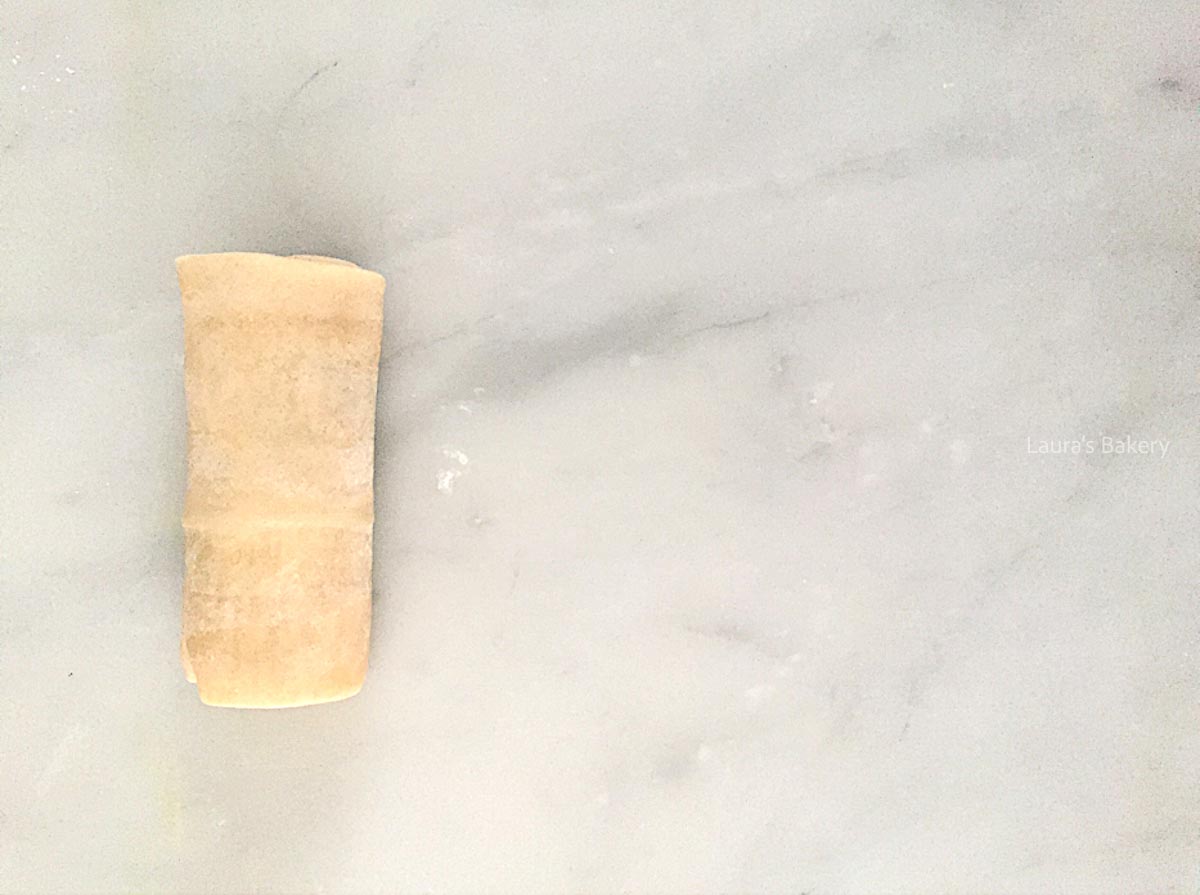
Roll it up tightly, brush with olive oil and bake for 15 to 20 minutes until golden brown.
These baked spring rolls are best enjoyed right away. If you need to store them to enjoy the next day, place them in an airtight container in the fridge.
Yes. Once folded and assembled, store them unbaked in the freezer for up to three months. Bake them straight out of the freezer, and add a few minutes of baking time.
Leftover baked spring rolls can be reheated in the oven at 350˚F/180˚C (conventional oven) to achieve crispy phyllo again.
What’s better than the irresistible contrast of a crispy exterior against a soft, comforting filling? That’s what ties all of these snacks and appetizers together, and why I keep coming back for more!

No. While phyllo dough is paper-thin and delicate, the spring roll wrappers you typically find in Asian grocery stores are thinner and more elastic. While I haven’t tried spring roll wrappers for these baked spring rolls, I don’t see why it wouldn’t work.
Leave a comment and let me know if you do make these baked spring rolls with spring roll wrappers.
It’s best to prepare all of the filling ingredients before removing the phyllo pastry sheets from the packaging. You could also cover the sheets with a slightly damp towel while working, if needed.
Most importantly, make sure to generously brush each sheet with oil or melted butter.
Absolutely! Just use a single layer of puff pastry instead of layering two phyllo sheets and don’t fold the sheets in half.
Keep in mind that the final result won’t be exactly the same as with phyllo. For the best flavor and texture, I’d still recommend sticking with phyllo.
A sweet chili sauce is a popular and classic pairing for these crisp spring rolls to dip into. Mix in a bit of homemade mayonnaise for a creamy sauce.
Feel free to also pair these baked spring rolls with another favorite dipping sauce. Soy sauce is delicious too!
Baked spring rolls are lower in fat and calories because they don’t absorb oil during cooking. This makes them a lighter, less greasy option. Apart from this, you can save yourself the mess and fuss of traditional deep-frying by cooking these spring rolls in the oven.
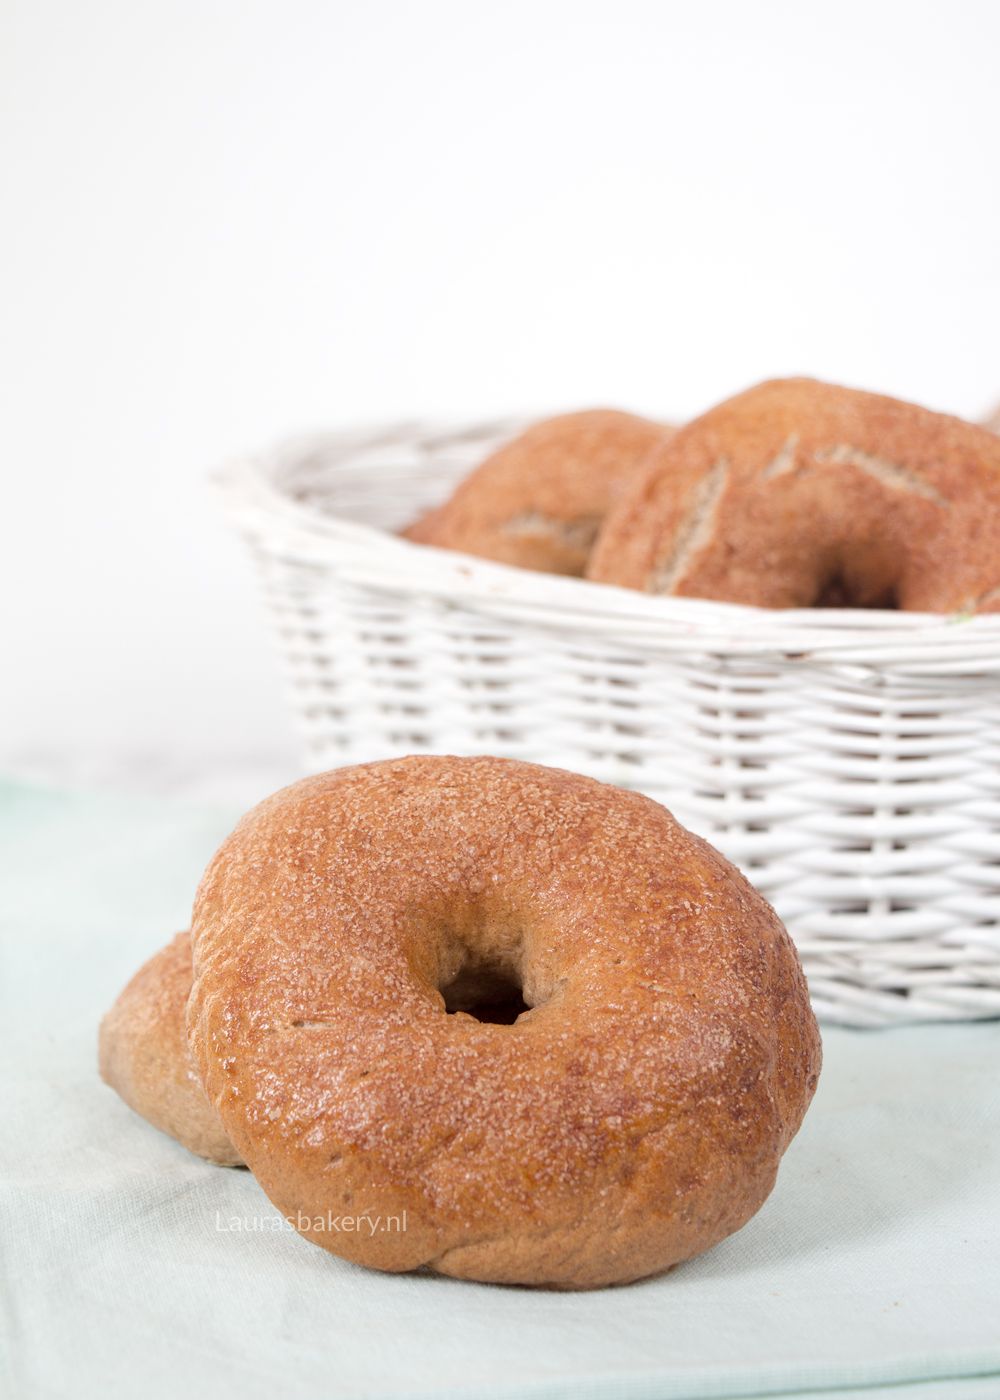
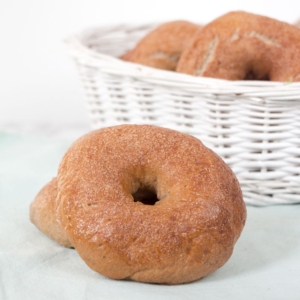
Forget spending money on store-bought bagels or waiting in line at the local bakery. When it comes to cinnamon bagels, homemade is the only way to go!
Plain bagels get a serious upgrade with minimal effort or added ingredients. Here’s why I’ll always opt to bake these homemade bagels from scratch:
Learn how to make homemade cinnamon raisin bagels with this easy-to-follow recipe. With just a handful of basic ingredients, you’ll create bagels that taste far better than anything from the store! Be sure to always check the full details in the recipe card below.
BAKING TIP: For juicy raisins, plump your raisins in warm water first, if needed, before adding to the dough.
To make these bagels, start by dissolving the sugar in water, then add the yeast and let it sit for about 10 minutes.
In a stand mixer, combine flour, salt, and cinnamon, then add the yeast mixture and knead on low speed for about 10 minutes until the dough is smooth and elastic.
Shape the dough into a ball, place it in a lightly oiled bowl, cover, and let it rise in a warm place for about 2 hours.
After rising, knead in the raisins until evenly distributed. You can skip this if you don’t like raisins.
Divide the dough into 8 equal pieces, shape each into a bagel, and let them rest for 10 minutes.
Bring a large pot of water to a boil, then boil each bagel for 45 seconds to 1 minute per side.
Transfer to a parchment-lined baking sheet, brush with beaten egg, and sprinkle with cinnamon sugar if desired. Bake in a preheated oven at 425°F/220°C (conventional oven) for about 20 minutes, until golden brown.
Let the bagels cool on a wire rack or serve warm.
Store leftover cinnamon bagels in an airtight container at room temperature for up to 2-3 days. After this, they may become stale.
Absolutely! Baked cinnamon bagels, once completely cooled, can be stored in an airtight container for freezer-safe bag in the freezer for up to 3 months. Thaw them overnight in the refrigerator or at room temperature.
The bagel dough can also be frozen. Simply wrap it tightly in plastic wrap, followed by a layer of aluminum foil, and freeze for up to three months. When you’re ready to use it, thaw the dough overnight in the refrigerator, then proceed with shaping the individual dough balls and following the rest of the recipe.
Reheat leftover bagels at 350°F/175°C (conventional oven) for 5-7 minutes to restore a crisp exterior and soft interior.
You can also reheat the bagels in the microwave by wrapping each bagel in a damp paper towel and heating for 15-20 seconds. This keeps it soft but can reduce the chewy exterior.
If you love the idea of bringing bakery-quality treats into your own kitchen for family and friends, be sure to try these equally easy and delicious recipes:
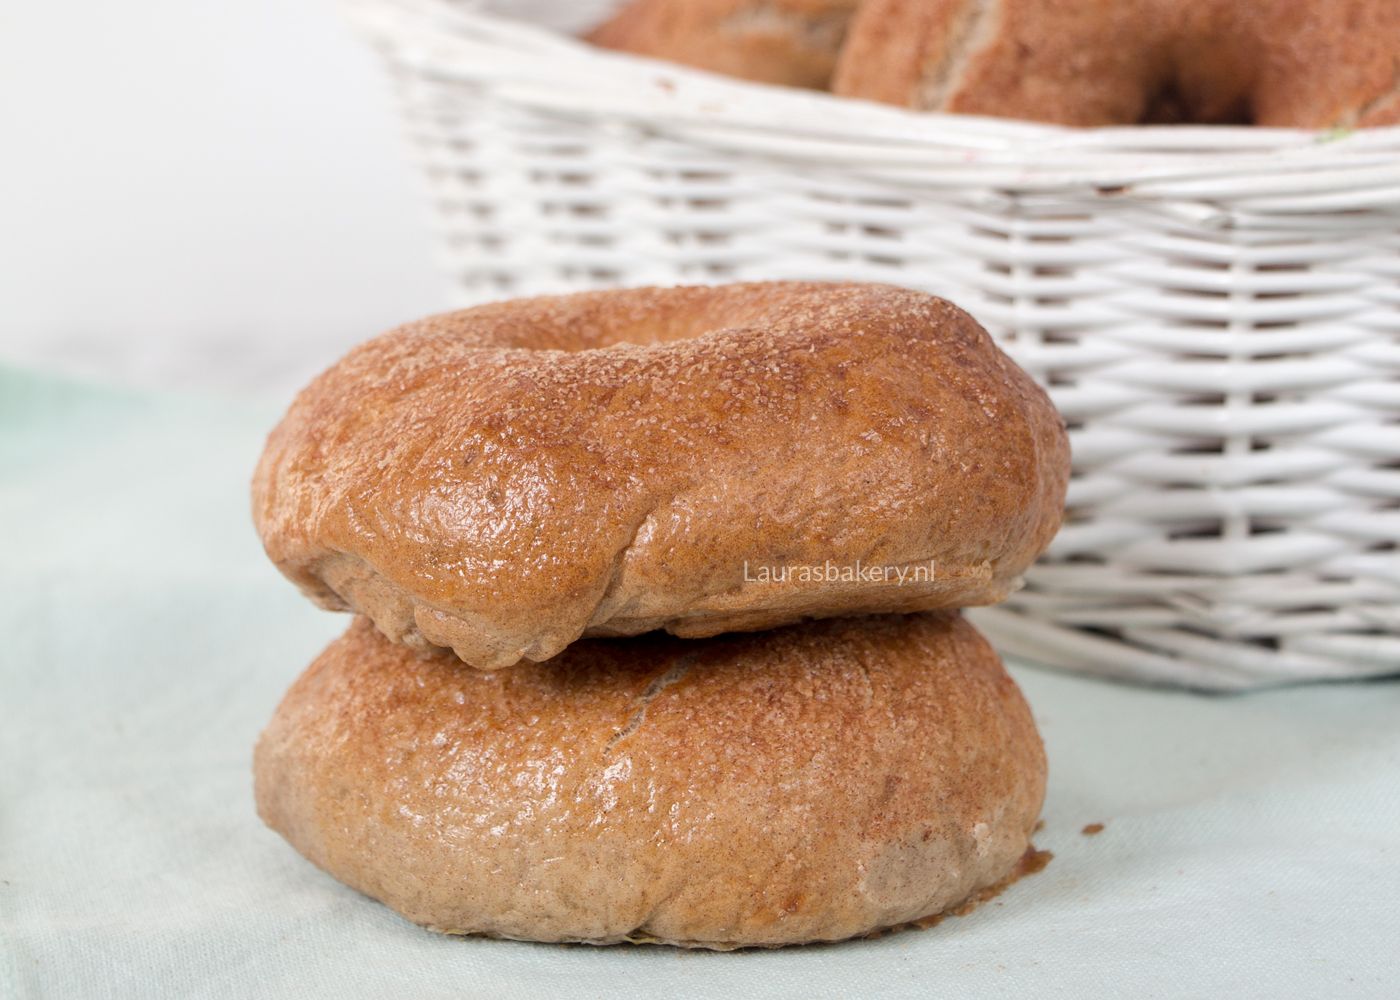
There are two main reasons for boiling bagels once the dough has been shaped:
First, it gives the bagels their glossy shine which comes from the dough’s starches gelatinizing. In the oven, those starches turn into a crisp, shiny crust.
Secondly, the boiling also cooks the outer layer of dough, helping the bagels keep their shape during baking.
Brushing the tops of the bagels with beaten egg just before baking adds a golden finish and crisp texture to the tops of the bagels. Another trick is to add honey or barley malt syrup to the pot of boiling water.
All you need to do is flatten each bagel dough ball slightly, then use your thumbs to poke a hole through the center of each ball. Gently stretch the hole to form a bagel shape, and that’s it!
Enjoy these cinnamon raisin bagels plain or with a slathering of softened cream cheese (or Greek yogurt for a lighter version), whipped cream, blueberry jam (or your favorite kind), or peanut butter.
Feel free to experiment with chocolate chips, chopped nuts, cranberries, or blueberries.
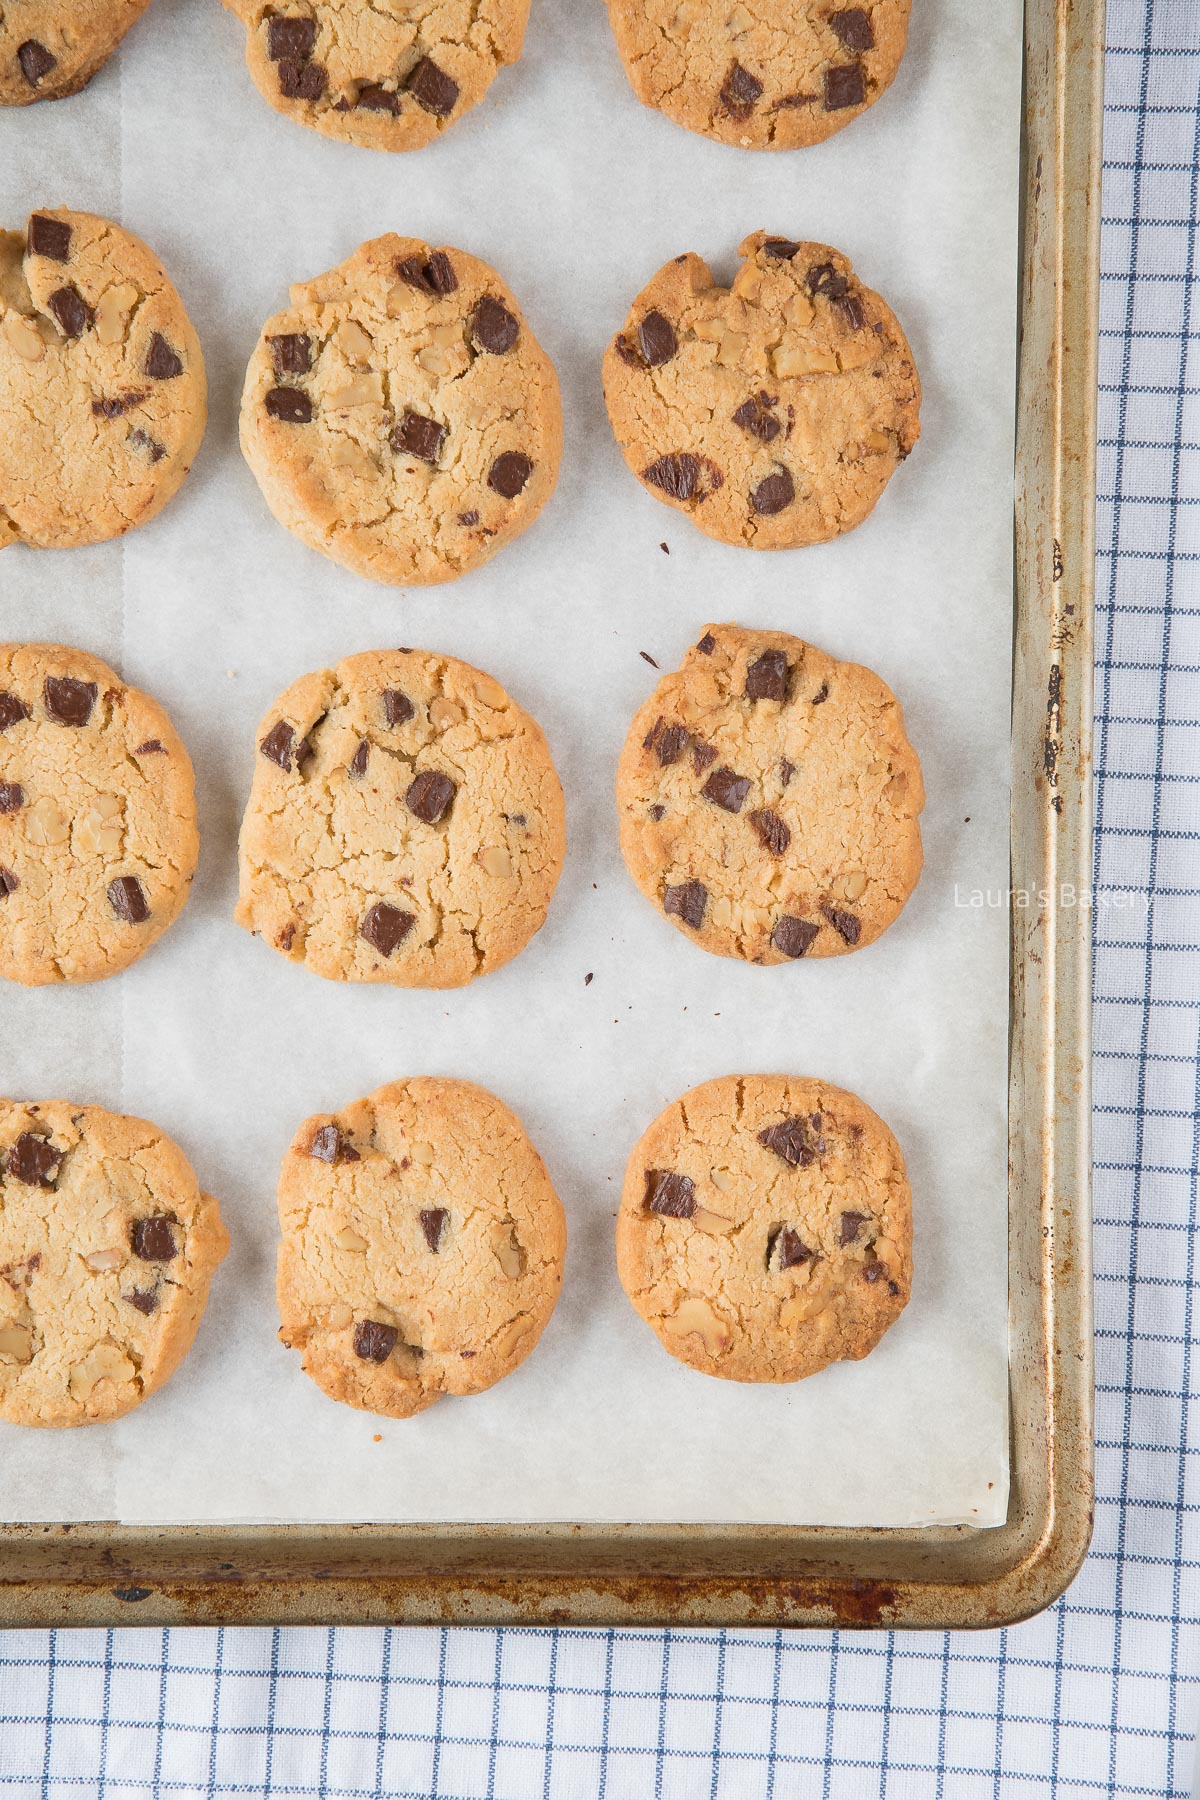
Crunchy, delicious, easy to make and the perfect little treat. These walnut chocolate chip cookies are always a hit and the combination of chocolate and walnuts in a cookie is perfect.
If you love chocolate chip cookies you might have tried my basic chocolate chip cookie recipe or the Nutella filled chocolate chip cookies, but a nutty version was missing until now.
You don’t need a lot of fancy ingredients to make these walnut chocolate chip cookies. Make sure to check the full list of ingredients and quantities in the recipe card below.
To make these thick cookies you start by creaming the butter and the sugar together until light and fluffy. I like to use my stand mixer with a paddle attachment for this, but you can use any mixer you like. Now add the vanilla extract and mix this in.
Once that is fully incorporated add the dry ingredients (flour and pinch of salt) and knead this into a firm cookie dough.
The last step in making these chewy cookies is to mix in the walnuts and chocolate chips. I like to break the walnuts into smaller pieces, so they will divide more evenly through the dough. You can do this with your hands or use a sharp knife to chop the cookies. Make sure both chocolate and walnuts are evenly distributed.
Shape the dough into one or two logs, making them around 6 cm/2.5 inch in diameter. Wrap in plastic wrap and refrigerate for at least an hour. Don’t skip this step as it will make all the difference for the perfect cookie. Want to know why chilling dough is so important? I’ll tell you all about it in my post.
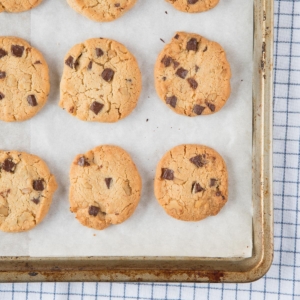
Once chilled, slice the dough into equal slices of around 1 cm/0.5 inch with a sharp knife. Place them on a baking sheet lined with parchment paper. Make sure there is enough space in between each cookie. Bake for 14 to 16 minutes at 180˚C/350˚F (conventional oven) or until golden brown.
Let the cookies cool down for a few minutes before transferring them to a wire rack.
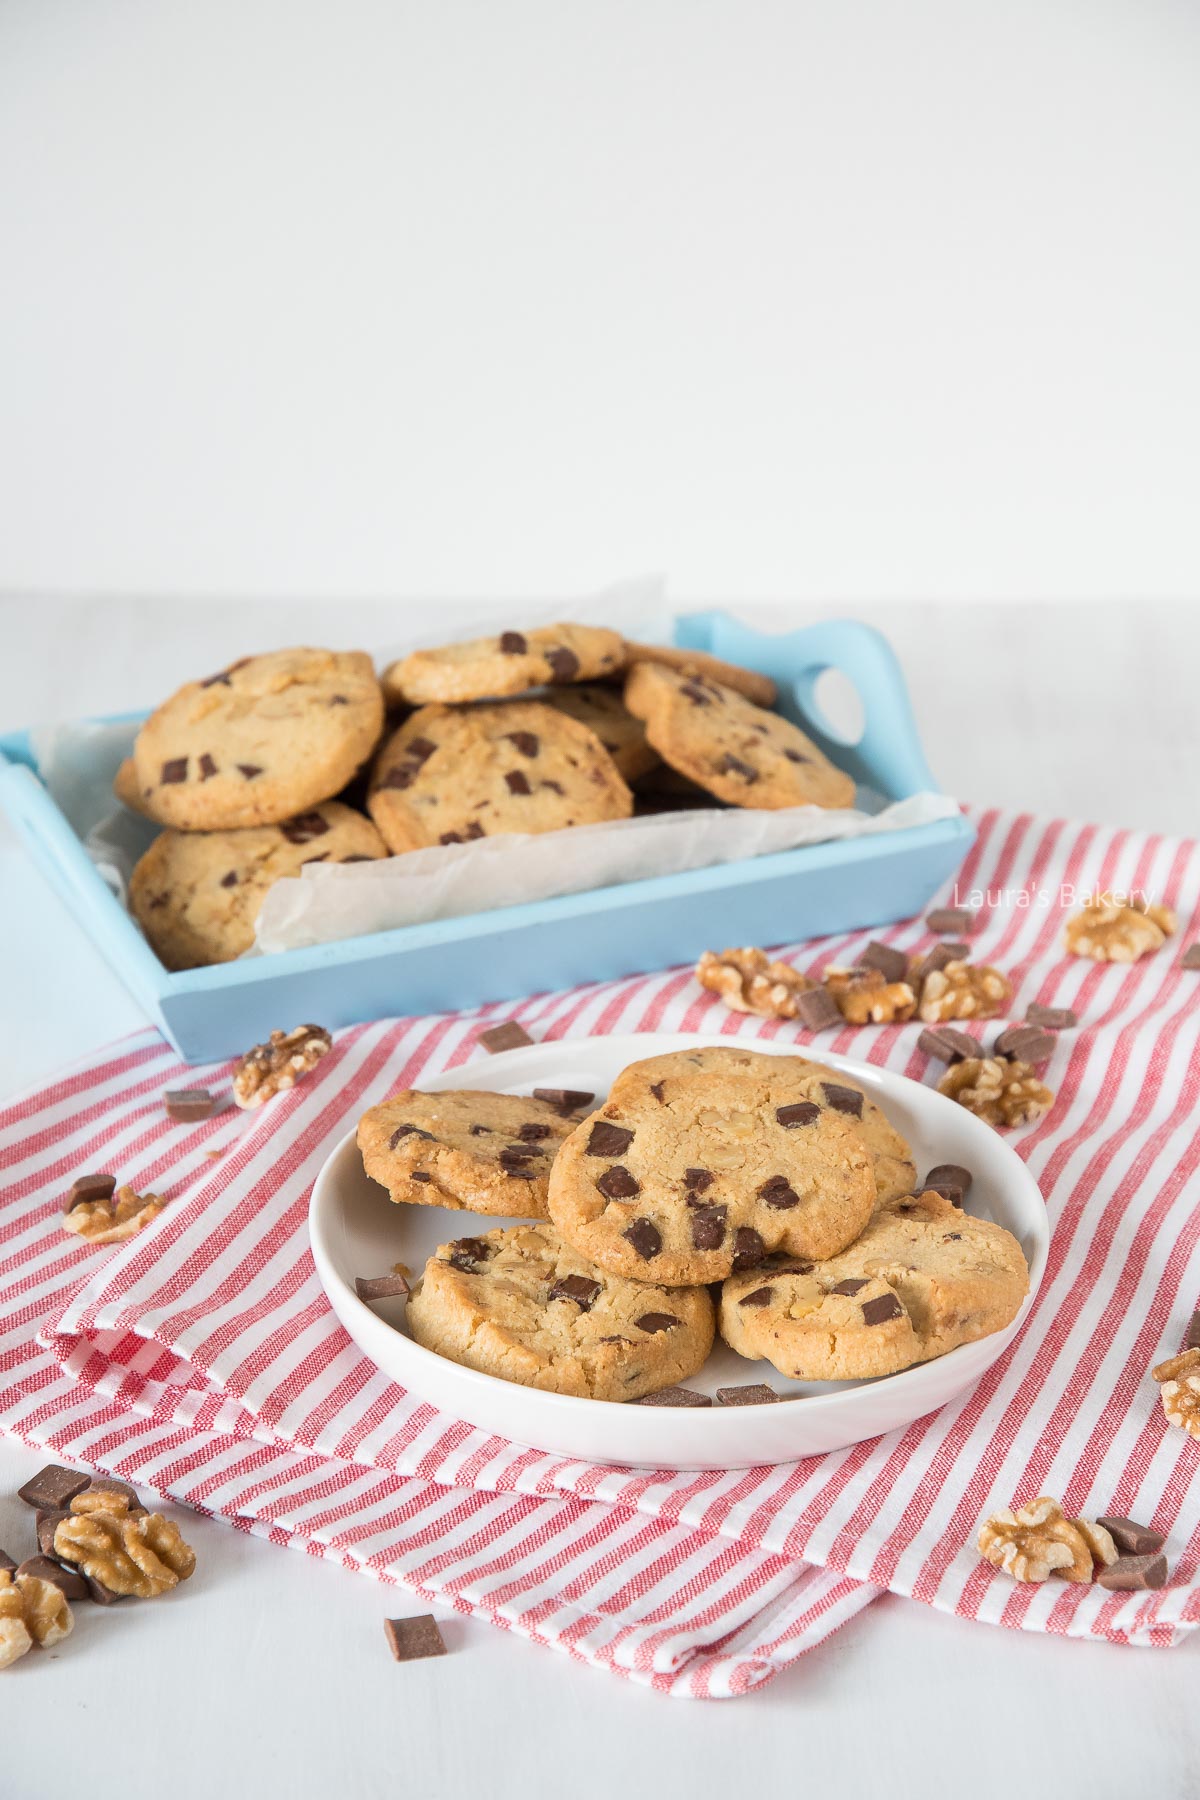
These chocolate chip walnut cookies are perfect for storing as they easily keep for up to two weeks in an airtight container.
The cookies also freeze really well. You can freeze both the dough as well as the finished cookies. Defrost them slowly for best results.
I have a soft spot for all chocolate chip recipes and have made quite a few already. Here are some of my favorites:
Yes! Light brown sugar gives a softer texture and a slight caramel flavor. You can substitute it with dark brown sugar for a deeper flavor, or use granulated sugar if that’s what you have. Just note the cookies will be a bit crisper and less chewy.
Absolutely. Pecans, hazelnuts, or almonds all work really well in this recipe. Just chop them roughly before adding to the dough.
The edges should be golden brown while the centers still look slightly soft. They will firm up as they cool.
For softer cookies, bake them a little shorter and use more brown sugar. For crispier cookies, bake a bit longer or slice the dough slightly thinner.
Not at all. You can use chopped chocolate, chocolate chunks, or even skip the chocolate and add extra nuts or dried fruit.
This usually happens if the dough wasn’t chilled long enough or the butter was too soft. Make sure to chill the dough properly before baking.
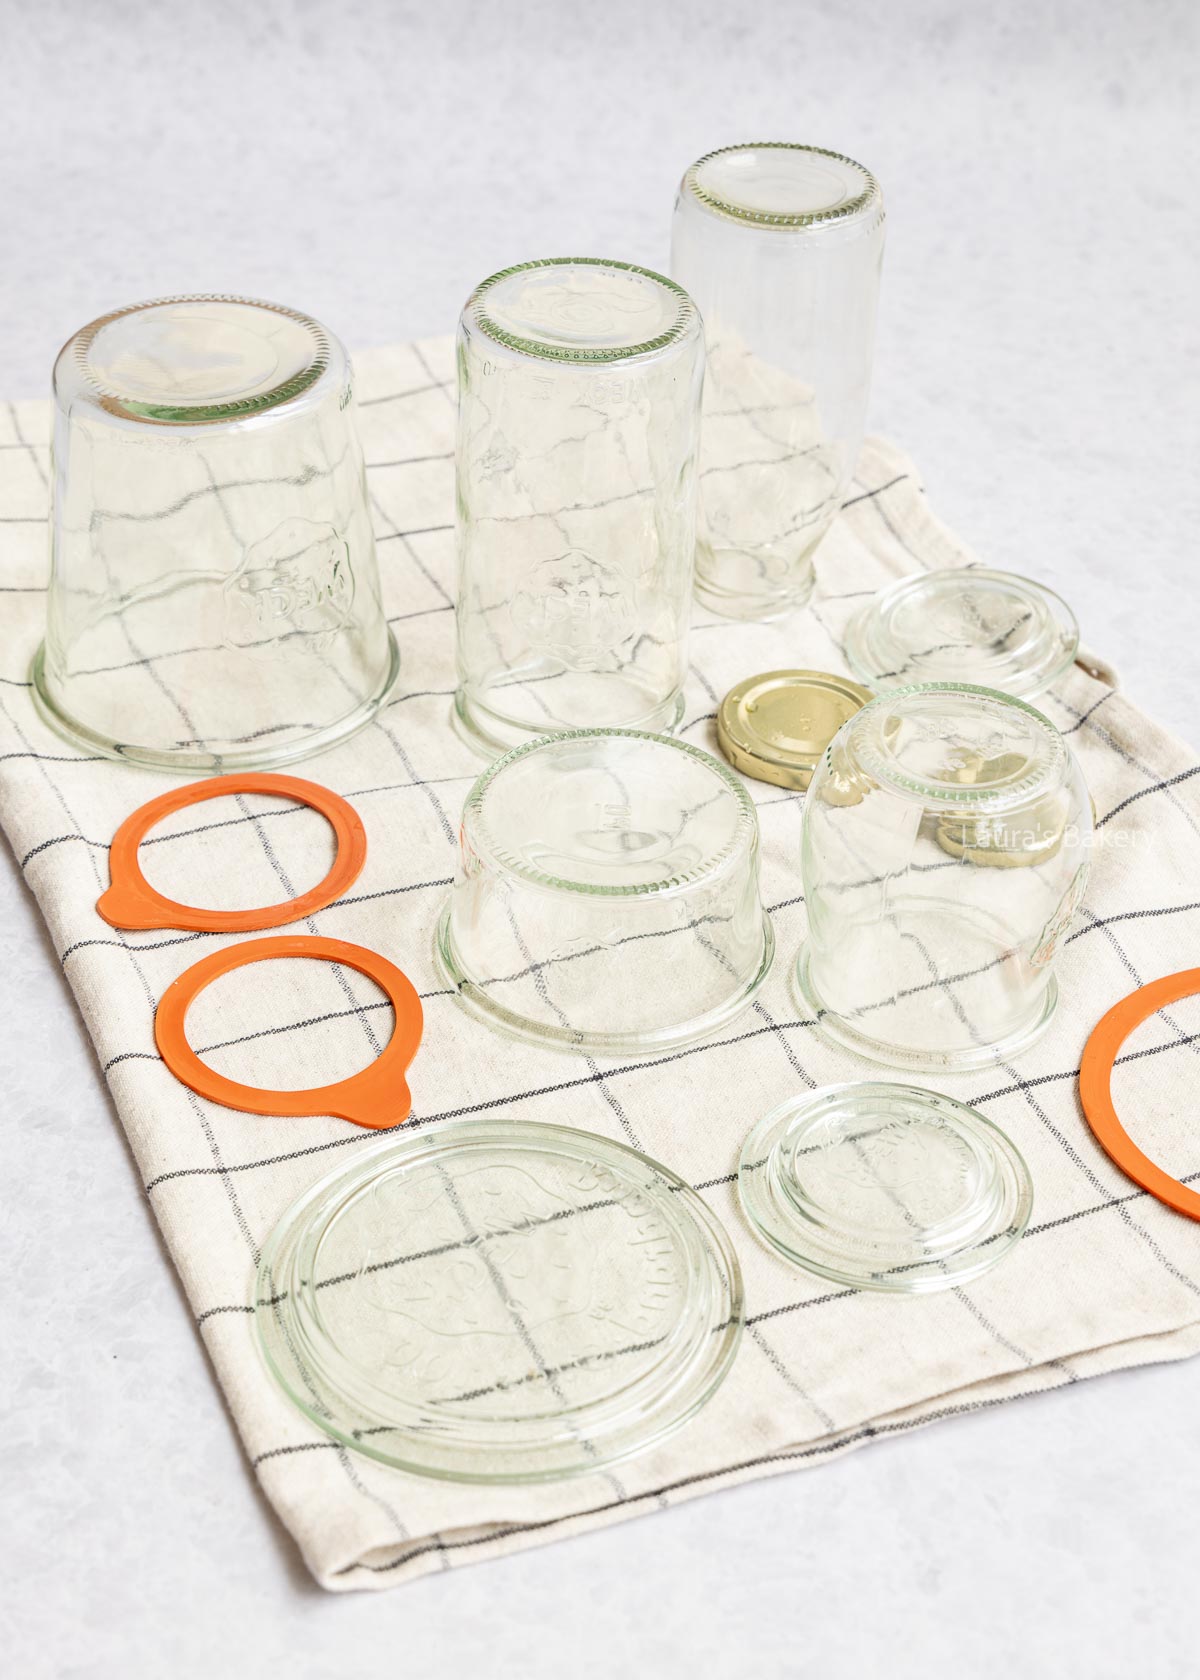
Making your own jam, storing sauces, or gifting homemade lemonade syrup? So much fun! But properly sterilizing your glass bottles and jars is essential. In this how-to guide, I’ll walk you through step by step why sterilizing matters and the different methods you can use.
Even if a bottle or jar looks clean, it can still contain bacteria. These micro-organisms can cause your homemade jam, syrup, or sauce to spoil more quickly. That’s why sterilizing is so important:
I prefer to sterilize jars or bottles right before using them, so I know no new bacteria have been introduced while they were sitting in the cupboard.
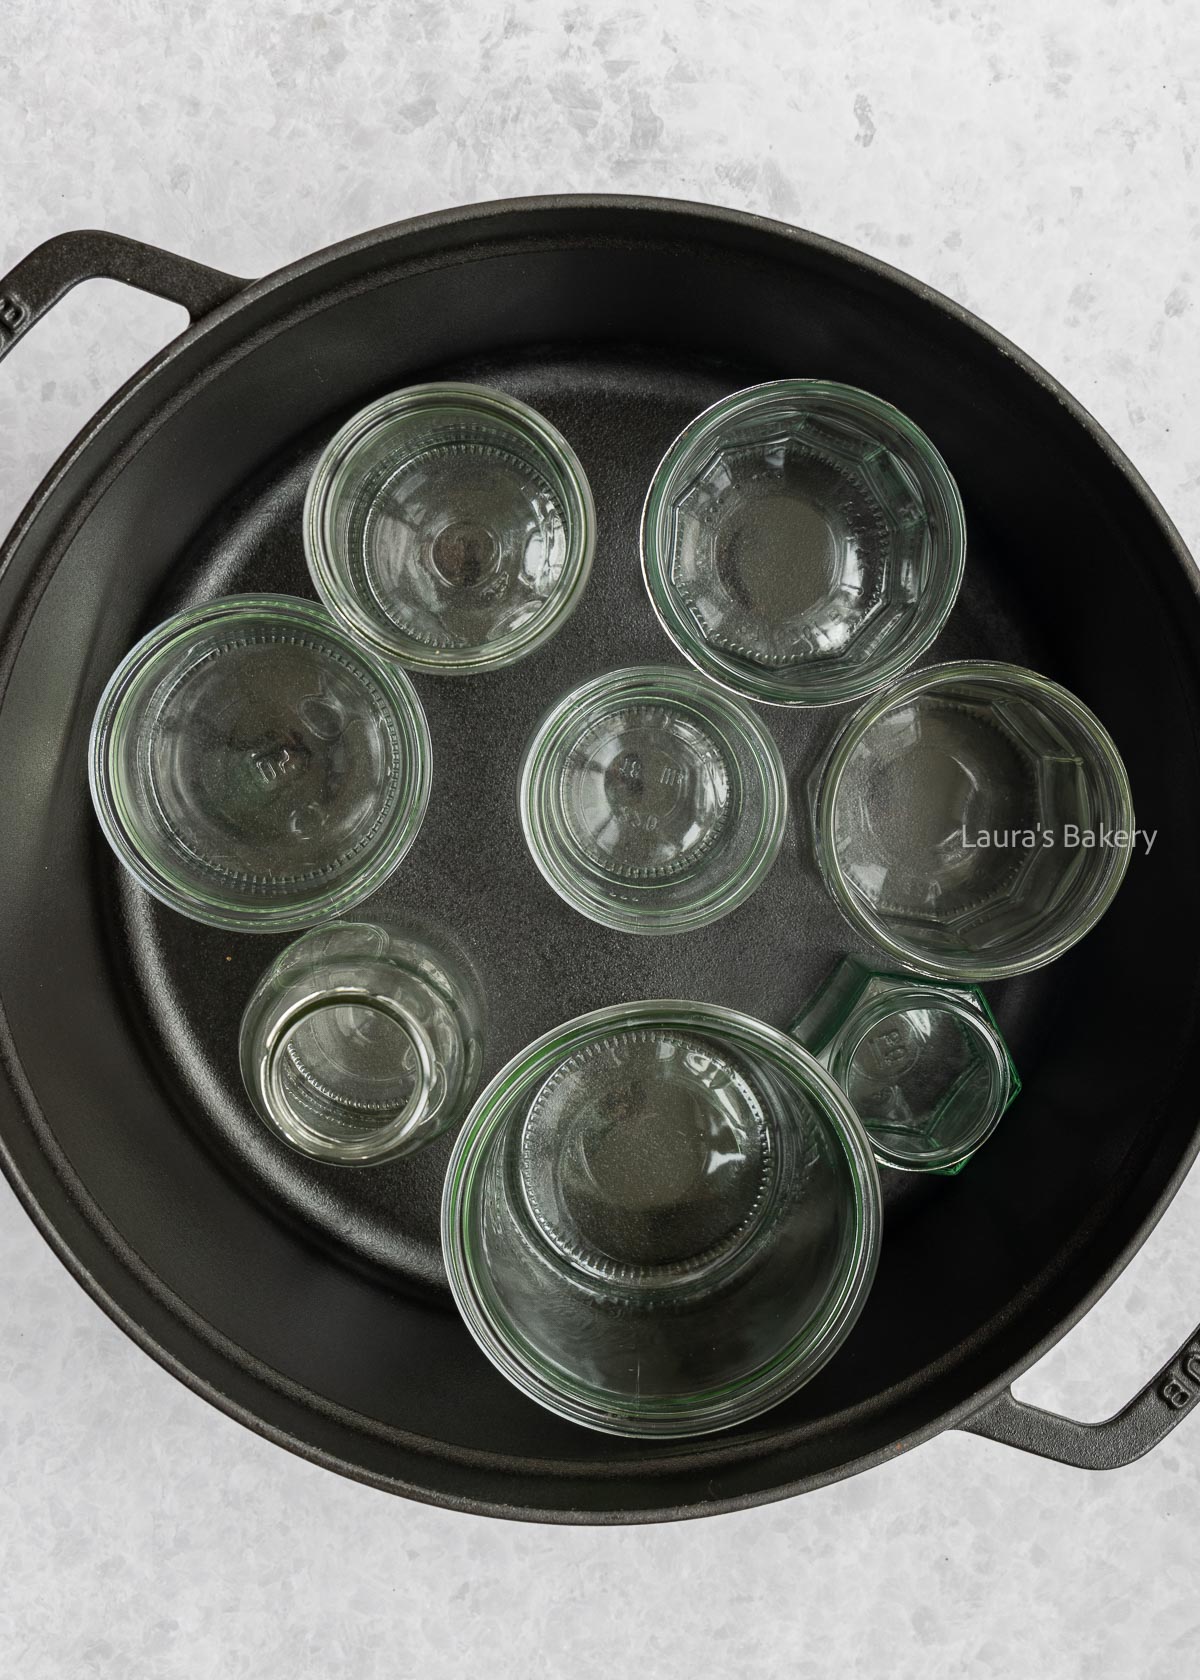
In theory, you can sterilize any heatproof glass jars and bottles. Reusing jars, like store-bought jam jars or pickle jars, works perfectly too. Just make sure they’re not damaged.
Looking for specific sizes? You can also buy new ones, such as:
Always check jars and bottles for small cracks, chips, or damaged rims. If they’re damaged, don’t use them, they can break during sterilization or let air (and bacteria) in later.
There are several safe ways to sterilize canning jars, jam jars, or glass bottles. The most common methods are:
Keep reading for step-by-step instructions for each method.
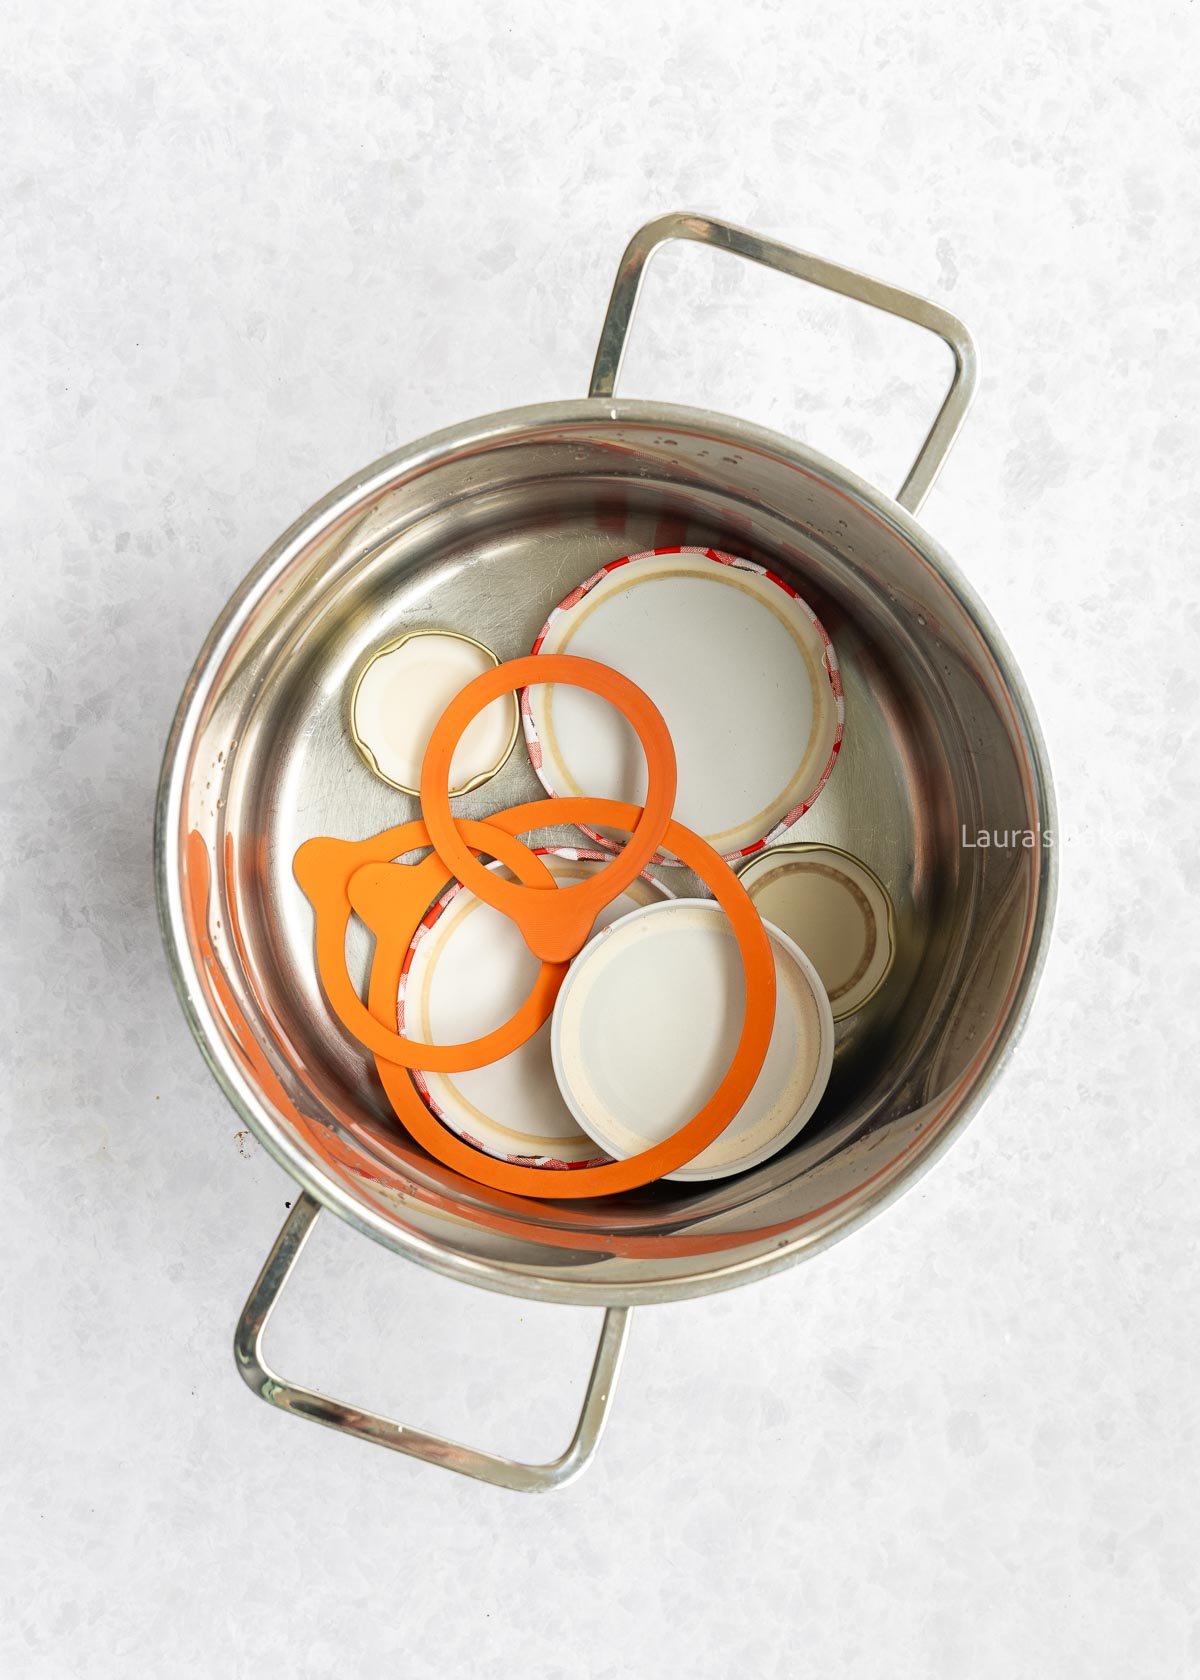
Metal lids and rubber seals should be treated separately. Place them in boiling water for 5-10 minutes and use them right away. Never put lids in the microwave or oven, this can damage them (and metal can damage your microwave).
This is the classic, traditional method and the one I use most often for jam jars.
This is a handy method if you don’t have a large pot or want to sterilize many jars at once. Only suitable for glass, not for lids or rubber seals.
Great for small batches. Only suitable for glass, not for lids or rubber seals.
No. A dishwasher typically reaches a maximum of about 160°F/70°C, which isn’t hot enough to kill all bacteria. It’s great for cleaning but not for sterilizing.
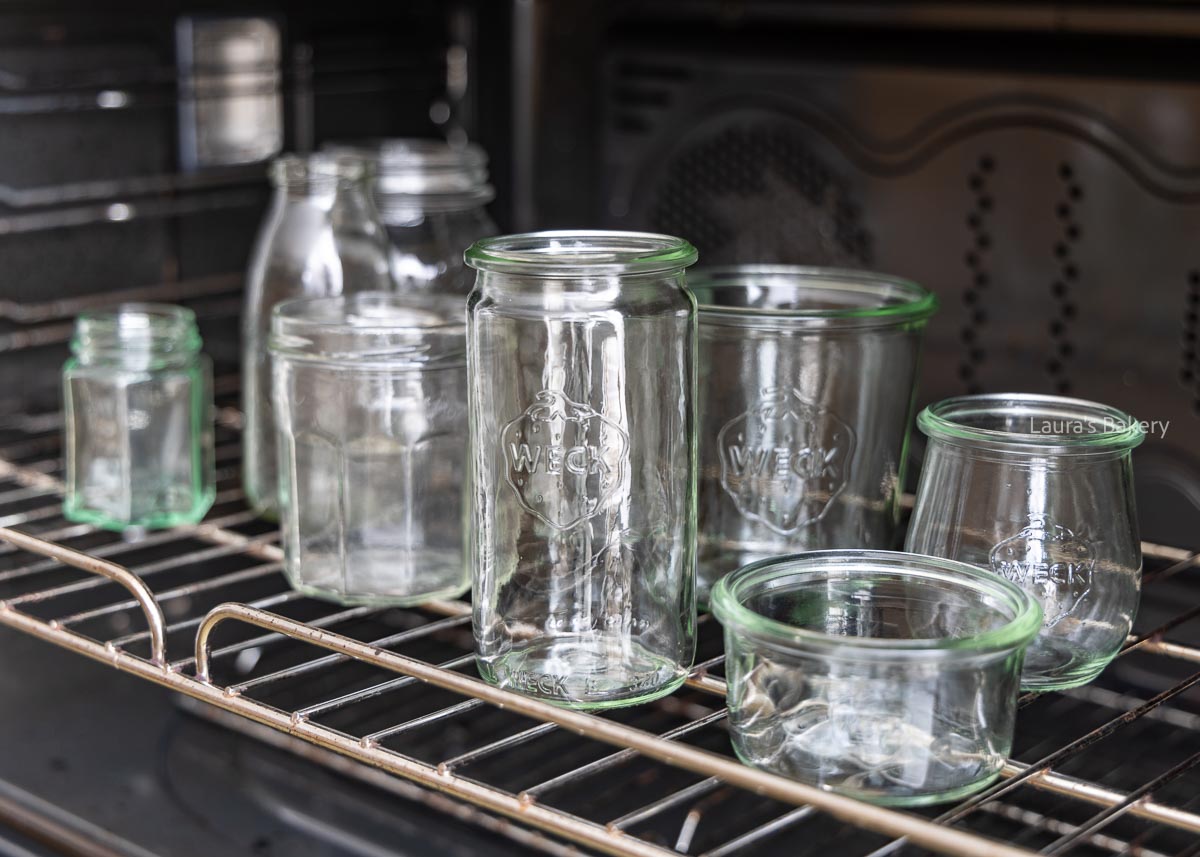
Yes, as long as they’re in good condition. Check that they’re not warped and that the inside has no rust, damage, or peeling coating.
Store-bought metal lids are usually designed for one-time use when canning. After the first use, they may not seal as reliably. This also applies to lids with a built-in rubber ring.
If you want a proper vacuum seal for long-term storage, it’s best to use new lids.
It’s not required, but it’s recommended, preferably while they’re still warm. This helps prevent new bacteria from getting in and reduces the risk of temperature shock when filling.
No. Sterilizing requires high temperatures, and plastic lids usually can’t handle that, they may warp or melt.
There are countless recipes you can store in sterilized jars or bottles, such as:
Not only is it practical for your own pantry, but it also makes a wonderful homemade gift. In both cases, make sure to label your jars with the date and contents.
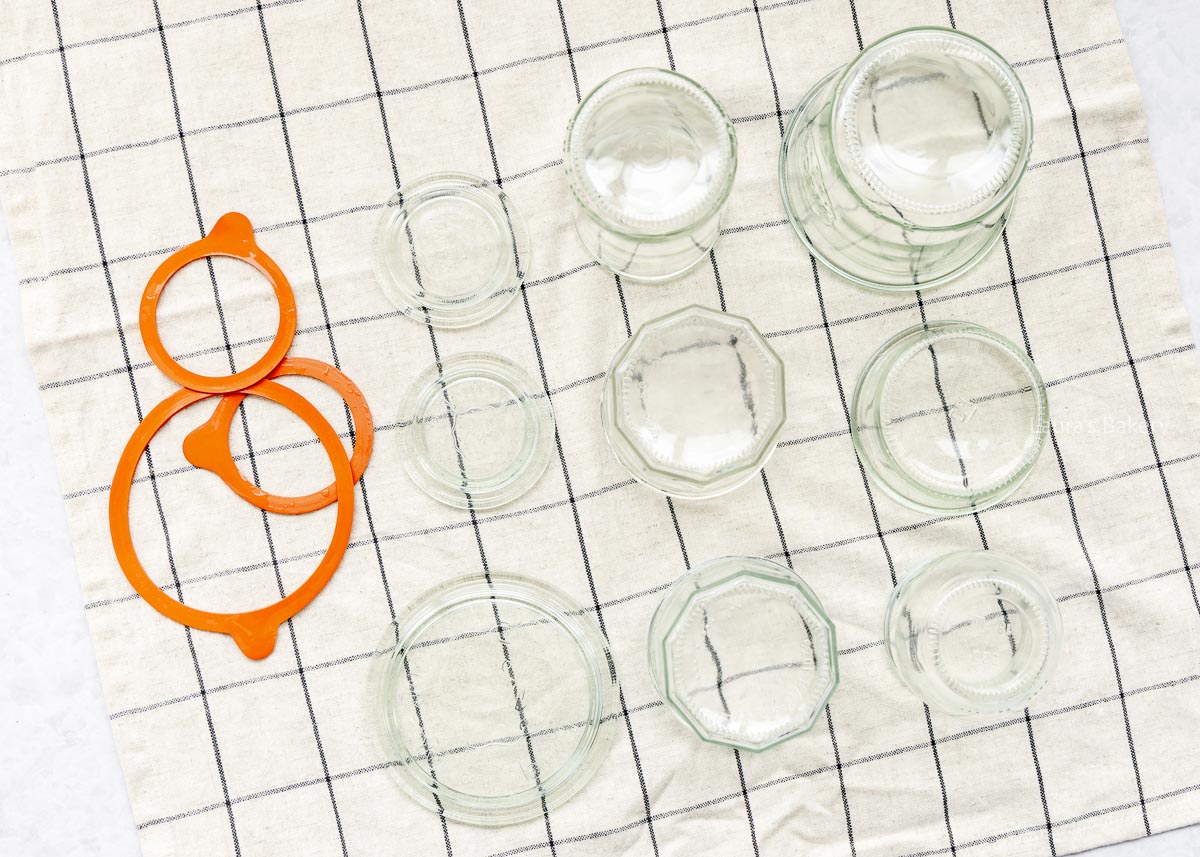
After sterilizing, fill your jars or bottles and clean the outside if needed. Let them cool completely, then add a label with the preparation date.
For everyday use, I often use a label maker. If I’m giving it as a gift, I like to go for a more vintage-style label, it just adds a cozy, personal touch.
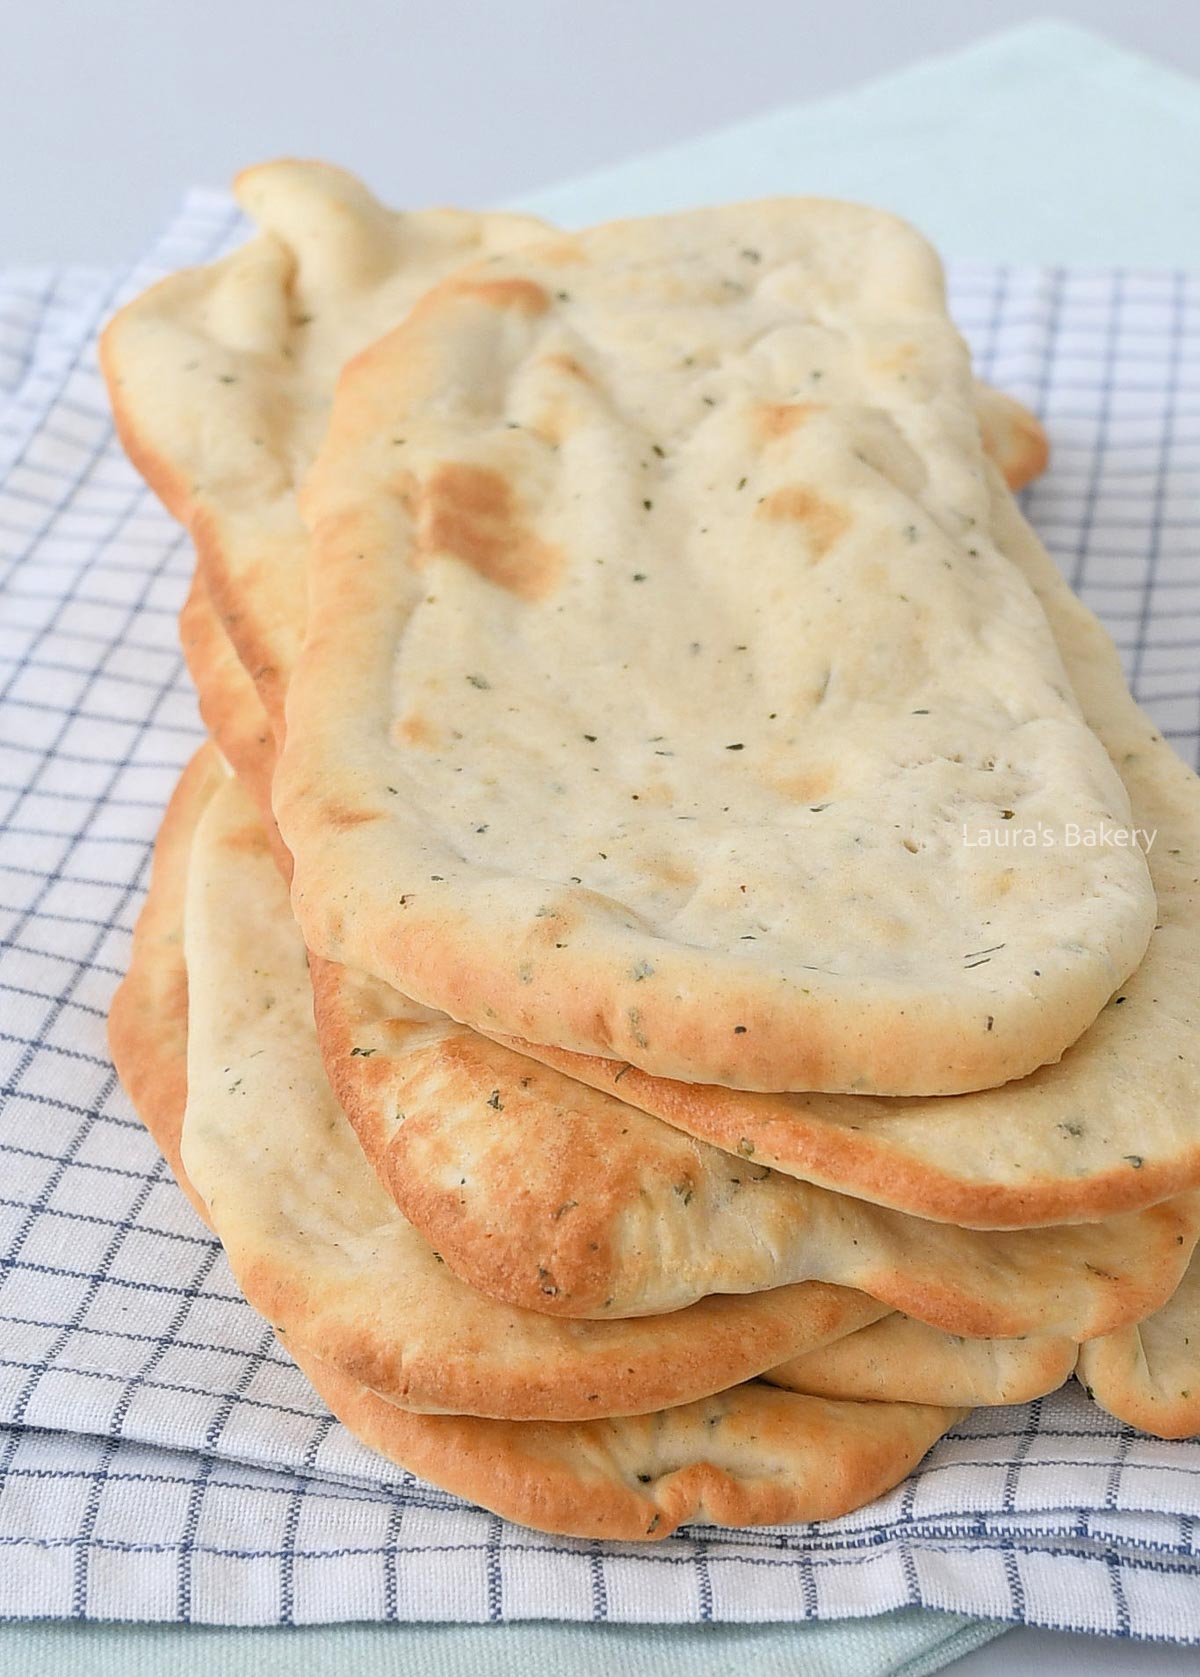
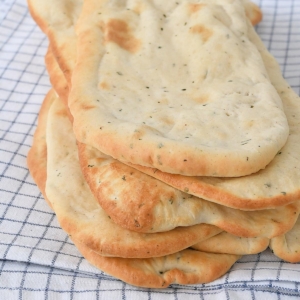
Skip the store-bought naan bread and make soft, oven-baked naan at home in just a few simple steps. It comes together quickly, freezes beautifully, and is absolutely perfect for dipping into your favorite curry.
You don’t need any professional bread-making skills to bake incredible homemade naan bread. Just this simple recipe that delivers perfect results every time. Here’s why I can’t get enough of it:
Grab your active dried yeast and pantry staples. That’s all you need to make soft naan bread with golden crispy edges. Make sure to check the recipe card below for full details:
First, grab a small bowl and mix together the lukewarm milk, 1 teaspoon sugar, and the dried yeast. Give it a quick stir, then let the yeast mixture sit for about 10 to 15 minutes. You’ll know it’s ready when it gets all bubbly on top.
In a larger bowl, toss together the flour, salt, baking powder, the remaining sugar, dried coriander, garlic powder, and a little pepper. Stir briefly to combine.
Once the milk mixture is bubbly, pour it into the bowl of flour. Add the oil and Greek yogurt, then knead everything together for about 10 minutes until you have a smooth, stretchy dough.
Lightly grease the bowl with a little oil, form the dough into a ball, and put it back in. Cover the bowl and let it rise for 45 to 60 minutes. It should double in size.
While the dough is rising, preheat your oven to 480°F/250°C (conventional oven) with a baking sheet inside.
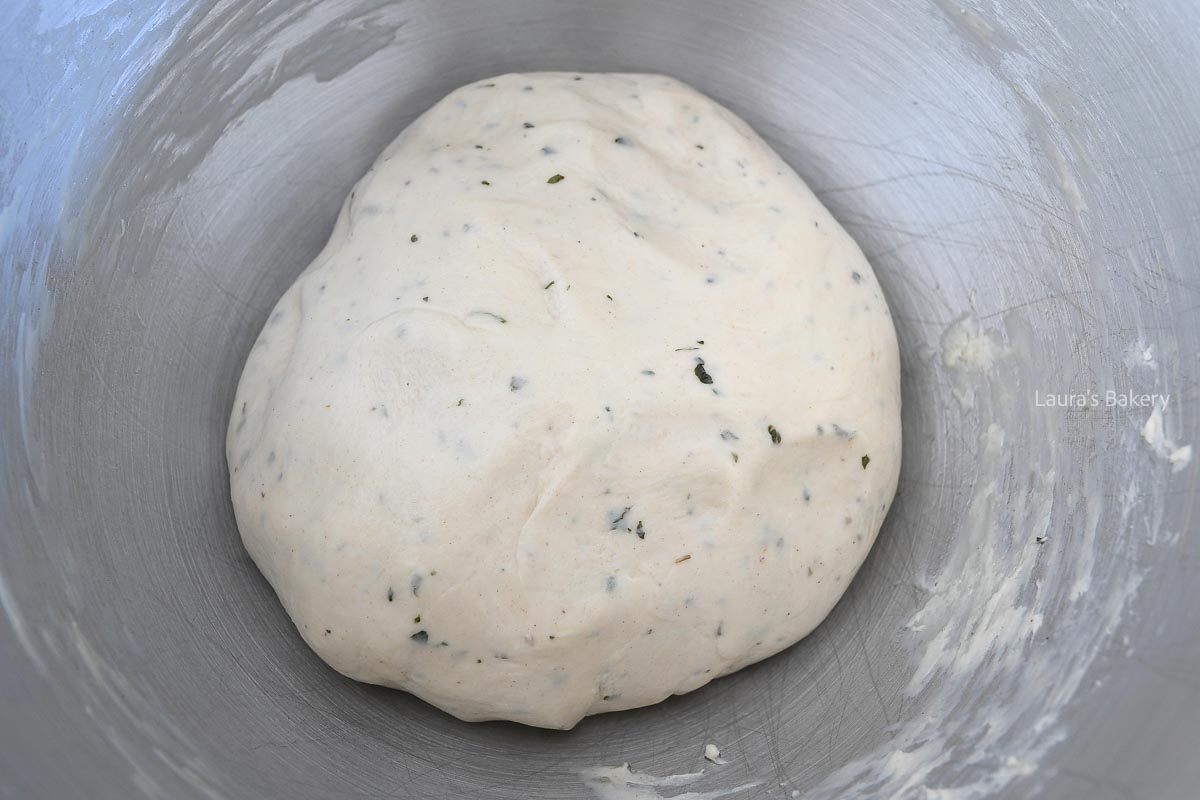
Punch down on the dough, then divide the dough into 8 equal pieces. Roll each piece out as thin as you can into an oval shape. Keep the other dough balls covered while you work.
Carefully take the hot baking sheet out of the oven, place one rolled out naan directly onto it (no parchment paper needed), and slide it back in right away. Bake for about 3 to 5 minutes and keep an eye on the first one to see what amount of time works best in your oven. Repeat for the rest.
BAKING TIP: For smaller naan bread, simply divide the dough into smaller pieces to roll out.
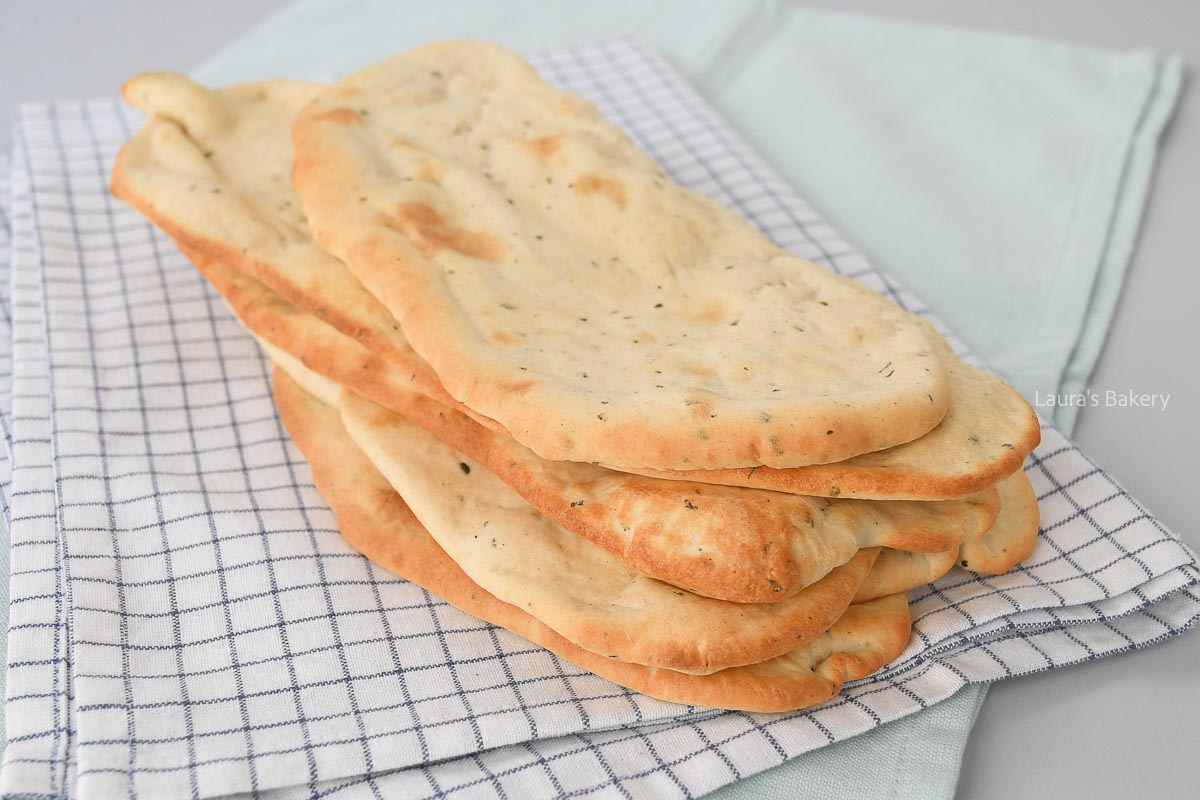
Store leftover naan bread, wrapped in plastic wrap or foil, in the refrigerator for 2-4 days.
Yes, wrap it tightly and store it in the freezer for up to a month. Thaw on the countertop before you reheat.
Sprinkle your leftover naan bread lightly with water, wrap it in foil, and warm it in the oven at 350°F/180°C (conventional oven) for 5-10 minutes. You can also reheat it quickly in a dry skillet over medium heat for 30-60 seconds per side.
If you love bread make sure to check out all the bread recipes or check the easy recipes below.
Yes, it’s possible to fry the loaves in a (grill) pan. In that case, fry them on both sides until golden brown and cooked through. Given the size of my loaves, I found it easier to bake them in the oven.
A sprinkle of fresh herbs like cilantro or parsley works great with this homemade naan bread.
Absolutely! Bread flour contains extra gluten which can make the naan bread lighter and chewier, which is also delicious.
Traditional naan bread is mainly eaten with Indian dishes, such as curry. You can dip it into the curry, or serve it with hummus. It’s also so delicious straight from the oven, I’ve often devoured one of the loaves right away! Enjoy it with a slathering of garlic butter too.
Whether you use warm water or milk for proofing the naan dough, it must be between 105-115°F/40-46°C.

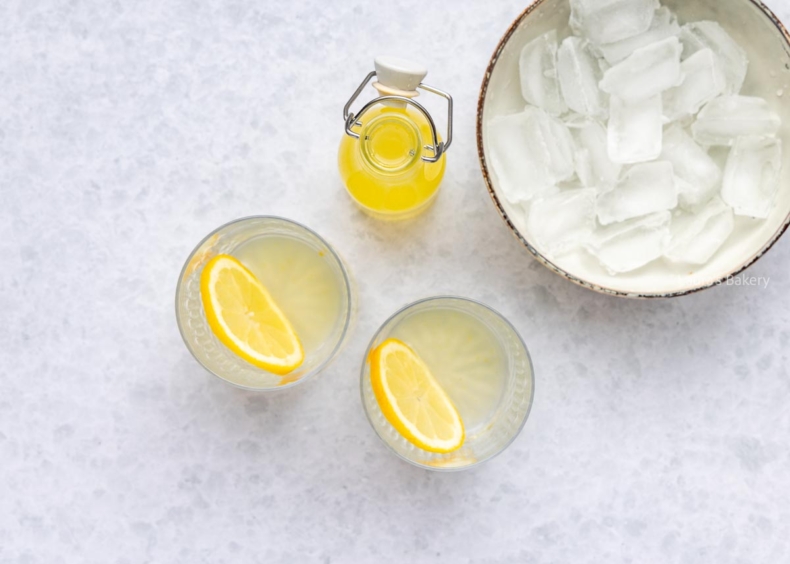
One of the things that instantly gives you that summer feeling is a homemade lemonade recipe. With just a few ingredients, you can put a refreshing drink on the table that tastes so much better than anything from the store.
In this article, I’ll show you how to make lemon syrup and how you can endlessly vary the flavors.
Making lemonade yourself is much easier than you think, and it’s fun to do, even with kids. In just 10 minutes, you can have a pitcher of fresh lemon lemonade ready. Absolutely perfect for a hot summer day.
Homemade lemonade is a true classic. It’s made simply with lemon juice, water, and sugar (or another sweetener), which are heated together to create a lemon syrup.
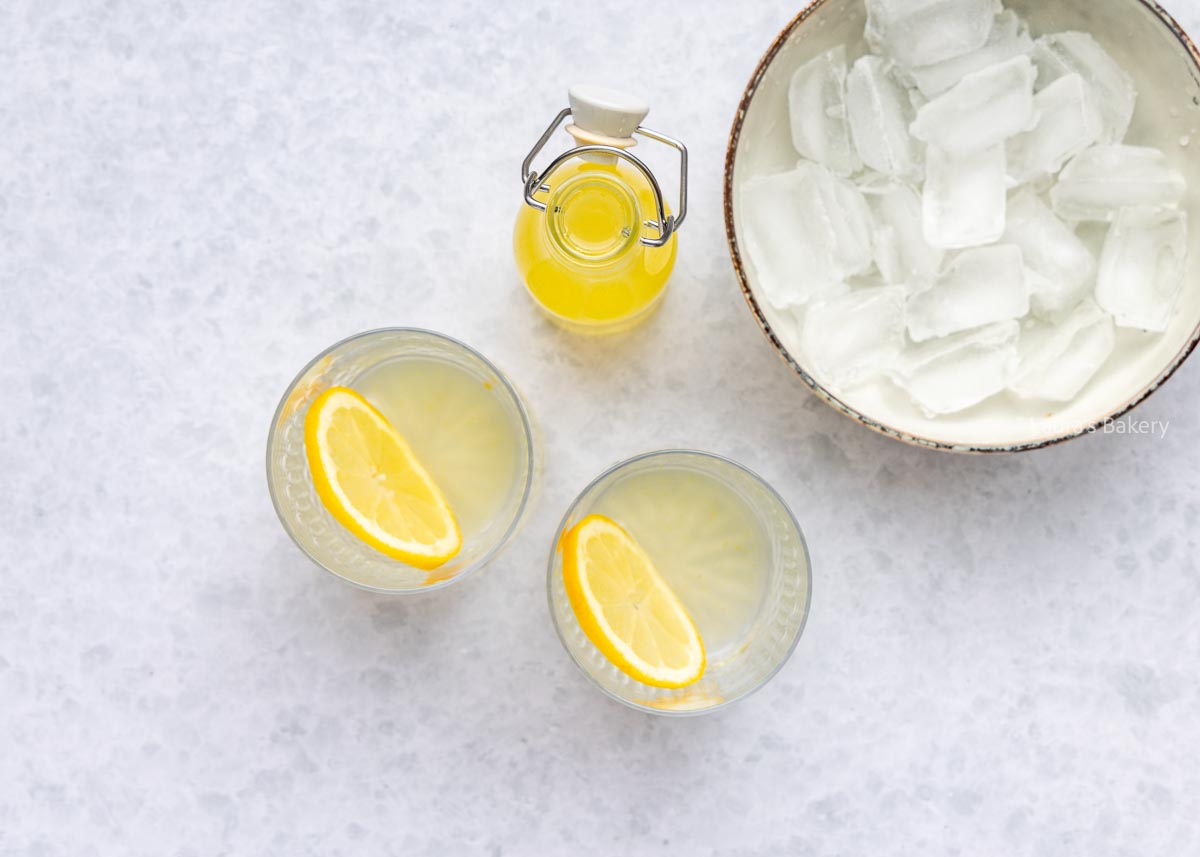
You can then dilute the lemon syrup with still or sparkling water and add other flavorings if you like.
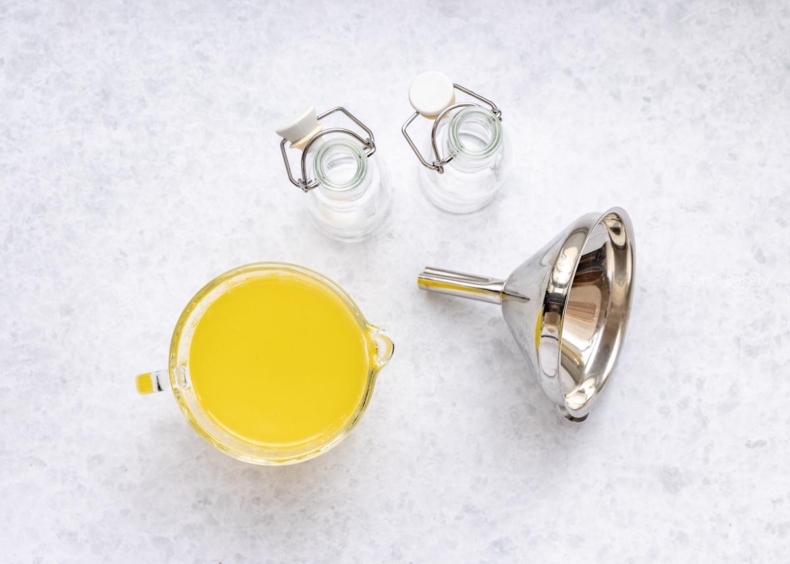
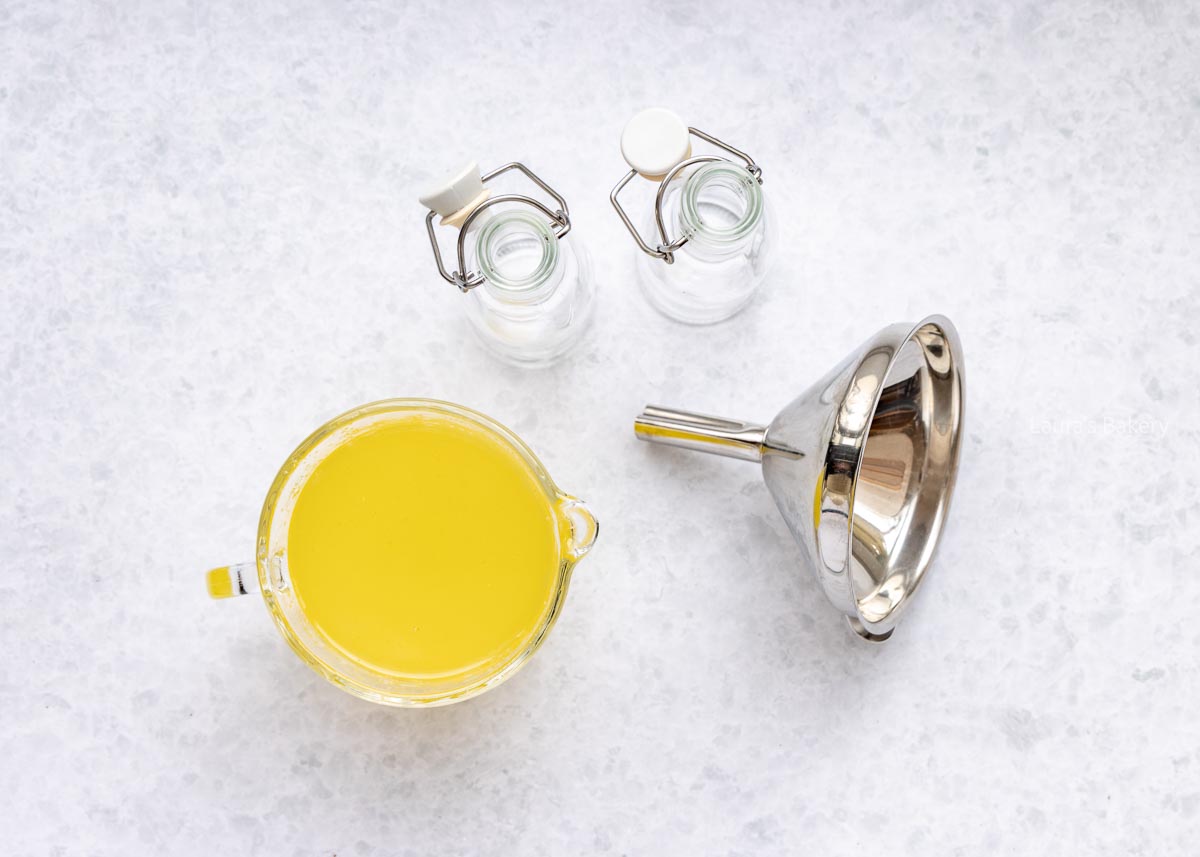
This lemonade starts with a lemon syrup. You only need a few ingredients, but it’s helpful to have some bottles ready to store the syrup.
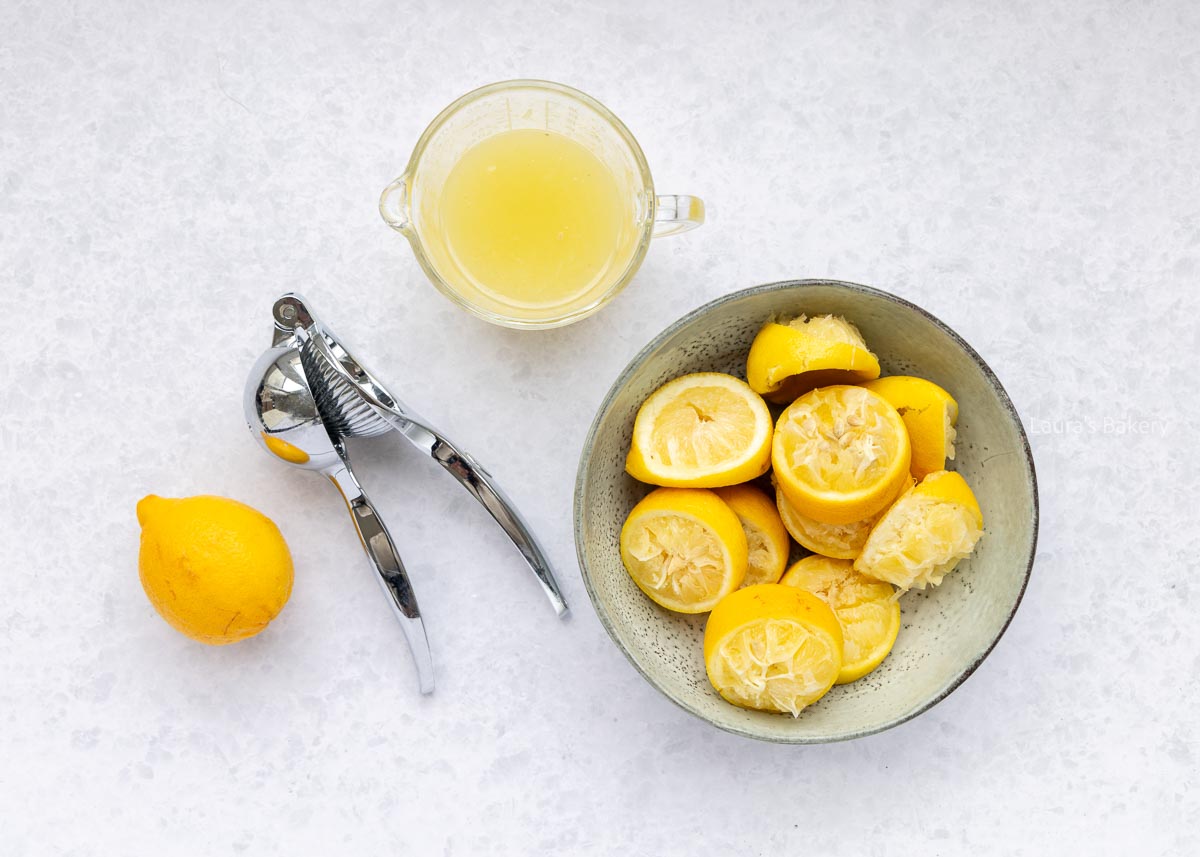
BAKING TIP: A good citrus press is essential when making lemon lemonade. For larger amounts of juice, use an electric juicer.
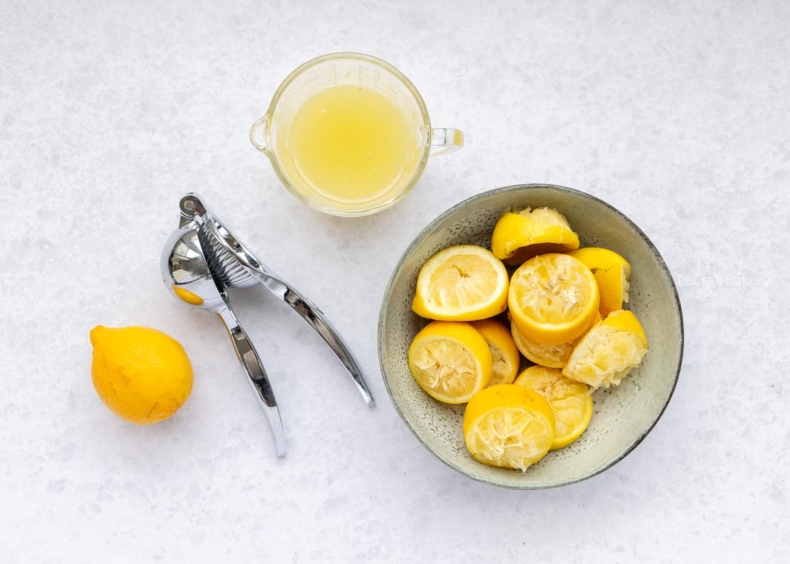
Press all the juice from the lemons
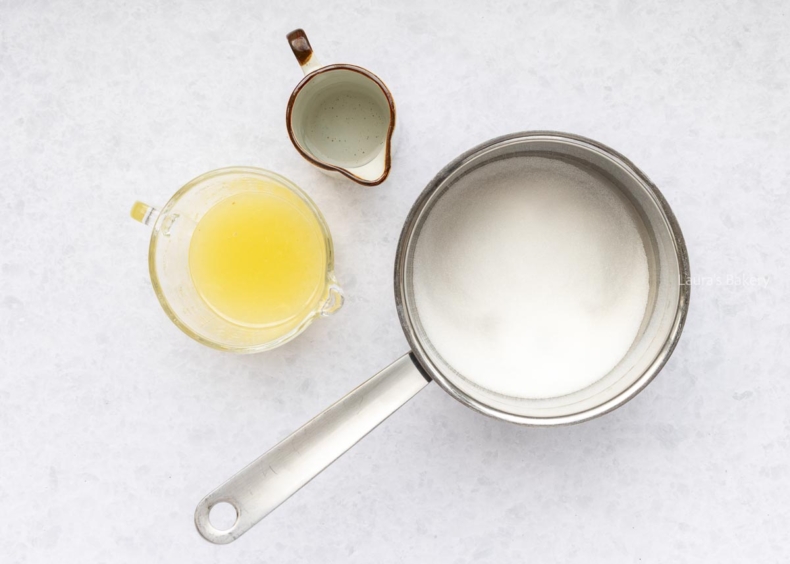
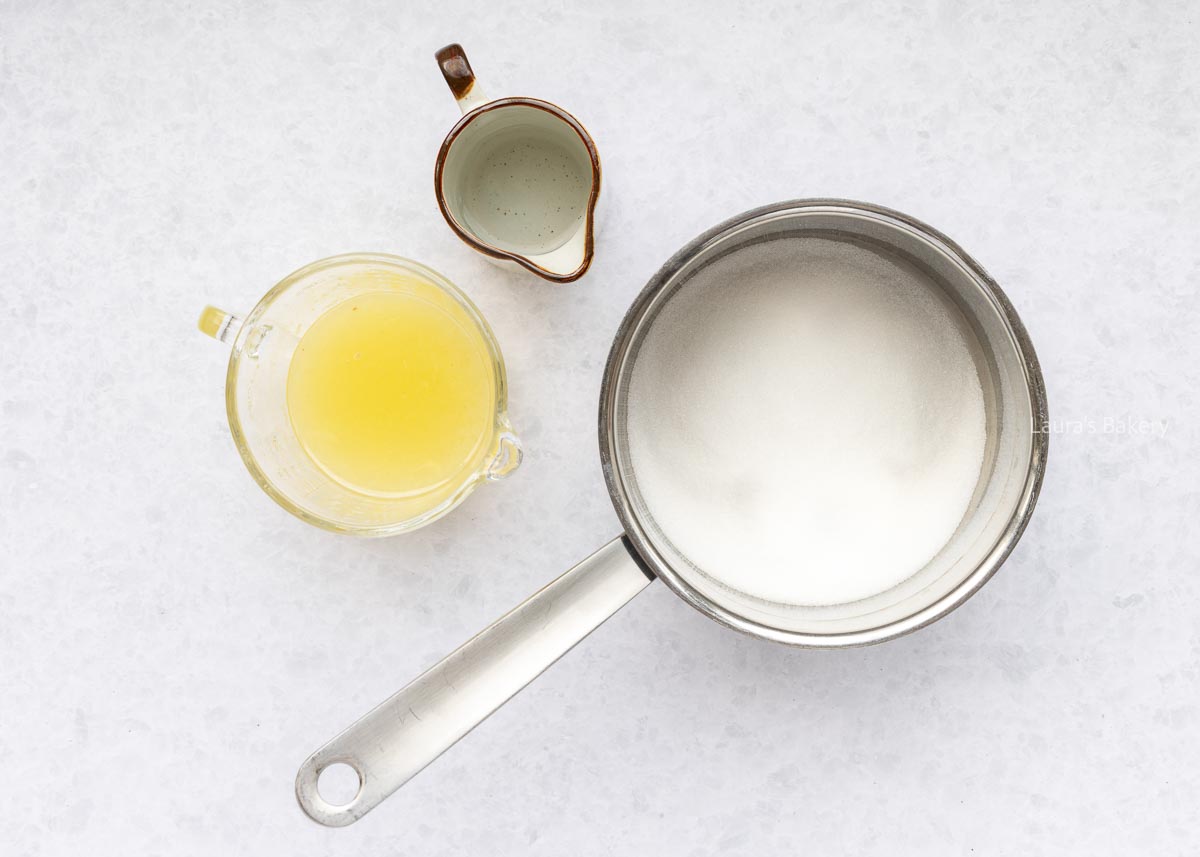
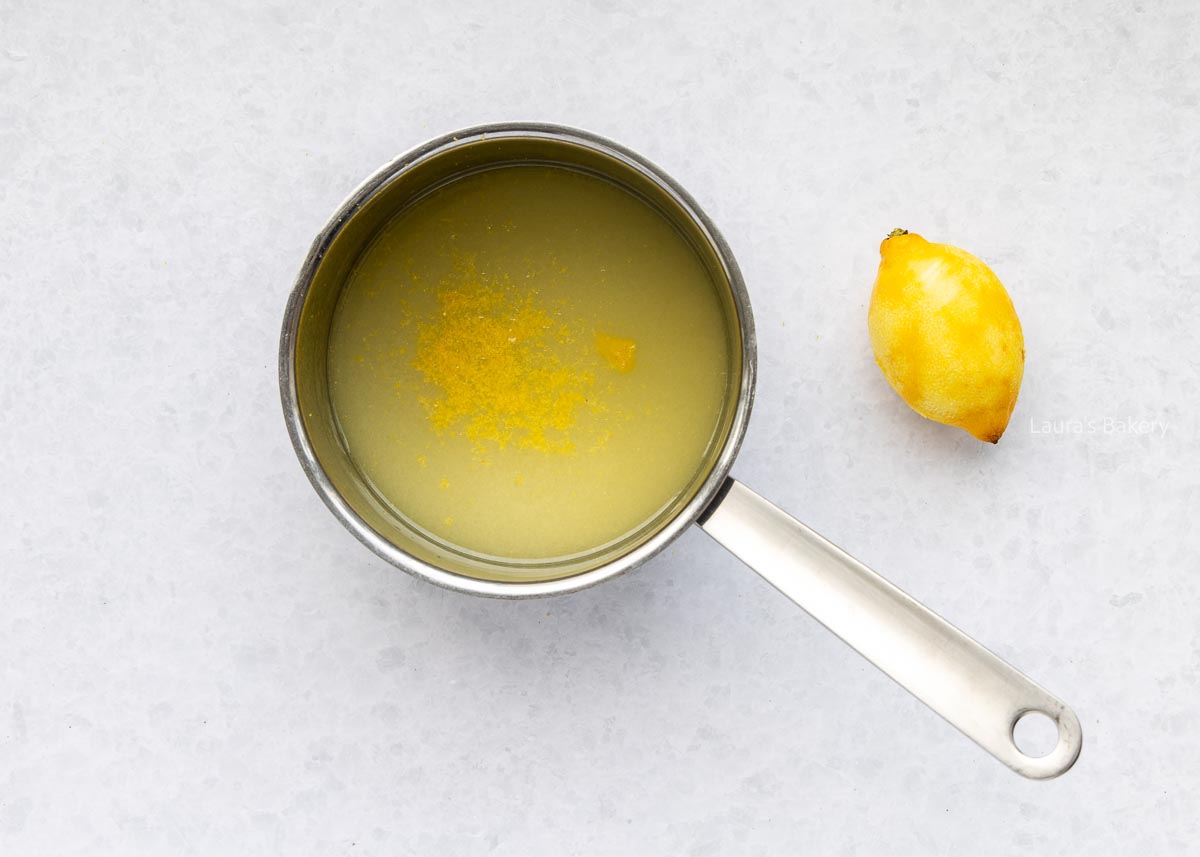
Heat a sauce pan with lemon juice, sugar, zest and water
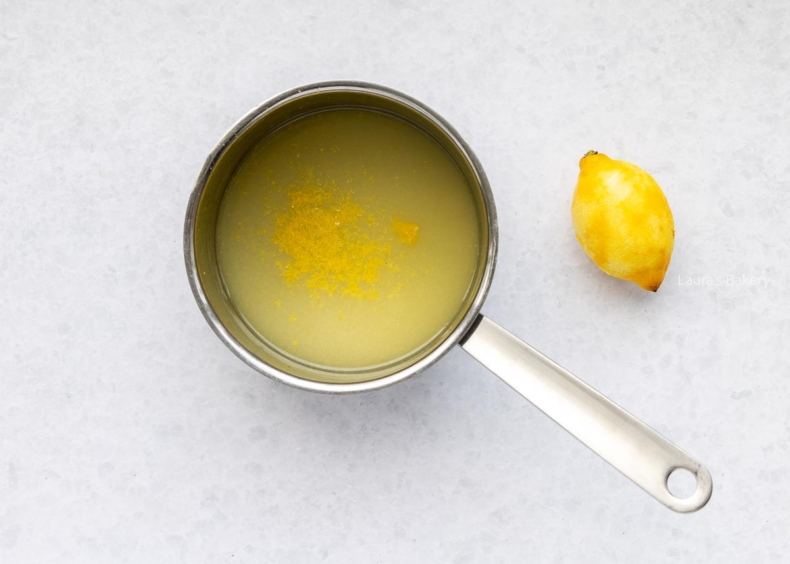
Place on medium heat and stir until the sugar is dissolved
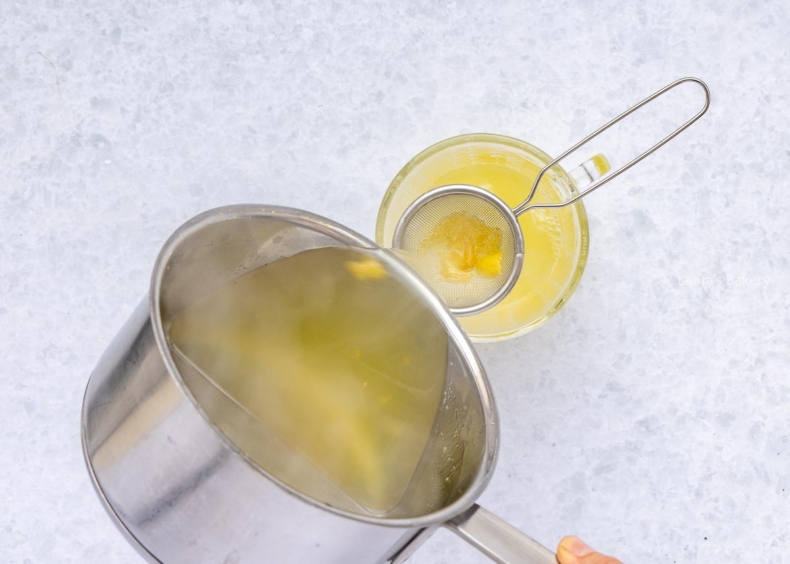
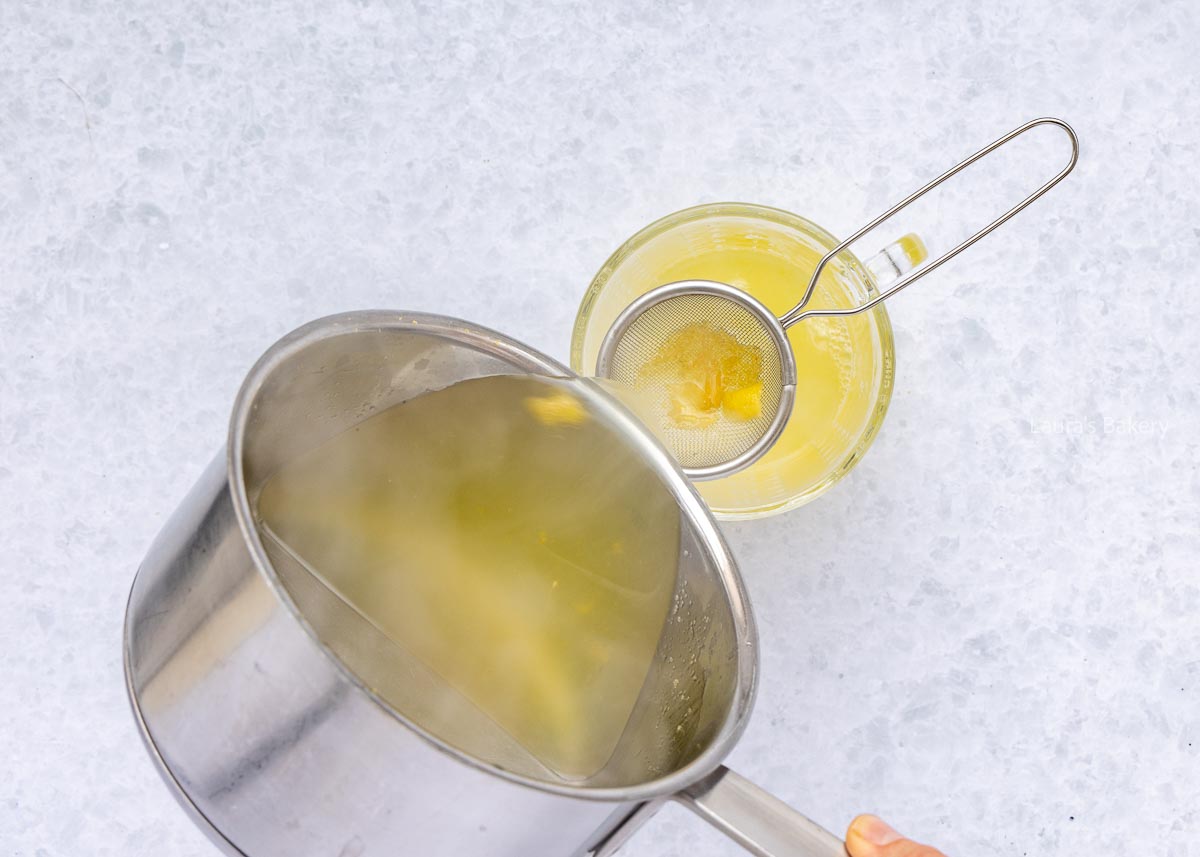
The sugar syrup is done. Strain to remove the zest
There are endless lemonade flavors to come up with, but it all starts with syrup. The base is a simple syrup, made by heating equal parts sugar and water.
You can add puréed fruit, like strawberries, raspberries, or mango, to the syrup. I always recommend adding some lemon juice for a fresh, bright flavor.
Homemade lemon lemonade will leave you wanting more, I promise. Luckily, there are so many delicious combinations to try:
In a well-sealed bottle, lemon syrup (undiluted) will keep in the refrigerator for up to one month.
Prepared lemonade will keep for up to two days in the fridge.
Yes! Freeze the lemon syrup for up to three months. Use an ice cube tray to freeze it into cubes. Add the cubes to a pitcher of water, this chills your drink and releases a delicious lemonade flavor at the same time.
Still have lemons left after making this syrup? Try these:

You can use a sweetener like stevia or erythritol, but I haven’t tested this myself. Keep in mind it may shorten the shelf life, so freezing the syrup is a good idea if you want to store it longer. Let me know in the comments if you try it!
If you’re using the lemon zest, make sure to only use the yellow part. The white pith is very bitter.
Yes, but I recommend skipping the zest and only using the juice.
Two tricks I always use:

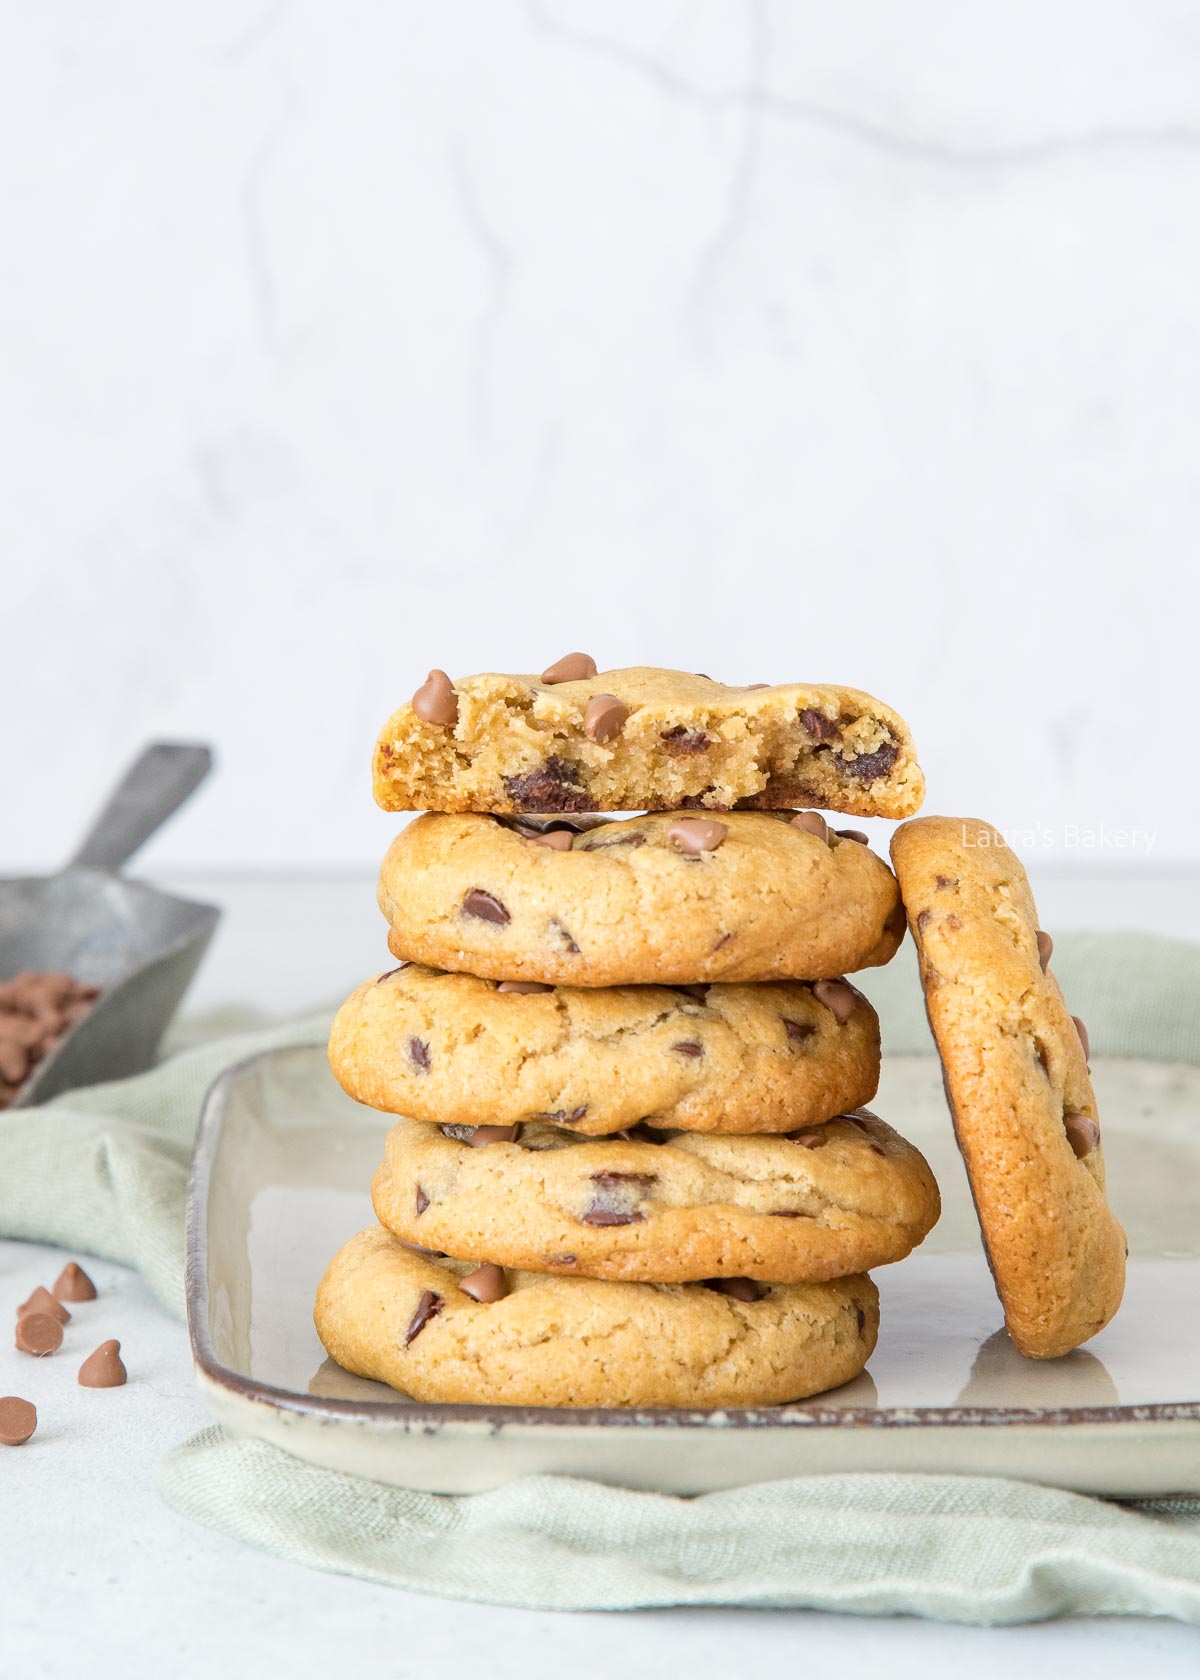
There are recipes you make once…and then there are recipes you obsess over until they’re just right. These thick chocolate chip cookies definitely fall into that second category for me.
I went down a full-on rabbit hole testing different ratios, chilling times, and sugar combinations, basically eating a lot of cookies in the name of “research.” Tough job, I know!
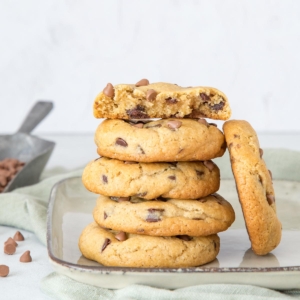
These thick chocolate chip cookies aren’t just bigger; they have the perfect balance between crisp edges, soft centers and just the right amount of chewiness.
These delicious big cookies are not too different from regular chocolate chip cookies, but it’s all about the balance of ingredients
If you compare the recipes for regular cookies and thick cookies, two things stand out: the amount of flour and the addition of a second type of sugar.
To make cookies thicker, you need a sturdier dough. The logical step is to add more flour but not too much flour that it changes the texture too much. Chocolate chip cookies should still be soft and chewy, of course.
In my base recipe, I only use light brown sugar, which is ideal if you want a softer texture in baked goods. Try rubbing some brown sugar between your fingers and then do the same with granulated sugar, you’ll immediately feel the difference.
That difference shows up in your baking too. By replacing part of the brown sugar with granulated sugar, you get a slightly firmer structure (helpful for holding their shape). But if you replace too much, you lose that soft, chewy texture. After lots of testing, I landed right in the middle for these cookies.
If you’re familiar with the thick cookie trend, you might still find these not quite thick enough. Personally, I love those giant, super thick stuffed cookies but they’re also a lot to eat.
I prefer baking cookies that I can actually finish with a cup of tea without feeling like I just ate a huge slice of cake. Luckily, polls on Instagram (with thousands of votes!) showed that most of you care more about texture than extreme size or thickness.
That said, you can make them thicker. You can experiment a bit more with the ingredient ratios, or simply use more dough per cookie. Try using a bit less sugar for instance, as that is also a factor of how much a cookie spreads.
Another popular trick is baking the cookies in a muffin pan or pastry ring. That way, the cookies can’t spread outward as much but can still rise, making them thicker.
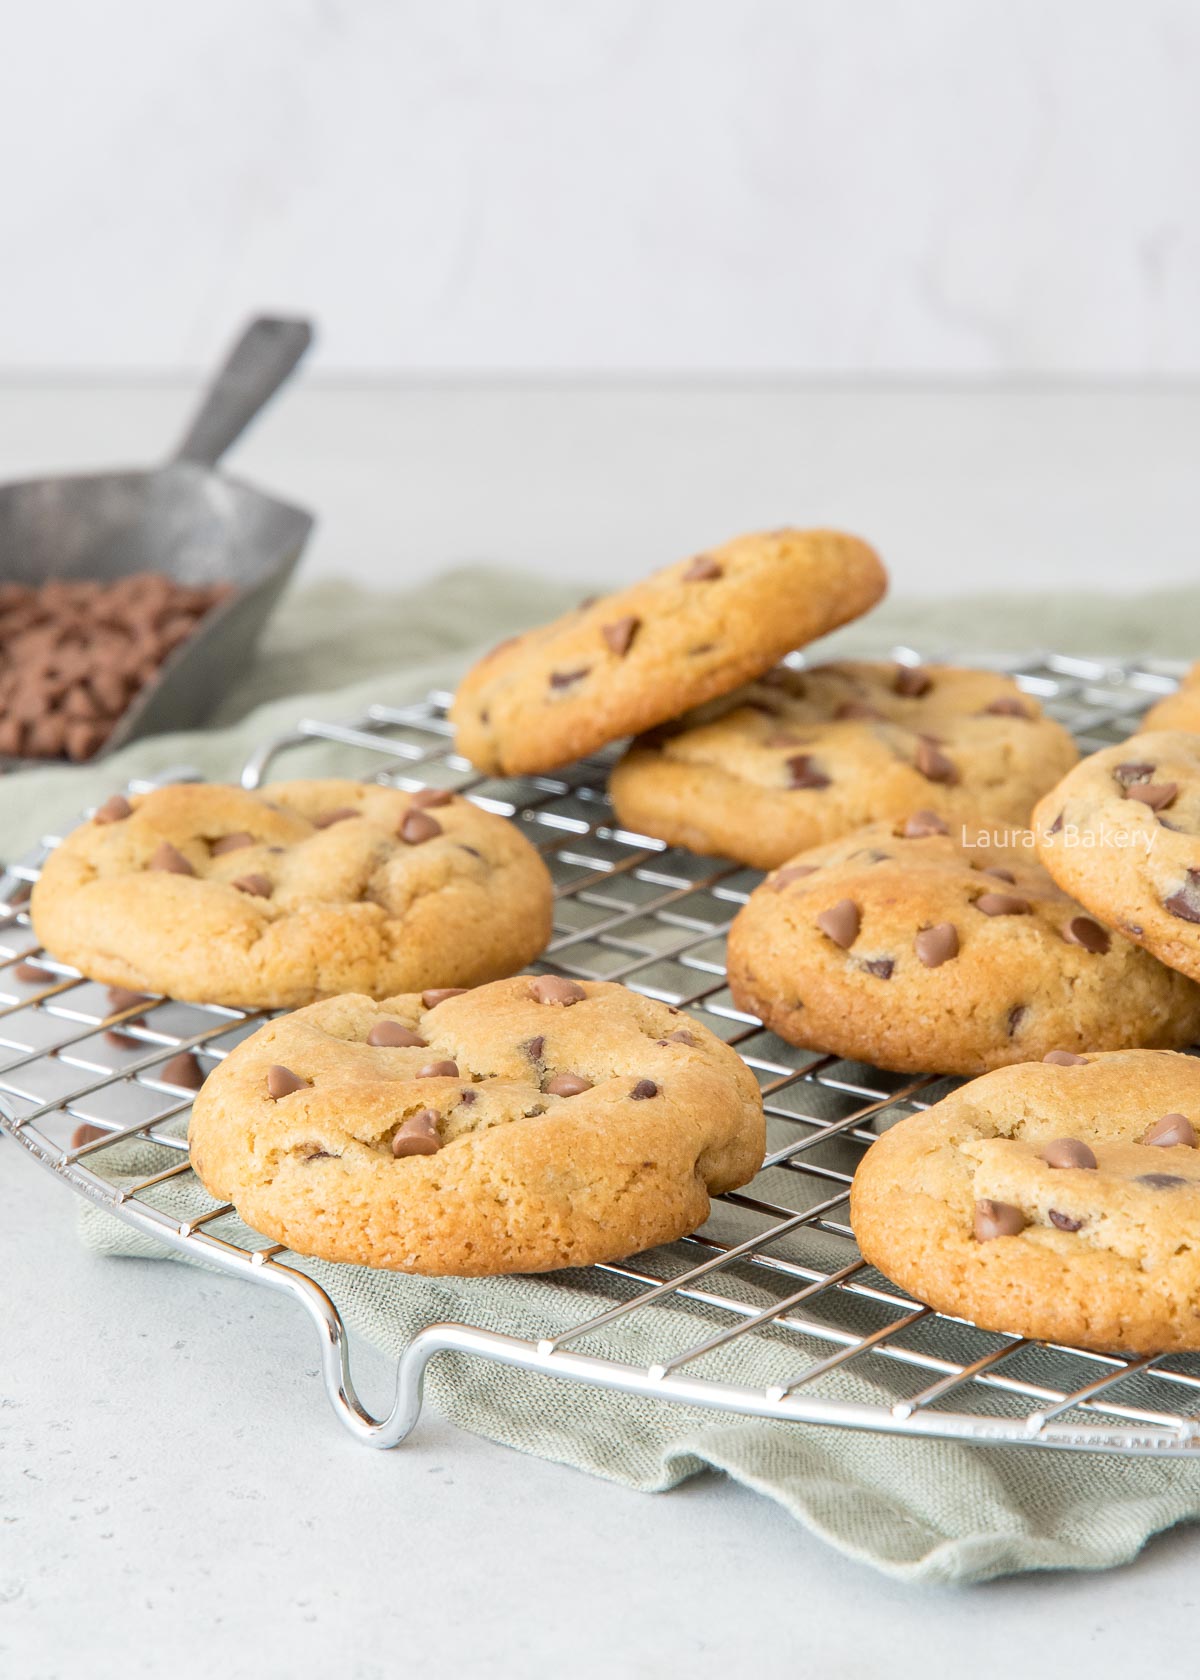
Alongside this base recipe, I’ve already created a couple of stuffed chocolate chip cookies, like this Nutella stuffed chocolate chip cookie and this Oreo stuffed cookie and I have a few more lined up for you soon! But below you can find my tips for making stuffed chocolate chip cookies.
The easiest way to fill cookies is by dividing a ball of dough into two pieces. Flatten each piece, place the filling on one, then cover it with the other. Seal the edges and roll it back into a ball.
Make sure there’s enough dough around the filling. You may need a bit more dough for the best result and keep in mind this might increase the baking time slightly.
Because you handle the dough more, it warms up and softens. Chill the filled dough balls for at least an hour before baking.
If you use a soft filling (like chocolate spread or peanut butter), the cookies tend to spread more in the oven. The filling melts, which affects the final result. To keep them thicker, you can use the muffin pan or pastry ring trick mentioned earlier.
The filling can also affect baking time. I noticed the cookies sometimes needed 1 to 2 extra minutes to turn nicely golden brown.
You can store these thick chocolate chip cookies in an airtight container or a cookie jar for 1 to 2 weeks.
Yes you can easily freeze these cookies as well. It’s best if you wrap them individually and freeze that way. Keep in mind that the cookies will be a bit softer after defrosting.
If you love chocolate chip recipes as much as I do, you’ll be happy to know I have a lot of them on the site already. Below is a small selection of my favorites!
This usually happens if the dough wasn’t chilled long enough or the butter was too warm. Make sure to chill the dough for at least 2-3 hours (preferably overnight). Also check that you didn’t accidentally use too little flour.
You can use slightly larger dough balls or bake the cookies in a muffin pan or pastry ring to prevent spreading. Chilling the dough well also helps keep them thick.
Yes! You can store the dough in the fridge for up to 2 days. You can also freeze the dough balls and bake them straight from frozen, just add a couple of extra minutes to the baking time.
This is usually caused by adding too much flour or overbaking. Make sure to measure your flour correctly and take the cookies out when they’re still slightly soft in the center.
You can, but it will change the texture. Using only brown sugar makes the cookies softer and chewier, while only granulated sugar makes them crisper and less chewy. The mix of both gives the best balance.
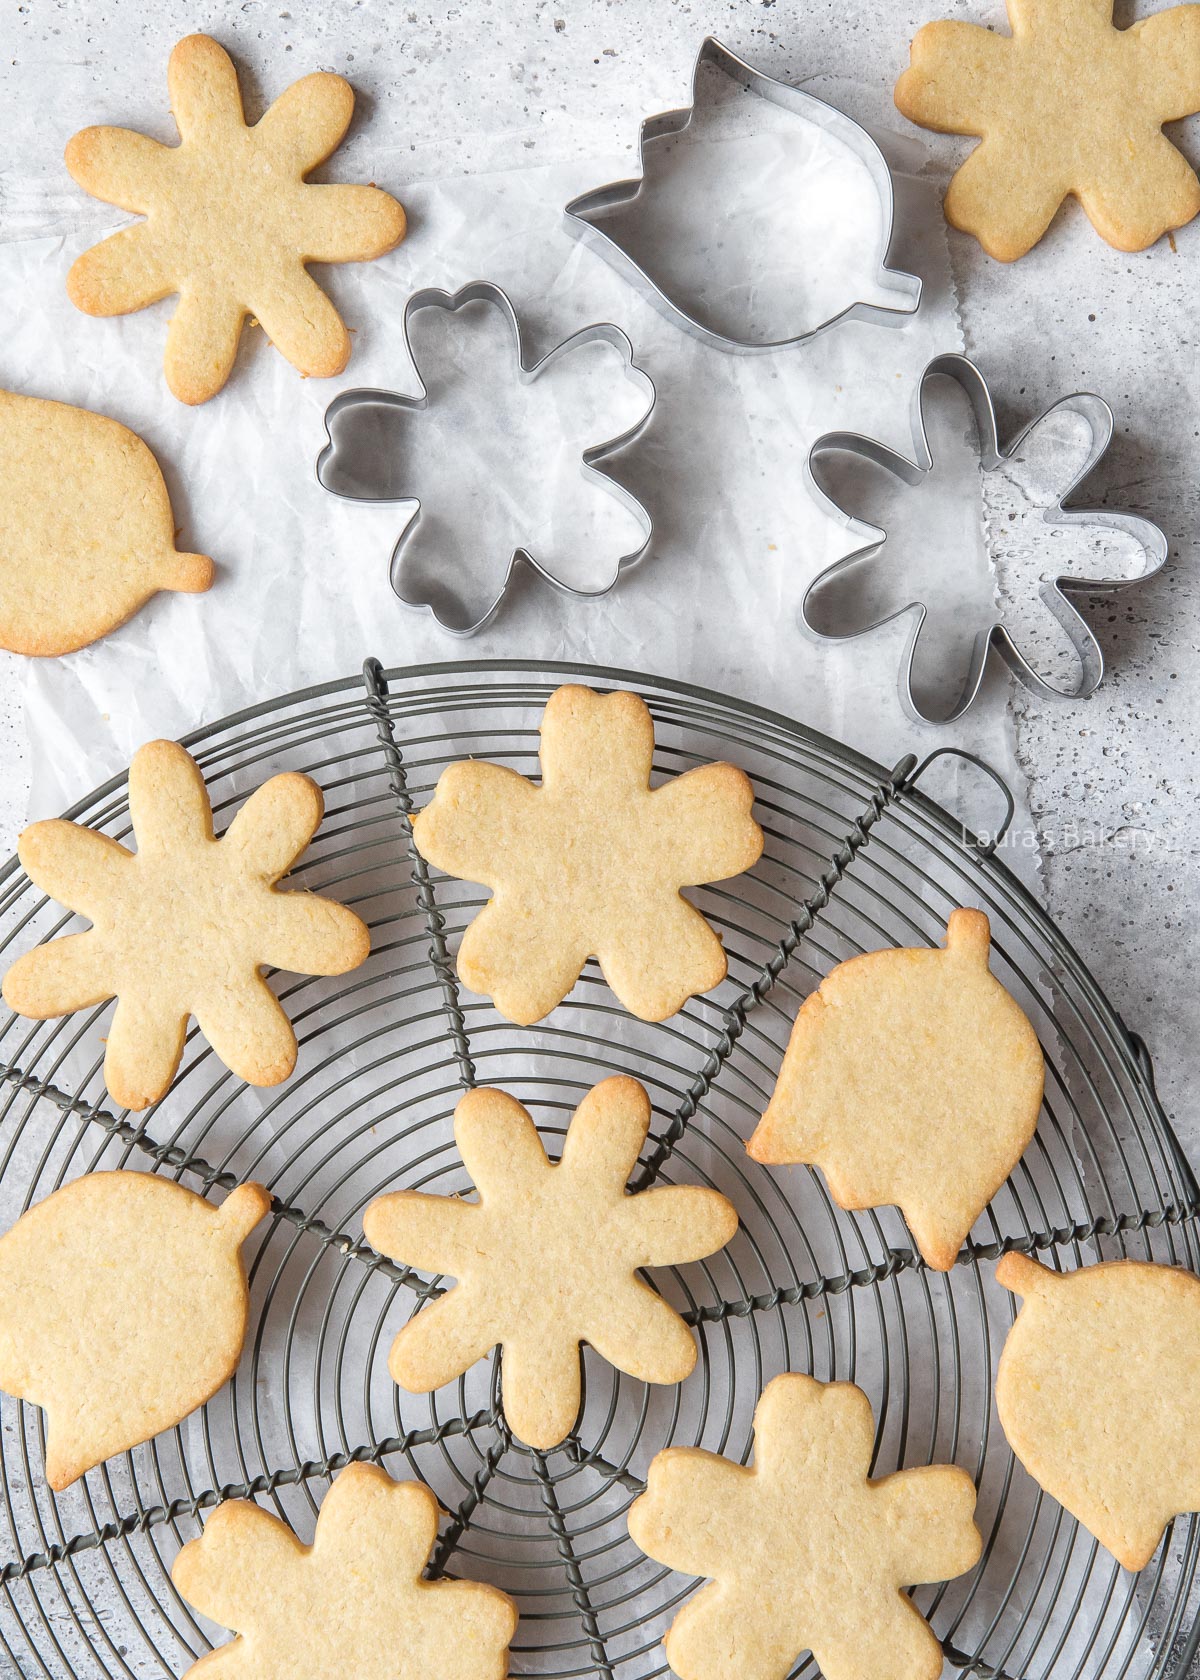
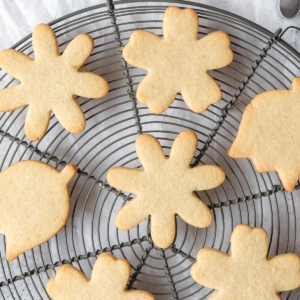
Bright, buttery, and bursting with real lemon zest, these cut out lemon sugar cookies hold their shape beautifully in the oven. That means every detail from your favorite cookie cutters stays crisp and clear.
I love adding flavor to classic cut out sugar cookies, and this lemon version is a personal favorite that lemon lovers won’t be able to resist.
These lemon cut out sugar cookies are a citrus twist on my classic sugar cookie recipe that I always use as a base recipe. It’s especially ideal when decorating with royal icing, since these cookies tend to keep their shape while baking. They’re also:
I love making sugar cookies with my favorite sugar cookie dough recipe! Make sure to check the recipe card below for full details. Other than that, dust off your cookie cutters and get ready to follow the best cut out sugar cookie recipe yet!
Start by creaming the butter with the sugar and the vanilla sugar. Mix until creamy and fluffy at which stage you add the egg.
Add the flour and the lemon zest. Knead into a firm dough and wrap the dough in plastic wrap and let it chill in the fridge for an hour at least.
Roll out the chilled dough to about 1/4-inch/0.5cm thickness. This is best done on a work surface dusted with a bit of flour, but not too much or the cookies will taste dry.
Use your favorite cookie cutter to make the shapes and place the cookies on prepared baking sheets and bake at 350°F/180°C (conventional oven) for 10-12 minutes or a bit less if you make smaller cookies.
Once the cookies are golden on the edges, remove them from the oven and allow them to rest for a few minutes before transferring them to a wire rack to cool completely.
Enjoy them as is or decorate them with a simple lemon glaze!
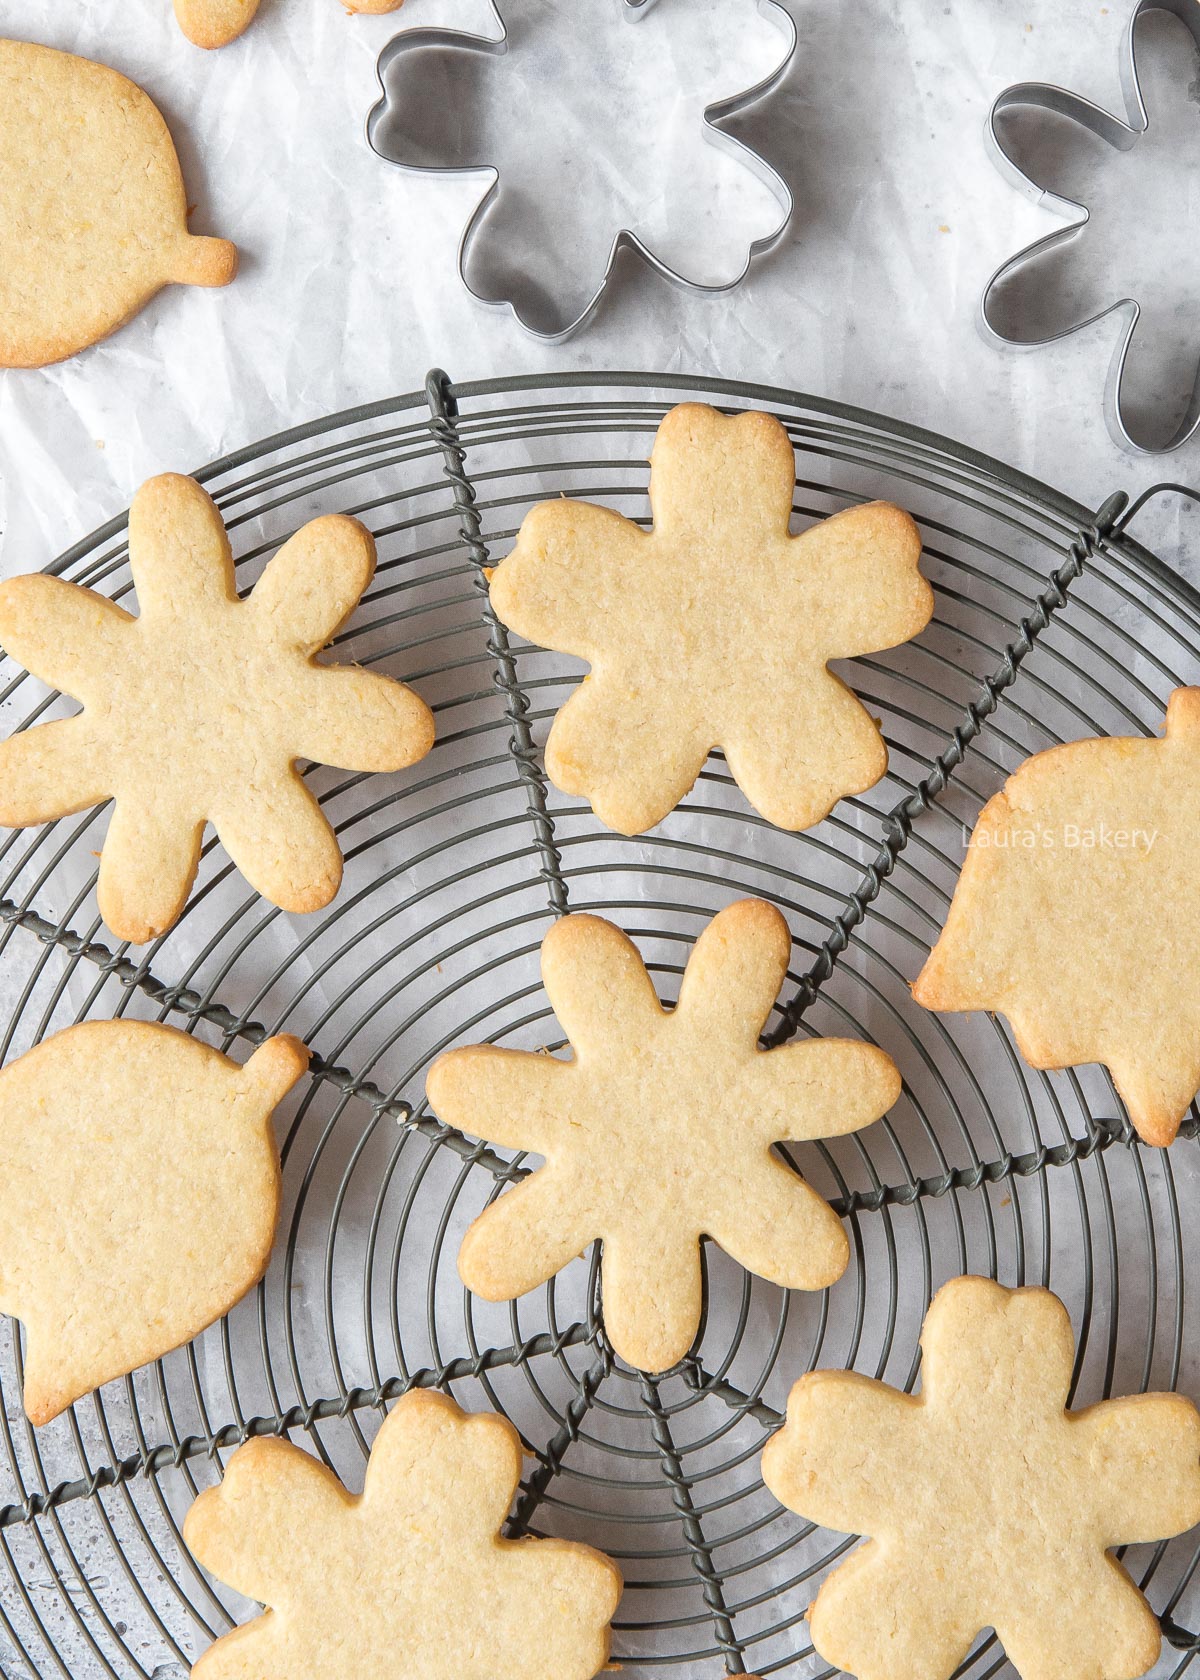
Leftover lemon cookies will keep for about 2 weeks in an airtight container at room temperature.
Absolutely! Store them for up to 3 months in the freezer, then leave them to thaw on the counter before serving again.
You can also store the cookie dough in the freezer for the same time, wrapped tightly in plastic wrap, to thaw and cut out for easy lemon sugar cookies whenever you want!
Love sugar cookies? I have plenty more flavors!
Yes, you can. Make a simple lemon glaze from powdered sugar, fresh lemon juice, and water. Drizzle it over the cookies on a wire rack with a cookie sheet underneath to catch any spillage and reduce cleanup.
While the glaze is still slightly wet, feel free to add some sprinkles or finely shaved lemon zest. Let the glaze harden for a bit before finally serving.
You can also use royal icing for decorating your cookies.
Chilling your dough firms up the soft butter, preventing excessive spreading so your cut-out cookies hold their shape perfectly. It improves the texture and also allows the flavors to meld and intensify, resulting in noticeably better tasting cookies.
Want to know more about the benefits of chilling your cookie dough? Check out this article where I explain everything about why chilled cookie dough works best.
If you can’t find vanilla sugar, make your own by following my recipe for homemade vanilla sugar.
Absolutely! Use what you already have at home or allow this recipe to provide a great reason to go out and buy a new set of cookie cutters in your favorite shapes. Just be sure to bake cookies of similar sizes on the same baking sheet. Smaller cookies bake a few minutes faster than larger ones.
Yes, these cookies will be soft to the touch when you first remove them from the oven. It’s important to let the cookies rest on the baking tray for a few minutes before transferring to a cooling rack to cool completely. This will help them set and prevent breakage.