Why is my pavlova turning brown?
This almost always happens when the oven temperature is too high. Many ovens are inaccurate, so I always recommend using an oven thermometer. For a convection oven I would set it to around 175°F (80°C).
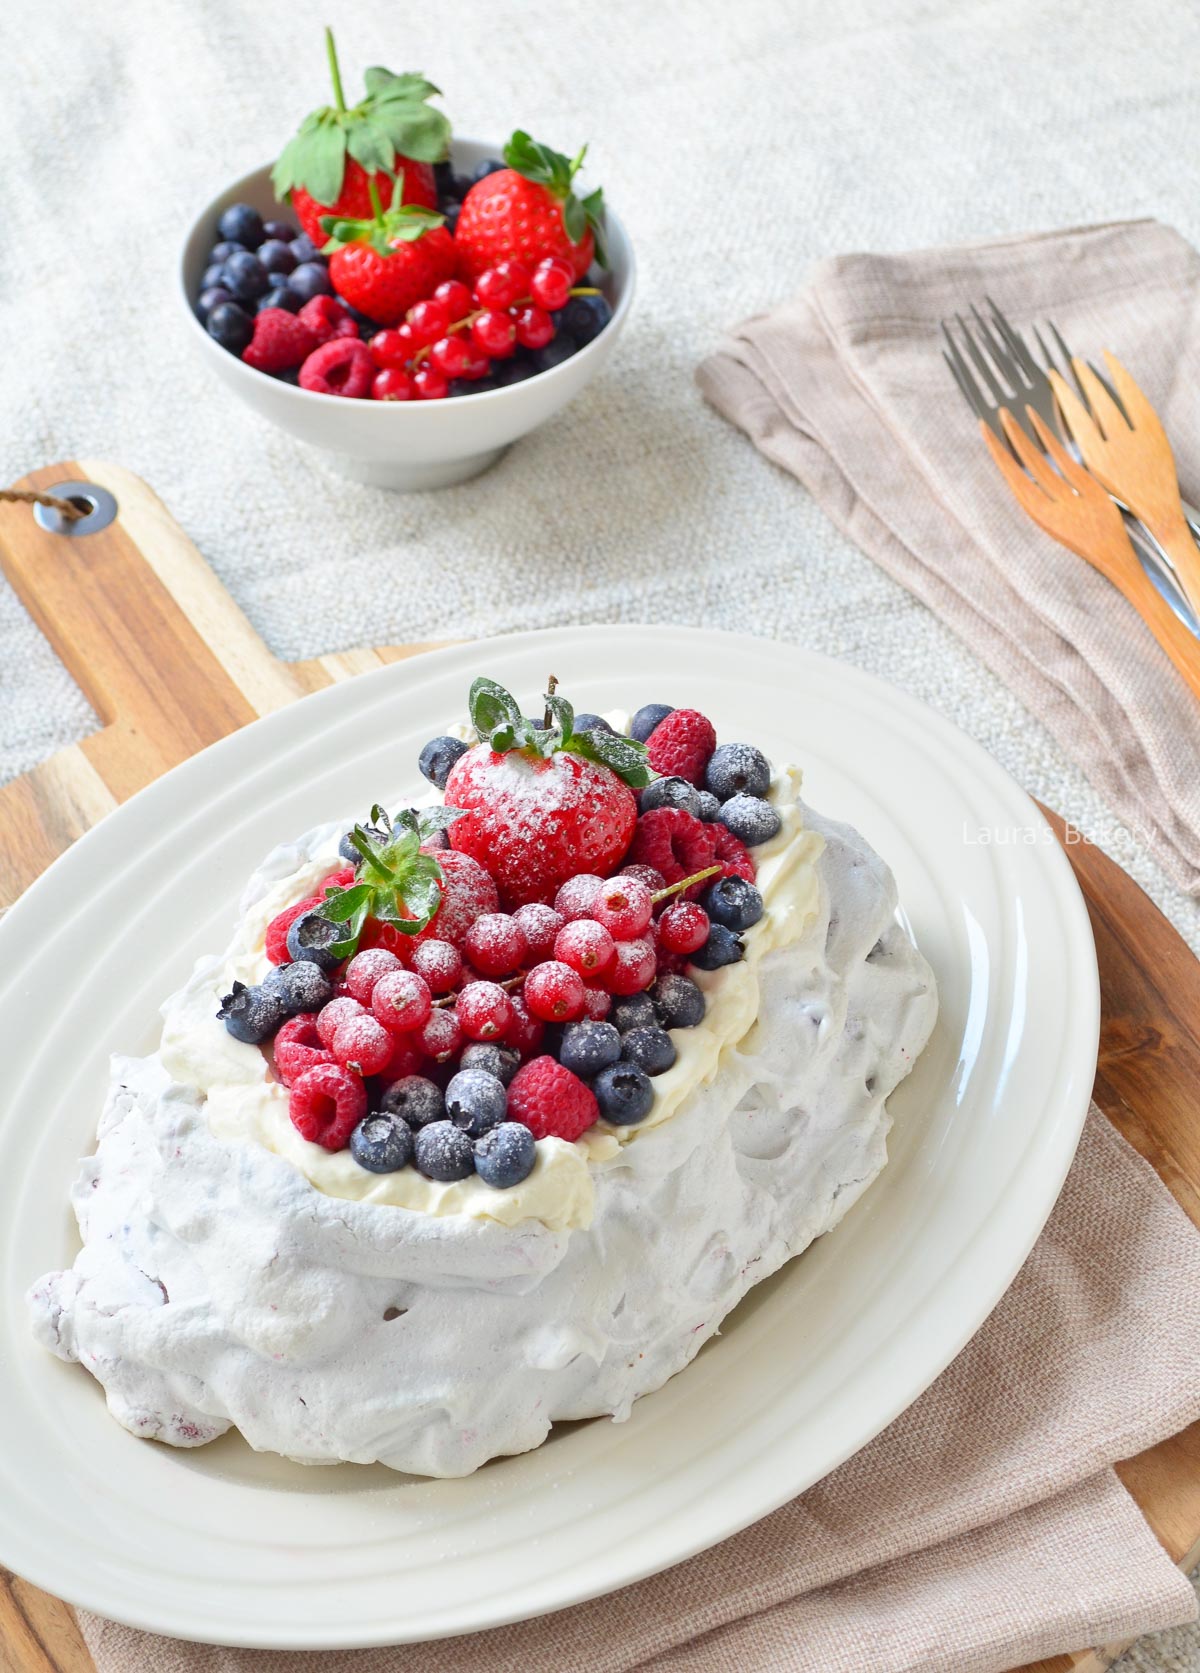
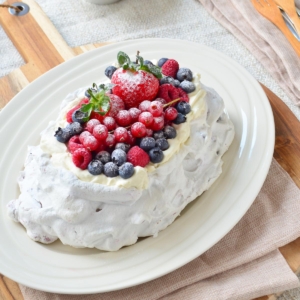
Today on the menu: the basic recipe for the perfect pavlova! In my opinion, pavlovas are ideal as a cake or dessert. They’re not complicated at all and with my tips and tricks you will make a delicious pavlova too!

This pavlova is crisp on the outside, soft and chewy on the inside, and impossibly light. It looks impressive, tastes fantastic, and works for both casual dinners and special occasions.
Plus, you can customize it with any cream, curd, or fresh fruit you love! It’s also easy to prepare in advance. Do I need to tell more to get you just as excited as I am?
For making a pavlova you really only need a few ingredients:
As promised making this easy pavlova recipe is no rocket science. You make the meringue mixture using the French method (so not the Italian meringue recipe).
Start to separate eggs and make sure that there is no egg yolk inside of the egg whites. If that is the case, the egg whites will not set properly.
For the perfect pavlova both the egg whites and the sugar play a big role. You start by whipping the egg whites with the sugar, lemon juice and cornstarch until stiff peaks appear. This is easiest when done in a stand mixer or food processor with a whisk attachment.
For a delicious pavlova the sugar is essential. Without the sugar the meringue will collapse and not hold it’s shape. So changing the sugar content is not a good idea without extensive testing.
Once the meringue is whipped you can make the pavlova. For this you use a piece of parchment paper on a baking sheet.
Shape the pavlova in a round circle and place inside the preheated oven. Since baking is done at a really low temperature (210˚F/100˚C) it does take a long time, around 2 to 2,5 hours.
But it is worth the wait! Once baked let it cool down completely inside the oven with the door slightly ajar. I like to place a wooden spoon to keep the door open just a tiny bit.
What officially sets pavlova apart from regular meringue are two ingredients: vinegar and cornstarch. These keep the inside pleasantly soft and chewy instead of fully crisp.
Not surprisingly, I also always make my meringue cookies with cornstarch, because I love that chewy texture. I personally prefer to use lemon juice instead of vinegar. The result is my go-to recipe for the perfect pavlova.
You can make this perfect pavlova recipe and serve it right away, or you can easily prepare it ahead of time.
Just make sure to store all components separately. Super handy when you’re hosting a party or dinner!
Unfilled pavlovas can be made 3-4 days in advance. Store them in an airtight container and make sure it is dry. I like to keep the pavlova in a closed oven, It’s a good dry place!
The filling can usually be prepared ahead too, depending on the ingredients. Once the pavlova is assembled, serve it as soon as possible. The moisture from the filling will make the meringue soften and melt.
Because of that moisture, pavlova doesn’t freeze well. It will get soft an melt a bit when thawing.
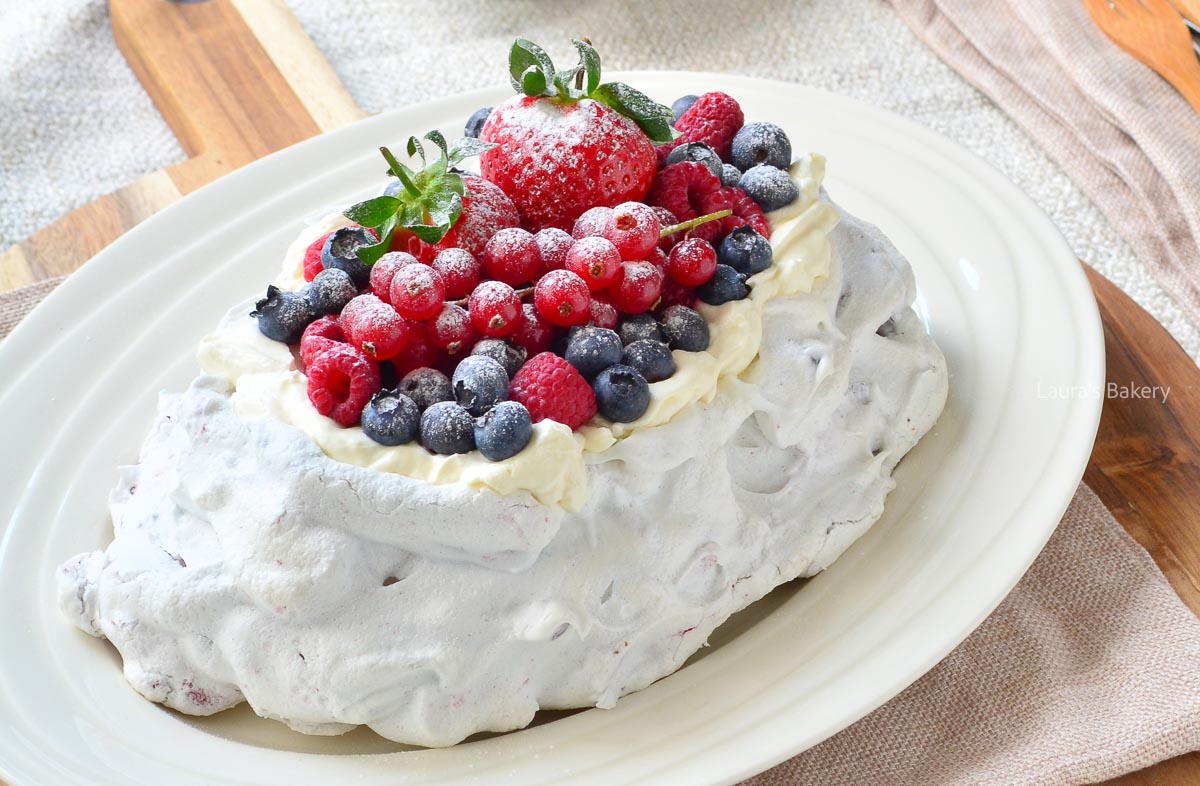
Here’s where the fun really starts: how are you going to fill and decorate your pavlova?
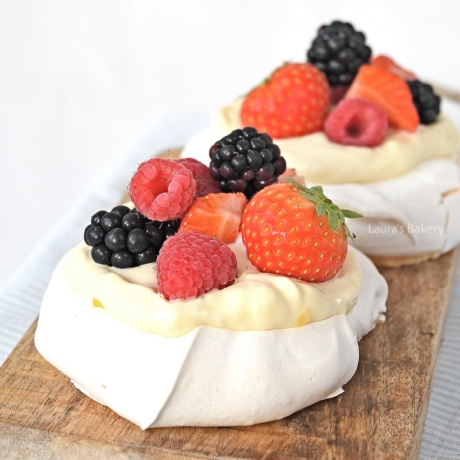
Most people love pavlova with fresh berries and a creamy filling. Think for example:
You can also flavor mascarpone cream with lemon curd or strawberry jam, or use them as extra toppings.
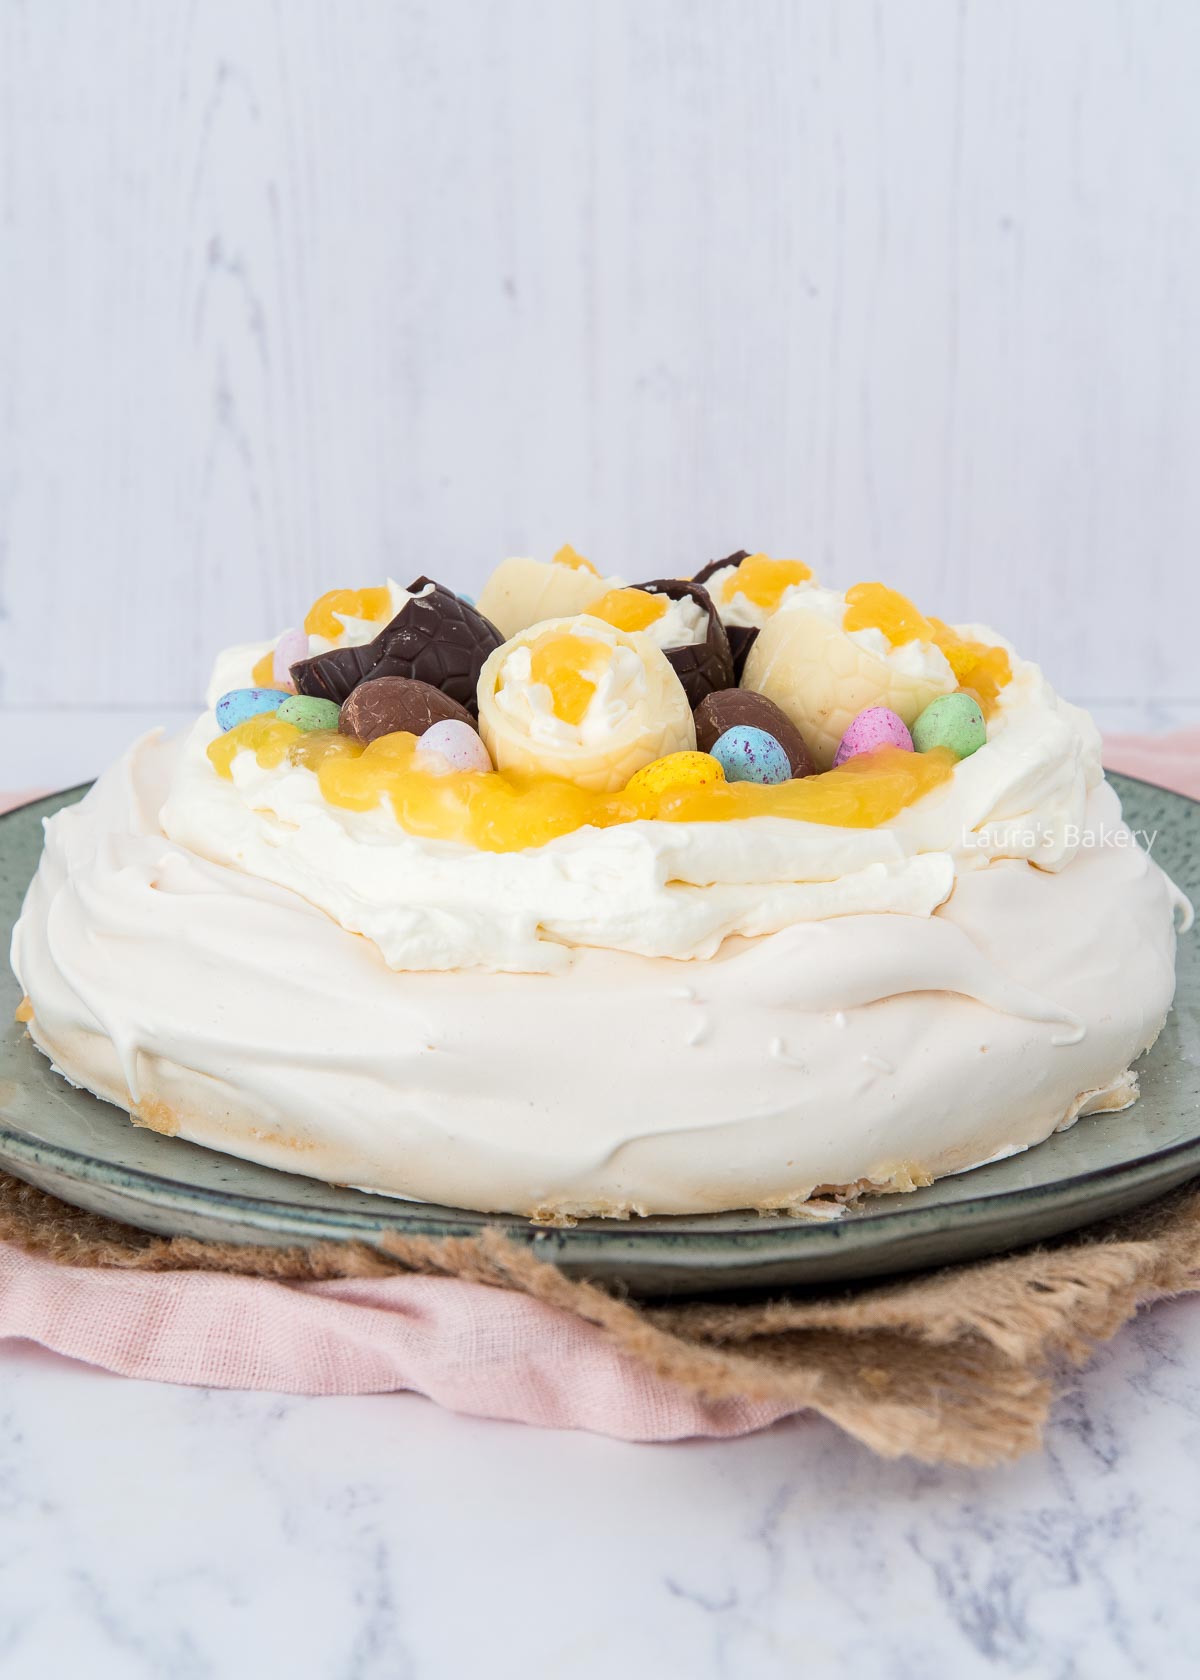
For decorations I usually stick to fruit, but cookies, chocolate, sprinkles, and even edible flowers all work beautifully.
You can even bake the meringue in the shape of a wreath like I did with this Christmas wreath pavlova.
This almost always happens when the oven temperature is too high. Many ovens are inaccurate, so I always recommend using an oven thermometer. For a convection oven I would set it to around 175°F (80°C).
Lower your oven to about 160°F (70°C) (conventional oven) and bake/dry the pavlova longer.
How long exactly depends on size and oven, start with an extra 30 minutes.
Personally, I don’t mind if pavlova isn’t pure white, as long as it doesn’t turn too brown.
Oh no! It probably looked done on the outside but wasn’t fully baked/dried inside. This can be caused by:
You removed it from the oven too soon and didn’t let it cool completely inside.
Most likely your bowl/tools weren’t grease-free or a tiny bit of egg yolk got into the whites.
You need to whip for quite a while before egg whites go from soft peaks to stiff peaks, a stand mixer helps a lot.
Don’t forget these tips for whipping egg whites.
Usually this means the pavlova wasn’t fully baked or the sugar didn’t fully dissolve during whipping.
It’s also important that the pavlova cools completely in the oven, this helps remove excess moisture.
Once cooled, transfer carefully to a serving plate.
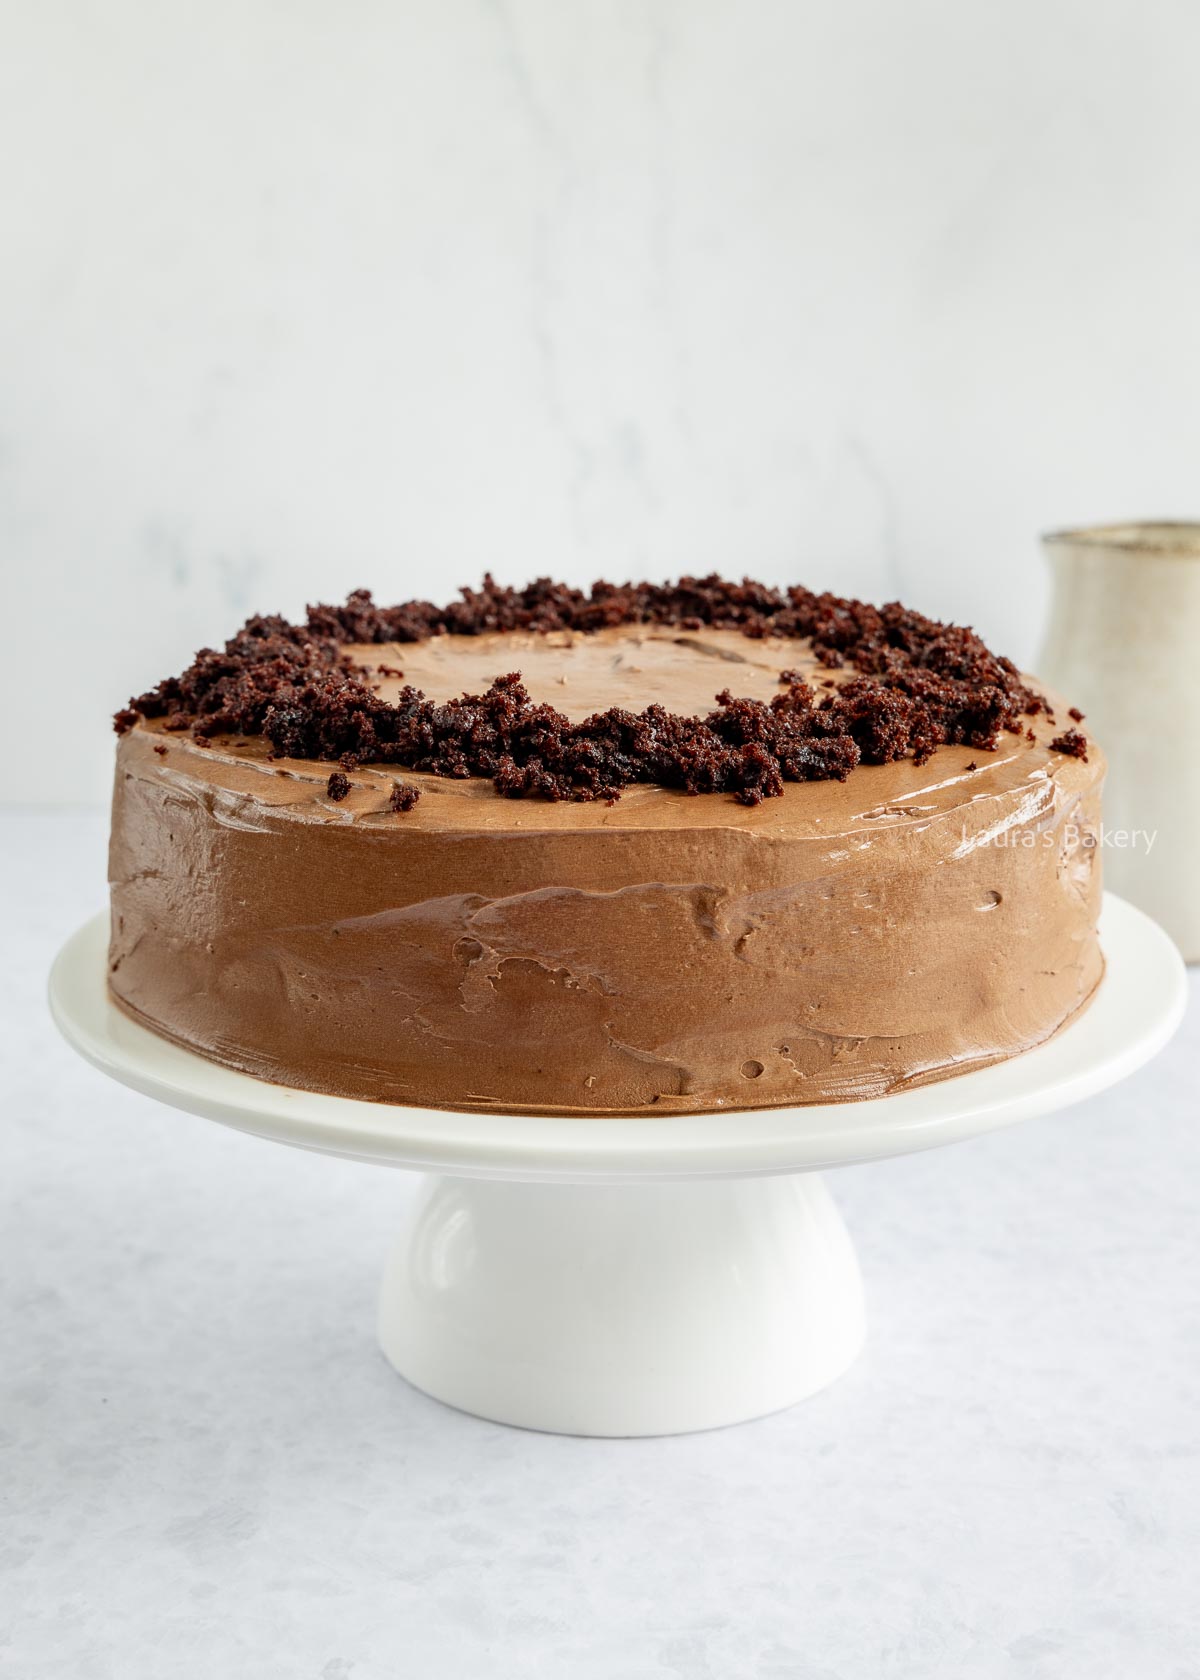
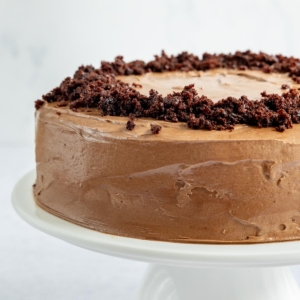
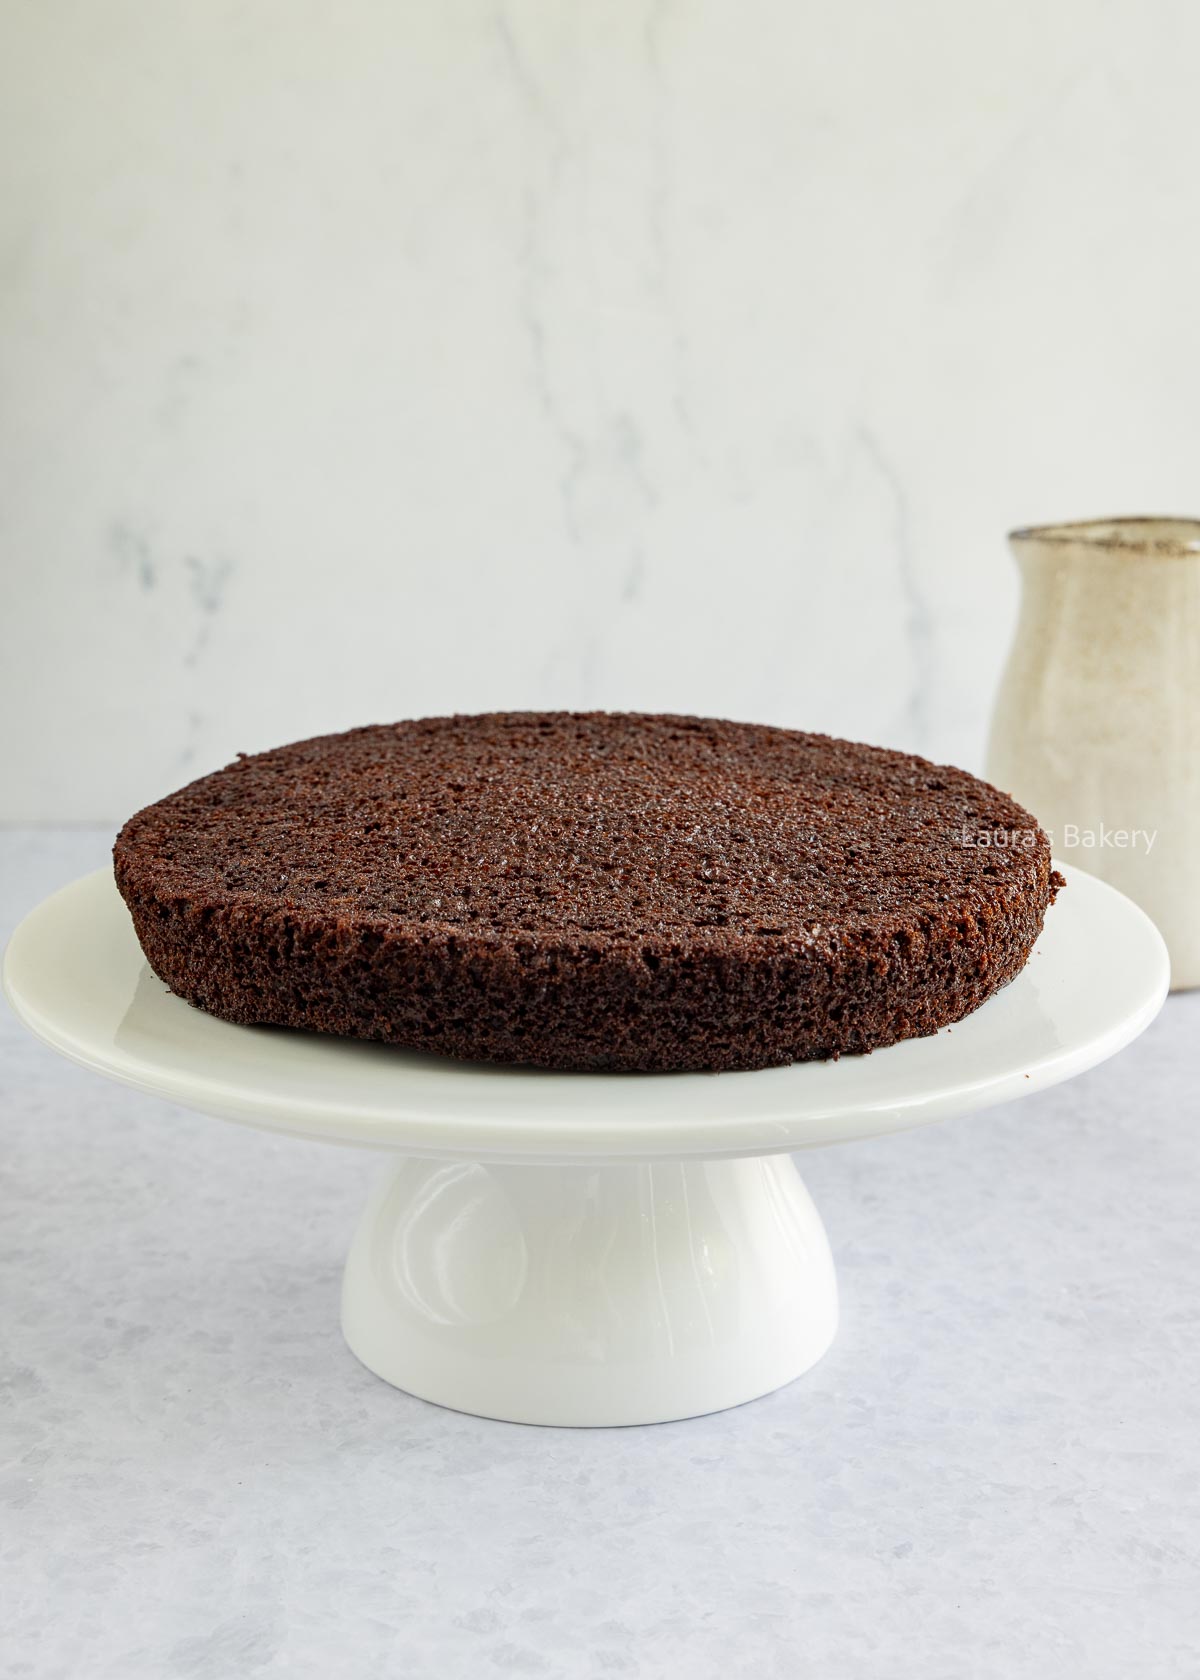
Nothing beats a chocolate cake with two ultra-moist layers and a creamy chocolate ermine frosting in between. With this easy chocolate cake recipe, you can make the most delicious cake right at home in your own kitchen.
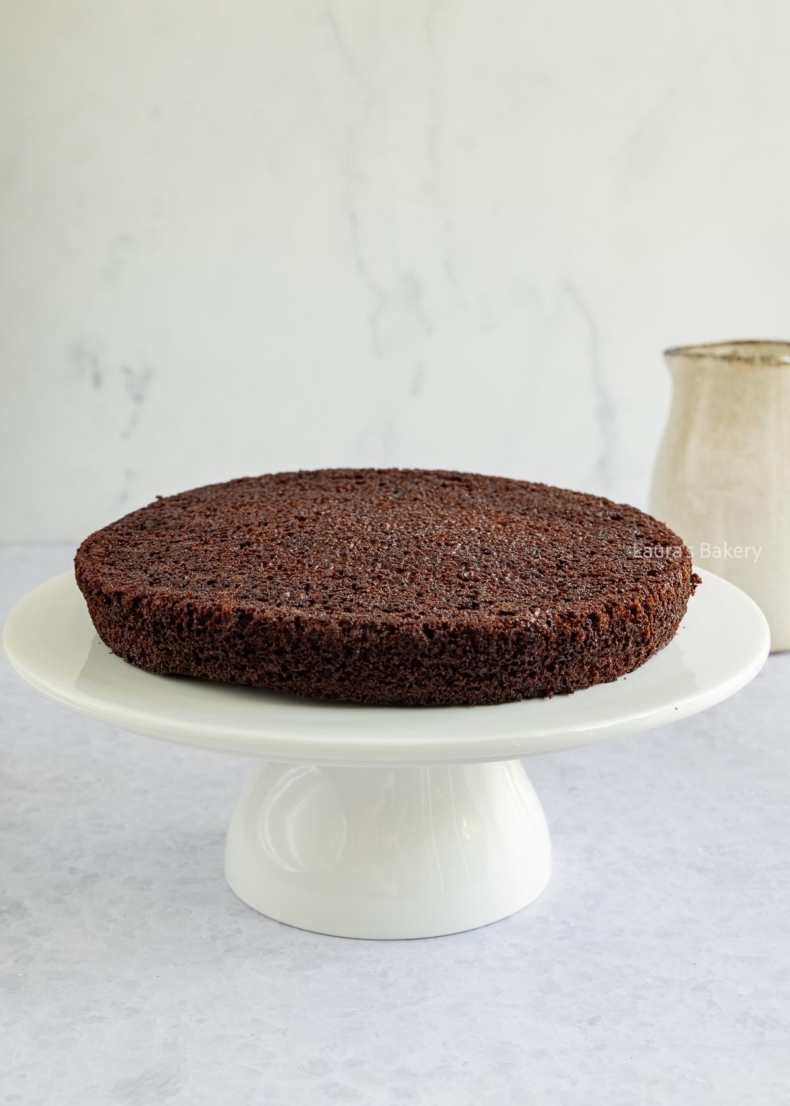
I’ve baked plenty of chocolate cake recipes over the years, but this time the goal was maximum moistness. Not just in the filling, but also in the cake layers themselves.
And oh boy, did it turn out well! This cake is not only easy, but also incredibly rich in both flavor and texture. You’ll want to keep going back for more.
There are a few key ingredients that help a cake come out moist from the oven: using oil instead of butter (although you can bake a moist cake with butter), using brown sugar instead of regular granulated sugar, and adding enough liquid ingredients.
Below I’ll explain why each ingredient matters:
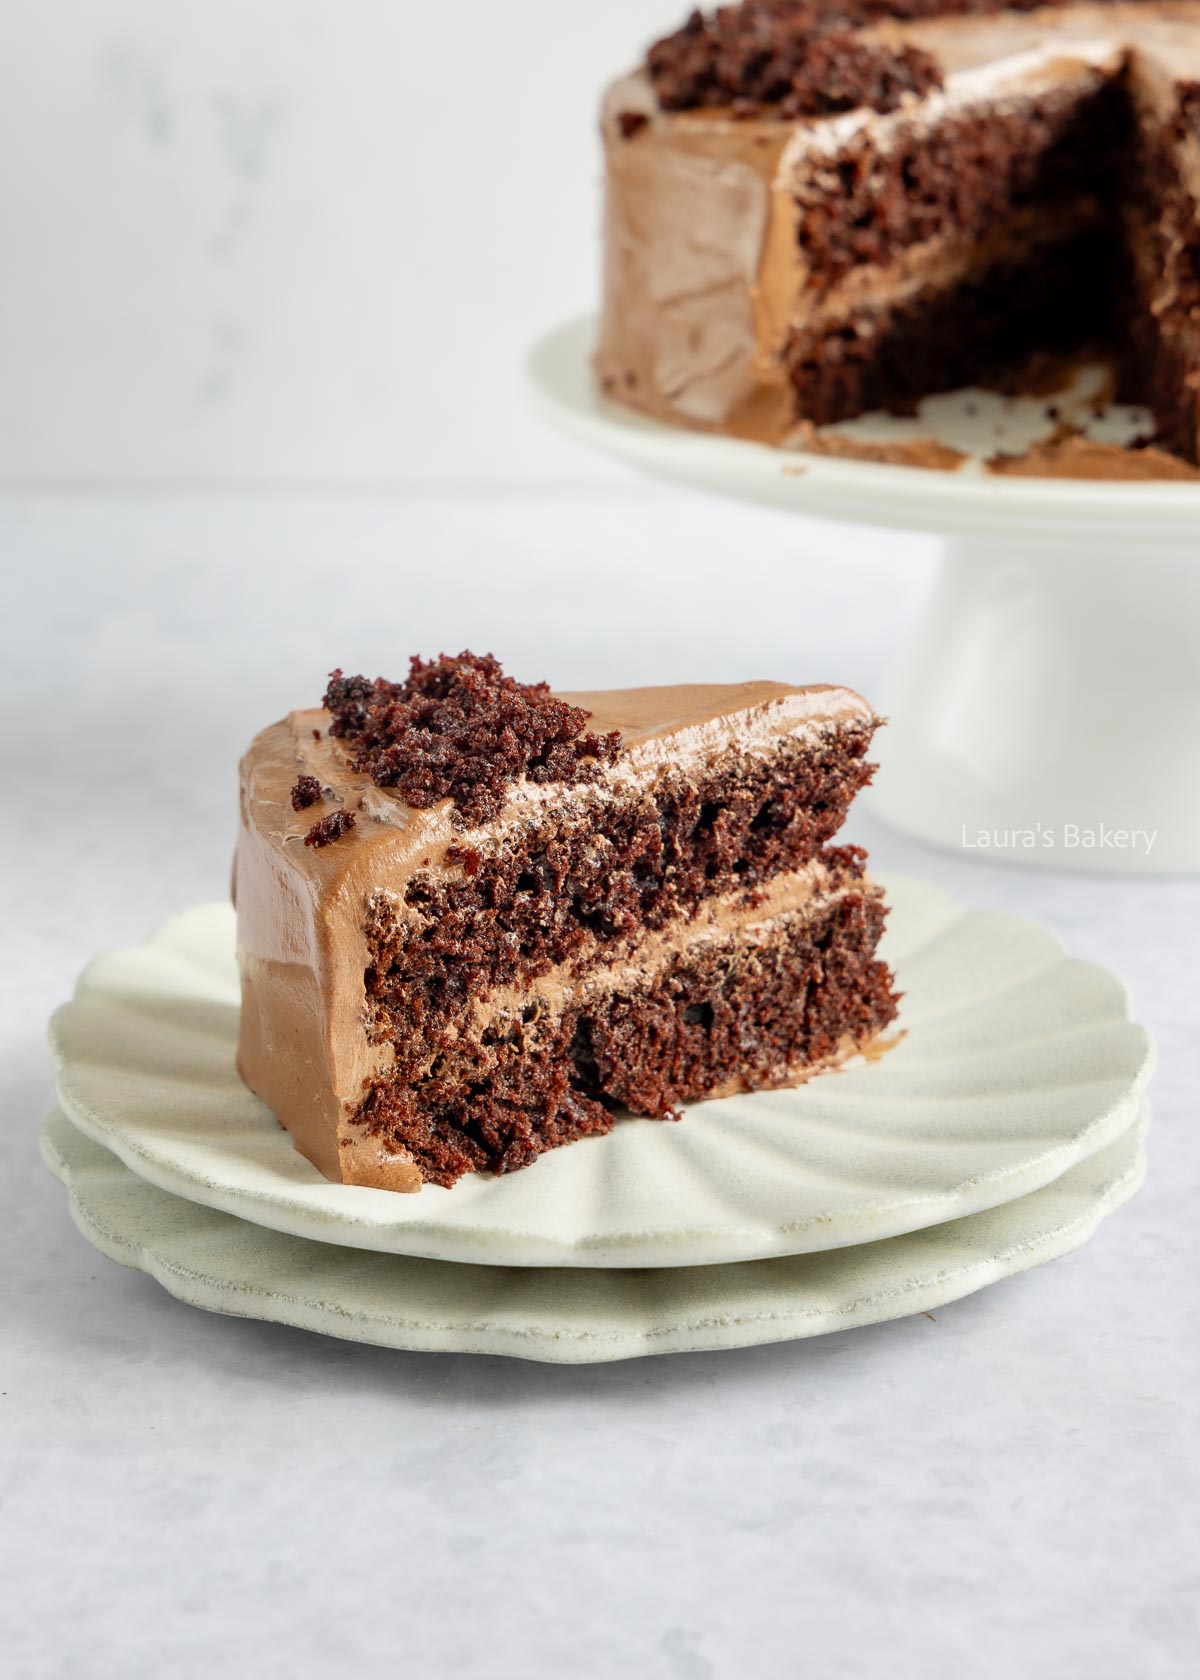
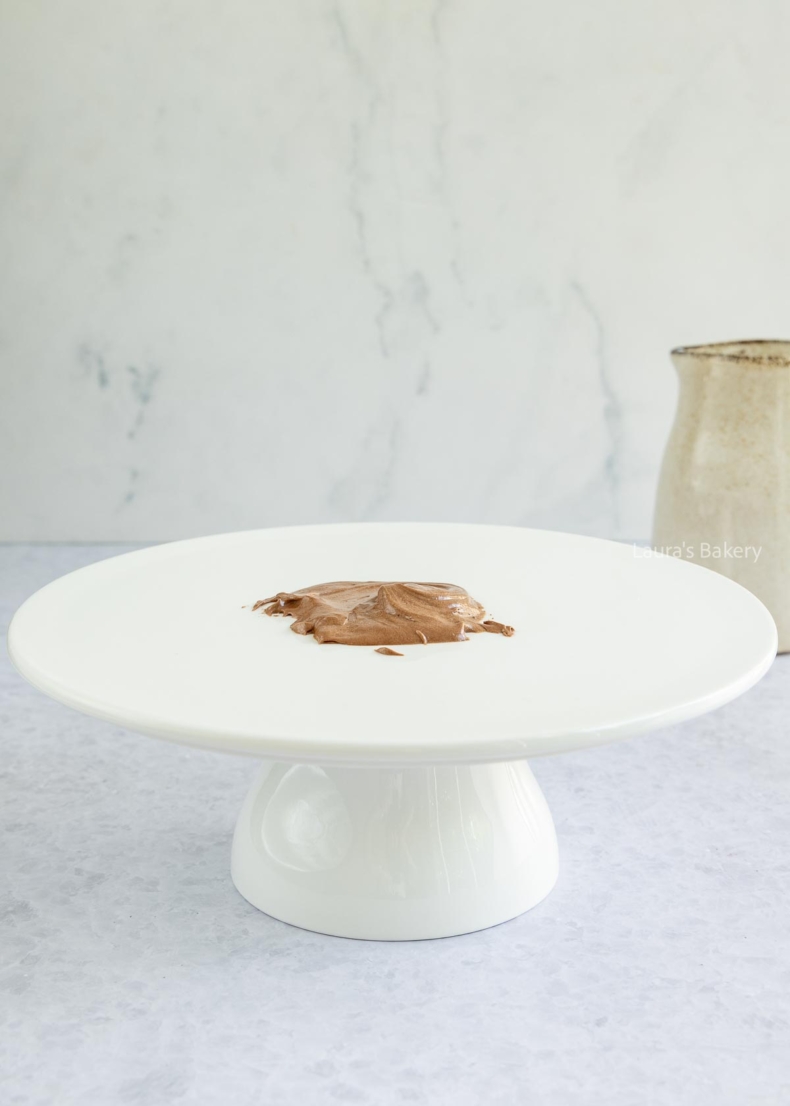
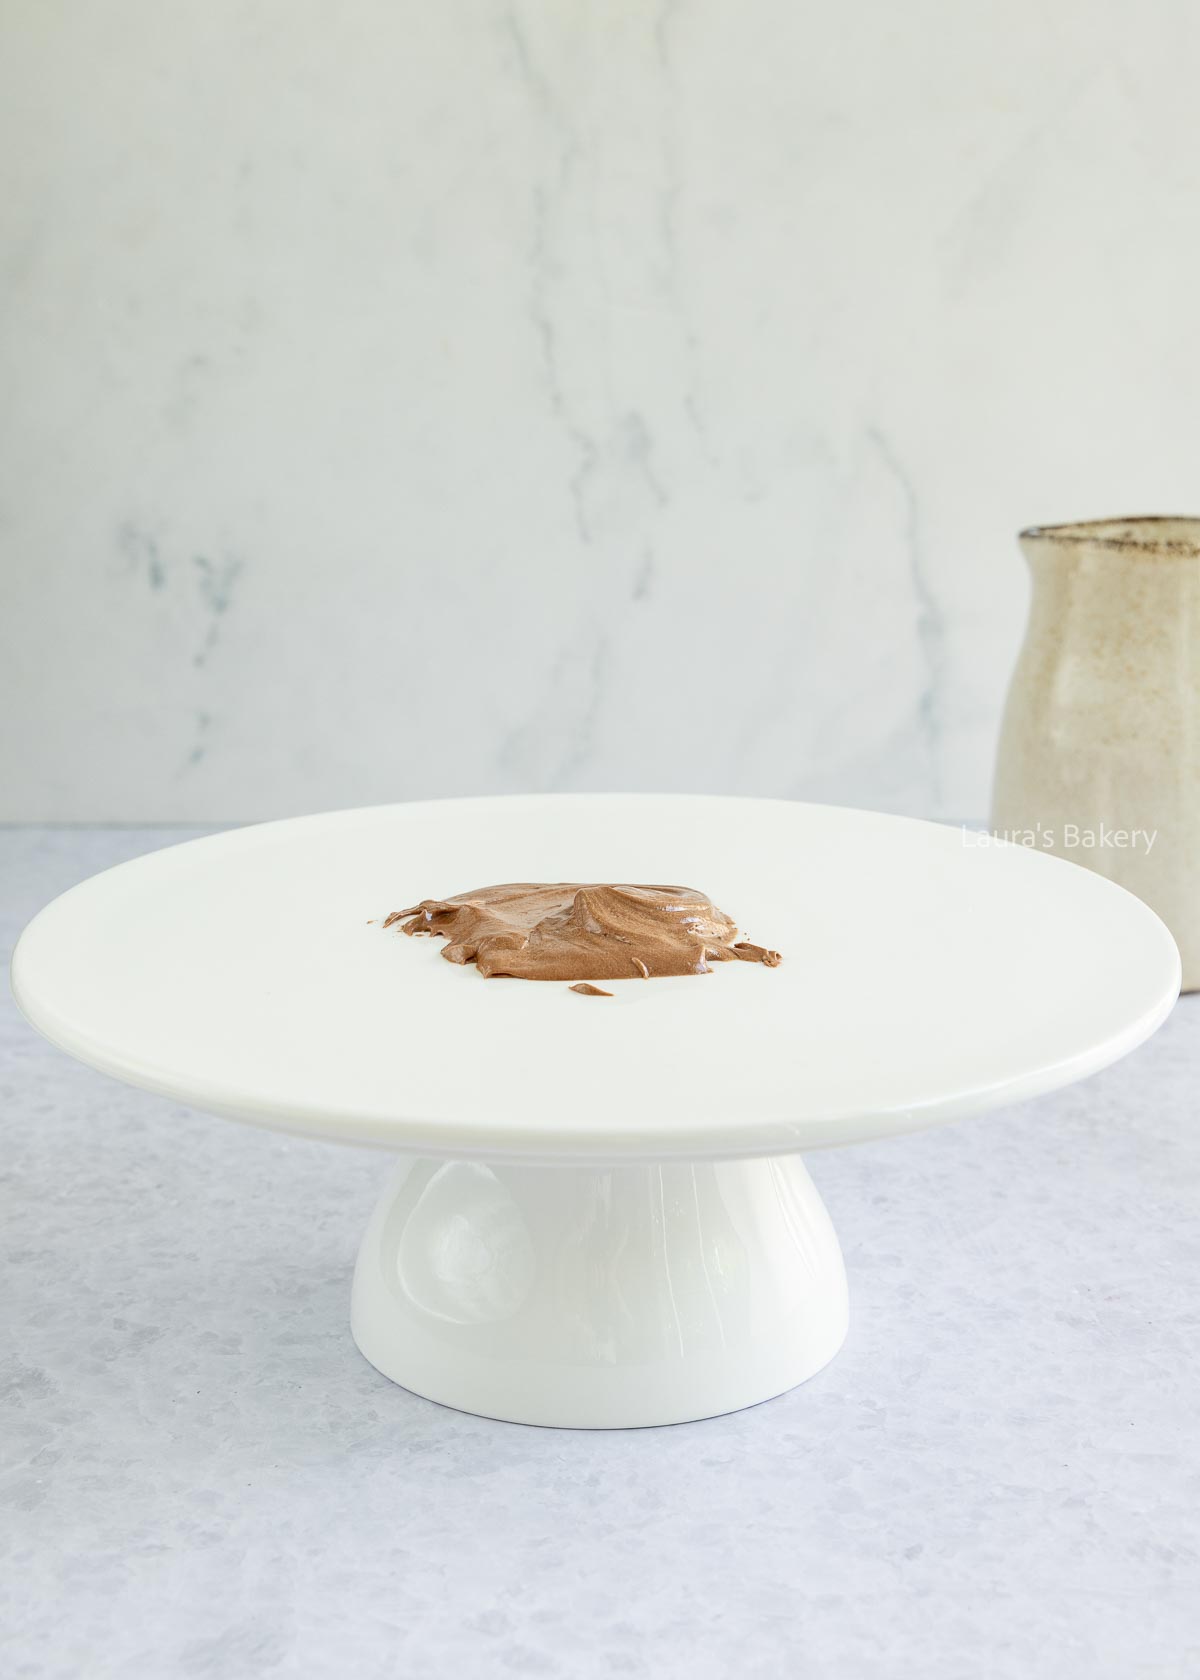
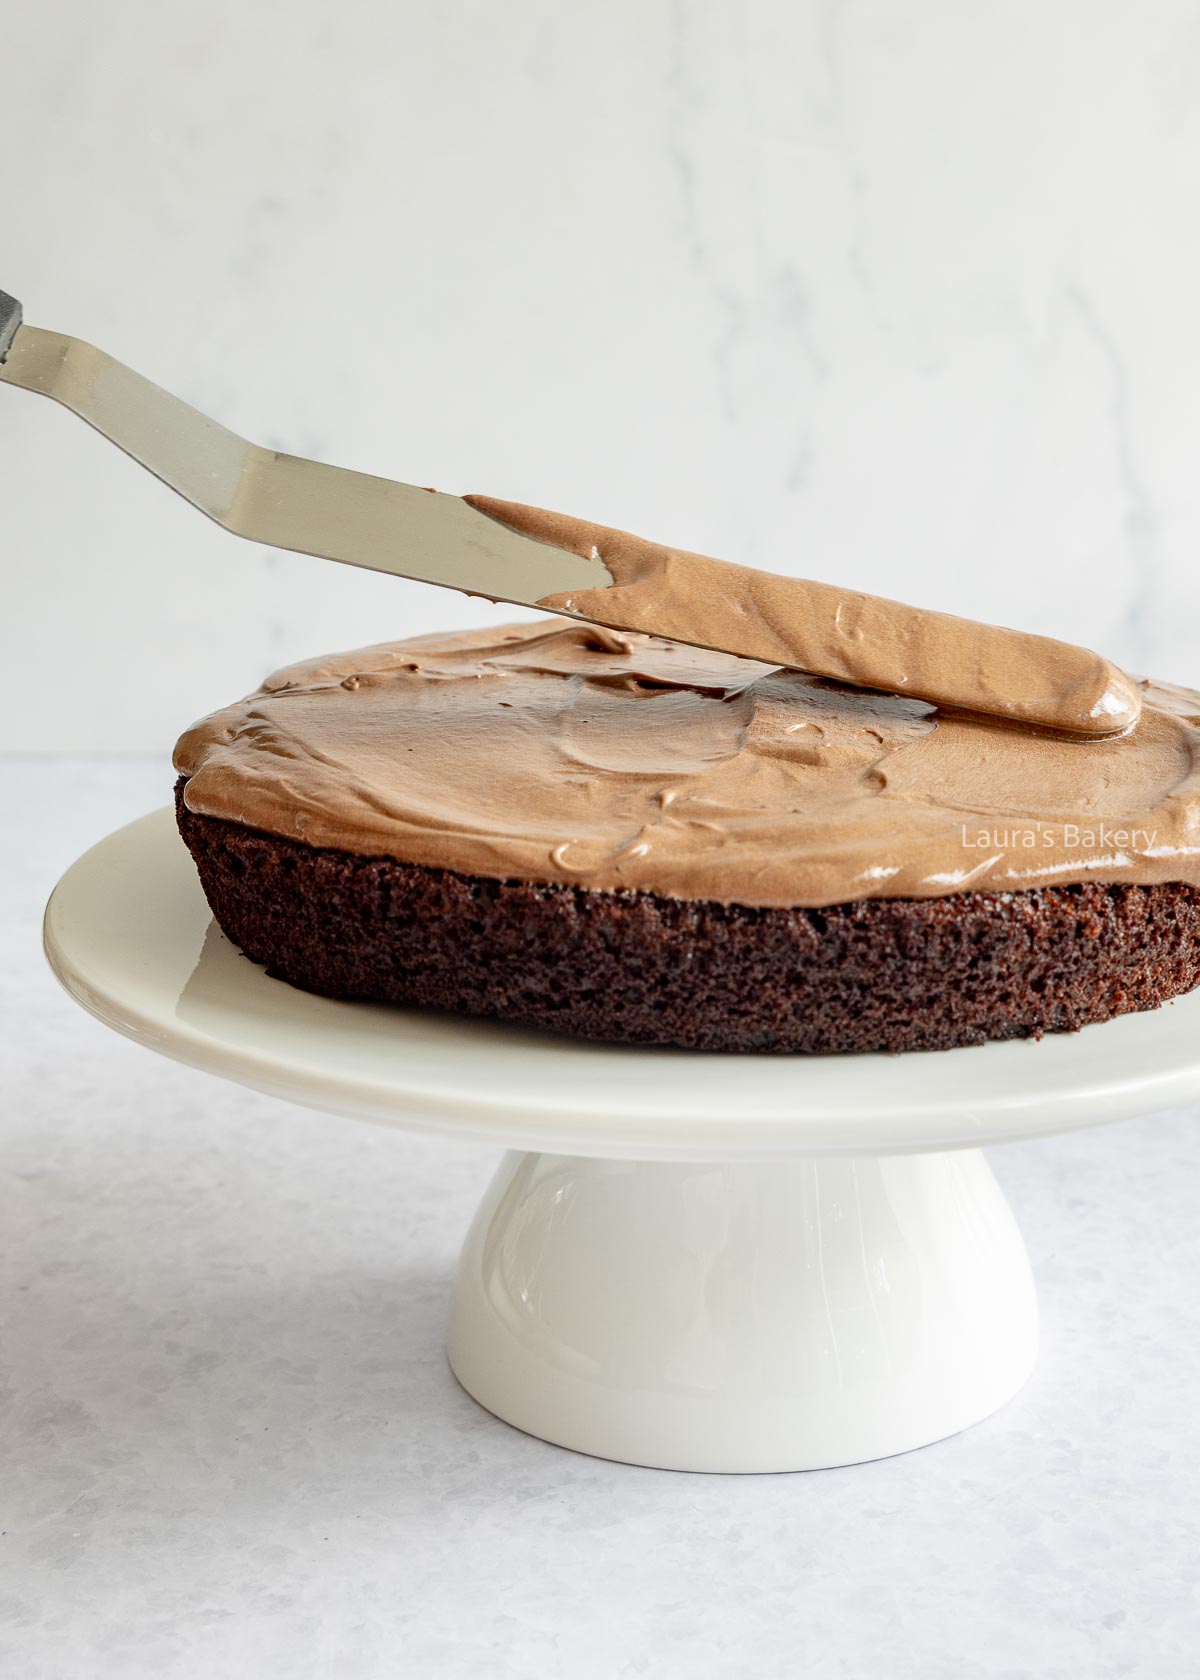
Add a little bit of buttercream to the serving plate so the cake doesn't move
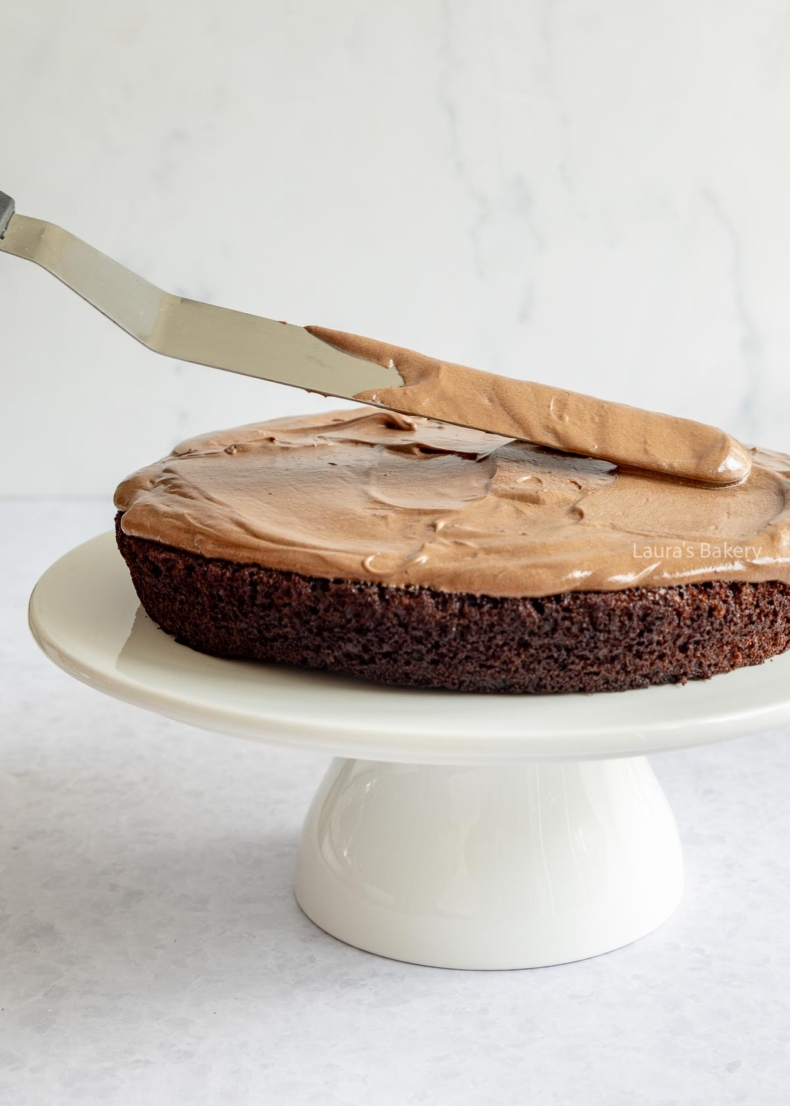
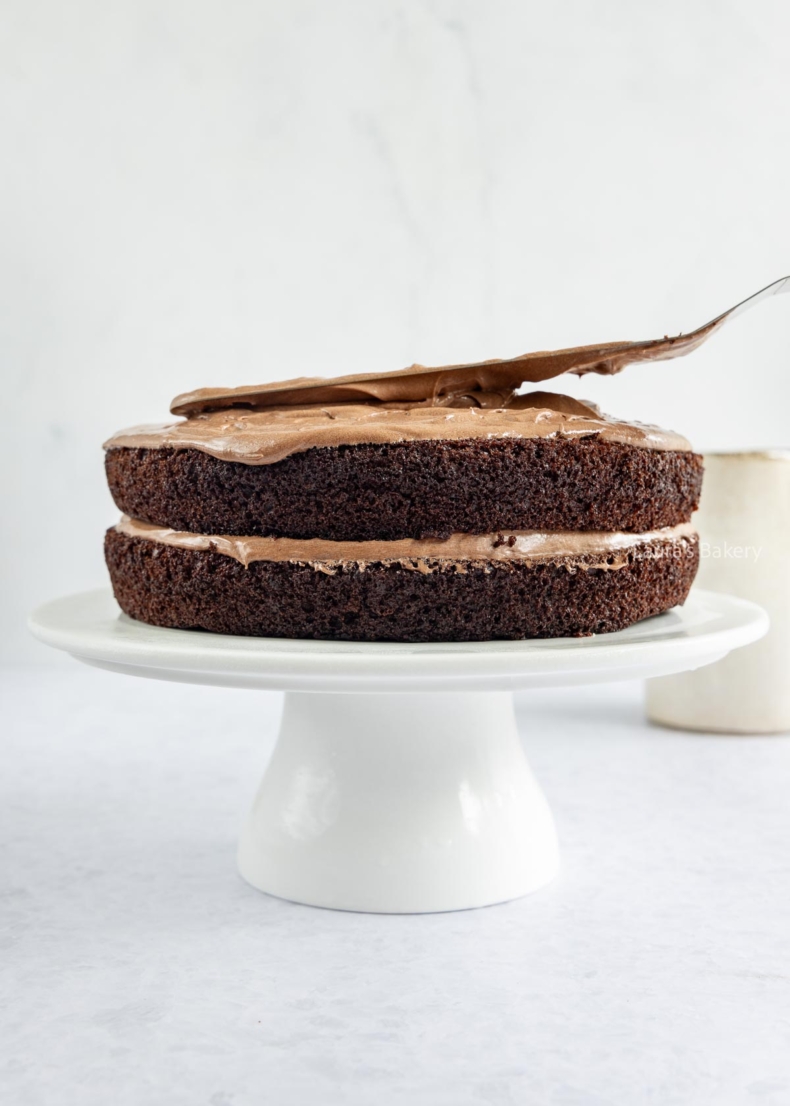
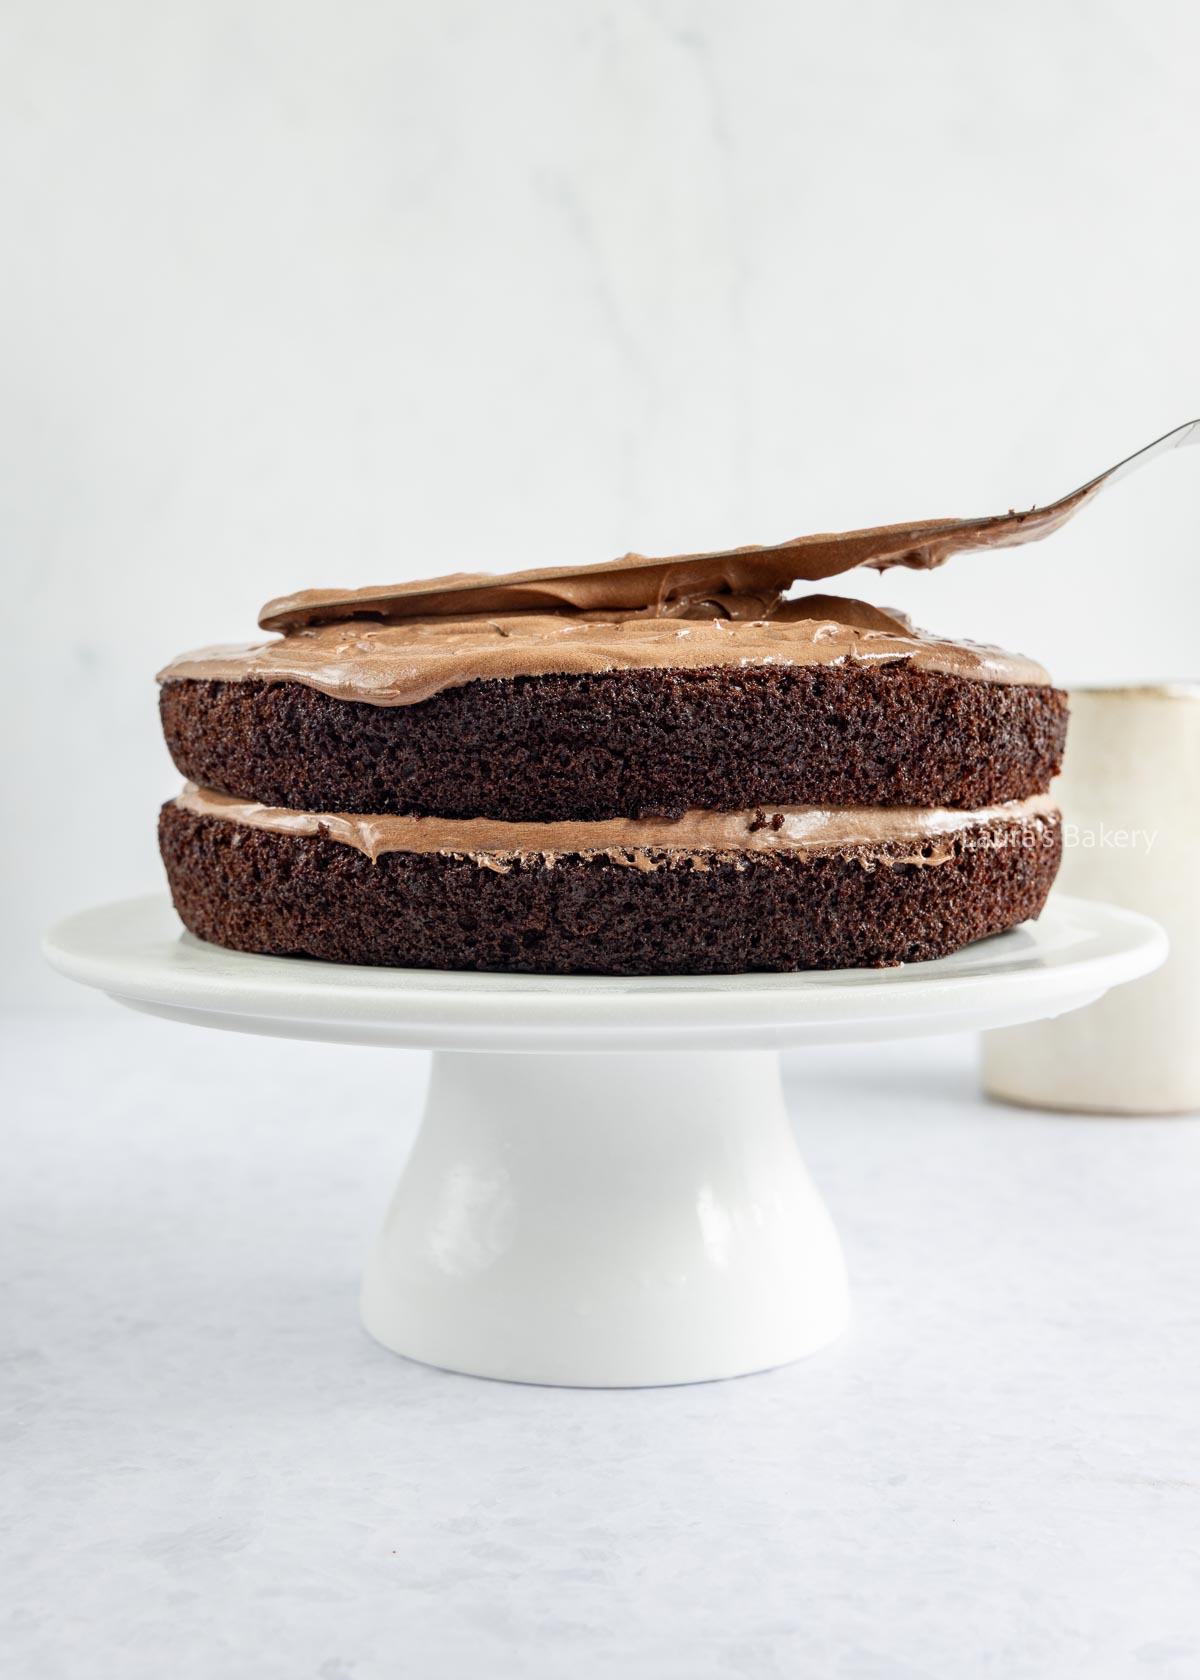
Build the first layer of the chocolate ermine frosting
This cake is perfect for parties and celebrations, everyone loves it! The best part is that it can easily be made ahead.
I recommend preparing the cake layers and buttercream separately, storing them airtight, and assembling the cake the day you plan to serve it. Store the buttercream in the fridge and the cakes at room temperature (or in the freezer).
If you prefer to assemble the whole cake ahead of time, or if you have leftovers, follow these storage tips:
Stored in a cool, dry place and covered well (such as in a cake box), the cake will keep for 3-4 days. In hot summer weather, it’s better to store it in the fridge.
Yes! Wrapped airtight, it will keep in the freezer for up to 3 months.
If you love chocolate, make sure to check out these recipes as well!
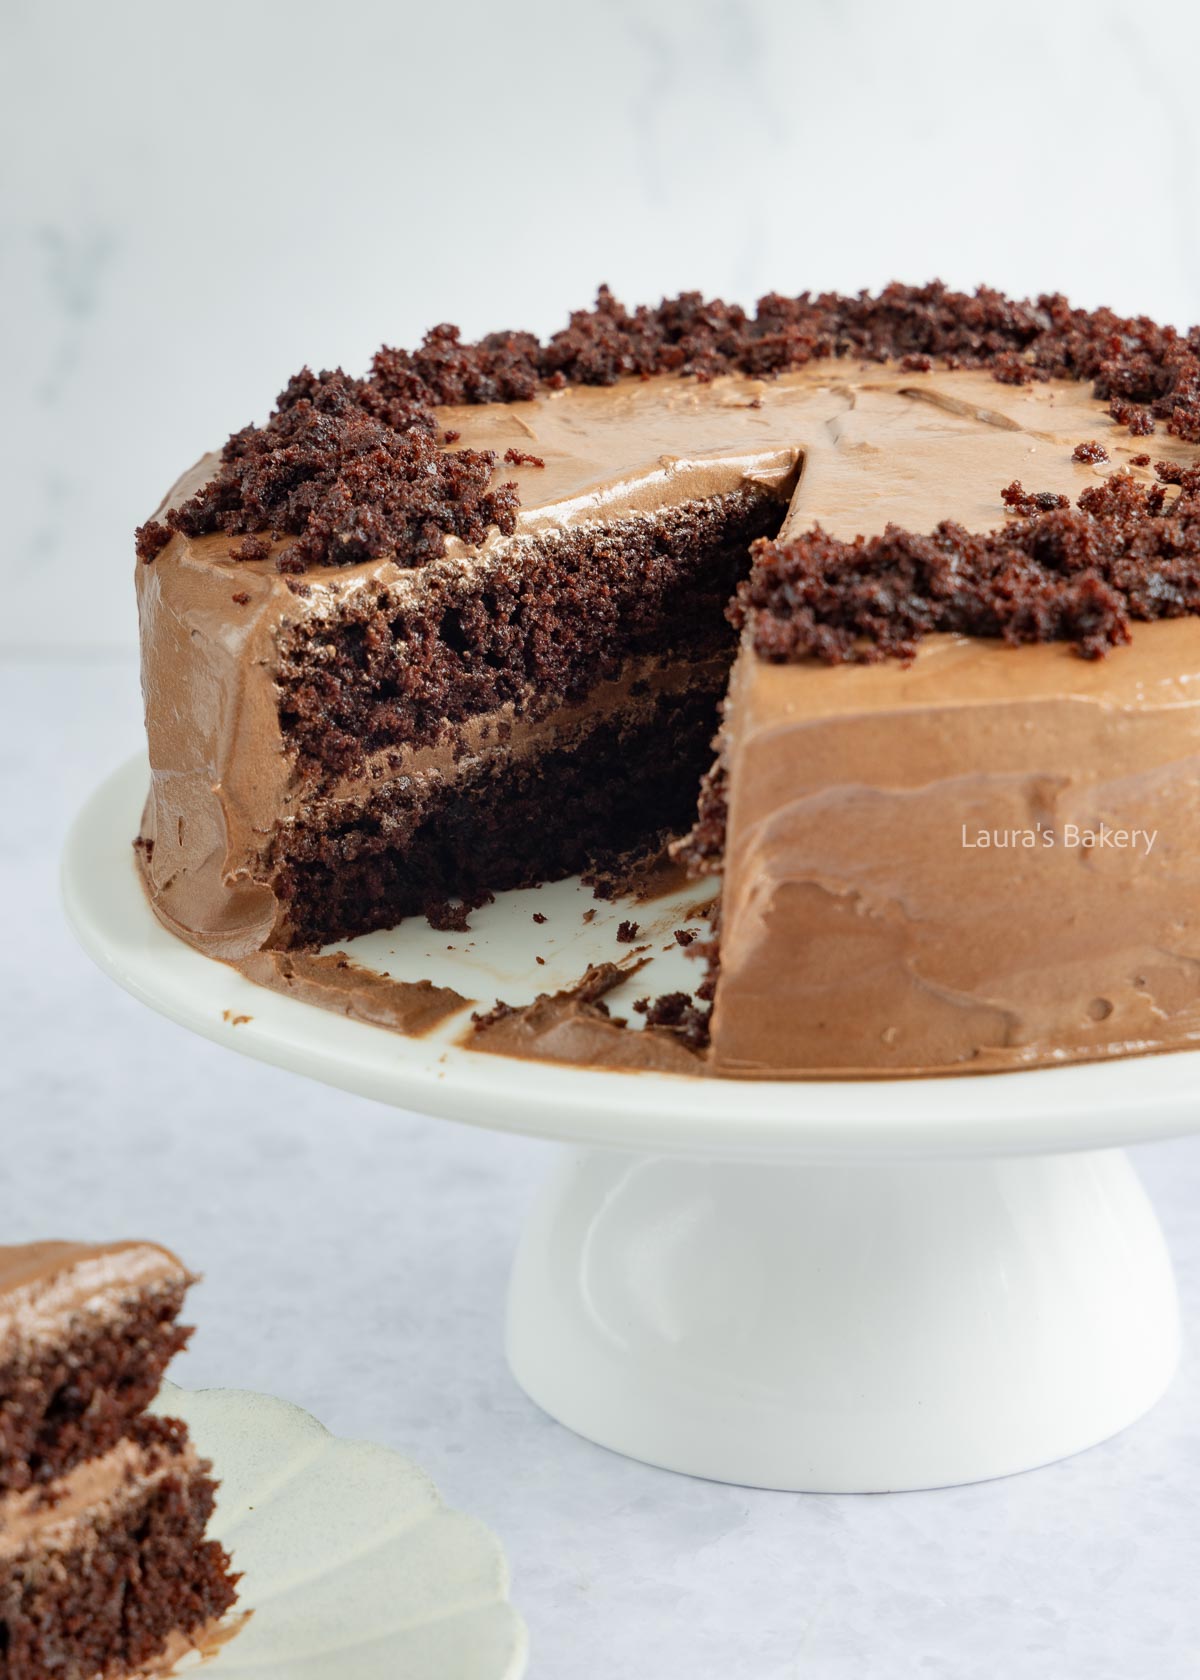
You can use any neutral oil, but I don’t recommend coconut oil. It solidifies as the cake cools, which makes it less moist (same goes for using butter).
Absolutely! A chocolate layer cake also tastes amazing with fillings like:
Yes, but add a little extra buttermilk so the batter doesn’t dry out. You won’t taste the coffee in the baked cake, it just boosts the chocolate flavor.
I kept the decoration simple, but here are some fun ideas:
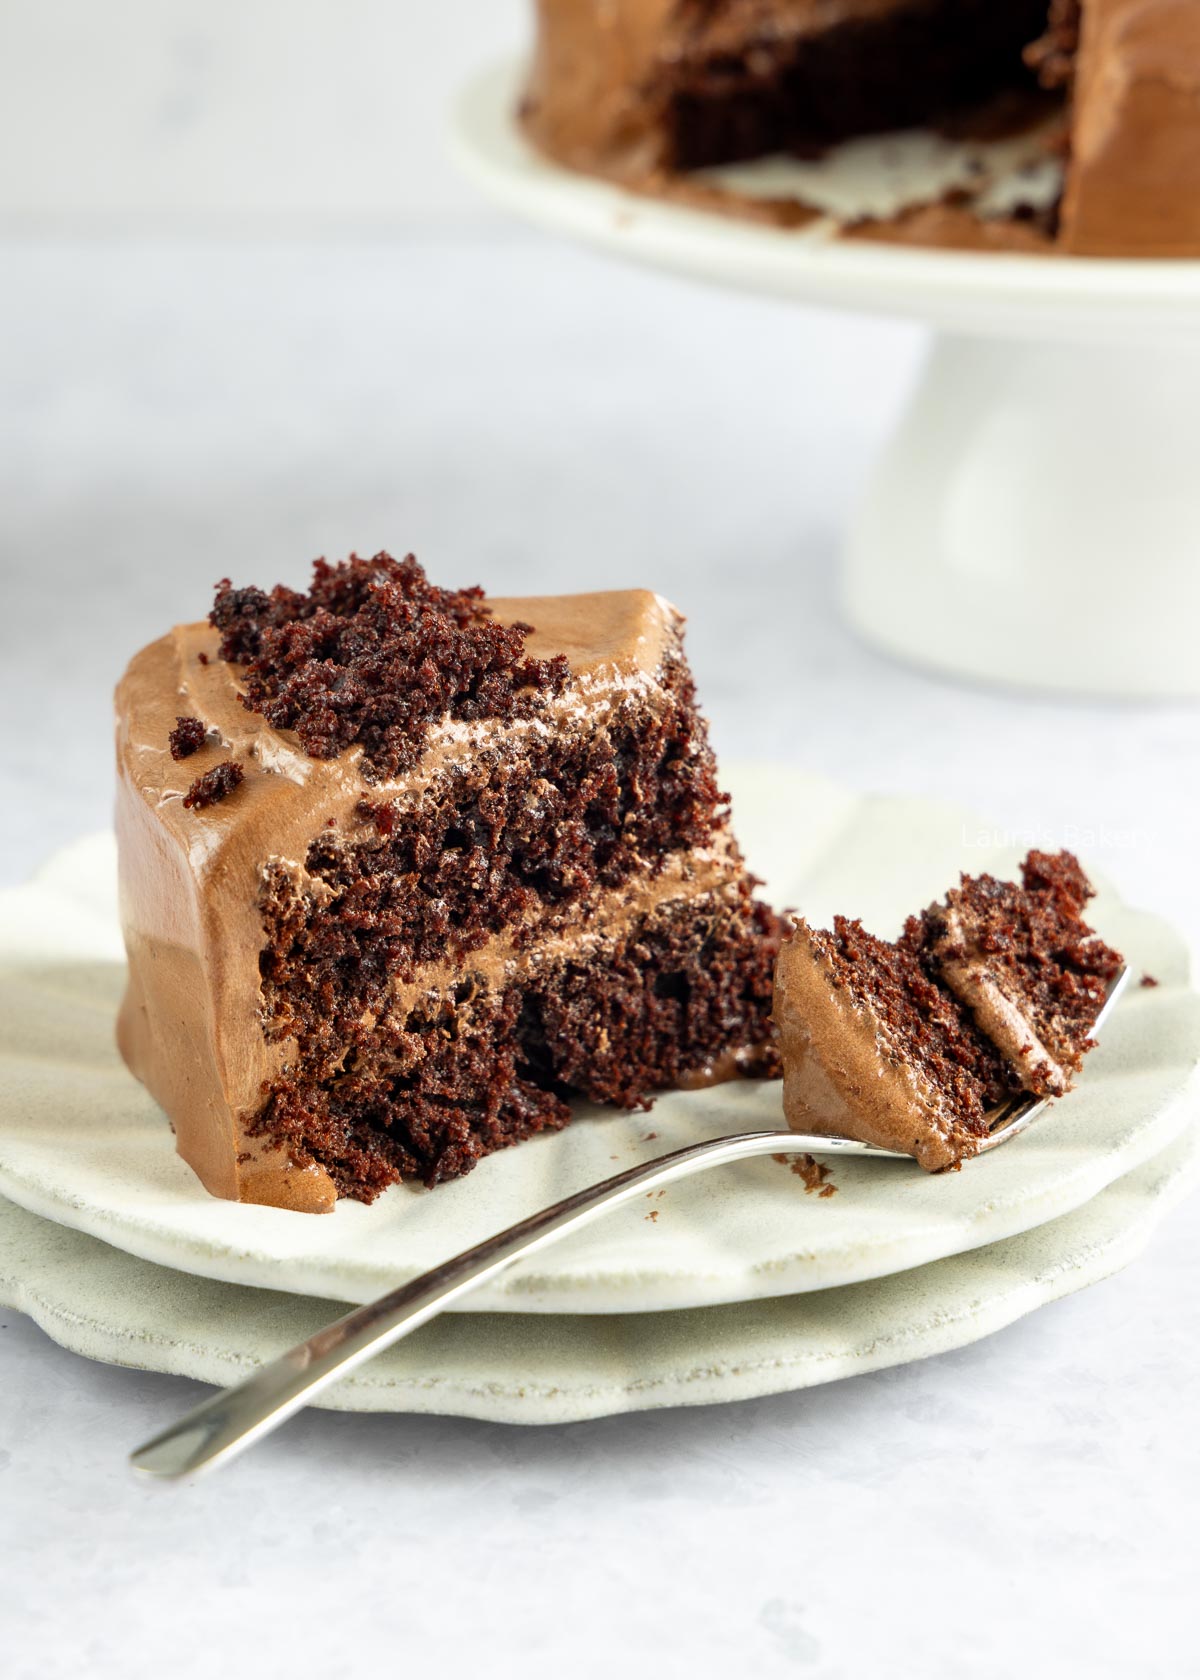
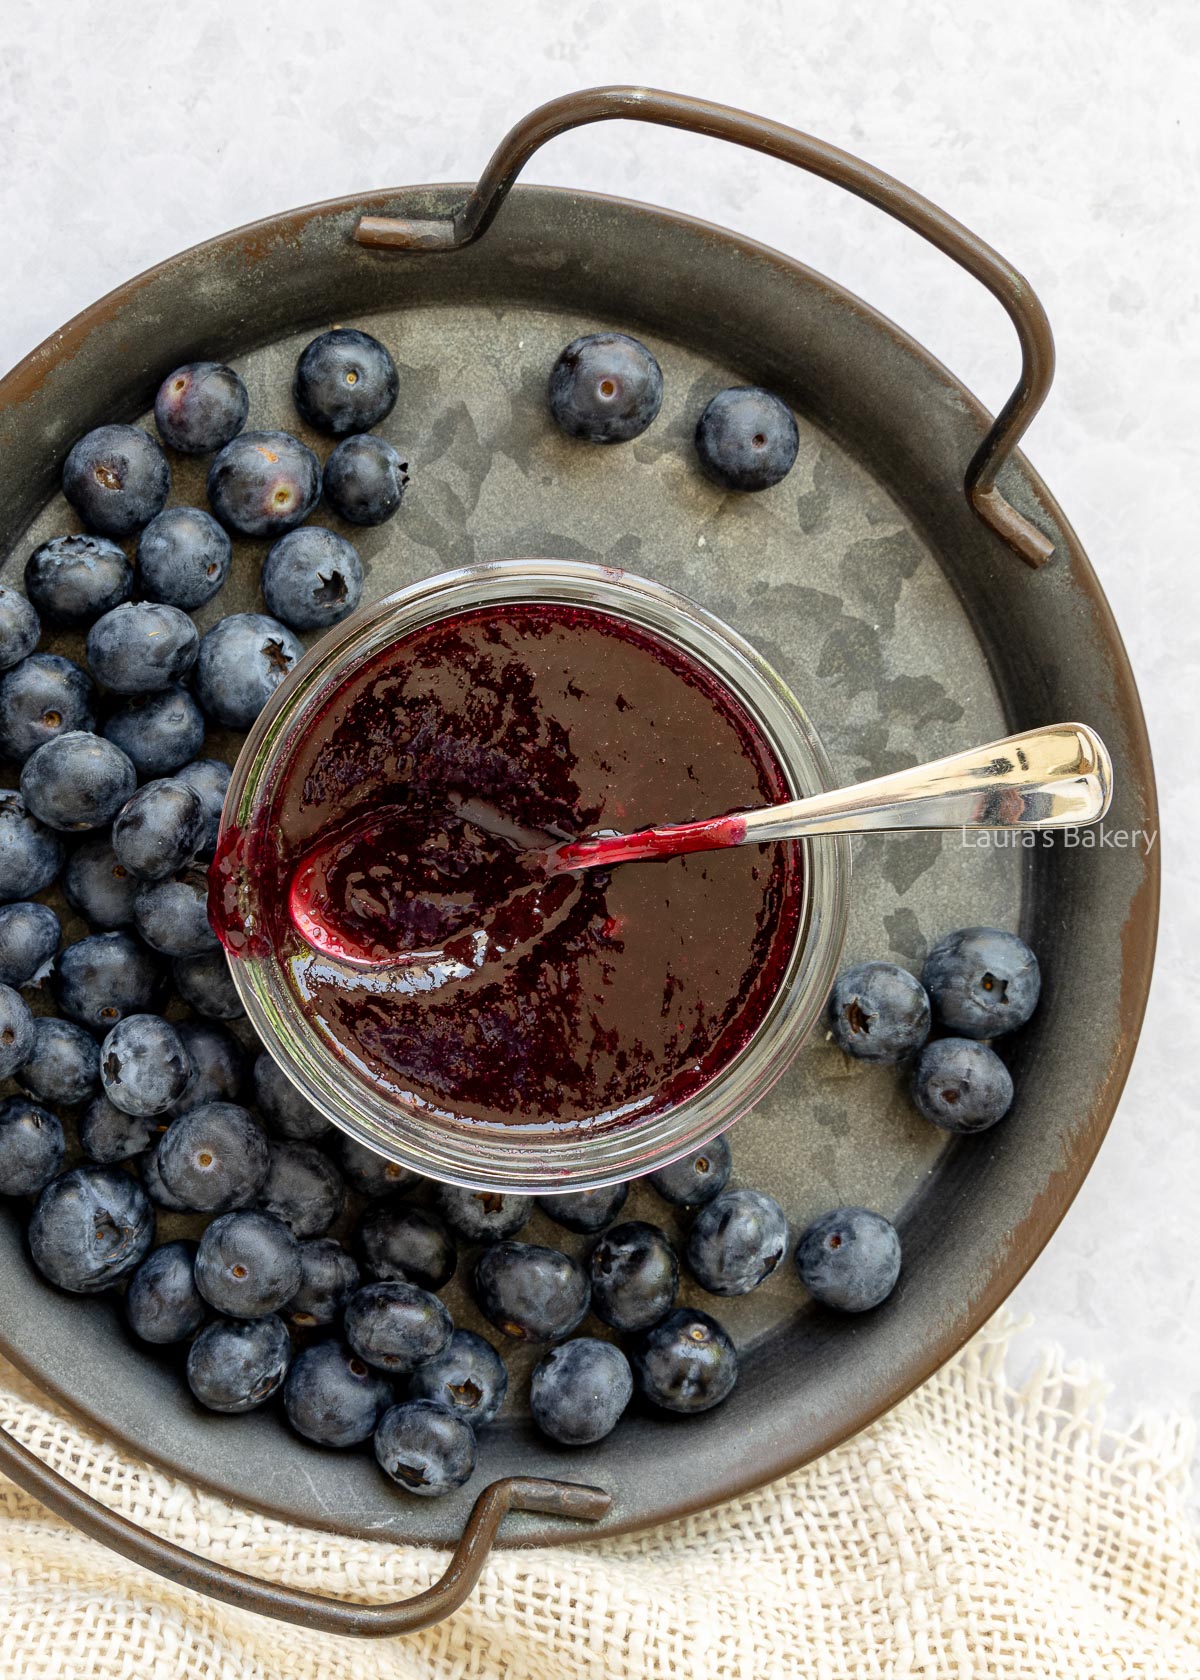
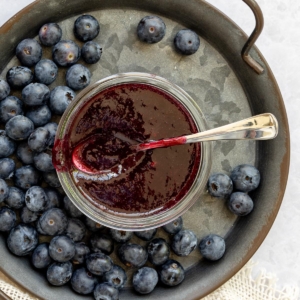
Homemade jams are one of my favorite ways to use summer fruit all year round. Blueberry jam is one of the best ways to make the most of delicious blueberries when they’re in season. Perfect for all kinds of recipes! But make sure to also check the strawberry jam and the fig jam recipes.
From June through September (depending on where you live), locally grown blueberries are widely available, and that’s the perfect excuse to make homemade blueberry jam.
Since blueberries are naturally sweet, I chose to use pectin with granulated sugar which has extra setting power, so the jam doesn’t turn out overly sweet. This way you can store the blueberries for up to a year.
And if you’re located in The Netherlands: use ‘geleisuiker speciaal’, which is a sugar which already has pectin in it.
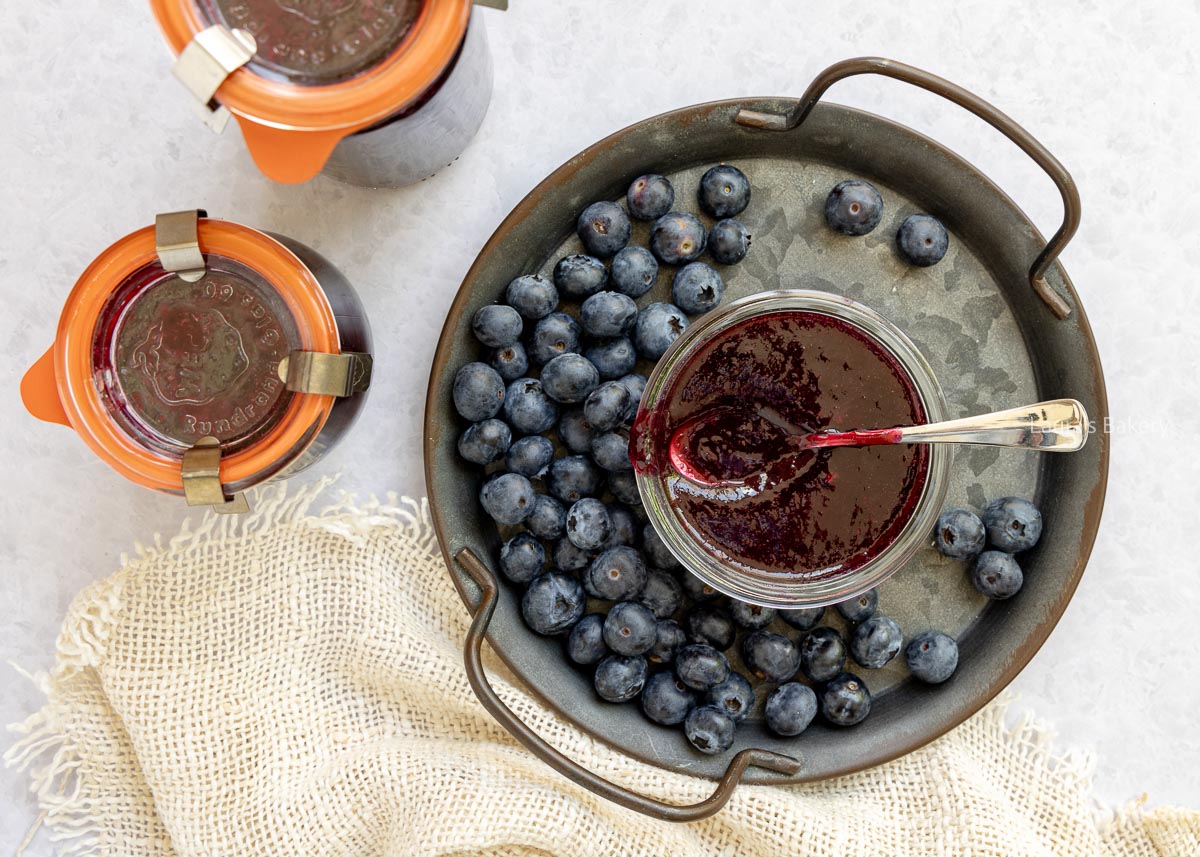
Making blueberry jam is quite easy to do. Start by sterilizing the jars in a large pot of water. Bring to a full rolling boil and let it cook for a few minutes. Remove the jars using thongs or a jar lifter and let it dry on a clean kitchen towel.
Now make the jam by first pureeing the blueberries with a stick blender. You can also mash them with a potato masher to get a different consistency.
Place blueberries, pectin and the sugar into a large deep pot. Bring to a boil over medium heat. Let it simmer for a few minutes while you keep stirring.
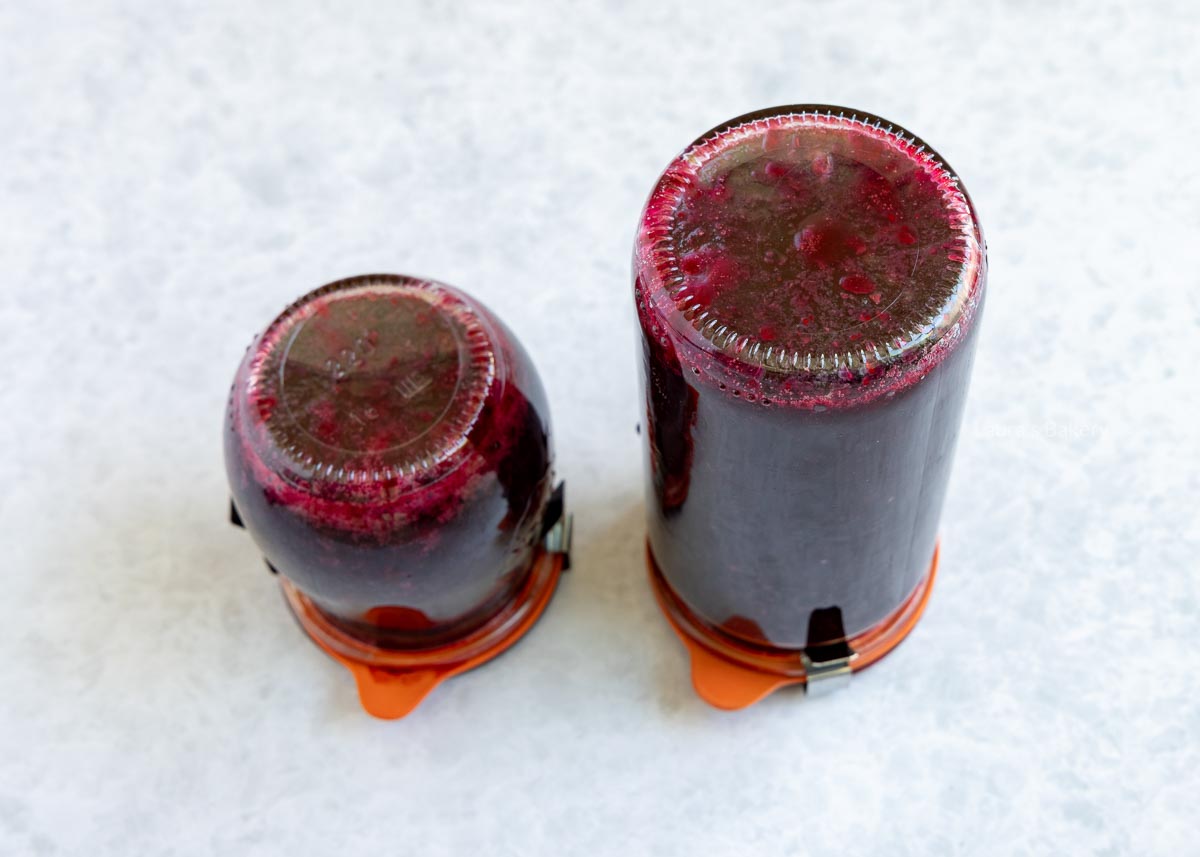
Pour into the jars and screw the lids on immediately. Turn the jars upside down so the air gets pushed out. This will make sure the jam can be stored longer. After 5 minutes turn them back upright and allow to cool completely.
This blueberry jam will keep for up to a year if stored in sterilized jars. (Check here how to properly sterilize jam jars.)
Once you’ve filled the jars with jam and they’ve cooled, wipe them clean and add a label with the preparation date. I often use a label printer, but a sharpie works too.
Stored in a cool, dark place, sealed jars will keep for up to a year. Once opened, it’s best to keep blueberry jam in the refrigerator, where it will stay good for several months thanks to the high sugar content.
This also depends on how hygienically you work (always use a clean knife or spoon in the jar), so keep an eye out for mold.
If you choose to freeze blueberry jam, plan on a maximum shelf life of about three months. However, jam keeps much longer when stored in sterilized jars.
Freezing can be a good option if you want to use as little sugar as possible. Freeze the jam in small portions to avoid keeping it too long in the fridge after thawing.
Blueberries are fantastic for baking, and these recipe ideas will keep you busy for a while:
I don’t recommend it, because fruit needs pectin to turn into jam. Pectin occurs naturally in fruit, but amounts vary. Lemons are high in pectin, but blueberries are not. That’s why you need additional pectin to help the cooked berries set.
If you need a jam with no added sugar at all, use gelling powder, optionally combined with a sweetener. I haven’t tried this myself, so follow the instructions on the back of the package.
Keep in mind that sugar acts as a preservative, so sugar-free jam won’t keep as long. Freezing it in small portions works well in that case.
There are many delicious combinations, including herbs or other fruits. A few ideas:
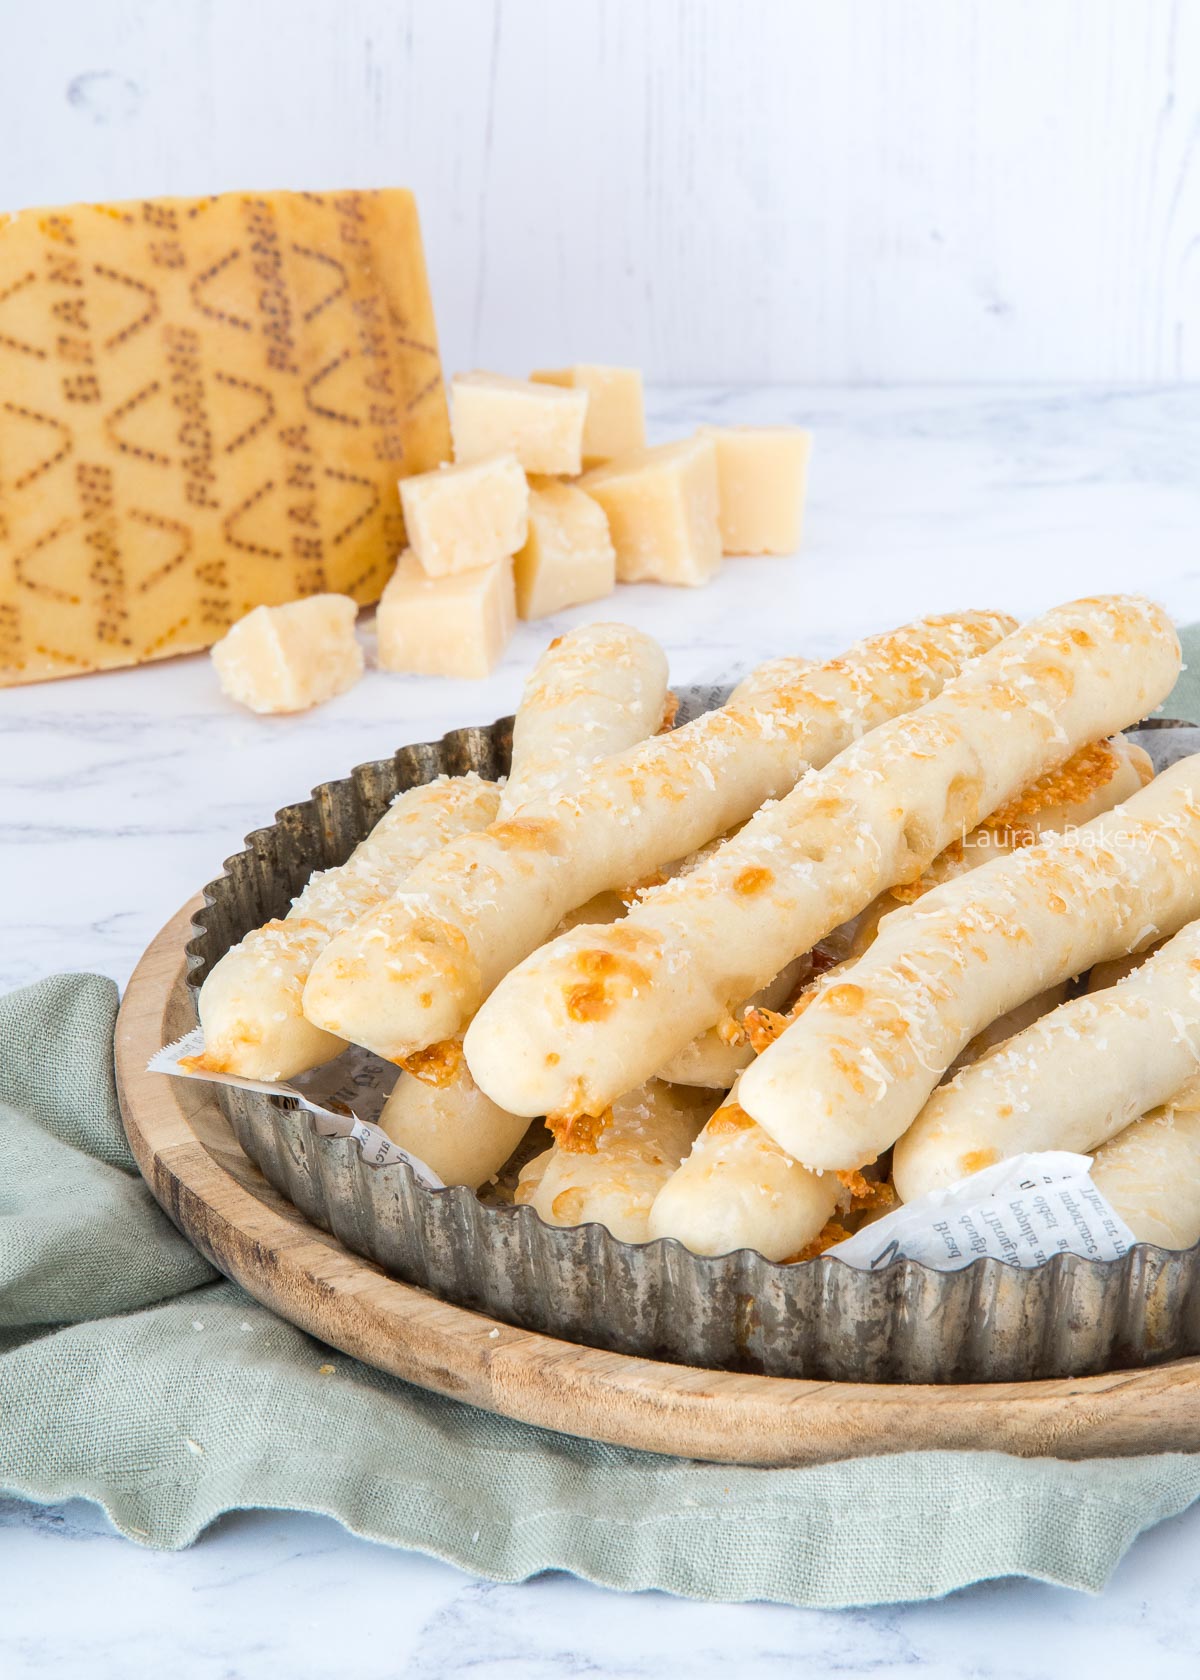
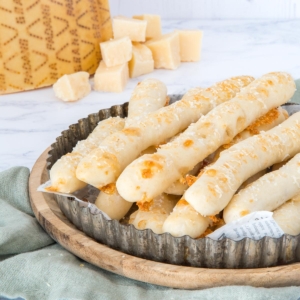
These easy cheesy bread sticks are perfect to serve with a bowl of steaming soup, but are a great snack as well. It’s made with a yeasted dough which is a bit like pizza dough and so tasty!
For even easier cheesy sticks try these cheesy puff pastry sticks as well.
Every time I crave homemade bread but are a bit short on time I love making these cheesy bread sticks.
While I love pulling a rustig loaf out of the oven, these are easier to make and always a hit whenever I have friends over for a bowl of soup! They’re usually gone before they make it to the table.
You need just a few simple ingredients to make these cheese breadsticks.
You start making these by first making the dough with the flour, yeast, salt, water and the olive oil. Add to a large bowl and knead for about 10 minutes until you have a smooth and elastic dough. You can use a food processor or knead by hand. Your choice.
Now transfer the dough to your work surface dusted with a little flour. Press it a bit flatter and sprinkle the cheese over the dough. Fold the dough in half and knead it briefly so the cheese is spread evenly throughout the dough.
Place it back into the bowl and let it rise for about an hour or until it is doubled in size.
Once it has risen transfer the dough back to your work bench. Gently press the air out and divide the dough into 16 equal pieces.
Roll each piece into a breadstick of around 17 centimeter (6.5 inches) long and place on a baking sheet lined with parchment paper. Make sure to leave enough space in between the sticks. Let it rest for a further 15 minutes.
Before baking brush each breadstick with a bit of water (or use melted butter) and sprinkle with extra grated cheese and some coarse sea salt. Bake at 390˚F/200˚C for 10-12 minutes and enjoy!
Store in an airtight container at room temperature for up to 1 week. They’re best fresh, but they stay tasty for days.
Absolutely! Bake, cool completely, and freeze in a bag or airtight container for up to 3 months. Reheat at 375°F/190°C for a few minutes until warm and crisp.
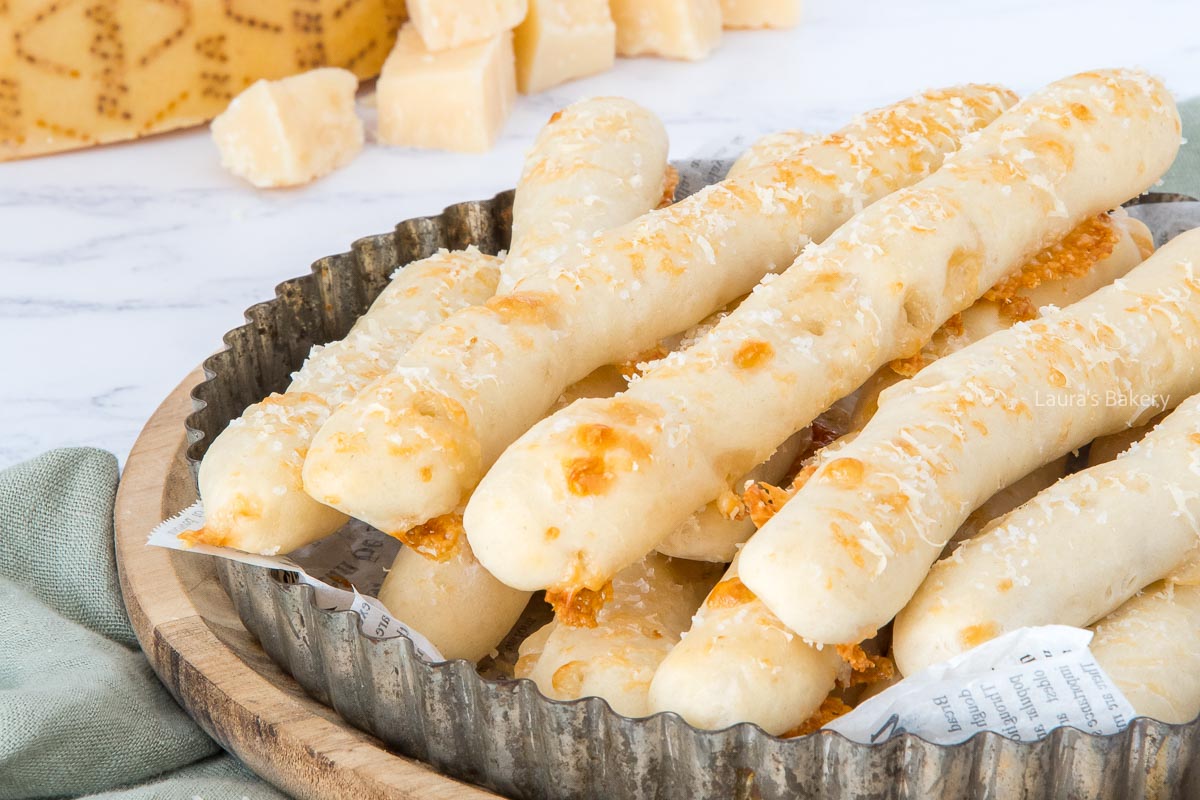
Yes! Grana Padano is delicious, but Parmesan, Pecorino Romano, aged Gouda, or even grated cheddar will work. Hard cheeses melt best without making the dough too wet.
Using lukewarm water helps activate the yeast and makes the dough rise better. Cold water will slow the rise significantly, and hot water can kill the yeast.
Yes. You can make the dough up to 24 hours ahead. Let it rise once, punch it down, cover tightly, and refrigerate. Shape and bake the next day.
Read more about storing dough in the fridge.
These are great with tomato soup, cheese fondue, dips (like pesto or garlic butter), or just as a snack.
Brushing with water helps the grated cheese and salt stick and promotes slight browning during baking.
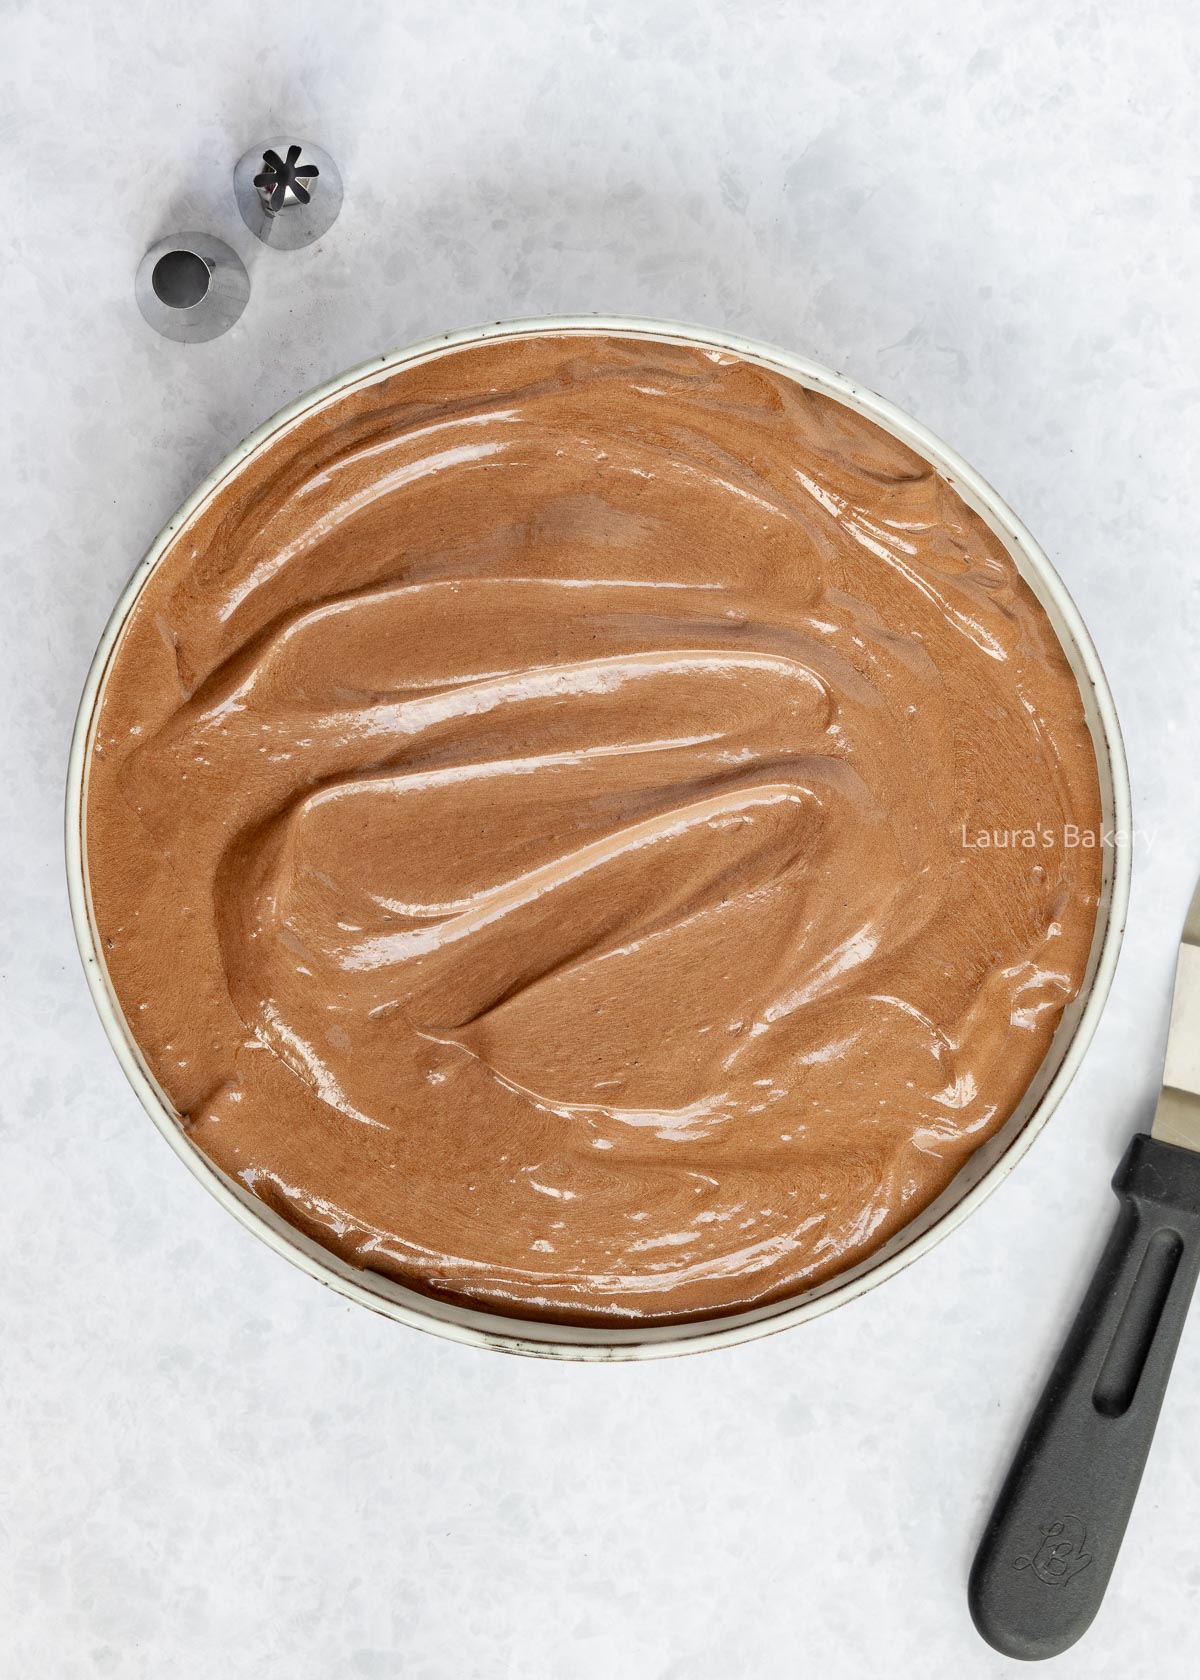
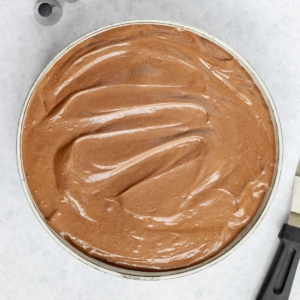
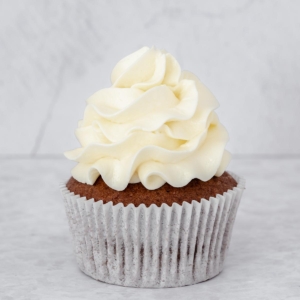
This easy basic recipe for chocolate ermine frosting is perfect as a filling for a chocolate cake or piped on top of freshly baked cupcakes. It’s my go to recipe for chocolate frosting.
By now my basic recipe for ermine frosting has already won over many hearts. The buttercream is light and airy and even loved by home bakers who don’t usually enjoy a buttery flavor.
This chocolate version is based on that same recipe, but with a rich chocolate taste thanks to the combination of cocoa powder and dark chocolate. You won’t taste the dark chocolate as a separate element, but it makes the ermine buttercream incredibly full and creamy!
Make sure that all the ingredients are at room temperature before you start making the chocolate ermine buttercream.
The biggest difference between traditional buttercreams and ermine frosting is the use of flour in the mixture. This make the frosting much more stable and easy to work with.
For making it you start by sifting the flour and the cacao powder together. Add with the milk to a small saucepan on medium heat and whisk to make sure you have no lumps. Bring it to a gentle boil and reduce the heat.
It will thicken after about 5 minutes. If you insert a wooden skewer it should stand upright. So yes, it has to be quite thick. Transfer the mixture to a bowl and let it come to room temperature. It should have a velvety smooth texture. If there are lumps, press it through a sieve to remove them.
Once the mixture is fully cooled I add the butter and powdered sugar into another bowl and mix until light and fluffy. Add the vanilla and combine.
In the meantime melt 2/3 of the chocolate over a double boiler. Once melted remove from the heat and add the rest of the chocolate. Stir until all is melted and let the chocolate cool down.
You’re essentially tempering the chocolate the easy way. You can read this article on how to temper chocolate without thermometer for more information.
Once the chocolate and the flour mixture are at room temperature it is time to bring it together. Add the flour mix to the butter mixture and whisk until it is creamy. This should take around 5 minutes.
Now add the chocolate but do this in portions and mix well between each addition. Your chocolate ermine frosting is now ready to use!
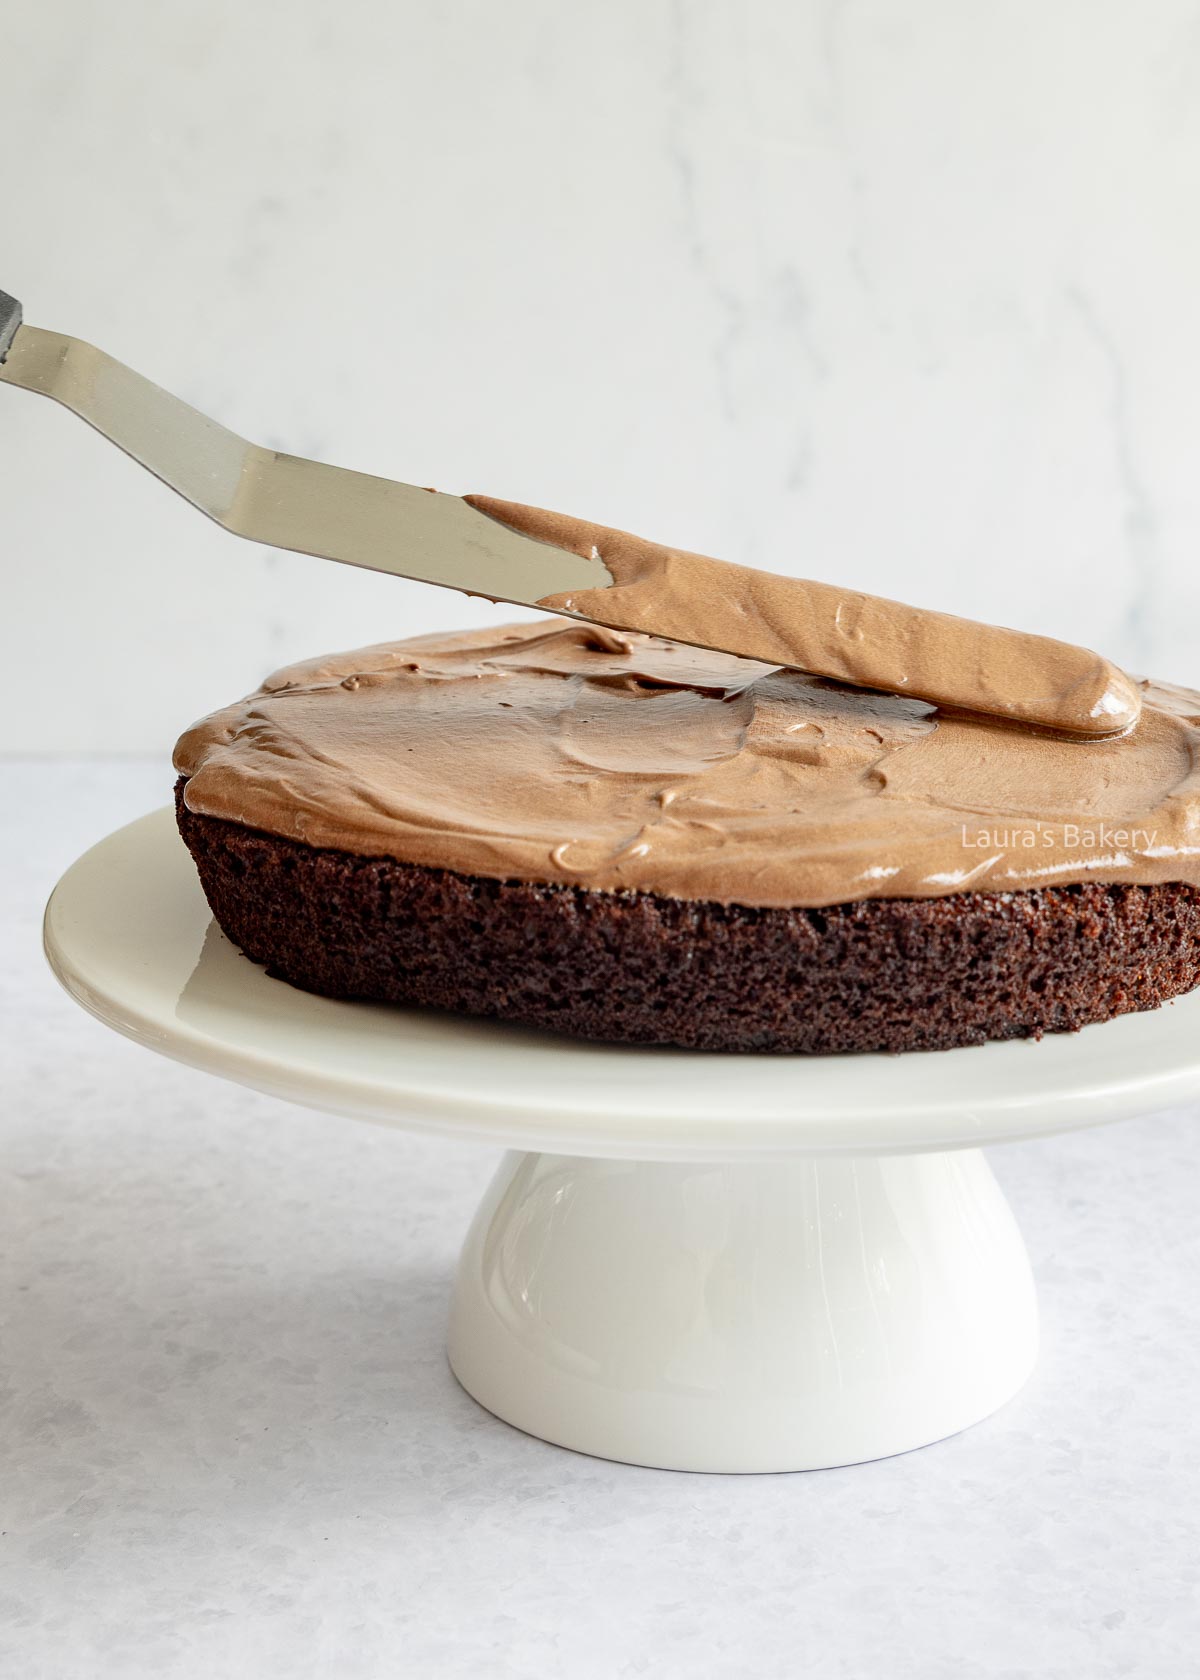
If I’m planning to use the chocolate ermine frosting later the same day, I don’t store it in the fridge, but in a dry and relatively cool place.
This keeps the cream easy to work with and prevents you from having to bring it back to room temperature again. I always store it in an airtight container.
In the fridge, buttercream keeps for up to a week. Keep in mind that the butter and chocolate will firm up in the refrigerator, so you won’t be able to use the cream straight away.
Take it out several hours before use and stir well. There is a chance the cream might split due to the temperature difference. Read more here about how to fix split buttercream.
Yes! This chocolate ermine frosting can be stored airtight in the freezer for up to 3 months. Remove the buttercream from the freezer a day before using and let it thaw in the refrigerator.
A few hours before using, place it at room temperature. This prevents drastic temperature changes and reduces the risk of splitting.
If you want to know more about all sorts of frostings and toppings I have on the site check these favorite recipes of mine as well:
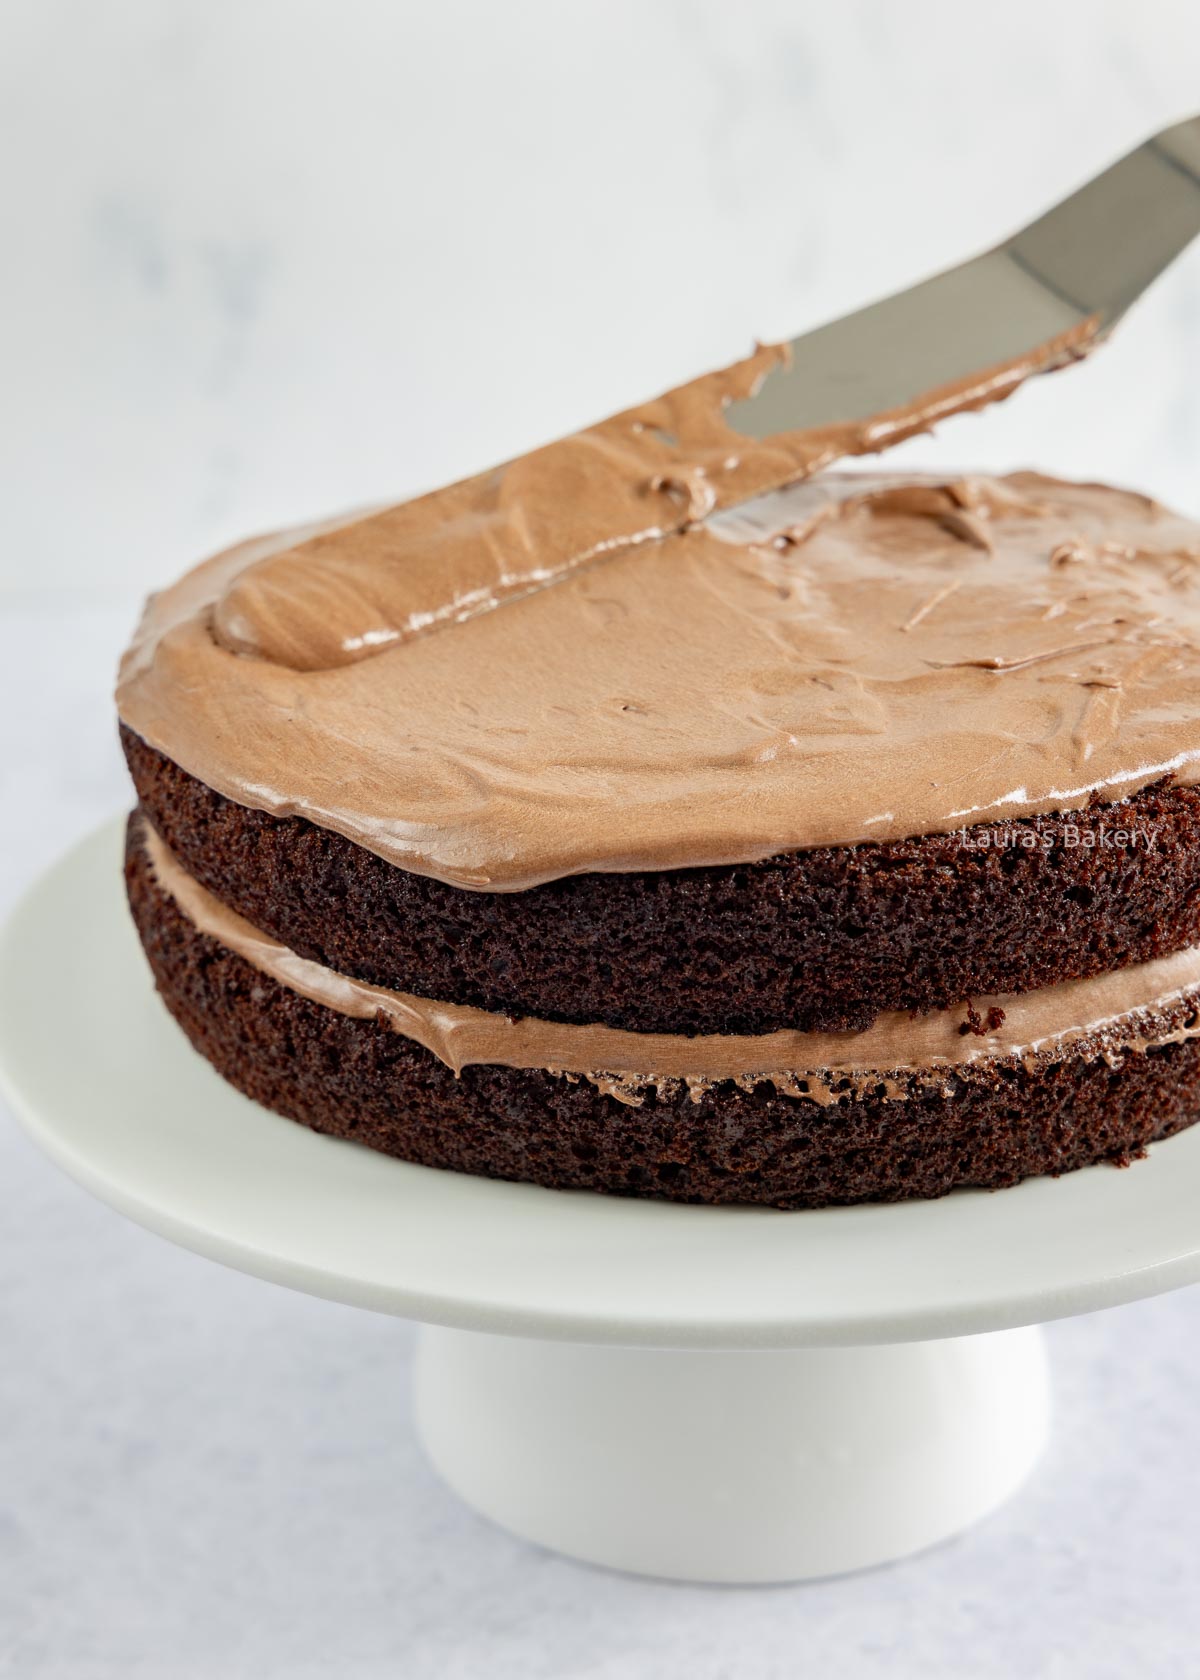
With this chocolate buttercream you can pipe 16-20 nice full swirls.
A 20 cm (8-inch) cake can be generously filled twice. You’ll likely have some left to crumb coat the cake.
Absolutely! The easiest and least risky way is to mix in a flavor extract. Almond or coffee extract both taste great with chocolate. Adding chopped hazelnuts will taste amazing too.
You can read more here on how to flavor buttercream.
Your buttercream is split when you see tiny white specks appearing in what was previously a smooth cream. That means the ingredients have separated instead of emulsified.
Split buttercream usually happens when ingredients weren’t at room temperature when combined. You can read on how to fix split buttercream here.
I usually like to use a star tip (1M) because you can pipe so many kinds of swirls with it. My golden rule: always hold the piping bag straight above the cake or cupcake.
In my opinion, this is the most flavorful chocolate ermine frosting, but for fondant or marzipan it contains too much moisture. In that case, use a 1:1 buttercream (equal parts butter and powdered sugar). Add cocoa powder if you want a chocolate version.
You can still use this chocolate ermine frosting as a filling. Pipe the 1:1 frosting along the outer edge first, fill the cake with the chocolate ermine buttercream inside that edge, then crumb coat and frost the cake with the 1:1 regular buttercream, which you can safely cover with fondant or marzipan.

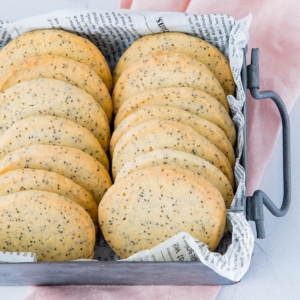
If there ever was a delicious combination in terms of flavor, it has got to be lemon and poppyseed. These lemon poppy seed shortbread cookies are my latest obsession as they are so good! Easy to make too!
These delicious lemon shortbread cookies have added crunch (and flavor!) due to the poppyseeds and are very easy to make.
They’re delicious served over coffee or a cup of tea and also make a lovely gift for a friend! And the combination of lemon and poppy seed is just one of my favorite flavor combinations!
Apart from the regular cookie ingredients you will find in the recipe card below, you will need the following too:
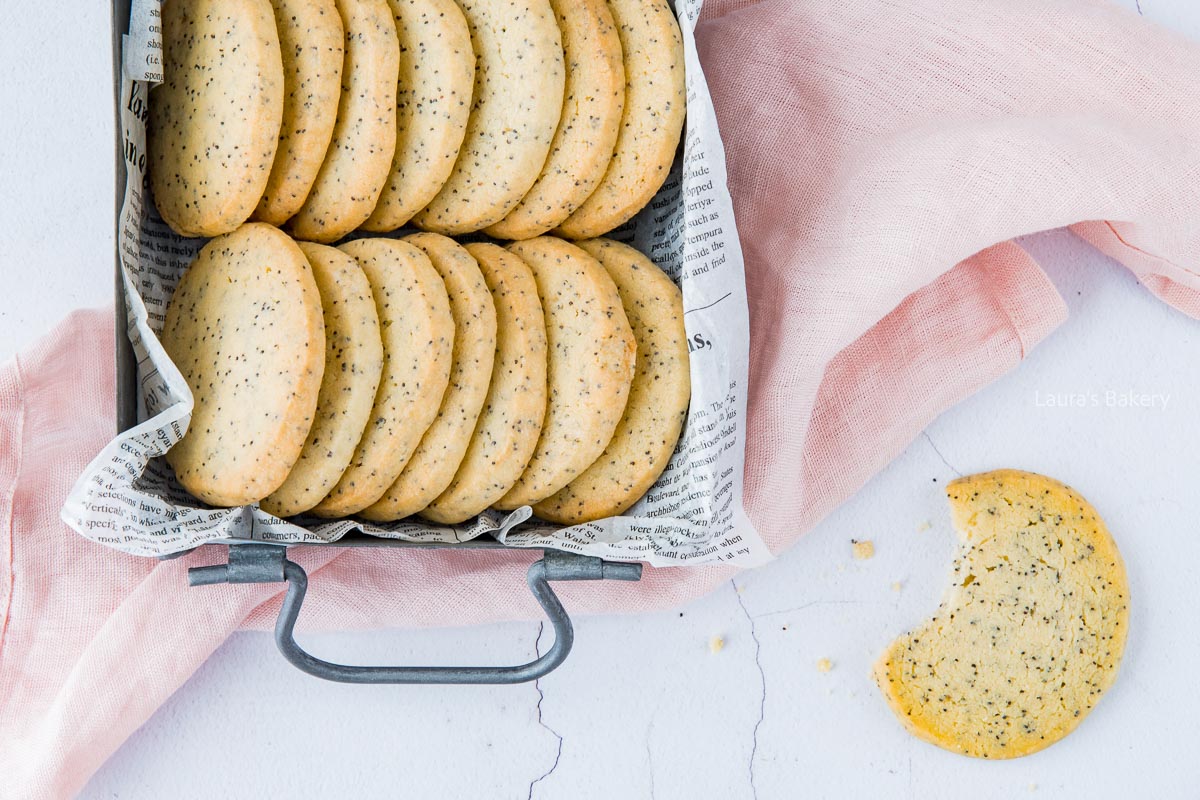
Making these delicious lemon poppy seed cookies is super easy to do. They’re nice and crumbly. Just the way I like my cookies!
You start by mixing the butter and the icing sugar until it has a creamy consistency. I used a large mixing bowl and a paddle attachment. Add the lemon and mix briefly. The last step is to add the all-purpose flour and the poppy seeds.
Shape the dough into a log and wrap it in plastic wrap. How wide you make the log will also determine the size of your cookies. Mine was around 6 centimer/2.3 inches in diameter. No need to measure exactly but keep in mind that the wider the log, the bigger the cookies get and you will have less cookies.
Let the dough rest for about an hour. Now using a sharp knife slice the log into rounds and place those rounds on a baking sheet lined with a sheet of parchment paper.
Bake this shortbread recipe for about 14 minutes or until the edges are lightly golden brown. They do not have to be brown overall. These cookies are relatively light for the best texture. Let them cool on a cooling rack or wire rack so they can firm up.
You can store these cookies in an airtight container for 2-3 weeks. A cookie tin can be used as well.
Yes you can freeze the cookies for up to three months. You can also freeze the dough unbaked and bake them from the oven. Just add a few minutes to the baking time.
If you love the combination of lemon and poppy seed make sure to check out these recipes as well:
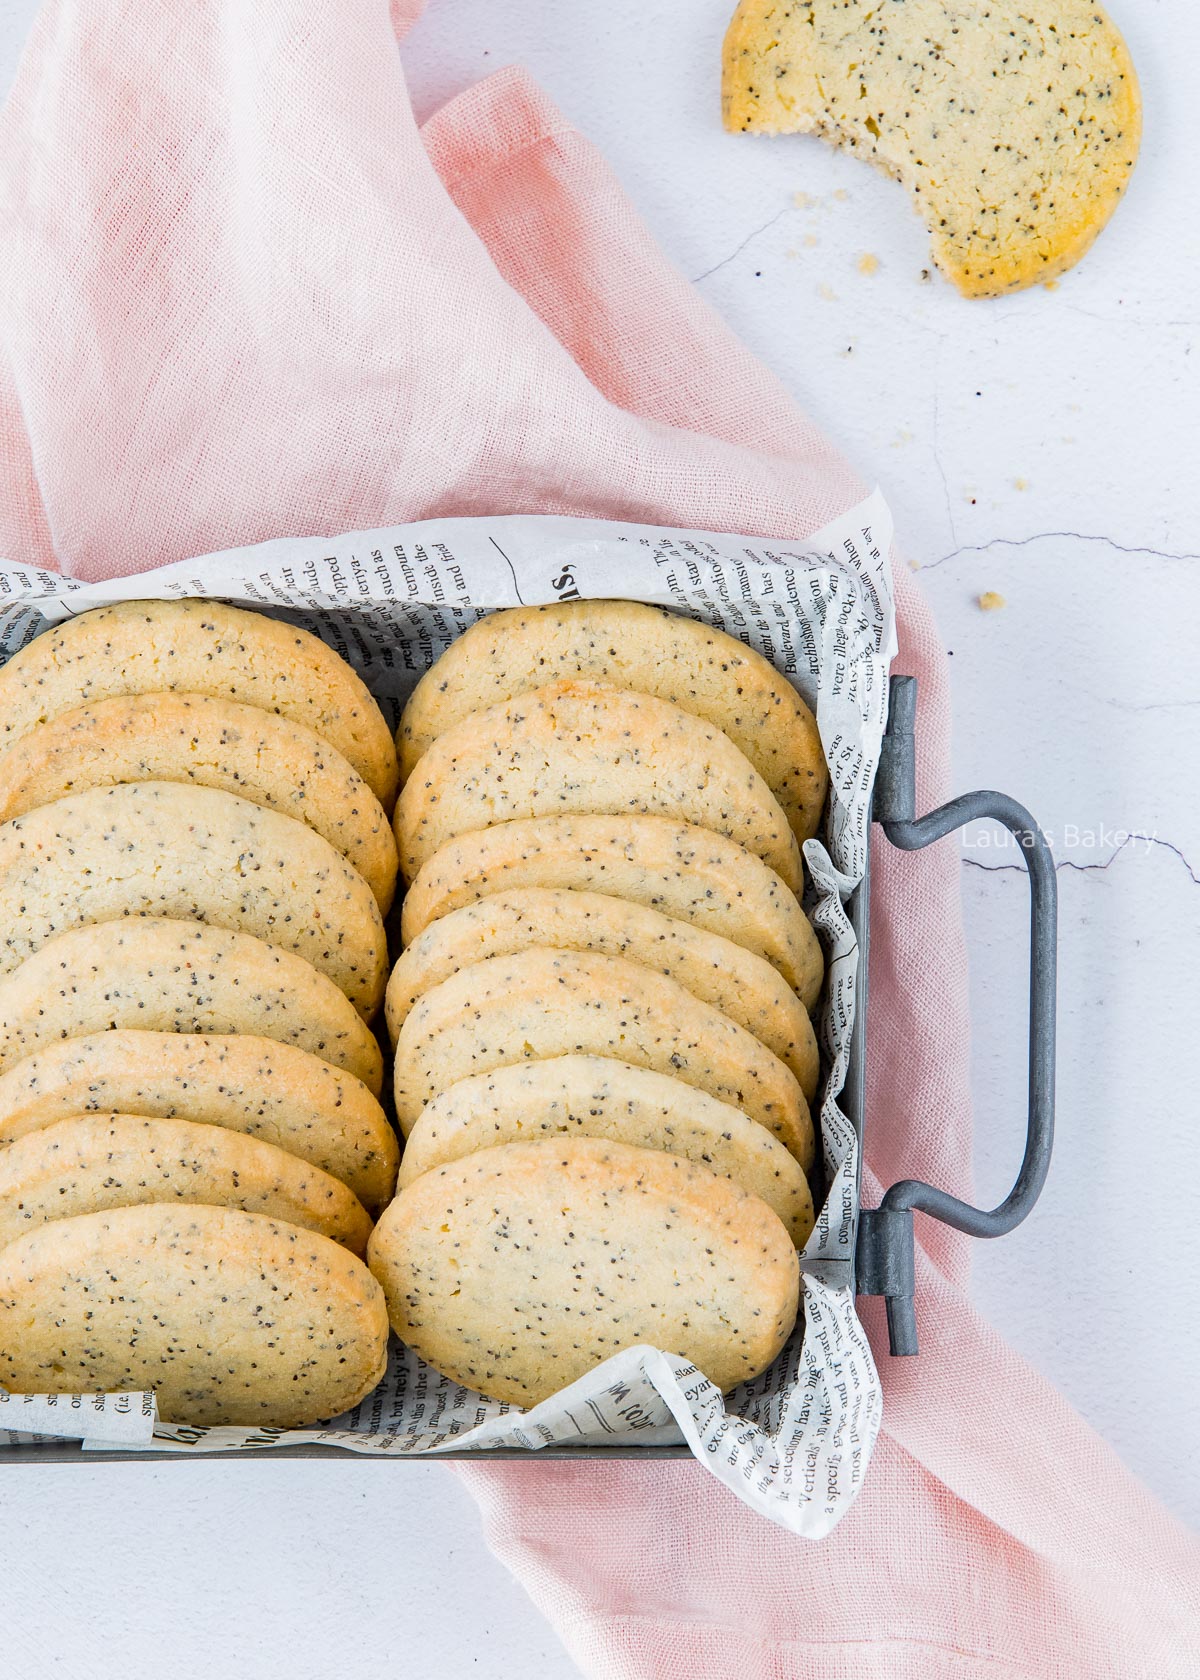
Yes! You can replace the extract with 1 tablespoon of lemon zest. Just keep in mind that lemon extract gives a more concentrated flavor, while zest gives a more natural, aromatic lemon taste. If using zest, let the dough rest longer so the flavor can infuse.
Definitely. The dough can be made 1-2 days in advance and stored in the fridge. You can also freeze the dough for up to 3 months, just thaw slightly before slicing. Or even better: slice before freezing.
Shortbread spreads very little, but to be safe:
Yes. Chilling helps the cookies hold their shape and improves texture. An hour is enough, but longer is fine too. Read this article on why you should always chill your dough.
You can. If you do, omit the pinch of salt many bakers normally add to shortbread (or don’t add any extra salt at all). The flavor will be slightly different but still delicious.
Shortbread is meant to be slightly crumbly, but if they’re falling apart:
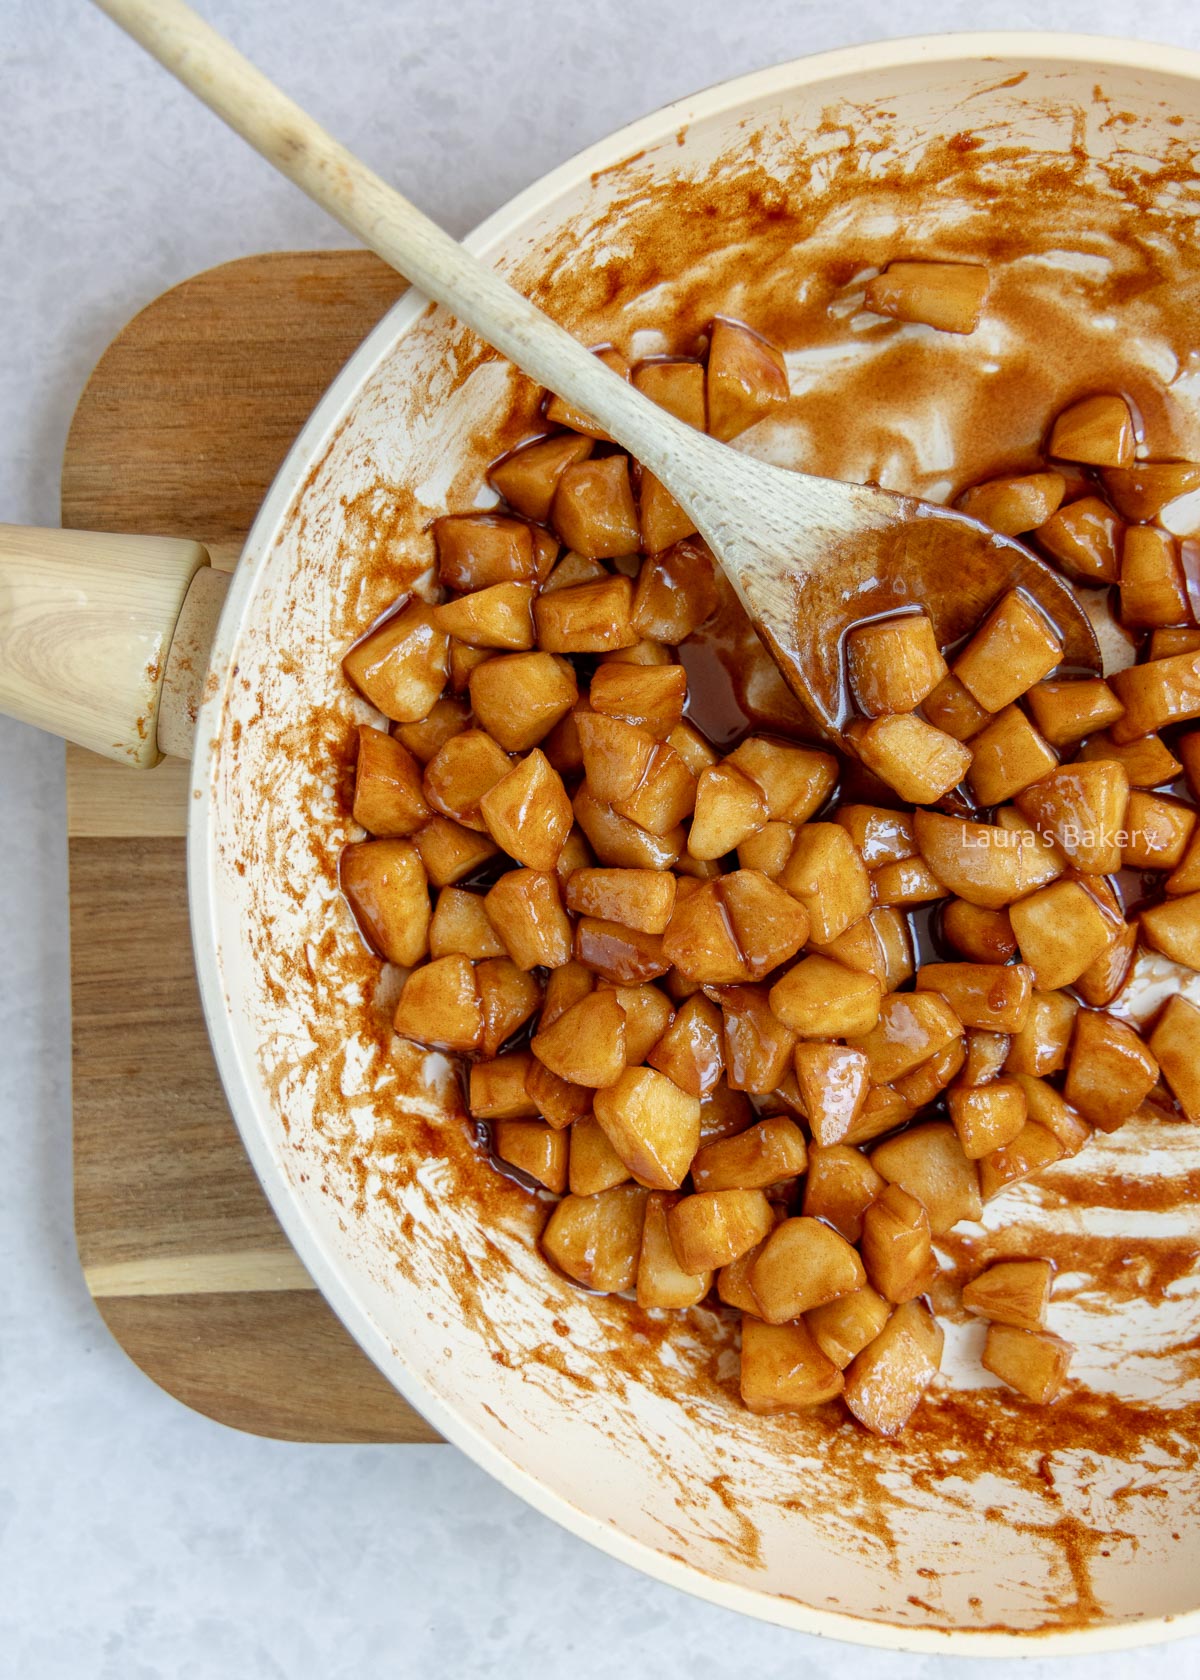
An easy basic recipe for making caramelized apples at home. You can add these to countless sweet dishes, and chances are you already have all the ingredients in your pantry.
These little pieces of caramelized apple are so easy to make that it honestly never occurred to me to write the recipe down before.
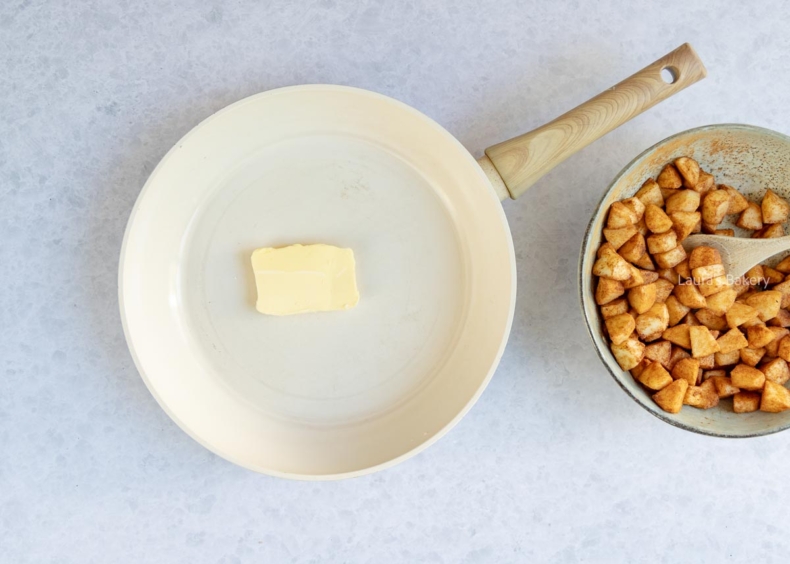
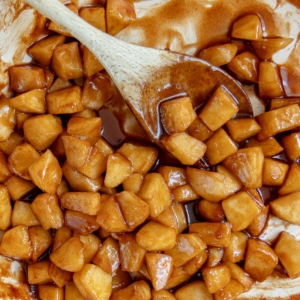
You heat diced apples with sugar and butter, causing the sugar to caramelize as it cooks in the pan. The result? Deliciously soft apples coated in a creamy layer of caramel.
Dangerously addictive and perfect for apple season!
To caramelize the apples, you’ll need the ingredients below. I’ve also included a few tips for variations.
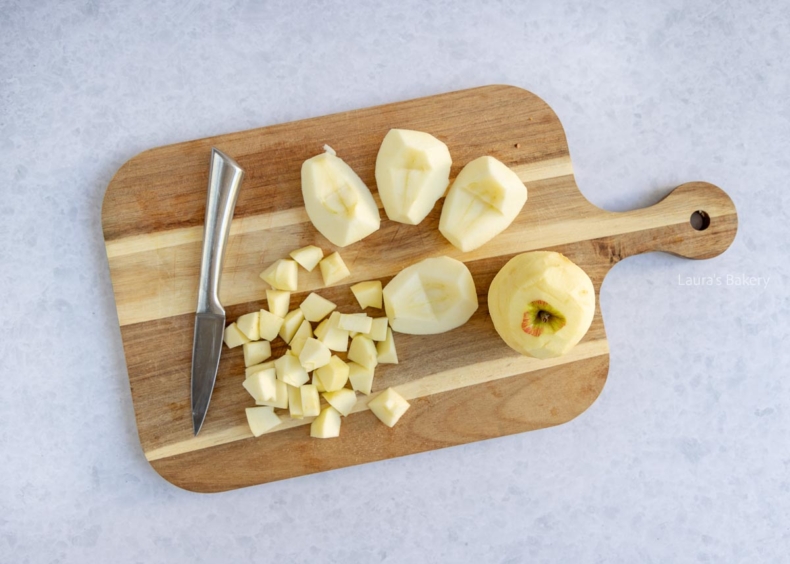
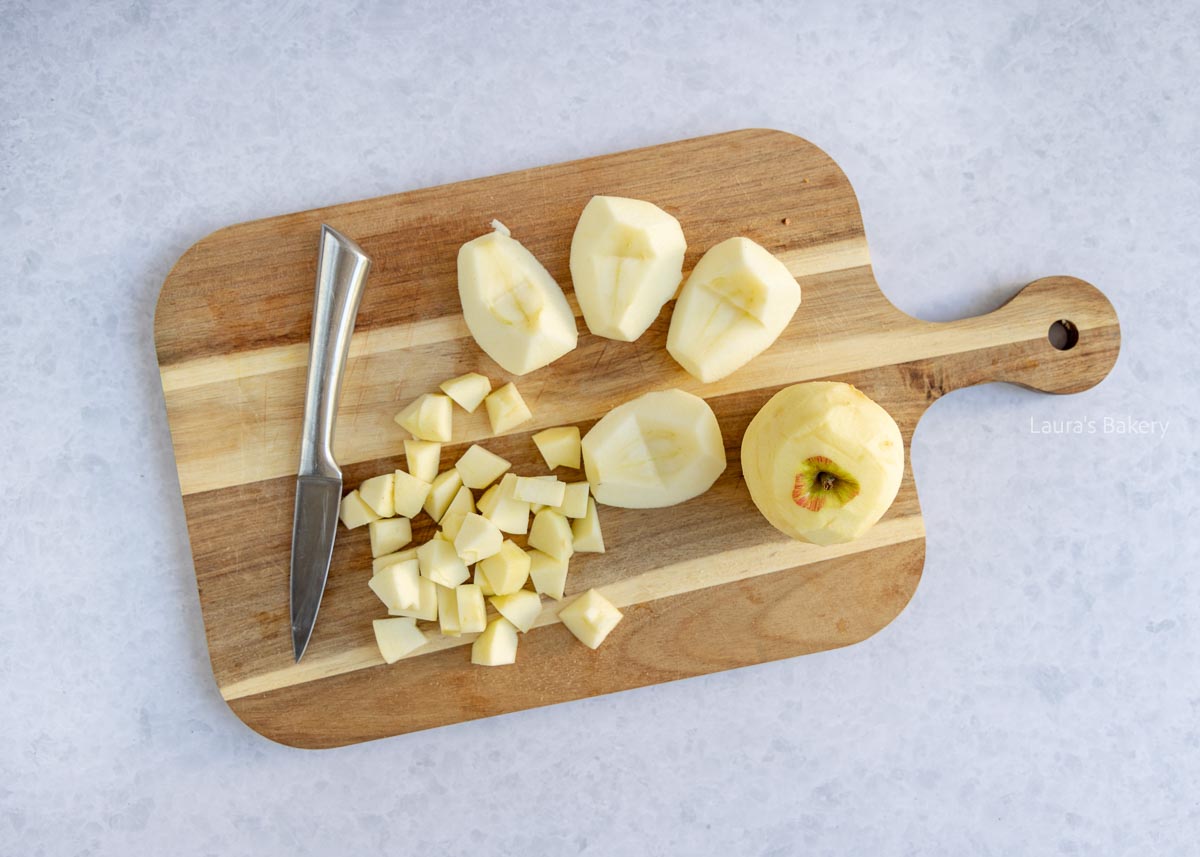
Slice the apples and dice into cubes.
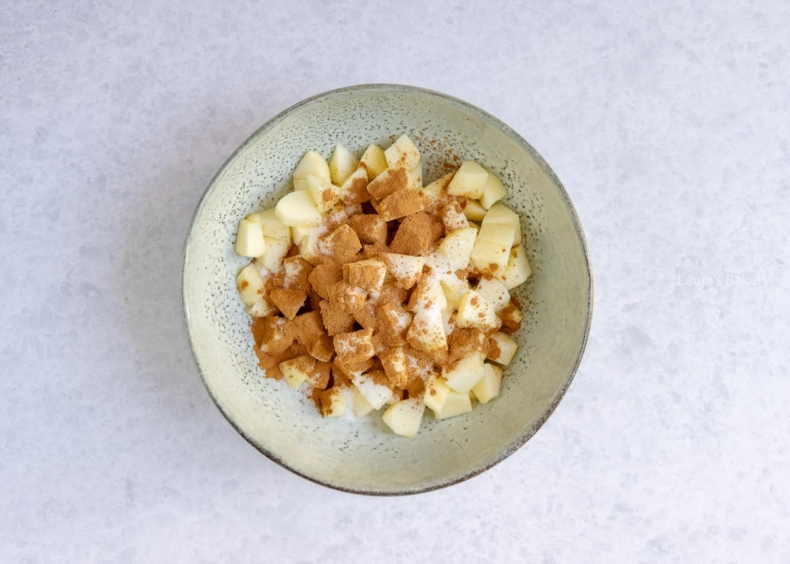
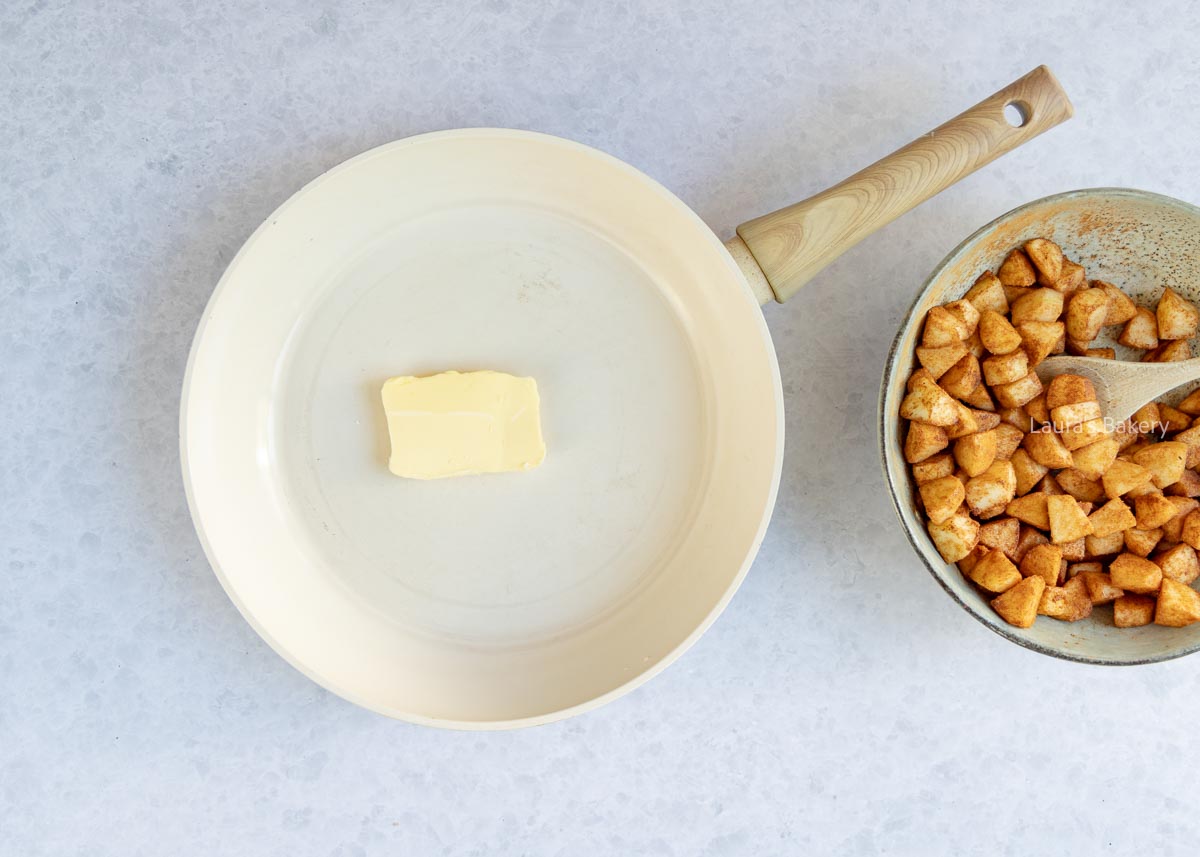
Mix the apples with cinnamon and sugar.
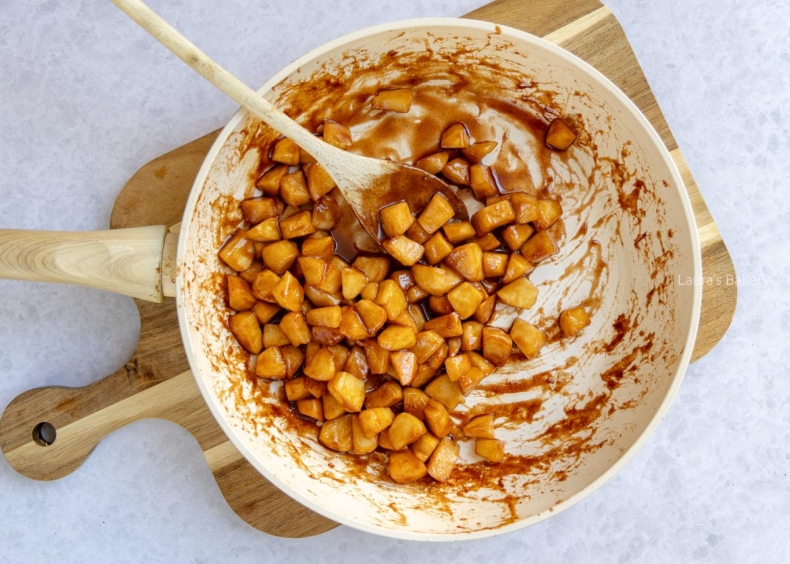
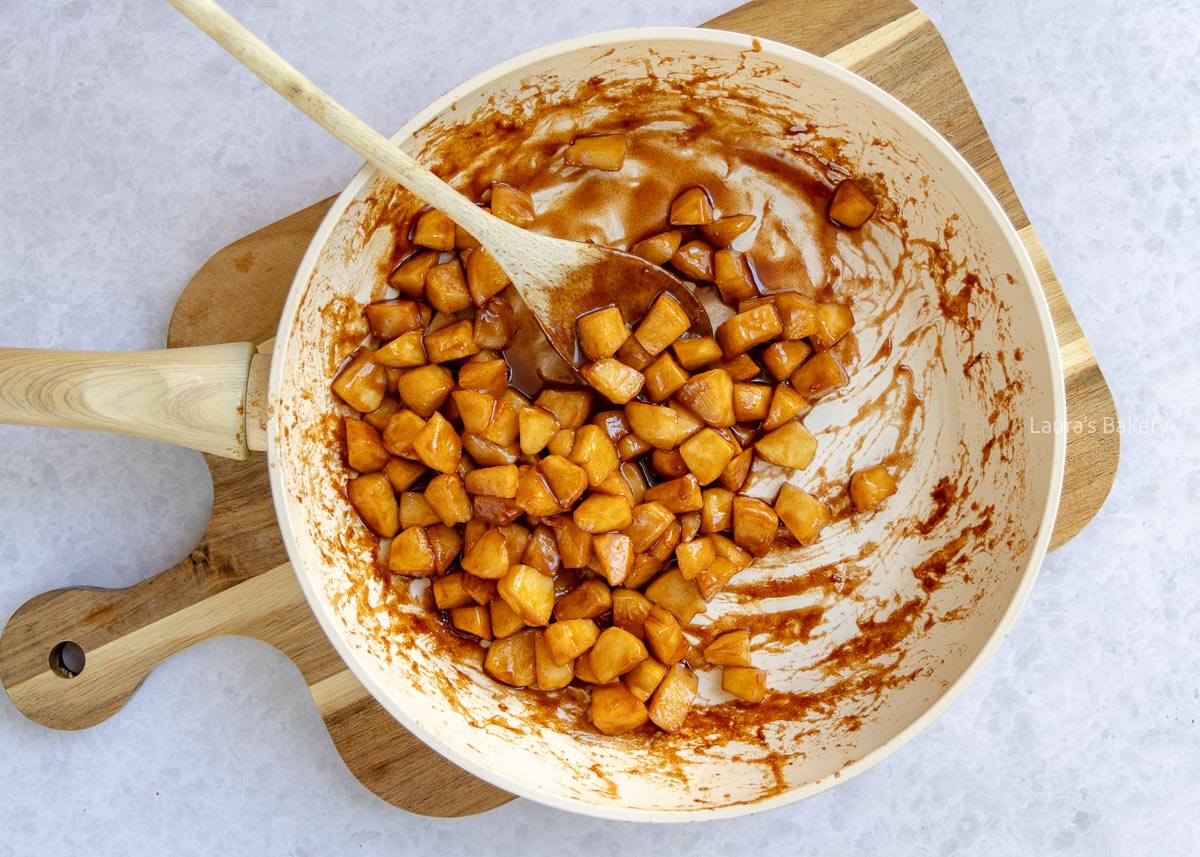
Add the apples and caramelize until soft and golden brown.
Caramelized apples turn a simple bowl of yogurt with granola or a bowl of oatmeal into a heavenly breakfast. And that’s not even mentioning desserts or cakes.
With the combinations below, success is guaranteed! You can even add it to savory dishes. It works wonders with pork! Serve the apples:
BAKING TIP: For this recipe, I like to use a good nonstick skillet that’s large enough so the caramel doesn’t burn too quickly.
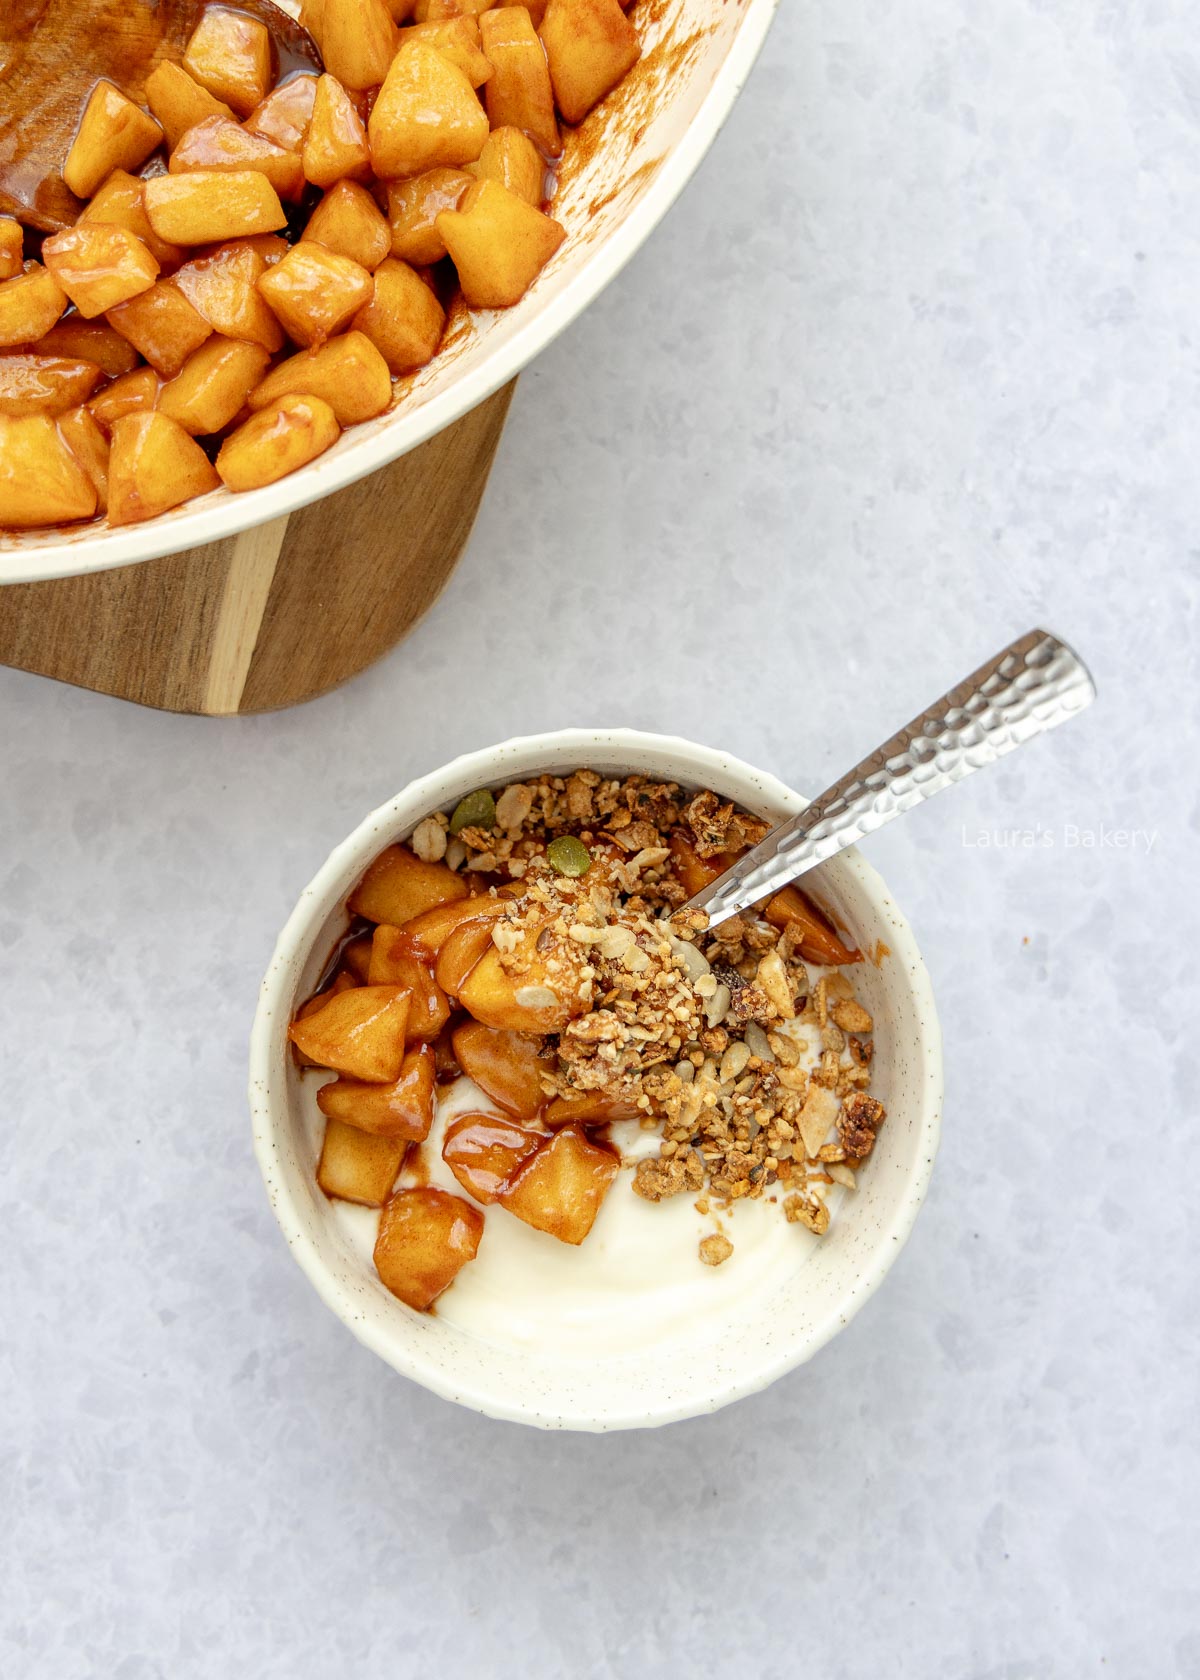
You can store caramelized apples, but they taste best when served immediately.
If you have leftovers, store them in an airtight container in the refrigerator for up to two days. Reheat before serving, either in the microwave or in a skillet.
I don’t recommend freezing them. Freezing and thawing changes the texture of the apples, making them too soft. This recipe is best made fresh.
Apple is one of my favorite ingredients to bake with. That’s exactly why you’ll find loads of delicious apple recipes on Laura’s Bakery. Be sure to try these:
Choose a firm apple that won’t turn into applesauce while cooking. I prefer Braeburn apples or Granny Smith, but it depends where you live. Honeycrisp or Pink Lady is also a great choice.
The sugar is what causes the apples to caramelize. Without it, you can still cook the apples until soft, but you won’t get true caramelization.
I haven’t tested this yet, but it should work. If you try it at home, let me know how it turned out in the comments below the recipe.
Butter adds a lot of flavor and that classic caramel taste. You can replace it with margarine or coconut oil, but this will affect the flavor.
Absolutely! Small cubes, large chunks, or wedges all work. Just keep in mind that the size of the apples affects the cooking time, smaller pieces cook faster.
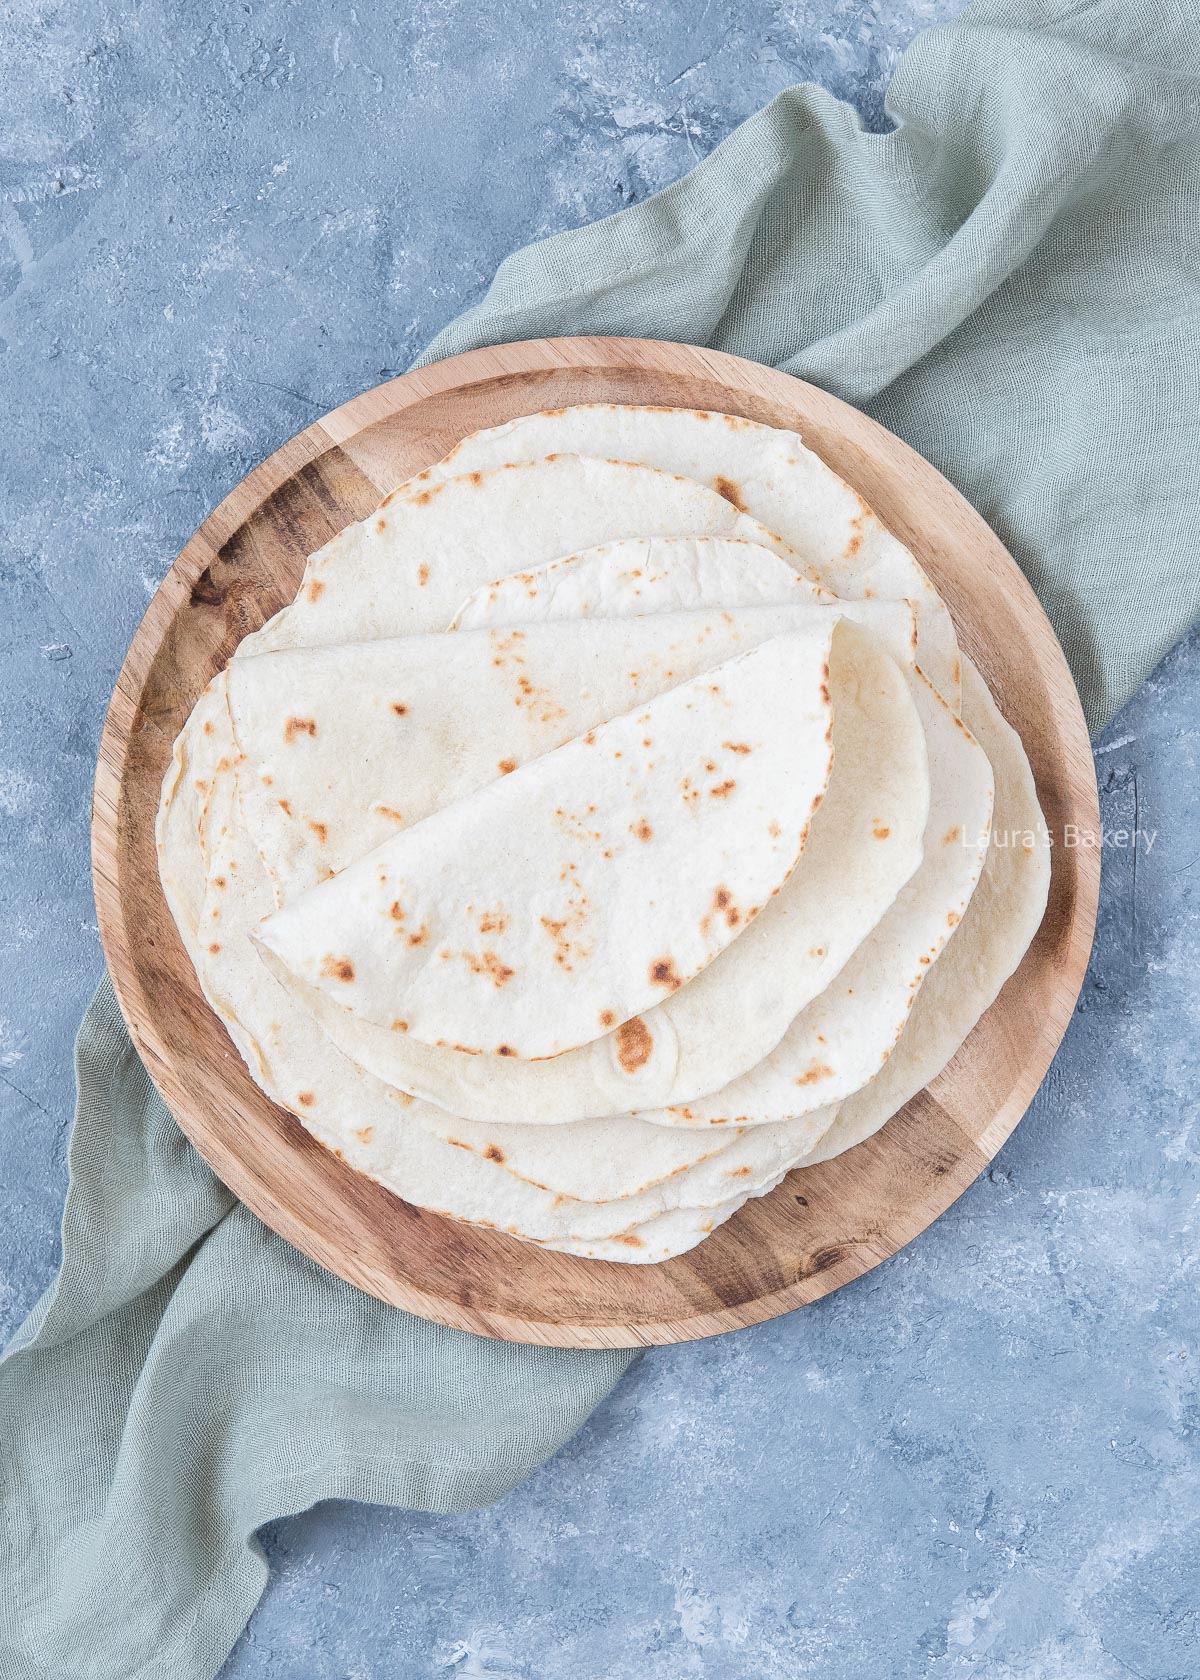
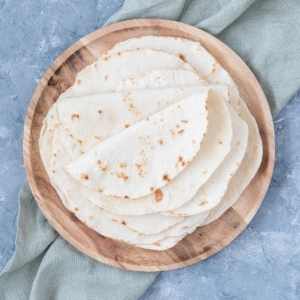
Making homemade flour tortillas is surprisingly easy with this delicious recipe. Once made, you can fill them with whatever you like. I love eating a delicious tortilla with my favorite toppings for lunch!
While store-bought tortillas are not hard to find, these homemade tortillas are super easy.
You need just a few ingredients and you will always have fresh tortillas at hand. Once made you can also use them to make tortilla chips. Or make this blooming quesadilla!
Making your own tortillas means you need just a few simple ingredients.
Additionally a rolling pin is handy too. You can use a tortilla press if you have one, but using a rolling pin works fine too.
Start by making the dough for the tortillas by adding all the ingredients into a large bowl and knead it with a mixer until a smooth ball of dough forms.
Divide the dough into 16 equal pieces and roll them into little balls. Place them on a lightly floured surface and gently flatten them a bit with your hand. Cover with a clean tea towel and let it rest for at least 15 minutes at room temperature.
The resting period should not be more than 60 minutes before you continue to the next step.
Now use a bit more flour on your work area and roll each ball of dough (one by one) very thin. My tortillas are about 8 inch or 20 cm in diameter.
Using a cast iron skillet, heat the pan over high heat. Don’t use any oil but make sure the pan is hot enough. Cook the tortillas in the hot skillet for 1-2 minutes.
Flip and remove from the pan after about 20 seconds. How long they need might depend largely on the type of pan you’re using.
If you see those tell-tale golden brown spots appear, that is a good indicator that the tortillas are done.

You can store these soft flour tortillas in an airtight container or properly wrapped for about 2 days.
Freezing can affect the structure and flexibility a bit, but you can freeze them (flat) for up to 3 months. You can freeze the dough balls too when properly wrapped in plastic wrap.
I personally don’t freeze my homemade flour tortillas as quality is best fresh.
Yes. You can prepare the dough in advance and store it, well wrapped, in the refrigerator for up to 24 hours. Let it come back to room temperature before rolling it out.
This usually means the dough hasn’t rested long enough. Letting the dough relax for at least 15 minutes helps the gluten loosen so the tortillas roll out thin more easily.
As thin as possible without tearing. Thin tortillas cook better and stay flexible. Aim for about 8 inches (20 cm) in diameter.
No. A dry, hot pan works best. Adding oil can prevent the tortillas from developing those classic brown spots.
The pan may not be hot enough. Make sure it’s fully heated before adding the dough. Brown spots are a sign the tortilla is cooking properly.
Yes, but the tortillas will be slightly denser. You may need to add a little extra water to get a soft, workable dough.
This recipe is developed for wheat flour. Gluten-free flour blends behave differently and will require adjustments, so results may vary.
Stack the cooked tortillas on a plate and cover them with a clean kitchen towel to keep them warm and soft.
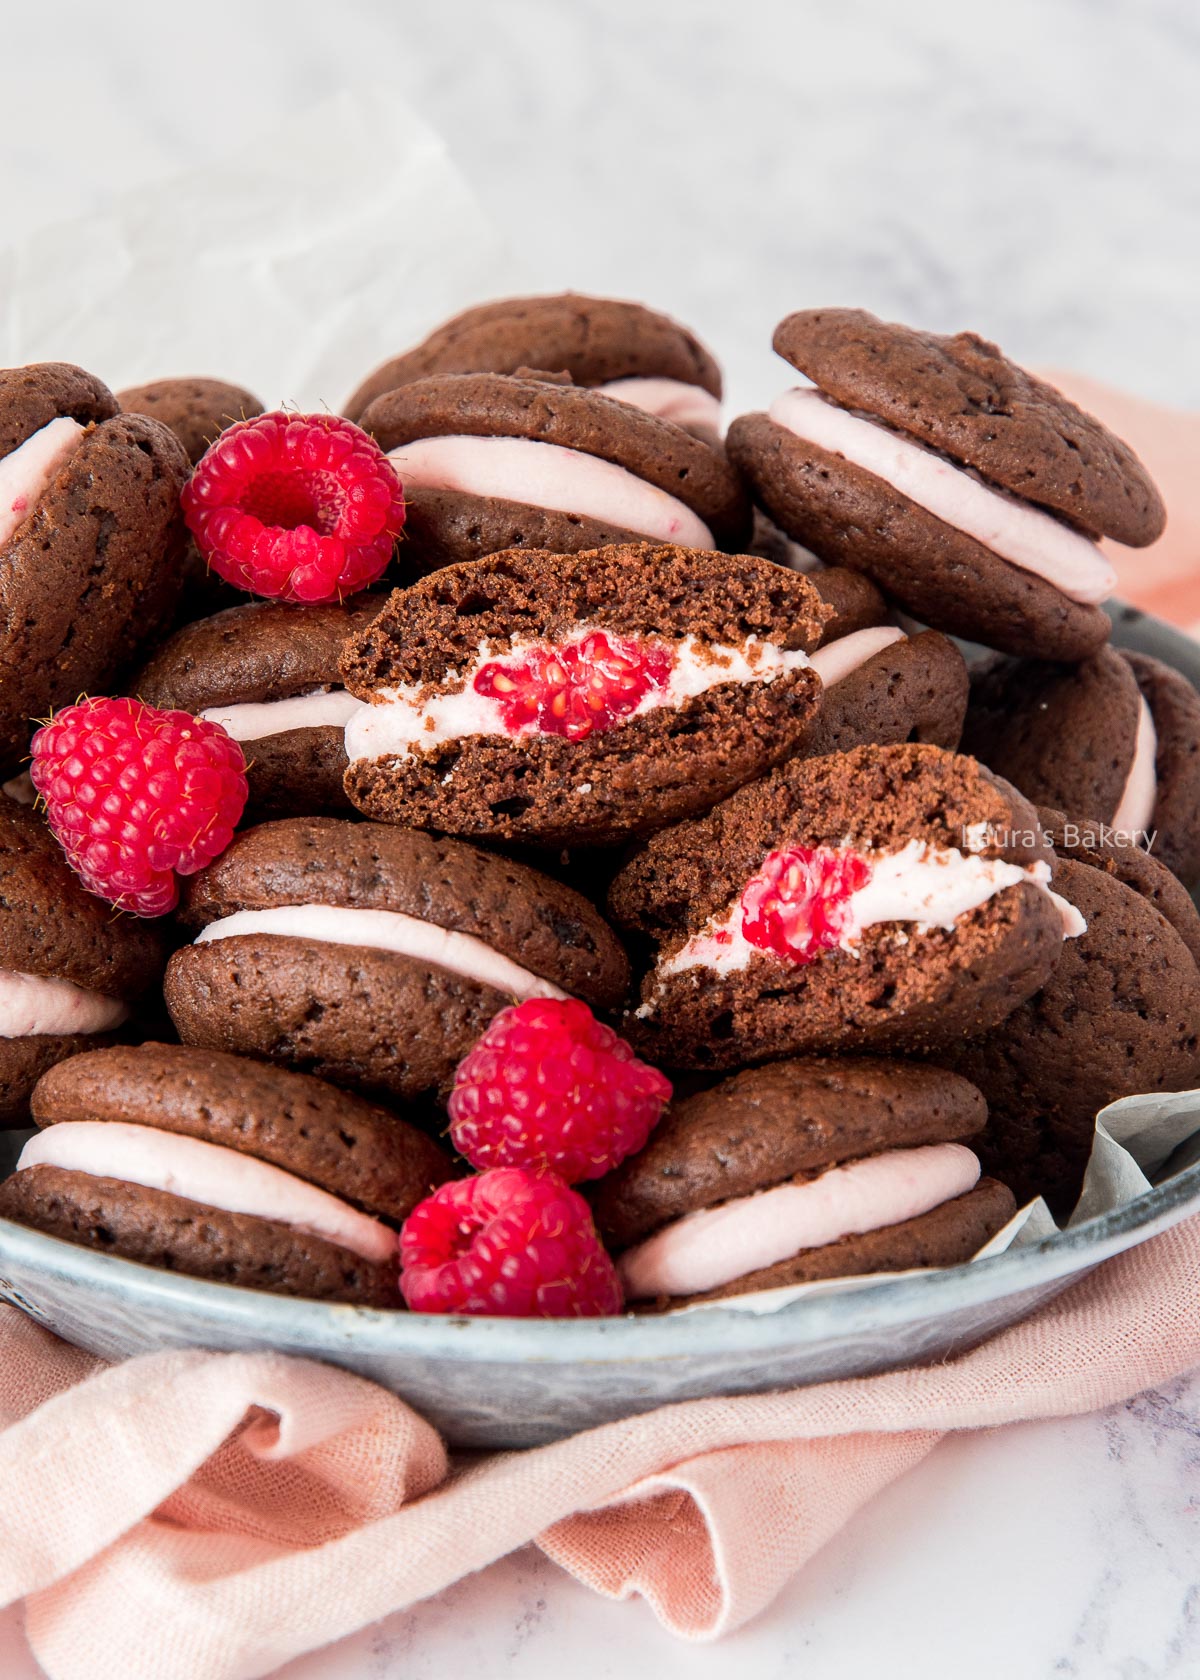
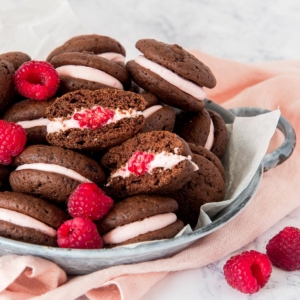
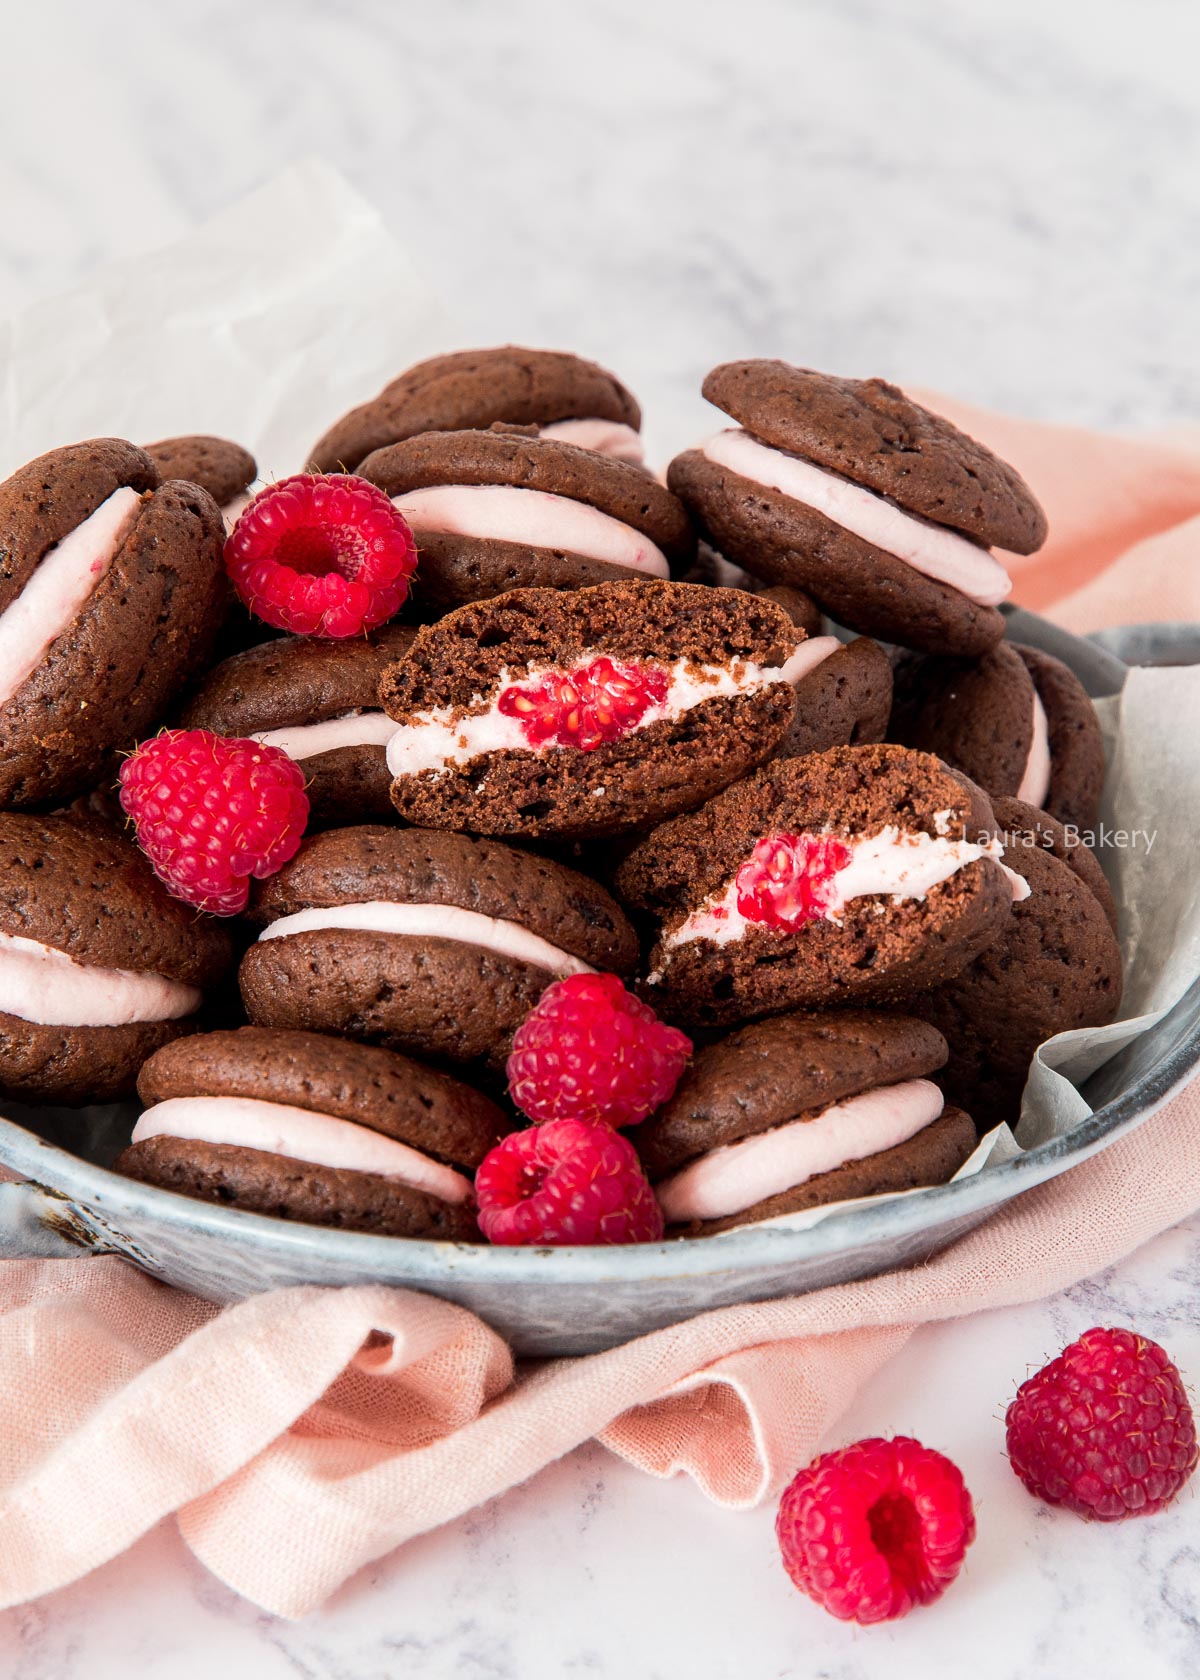
If you love whoopie pies, this delicious version of chocolate raspberry whoopie pies is a must try. It’s a simple recipe but so delicious, the raspberry in the filling is a perfect addition. A yummy little snack!
For me a whoopie pie is the perfect mix between a cake-like batter, a cookie and a delicious creamy filling.
Using both brown sugar and white sugar you get an extra depth of flavor and it makes the whoopie pies extra moist as well. The ultimate sandwich cookie! Love sandwich cookies? Be sure to check out these Alfajores cookies as well!
As always make sure to double-check the quantities and instructions in the recipe card below
You start by making the batter for the chocolate cakes. Make sure the butter is at room temperature so you can whip them until creamy.
I like to do this with a food processor with the whisk attachment but you can also use an electric mixer or hand mixer for the same result.
Once the butter is creamy you add the egg, mix and add the milk. Now it’s time to add the dry ingredients and once combined you place the batter into a pastry bag.
Using two baking sheets lined with parchment paper you pipe small amounts of batter. Make sure to leave enough space between them on the baking sheet as they will spread a bit in the oven.
For making 20 chocolate raspberry whoopie pies you will need 40 cakes.
Baking is quick in about 10 to 12 minutes. Let them cool down on a wire rack while you prepare the filling.
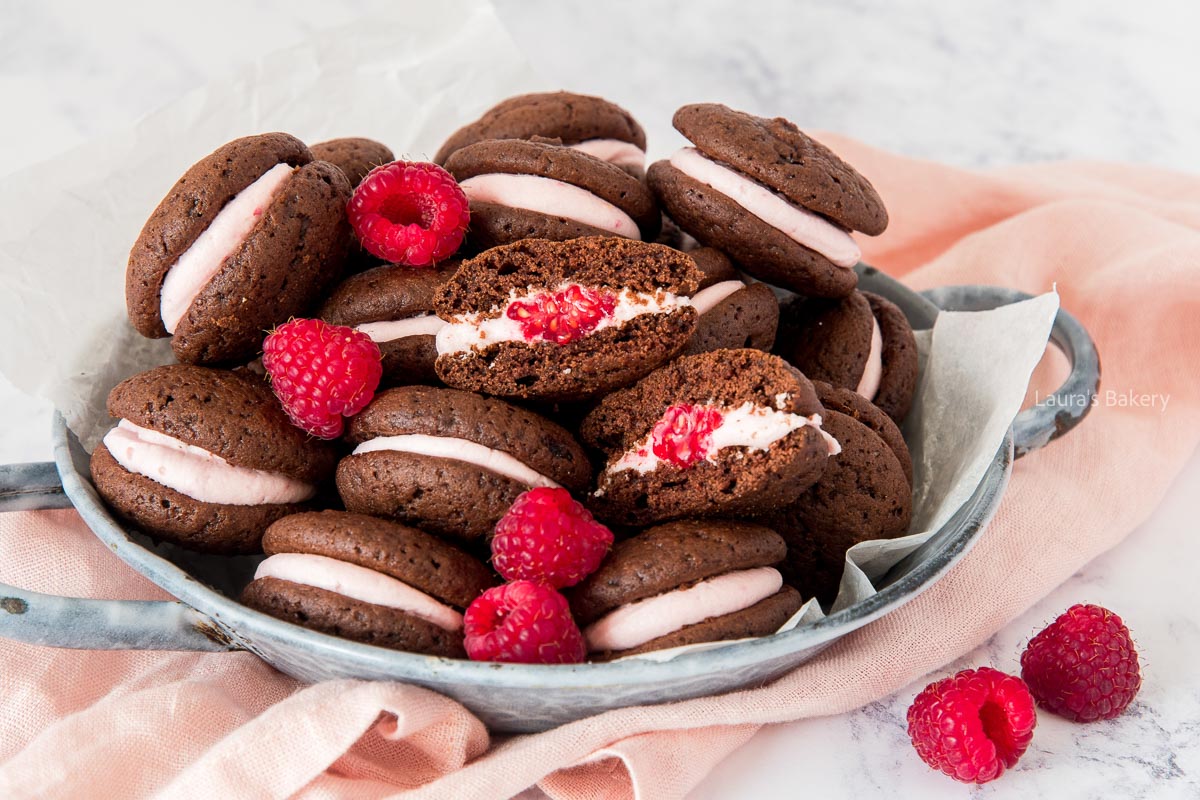
For the filling you add the icing sugar, butter, heavy cream and 3 of the raspberries into a large bowl. Mix this until smooth and creamy.
If needed you can add more powdered sugar. This will make the filling firmer. Keep in mind that the filling will also firm up slightly as it rests.
Sort the whoopie pies by size for as far as possible. Add the filling also to a pastry bag and slice the extra raspberries in half.
Now place half of the cakes with the flat side up and pipe a ring of the filling. Place half a raspberry in the center of that ring. Tip it with a second cake and your chocolate raspberry whoopie pie is done!
Properly wrapped or in an airtight container you can store the whoopie pies at room temperature for about 4-5 days.
Yes freezing is also a good option. In that case also make sure they are properly wrapped and freeze for up to three months.
I love using raspberries in a lot of baking. If you do too, check out the below recipes as well!
Yes. You can bake the cakes a day in advance and store them airtight at room temperature. Fill and assemble them the day you plan to serve for the best texture.
No, these whoopie pies can be stored at room temperature. The high sugar content in the filling helps preserve it. Just keep them well wrapped and out of direct heat.
This usually happens if the butter was too soft or the batter was overmixed. Make sure the butter is soft but not melted and mix just until combined.
Fresh raspberries work best for structure and flavor. If using frozen raspberries, thaw and drain them well to prevent the filling from becoming too thin.
Absolutely. Vanilla buttercream, cream cheese frosting, or marshmallow fluff all work very well with the chocolate cakes.
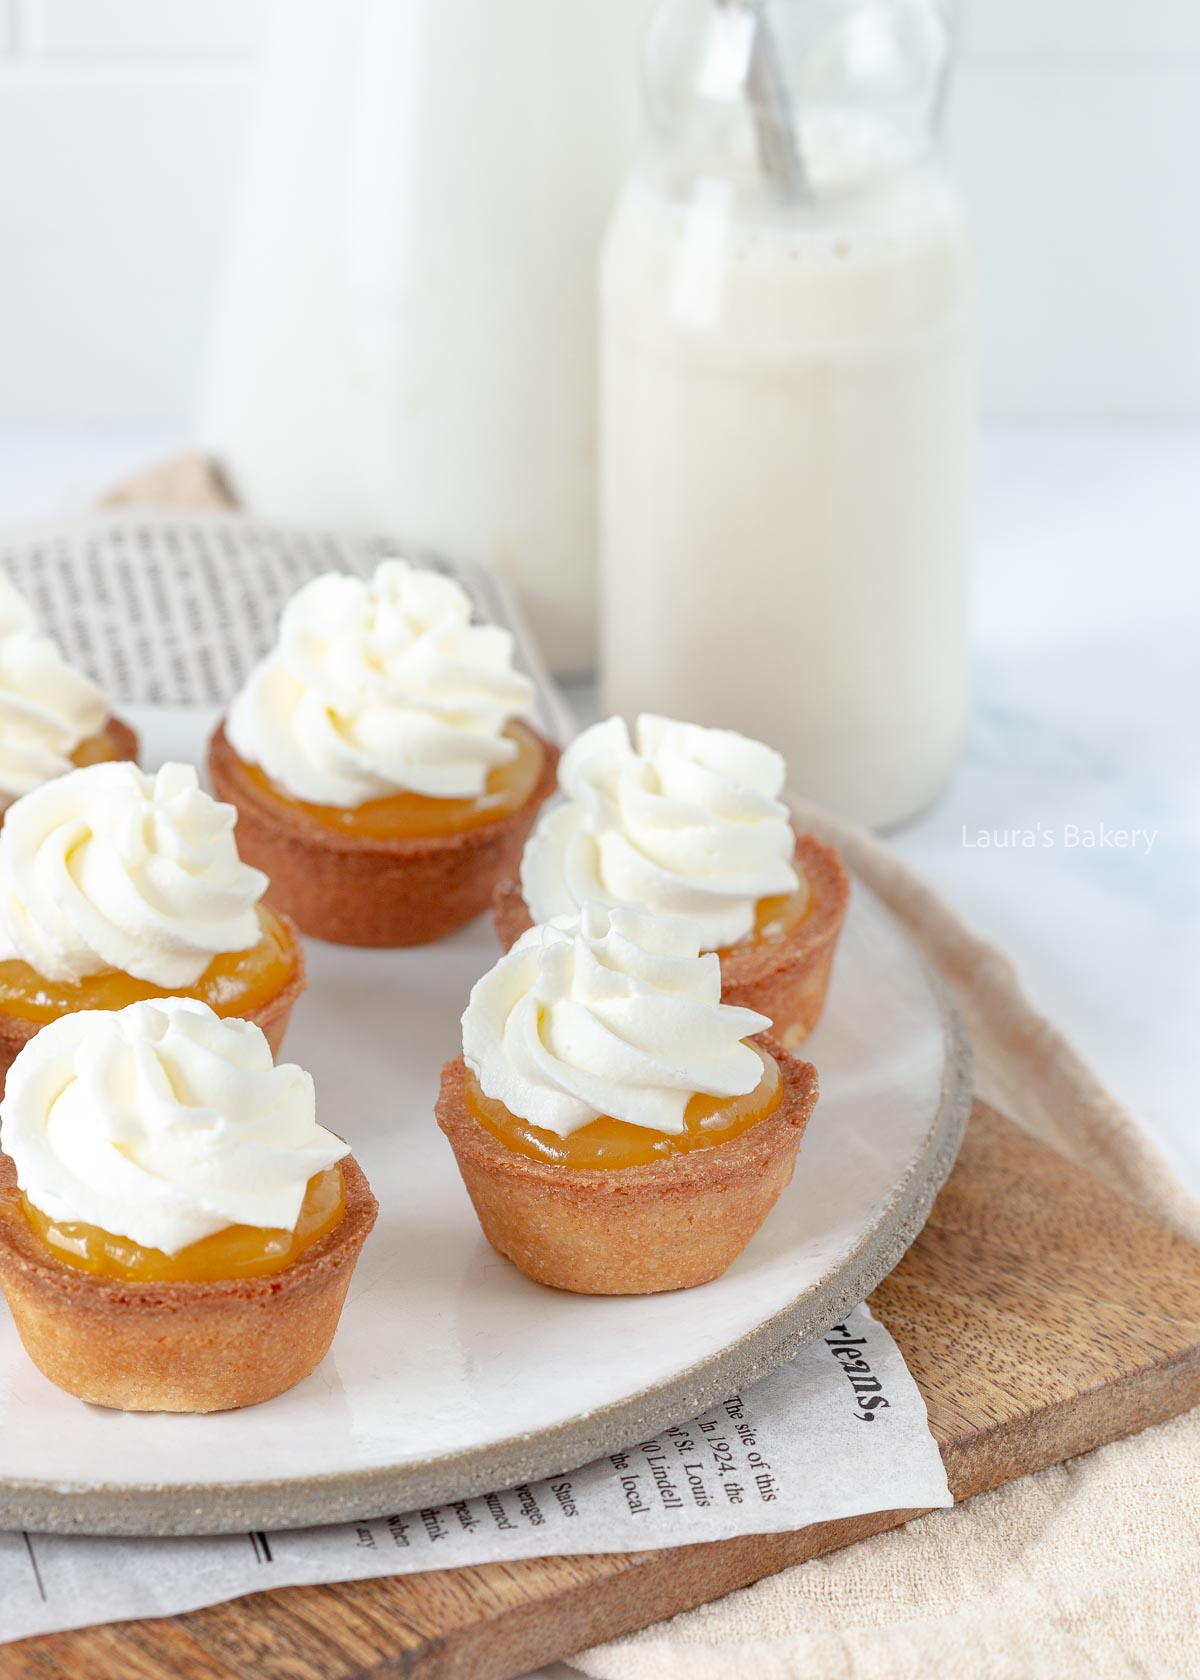
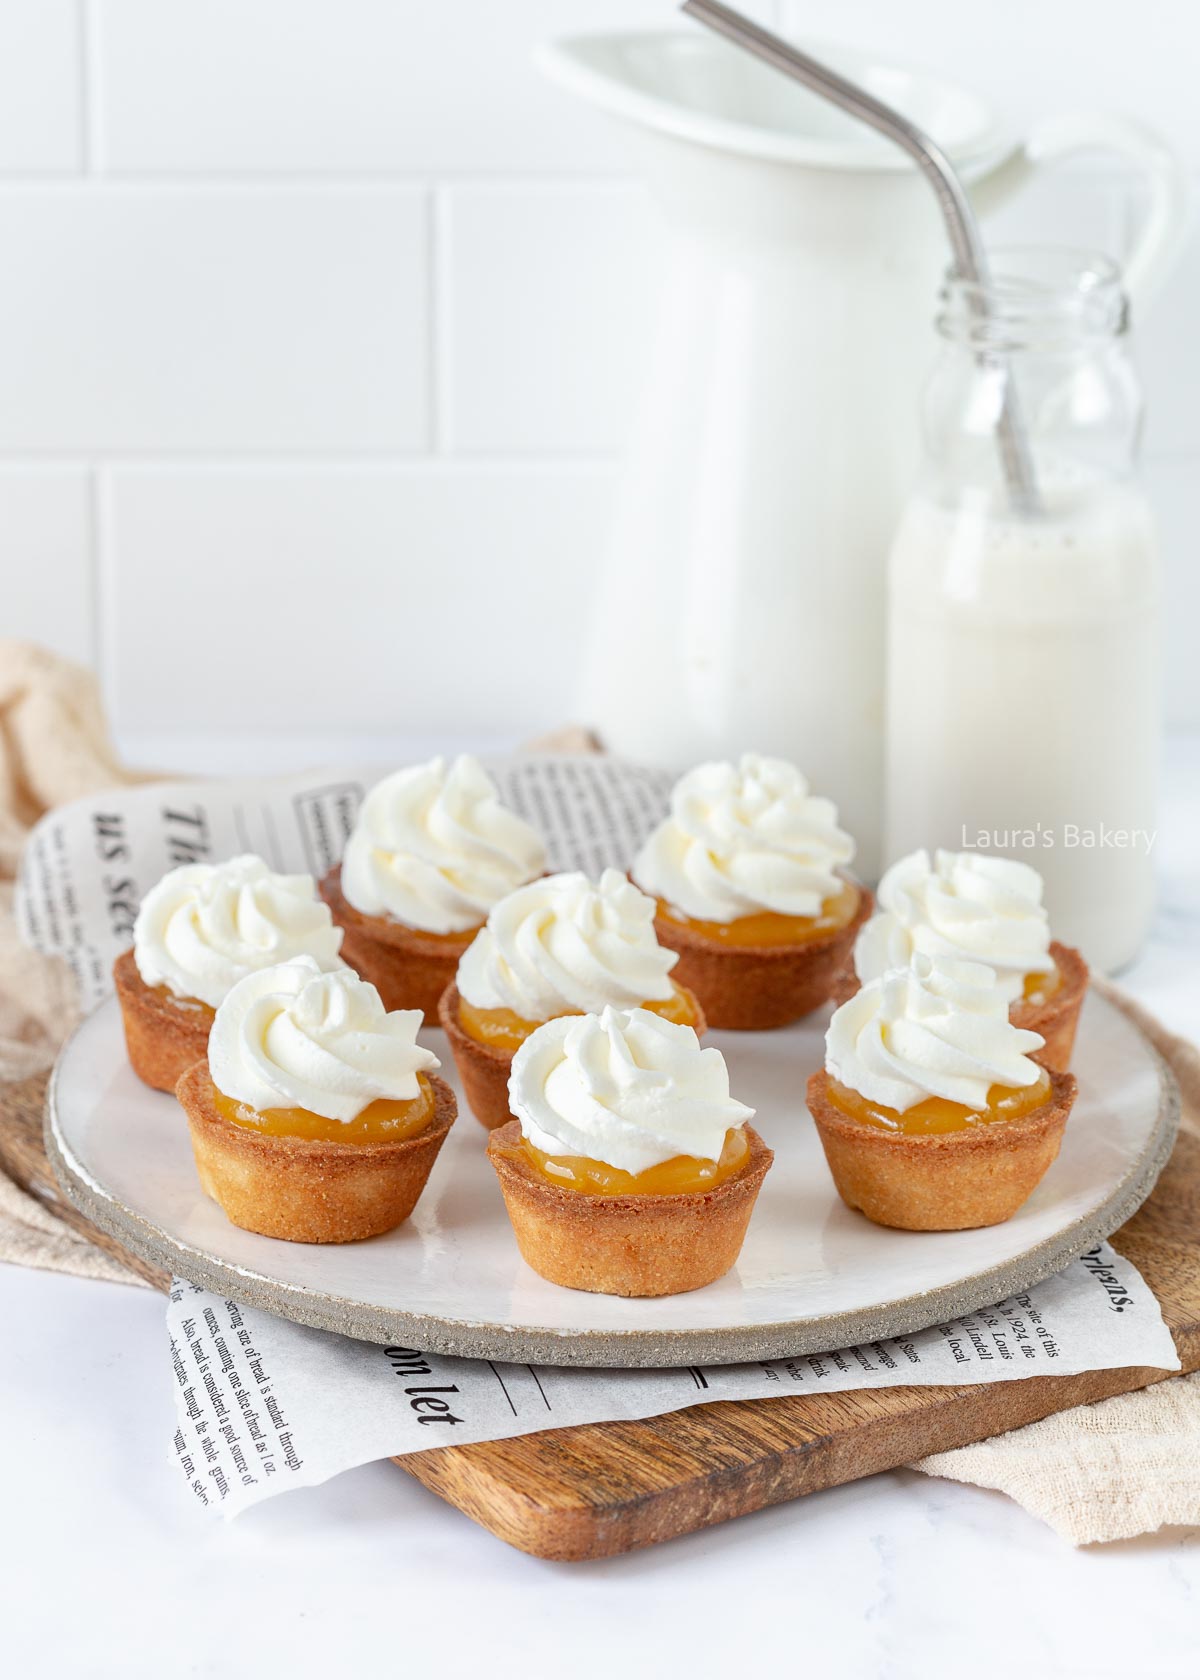
Deliciously crisp cookie cups filled with tangy lemon curd and topped with a creamy swirl of whipped cream. That’s exactly what you can expect from these lemon curd cookies!
First of all: the flavor combination of cookies and lemon curd is absolutely perfect if you ask me.
These lemon curd cookies are made with mini cookie cups that you fill with lemon curd and whipped cream after baking. The shape makes them fun and adds a unique twist to a classic cookie recipe.
They’re like tiny little tarts and perfect for so many occasions: with coffee or tea, at a birthday celebration, or as part of a high tea spread. So good!
Oh and a quick little tip: replace the whipped cream for Italian meringue for mini lemon meringue tarts!

The recipe for these lemon curd cookie cups exists of two parts; the part for the cookie cups and the part for the filling.
You start the proces for making these lemon curd cookies by first making the lemon curd or use store-bought. Let it fully cool and set while you work on the dough for the cookie cups.
Making the cookie cups is no different from making regular cookies and you also need to make sure to refrigerate the dough for at least an hour. Read why you should always chill your dough here.
For making the cups I use a mini muffin pan. Lightly grease the insides and place strips of parchment paper into each cavity. That will help for taking out the cookie cups once baked.
Once the dough is properly cooled, take out and divide into 14 pieces. Each one is rolled into a ball and pressed into the muffin cups to form a cup shape. Cut of any excess dough and make sure to prick the bottoms with a fork.
Once they are baked make sure to gently press the center of the cup down with a spoon right after baking. They will puff up slightly and using the spoon will press it right back down.
Once done you let them cool completely and fill each cookie cup with about a teaspoon of lemon curd. Add swirls of the whipped heavy cream on top. And your lemon curd cookies are done!

Even though these are amazing with classic lemon curd, so many fruits make a delicious curd as well. A few examples:
Choose a fruit that’s in season, or fill the cookie cups with a mix of curd flavors. So fun!
You can store the empty cookie cups just like you would store regular cookies for about 4-6 weeks in a cookie jar or cookie tin.
Once filled, the lemon curd will soften the cookies so filling them is best done on the day you’re planning on serving them. You can store them for a day but they will not be as crisp.
You can freeze the unfilled cookie cups or even freeze the dough for up to 3 months. Freezing them once filled is not recommended.
It’s essential for shaping these adorable cookie cups. That’s what makes them so special in the first place.
Sure you can. I personally just like my homemade lemon curd too much 😉 .
Try other fruit curds like passion fruit, blackberry, or orange. You can also fill them with pastry cream, chocolate ganache, or homemade jam.

Are you a big fan of meringue, or do you really dislike the buttery taste of traditional buttercream or ermine frosting? Then this Swiss meringue buttercream recipe absolutely deserves a spot in your collection!
Whenever I needed a buttercream for cupcakes or cake fillings, I would typically reach for my ermine frosting which is a basic vanilla buttercream using flour. Because of that, the taste is not buttery (in my opinion).
However this Swiss meringue buttercream is beautifully airy and silky smooth. Plus it doesn’t require any flour either, making it naturally gluten-free.
I still love my recipe for ermine frosting, but since I made Swiss meringue buttercream for the first time… well, this is my favorite buttercream ever!

To make this recipe, you really only need 4 simple ingredients. In addition, it helps to make this in the bowl of a stand mixer fitted with the whisk attachment. Of course a hand mixer is a good option too. Check the recipe card below for full details.
Swiss meringue is what’s called a cooked meringue. This means you heat the egg whites and sugar over a bain-marie (double boiler) until they reach the right temperature, then whip them to stiff peaks.
The result is a firmer, more stable meringue, perfect for turning into a sturdy buttercream that you can use to fill and frost cakes or pipe tall swirls onto cupcakes.
You’ll find this cream under several names online. In the US, it’s called Swiss meringue buttercream or SMBC for short.
The Dutch translation is “Zwitserse meringue botercrème,” but you’ll also see it simply referred to as Swiss buttercream or meringue buttercream.
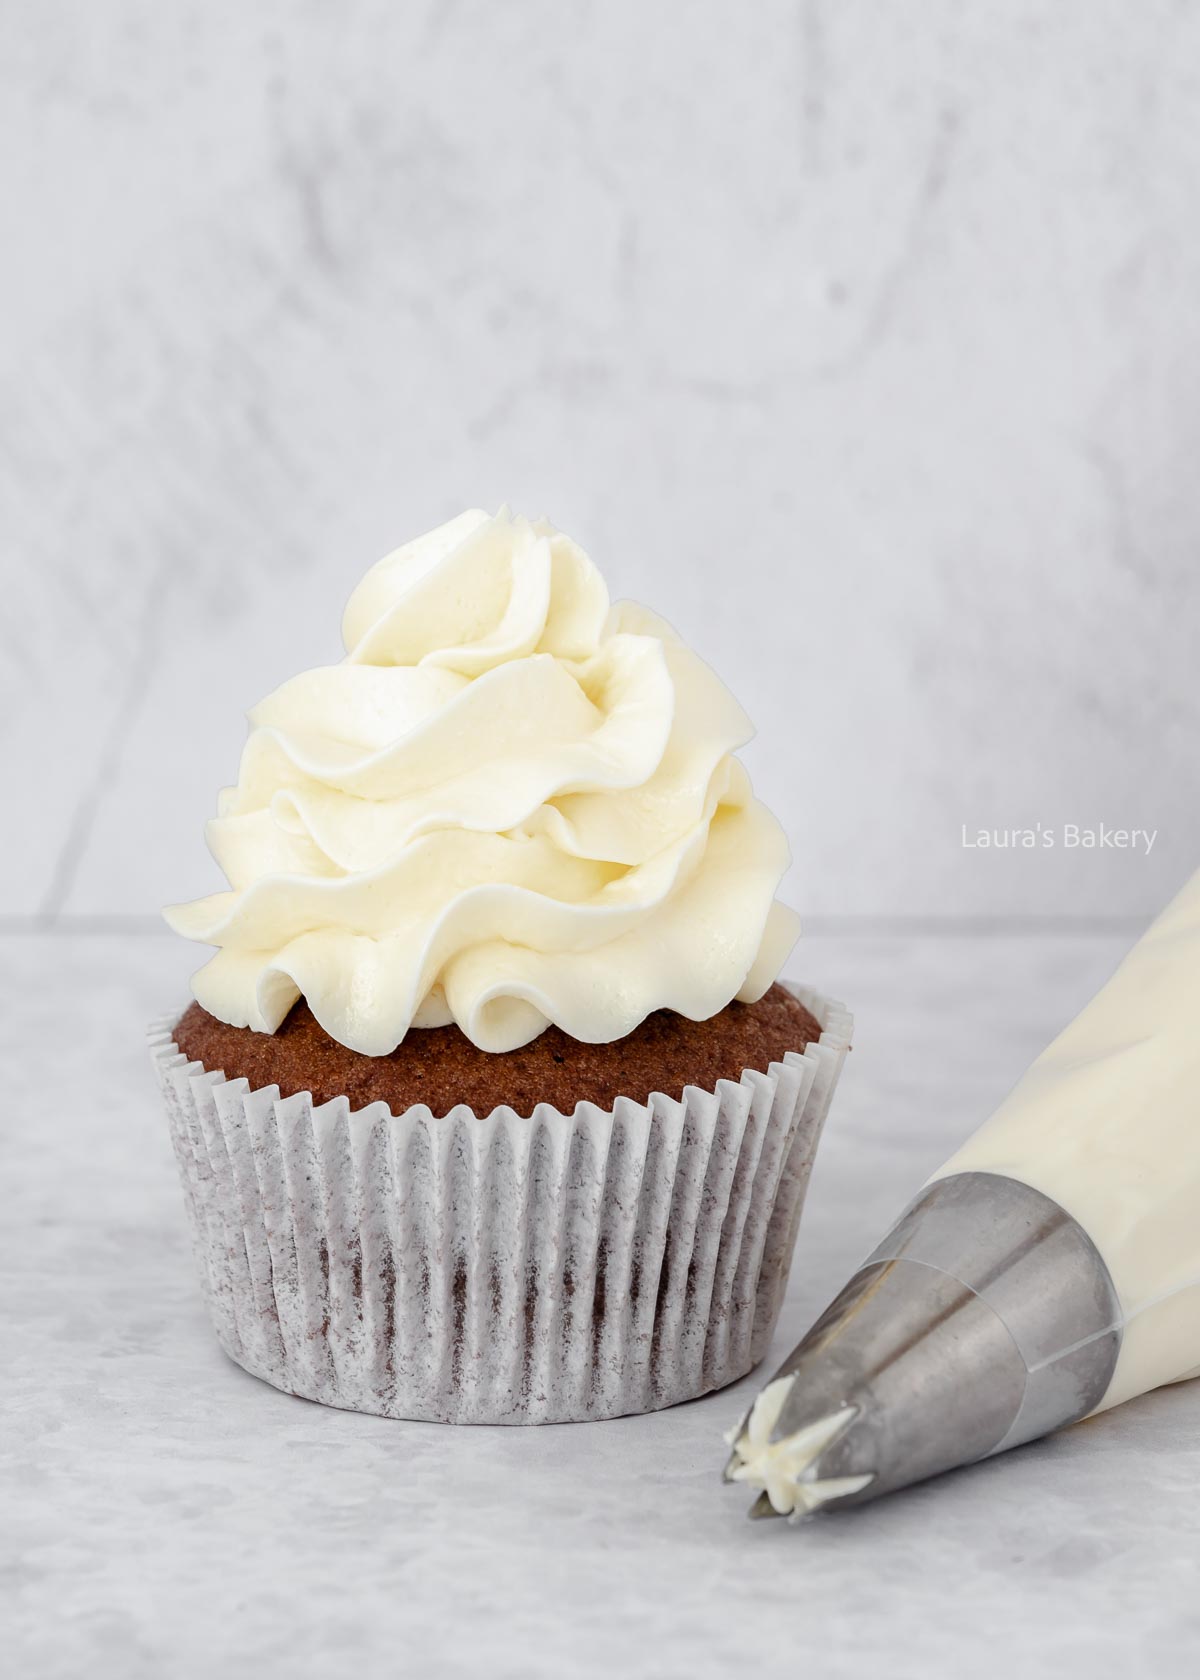
Buttercream is such a baking classic; creamy, fluffy and endlessly customizable. Whether you want a basic recipe or a fun flavor twist, there’s always a buttercream that perfectly suits your cake or cupcakes.
I’ve written a couple of articles on how to make the most out of your buttercream:
When you heat the egg whites over a bain-marie, they typically reach a temperature between 130°F and 160°F (55-70°C). To fully eliminate harmful bacteria, the mixture needs to stay at 160°F (70°C) for at least 5 minutes. Use a thermometer to check.
If you don’t have a thermometer or want to be extra cautious, use pasteurized egg whites from the grocery store.
Another option is to make Italian meringue buttercream instead. With that method, hot sugar syrup is streamed into the egg whites while whipping, also killing bacteria.
Just note that in this case, it becomes Italian meringue buttercream, not Swiss. Use half a batch of Italian meringue if you go that route.
Just like my vanilla buttercream/ermine frosting this meringue buttercream stores very well, which is ideal if you’re prepping ahead for a party.
I prefer to assemble cakes last-minute, but I prepare the individual elements in advance and store them in airtight containers.
Refrigerator: 3-4 days in an airtight container
Freezer: Up to 3 months in an airtight container
Thaw frozen buttercream in the fridge for 24 hours to prevent curdling. After thawing, re-whip until smooth and fluffy again.

You can, but the buttercream will be softer and less suitable for filling/frosting cakes.
No, the sugar amount is necessary for a stable meringue structure.
Curdling usually happens due to a temperature difference between ingredients:
Place the mixing bowl in a warm water bath and whip until the mixture emulsifies again or use a warm hairdryer aimed at the outside of the mixer bowl while whipping
Both methods help bring everything back to the same temperature so it can come together smoothly.
About 16-20 cupcakes, depending on swirl size.
This recipe is enough to generously fill a 20 cm (8-inch) cake twice.
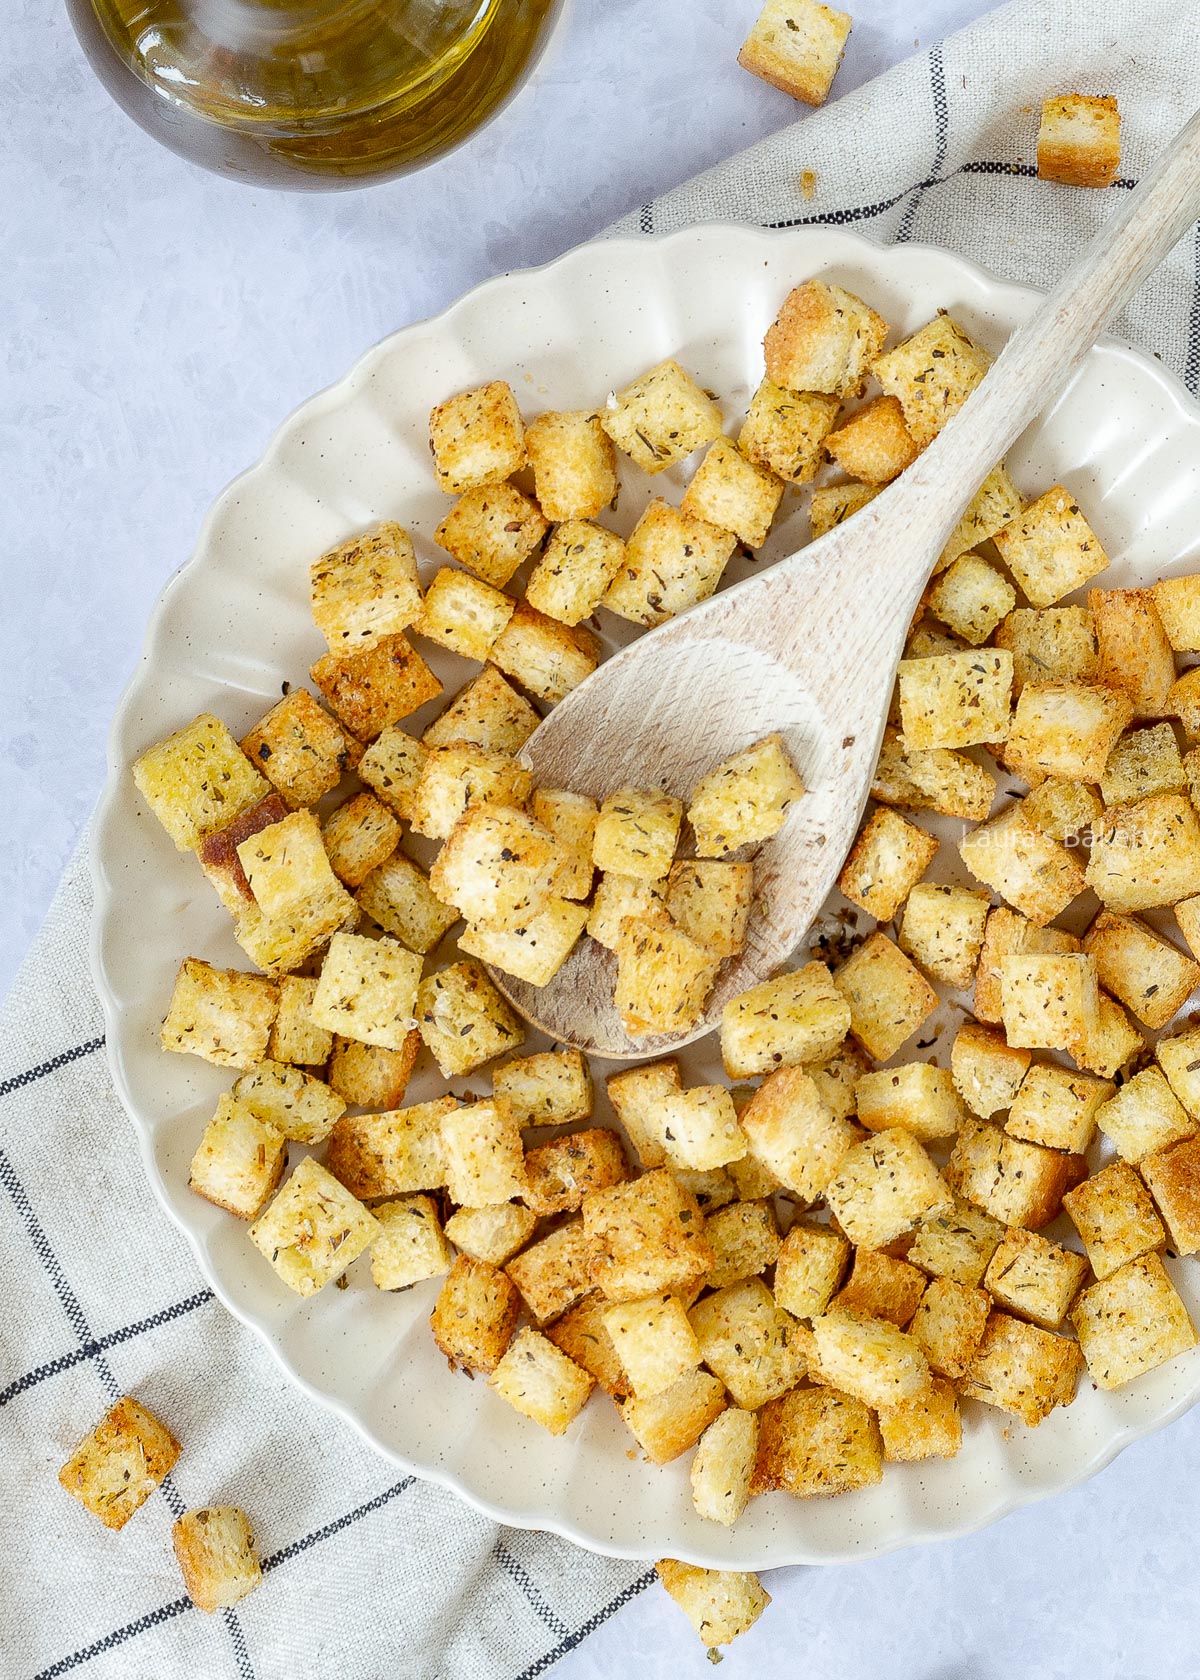
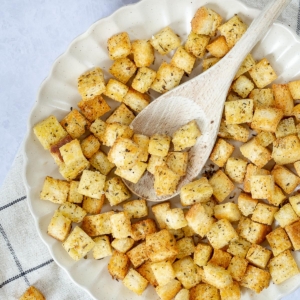
Making your own croutons is always a good idea! They take a soup or salad to the next level and are simply much tastier than most store-bought versions.
These homemade crispy bread cubes are hard to resist. I always make a little extra, otherwise I’ll have eaten half of them before they ever make it onto my salad.
Croutons are the perfect solution for using up leftovers: like a baguette from a barbecue or other stale bread instead of throwing it away, which I really hate. And this way, you turn it into something even more delicious.
To make crispy and delicious croutons you really need just a few simple ingredients:
For flavor you can add all sorts of herbs and spices, parmesan cheese or other cheeses of your choosing. See the recipe card for some suggestions!
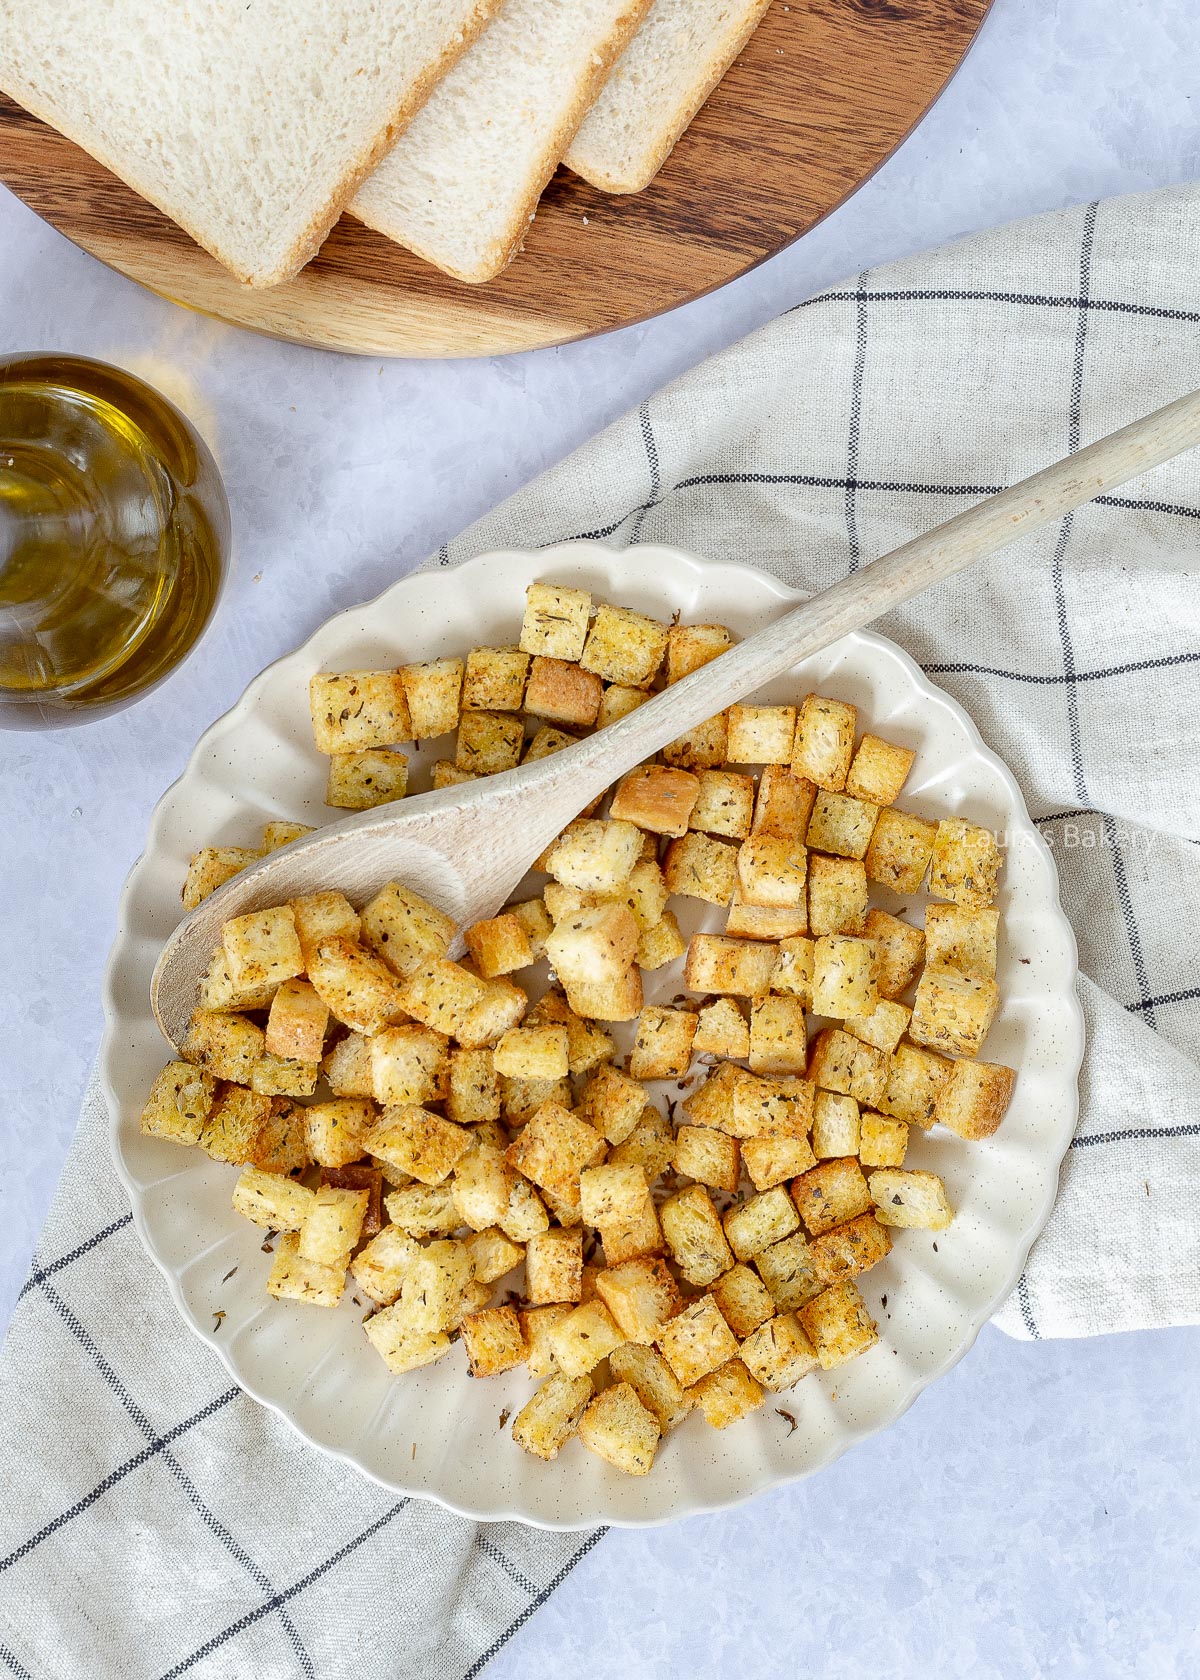
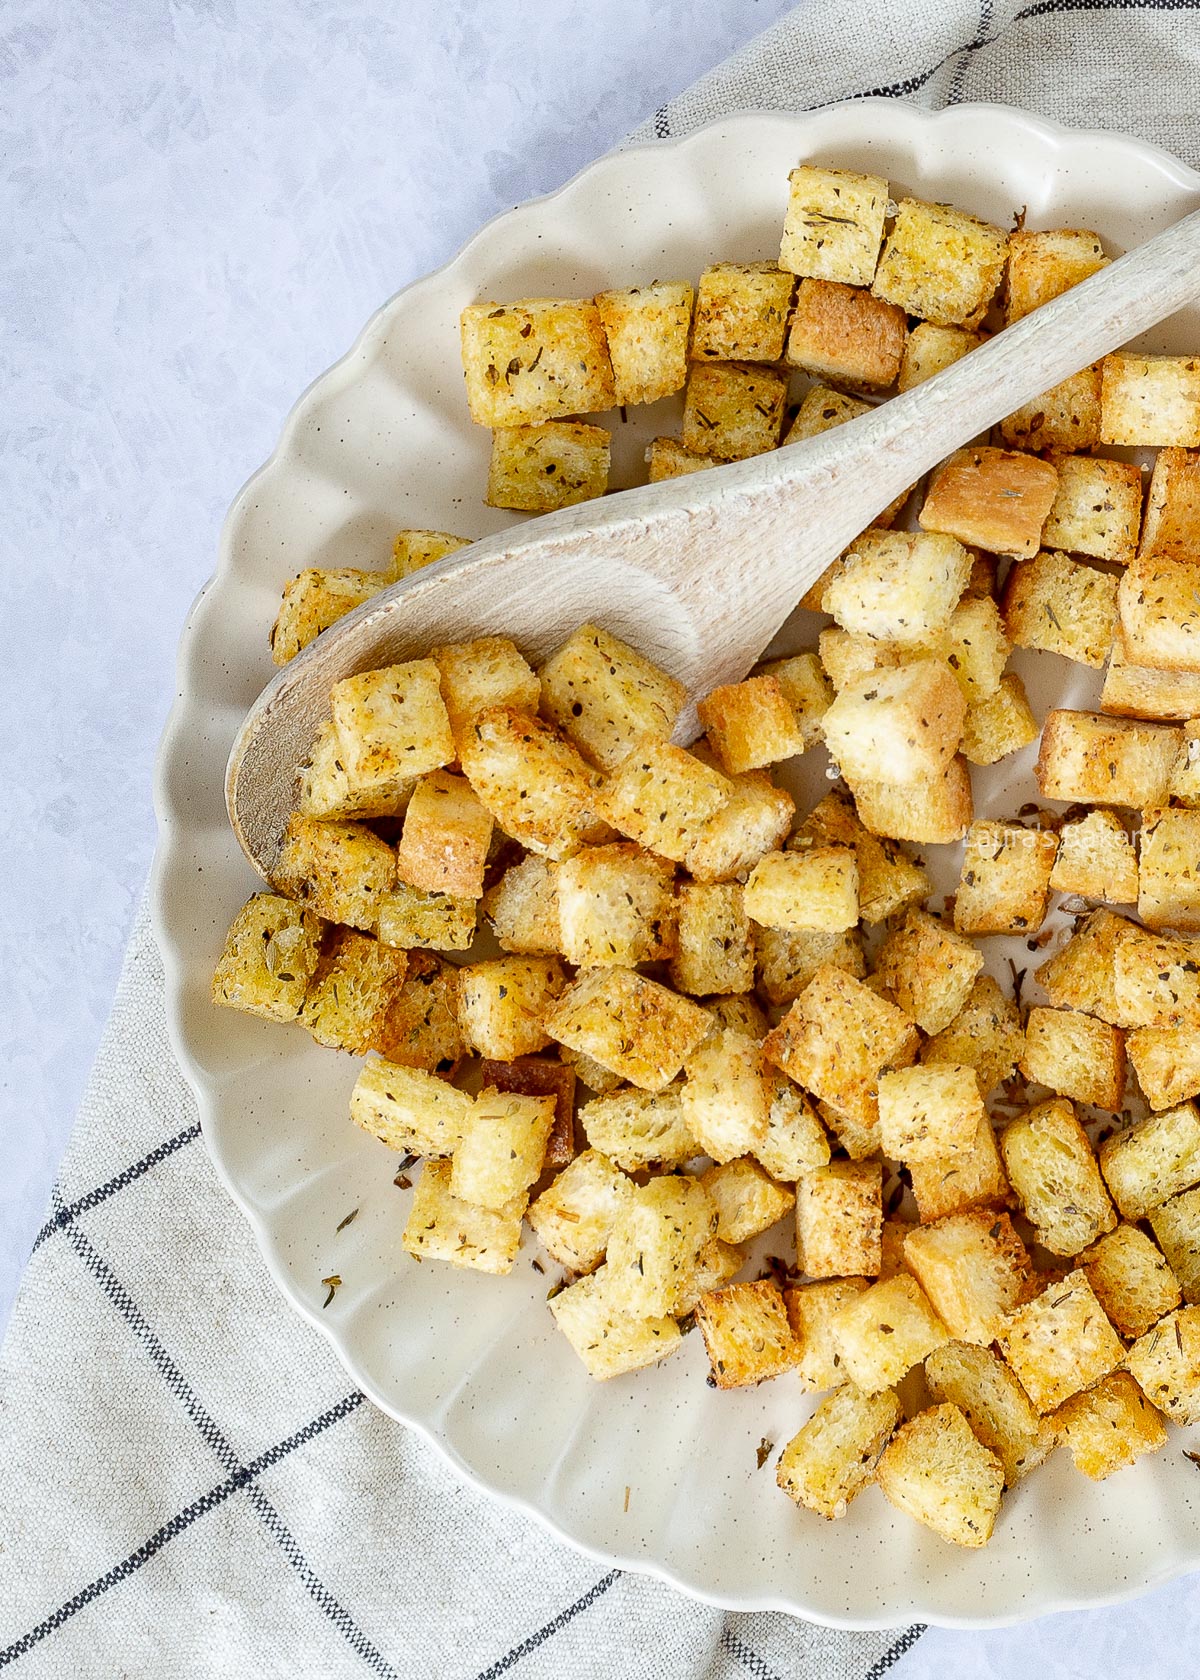
Another great bonus is that this crouton recipe is incredibly easy to make. Within 5 minutes, they’re cut, seasoned, and in the oven.
Depending on the size of your bread cubes, they need no more than about 15 minutes to come out of the oven golden brown and crispy.
Then comes the hard part: letting them cool completely without touching them before sprinkling them over your dish. 😉
You can also make croutons in a skillet, without using the oven. I especially like this when I only want to make a small batch, for example for 1-2 people, or when I don’t want to turn on the oven because it’s hot outside.
The method is the same, but in this case, you can heat some butter in the pan and toast the bread cubes until crispy. Also very tasty!
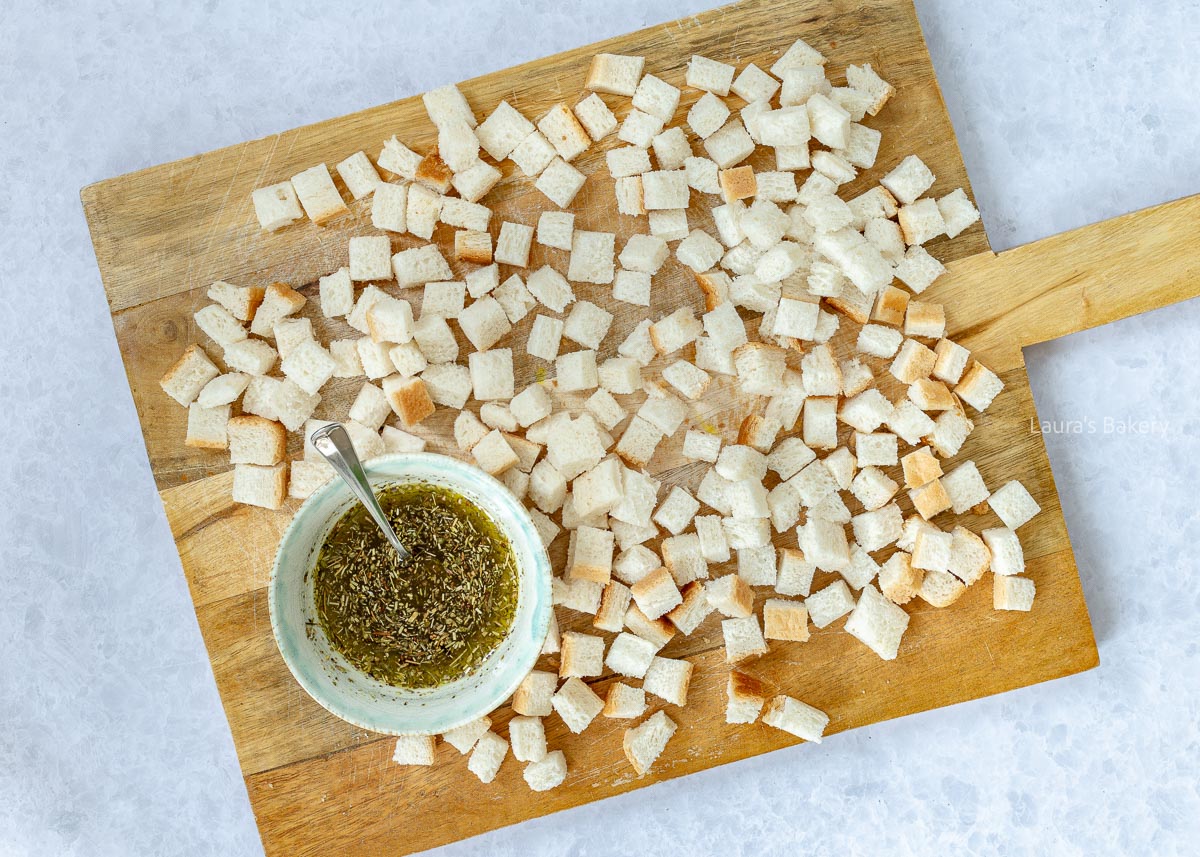
Did you bake a whole sheet pan full of croutons and have some left over? Store them in airtight jars or storage containers. Glass containers with bamboo lids are my personal favorite.
Croutons will keep for several weeks, but they taste best if you store them for no more than one week in airtight jars or containers.
Yes, you can freeze croutons airtight for up to three months. If they lose some of their crunch, you can briefly re-toast them in a skillet once fully thawed, and they’ll be ready to use again.
Croutons pair wonderfully with simple soups or salads. Think of a Greek salad or a Caesar salad. You can even sprinkle them over your next pasta salad.
Adding these crispy pieces of stale bread gives your dish extra flavor as well as a crunchy texture. I even once used them to thread onto skewers for a fun appetizer!
Because croutons are so crispy, they add just the right amount of texture to smooth puréed soups, such as:
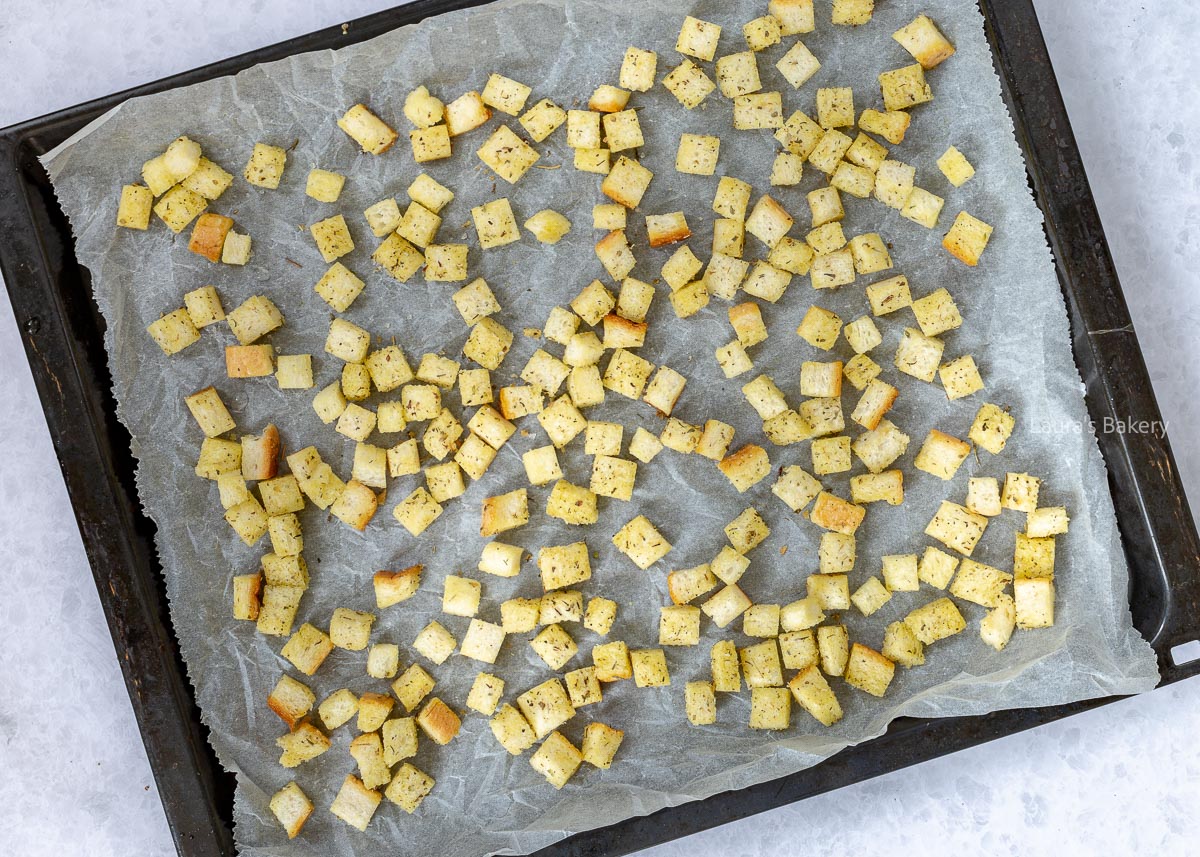
Absolutely. It really depends on what kind of (stale) bread you have on hand or what you prefer. You can use whole wheat bread, rolls, spelt bread, sourdough, Kaiser rolls, ciabatta, baguette, or sandwich bread. Each type of bread gives a slightly different flavor, which is part of the fun.
Oil is an essential flavor component in this recipe and also helps the salt, pepper, and other seasonings stick to the crispy bread cubes. I don’t recommend leaving it out, but you can substitute it with melted butter if you like.
Of course! You can make them as big or small as you like, but you’ll need to adjust the baking time accordingly. Larger croutons need more time in the oven to become golden brown and crispy. I also recommend filling a baking sheet with bread cubes of the same size so they brown evenly and finish at the same time.
Definitely, you can make countless variations. Below you’ll find my basic recipe, followed by some seasoning ideas. Adjust them to match the dish you’re serving the croutons with. That way, even the same salad can taste different every time.