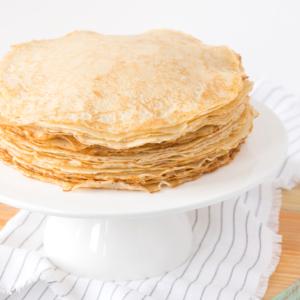
Can I use a different kind of flour?
Yes, I have made them with whole wheat flour instead of all purpose flour.
You could even use buckwheat flour to make them gluten-free. It’s possible you have to add a bit more milk to have a thin enough batter.

If you’re like me and make banana bread in bulk as a healthy snack, you want to know how to store banana bread! I’ll tell you a few simple steps for what’s the best way to keep you banana bread fresh.
All my tips are the things I’ve tested and experienced myself with my recipe for healthy banana bread. It’s the perfect recipe to use your overripe bananas to make a quick bread that is easy and delicious.
Let start at the beginning, right after your homemade banana bread comes out of the oven. Of course, you let it cool first until the bread is at room temperature. After that, you can decide how you want to store it. I’ll start with storing on room temperature, followed by storing your banana bread in the freezer (and how to thaw it correctly).
I always store my banana bread at room temperature, the shelf life of banana bread is 2-3 days this way. Most of the time, I just wrap the entire loaf in aluminum foil and place it on the kitchen counter.
When I don’t use aluminum foil, I use an airtight container or a ziploc freezer bag to store my loaf of banana bread. You could also use you loaf pan when you store the bread om room temperature.
I never store my banana bread in the refrigerator by the way. It is possible, but I find that the colder temperature makes your banana bread less moist and if not packaged well, it can dry out your loaf too. I’ll just store it for a few days on the counter, and after that in the freezer. That works best for me.

During summer, 2-3 days on room temperature can be tricky. I don’t want to take any risks during those hot summer days and will store them in a cool place, but still outside of the fridge. If it’s really hot were you live, I would advice to store the bread in the fridge.
I also keep my banana bread on the counter for just 1 day when it’s warm in my kitchen. Just to be sure.
When I make banana bread, I often make two at once. Way too much for me to eat in 2-3 days. That’s why I love to slice my banana bread up and store them as individual slices.
You can wrap the slices up in aluminum foil, small freezer bags or in an airtight container. If you want to store multiple slices in one container of bag, place a piece of parchment paper between the slices. This way it’s easy to get one out if you decide to freeze them.
If you want to store whole loaves or even half loaves, the ways of storing will be the same.
Okay, now on to the freezing part. Banana bread freezes very well. It’s a great way to enjoy your banana bread for a longer period of time.
In the freezer you can store it up to 3 months. Store it airtight with no air in the packaging, otherwise you could experience freezer burn.
We already spoke about the packaging earlier in this article. But I will tell you again in short: aluminum foil, a plastic bag or an airtight container. After that, just put the wrapped banana bread in the freezer.

There are two ways I thaw my easy banana bread recipe. On room temperature when I’m not in a hurry, or in a toaster when I have less time (or just want a slice of warm banana bread).
I always try to remember to get 1-2 slices of banana bread out of the freezer so they will be thawed the next day. If I forget, I take it out in the morning. It takes about 1-2 hours foor 2 slices to be completely thawed. After that, the banana bread will still have that moist texture.
If you froze your whole loaf of fresh banana bread, it will take longer to thaw. Allow the bread to thaw for 3-4 hours.
Important note: always leave your banana bread in the packaging while it’s on the counter to thaw.
I really enjoy a slice of warm toasted banana bread in the morning. Put your frozen banana bread in the toaster and toast it for about 4-5 minutes. It varies how long it will take depending on your toaster and the thickness of your slices.
When I have slices of warm banana bread, I really like to make a delicious breakfast out of it. A few of my favorite things: serve it with some Greek yoghurt and blueberries. Or with peanutbutter, a perfect combination. And if you’re in for a treat: make french toast out of your leftover banana bread! It’s the best thing I’ve tried with my banana bread.
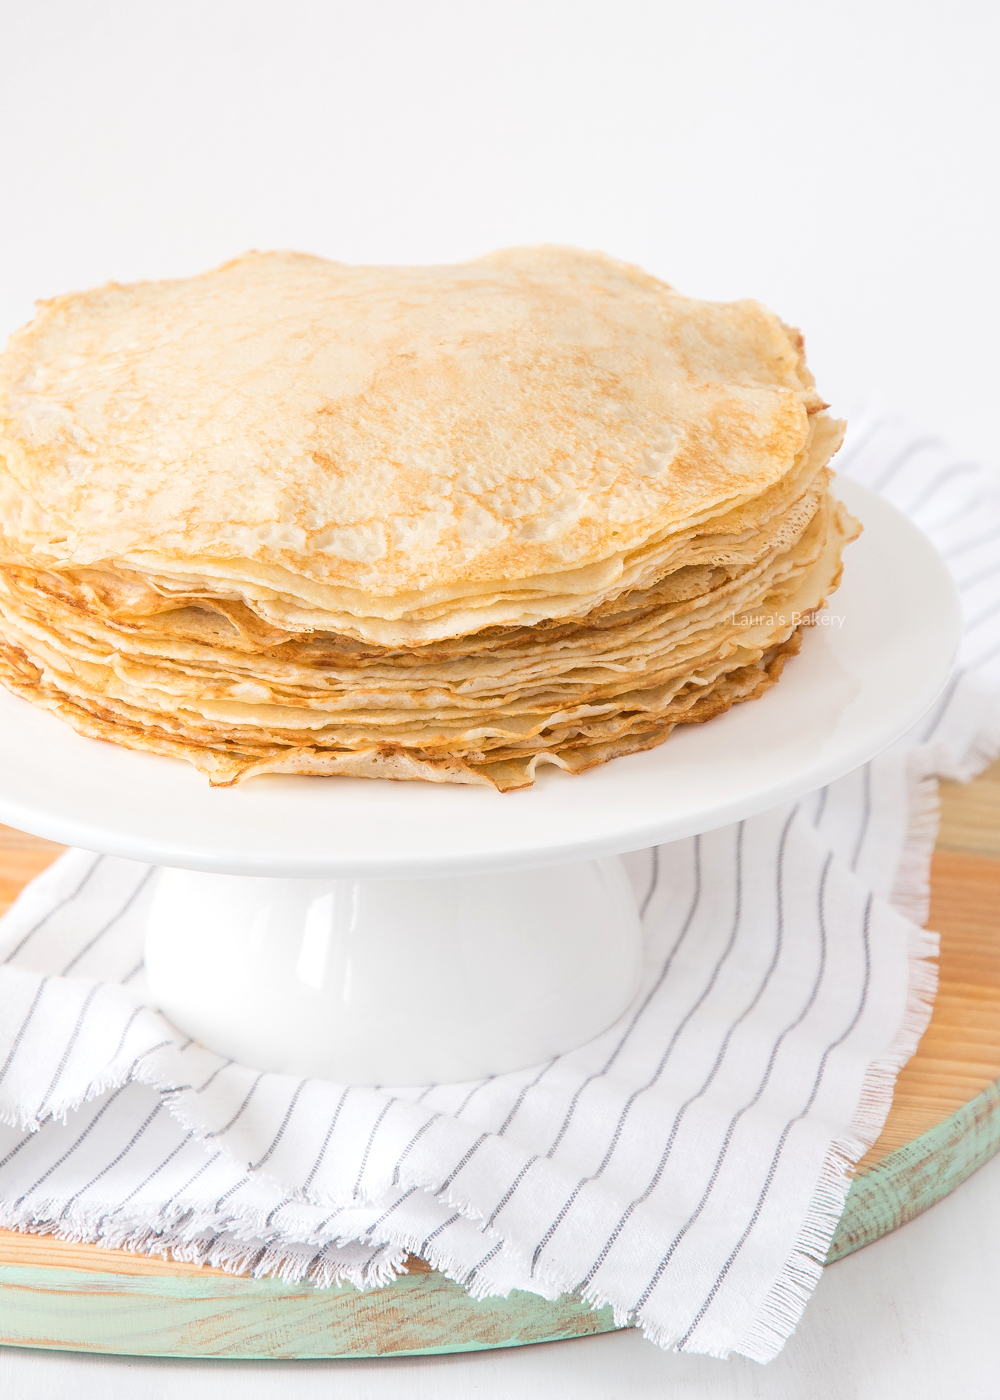
In the Netherlands we love our classic thin Dutch pancakes, or as we call them: pannenkoeken. Do you love pancakes? Then you need a good basic recipe! With this recipe you can make a whole stack of delicious pancakes in no time.
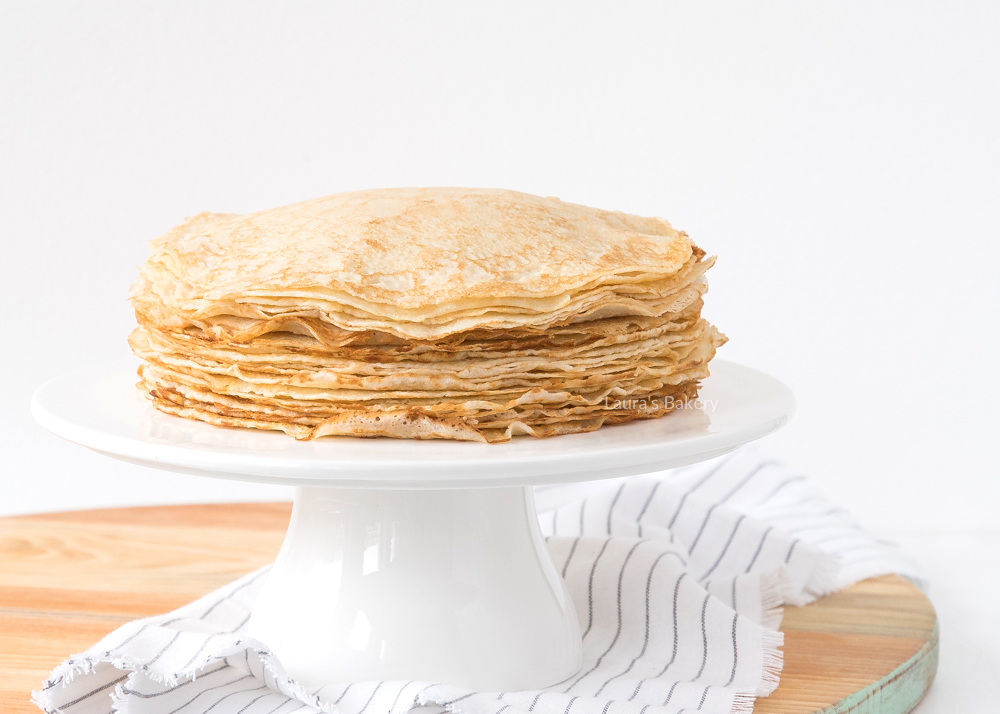
Where American pancakes are thick and fluffy, classic Dutch pancakes are very thin. Think crepe like thin.
Dutch pancakes are also large, they usually have the same size of a dinner plate. And when you visit a Dutch pancake house or restaurant (yes, they exist!), they are even bigger and are being served on very large plates. You can order all kinds of flavors, sweet pancakes and savory pancakes.
When I bake Dutch pancakes, they are very thin. I like that best. Most people bake their pancakes a bit thicker. A French crepe is generally thinner than a Dutch pancake. But I’ll have to say mine are very close.
Another difference is that crepes are usually a bit smaller than Dutch pancakes.
The final comparison, I promise. Although Dutch baby pancakes sound very Dutch, you’ll barely see them in the Netherlands. They actually origin from Germany. Somewhere a long time ago, the German word ‘deutsch’ was turned into Dutch.
But is a Dutch baby pancake recipe anything like the traditional Dutch pancakes? No, they are not. Dutch babies are a mix of a pancakes and a souffle, very light and fluffy. Dutch thin pancakes are as flat as can be.
Another recipe in the pancake category that is Dutch: Dutch mini pancakes. They are similar to these classic thin pancakes. I can really recommend my recipe for Dutch mini pancakes (poffertjes).
It is an easy recipe to vary and make all kinds of different flavors of pancakes. You can flavor the thin batter yourself, but it’s also great for making your pancakes luxurious with toppings. The recipe card below just shows the basic ingredients to make plain pancakes. I mostly make those and add flavor by adding toppings. But you could also add flavors in the beginning, by change up the batter a bit.
If you want to flavor the batter, there are multiple options. I name a few of my favorites:
Baking Tip: I prefer to use a pancake pan with a little butter in it. I have something similar like this crepe pan that works on all heat sources. You could also use a cast iron skillet or frying pan.

I love making a big stack of pancakes and these can be kept in the fridge for 2-3 days in an airtight container or wrapped in plastic wrap.
I hardly ever freeze them but you could do that if you want to. In that case, wrap them properly and make sure to keep them in a freezer safe container for about 2-3 months.
If you want you can easily reheat them in a microwave, a skillet or an oven. I love eating them cold also, so I never really bother reheating.
The most popular toppings for pancakes are ‘stroop’ and powdered sugar. Stroop is somewhat similar to maple syrup, which you could use too. I’ll share some of my favorite pancake toppings and will divide them by sweet and savory.
The most simple topping is powdered or icing sugar, but you can add everything you like! I like fresh berries on my pancake a lot.
When I eat pancakes, I always make one with Dutch cheese. It’ so good. But bacon ánd cheese might be even bettter. You can add the topping to a plain pancake, or you can bake the toppings with the batter.
In the case of cheese bacon pancakes, I always put some bacon in the pan and bake for a few minutes. Then add the batter and put cheese on top. After you flip the pancake and bake the side with cheese, you will have a crispy side. I’m drooling while I write this. I need to make these pancakes soon!
These are just a few of my favorites. The list could be at least 10 times longer, there are a lot of options.
Another tip: instead of using the ingredients above as toppings, you could also incorporate them in the batter. When you bake a pancake batter with savory fillings, they will be a bit thicker.
Of course I have loads more pancakes recipes on the site to choose from! A few favorites:
Yes, I have made them with whole wheat flour instead of all purpose flour.
You could even use buckwheat flour to make them gluten-free. It’s possible you have to add a bit more milk to have a thin enough batter.
Of course, you can swap out the milk for almond milk for example.
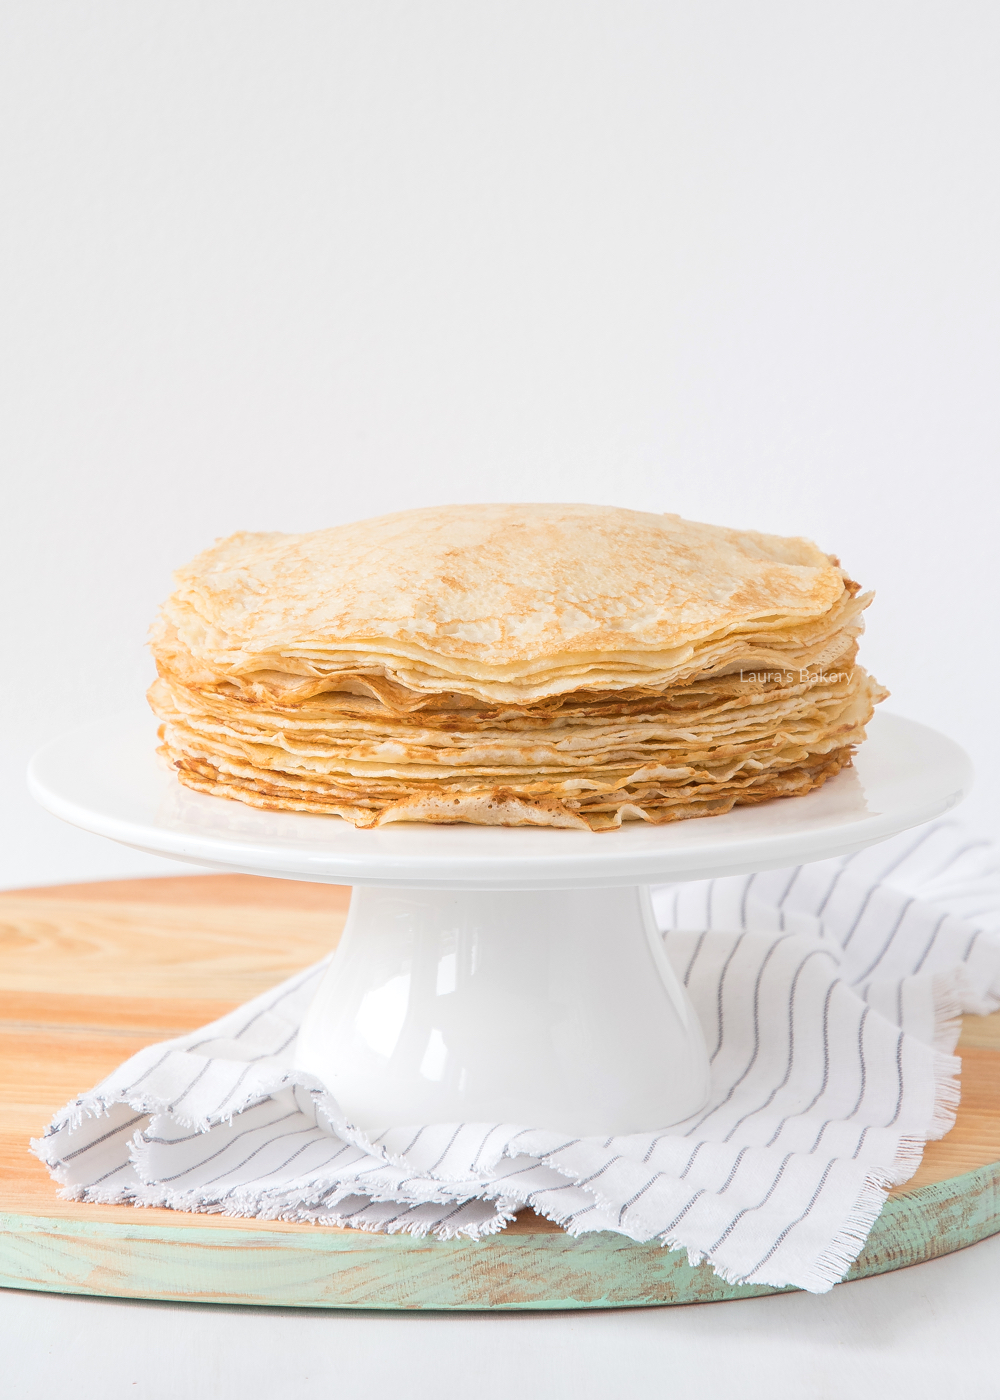
I bake mine almost as thin as a crepe. But it’s fine to make them slightly thicker.
Time for an easy banana bread recipe. This recipe is delicious, but also perfect for making even more banana bread recipes in all kinds of flavors!
It’s time for a good recipe for one of the baked goods I make incredibly often, my go-to banana bread recipe! It’s one of the most popular recipes over on my Dutch blog. Over the past few years, I’ve tweaked the recipe a bit, especially in the proportions of different flours. Now I have found a combination that I never deviate from. And that’s when I know I have a good basic recipe. It’s a perfect destination for those overripe bananas on you kitchen counter.
A bowl, fork, spatula and some basic ingredients is all you need for making this recipe. No need for a hand or stand mixer. As always, all ingredients need to be at room temperature. Just follow the steps in the recipe card for the best moist banana bread recipe you’ve ever tried.
For my banana bread recipe, I use both all purpose flour and almond flour. You can make it with almond flour alone, but I find it a little too dense, and you can make it with all-purpose flour alone, but it gets a little less creamy and a little too firm for my taste. This combination works perfectly and results in an airy and creamy banana bread.
If you want to learn more about baking with almond flour, check out this article with a recipe for making your own almond flour.
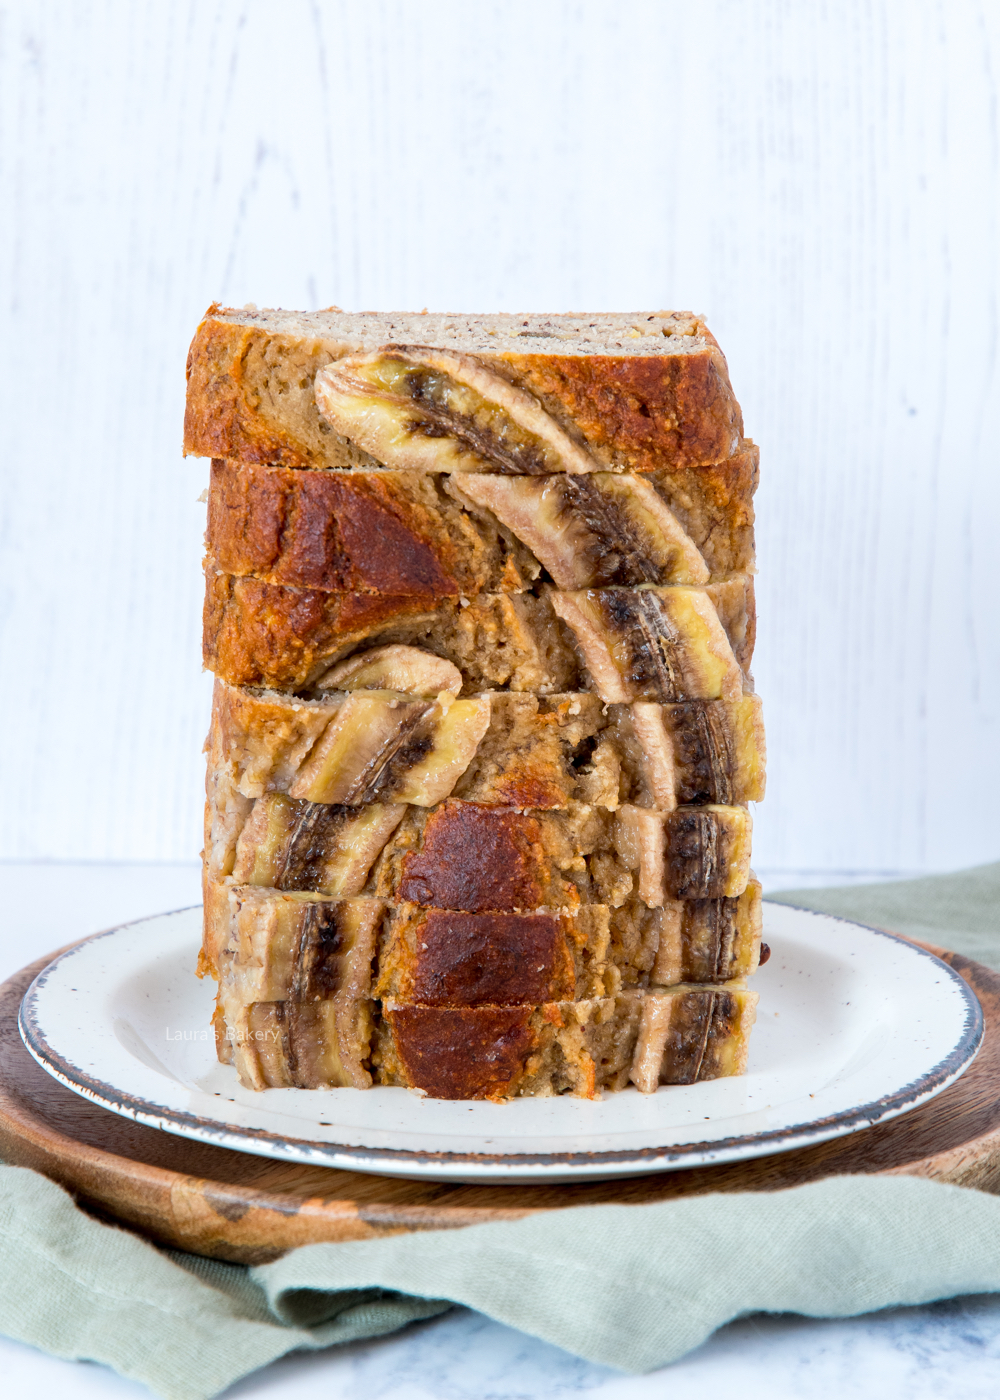
Actually, the term is silly because I can’t really call it bread. Rather, it has the texture of a cake. Since there is no butter or sugar in this recipe, it is still more banana bread than banana cake. And that makes banana bread an instant healthy snack! Or as I like to eat it: a slice for breakfast with a scoop of yogurt on top. Delicious.
People often ask me if this is a healthy banana bread. I always tell them first of all that I am a (home) baker and not a nutritionist 😉 And although I don’t usually dare to make such statements, I would definitely dare to say that this is a pretty healthy banana bread! Simply because you won’t find any butter, oil or sugar in this recipe.
The banana bread is sweetened by ripe bananas, it stays nice and creamy thanks to the eggs and almond flour, but still airy thanks to the combination of baking powder and baking soda (and the eggs). A deliciously responsible snack! Can it be even healthier? Yes, by substituting whole wheat flour.
TIP: Looking for a less healthy banana bread? Try this cream cheese banana bread, it’s amazing!
As stated before: I have made many different kinds of banana bread. Although I think this is de best banana bread recipe ever, I still love to make different flavors. Here are a few of my favorite tweaks to this recipe:
Don’t want to make a banana bread? Scoop the batter in a muffin tin for delicious banana muffins. These banana oatmeal muffins are delicious too!
No, bananas are really the base of banana bread. Other fruits would require changing the entire recipe.
I find it hard to determine if this recipe is sweet enough for someone else. Let’s assume that this is a healthy snack, so the base doesn’t taste that sweet. That’s the idea. It’s definitely sweet enough for me.
If the sweetness disappoints you, you can try adding 50 grams of sugar to the recipe next time. Or you can add some chocolate spread or Biscoff. Of course, that makes it much less healthy 😉.
I advise against omitting it, but you can substitute 1 teaspoon of baking soda for 3 teaspoons of baking powder. The combination of baking soda and baking powder gives the best results.
Personally, I do not like bananas. Not at all, in fact. However, I really like this recipe. Even though the banana flavor is present. It’s not overpowering at all for me (and trust me, that says something.)
You can, by substituting rice flour, for example. Any other gluten-free flour should work too.
That depends on what you are using it for, see the tip above. It is also possible to replace the flour with oat flour or whole wheat flour. You will keep the same weight of flour.

Can you let bread dough rise in the refrigerator? It’s a question I get asked a lot, but I honestly had no experience with it. So I’ve spent the last few weeks reading up on the subject and, of course, experimenting in the kitchen myself on how to store bread dough in the fridge.
I will share my findings and a step-by-step plan, and of course tell you how to store bread dough in the fridge to let it rise. This way you can prepare the dough in the evening and bake it fresh in the morning without taking too much time. It’s convenient, and the slower the bread rises (because it’s cooler), the better the end result.
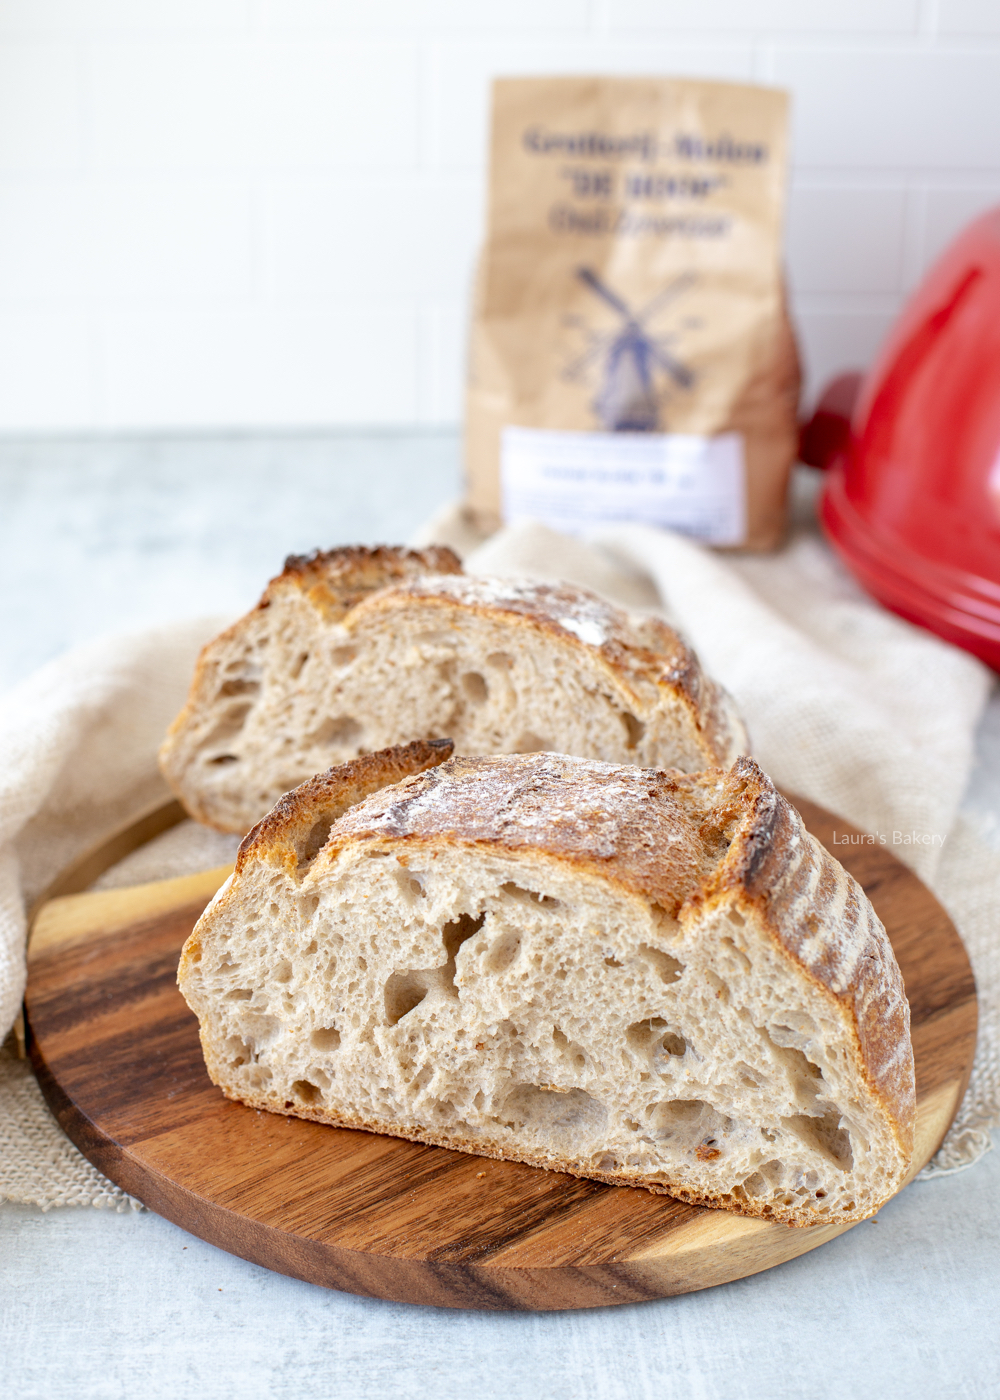
Before you put your dough in the fridge, ask yourself why you want to do this. Is it because you want to have a fresh home baked loaf of bread in the morning, without wanting to get up early? That’s the reason why I store my dough in the fridge. The fridge causes a slower rise which give me time to enjoy fresh bread in the morning, without having to set my alarm clock absurdly early.
The first time I stored dough in the fridge was after making pizza bread sticks. I had some pizza dough left and decided to give it a try and store it in the fridge until the next day. The cold temperature in the fridge caused the dough to rise slow. It did rise a bit, but not as much as it would have on the counter in my kitchen for a few hours. I made mini pizza’s from the left over dough and they tasted amazing.
The cold temperature in the fridge stops the yeast activity. More details on that later. But I have to say: I’ve had some of the best results in my bread baking with dough that was stored in the fridge.
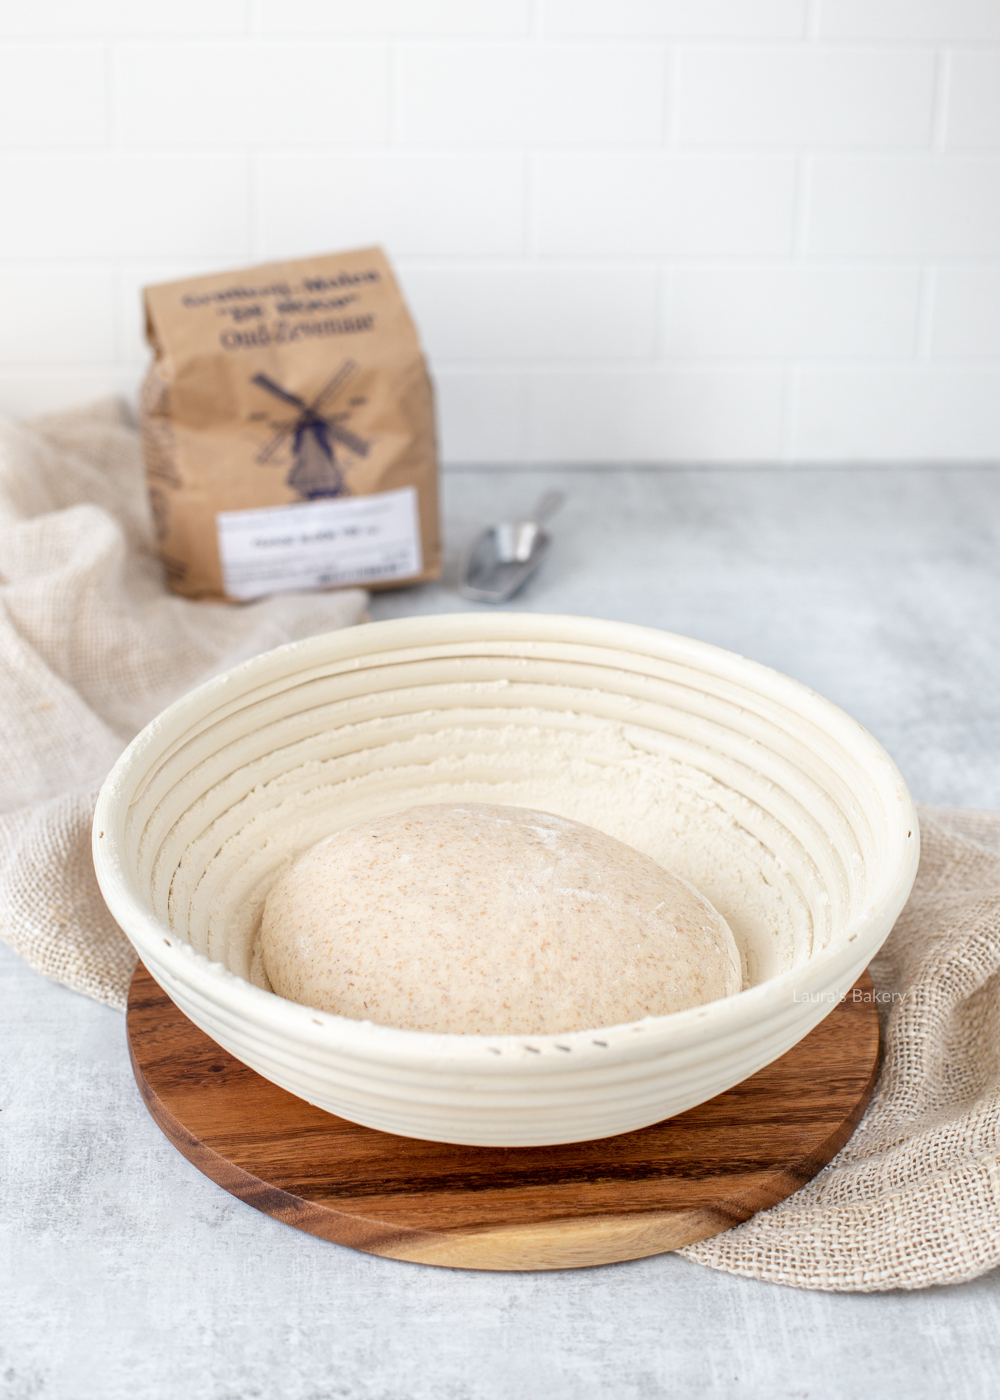
In my search, I soon found out that you can stick to different ways of proofing in the fridge. As you may know, most breads rise twice. The first rise is immediately after kneading and is called the bulk rise. The second rise occurs after the bread is shaped. After this second rise, the bread goes into the oven.
One of the two rises can be done in the refrigerator. I prefer to do the second rise in the refrigerator, because then I have very little to do in the morning to get a fresh slice of bread. That’s why I explain the process this way.
If you want to do the first rise in the fridge, the principle is the same, only you form the dough after the first rise in the fridge and the second rise is outside the fridge.
Fun fact: In the Netherlands: we LOVE bread, or ‘brood’ as we call it. Most Dutch people will lunch with a ‘broodje kaas’, a slice of bread with cheese. We also have all kinds of sweet sandwich toppings, with chocolate sprinkles as the most well known and popular option. It’s delicious, I can recommend trying it sometime.
As far as I have tested: it does not matter which dough you have. I let all different kinds of dough rise in the fridge and I had great results every time.
From pizza dough, to dough for sourdough bread. Or just a simple dough for a loaf of white bread. Just choose a bread recipe and start baking.
My dough usually sits in de fridge for 12-14 hours. I make the dough right after or just before dinner and bake the bread after I wake up.
This isn’t a rule, no problem if you have the dough a few hours shorter or longer in the refrigerator. The longest amount of time I stored my dough in de fridge is 18 hours. I think it could have been in there longer, but I haven’t tried it.
I’ve heard people storing there bread dough for 3 days in the fridge.
You can! But unfortunately, the freezer kills many of the yeast cells, which in turn weakens the gluten, resulting in a lower and longer rise. If you want to freeze bread dough, do it after the bread is shaped. Thaw the frozen dough and let it rise before you bake it.
It depends on the size of your bread/buns how lang it takes to defrost.

The following step by step plan is totally based on my personal experience and what I’ve found to be the best way of storing and rising bread dough in the fridge.

You don’t have to be an experienced baker to bake your own bread. I have learned a lot over the years by just doing it. Additionally I have learned a thing or two about the shelf life of homemade bread. I’ll share my tips with you.
Want to give baking bread recipes a try? Check some of the below recipes! I also have a category dedicated to sweet bread recipes and one for savory bread recipes!

This is a very easy recipe to make your own Greek yogurt bread. There is no yeast involved and there is no need to knead the dough. Just mix the simple ingredients together in a large bowl, shape the dough into buns and bake them. After that, your homemade bread is ready to eat.
I love bread recipes that are really easy. For this recipe, you don’t need a stand mixer with a dough hook. A large mixing bowl and a spatula or wooden spoon will do. You can use a hand mixer if you like, but it’s fine to make the dough without one.
Another bread recipe that doesn’t need kneading the dough is this whole wheat no knead bread.
Yes, you read that right! No instant yeast is needed in this recipe. This means you can form the dough and bake it immediately. There’s no need to let the dough rise in a warm place until it doubles in volume.
To make sure the dough rises in the oven, you need a leavening agent. I use baking powder in this recipe. Two teaspoons is enough.
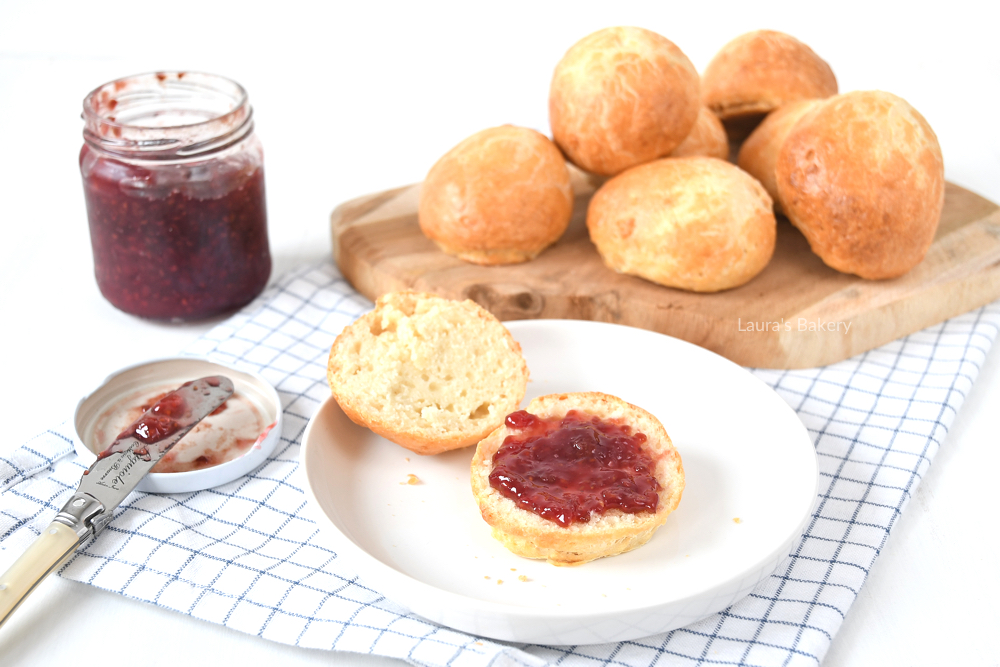
I prefer plain Greek yogurt, but you can use a fruit flavored yogurt if you like. From blueberry to coconut yogurt. You can try all the flavors you like.
Also: remember to take your yogurt out of the fridge a while before you want to make the dough. You want all the ingredients to be at room temperature. Don’t forget your milk as well!
The first time I made this recipe, I did not use Greek yogurt. I used quark. It’s an ingredient you see a lot in the Netherlands and many other countries in Europe. If you manage to find quark in your local grocery store: try it sometime, it’s delicious!
I like to try different things, so I once made this bread buns with Greek yogurt instead of quark and that worked perfectly fine as well. I really like the end result.
You could also try this recipe with regular yogurt, but I would advise using a little less of it. This is because plain yogurt has a different structure, but also a different amount of fat and moisture. If you use regular yoghurt and you think the dough is too wet: add a little extra flour to it.
You can, but you’ll still need to add some extra baking powder to get the proportions right. By using all-purpose flour and baking powder, you are making your own self-rising flour. But in this recipe, there is slightly more baking powder than in standard self-rising flour.
Of course you can! As you’ve already read you can replace the plain Greek yogurt with a fruit flavored one. Other options include adding seeds or bagel seasoning on top of the buns.
Although this is not a gluten-free bread recipe, it is perfectly possible to make it gluten-free. Just substitute a gluten-free flour for the all-purpose flour. I have to say that I have not tried this myself, but I have heard many readers adapt this recipe to make it gluten-free and enjoy their gluten-free rolls.
The recipe is a little different, but it’s possible. Just use a rolling pin to roll out the pieces of dough to make Greek yogurt flatbread.
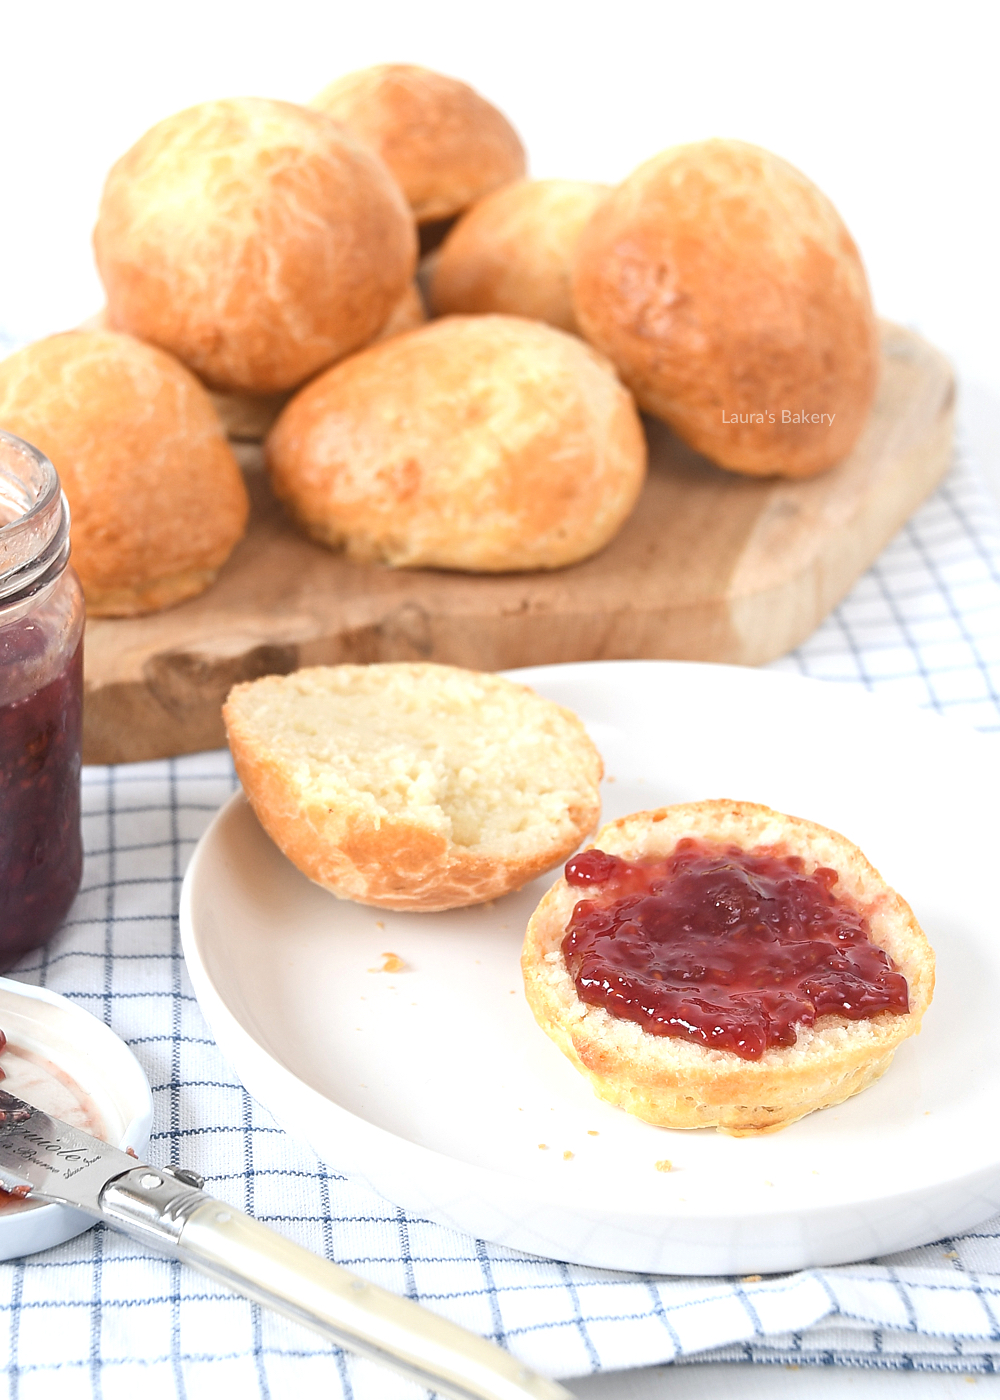
I like these little yogurt buns for breakfast. With a little jam, like this rhubarb jam, or even with some cheese.
They are also delicious to serve with soup. If you’re feeling fancy: try this recipe for braided bread. It is also is delicious with soups and pairs well with these little buns.

I use my homemade almond paste recipe in my baked goods a lot and it’s really easy to make this paste yourself. I love baking with this delicious ingredient, especially during the holiday season. Recipes with this almond filling are very popular for Christmas and the Dutch holiday ‘Sinterklaas’.
The almond paste recipe is very simple because it has a fixed ratio of almond flour to sugar. The amount of sugar and almond flour are always the same. Add a little egg and possibly some lemon zest to make it complete. I like the addition of lemon zest, but it’s optional. I share the simple steps in the recipe card down below, but first want to share some more information about the ingredients.
As you will see, my recipe has gram measurements. I did include a converter so you can see the ingredients in ounces. But I would advice to invest in a good scale, they aren’t expensive. It makes baking so much easier.

I’ve seen that American recipes for almond paste are sometimes a bit different than the Dutch recipes, so I thought it would be helpful to tell a bit more about the ingredients and why some things are different. Both recipes are similar enough to use interchangeable. Let start with the simple ingredients in my recipe:
And that’s it. Simple isn’t it? But now for the differences according to the American recipes for almond paste I’ve seen:
That’s all you need to know to make this homemade version of almond paste. The taste is amazing and way better than the packages of paste you can find in the baking aisle at your local grocery store.
Both in terms of ingredients and equipment, this recipe is simple. A bowl and a (wooden) spatula are all you need. And maybe a food processor or stand mixer if you want. Remember: make sure your ingredients are on room temperature before you start.

Almond paste is simply a mixture of mostly almonds and sugar. These are mixed together in equal parts with lemon zest and a little egg. The lemon zest is a flavoring and the egg ensures that the almond paste remains creamy and holds together well during baking.
The paste is used a lot in Dutch desserts. Think of Christmas cake, filled speculaas or cookies filled with almond paste. These are all delicious, typical Dutch treats with an almond paste filling.
But there’s more! I love a good almond cake myself. Oh, and have you tried almond croissants?! Make them at home with your homemade paste!
In my recipe you can read that for best results you should let the almond paste mature overnight in the refrigerator. By letting it ripen, the flavor becomes stronger and better. So if you start on time, it would be even better to let it mature in the fridge for a few days. No time at all? Just use the paste right away after you’ve made it, no problem at all.
No, it is not the same. Marzipan contains proportionally more sugar, and the recipe calls for icing sugar instead of granulated sugar.
It’s pretty obvious the recipe calls for almonds, but maybe you’re allergic to almonds or just don’t like them very much. Fortunately, you can make an alternative paste without almonds. For example, you can replace the almonds with pecans, macadamia nuts, or pistachios.
If you’re making almond paste, you probably also need a recipe that uses almond paste. I have a few of those recipes which I will share with you. Most of them are Dutch recipes, we somehow love to bake with it.
Homemade almond paste contains egg and is therefore not vegan. However, you can easily replace the egg in my recipe below with 30 ml almond milk or applesauce.
If you don’t have the time to make it yourself, you can of course buy it. You can find it in the baking section of any supermarket or in baking and cooking stores.
Yes, my recipe for homemade almond paste is gluten-free. Even store-bought should be gluten-free. Always check all packaging in the store if you want to bake gluten-free, sometimes cross-contamination can happen in a factory and this should always be mentioned on the packaging.
I’ve seen people use honey or even date syrup. So it’s possible, but I’ve never tried this myself. I’ve read that corn syrup can be used as well.
Depending on how much egg you knead through it, you can easily pipe the almond paste onto a pie base or cookie. In the case of a cookie, I would suspect that it is frangipane (almond cream), which also contains butter and is therefore a little softer and smoother. It’s perfect for fruit tarts for example.
I prefer fine granulated sugar.
Almond paste should not be eaten raw, it is always baked. Therefore, you can eat it as normal when you are pregnant.

Making your own braided bread really doesn’t have to be difficult. Today I am sharing an easy braided bread recipe with you, where you will end up braiding and baking three strands of bread dough into a beautiful loaf.
Of course, this braided bread is not only beautiful, but also heartily delicious. The recipe is from Levine van Doorne’s Dutch book, “vlechtbrood uit eigen oven.”
When I made this bread, I immediately realized that it’s not that difficult to make braided bread. Of course, you can make it as difficult as possible by using a challenging bread recipe and braiding with many strands. I kept it simple and opted for an easy bread dough and a simple 3-strand braid that still looks impressive.
So I would definitely call this an easy braided bread recipe and I hope this clears up any doubts you may have. After all, making braided bread is a lot of fun because you get to pull such a special looking loaf out of the oven. And I can tell you that it tastes really good with a slice of cheese on top and some homemade egg salad. Or just with butter, because the bread tastes great on its own, too.
BAKING TIP! Looking for a really easy bread recipe? Try these crescent cinnamon rolls!

What do you need to make braided bread? Let me walk you through the ingredients:
DID YOU KNOW that you can buy a baking pan in the shape of a braided bread?


For this recipe, I use regular wheat flour from the grocery store. With a bread recipe, it is especially important to keep all the ingredients (don’t just substitute or omit anything) and to weigh everything carefully, including the liquids.
Yeast dough needs to be kneaded for a long time, which is very important for a good and tasty result. If I use a stand mixer with a dough hook, I usually spend 10-15 minutes on medium-high speed, but if I knead by hand, I spend up to 20-25 minutes. Most importantly, watch yourself! You want a smooth dough where you can pull a membrane out of a small piece of dough.
Is your dough not rising properly? There are several reasons for this. Your dough may not have been kneaded long enough, the environment may be too cold, or the yeast you used may be too old and dead. Bread dough rises best at a temperature just above room temperature. So choose a warm place in the kitchen to let your dough rise.
TIP: Looking for a recipe that you don’t have to knead or proof? Try this greek yogurt bread recipe!
Can I let bread dough rise in the refrigerator? Yes, you can. You can choose to let the first or second loaf rise in the refrigerator so you can bake it the next morning. Read more about it in my article full with tips and tricks for storing your bread dough in the fridge before baking.
How do you know when your bread is done? A good trick is to tap the bottom of your bread, it should sound hollow. For some breads, it’s important to cover the bread with aluminum foil during baking so it doesn’t get too dark. This is the case with this braided bread, for example.
Immediately after baking, remove the bread from the baking sheet and place it on a rack to cool completely. I prefer to store my freshly baked breads in a clean, dry dish towel.


Cut out sugar cookies are the perfect cookies to use as a base and for decorating. They hold their shape and are delicious!
When I decorate cookies, these cut out sugar cookies are really my go-to recipe. They are my absolute favorite. I specifically choose this cookie recipe because they hold their shape so well while baking. Nothing is more annoying than when you’ve put a lot of effort into cutting cookies into a nice shape only to find out after baking that the cookies have deformed.
So you don’t have to worry about that with this recipe, this is really a recipe for making cookies that hold their shape. The reason that sugar cookies hold their shape so well is because of the amount of flour in the recipe; a relatively large amount of flour goes into the sugar cookie dough. Therefore, these cookies taste best with a layer of royal icing or some other fun cookie decoration.
BAKING TIP! Want to know why you should chill your cookie dough? In this article I will explain everything about why chilled cookie dough works best.
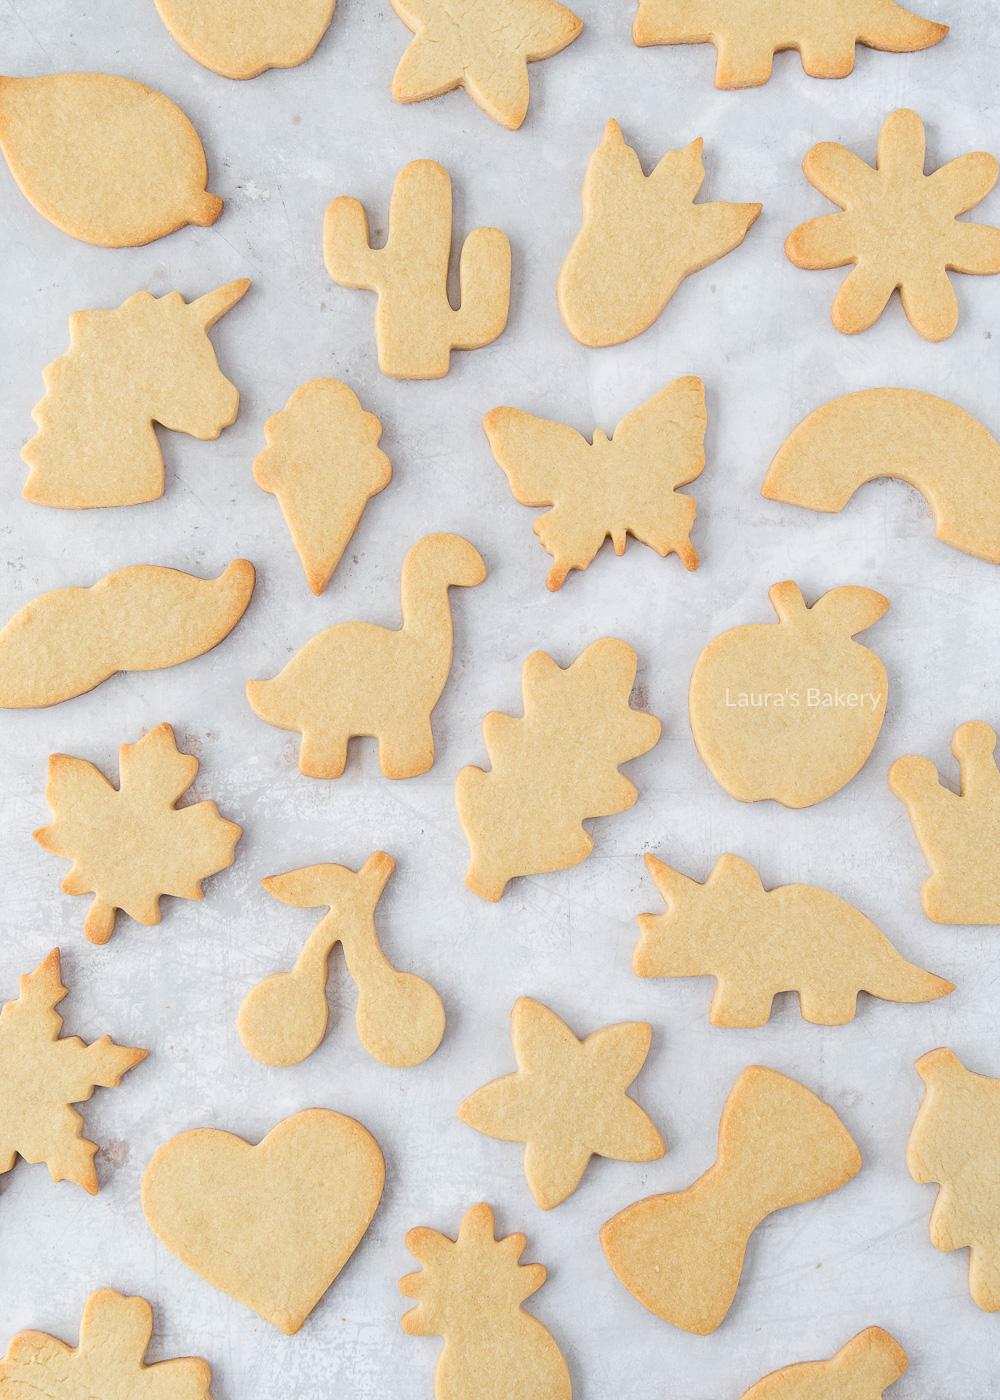
If I deviate from this basic vanilla sugar cookie recipe at all, it is usually for a different flavor variation. For example, it can be really fun to make chocolate sugar cookies by replacing 10% of the flour with cocoa. Or try these lemon sugar cut out cookies too!
And in the fall and winter, of course, gingerbread cookies are a favorite. Each of these variations holds its shape just as well as the basic recipe below. So you can enjoy different flavors as you get started with cookie decorating!
The nice thing about baking sugar cookies is that you end up decorating them, of course. This can be done with a simple powdered sugar and liquid (milk or water) glaze, melted chocolate, or royal icing. Actually, I always go with royal icing and occasionally chocolate. Check my article on how to decorate cookies here.
If you want to melt a small amount of chocolate for decorating, check out my hack for melting chocolate in a piping bag.
Don’t feel like decorating? Try adding chocolate chips in the dough and make chocolate chip sugar cookies!
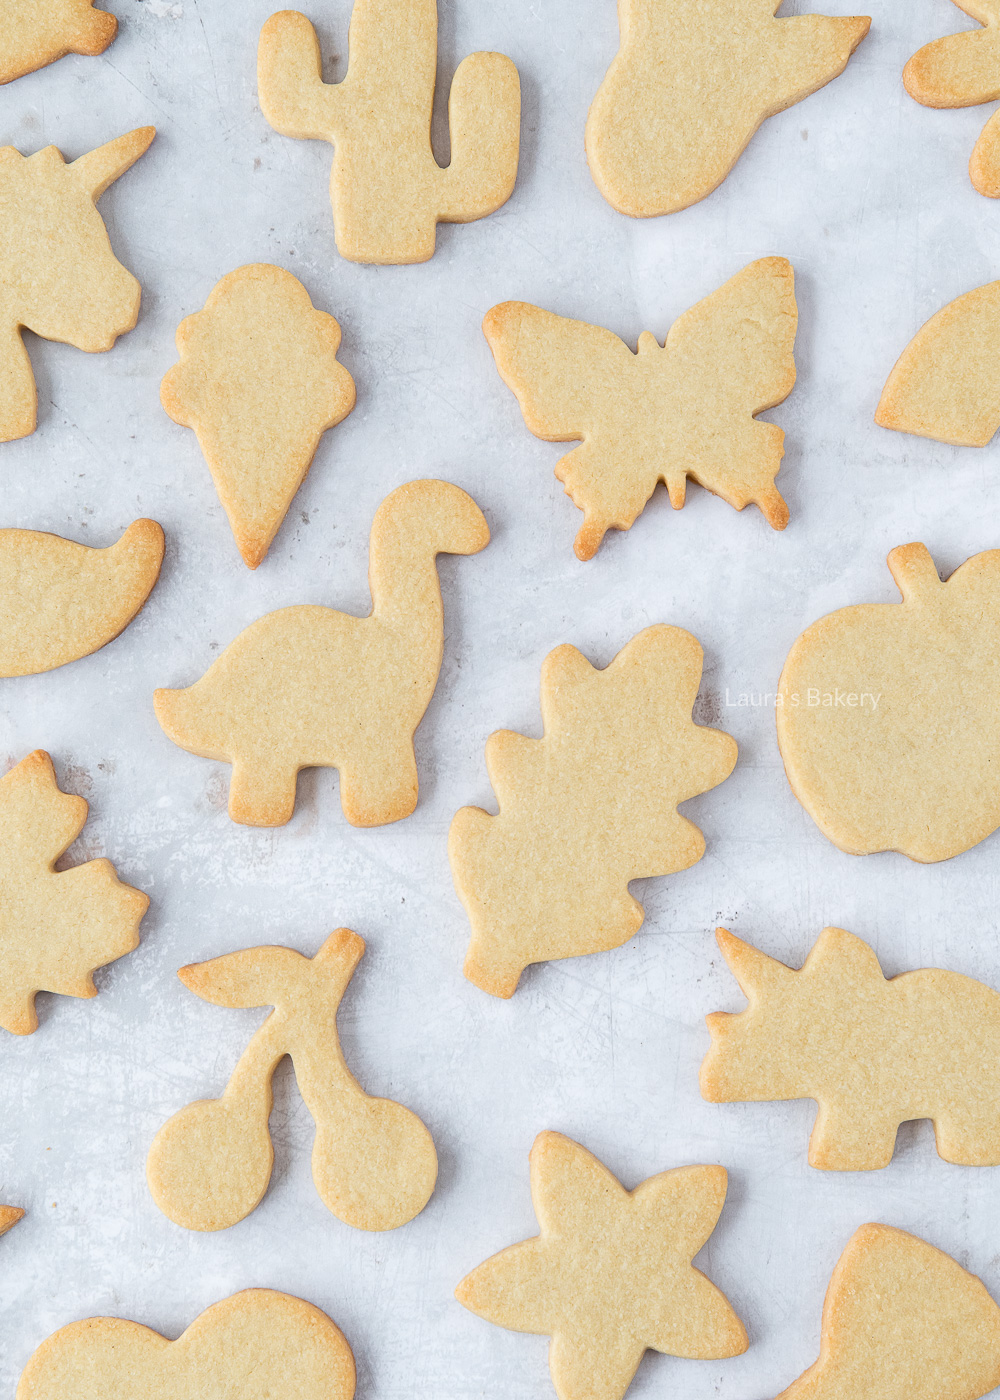
I prefer to use all-purpose flour for cookies, but wheat flour works well too. Some cookie recipes call for a specific type of flour, in which case, of course, you use the flour called for in the recipe.
Cookies always come out of the oven soft. So you cannot rely on touch to determine when they are done. With cookies, you basically have to rely on the recipe and your own judgement. With natural cookies that are light in color (no cocoa powder or spices), you will see that they get golden brown edges.
Ha, I have an unbelievable amount of cookie cutters in the house. All shapes and sizes, you name it, it’s in my drawer. One thing that comes in handy is a set of round cutters with different diameters. I also have this set of 101 Wilton cutters, which is a nice base to have around the house.
Sure you can. Wrapped in an airtight container, you can store cookie dough in the refrigerator for up to a week. In the freezer, you can keep it much longer, up to three months.
Personally, I prefer to use vanilla sugar. If you want to replace it with vanilla extract or paste, you can (2 teaspoons), but you will have to replace the 50 grams of vanilla sugar with caster sugar.

What a beautiful and incredibly delicious cake this turned out to be! An apple cake with both apples through the batter and slices on top for decoration. A new favorite among my apple and cake recipes.
This apple cake recipe is just like a regular vanilla cake, but you add apples to it. This not only gives the cake a delicious flavor, but also makes it nice and moist. The apple slices on top are for decoration, but they make the cake even more pleasing to the eye.
For best results, place the apple slices on top of the cake and gently press them into the batter. And don’t you just love it?

Whether you can officially call this an old-fashioned apple pie, I dare not say. But just like my grandmother’s apple pie, you may remember this cake, in a slightly different form or not, from back in the day. Old-fashioned or not, it still tastes great!
You don’t need much for this apple cake recipe. You can start with the standard cake ingredients and some apples. I prefer to use Jonagold or Goudreinet apples for baking. They have a great flavor and texture for baking. Of course you can use other apples, but the result may be slightly different.


In the fall and winter, I always have plenty of apples around the house to bake with. An apple cinnamon cake remains a favorite, but there are other delicious apple recipes. As you will see, I like to combine apples with cinnamon in my recipes, a perfect flavor combination.
These are some of my favorite apple baking recipes:
I mix the apple pieces that go through the cake with a little flour before they go through the batter. This keeps them from sinking to the bottom too quickly.
You can make this apple cake in a standard loaf pan. I personally like to use this rectangular pan. Of course, you can make it in any other shape. The baking time may vary slightly.
You can keep the apple cake outside the refrigerator for about a week if wrapped properly. You can also freeze the cake and it will keep for 3 months.


Making your own Dutch Stroopwafels is so much fun! And so incredibly delicious. Fresh, warm stroopwafels are simply the most delicious. I highly recommend making them yourself.
The Dutch love their stroopwafels, and I’m no different. No matter what market you go to in the Netherlands, there is bound to be a stall selling fresh, warm stroopwafels. They are made fresh in front of you and you get them in a paper bag so you can enjoy them right away.
At these stroopwafel stands you can even buy bags of “stroopwafel crumbs”. These are the edges of the stroopwafel that are left over after you cut it out. They are great to eat on their own, but they are also very tasty to incorporate into recipes.
In recent years, more and more varieties of stroopwafels have appeared. Then the syrup gets a special flavor. Although these Dutch cookies are often called caramel waffles abroad, there is no real caramel (flavour) in them. Although nowadays some supermarkets make them with this flavor.


These stroopwafels are in my Dutch baking book ’50x Koekjes’, which means 50x cookies. I baked a lot of cookies for this book and I’ll tell you honestly, I saved the stroopwafels for last. In fact, I was quite reluctant to make them. I had not had such a positive experience with making stroopwafels myself and in my head I had made quite a thing out of it.
But as it turned out, it was totally unnecessary, because every single one of them turned out great without any effort! Now that I have made them, I am sure that I will do it more often. Just the smell of fresh stroopwafels, like at the market, is really irresistible.
There are two well-known types of syrup in the Netherlands: “schenkstroop” and “appelstroop”. It is the Dutch version of syrup, although both varieties are thicker. The first you can pour, the second is more for spreading.
FUN FACT: ‘Stroop’ is pronounced as ‘strope’
‘Schenkstroop’ is a thick, sticky sugar syrup with the color of caramel. Although it tastes different.
‘Apple syrup’ is -in short- made from, among other things, apples and is too thick to pour. It is often spread on bread, even though I don’t like this myself. I do like to use it in the recipe for Dutch ontbijtkoek (breakfast cake), delicious!
If you want to make the real Dutch stroopwafels, you need schenkstroop. I’ll name an alternative later, but first I’ll share with you a few online shops where you can buy this product:

Baking a stroopwafel is not difficult. You make them with a yeast dough and bake them in a special stroopwafel iron. Then you cut them and fill them with homemade stroop.
When the stroopwafels just come out of the iron, it’s important to work quickly so you can cut and fill them while they’re still hot. This works best. It’s especially important to be careful not to burn yourself.
DUTCH COOKIES: Another popular cookie recipe in The Netherlands are ‘zandkoekjes’ which translates to sand cookies. you could also call them Dutch shortbread. Want more Dutch recipes? Check all of them here.
Once you’ve baked stroopwafels, you can use those to make other recipes such as the stroopwafel Dutch Doughnuts or stroopwafel ice cream.
Yes, you definitely need one. You can’t make stroopwafels without a waffle iron. This is a different kind of iron than a regular waffle iron. It makes thinner waffles. You can also use it to make your own ice cream cones.
I used this stroopwafel iron.
If you can’t find Dutch stroop near you, you can use half light corn syrup and half molasses. It’s not the same, but it’s close enough to make delicious stroopwafels.


I have been using almond flour more and more in my baking. It started with muffins where I replaced some of the flour with this nutty flour. I was so thrilled with the results that I have used it in many other baked goods since then.
Especially since I have now discovered how to get the best results when baking with almond flour. I do not recommend replacing all the regular flour with almond flour. I will tell you what ratio of flour to almond flour I personally like.
First of all, I am writing this article with the intention of simply enjoying baking with almond flour. Not because it is gluten-free or because it fits well with other lifestyles. I started out that way, with a banana bread that used only almond flour as a flour substitute. It was delicious, but now I make it even more delicious. I’ll give you my tips!
If you use only almond flour as the type of flour in a baking, you will get a firm and compact baking. You have to add a lot of other baking agents to get a somewhat airy result, although it will never resemble the fine, airy texture of a cake.
So for sweet recipes, I cut the flour or self-rising flour in half and replace that amount with almond flour. The result is airy because it still contains flour. I usually add a little extra baking powder or baking soda. At the same time, the nut flour makes it extra moist. There will be a cake online soon that follows this principle and it is SO delicious!
And this is actually my most important tip. For best results, use a 50/50 ratio of flour and almond flour. The more flour, the fluffier and the more almond flour, the more compact and dense the result.
Of course you can play around with this and just try things out, I still do. But if you like baking with almond flour without losing the properties of certain baked goods, this is the ratio I recommend.

Both ingredients are made from ground almonds, but almond flour and almond meal have two small differences that set them apart.
Almond flour is typically made from blanched almonds with the skins removed and is ground finer than almond meal, which typically still contains the skins and is ground coarser.
For most recipes, it doesn’t really matter which type you use. But if you are making macarons, for example, you will want to use almond flour to avoid dark spots in the macaron shells.
I haven’t translated many recipes for you that use almond flour, but this rhubarb crumble comes highly recommended. I really find a crumble that contains almond flour to be incredibly delicious. Another good one are these soft Italian amaretti cookies. I will be expanding this list of recipes for you soon.
And just to give you an idea of how to adapt a recipe to include almond flour, for these apple yogurt muffins, you can easily halve the amount of flour and replace it with almond flour. The rest of the recipe remains the same.
There are several alternatives. You can of course use regular flour or self-rising flour. If you want to use another nut flour, hazelnut flour is recommended, I like to use it myself.
If you are looking for a nut-free alternative, you can use oat flour. It has a fairly similar structure to almond flour, so you can just substitute it 1:1 in most cases.
I prefer to work in grams. This is the standard measurement in the Netherlands (what do I say? Almost the whole world), but you also get better results when baking if you weigh all your ingredients on a scale. Lookin for a kitchen scale? Try this one!
1 cup of almond flour is 100 grams.
It always depends on the recipe, of course, but in most cases you can substitute almond flour for all-purpose flour just fine.
Did you know I have more baking tips on the blog? I think you might like these subjects as well:

Years ago, I used to make chocolate-covered Oreos on a regular basis. I decorated them as mummies, bees, ladybugs, and many other fun shapes. It was always a challenge to make them into Oreo pops because my lollipop sticks were just a little thicker than the filling between the Oreos.
Luckily, I have a simple trick to make sure your Oreo cookies don’t break when you try to make Oreo pops.
Oreos with an extra layer of chocolate, I find it a treat. You can keep it simple by dipping an Oreo in milk chocolate, for example, and sprinkling some sprinkles or chopped nuts on top.
I really enjoy decorating chocolate-covered Oreos. I will show you some examples later. You can make them for all kinds of holidays and other festive occasions.
Place the chocolate-covered Oreos on a tray and give your guests a delicious treat. Also very cute: a bag of decorated Oreos to give away.
As you will see later, I like to poke a stick into my chocolate Oreos to make Oreo pops. I use lollipop sticks to do this. And to make them extra fun, I put a paper straw around them.
These paper straws come in all kinds of colors and patterns, so you can always pick a straw that matches your Oreo pop.

As mentioned above, you can easily turn your chocolate Oreos into Oreo Pops. Let me tell you how I do it. With this technique, the cookies won’t break and certainly won’t come off.
How easy is that! If you follow this simple step-by-step plan, your Oreo will be firmly attached to the stick and will not come loose when you dip the Oreo in the chocolate afterwards.
You can decorate Oreos with a few sprinkles or turn them into a real work of art. Decorate Oreo pops for Halloween, Easter, Valentine’s Day and other holidays.
Below are Bee Oreo Pops and Ladybug Oreo Pops. For these Oreo pops, I used yellow, red and black candy melts. The bee’s face and stripes were made with dark chocolate.
I used Wilton’s Candy Eyeballs for the eyes. The bee has wings made from half almonds.


I have more examples of Oreo Pops characters. How fun are these mummies for Halloween? And the chicks are perfect for Easter.
For the mummy Oreo pops, I used white candy melts. If you use white chocolate, your mummies will not be completely white because the chocolate is more of a cream color.
Cover the eyes with chocolate first, then pipe the strands over the Oreo pops. Don’t forget to put some chocolate over the eyes for the best effect.
I personally used white candy melts to dip the Oreos in, but you can also buy the ready-made white chocolate covered Oreos.
I used yellow and orange candy melts for the chicks. You can also color the white chocolate yourself. Just make sure you use oil-based dyes or the colors won’t be pretty.


Do you find it difficult to decorate to your own taste? There are also all kinds of cute molds for chocolate covered Oreos! I got mine for Christmas, but they come in all sorts of designs.
Or get a simple mold for a good base that you can then decorate to your liking.