Can I use green olives instead of black ones?
Yes, you can! Green olives will give the tapenade a slightly sharper, more tangy flavor compared to the mild, rich taste of black olives. You can even mix the two for a nice balance.
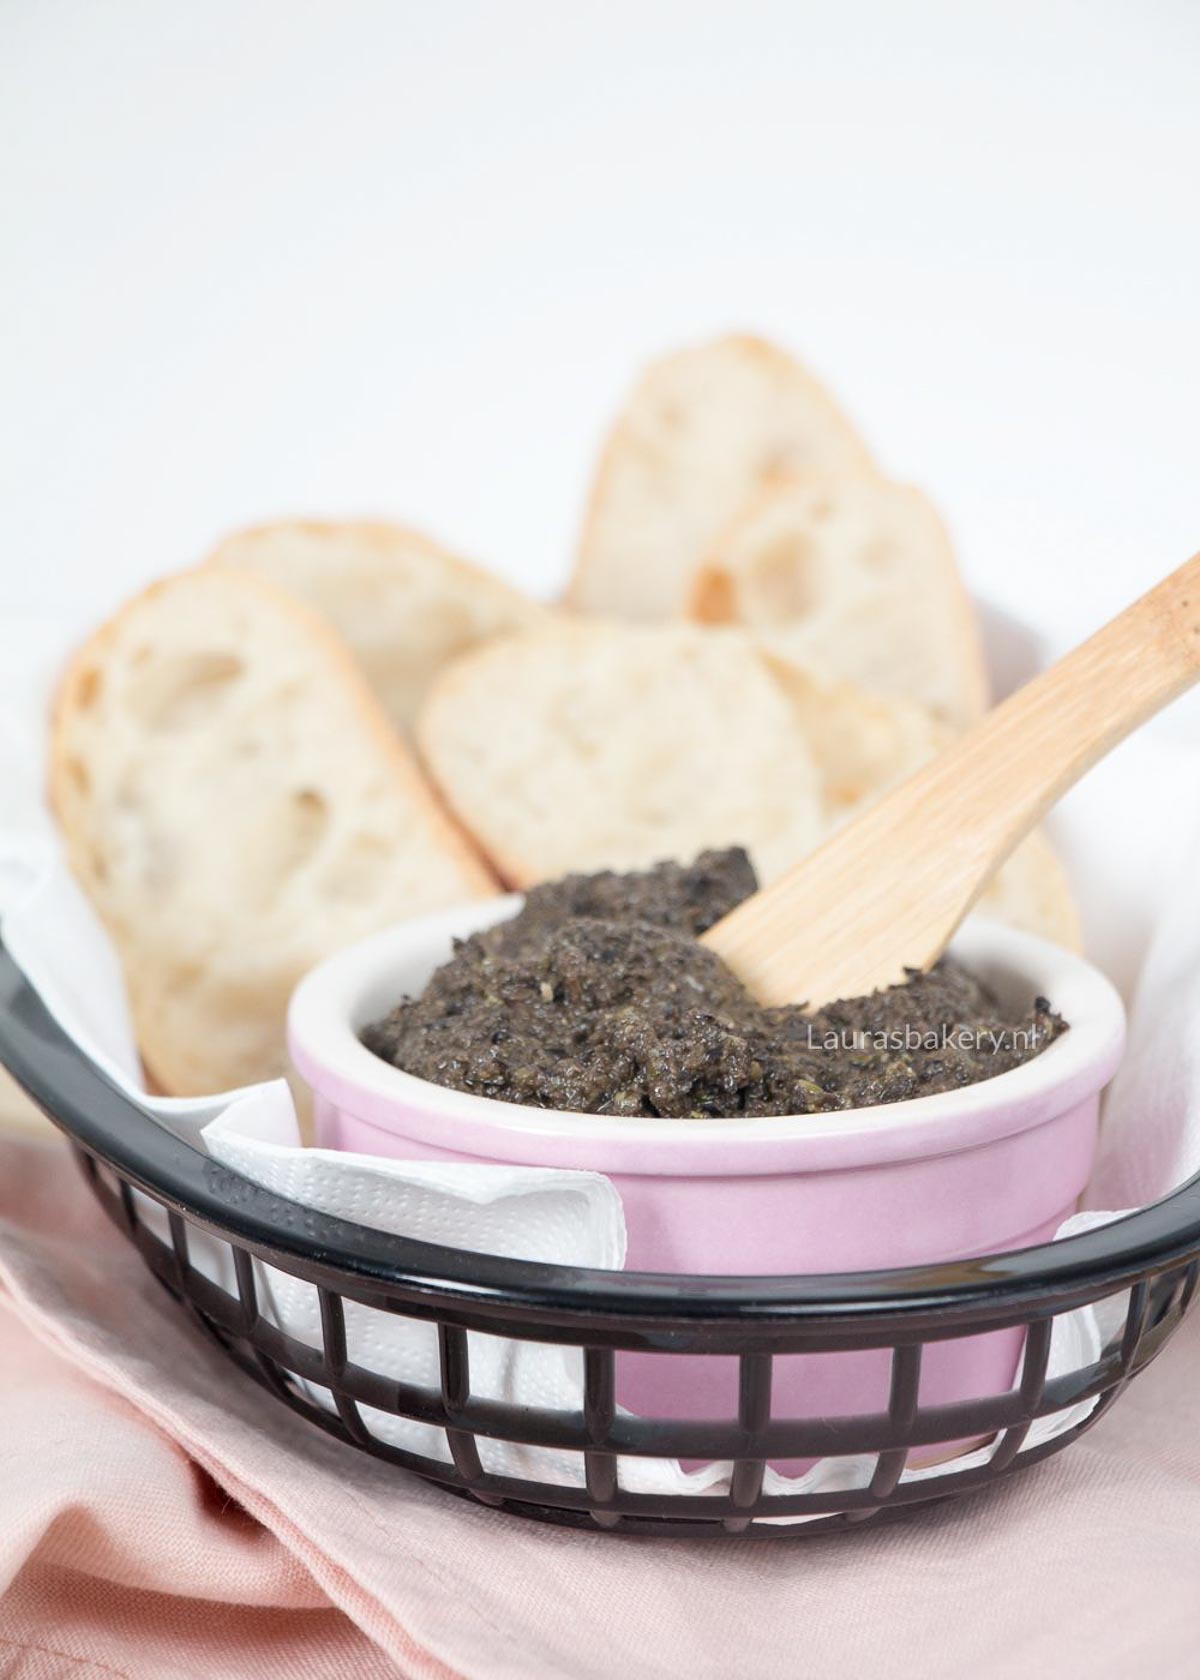
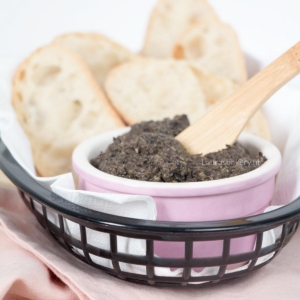
When I was recently writing a few articles about delicious snacks that are easy to make, I realized we didn’t yet have a recipe for black olive tapenade. And it was time to rectify that!
It would be absolutely delicious on the homemade crostini for instance, but there are many other ways to use this black olive tapenade recipe.
If you love olives this olive dip is going to be one your new favorites. It is easy to make and delicious on some baguette slices. The good news is that you can make it with green olives, kalamata olives or whatever other olives you prefer. It’s a pretty flexible recipe.
Additionally you can also add some fresh herbs, like fresh parsley or fresh thyme and adding finely chopped sun-dried tomatoes is also a favorite way of mine to vary with this easy recipe.
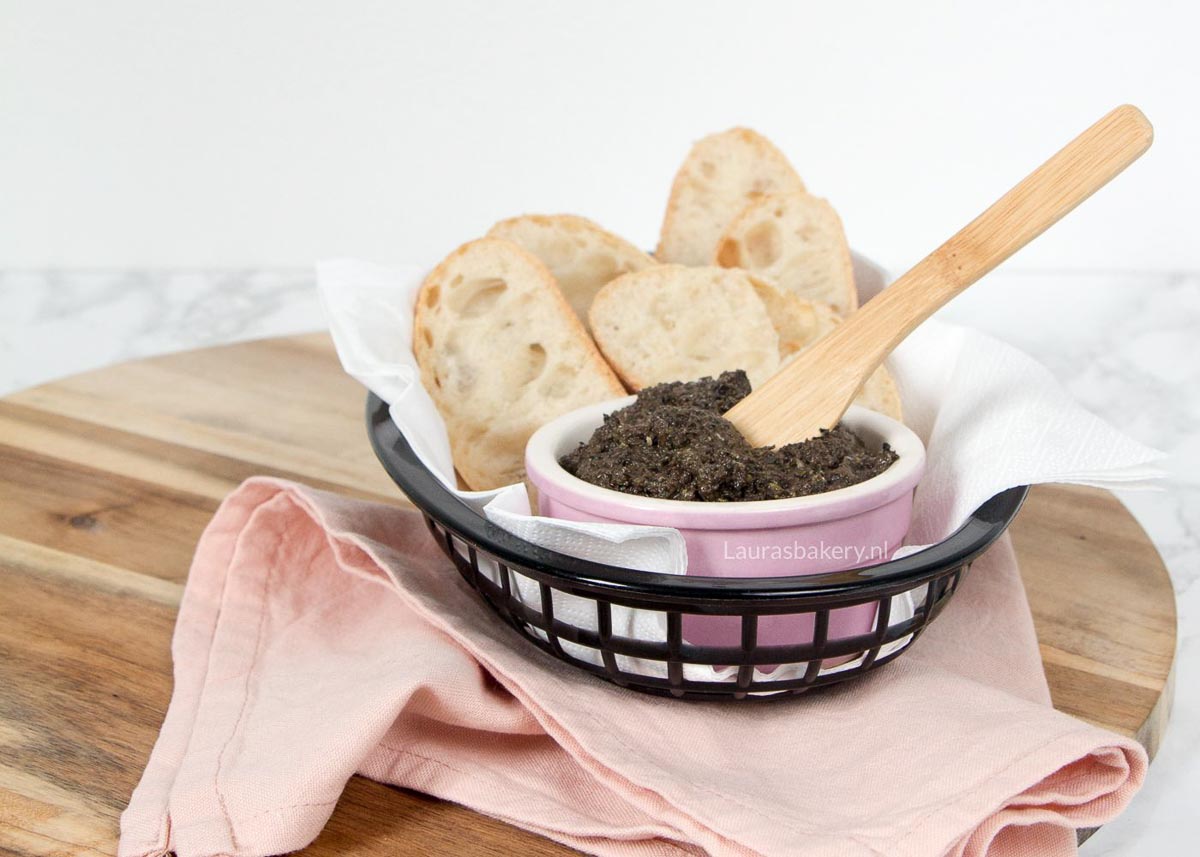
Now if you’re making this easy recipe you only need a small food processor and blend it all together to a coarse paste. Don’t let the machine run for too long as you do want some of the texture.
Keep in mind if you’re using garlic, it is best to chop the garlic in advance so that is fine enough regardless of how long you’re turning the rest of the ingredients.
Yes, you can! Green olives will give the tapenade a slightly sharper, more tangy flavor compared to the mild, rich taste of black olives. You can even mix the two for a nice balance.
Choose good-quality, flavorful olives. Kalamata olives are a great option for black olive tapenade because they have a deep, rich taste. Avoid olives that are overly salty or packed in vinegar, they can overpower the flavor.
You can, but keep in mind that anchovies add a subtle umami flavor and depth. If you skip them, add a small splash of lemon juice or a few extra capers to boost the flavor.
Stored in an airtight container in the refrigerator, it will stay fresh for about 3 to 4 days. Always bring it to room temperature before serving to let the flavors shine.
It’s perfect on toasted baguette slices, crackers, or as part of a charcuterie board. You can also spread it on sandwiches, use it as a pizza topping, or swirl it into pasta for extra flavor.

These delicious and easy blueberry lemon cookies are perfect for any time of the year. I do make them a lot in summer as I find the flavors perfect for sunny weather, but they do equally well in any season.
Lately, I’ve been on something of a blueberry kick; you’ll almost always find them in my fridge. I use them in yogurt, snack on them straight, or bake with them. This time I thought it would be fun to make cookies with fruit again, and that turned into these blueberry lemon cookies.
These blueberry lemon cookies are a bit softer than regular cookies and work beautifully with the berries. Delicious with fresh blueberries and that little hint of lemon flavor.
Adding fruit to cookie dough can be a bit tricky due to the added moisture, but it worked great with these chewy cookies.
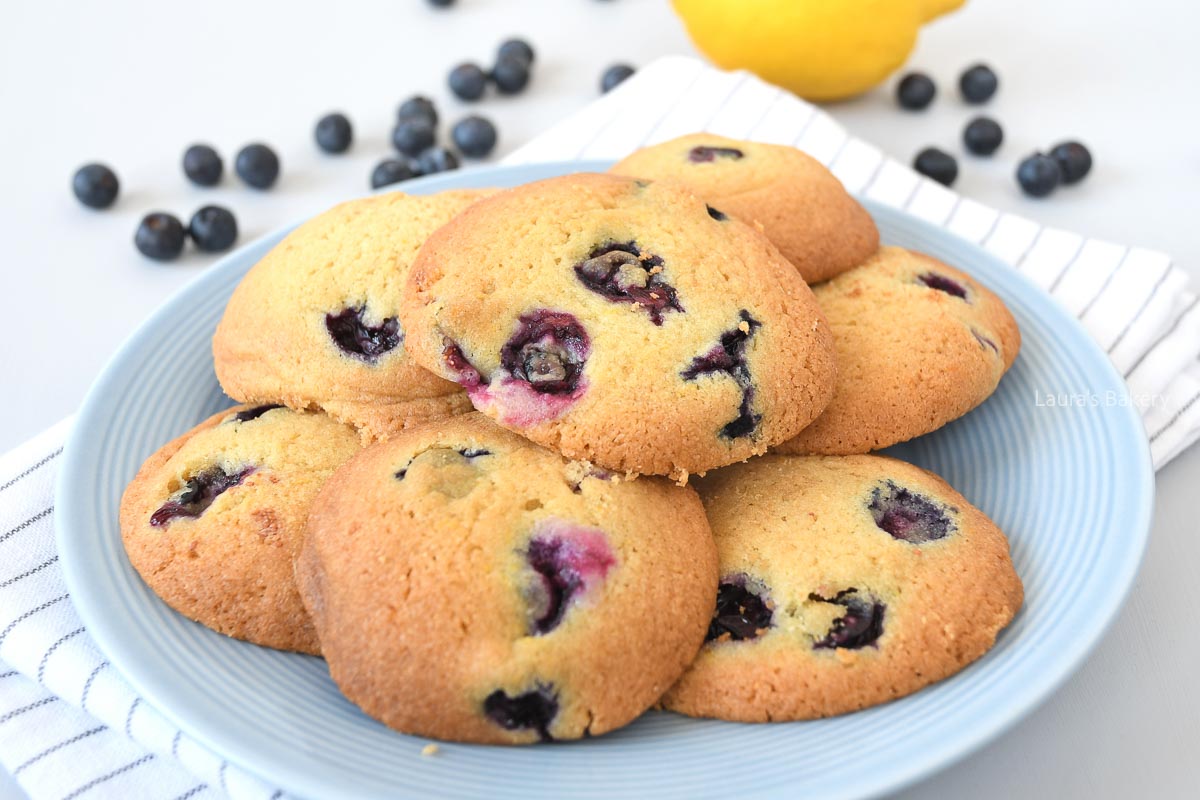
Making this lemon blueberry cookie recipe is easy. You start by creaming the butter with the two types of sugar until light and creamy. Add the eggs and the vanilla and finish by adding the dry ingredients. As soon as the dough is mixed, stop the machine. Don’t over work the dough.
The dough is soft and a little sticky and that is what you want. Now gently mix in the blueberries. It is important not to break them as that will add too much moisture to the cookies. So try to keep them in one piece. It’s quite a cakey cookie anyway due to the blueberries but you want to keep it within limits.
Now make cookie dough balls and place them on a baking sheet lined with parchment paper. Flatten them slightly and make sure to keep enough space in between the balls. If using something like a cookie scoop, again make sure to not break the berries.
Bake in the preheated oven for about 15 minutes or until golden brown.
Love the combination of blueberries and lemon? Check out the below recipes as well:
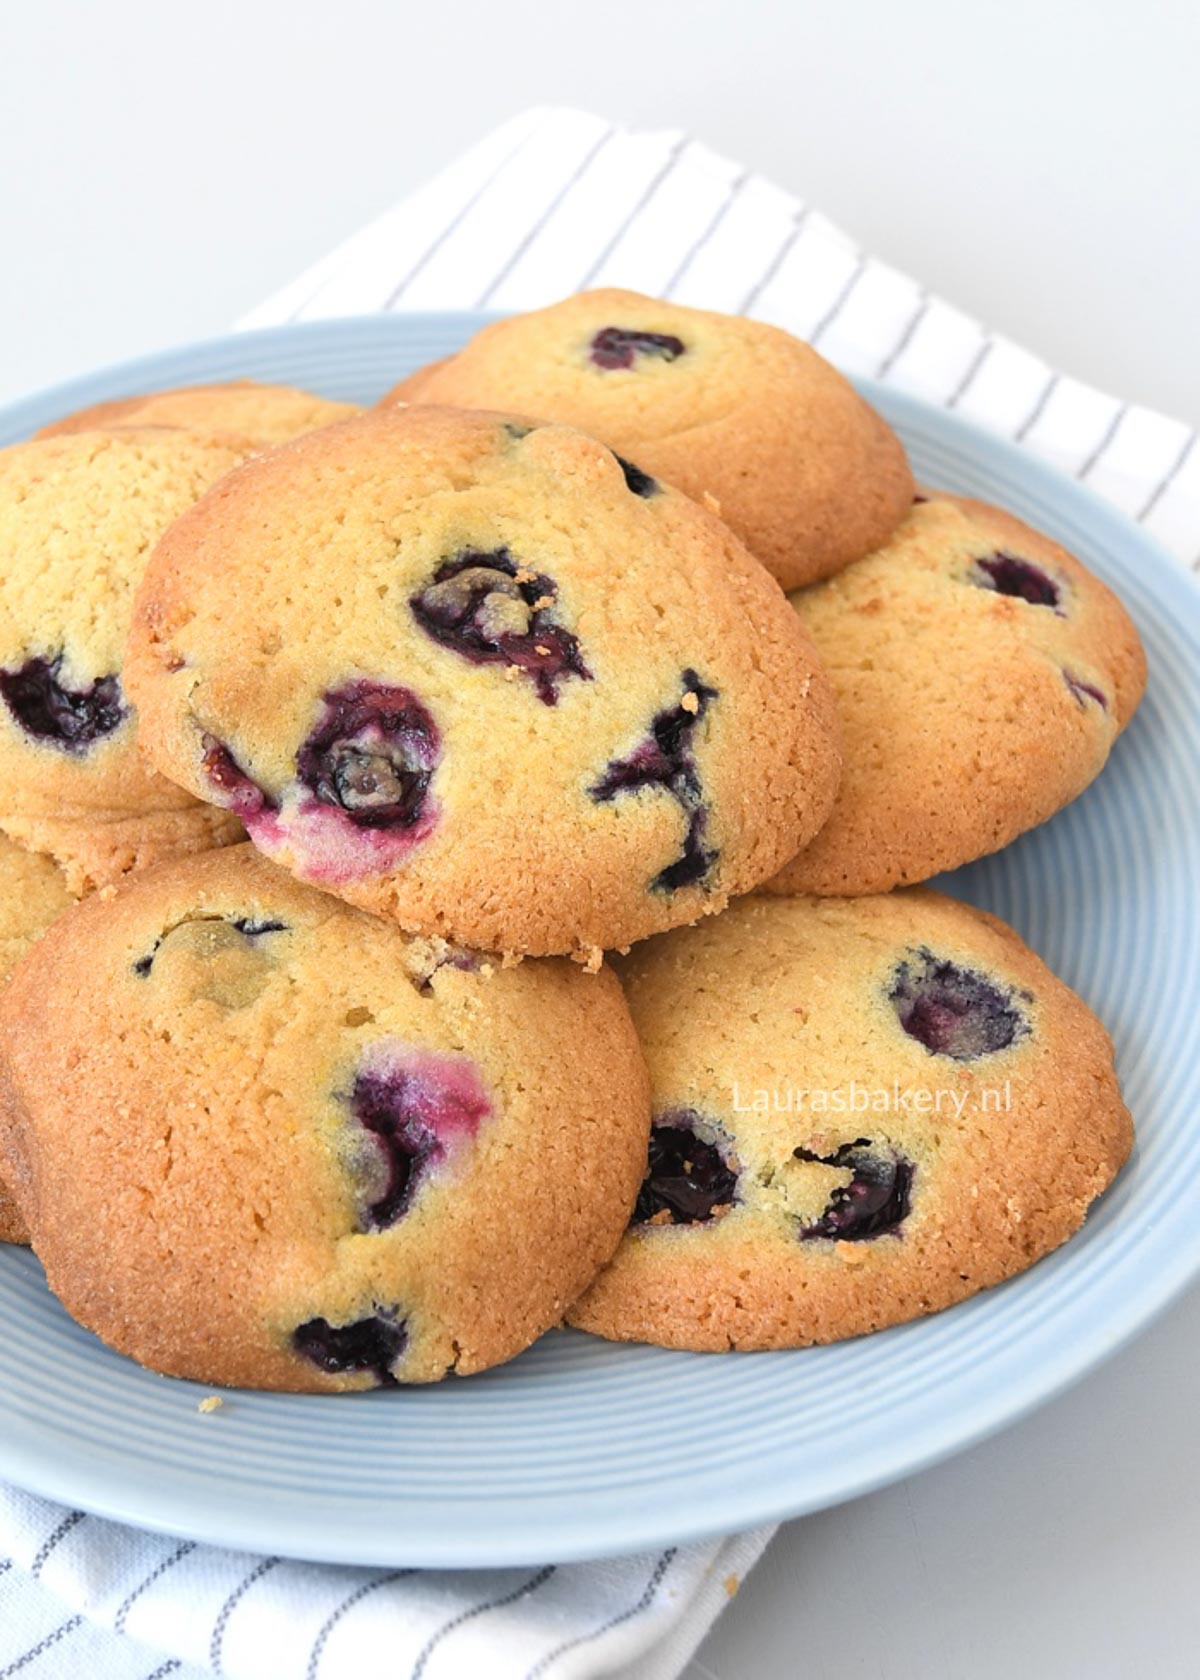
Yes! Frozen blueberries work just fine. Don’t thaw them before adding to the dough, fold them in straight from the freezer to prevent too much extra moisture.
Yes, you can prepare the dough and keep it in the fridge for up to 24 hours before baking. If it gets too firm, let it rest at room temperature for about 10 minutes before shaping.
Once cooled, keep them in an airtight container at room temperature for 4-5 days.
Yes! Both the baked cookies and the unbaked dough balls freeze well. Store baked cookies in a freezer-safe container or bag for up to 3 months.
For unbaked dough balls, freeze on a tray first, then transfer to a freezer bag. Just add an extra 1-2 minutes to the baking time.
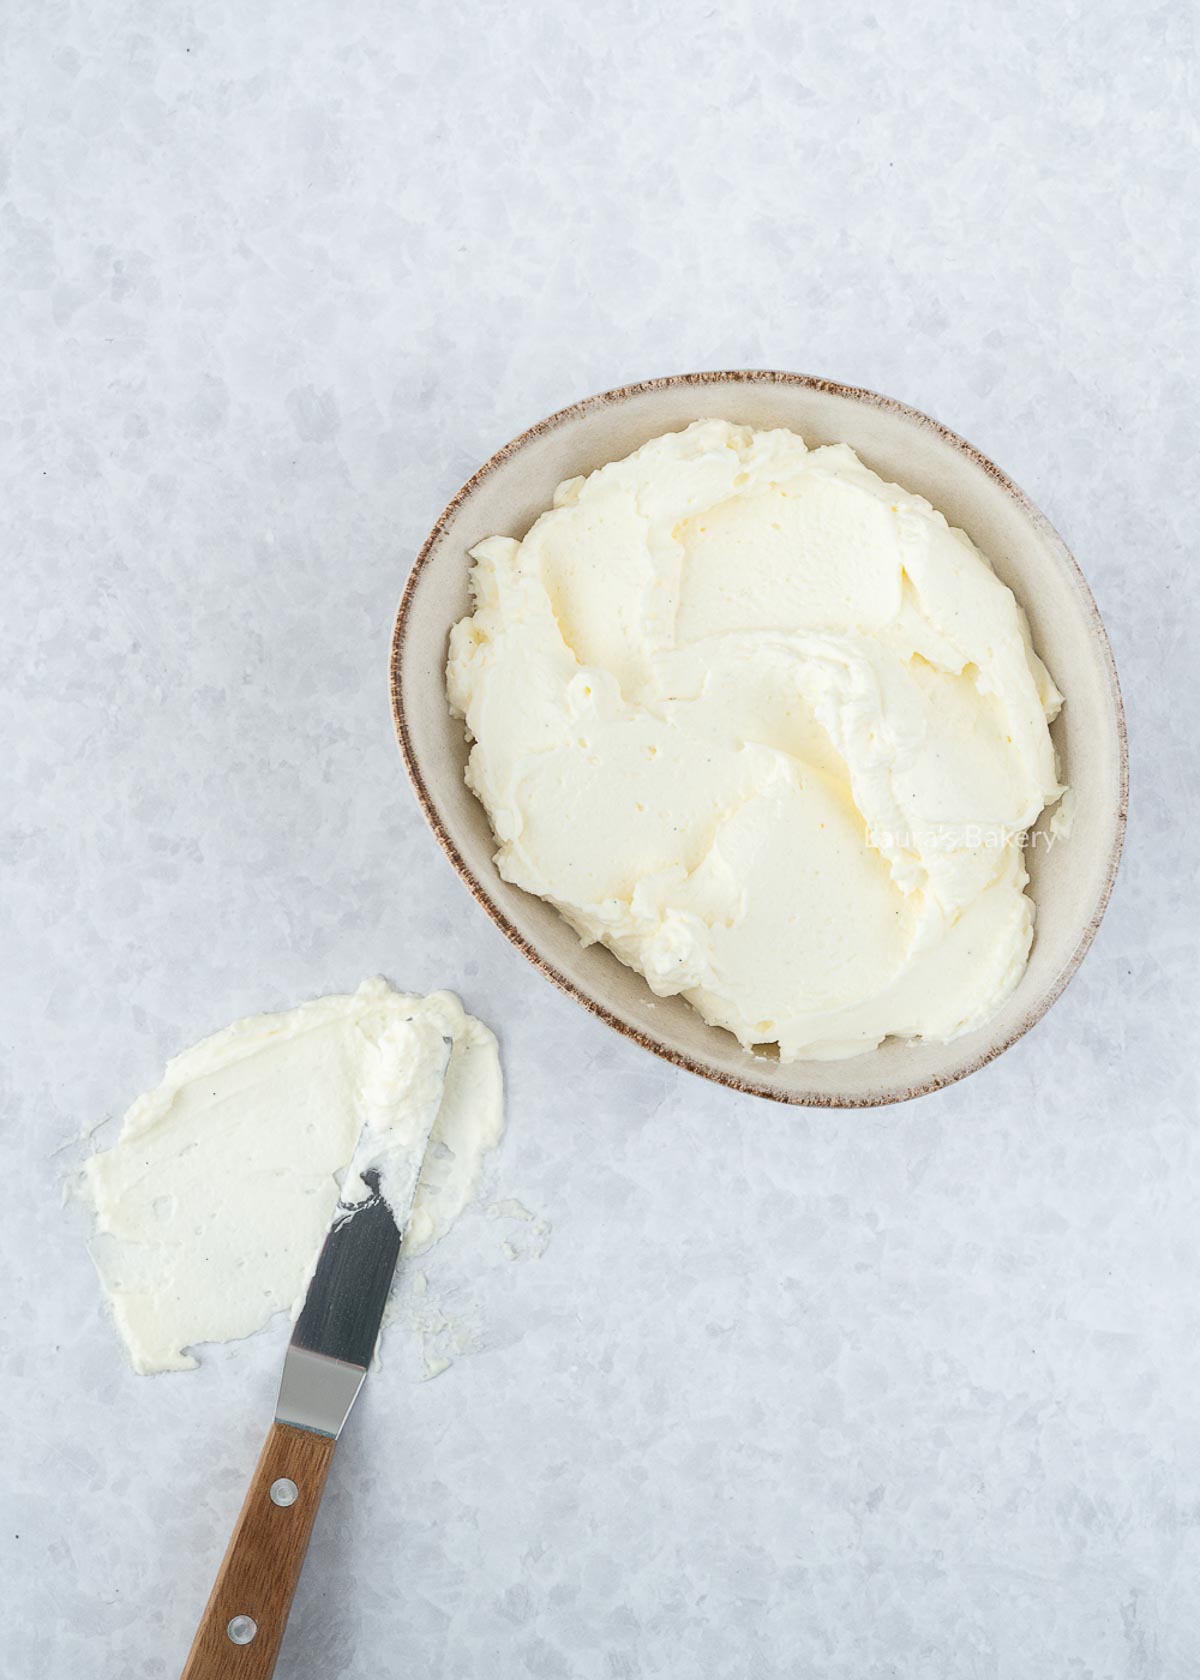
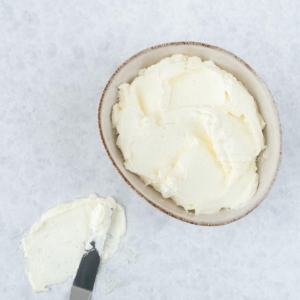
With this easy mascarpone cream recipe, you’ll always have a delicious cake filling or topping ready to go!
Mascarpone cream is one of my favorite base recipes that I make all the time. I use it as the base for my egg-free tiramisu, as a topping for a Dutch “sloffentaart”, or as a filling for other baked goods. As far as I’m concerned, mascarpone cream goes with just about anything.
The great thing about this mascarpone frosting is that it stays firm and holds its shape. That’s why I often use it instead of whipped cream, especially if the dessert won’t be served right away.
You can also flavor the cream, though I don’t always do that. A bit of cocoa powder turns it into a chocolate cream, and mixing in cookie pieces or lemon curd makes for a tasty variation too.
One of my favorites is orange mascarpone cream, though you can easily swap the orange for lemon. That way, you have a simple but delicious twist right away.
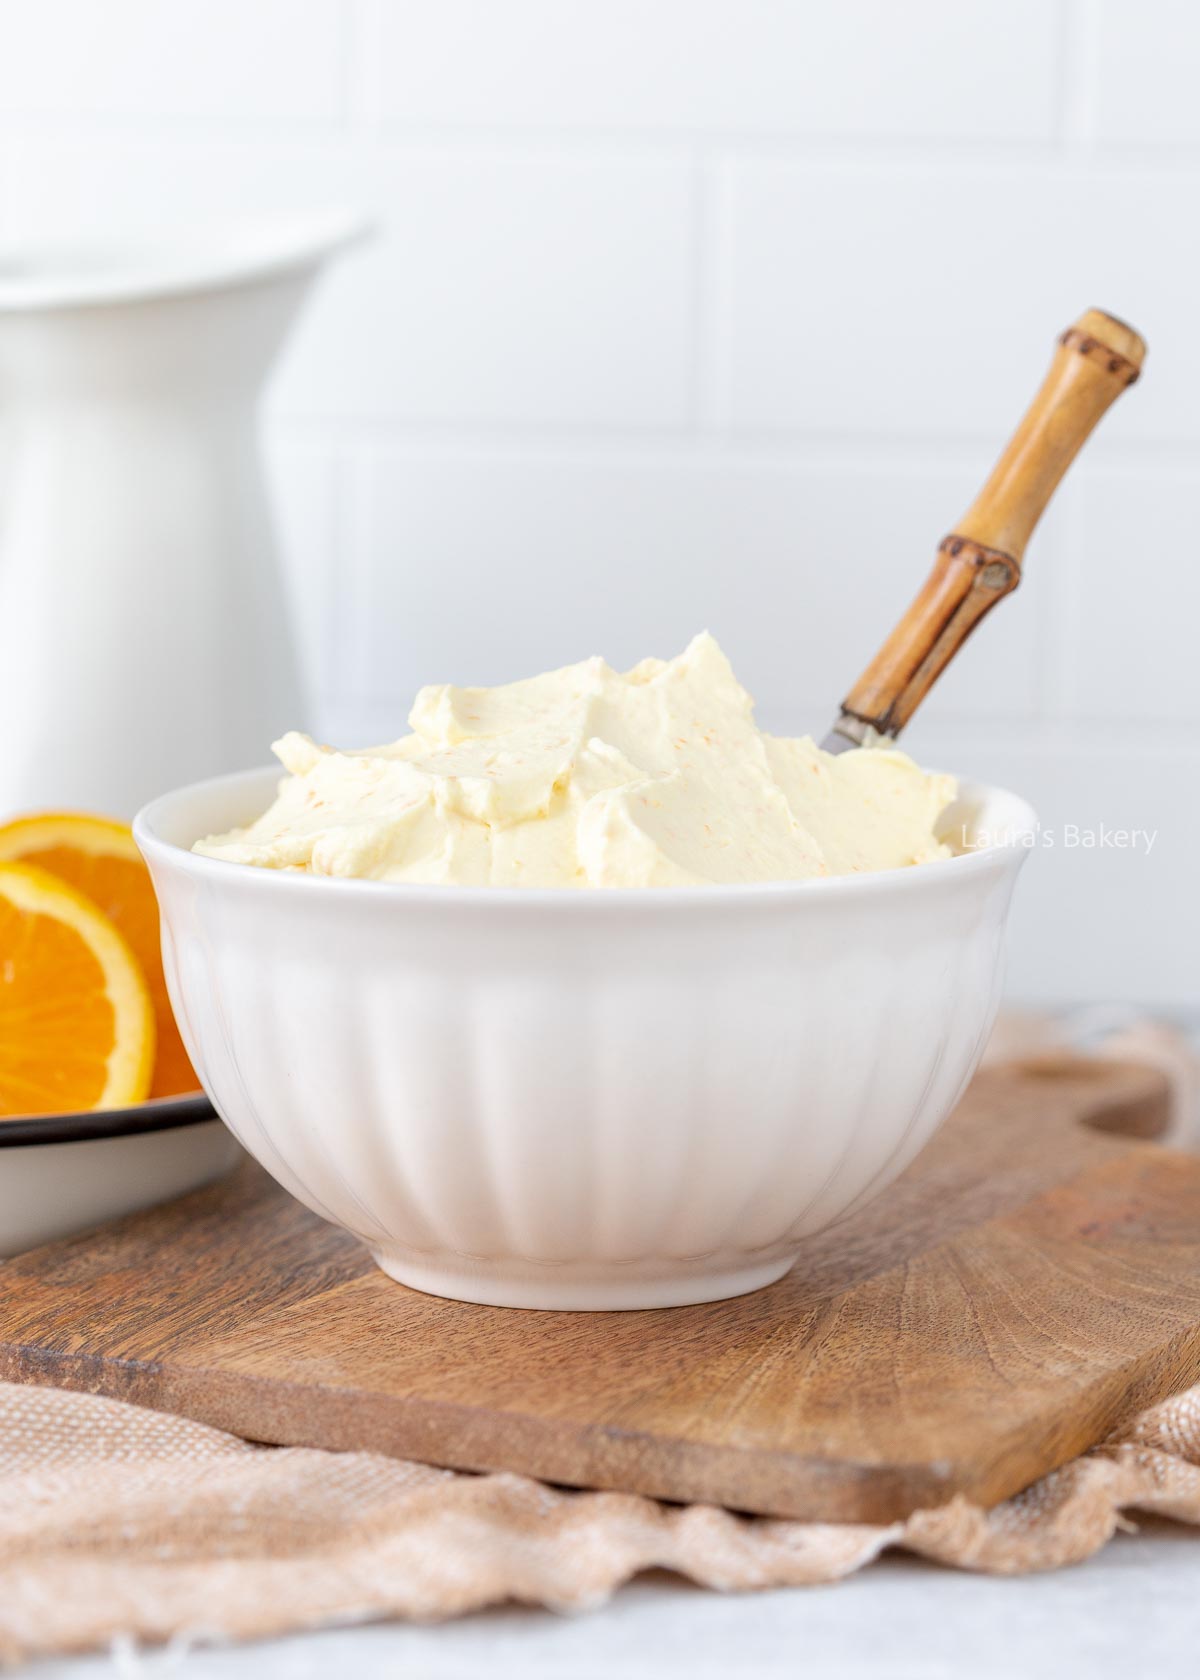
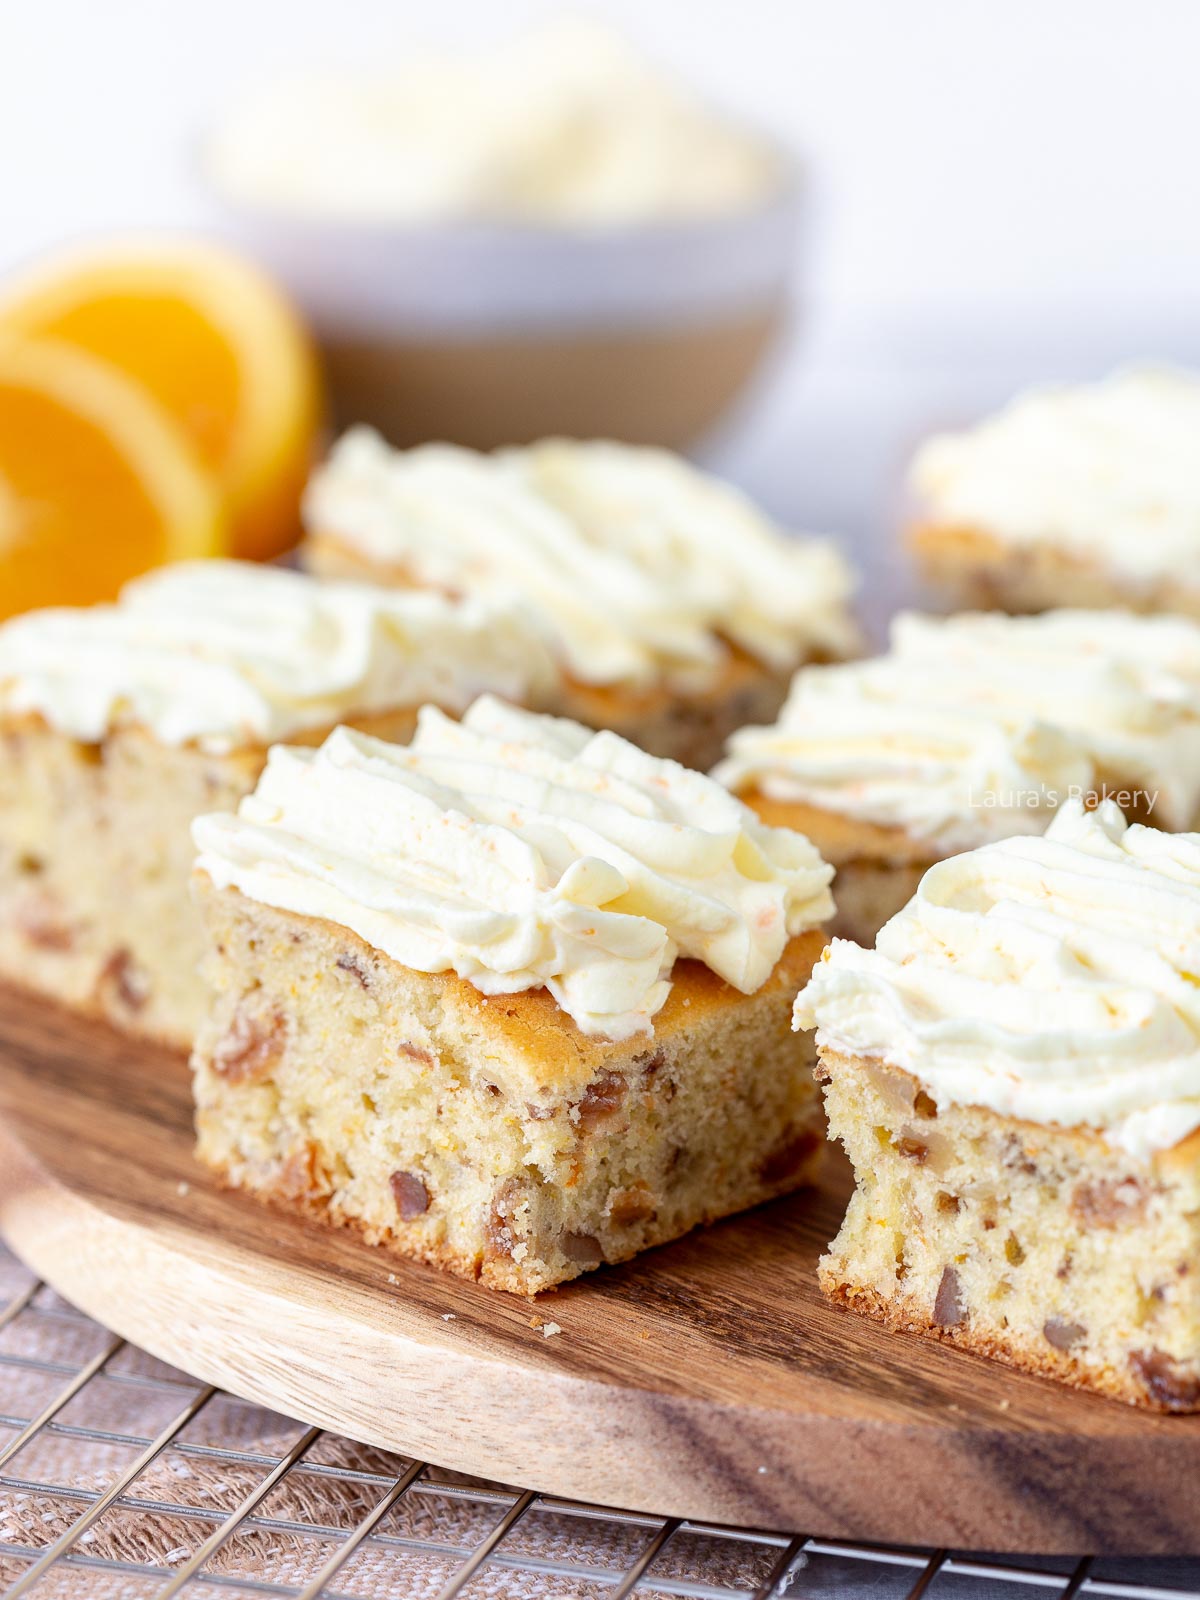
Making the mascarpone whipped cream is super easy to do. You just mix the heavy cream with the mascarpone. You can use a stand mixer or a large bowl with a hand mixer too.
Start by whipping on low speed until you have soft peaks. Then turn the machine on high and whip it until you have stiff peaks forming. Now taste and add (powdered) sugar as needed. Keep in the fridge until you’re ready to use it.
A lot of people think mascarpone isn’t cream cheese, but it is. Mascarpone is an Italian cream cheese (made from cream), and it has a higher fat content than regular cream cheese. Mascarpone has about 40% fat, compared to most cream cheeses that are closer to 35%.
The flavor of mascarpone is slightly sweeter and richer than other cream cheeses. No wonder it works so well in tiramisu. In this recipe, combined with whipped cream, it makes a fantastic cake filling. I will soon be sharing recipes using this delicious mascarpone cream.
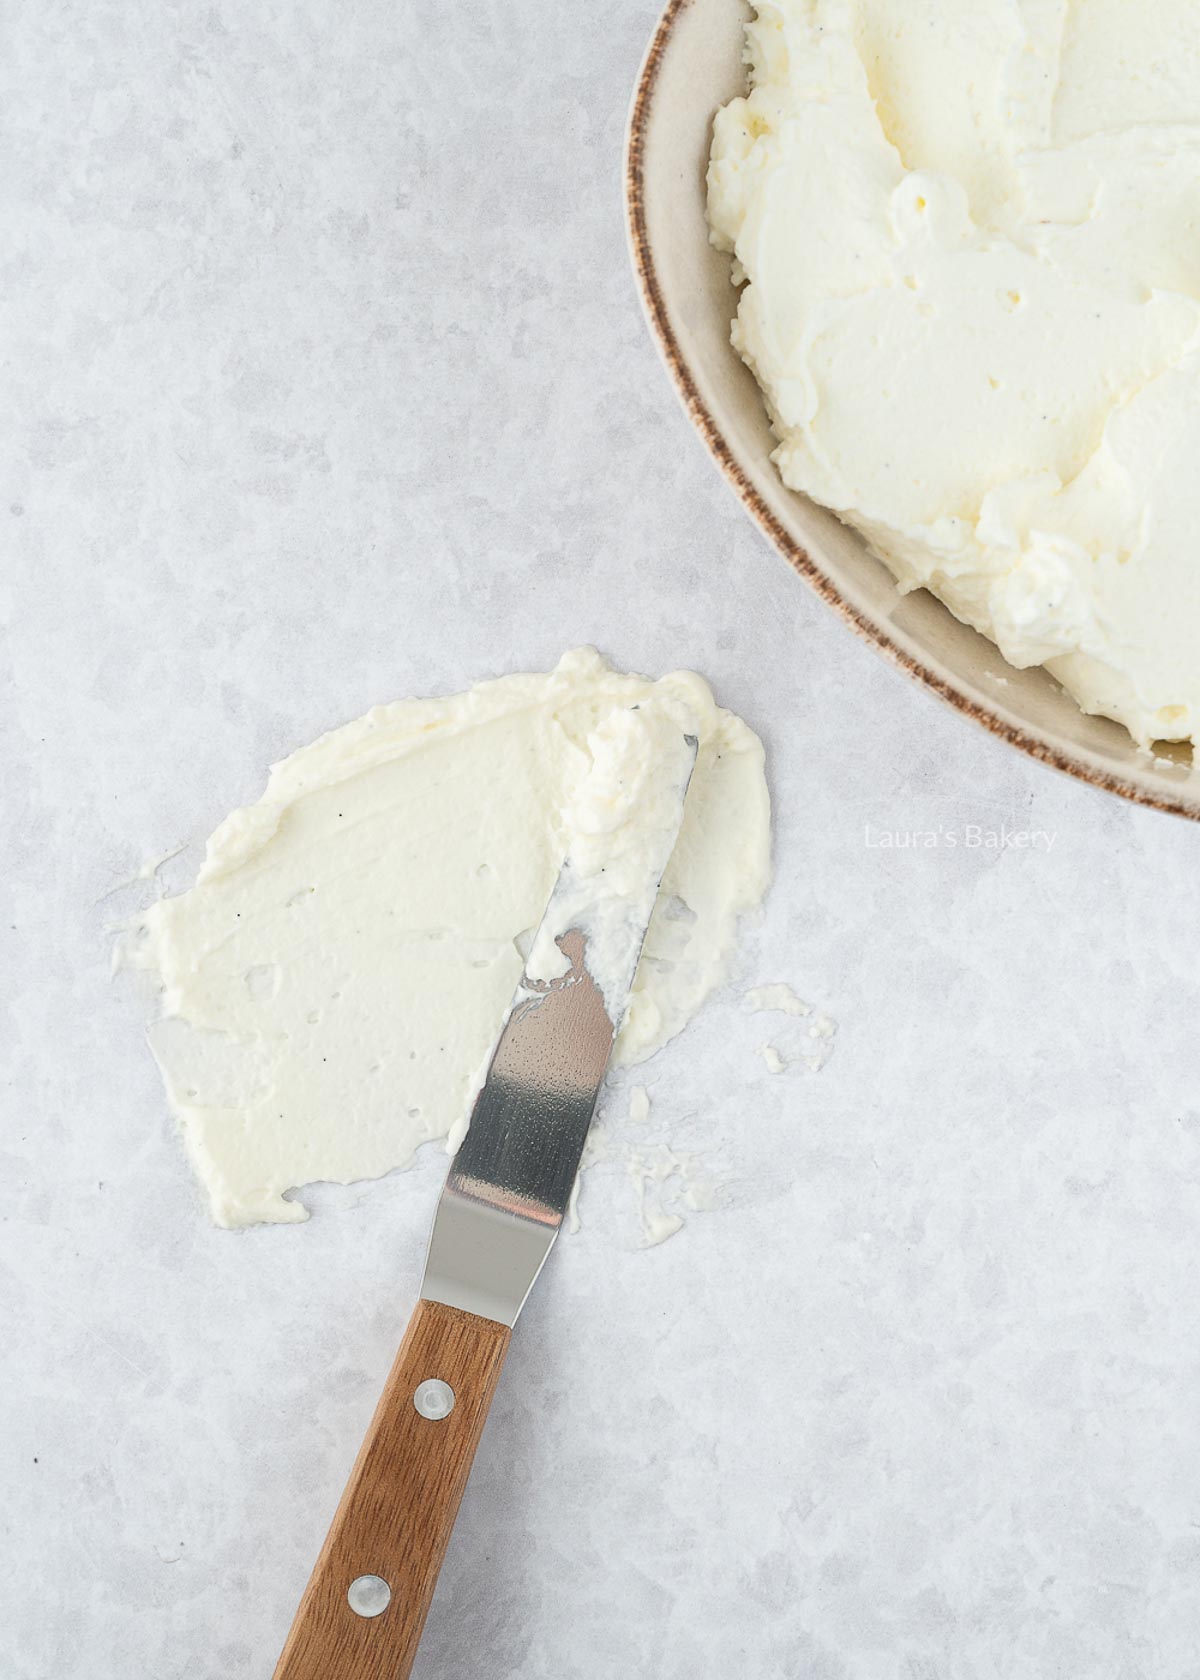
I don’t recommend using this cream to fully frost a cake or for multiple filling layers (one layer is fine). With too much handling, it can lose its firmness. For that, cream cheese frosting or buttercream are much sturdier options.
This cream isn’t suitable for covering a cake that will be topped with fondant or marzipan. The moisture in the cream will make them soggy. Instead, use a 1:1 buttercream.
For added firmness, mix in one or two packets of stabilizer (like Whip It) or add extra powdered sugar. Keep in mind that icing sugar will also make it sweeter, and you’ll need quite a bit for noticeable firmness.
You can pipe smaller swirls with mascarpone cream just fine. Disposable piping bags and tips work best. For extra firmness, add a stabilizer, and as long as you don’t overwhip the cream, it should pipe beautifully.
The easiest way to add flavor is with extracts or powders, such as cocoa powder or instant coffee. Citrus zest and a bit of juice also work well, but don’t add too much liquid or the cream will thin out. The same goes for pureed fruit and curd.
I haven’t done this myself, but you can color the cream. Just make sure to use gel- or paste-based food coloring that blends well into fatty mixtures.
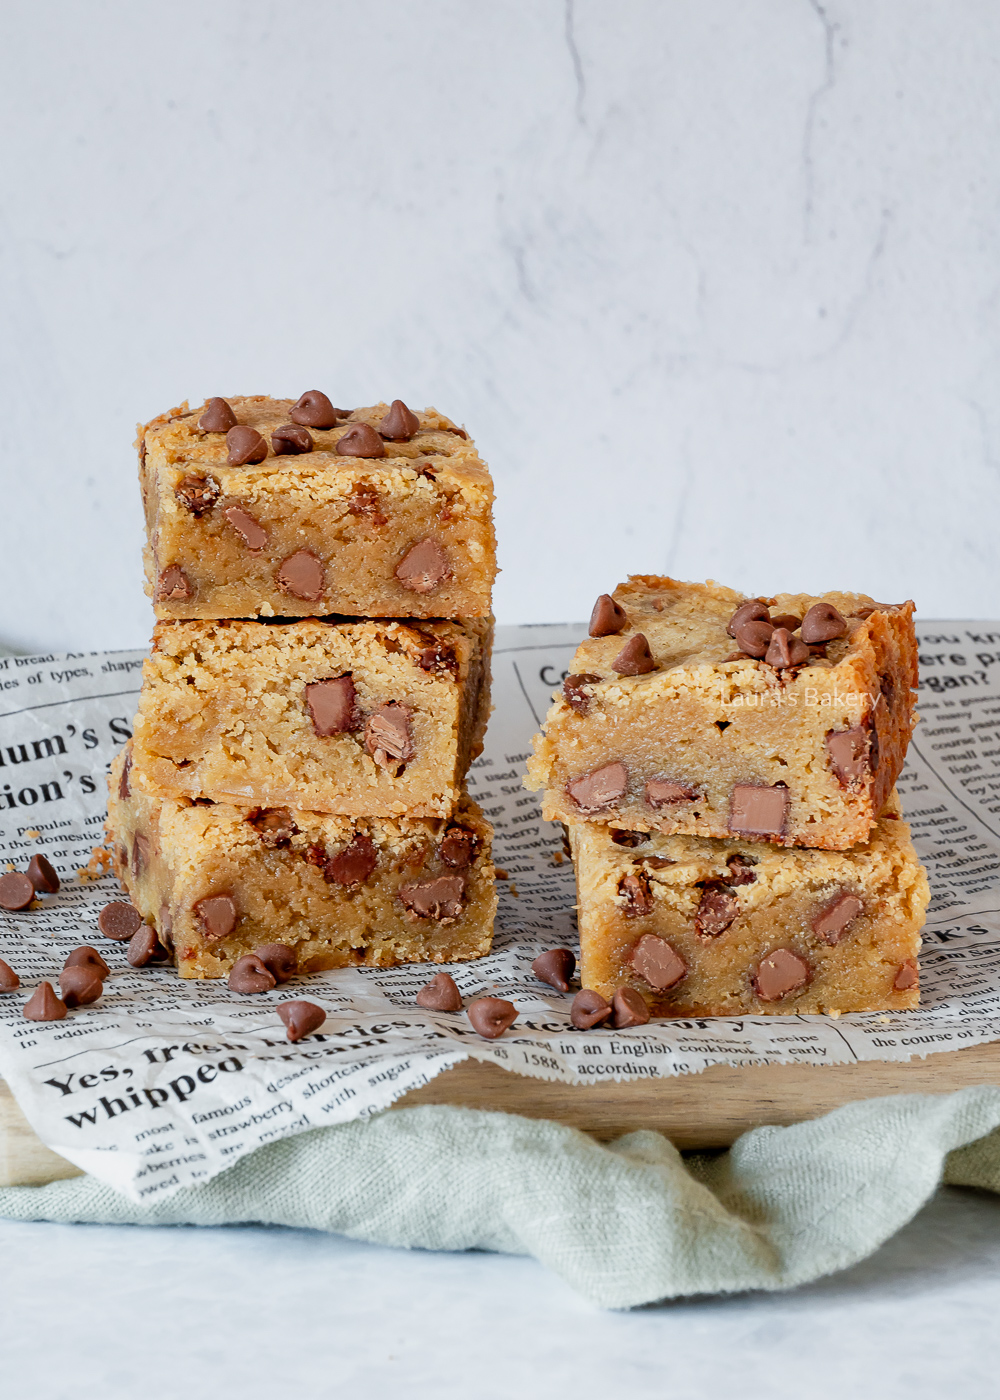
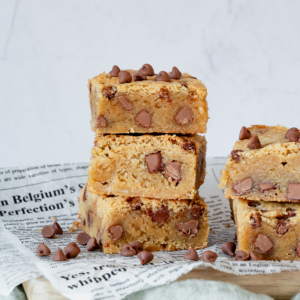
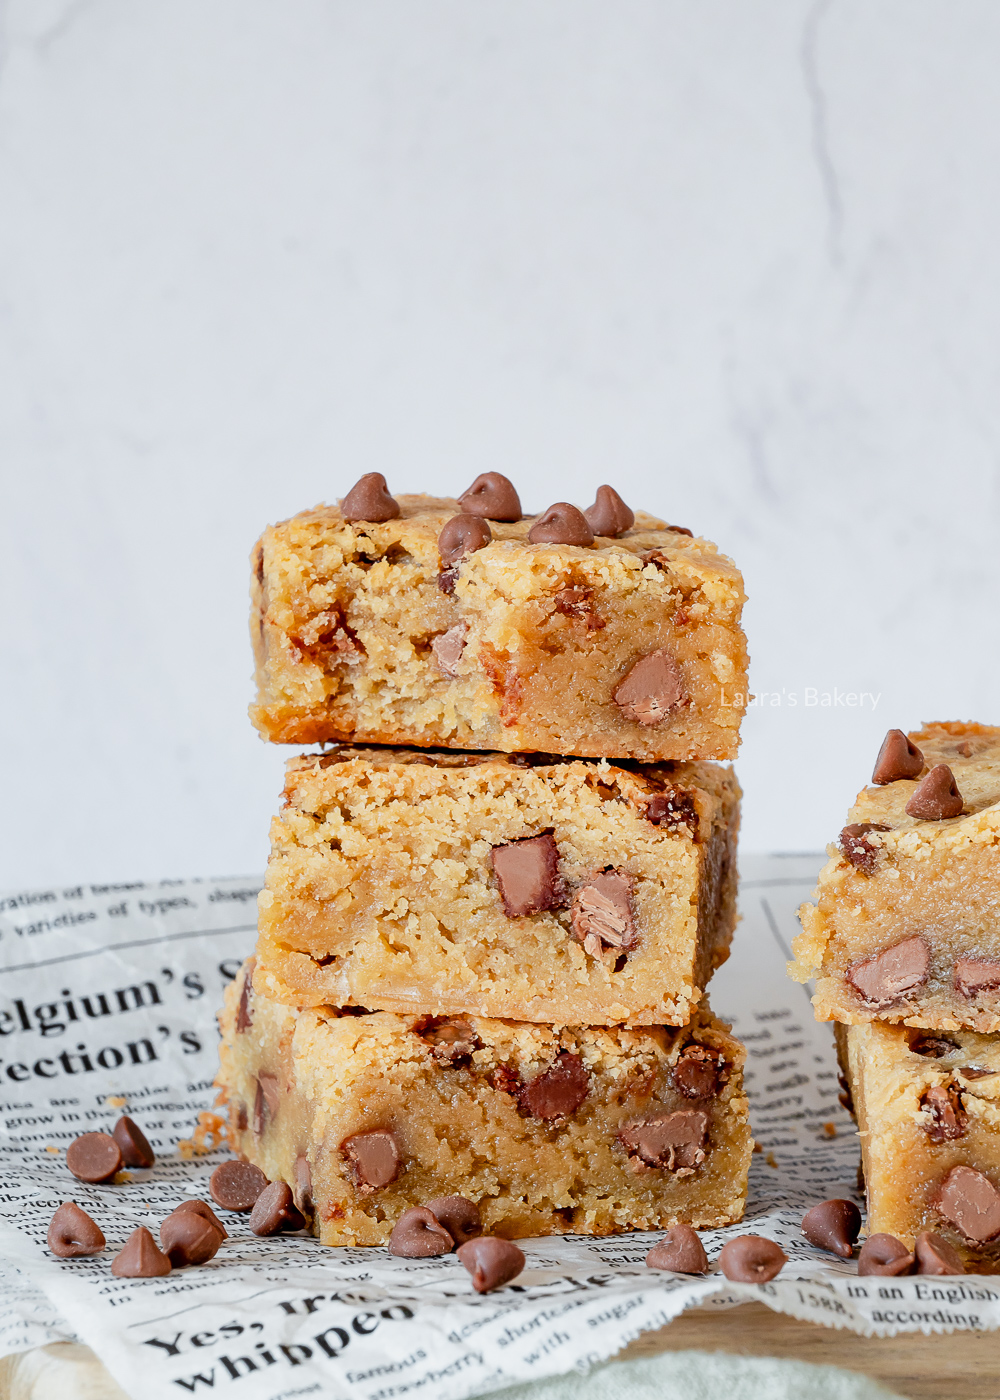
Delicious, fudgy blondies with chunks of chocolate: finger-licking good. And with this recipe, they’re incredibly easy to make yourself.
With my basic blondie recipe, it’s not hard to come up with the tastiest variations, like these chocolate chip blondies. The combination of soft, fudgy blondies and crunchy chocolate chips is downright irresistible.
Baking tip: I like to bake blondies in a square pan lined with parchment paper, with the paper extending well over two sides. This way it’s easy to lift it out once cooled down.
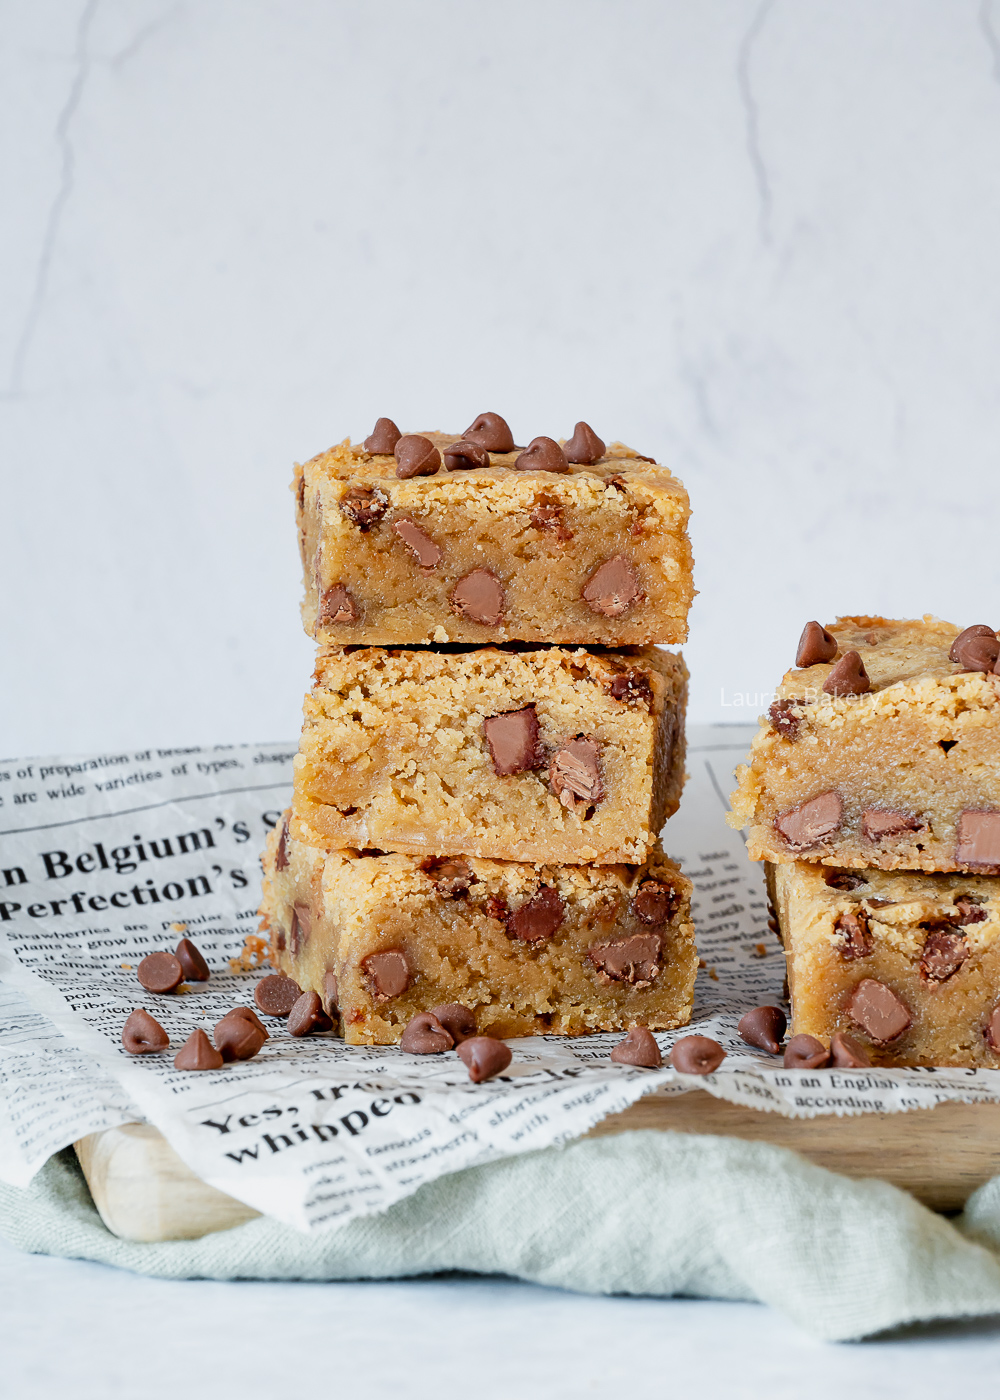
Mix the melted butter with the sugar in a large bowl until smooth. Add the eggs one by one and mix with the vanilla extract. The last step is to add the flour and salt and mix until combined.
That’s it. No need to overmix. Add about a cup of chocolate chips to the batter and stir it through with a rubber spatula..
Place the batter into the prepared pan and sprinkle some chocolate chips over the top. Bake in the preheated oven for about 25-30 minutes or until cooked (see note below on how to know if they’re cooked). Let it cool completely in the pan.
Blondies are perfect for parties, celebrations, or sharing. You can easily make a large batch and freeze some for later.
Keep them in an airtight container. They’ll stay good for 3-4 days at room temperature. In the fridge they may dry out.
Absolutely. Cut them into squares first if you like, and wrap 2 pieces together so you don’t have to thaw the whole batch at once (unless you want to!). Sealed airtight, they keep for up to 3 months.
For me, chocolate chips fall into the same category as apples: an ingredient I love using in baked goods and never get tired of. And really, who doesn’t love chocolate? Try these other recipes with chocolate chips:
My go-to brand is Callebaut. Open my baking cabinet and you’ll find big jars filled with dark, milk, caramel, ruby, and white chocolate chips. They usually come in both large and small sizes (and of course, I keep both on hand).
Preferably not. If that’s all you have, combine it with white sugar. For best results, use 175 g/6 oz light brown sugar and 175 g/6 oz granulated sugar.
Definitely! Coarsely chop about 100 grams of roasted hazelnuts, pecans, or almonds and fold them in with the chocolate chips.
The top should form a thin, crisp layer. The edges will be firm, but the center should still feel soft (not wobbly, though). They may look slightly underbaked – that’s exactly right. If you bake them too long, you’ll lose the fudginess.
Let the blondies cool completely, ideally overnight, covered in a cool place. That way they set properly and taste their best.
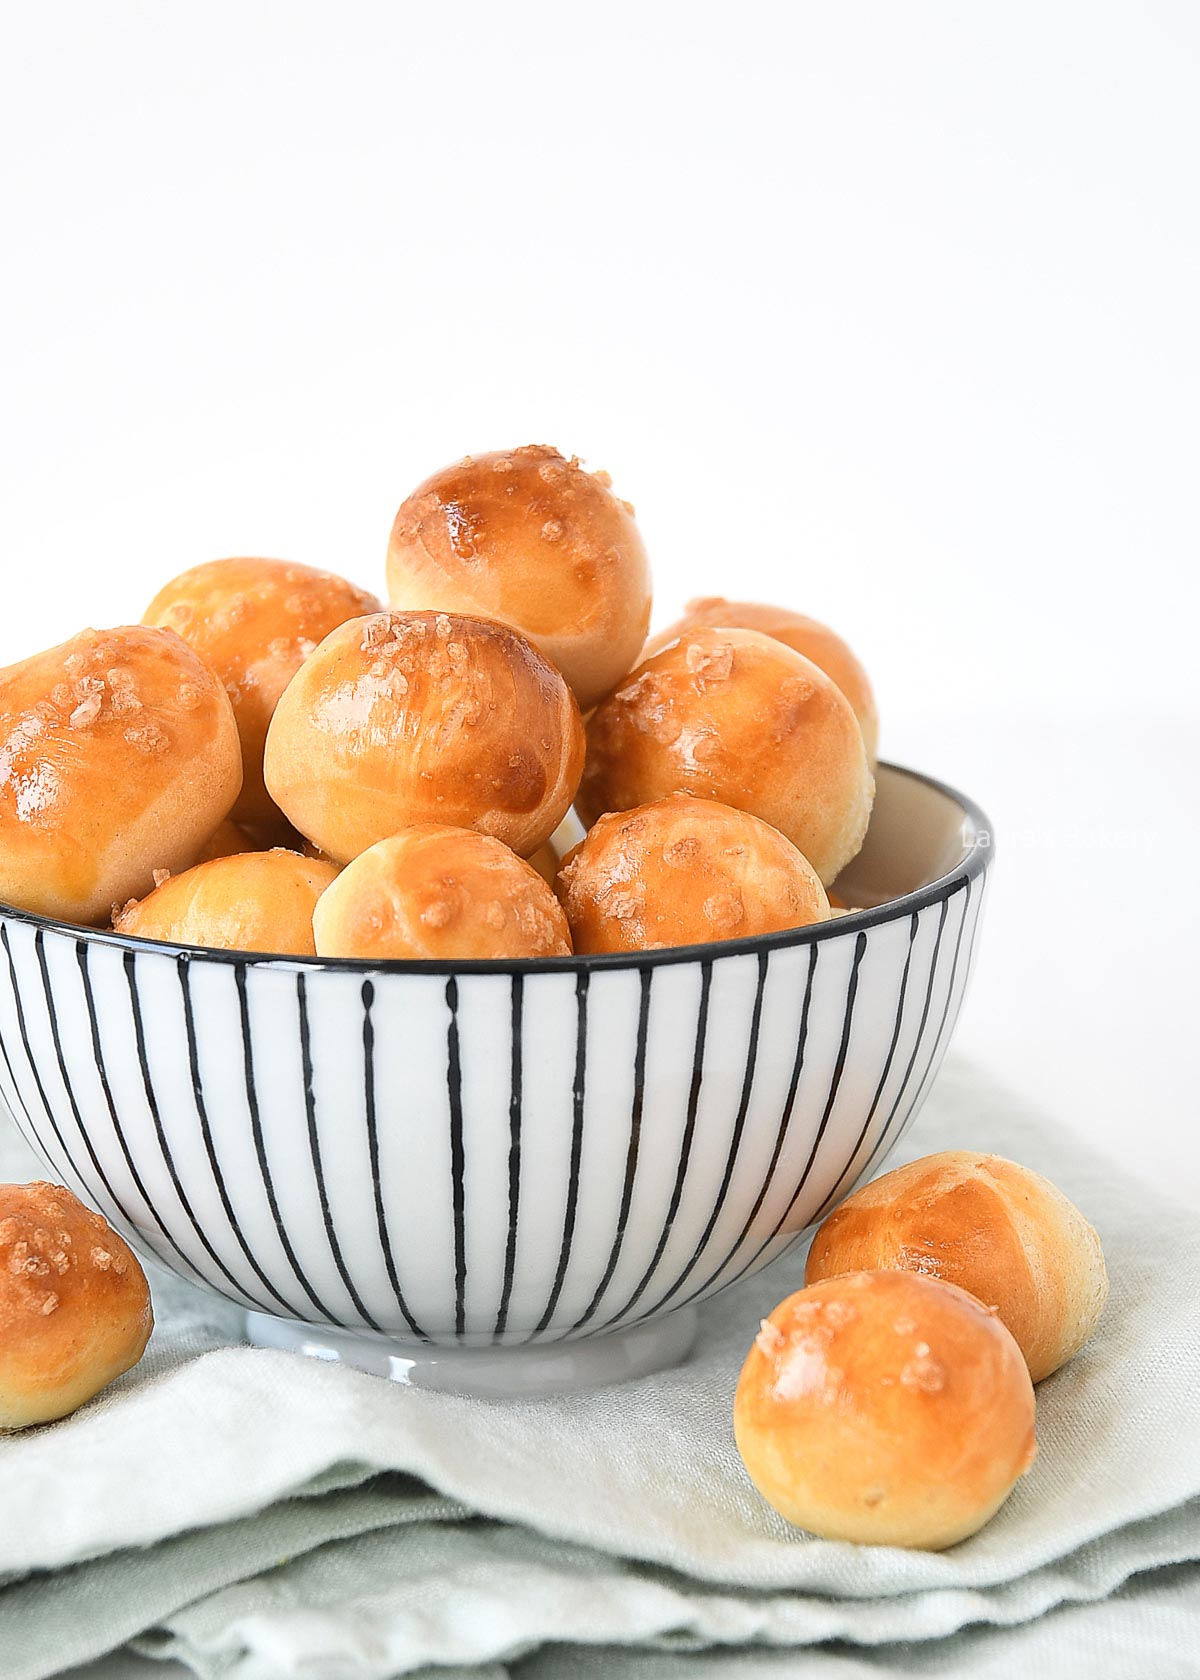
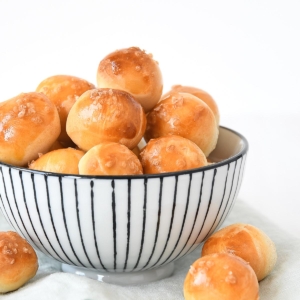
One of my guilty pleasures are salty pretzels. I recently made a lot of regular homemade pretzels, but then I figured, why not try to make that into a bite-sized variation? These homemade pretzel bites are the perfect little in-between snack. Just place a bowl of these on the table and they’ll be gone in no time at all.
If you love regular pretzels, you’re going to fall head over heels in love with these pretzel bites. They’re perfect as a snack for a gathering of family and friends, but can also serve as your own little stash of snacks. They will keep for 2 to 3 days, although most likely they will be gone before that!
Alternatively, you can add grated parmesan cheese on top of the pretzel dough. Although I usually go for just the salt. Sprinkling them with some sesame seeds or poppy seeds is also a great addition.
If you love snacks, make sure to check out the Dutch bitterballen, shredded chicken empanadas or the blooming tortilla ring too.
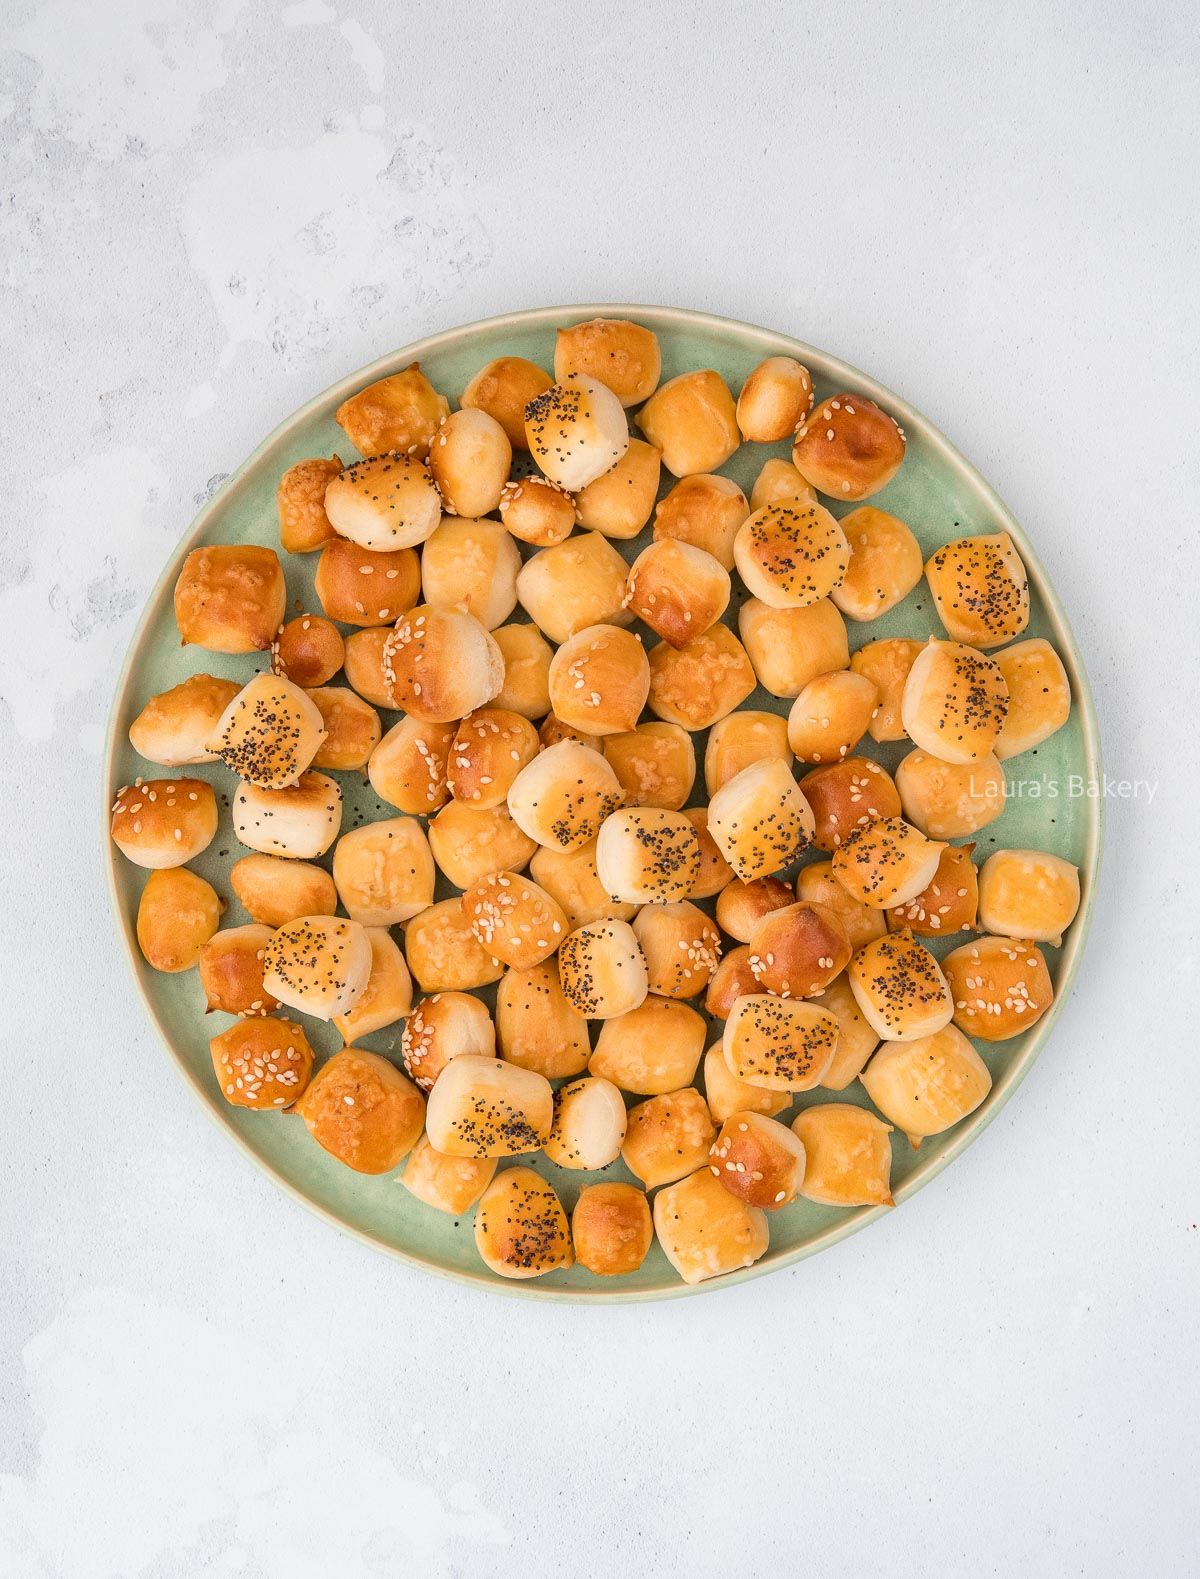
The first step for making the pretzel bites is to make the dough. For this you combine flour, yeast, sugar, baking powder and the salt in a bowl. Add the lukewarm milk and water to the dry ingredients and knead for about 8-10 minutes.
You can do this by hand (that will take you longer) or use a stand mixer with a dough hook, if you don’t like doing this by hand. Both are fine as long as you are left with a smooth and elastic dough. Let it rise for about 45-60 minutes. It should double in size.
Once the dough has risen, turn it out onto a work surface. Divide the dough into 4 equal pieces. Cover the pieces with a clean tea towel or plastic wrap and roll each piece out into a long rope.
It should measure around 45-50 cm (18-20 inch) long. Cut the rope into small bites. You can use a pizza cutter or a knife to do this. Each rope of dough should be around 15 bites.
Make sure the oven is preheated to 440˚F/225˚C. Brush each pretzel bite with egg wash and sprinkle with the sea salt. Let them rise again for about 10-15 minutes and then bake golden brown in 10 minutes.
These pretzel bites are delicious on their own, but you can also serve them with a dipping sauce. Think about serving them with one of the following dips:
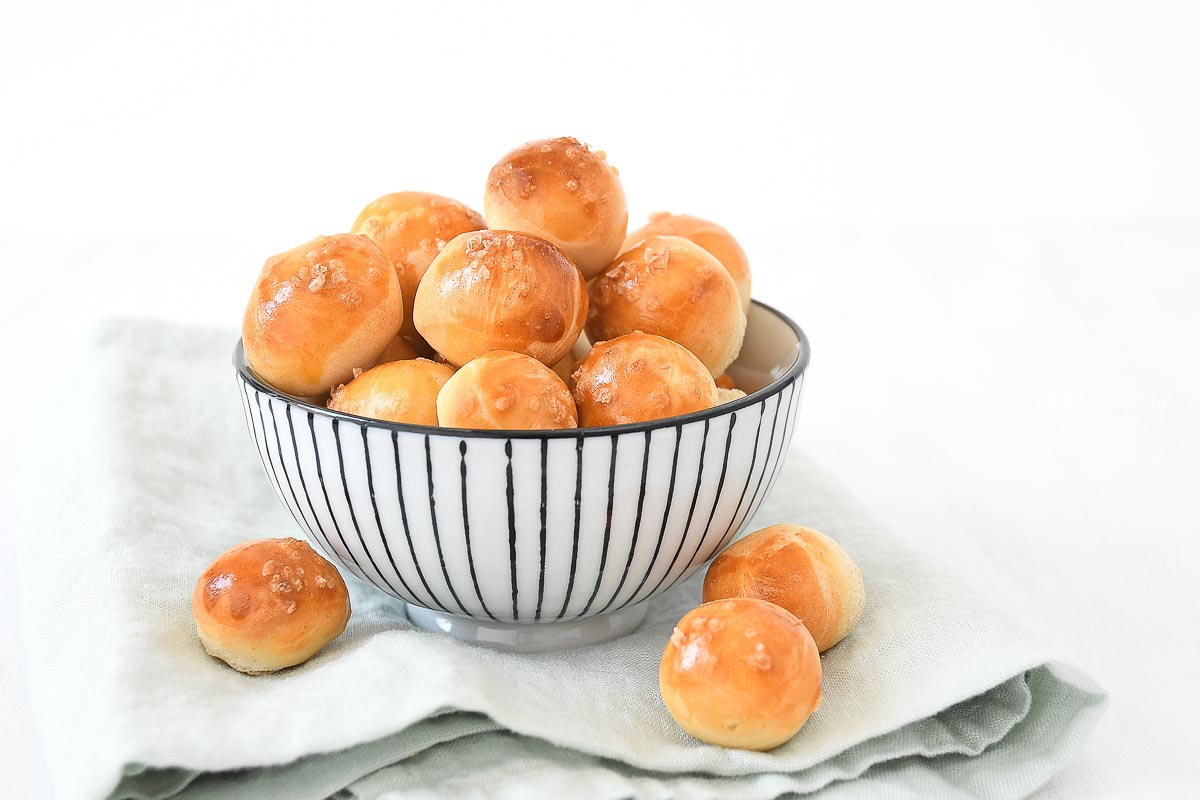
Yes! You can prepare the dough, let it rise once, then cover and refrigerate it overnight. The next day, let the dough come back to room temperature before shaping and baking.
Yes, this recipe uses a little of both. The yeast gives the dough its rise and chewiness, while the baking powder helps keep the bites soft and light.
Coarse sea salt or pretzel salt is ideal, it gives that classic pretzel flavor and crunch. Avoid fine table salt, as it will dissolve too quickly.
You can replace up to half of the all-purpose flour with whole wheat flour. The bites will be a little denser and nuttier in flavor.
Yes! Freeze them in a bag or container for up to 3 months. Reheat straight from the freezer at 180°C/350°F for about 5-7 minutes.
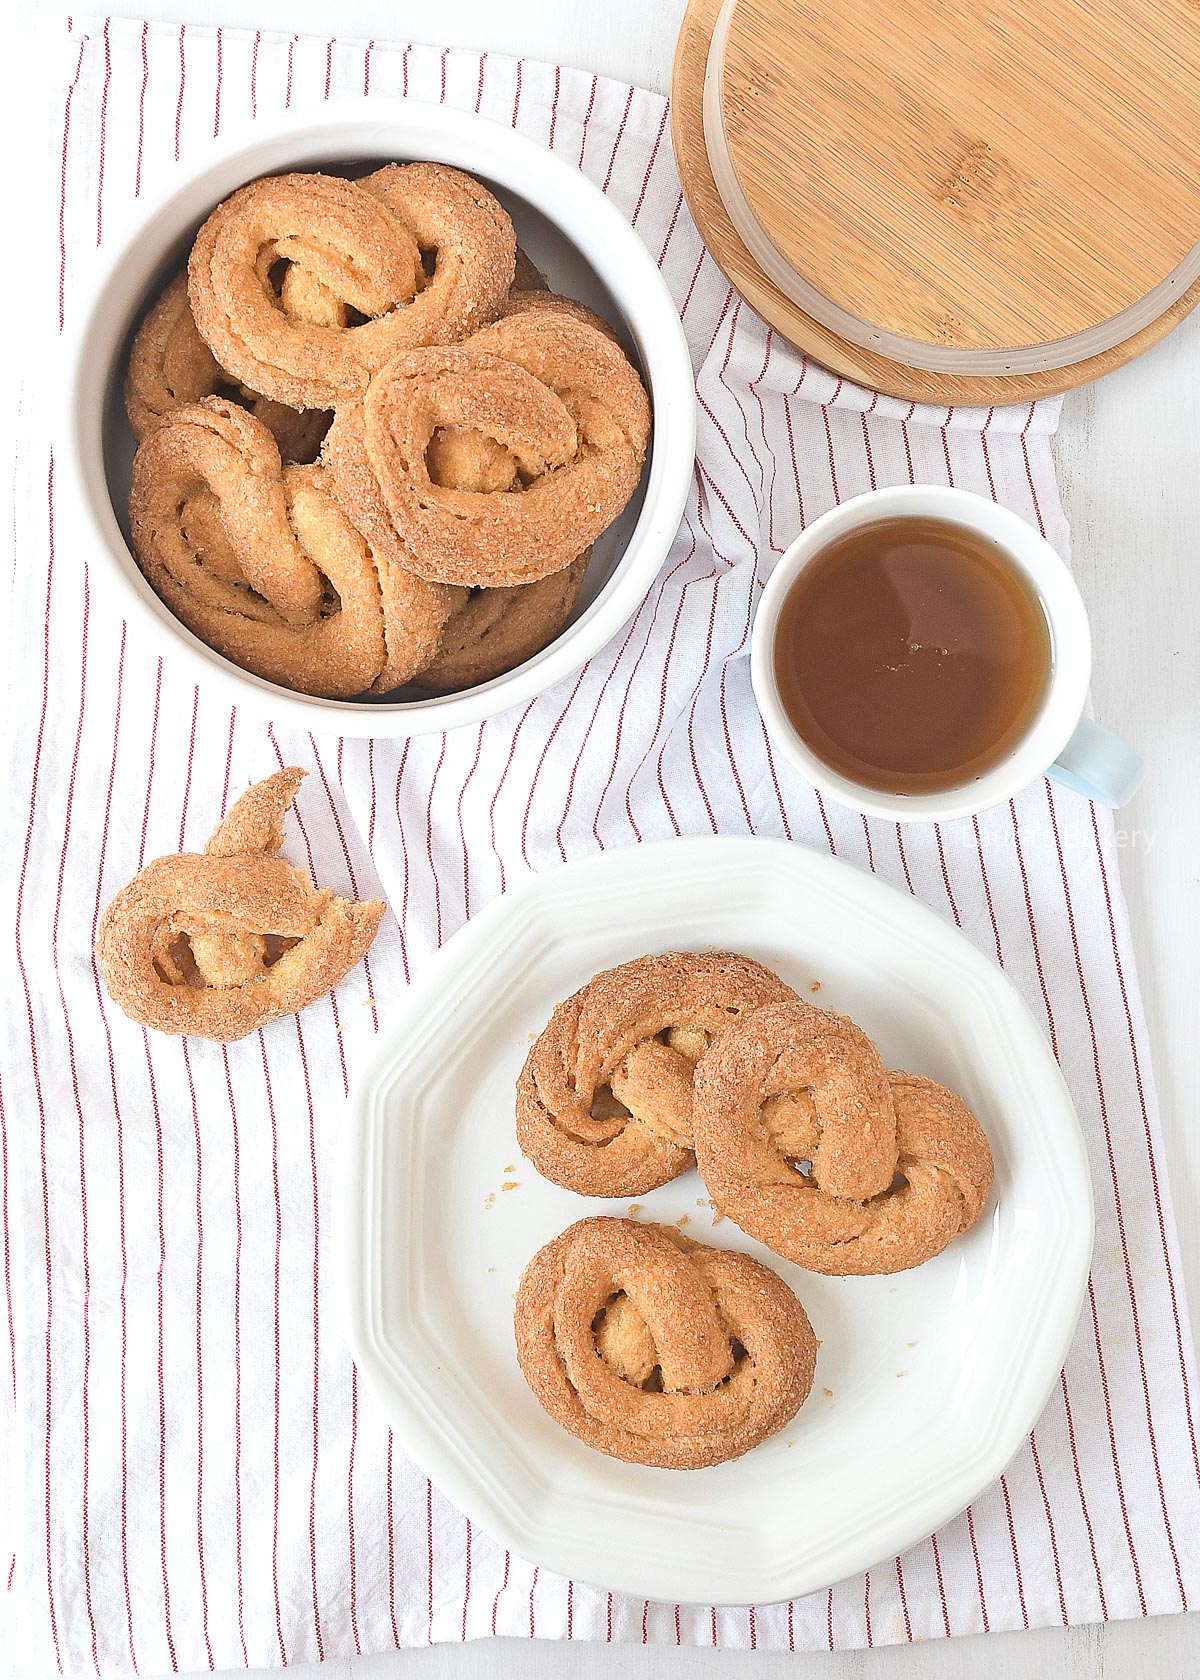
If you live in the United States or anywhere other than The Netherlands, you may have never heard of a yeasted cookie by the name of Krakelingen or sweet Dutch pretzel cookies.
It’s a cookie that requires a little more work and be found in two different varieties. One is made with puff pastry, and the other is made with yeasted dough.
I like the first one, but my all-time favorite is the yeasted version. So today I am sharing this famous Dutch recipe with you.
Yes, krakelingen are considered a traditional Dutch cookie. They’re recognizable by their pretzel shapes and crunchy sugar coating. Historically, krakelingen were often baked for fairs, markets, and festive occasions in the Netherlands and Belgium.
Unlike American-style cookies, which are usually based on baking soda/powder, these use yeast dough, giving them a slightly bread-like texture while still being crisp. Their combination of simple ingredients (flour, sugar, butter) and distinctive shape makes them a classic in Dutch baking heritage.
If you love crunchy cookies, you’re going to really like this recipe for Dutch sweet pretzel cookies or krakelingen, as we call them here. They take a little more work, but are so worth baking! And not complicated at all.
If you love typical Dutch cookies have a look at the speculaas or bokkenpootjes too!
As you can tell, you do not need a lot of complicated ingredients to make these delicious butter cookies.
Take a large bowl and add flour, yeast, sugar and salt to the bowl. Mix it through. Add the milk, butter and the egg and knead into a soft dough. It shouldn’t be very sticky.
Cover the bowl with plastic wrap and place it somewhere in a warm place without any draft. Let it rise until it has double in size (roughly 1.5 to 2 times more). That took about 2 hours in my case.
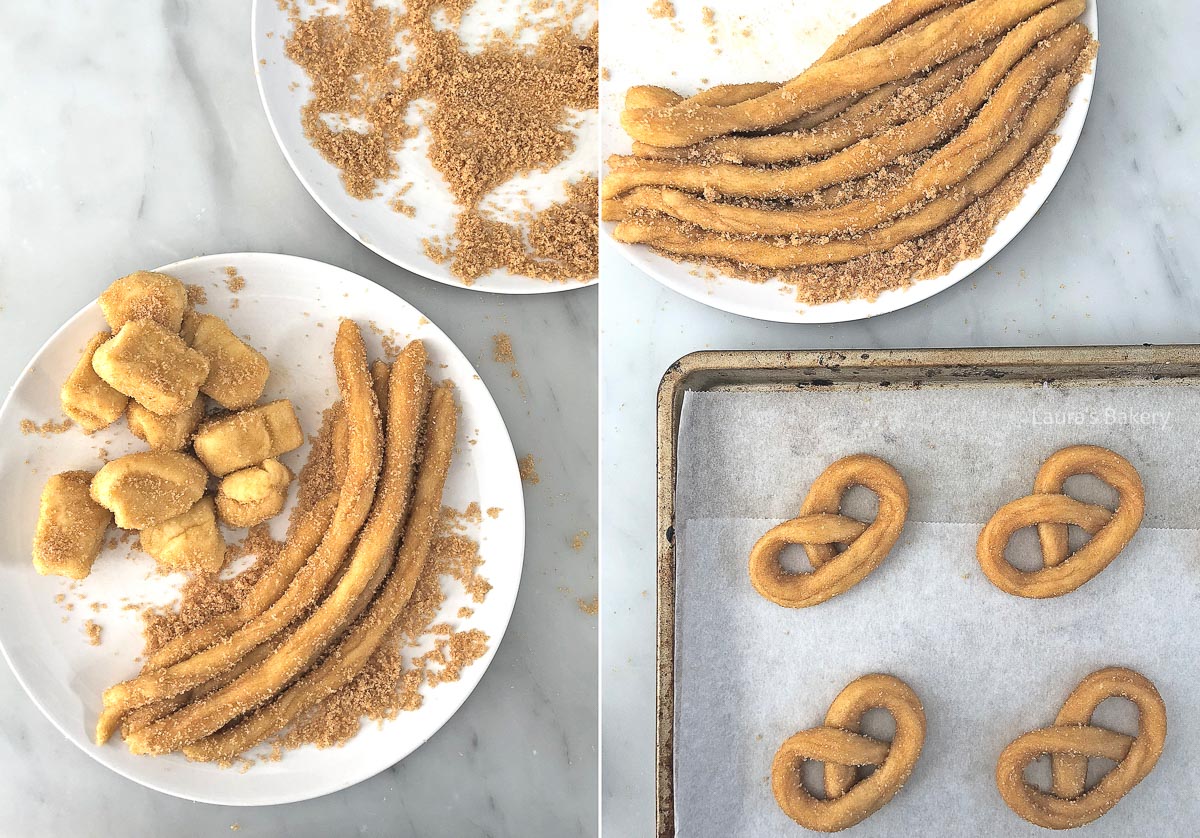
Sprinkle one-third of the brown sugar on a tray or large plate. Put the rest of the sugar on a separate large plate. Punch the air out of the dough and knead briefly. Divide into 16 equal pieces and roll each piece through the smaller sugar portion.
Roll a piece of dough into a rope about 30 cm/12 inches long on a clean (un-floured) work surface. Roll it through the sugar on the other plate, fold it in half, press down, and roll out again to 30 cm.
Roll again in the sugar. Repeat with all pieces. The sugar will start to “sweat” on the ropes of dough, which actually helps with the end result.
Take each rope, roll again to 30 cm/12 inches if needed, and twist into a pretzel shape. Tuck the ends underneath. Place the krakelingen on a baking sheet lined with parchment. Cover loosely with plastic wrap and let rest for 15-30 minutes.
Bake at 200°C/400˚F until they are golden brown. Let them cool for a few minutes on the tray before adding to a wire rack to cool down completely.
You can store these delicious cookies for about a week in a cookie jar. Perfect for any unexpected visitors or for yourself if you feel like a little nibble.
Once baked and cooled, you can freeze them in an airtight container for up to 3 months. Let them thaw at room temperature before serving.
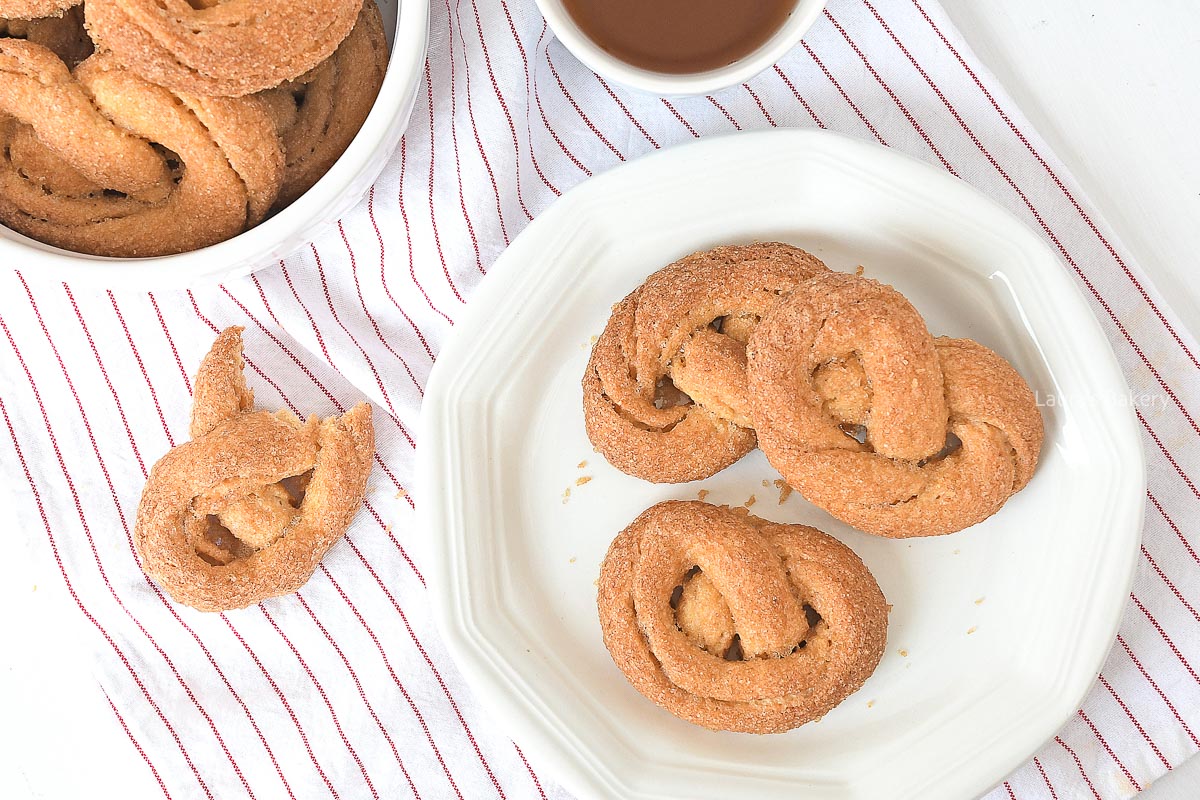
Not exactly. While the shape is similar, Dutch krakelingen are sweet cookies made with a yeast dough and coated in sugar, while pretzels are typically savory and sprinkled with salt. (check these pretzel bites for something that more resembles a regular pretzel)
Yes, there’s also a puff pastry version of krakelingen. They’re quicker to make and lighter in texture, but the yeast-dough version has that classic crunch and caramelized sugar coating.
Light brown sugar gives the best flavor and caramelization, but you can experiment with white sugar or even coarse sugar. Just note that the texture and taste will change slightly.
Stored in a cookie tin, they’ll stay crisp for about a week. If they soften, you can re-crisp them in a low oven temperature for a few minutes.
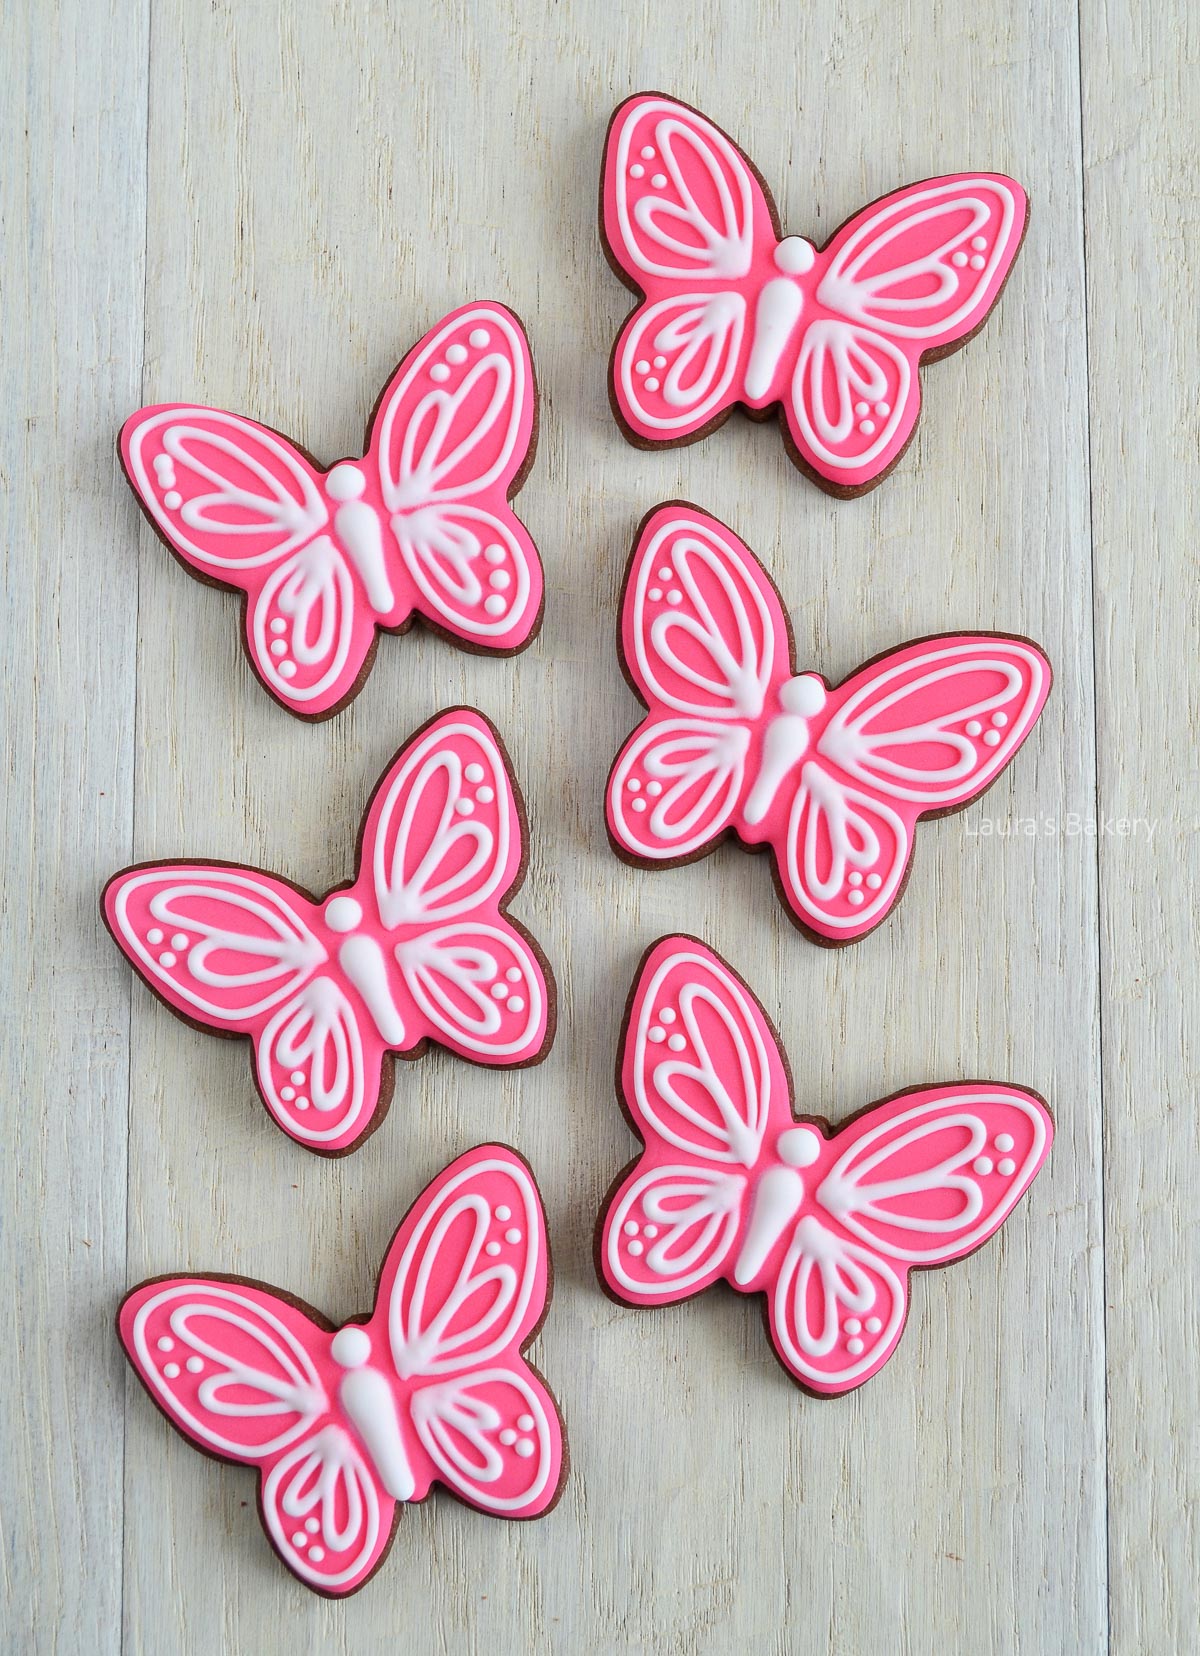
I always get lots of questions about decorating cookies. Over time, I’ve shared plenty of tips here and there, but I thought it would be helpful to gather them all in one place. That way, whenever you have a question, you can easily come back to this post for guidance.
Cookie decorating isn’t hard, you just have to give it a try, and you’ll see it gets easier every time. Trust me, I’ve muttered quite a few curse words over cookies that didn’t turn out the way I had pictured them.
With all of these tips, I hope it will go more smoothly for you. Maybe not all of them are “by the book,” but they’re what works for me and hopefully for you too.
It all starts with the cookies themselves. When baking, it’s important that the cookies hold their shape in the oven, otherwise your cookie designs won’t look as nice. These are my go-to favorite cookie recipes because they bake evenly, keep their shape, and taste delicious:
When rolling out dough to cut into shapes, dust your work surface with flour. Place the dough on top and dust the dough lightly too, this keeps your rolling pin from sticking. Make sure to bake cookies of similar size together, since small cookies bake faster than large ones.
Once your cookies are baked, it’s time to decorate – and for that you’ll need royal icing. Here’s the royal icing recipe I always use. Royal icing is essentially a glaze, but one that dries hard, creating a crisp layer on top of your cookies.
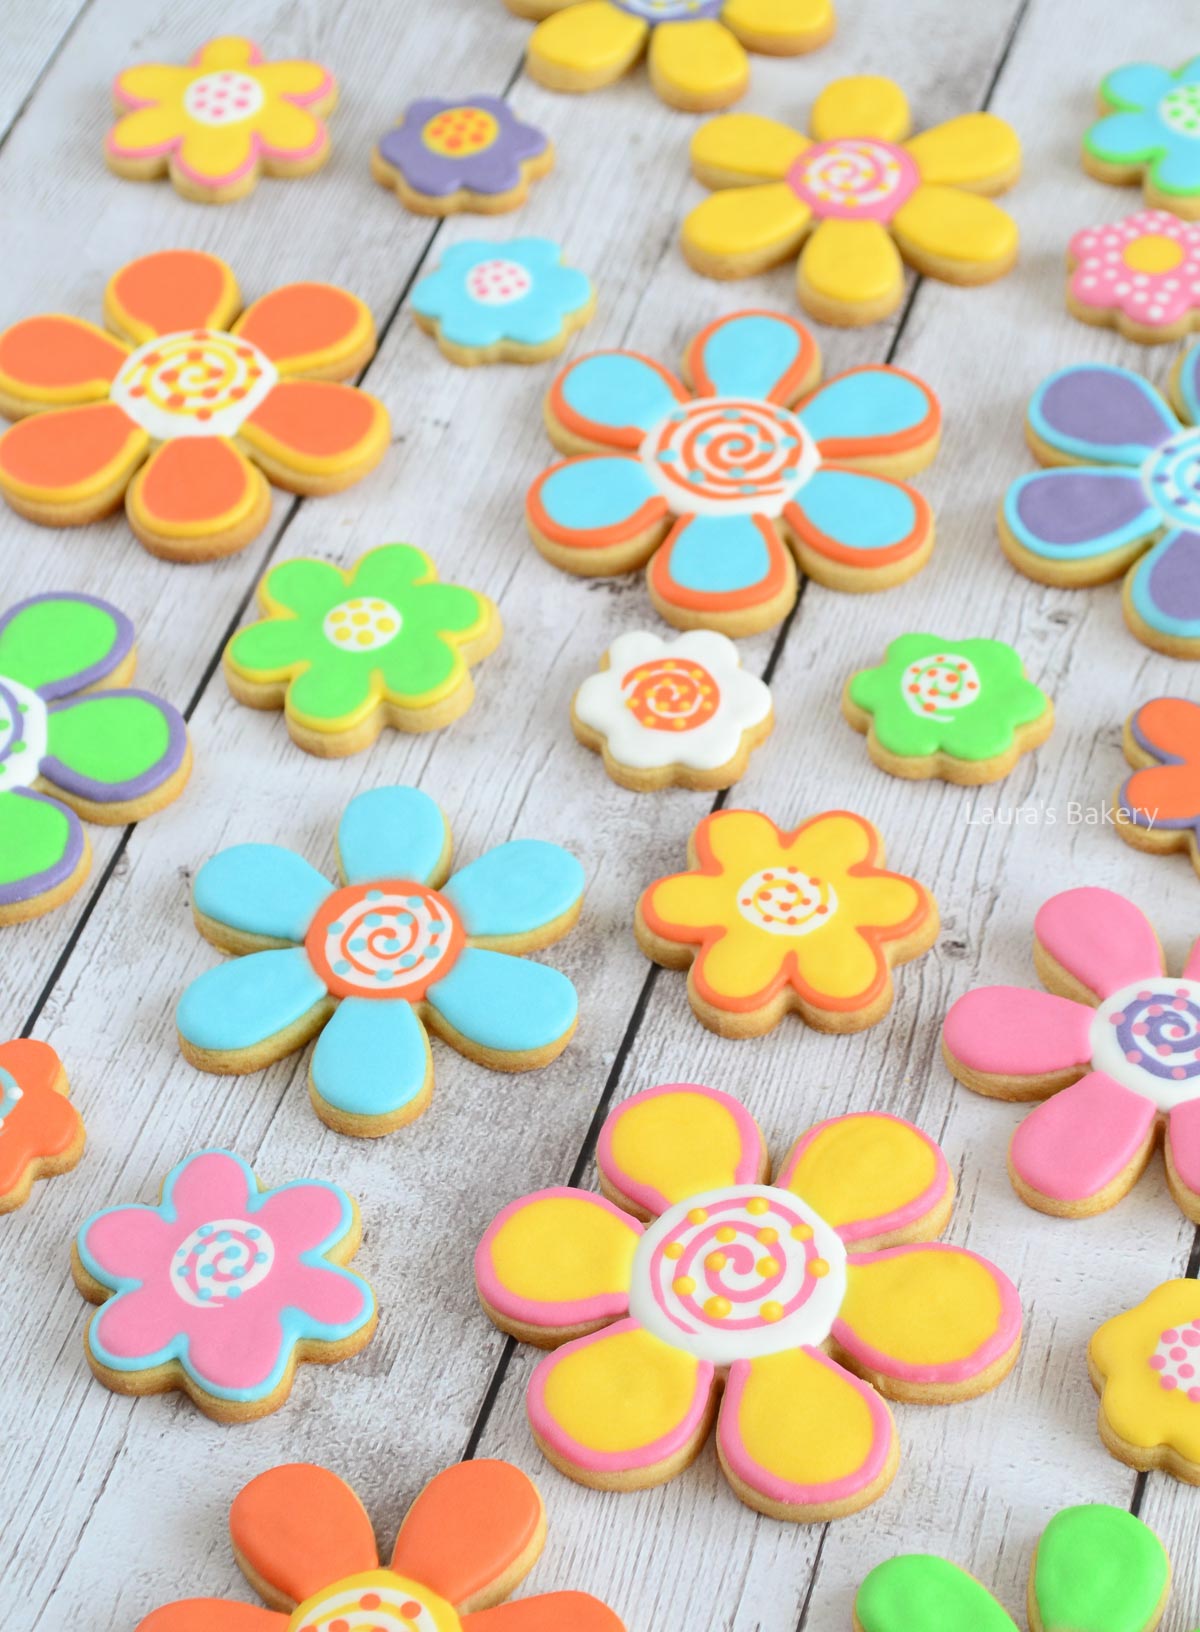
You can tint icing in any color of the rainbow using food coloring. I prefer gel coloring over powder. I divide my white icing into small glass bowls and then add color. Cover bowls you’re not currently using with a damp towel to prevent the icing from drying out.
Glass bowls make it easy to see if all the icing is fully mixed, or if there’s still some white at the bottom. Always keep some white icing aside, you can use it to lighten a color that’s too strong or to thicken icing that’s gotten too thin.
Traditionally, decorators use three royal icing consistencies: thin, medium, and thick – one for outlining, one for flooding, and one for details.
Honestly, I find that pretty fussy. You end up with multiple piping bags for every color, and half the time the ratios aren’t quite right anyway. So I switched to 20-second icing and never looked back!
This icing is just the right consistency for outlining without it running off the cookie, and also perfect for filling. The bonus? Outlines and filling blend seamlessly, so you don’t see the harsher, sharp edges you get with thicker icing.
To make it, start with the basic recipe and add a little water at a time until the surface smooths out within 20 seconds after stirring.
For decorations that need to hold their shape (like trees, leaves or drop flowers), use thick icing. This is just the basic recipe without extra water. The icing keeps its peaks, and you’ll clearly see the texture of the piping tip you used.

Of course, there are countless more tips you can use, but these are my favorites for cookie decorating.
Patience is key. Icing needs time to dry between layers of color. For example, if I had piped Rudolph’s red nose (see the cookie picture below) before the base of his face dried, it would have sunk in and bled. Not pretty!
After applying a base layer, let the icing dry for about 8 hours before adding a different color. The easiest routine is to decorate the base in the evening and continue the next day. For smaller details, you don’t need to wait as long. Once the surface looks matte, it’s safe to add on top.
You’ll almost always have icing left over. Don’t waste it!
Drop flowers: With thick icing, pipe small flowers and add a dot of contrasting icing in the center. Store them in an airtight container for ready-made sugar decorations.
Transfers: With thin icing, pipe shapes onto parchment paper, let them dry, then transfer onto cookies. It’s the same method as with chocolate decorations.

Piping bags: Disposable bags work well and I prefer those, but candy bags (the thin cone-shaped kind) are a cheap alternative. For thick icing, use sturdy piping bags or double up candy bags.
Prevent clogs: Icing dries when exposed to air. To avoid blocked tips, use rubber tip covers or keep bags upright in a tall glass with a damp paper towel at the bottom.
Clumps: If sugar lumps clog your tip, don’t squeeze harder! Use a pin to poke it out instead.
Storing icing overnight: If you prep one evening and continue the next day, just make sure tips are sealed and bags are closed tightly. They can be stored at room temperature.
It’s normal for cookies to soften after decorating because of the moisture in the icing. Personally, I don’t mind the softer texture combined with the crunchy icing.
But if you prefer crisp cookies, there’s a fix: Preheat your oven to 120°F (50°C), place decorated cookies inside with the door slightly ajar, and leave them for an hour. This acts like a homemade “drying cabinet”. Once cooled and stored in an airtight container, they’ll stay crisp.
Have fun decorating! With these tips, I’m sure you’ll do great. And if you have questions, feel free to ask

Cookies that hold their shape while baking, like cut out sugar cookies, gingerbread, chocolate sugar cookies, and lemon sugar cookies. You can also use an embossed rolling pin for another fun way to decorate cookies.
Traditionally, yes. But I recommend using 20-second icing, which works for both. It saves time and blends outlines and filling seamlessly.
Stir the icing and watch the surface. If it smooths out in about 20 seconds, it’s ready for outlining and flooding.
Yes, but gel food coloring works best. It gives strong color without thinning the icing too much.
Allow about 8 hours for a base layer to fully dry before adding details. For small decorations, you can pipe on top once the surface looks matte.
You can make drop flowers or transfers and store them in an airtight container for future cookie decorating.
Use tip covers or keep your piping bags upright in a tall glass with a damp paper towel at the bottom. If a tip clogs, gently clear it with a pin. Don’t squeeze harder.
Yes! Just make sure piping tips are sealed and bags are closed tightly. Store them at room temperature.
The moisture from royal icing seeps into the cookies. If you prefer crisp cookies, dry them in a 120°F (50°C) oven with the door slightly ajar for about an hour.
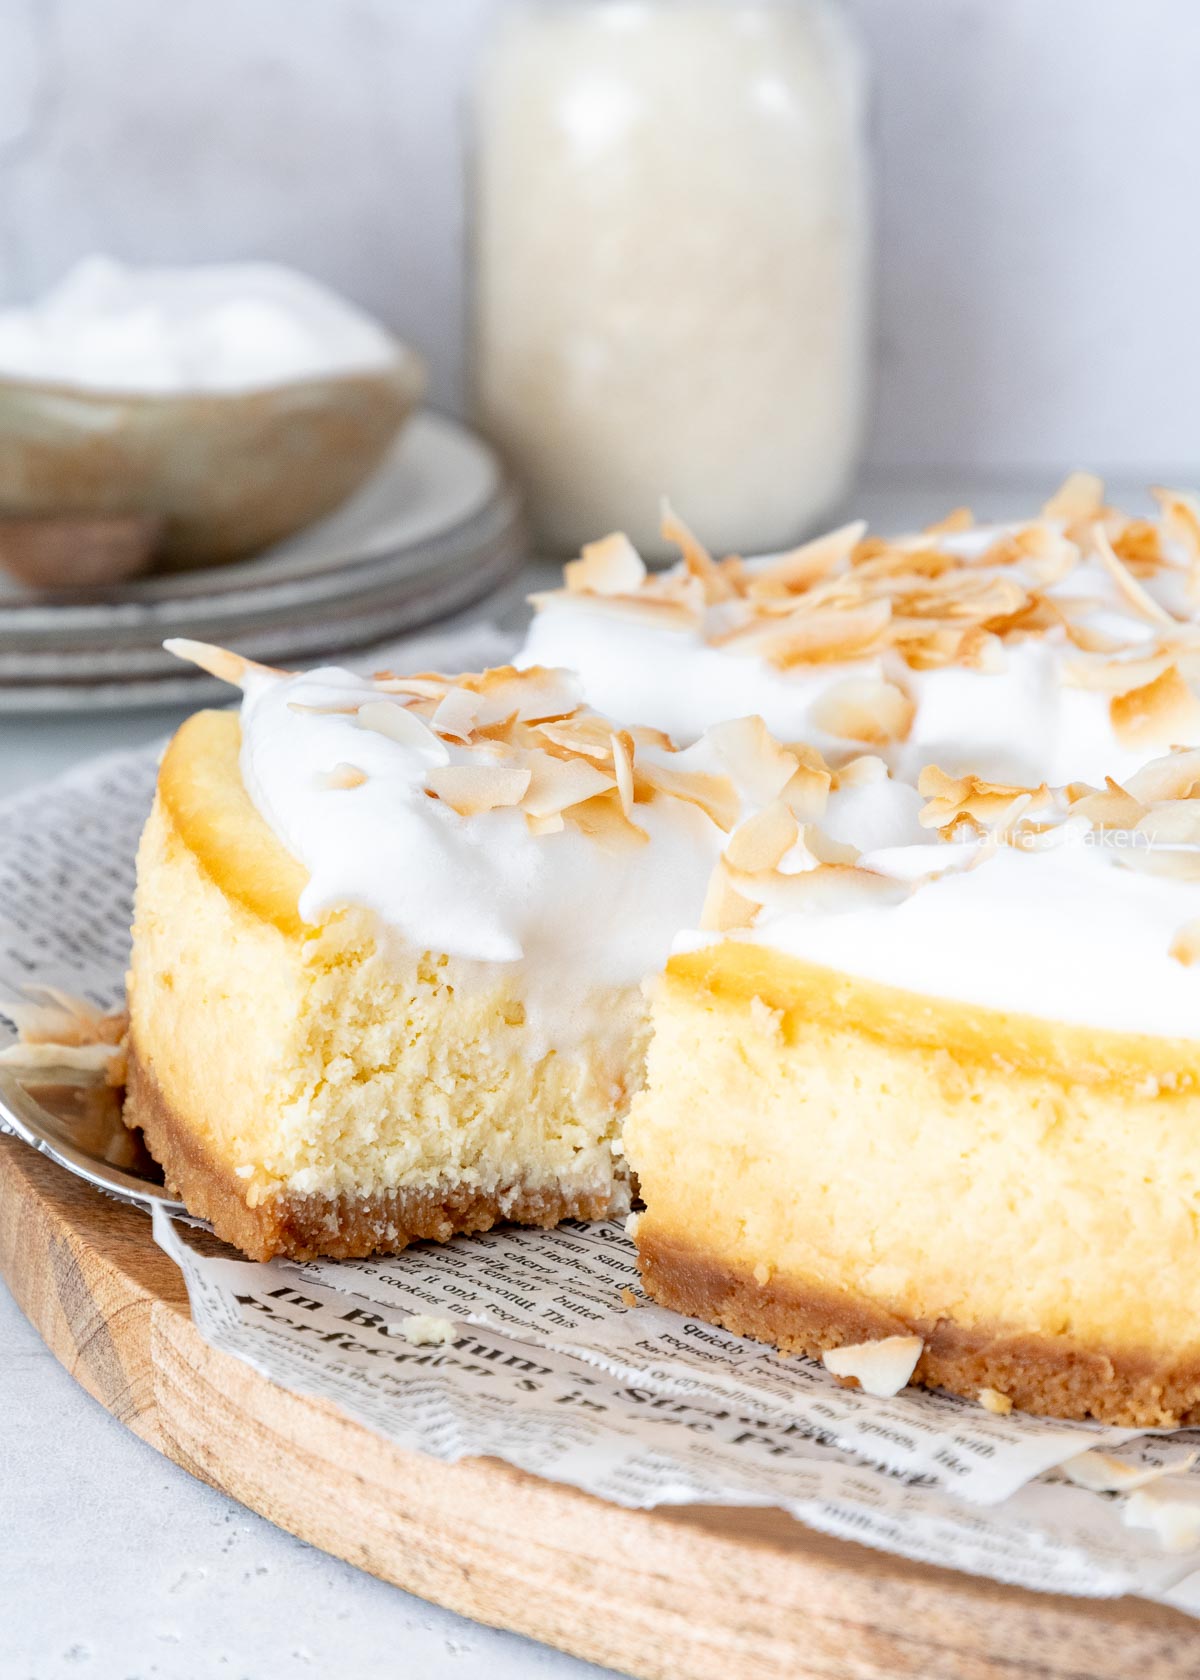
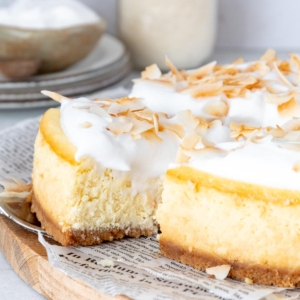
Looking for a cheesecake with coconut? Look no further, I baked the ultimate coconut cheesecake with coconut whipped cream and toasted coconut flakes. Perfect for coconut fans.
Within the Laura’s Bakery team, we have one huge coconut fan: Mariette. Almost every baking day she tells me there aren’t enough coconut recipes on the blog and that we should do more with it.
Since I’m personally not a big fan of coconut, she eagerly set out to create the ultimate coconut cheesecake for you.
She’s completely thrilled with the end result and funny enough, I actually thought it was really delicious too!
The coconut flavor isn’t overpowering, you mainly notice the texture of the shredded coconut. On top of that, I really enjoyed the taste of the coconut cream topping. So a must-try for all coconut lovers!
Make sure to double check the quantities and ingredients in the recipe card below.
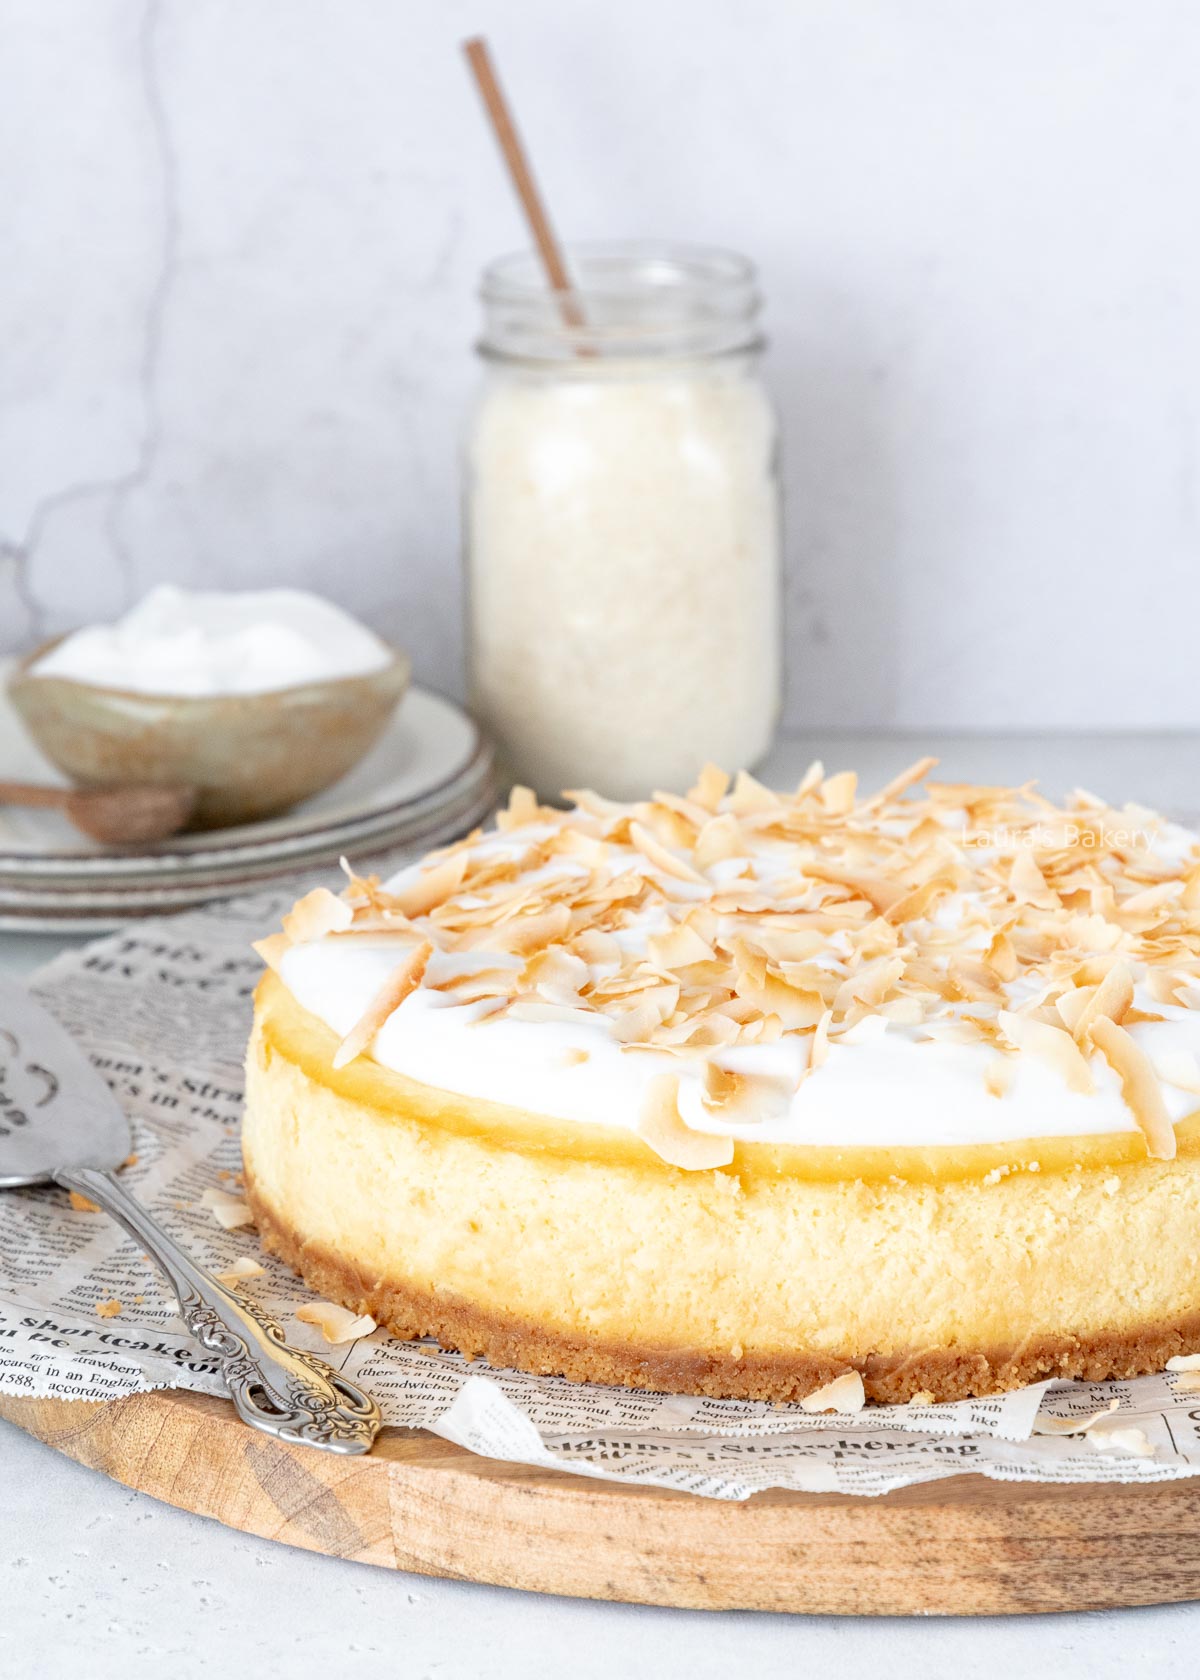
The first step is to make the cookie crust. Crush the cookies and add the melted butter. Mix it together and press firmly into a springform tin lined with parchment paper. Set aside while you make the creamy filling.
To make the filling scoop the cream of coconut out of the refrigerated can. The top of the coconut milk should have solidified, and that’s the part you want to use in the filling.
I like to make my filling in a food processor as that is easiest. Just add the cream cheese and the sugar and whip with a paddle attachment until smooth and creamy.
Add the eggs one by one and finish with adding the vanilla extract and the coconut cream (use just the one can!). Add the 100 grams/3.5 oz of shredded coconut and beat until smooth. Don’t overmix, though. You can add some coconut extract if you want for extra flavor.
Pour the filling into the prepared pan and smooth the top with a spatula. Bake in the preheated oven at 150˚C/300˚F for about 60 minutes. I don’t use a water bath as I find there is not much difference if I do and it saves a lot of hassle.
Once baked, let the cheesecake cool inside the oven with the door slightly open. Once it reaches room temperature, transfer to the fridge and let it chill for at least 4 hours.
The last step is to make the coconut topping. For this you need the second can of coconut milk and scoop the coconut cream out of it. Whip it with an electric mixer until stiff peaks form.
Add a little bit of powdered sugar at the last moment. Spread over the cheesecake and decorate with the coconut flakes. Adding some other tropical flavors like pineapple or mango is also a great addition. Some lemon curd or melted chocolate is also delicious to add to the topping.
You can store the cheesecake in the fridge for 2-3 days in an airtight container.
If you want to freeze the cheesecake, this is best done without the toppings. Let it cool completely and slice into parts. Freeze like that and store for a maximum of 1 month in the freezer.
It probably comes as no surprise that I absolutely love cheesecake. Here are a few of my favorites to choose from:
And not to forget: Tips for the perfect cheesecake
Yes! You can whip heavy cream and add a bit of coconut extract for flavor. It won’t be dairy-free, but it works perfectly.
Make sure to use full-fat canned coconut milk (not the drinkable carton version). The cream separates from the water, which is necessary for the recipe.
Cracks usually happen from sudden temperature changes. Let the cheesecake cool in the oven with the door closed or slightly ajar. If your oven door doesn’t stay ajar, wedge in a wooden spoon. And even if your cheesecake cracked, cover it with some coconut cream and no one will know!
Yes, this cheesecake actually tastes better after resting. You can make it a day in advance and keep it chilled in the fridge until serving.
Definitely! Try lemon curd, passion fruit curd, or chocolate ganache for variation. Fresh fruit like mango or pineapple also pairs really well with the coconut.
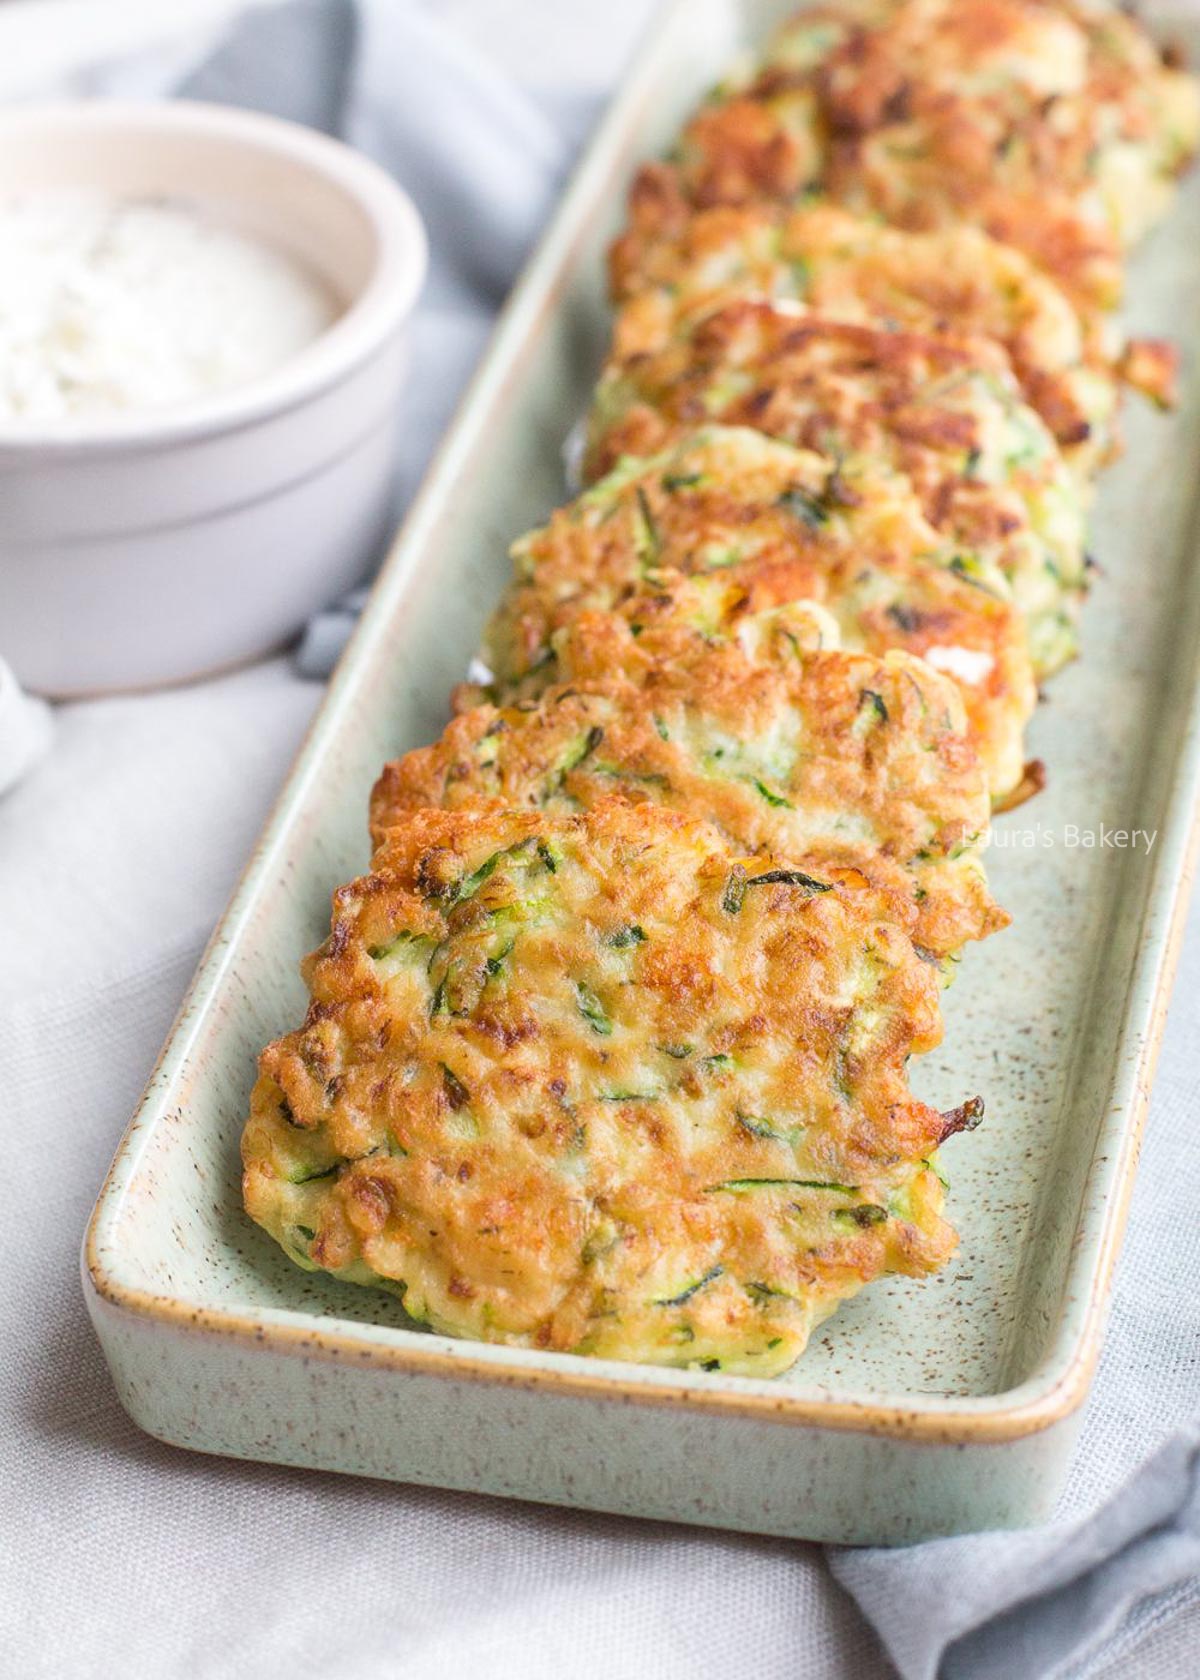
This easy zucchini pancake recipe was quite a big surprise. I tasted them fresh out of the pan, and to be honest, I had just thrown a few bits and pieces together, so the fact that they turned out so delicious was a surprise, even for me.
This recipe worked out so well that it’s here to stay and will be made more often in my kitchen. That’s why I’m sure you’ll also be making these savory zucchini pancakes again and again after trying them.
So don’t wait any longer, just go on and make them! They’re great as an easy side dish or serve them with some Greek yogurt or a dollop of sour cream.
These easy zucchini pancakes are a great way to incorporate more vegetables into a pancake batter. With my basic pancake recipe you can make endless variations.
While I love sweet pancakes, I also think savory pancakes are fantastic too! Perfect for serving lunch, dinner, and breakfast.
I’ll soon be sharing more savory pancake recipes but for now you can starting making these delicious sweet pancakes!
Make sure to double-check the ingredients and quantities in the recipe card below.

The first step and an important one is to grate the zucchini and get rid of most of the moisture. Zucchini contains a lot of excess liquid and you’ll want to get as much as possible out for the best results.
You can squeeze out as much as you can with a clean tea towel or use paper towels instead. Both work. You can also use your hands to squeeze it out of the shredded zucchini.
Now transfer the zucchini to a large bowl and add the egg. Mix the egg through the zucchini and add the rest of the ingredients in. Mix until the all-purpose flour is no longer visible in the zucchini mixture.
Now heat a large skillet on medium heat and add tablespoons of the mixture into the pan. Flatten it slightly and let it cook until golden brown on both sides.
Drain the pancakes on paper towel before serving. It’s delicious served with tzatziki!
Keep covered in the fridge for 2–3 days. Reheat in a pan or microwave before serving.
You can also freeze them by letting them cool completely and freeze them in a single layer before transferring to a bag for storage. They will keep for up to 3 months.

Yes! Feta gives a nice salty taste, but you can also use grated Parmesan, ricotta salata, or even a mild goat cheese.
Absolutely. If you skip this step, the batter will be too watery, and the pancakes won’t hold their shape or get crisp.
Yes, you can substitute the self-rising flour with a gluten-free flour blend and add 1/2 teaspoon baking powder for the rise.
Make sure the pan and oil are hot before adding the batter. Don’t overcrowd the pan, and let them fry undisturbed until the first side is golden before flipping.
For the best texture, reheat them in a skillet with a tiny bit of oil. The microwave works too, but they’ll be softer.

After my vacation, I got back into baking right away and started with these delicious apple oatmeal cookies. I have this really great basic recipe for making oatmeal cookies, which I used again making some adjustments to compensate for the extra moisture from the apples.
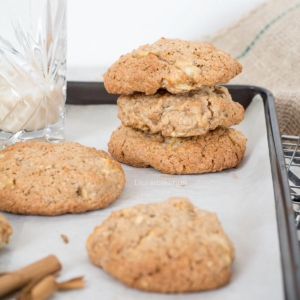
Instead of my normal 12 cookies I went with 6 big and rustic looking ones. And because they are a bit bigger they become delicious chewy apple oatmeal cookies. Crisp on the outside and almost cake-like on the inside.
BAKING TIP: When the cookies come out of the oven, it’s best to let them cool on a wire rack. They will crisp up once cooled.
If you love oatmeal cookies you’re going to love these chewy oatmeal cookies with apple even more! They’re super easy to make and easily keep for about a week. Although I do guarantee you’ll be eating them much sooner than that. Easy to freeze too!
Make sure to double-check the exact ingredients and quantities in the recipe card below. Make sure to have all ingredients at room temperature before starting.
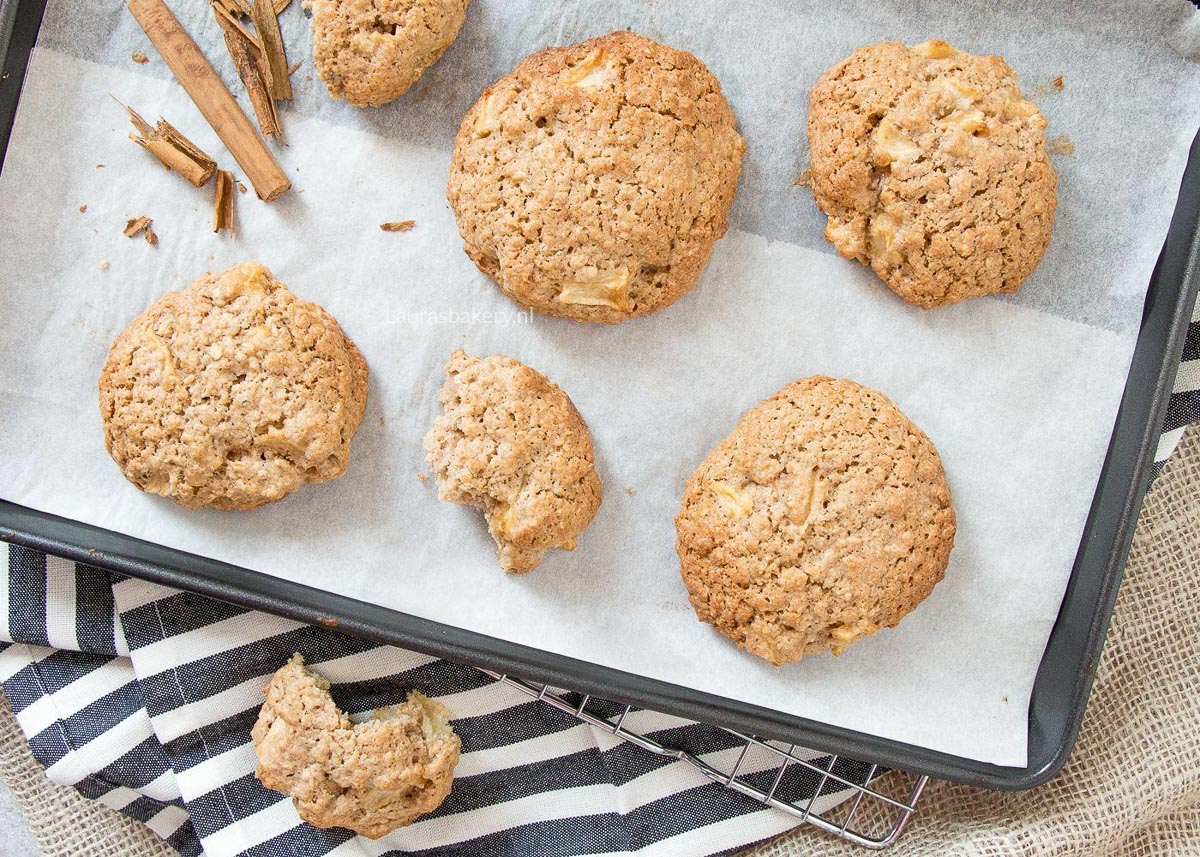
Making these apple oatmeal cookies is super easy. You start with combining the butter and both of the sugar until combined. Now add the egg and mix it until a smooth mixture. You can use an electric mixer or a stand mixer. Whatever you have available.
Now add the rest of the dry ingredients and mix them until you have a dough.
Make sure to cut your apple into small cubes. You don’t want them to be too chunky or the cookies won’t hold together. First, mix the diced apple with the cinnamon sugar and fold those into the dough.
Now make cookie dough balls and place them on a cookie sheet or a baking sheet lined with parchment paper. If the dough is too sticky it helps using wet hands. Press the dough down gently.
The final step is to bake the cookies at 190˚C/370˚F for about 20 minutes or until they are golden brown. The baking time may vary slightly depending on how big you made the cookies. Let the baked cookies cool down on a wire rack.
You can store these cookies in an airtight container for about a week outside of the fridge.
If you want to store them for longer, you can freeze them. They will stay fresh and delicious for up to 3 months that way. If necessary you can re-heat them in the oven to crisp back up after freezing.
Yes! If you don’t have speculaas spices, you can use pumpkin pie spice, apple pie spice, or simply a mix of cinnamon, nutmeg, and cloves. You could also leave it out if you want to.
Definitely. Instead of six large cookies, make twelve smaller ones. Just dice or grate the apple more finely and reduce the baking time to about 15 minutes.
They’re crisp on the outside and soft, almost cake-like on the inside. If you prefer crunchier cookies, bake them a few minutes longer.
Yes, you can use almost any apple variety. A firmer, slightly tart apple (like Granny Smith) balances the sweetness nicely, but sweeter apples like Gala or Jonagold work well too. I also like Elstar to bake with.

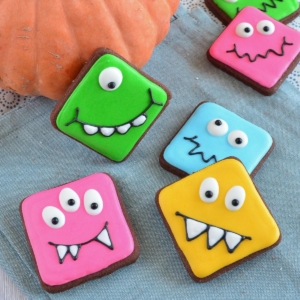
These cute monster cookies with royal icing are proof that Halloween treats don’t have to be scary at all. I made them with no idea of what I exactly wanted to make, but I love how they turned out!
Sometimes I try out a technique I might use again later, and other times I just invent a new cookie on the spot. Usually, they don’t turn out interesting enough to post on the blog, but these cookies were different!
I didn’t feel like making really scary monsters and I think these look just so sweet especially with the square shapes.
Using royal icing to make sweet cookie monster cookies for Halloween is easy to do and even if you don’t want Halloween decorations, you can make little pumpkins out of them or use other cookie cutters in different shapes. It’s just fun to get you in the Halloween spirit!

For the cookie recipe I used either my cut out sugar cookies or the chocolate sugar cookies . You will need about 30 cookies in a square size. Obviously, depending on how many you want to make. More is always a good thing!
In addition, you also need to make royal icing according to this recipe here.
You will also need a couple of different sizes piping tips and food coloring depending on what you want to make. In the recipe card I give you all the colors that I used. While orange is maybe the standard Halloween color, I went with sweeter colors like blue, pink, green and yellow.
BAKING TIP: To cut the cookie dough into neat squares you can use anything that is square or use specific cookie cutters.
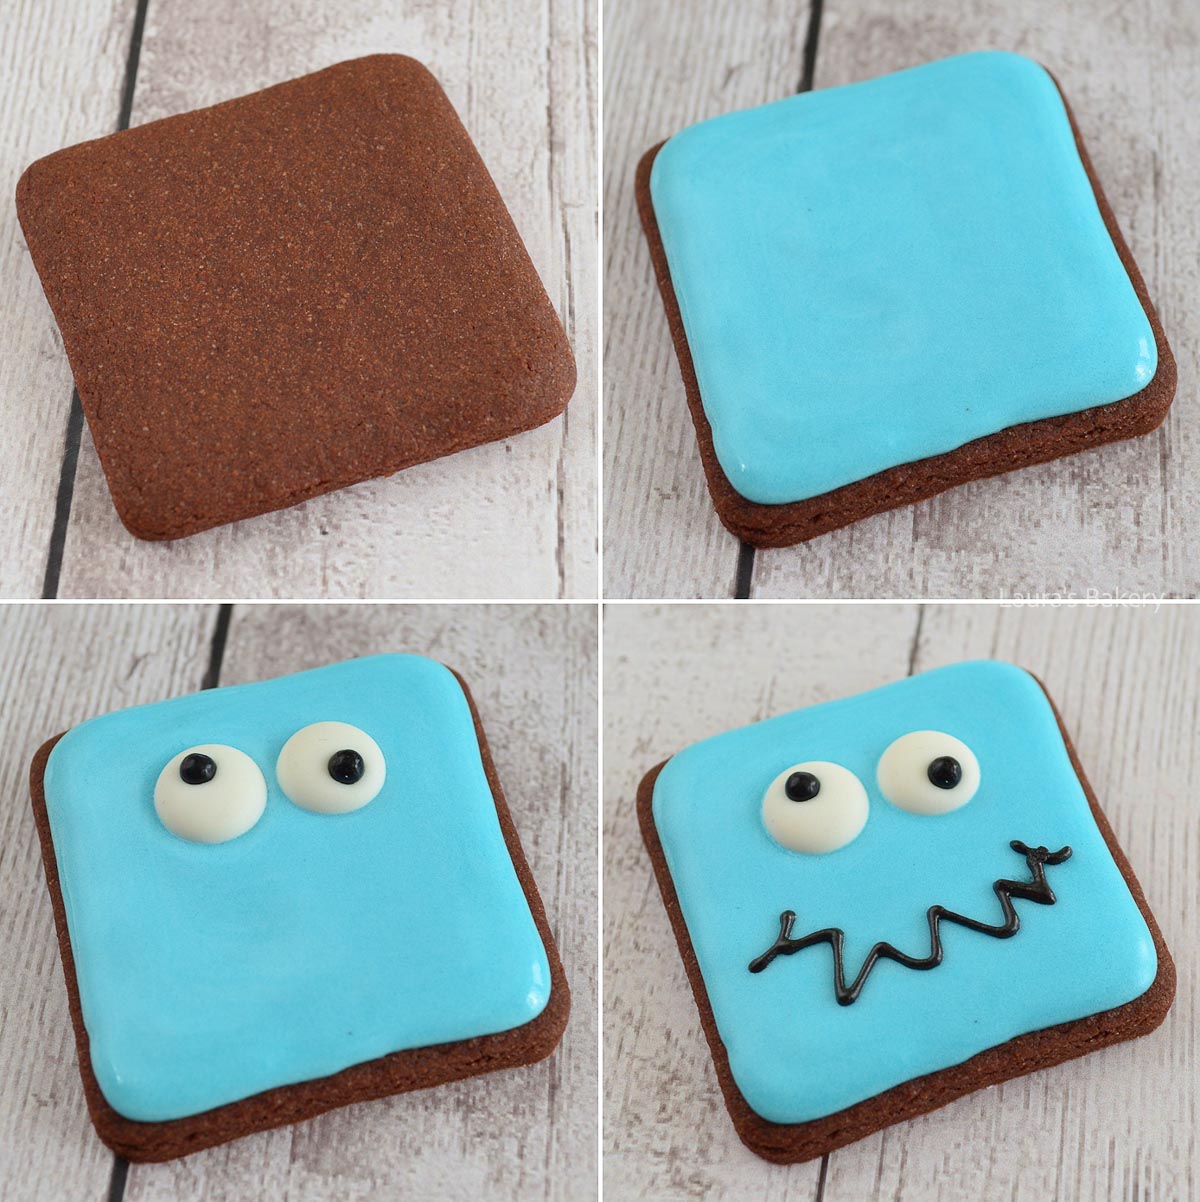
Make sure you make the royal icing according to the 20 second rule, which I explain in my article about royal icing. Next: color the icing and add the different colors into different piping bags. You start by piping the base for the cookies. Let that dry for a few hours.
It’s fun to mix the piping of the eyes a bit. Pipe some while the background layer is still wet and others while it has completely dried. The wet surface will let the eyes sink in the bottom layer.
Piping on a completely dried surface will make sure they eyes sit on top of the purple layer. Using both of those methods will create a fun effect.
Create each cookie different so you have a nice mix of Halloween cookies. Change the number of eyes, the shape of the mouth and even how many teeth they have.
In an airtight container, the decorated cookies will keep for about 3-4 weeks. The cookies will soften a bit due to the icing which I actually really like in combination with the crispy icing on top.
You can freeze them, but the moisture can affect the royal icing. They keep for up to 3 months.

Not really. Square cookie cutters make it easier to get neat cookies, but you can also use anything that has the right size for cutting. Alternatively you can go freestyle and use a sharp knife.
For decorating, a few piping bags and small round tips (#2 or #3) are enough.
You’ll want “20-second icing”. That means when you drag a spoon through the icing, it takes about 20 seconds for the surface to smooth out again. It’s thin enough to flood the cookie but thick enough to hold its shape.
You can, but the finish won’t be quite as smooth and crisp. Royal icing is the best option if you want that classic decorated-cookie look.
Make sure to let each layer of icing dry completely before adding details on top. If you pipe eyes onto wet icing, they’ll sink in for a smooth finish.
If you wait until the base is dry, the eyes will sit on top. Both are fine – you just want to be intentional about the look.
Yes! Bake the cookies a day in advance, then decorate. Once decorated and fully dried, they’ll keep in an airtight container for up to 4 weeks.
Yes, the icing can make the cookies a little softer. Some people love the texture contrast, while others prefer crisp cookies. If you’d like them crunchy again, you can refresh them briefly in the oven at a low temperature.
Definitely! I used only white eyes in this case, but gave some of the cookies three eyes, while others just have one. But you can absolutely give the eyes different colors as well.
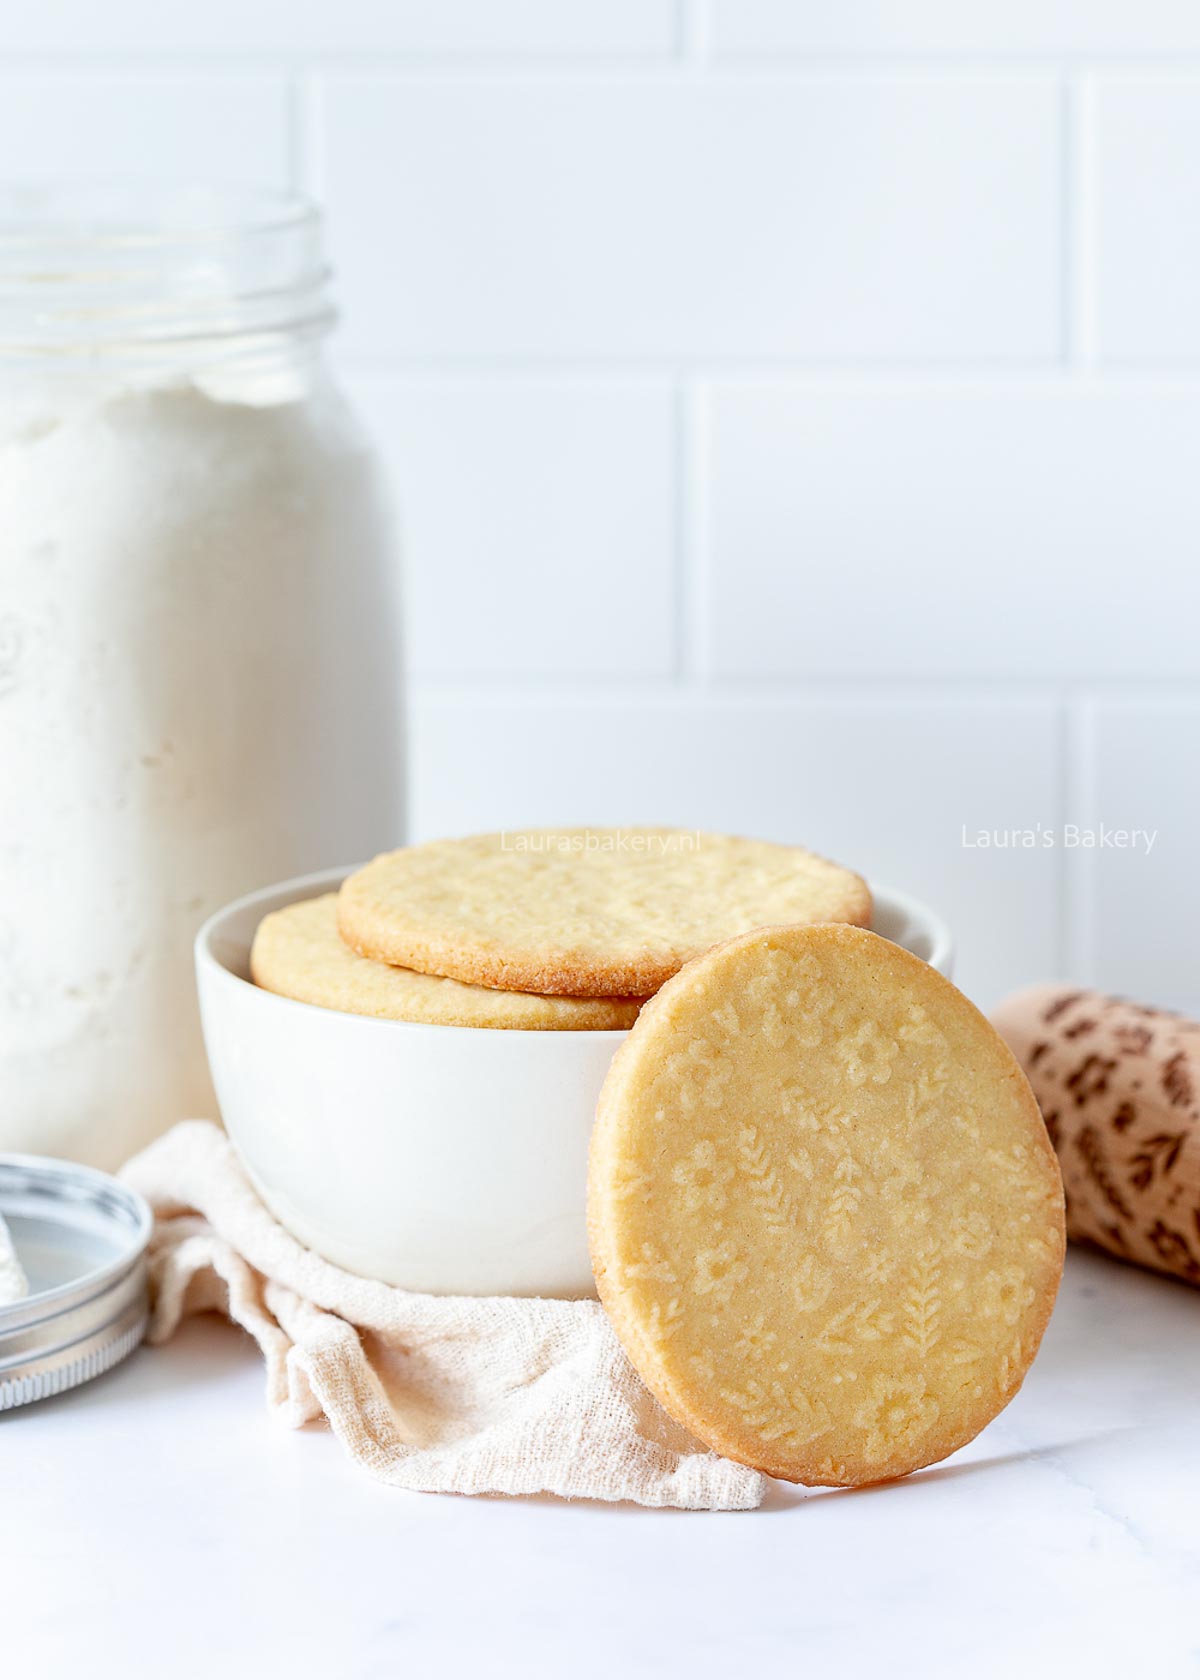
Using an embossed rolling pin isn’t always easy, you could definitely use a little guide. Today, I’m sharing all my tips so you can bake the prettiest patterned cookies with a fun embossed rolling pin. It not only looks pretty but it is perfect for the holiday season!
Many of you already have an embossed rolling pin at home, maybe it’s lying in a kitchen cabinet, unused. Of course, you want the best possible result so that the design shows clearly not just before baking, but also after.
In this how-to guide, I’ll provide a simple, step-by-step plan with all the tips you need to use an embossed rolling pin. These are the topics I’ll cover:
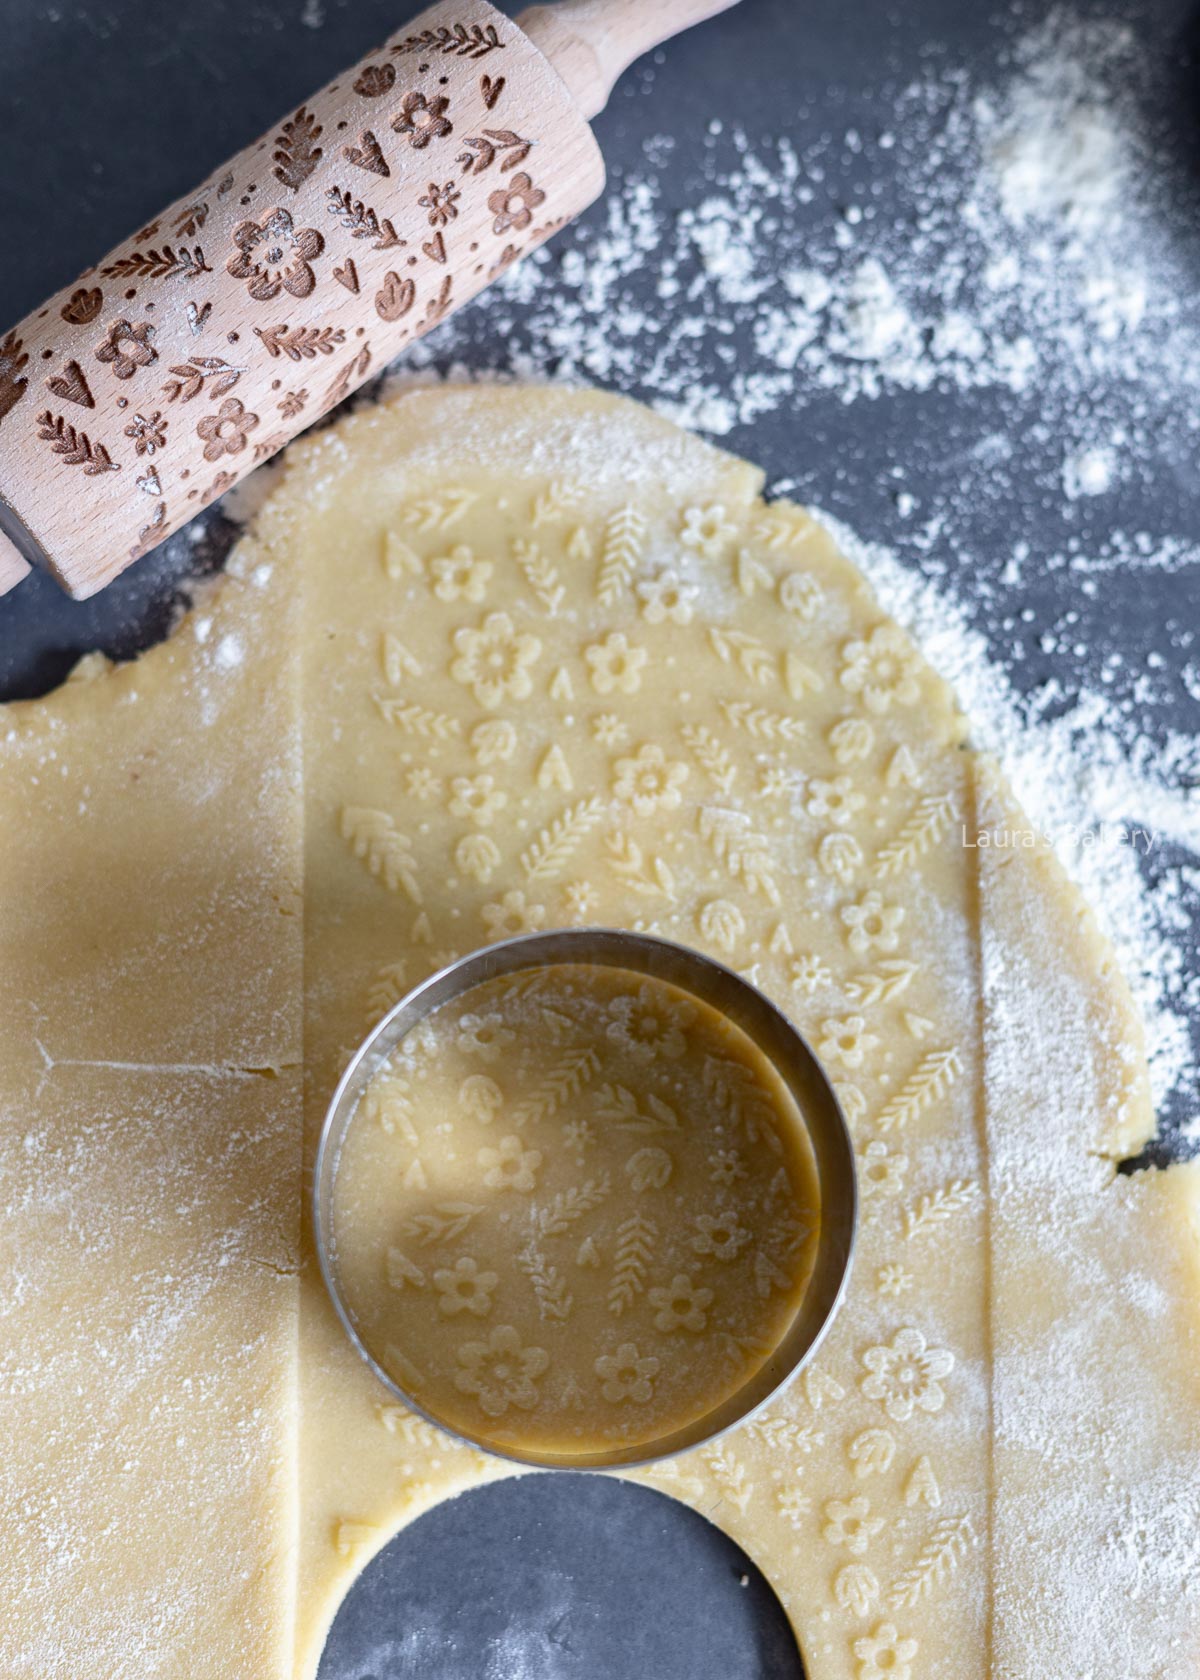
The quality mainly depends on how deep the design patterns are. If the pattern is too shallow, the intricate designs won’t show up after baking. How deep the pattern should be is different for every pattern.
So you want a rolling pin that is extensively tested multiple times to ensure your embossed pin is showing up in your cookies. But once you get a good quality the cookies will look so beautiful!
A good-quality rolling pin isn’t enough on its own. Any experienced cookie baker will tell you that you can’t just use any cookie recipe if you want the cookies to hold their shape in the oven. That applies to embossed rolling pins as well as cookie stamps. You’ll need a no-spread cookie recipe – meaning the cookies won’t spread or lose their shape during baking.
Luckily, I’ve got that recipe for you: my basic sugar cookie recipe. This recipe uses relatively more all purpose flour, and the balance of flour to other ingredients ensures the cookies stay perfectly shaped. It’s ideal for cut-out cookies, cookie stamps, or an embossed rolling pin.
It’s important to follow the recipe exactly – don’t change the ingredients. Want a different flavor than the classic vanilla sugar cookie? These variations also work great:
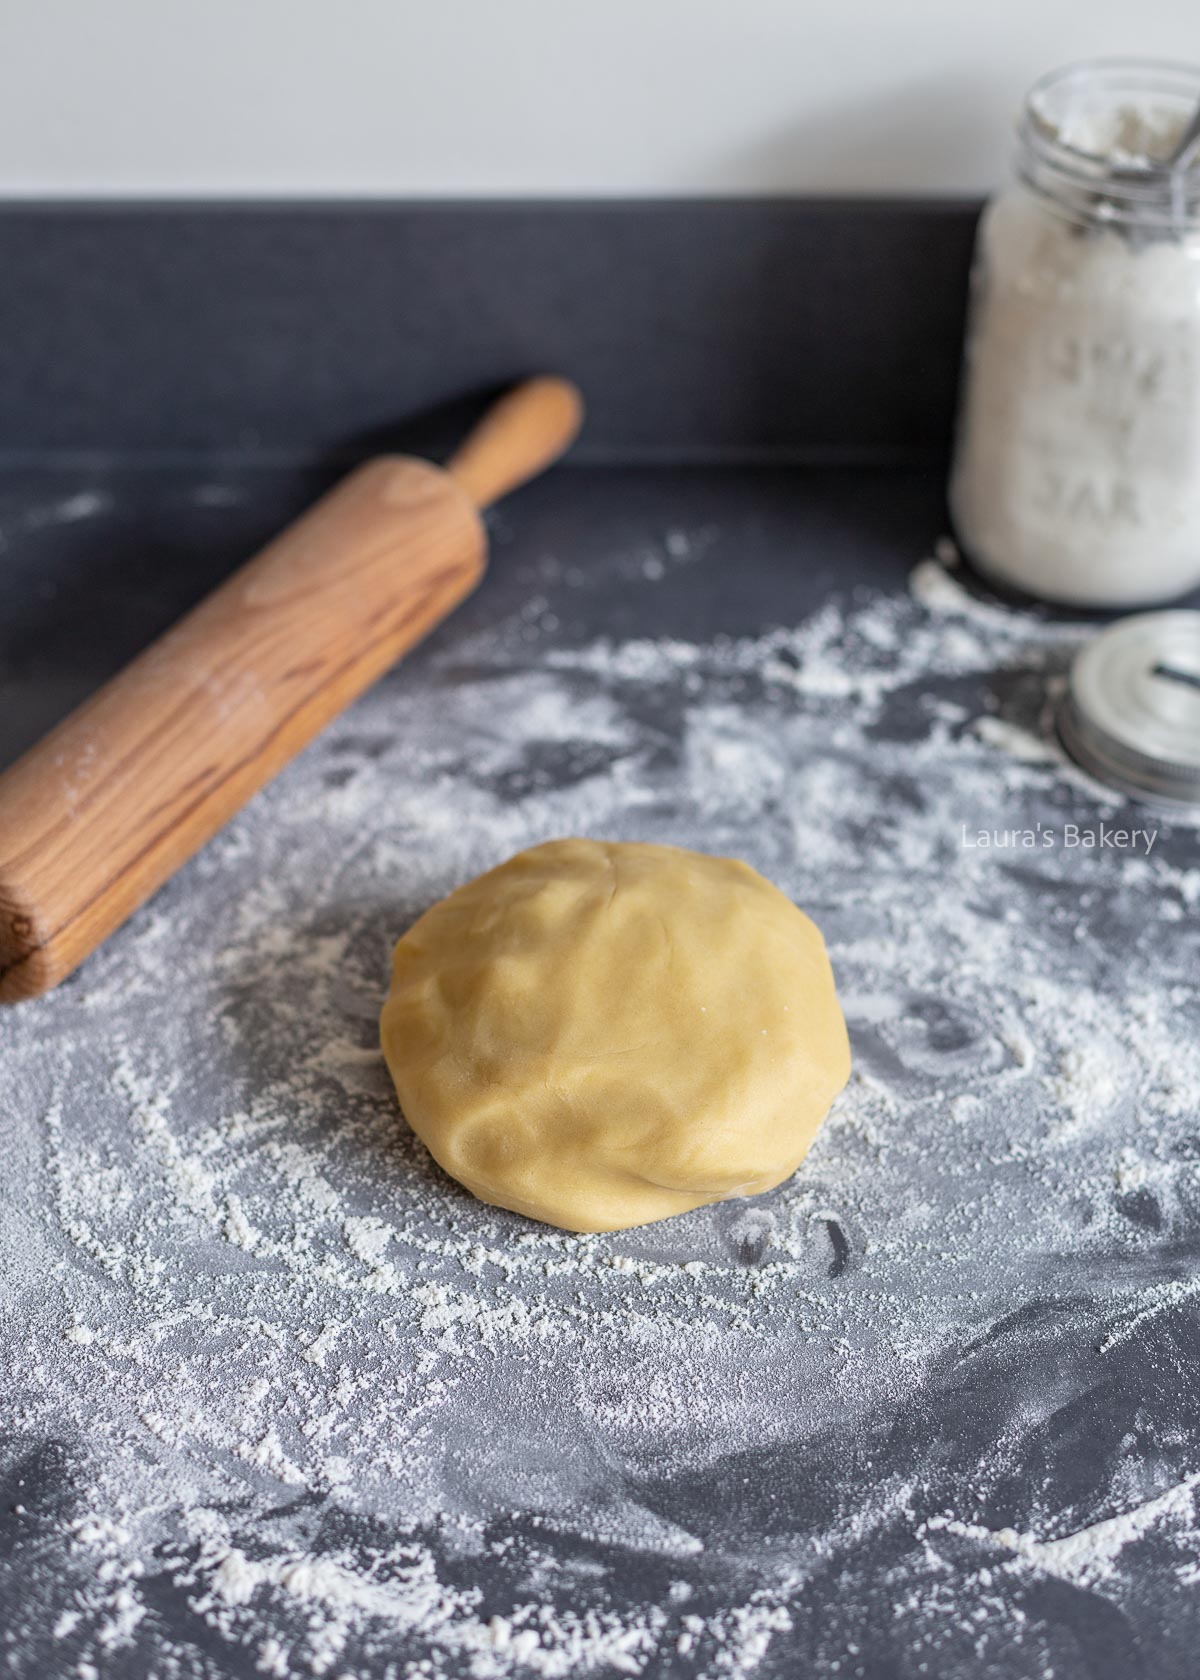
Once you’ve made the dough, the sugar cookie recipe tells you to chill it in the refrigerator. This improves the flavor, the texture, and the firmness of the dough, which helps the cookies keep their shape.
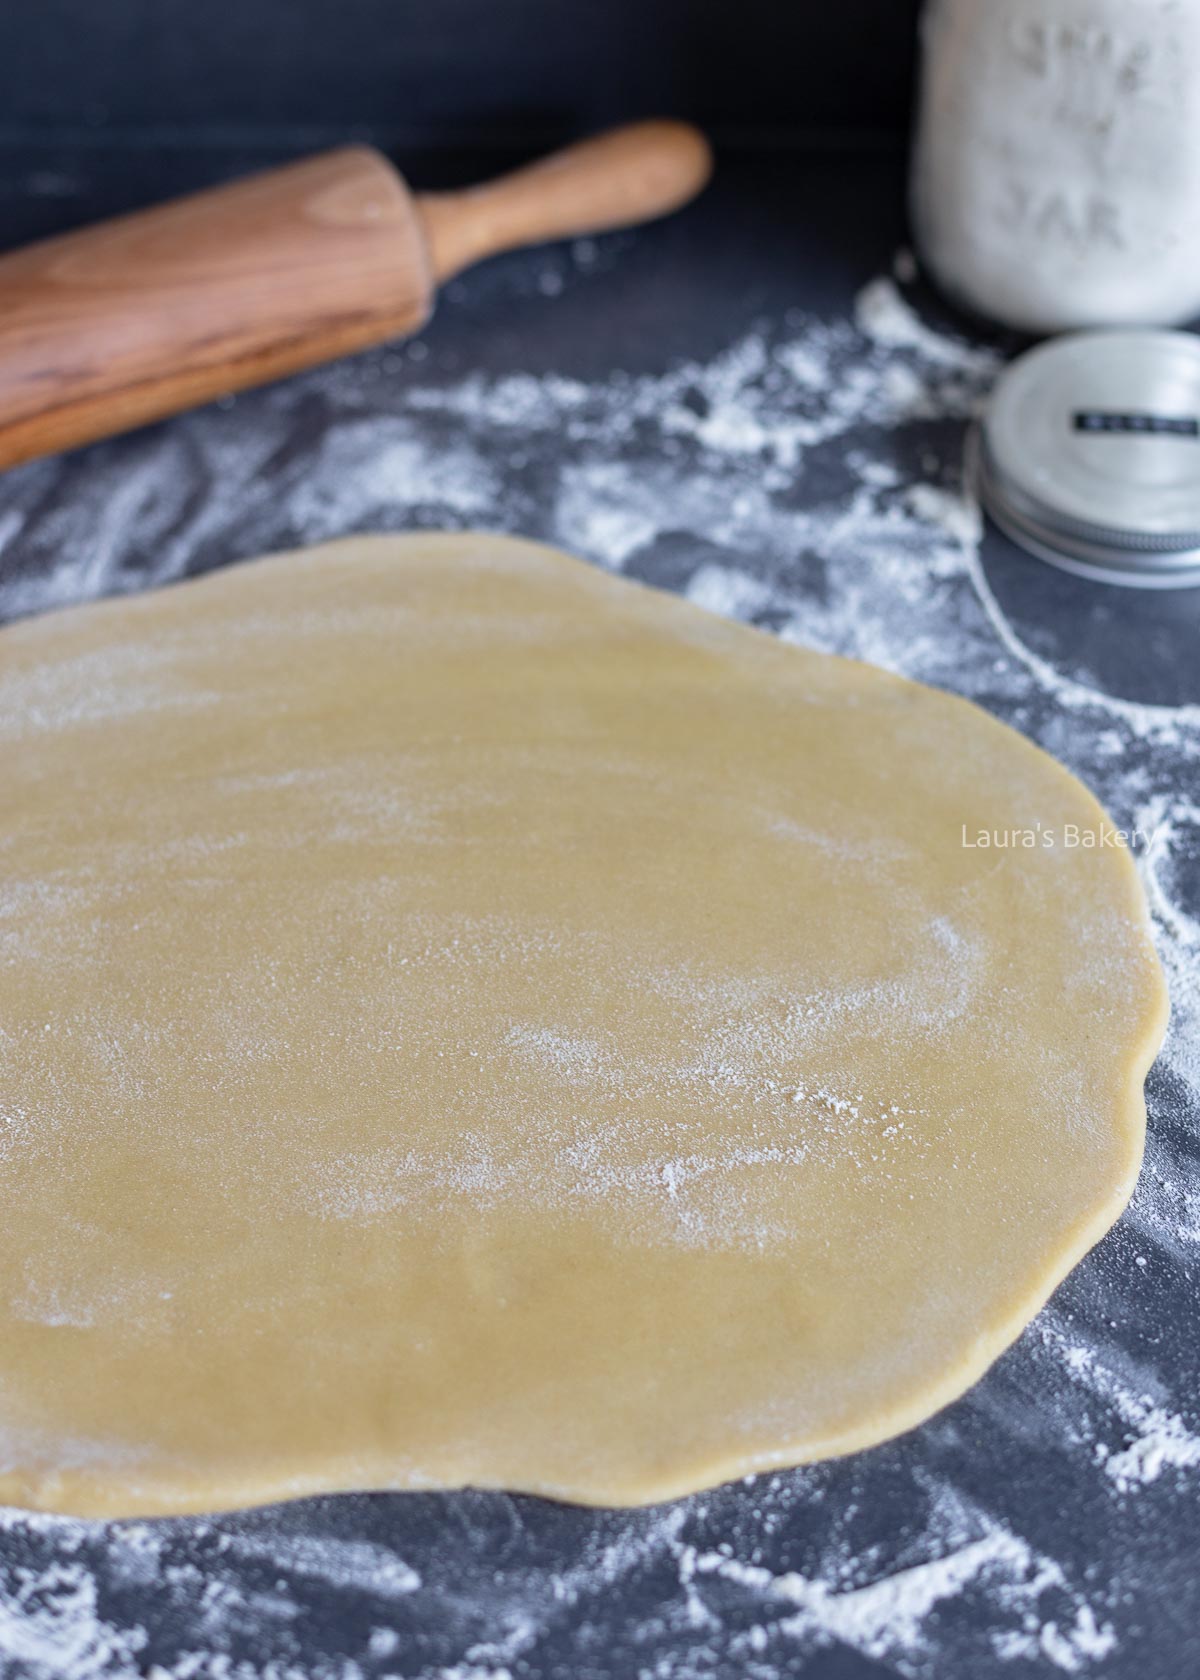
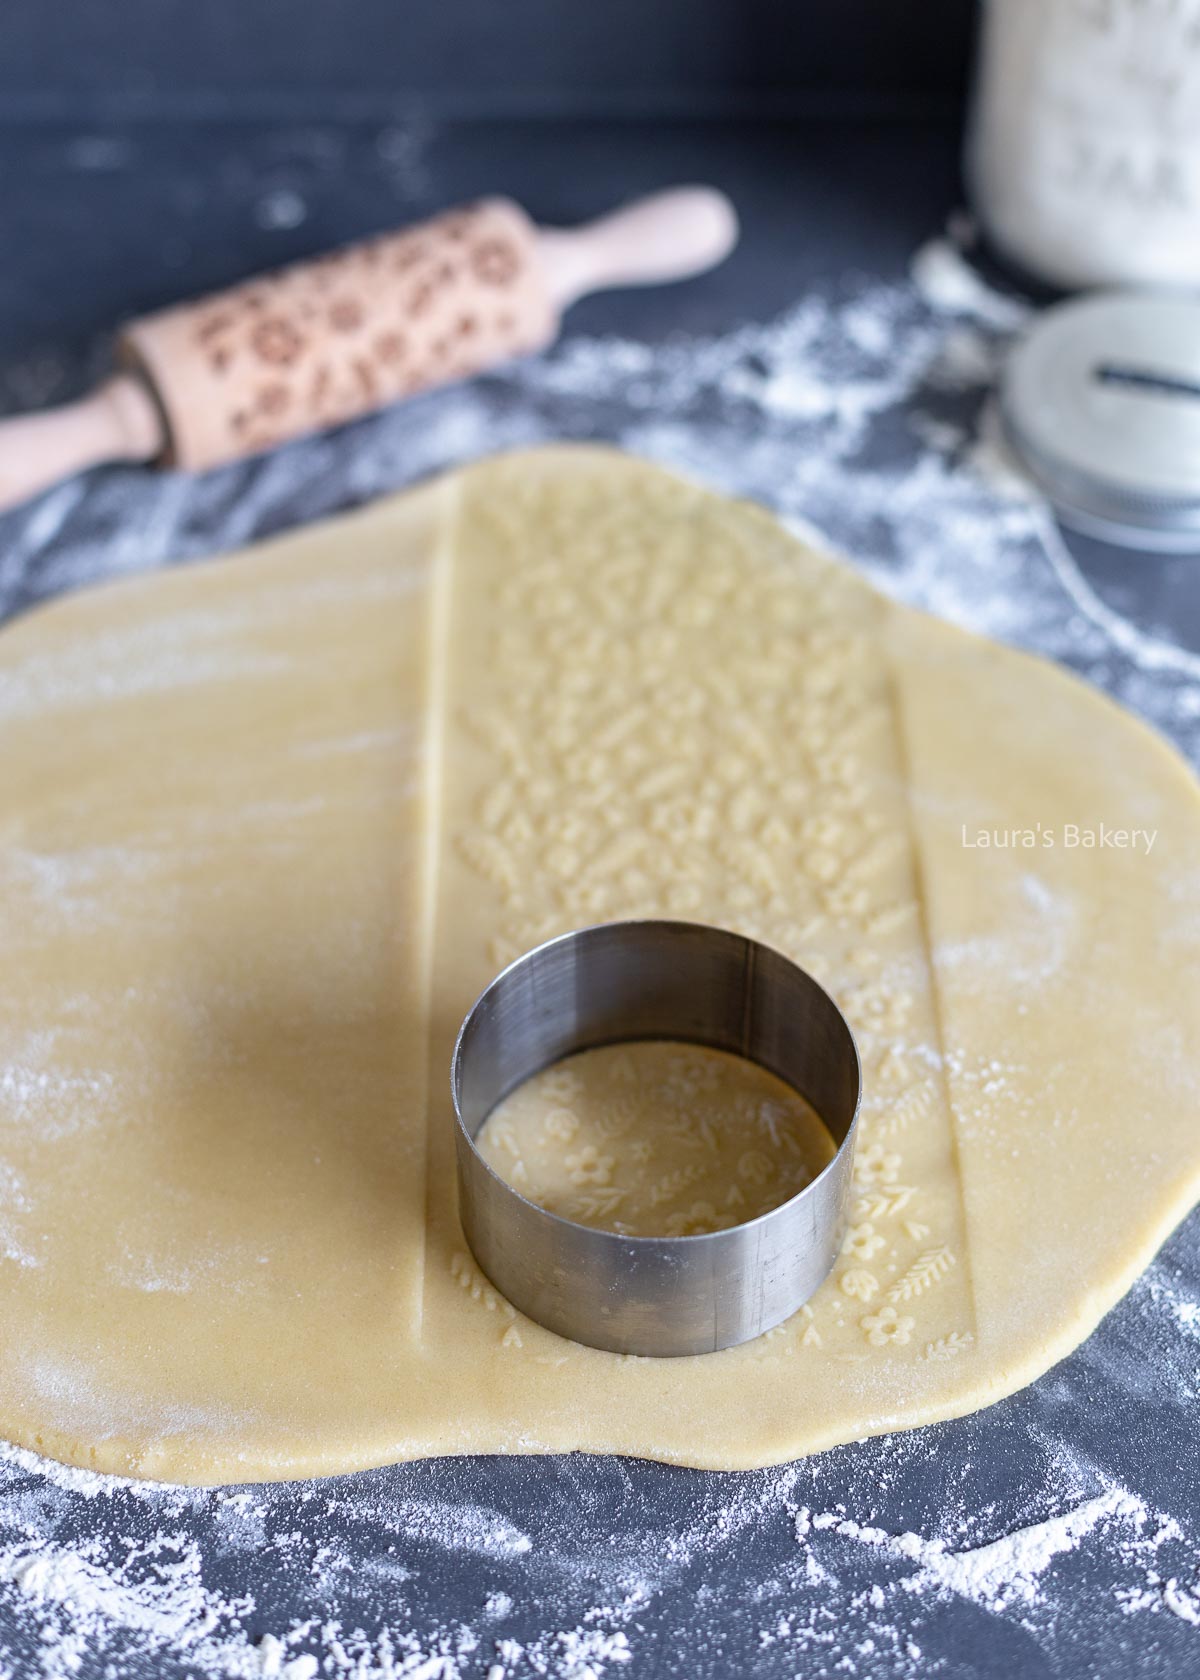
Next, dust your counter or work surface with flour and roll out the dough with a regular rolling pin to your desired thickness. Lightly dust the rolled dough again with flour before using your embossed rolling pin. Press firmly as you roll to leave the deepest possible imprint in the dough. Then cut out the cookies with a round cutter or any shape you like.
Place the cookies on a baking sheet lined with parchment paper that fits in your fridge. For the best result, chill the cut-out cookies again for 30 minutes before baking. Meanwhile, preheat your oven, and once the cookies are firm, transfer them straight into the oven.
Never wash a wooden embossed rolling pin under running water. First, try wiping away any bits of dough with a dry cloth or pastry brush. To prevent dough from sticking in the first place, use a little extra flour when rolling.
Then, clean the rolling pin with a dry, clean brush. A small nail brush, for example, works very well to get into the grooves.
If you’ve already washed your wooden rolling pin with water before, don’t worry, it’s not completely ruined. But avoid doing it again in the future. Water dries out the wood, which can cause it to crack and shorten its lifespan.
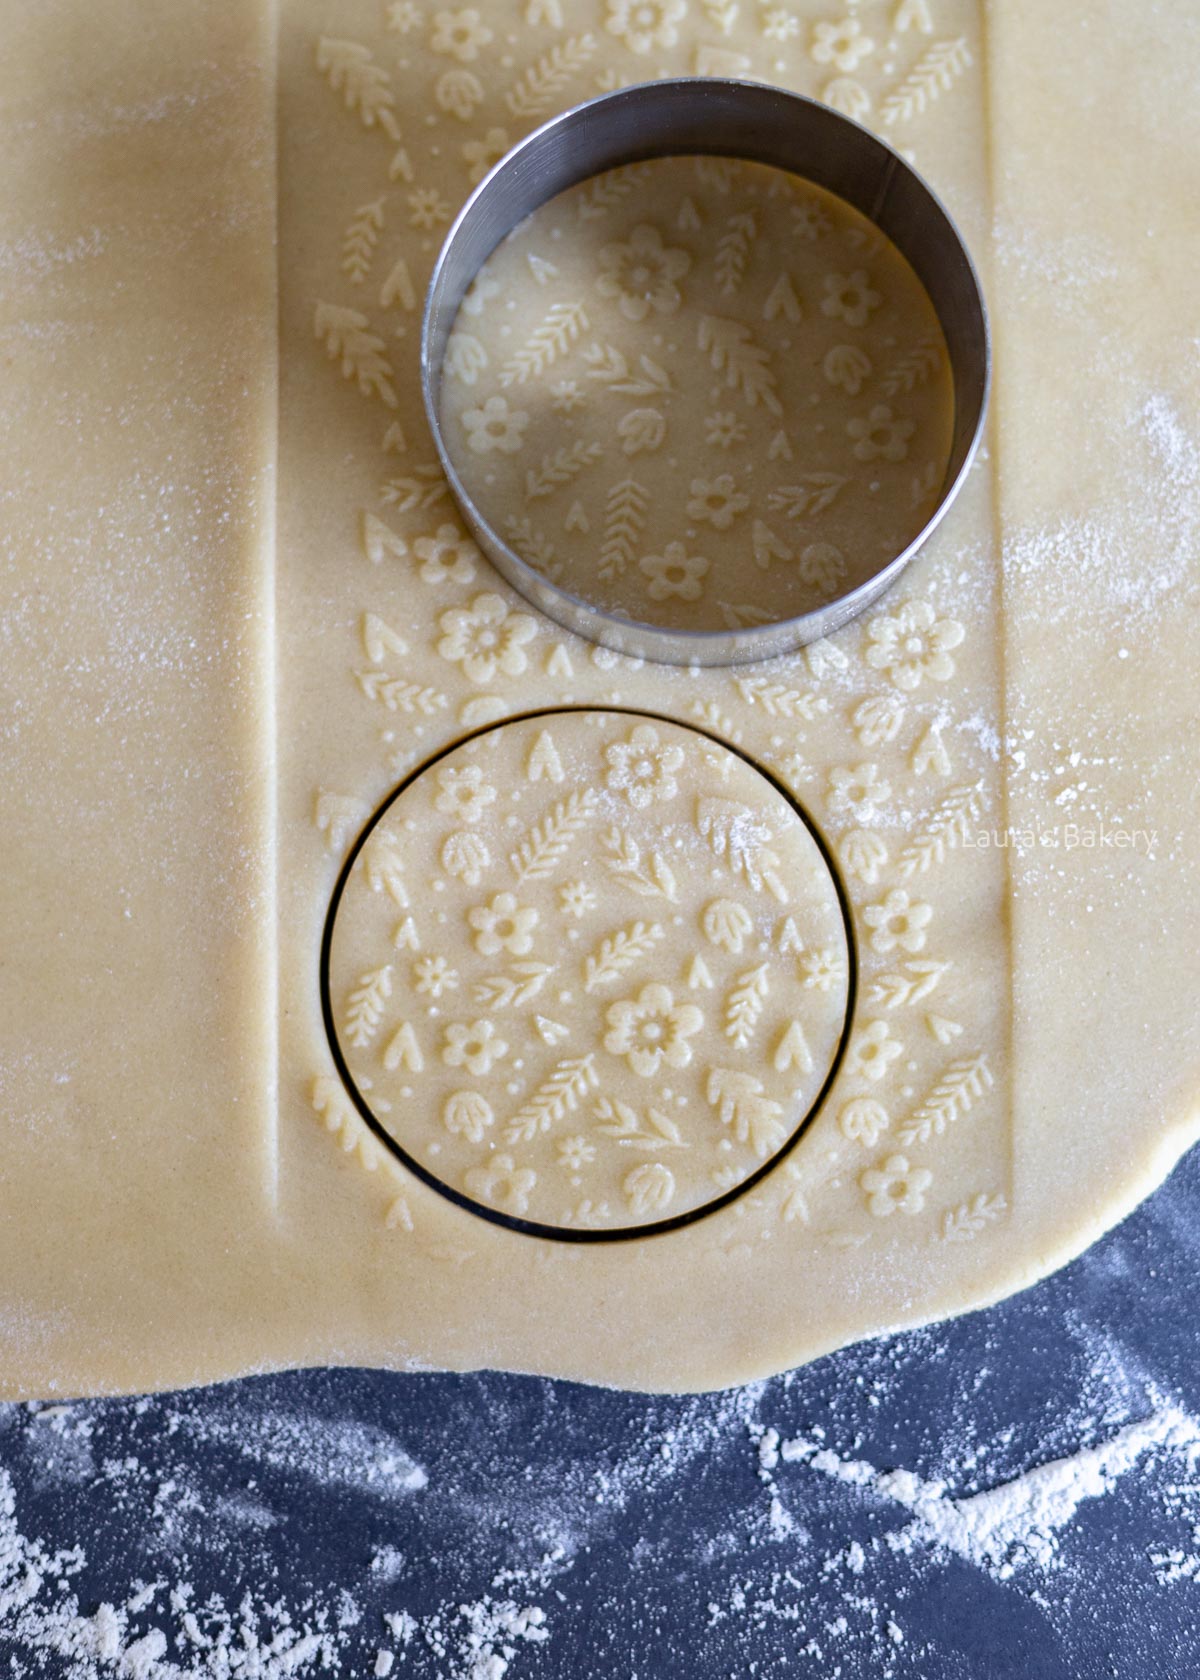
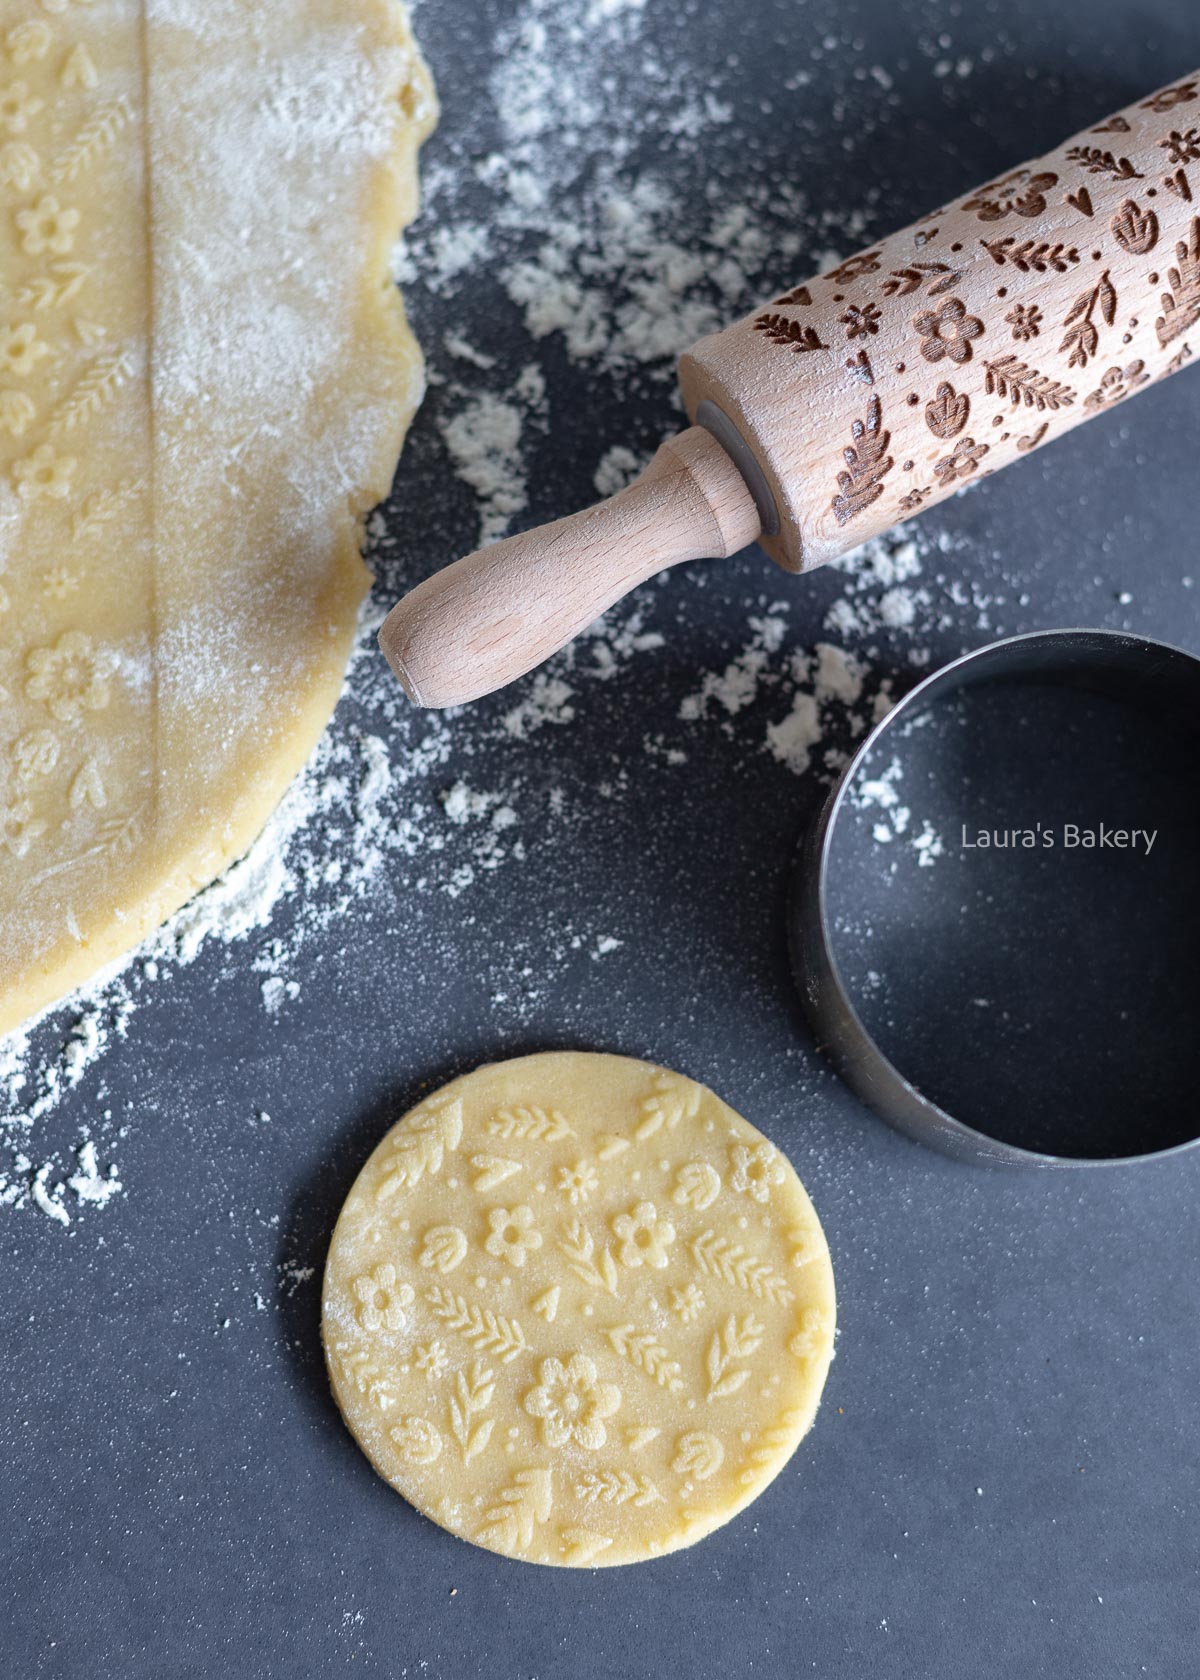
This usually means your rolling pin’s design is too shallow, or the dough recipe isn’t suitable. Make sure you’re using a no-spread cookie recipe (like cut out sugar cookies) so the design stays sharp in the oven.
Yes! Chilling before and after cutting prevents the cookies from spreading and helps the design stay crisp. It’s worth the extra time.
Lightly dust the dough with flour before rolling. This keeps the dough from sticking and helps the pattern transfer more evenly.
Not really. Recipes with too much butter, sugar or baking powder tend to spread. Stick to sturdy doughs like cut out sugar cookies (which are also perfect for decorating cookies too), gingerbread, or shortbread.
Never wash it under running water. Instead, brush off any dough with a dry cloth or small brush. Extra flour during rolling also helps prevent sticking in the first place.