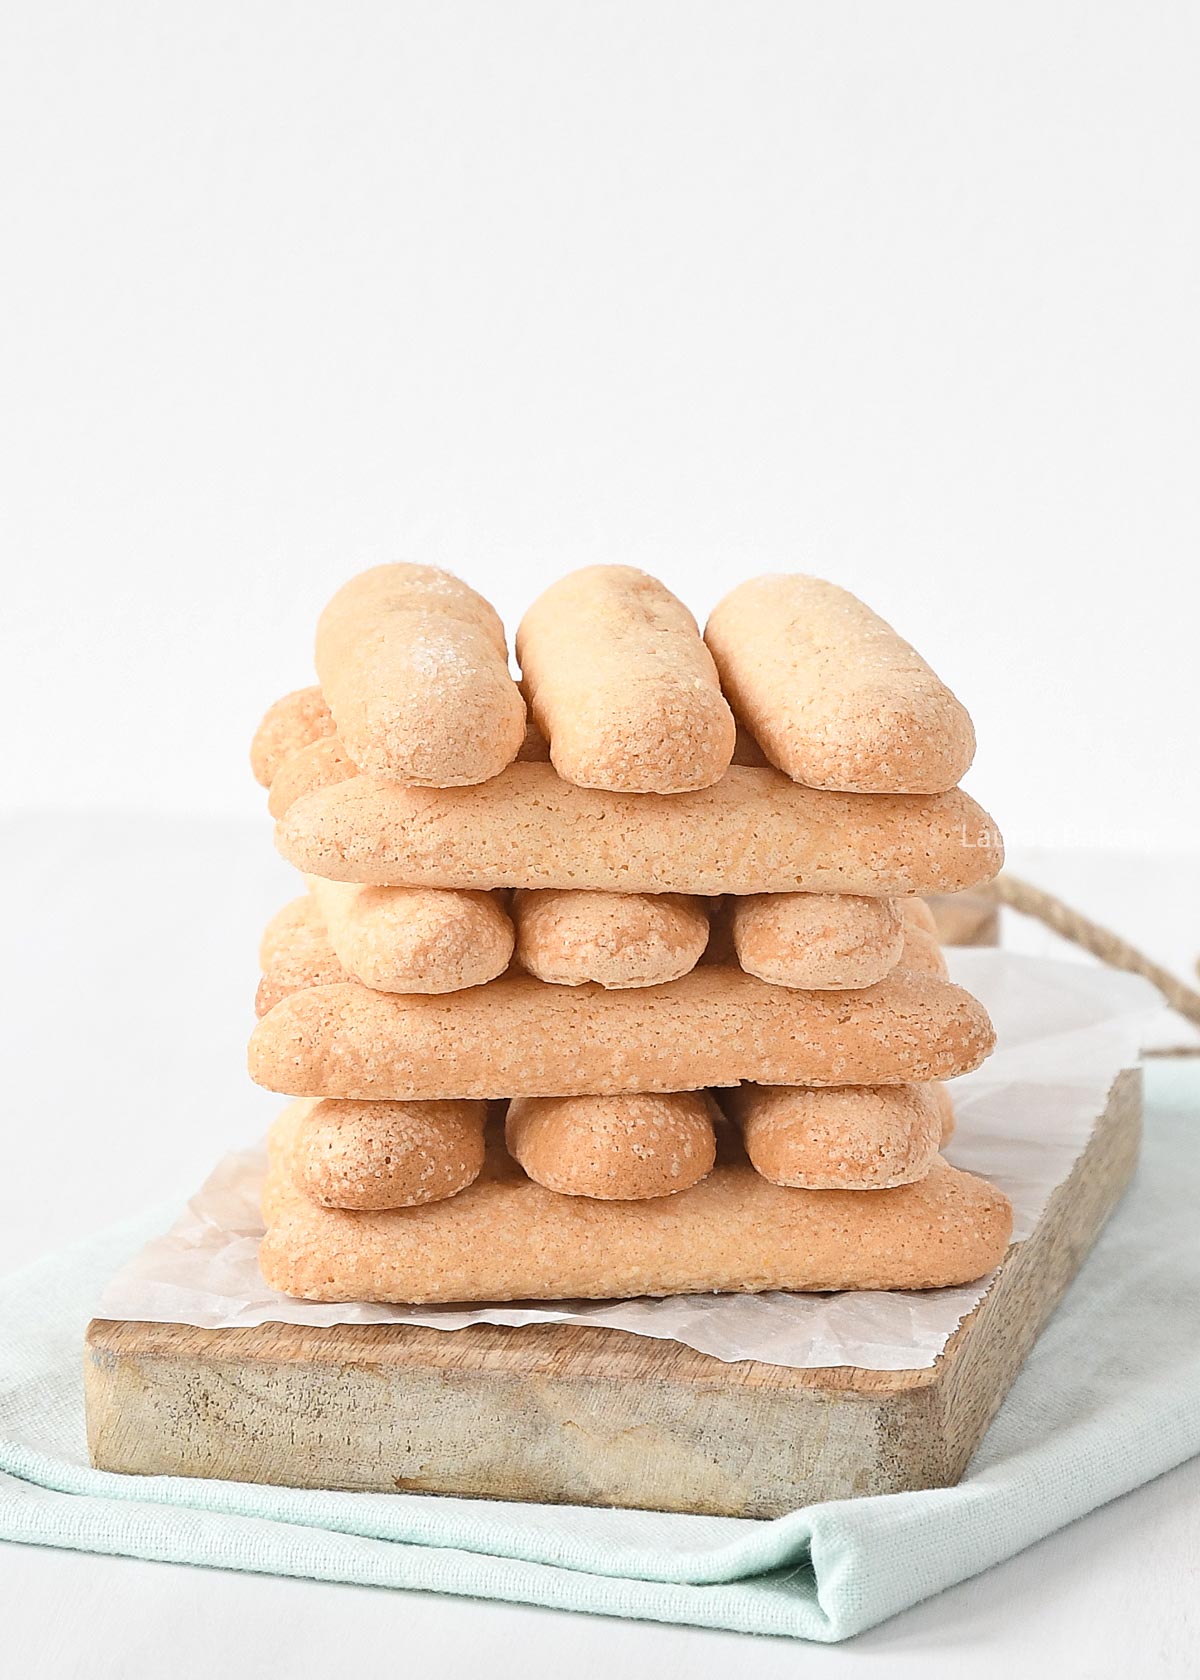
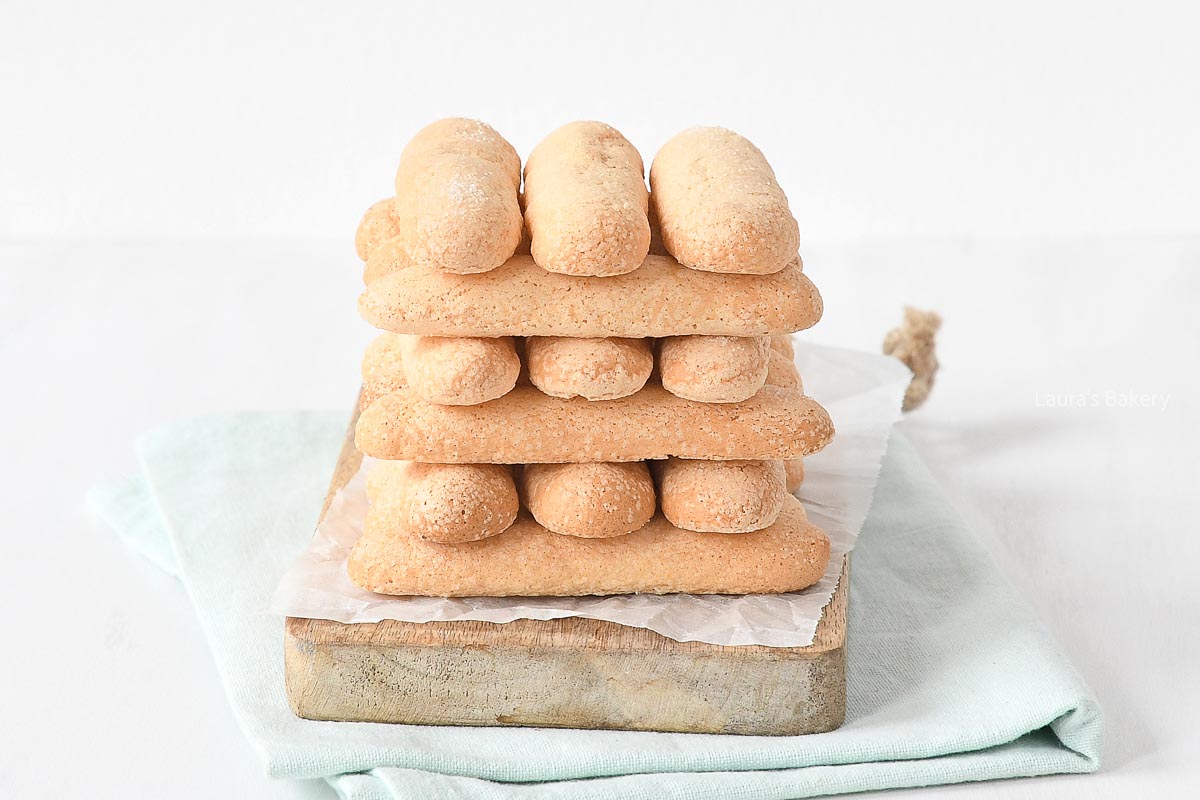
It’s incredibly simple to make ladyfingers at home. I’m sharing the recipe for ladyfingers along with my tip on how to bake them (extra) crisp and crunchy.
Making your own lady fingers is easier than you might think and perfect if you can’t find them in the stores or want to make tiramisu from scratch.
You can use the ladyfinger cookies for your next homemade tiramisu or you can eat them with a cup of coffee. Both are delicious!
Recipe Ingredients
Lady fingers are essentially a sponge cake but baked in a different way, making them crunchy and crisp. Make sure to double-check the full ingredients and quantities in the recipe card below.
eggs – you will need to split the eggs into egg yolks and egg whites.
sugar – use super fine sugar
all-purpose flour
cornstarch – this is used to add to the mixture so it becomes more stable.
How To Make Ladyfingers
Start by whipping the egg whites in a large grease-free bowl with part of the sugar and the salt until stiff peaks form. I like to do this in the bowl of a stand mixer with the whisk attachment.
Use another large mixing bowl to beat the egg yolks with the rest of the sugar until it is light and fluffy. Now add the egg yolk mixture to the egg whites and gently fold those together.
When it is almost uniform in color, sift the flour and the cornstarch together into the egg mixture and do this in 3-4 additions.
Make sure to fold it in gently and wait until the flour mixture is almost incorporated before adding more. It’s important to try and keep the batter as airy as possible.
Piping the ladyfingers and baking
Now, you add the batter into a piping bag with a plain round 10mm piping tip. Using baking sheets lined with parchment paper pipe the lady fingers and make them each about 8-10 cm/3-4 inches long.
Make sure to leave enough space in between the sponge fingers as they will spread slightly in the oven.
Sprinkle the lady fingers with superfine caster sugar. Remove any excess sugar from the baking sheet by gently blowing it away.
Bake the lady fingers for 10-12 minutes at 375˚F/190˚C.
After that time, take them out of the oven and let it cool slightly. Taste one and see how they are on the inside. They might still be a little soft on the inside.
I love it when they are a bit soft on the inside, but if you want them completely crispy return them to the oven for an extra 3-4 minutes. You can also do that by turning of the oven and letting them cool down inside.
Keep in mind: fresh out of the oven they might still be a bit soft, but they will firm up once cooling down.
Boudoir Cookies and Lady Fingers
In the Netherlands, we know these cookies as ‘lange vingers’ and most other countries know them as ladyfingers. But in France, they refer to them as boudoir cookies or ‘Biscuit de Champagne’; apparently, because they pair well with a glass of champagne.
Ladyfingers are delicious on their own, but they’re also perfect for desserts. The classic dessert tiramisu, for example, would be nothing without a generous amount of lady fingers, and cakes like a charlotte depend heavily on them as well.
You can even bake ladyfinger batter as a cake base; the possibilities are endless. And I haven’t even mentioned all the flavors you can add to the homemade ladyfingers recipe itself! I will be sharing my recipe for chocolate ladyfingers later, too.
My list of recipes using these cookies is incredibly long, but I’ve selected a few favorites for you:
It’s best to store the lady fingers in a cookie jar or cookie tin and they keep well for 1-2 weeks.
Can I freeze ladyfingers?
I have not tried freezing them myself but well wrapped in an airtight container that should be possible. Keep in mind they possibly will be less crunchy after thawing.
FAQ Ladyfingers Recipe
My cookies spread and turned out flat. What did I do wrong?
This can be caused by several factors:
The batter wasn’t whipped airy enough, or the air was knocked out during folding. Folding should be done very gently.
A piping tip that was too large was used. You need a round 10 mm piping tip.
Can I replace the flour with almond flour?
Unfortunately, this isn’t possible. Hopefully, the article below can help you further: baking with almond flour
My ladyfingers aren’t crunchy, why not?
Let the cookies cool completely first, they only become fully crisp once cooled. Still not crunchy after cooling? Then they were likely not baked long enough or at a high enough temperature. Every oven is different, and using an extra oven thermometer can help check the actual temperature.
You may also have forgotten the final step of removing the baking paper and placing the ladyfingers directly on the oven rack before returning them to the oven.
Beat the egg whites in a grease-free bowl with half of the sugar and the salt until stiff peaks form. In another bowl, beat the egg yolks with the remaining half of sugar until light and fluffy. Add the egg yolk mixture to the whipped egg whites and gently fold together.
When the mixture is almost uniform in color, sift the flour and cornstarch over it in 3-4 additions. Each time, wait until the flour is almost incorporated before adding more. Fold gently and carefully to keep the batter as airy as possible.
Fit a piping bag with a plain 10 mm piping tip and fill it with the batter. Pipe the lady fingers onto a baking sheet lined with parchment paper, about 8-10 cm long. Keep in mind they will spread slightly in the oven, so leave enough space between them.
Sprinkle the ladyfingers with superfine sugar. Gently tilt the baking sheet to remove any excess sugar that falls next to the cookies. You can also gently blow it away.
Baking ladyfingers
Bake the lady fingers for 10-12 minutes at 375°F/190°C, conventional oven.
Let them cool slightly and then taste one. They may still be a bit soft inside. Delicious as is, but if you want them fully crisp and crunchy, that’s easy to fix.
Perfect crispy ladyfingers
Place all the lady fingers directly on an oven rack (no parchment paper underneath) and return them to the oven for another 3-4 minutes. This can also be done with the oven turned off and cooling down. They’ll come out of the oven slightly soft, but don’t worry, once cooled, they’ll become wonderfully crisp.
Adding yogurt to your pancakes makes them deliciously light and fluffy and a little bit fresher in taste due to the use of the yogurt. In this easy recipe for yogurt pancakes, I’ll tell you how to make them!
Why This Recipe Works
This recipe for yogurt pancakes uses simple ingredients to create the pancake batter, but they are extra fluffy and fresh due to the use of yogurt.
That also provides extra protein, making these the perfect pancake breakfast recipe.
Recipe Ingredients
For making these fluffy pancakes you need the following ingredients. As always make sure to double-check the exact ingredients and quantities in the recipe card below.
all-purpose flour
yogurt – I used low-fat yogurt in this case but regular yogurt is a good option too
egg – you need one medium egg for this recipe
baking powder and baking soda – to create that fluffy texture you need both of these rising agents
fresh fruit – that is totally optional but they do taste great with the flavor of yogurt
How To Make Yogurt Pancakes
In a bowl you start by combining the dry ingredients. Mix those together. Add the egg, water and the yogurt and mix until you have a thick smooth pancake mix.
Now heat a skillet or a similar large pan with a bit of butter or olive oil and scoop some of the batter into the pan. I like to use an ice cream scoop for doing this to get evenly sized pancake. A regular spoon will also work
When small bubbles appear on the surface it is time to flip the pancake and bake the other side until both are golden brown.
Serve the yogurt pancake recipe with fresh berries, icing sugar or honey.
Storing Yogurt Pancakes
Pancakes are incredibly easy to keep. Once baked you can wrap them in foil and store them in the fridge for up to two days. That’s a great option for busy mornings.
Can I reheat yogurt pancakes?
You can reheat them in a skillet over low heat, in the microwave, or briefly in the oven.
For frozen pancakes, let them thaw first or reheat directly on low power.
Can I freeze yogurt pancakes?
Yes you can also freeze these yogurt pancakes. Make sure to store them in an airtight container or wrap them in a freezer bag. They can be stored in the freezer for up to three months.
More Pancake Recipes
Are you fan of pancakes? Make sure to also check these pancake recipes:
Can I use full-fat yogurt instead of low-fat yogurt?
Yes, full-fat yogurt works perfectly and will make the pancakes slightly richer. Greek yogurt also works, but you may need to add a little extra water or milk to thin the batter.
Can I use flavored yogurt?
You can, but keep in mind that flavored yogurts often contain added sugar. If you use vanilla or fruit yogurt, consider reducing or omitting the added sugar in the recipe.
Why are both baking powder and baking soda used?
The baking soda reacts with the acidity of the yogurt, while the baking powder provides extra lift. Together, they ensure light, fluffy pancakes.
Can I make these pancakes without an ice-cream scoop?
Yes! A regular spoon or measuring cup works just fine. The scoop just helps keep the pancakes evenly sized.
Can I add mix-ins like fruit or chocolate chips?
Definitely. Blueberries, raspberries, banana slices, or chocolate chips are all great additions. Gently fold them into the batter just before baking.
In a bowl, combine the flour, sugar, baking powder, and baking soda. Briefly stir together with a spatula. Then add the egg, yogurt, and water and mix with the same spatula until you have a nice, thick batter.
Heat a knob of butter in a skillet and scoop spoonfuls of batter into the pan using an ice-cream scoop. When small bubbles appear on the surface, flip the pancakes. Cook until golden brown on both sides.
Serve the pancakes with a little powdered sugar, syrup, fruit, or savory toppings like cheese and bacon.
Today I’m sharing a really handy basic recipe for sweet dough. Think cinnamon rolls, but this dough is so much more versatile than that. You can fill them with peanut butter, pastry cream, fruity flavors or whatever you like. Anything goes.
Why I Love This Recipe
This basic sweet dough recipe is the perfect base for so many different buns and rolls:
easy to make
versatile. I’ve made many delicious kinds of rolls
great basic recipe
I’ll show you below why you can’t go wrong with this recipe. If you’ve made it once, the possibilities are endless.
Recipe Ingredients
Make sure all ingredients are at room temperature before starting with this recipe and double-check the exact ingredients and quantities in the recipe card below. As you will see the ingredients are pretty simple for making a sweet bread dough.
yeast – I love yeast breads and this is one of my favorites. Use active dry yeast for these buns
sugar – it’s a sweet dough so it does contain sugar
milk – I use regular whole milk for this
butter – unsalted butter
egg – 1 medium egg
all-purpose flour
How To Make Basic Sweet Dough
I like to use the bowl of a stand mixer with a dough hook attachment for making the dough, but you can also use a large bowl and your hands. It might take a bit longer to knead by hand.
Start with activating the yeast in a small bowl with a little bit of sugar and warm water. Let it sit while you work on the rest of the ingredients. While the yeast is doing its thing melt the butter with the milk. As soon as it is melted together take of the heat and let it cool slightly.
In a bowl combine the warm milk and melted butter mixture with the yeast, the rest of the sugar, salt and half of the flour. Knead until it comes together, and then add the rest of the flour. Knead until it’s becoming a smooth dough which can take anywhere from 5 to 10 minutes. If the dough is really sticky you can add a bit of extra flour when needed.
Place the dough in a bowl that is rubbed with a bit of oil and place the dough inside. Let it rise for an hour or until doubled in size.
After rising this is the most versatile dough out there. You can turn it into a perfect cinnamon roll, make sweet dinner rolls or fill it with whatever you like.
How To Roll Basic Sweet Dough
1
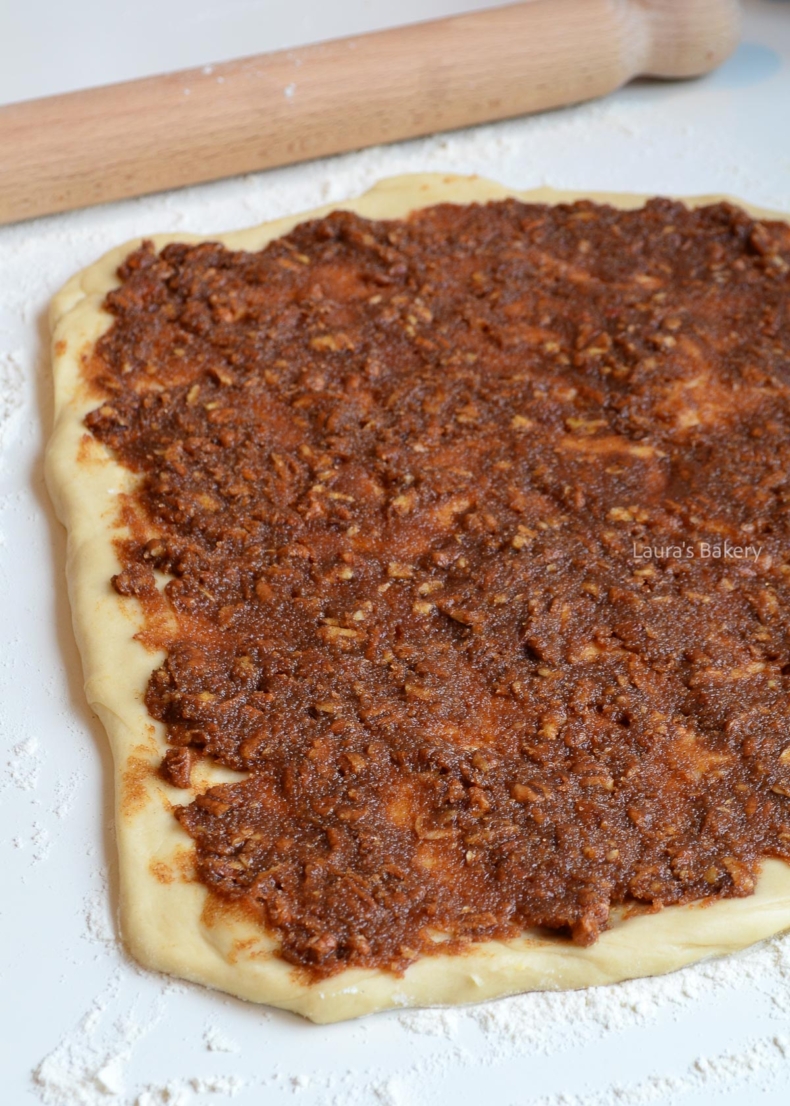
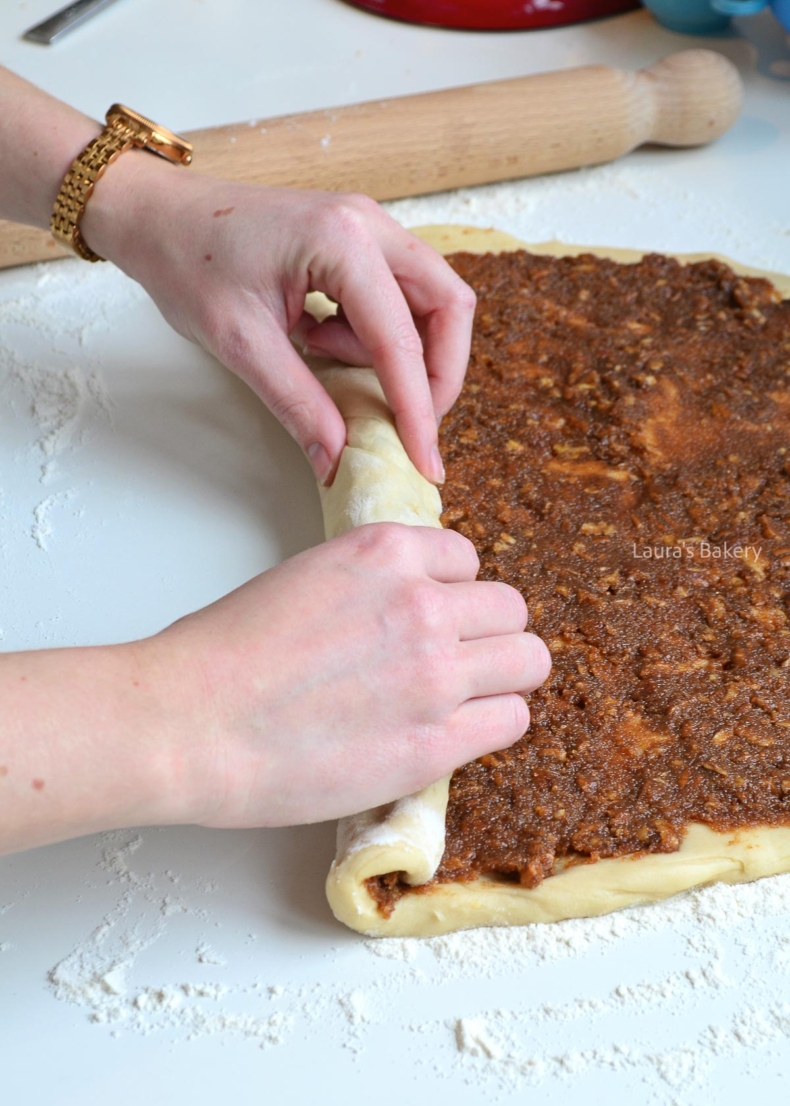
Roll the dough out into a rectangular shape and spread with your filling of choice
I often get asked if you can make dough ahead of time, and yes you can!
In the refrigerator
You can store the dough in the fridge after kneading in a lightly oiled bowl and well covered. Store for up to 24 hours.
Once ready to use let it sit at room temperature for 30-60 minutes before rolling and filling
Can I freeze basic sweet dough?
You can freeze the dough after the first rise or right after kneading. Wrap it tightly in plastic wrap and freeze it in a freezer bag. You can store it for two months like that.
You can also freeze the rolls once you’ve shaped them, making it even easier to use. For baking, let it thaw overnight in the fridge, then let it rise at room temperature until puffy and bake as usual.
More Sweet Rolls Recipes
Love sweet rolls? I have a couple of delicious recipes to choose from!
This is usually caused by yeast that wasn’t active or liquid that was too hot or too cold. The water should feel warm to the touch, not hot. Also make sure the dough rises in a warm, draft-free spot.
My dough is very sticky. What should I do?
This dough is meant to be soft, but if it’s too sticky to handle, add a little extra flour -one tablespoon at a time- while kneading until it’s workable.
What kind of flour should I use?
All-purpose flour works best for this recipe. Bread flour can also be used and will give slightly chewier rolls.
Can I use instant yeast instead of active dry yeast?
Yes. You can use the same amount of instant yeast. You can skip dissolving it in water and mix it directly with the dry ingredients.
What fillings work well with this dough?
This dough is very versatile. Classic cinnamon sugar works great, but peanut butter, chocolate chips, fruit fillings, Nutella, or apple-cinnamon are also delicious options.
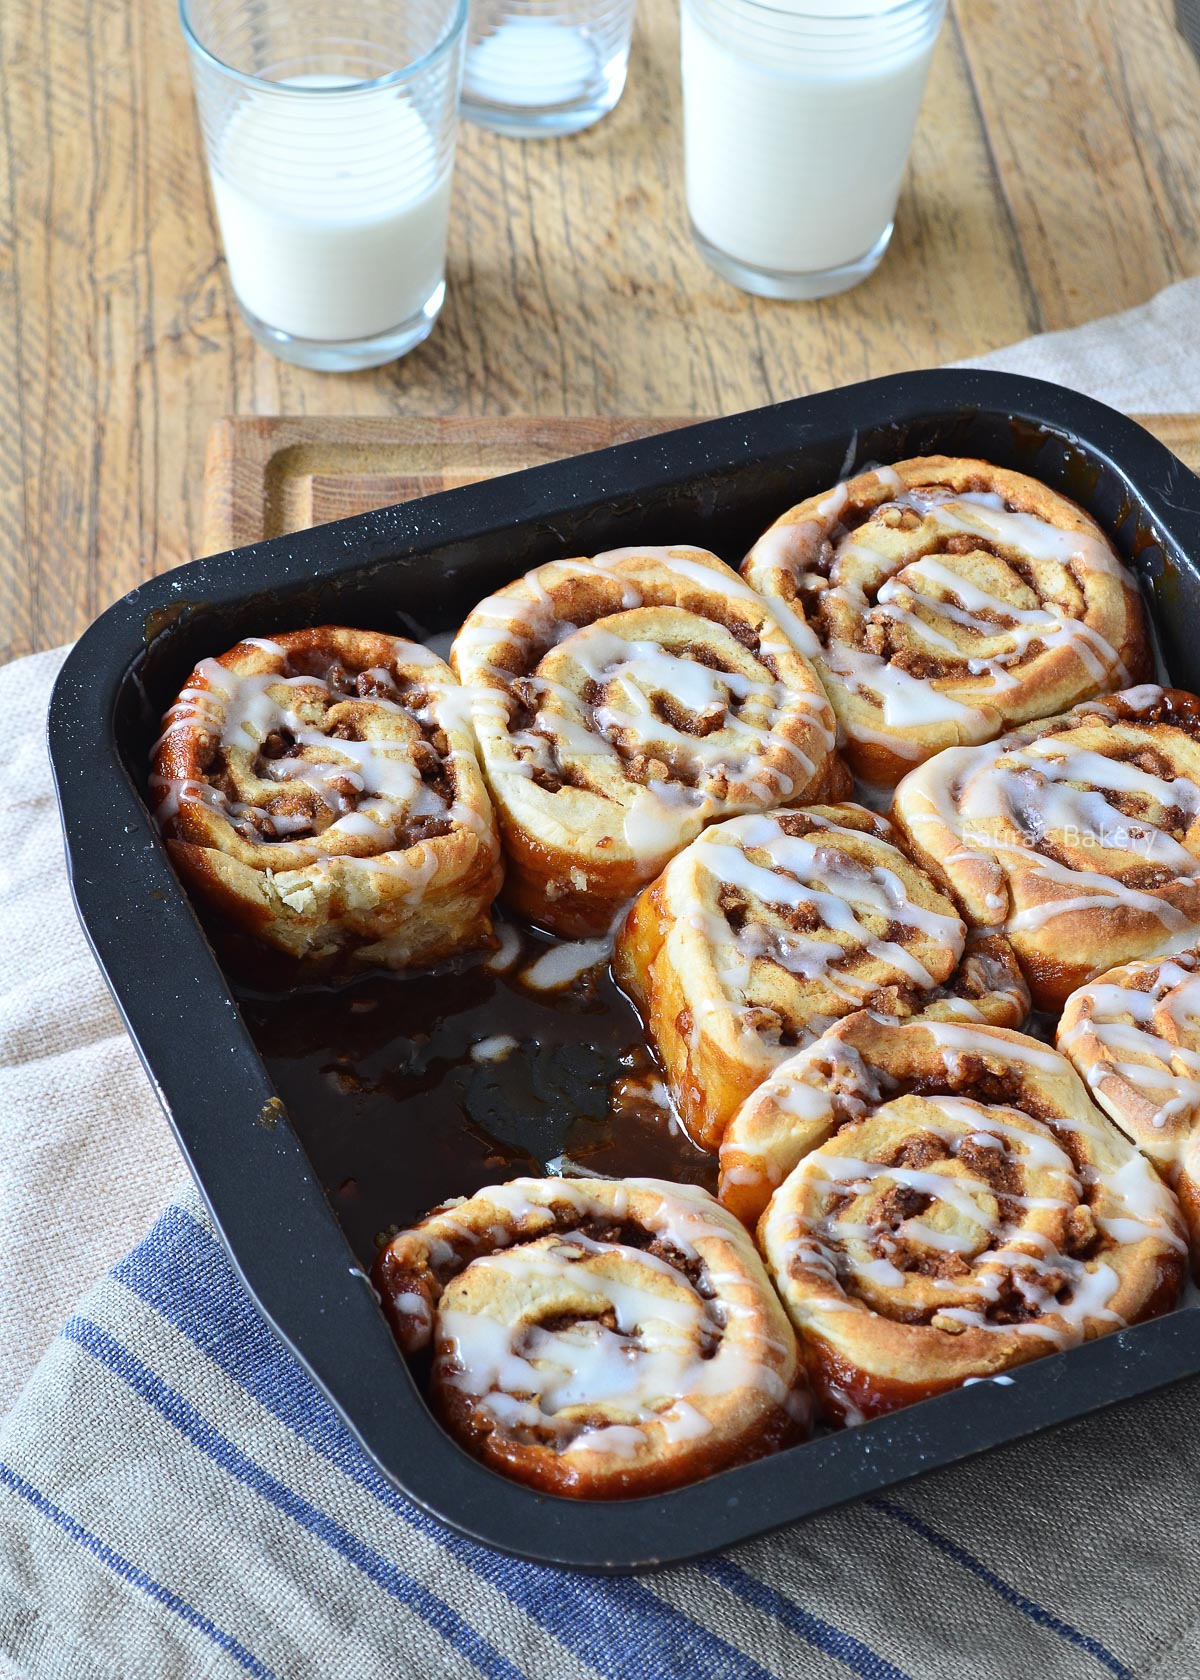
With sweet rolls, you can go in all directions. The most well-known roll is the cinnamon roll. With this basic recipe for sweet rolls, you’ll make the most delicious rolls yourself!
Dissolve the yeast and a pinch of the sugar in 60 ml of warm water. Let it sit briefly. After a few minutes, bubbles will form, this is a sign that the yeast has been activated.
At the same time, heat the milk and butter in a small saucepan over low heat until the butter has melted. As soon as the butter is melted, remove the pan from the heat and let the mixture cool slightly.
In a bowl, combine the yeast mixture, the remaining sugar, salt, egg, the cooled butter mixture, and half of the flour. Mix until smooth. Then add the rest of the flour and mix until a dough starts to form.
Knead the dough for about 5-10 minutes. If the dough is still very sticky, you can add a little extra flour and knead for a few more minutes. Place the dough in a lightly oiled bowl and let it rise in a warm place for at least 1 hour, until nicely doubled in size.
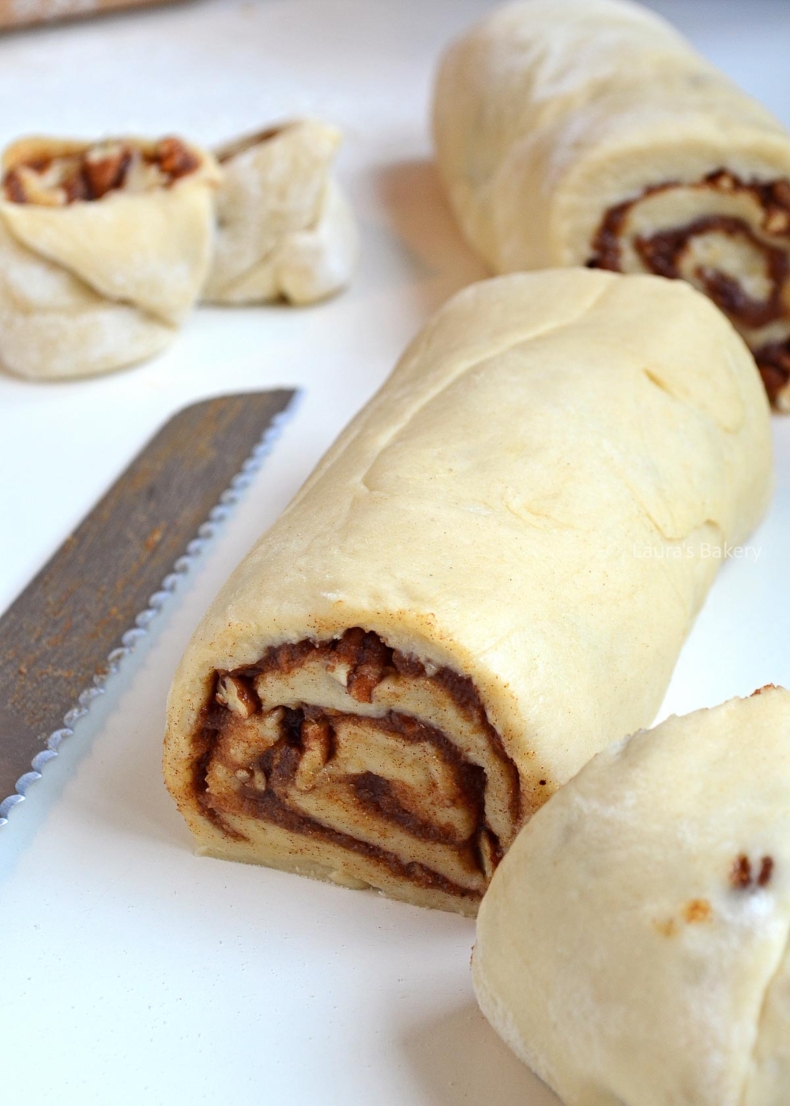
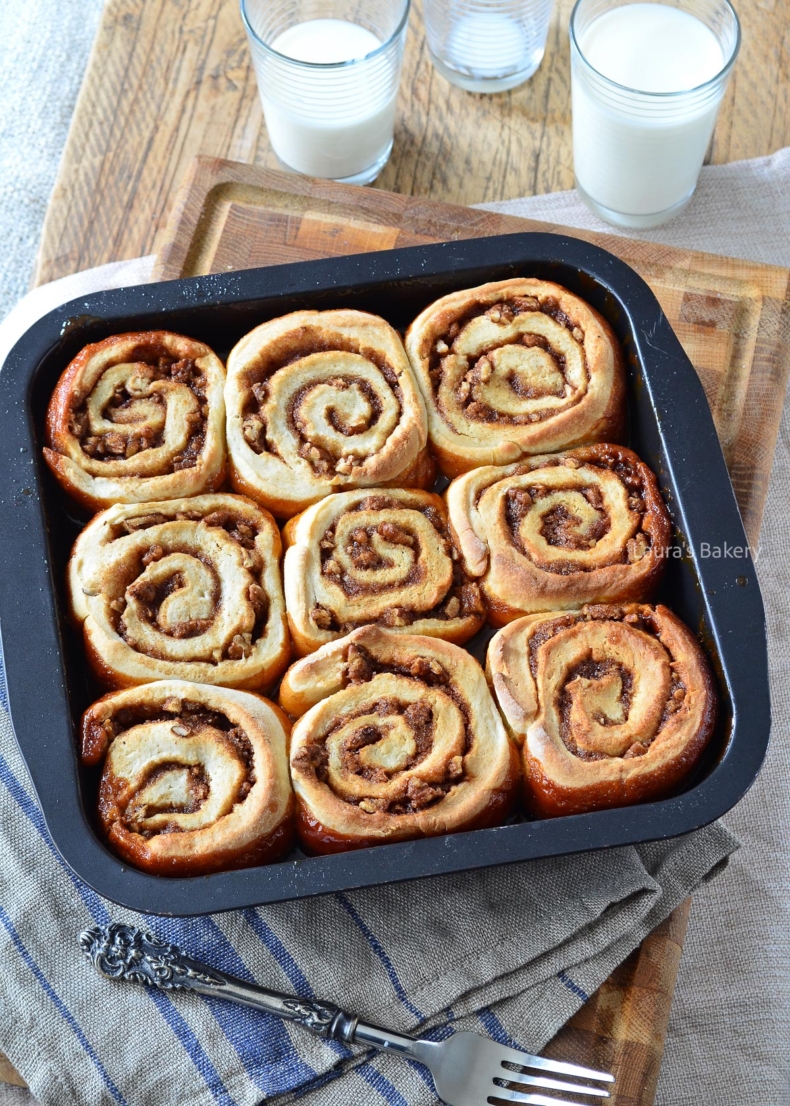
After rising, you can fill the dough however you like. Roll it out into a rectangle and spread your filling over it. Roll it up and cut into 9 (or more) equal pieces. Place the rolls in a greased baking dish or pan and bake in a preheated oven (conventional oven) at 180°C/350°F for 25-30 minutes, until golden brown and cooked through.
Rolls are extra delicious when finished with a topping such as glaze or melted chocolate.
In the Netherlands, we have a lot of typical Dutch Cookies. I already shared a lot of them here on In Laura’s Bakery, and I promise to share more. For now, I will share my 10 favorite Dutch cookie recipes with you!
I Love Dutch Cookies
I grew up with Dutch cookies as a part of everyday life. We would bake cookies for Christmas, Sinterklaas or New Years Eve. But also whenever we would have friends and family visiting.
A lot of the cookies I love are also closely tied to traditions, seasons, and special moments. Speculaas was always made around Sinterklaas, filling the house with the warm scent of spices every December. Stroopwafels felt like a real treat, something you’d buy fresh at the market or enjoy slowly with a cup of coffee, letting the caramel soften just enough.
Dutch Cookie Recipes
But as much as Dutch cookie recipes tell the story of my childhood as well as my everyday life; Dutch cookies tell a story of our history as well. Thanks to centuries of trade, spices such as cinnamon, cloves, and nutmeg became essential to Dutch baking, creating the history of many of the cookies we still eat today.
Of course since it is my job to bake the most delicious cookies ánd to show you a part of my heritage I have created a collection of some famous Dutch cookie recipes.
From simple, buttery zandkoekjes to festive bokkenpootjes made for celebrations, these recipes are pretty nostalgic to me on the one hand, but on the other they are still very much part of the cookies I bake almost weekly.
In this roundup, I’m sharing my favorite Dutch cookie recipes, the ones I grew up with, still bake today, and love to pass on. Enjoy!
Gevulde koeken
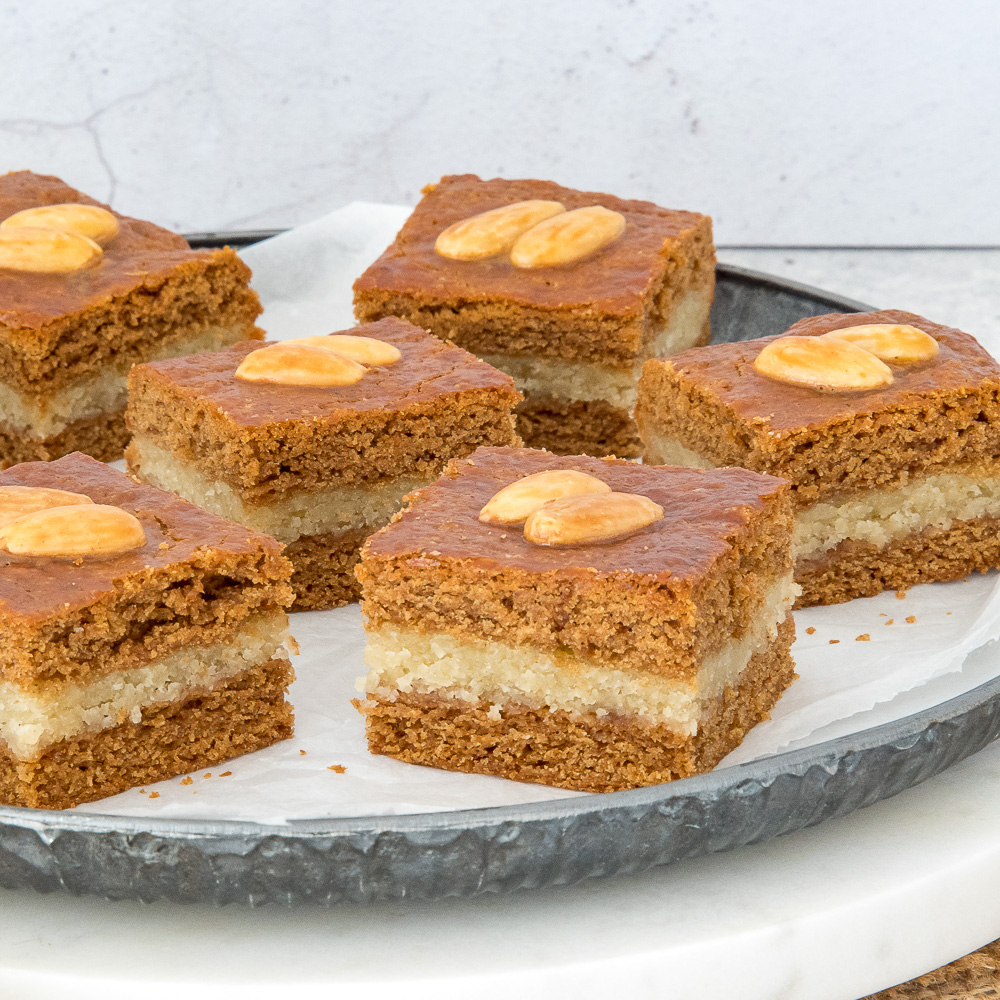
Let’s start with one of my favorites; gevulde koeken (Dutch almond paste filled cookies) There is nothing better than to enjoy one while just freshly made out of the oven. With the crunchy crust and a warm sweet filling.
1
Gevulde koeken recipe
5 from 3 votes
An authentic Dutch cookie recipe: gevulde koeken! With this recipe you can make the most delicious almond paste filled cookies all by yourself.
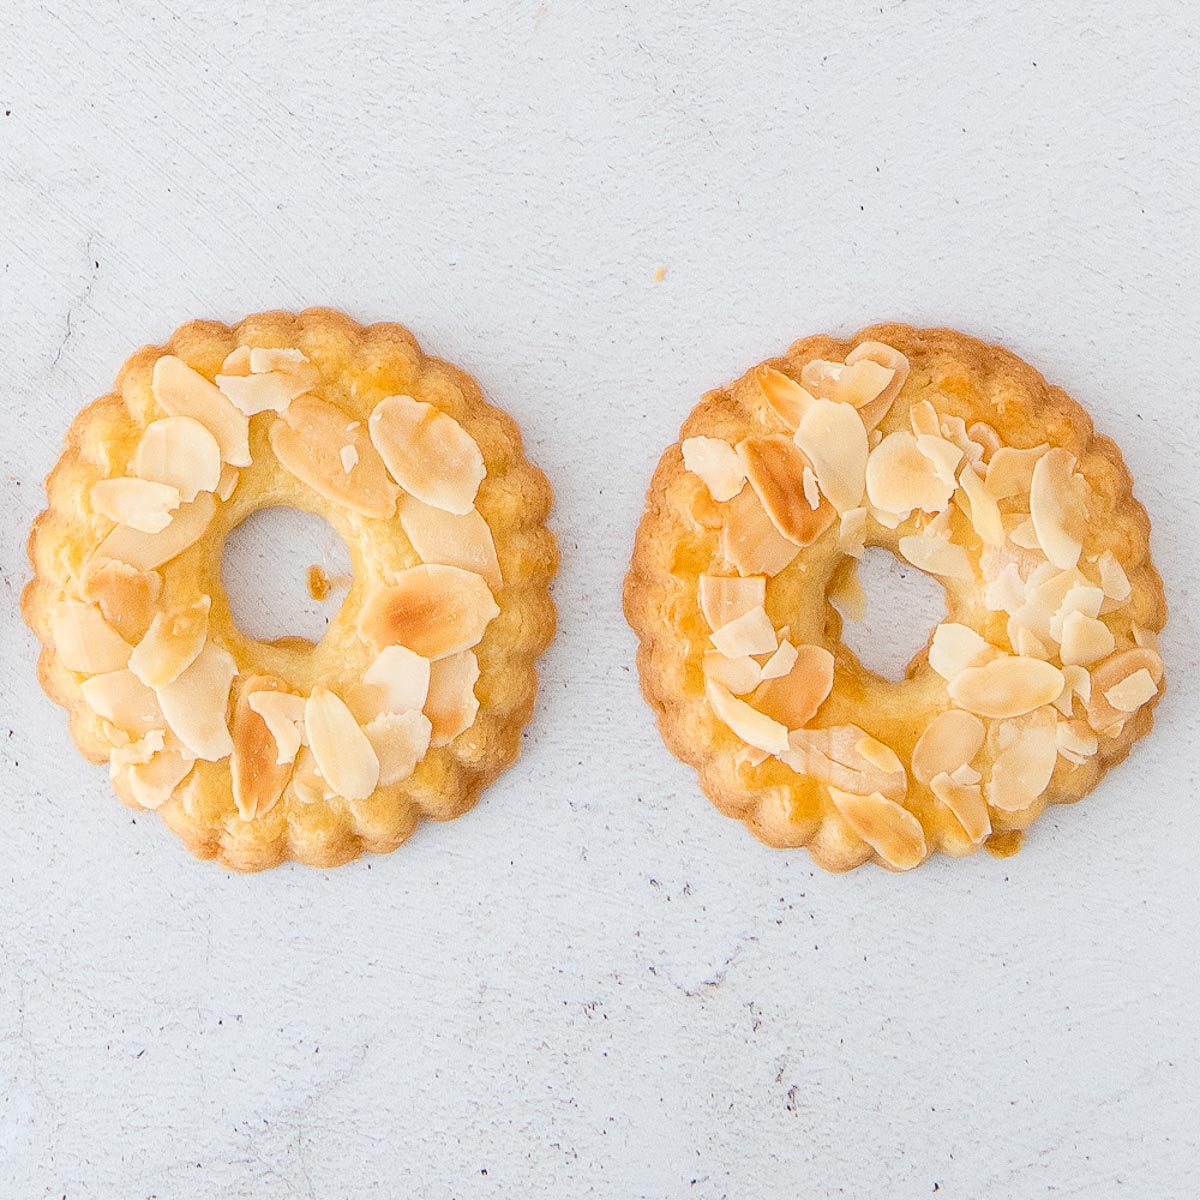
Next is a cookie that is pretty much restricted to the last quarter of the year, but can – of course – be made year round. Kerstkransjes. (Christmas wreath cookies) Crunchy and delicious, especially when sprinkled with sliced almonds.
2
Dutch Christmas Wreath Cookies Recipe
No votes yet
Have you ever tried making buttery Dutch Christmas wreath cookies? With this recipe, you can easily make them yourself. I'll bet they taste much better than store-bought cookies!
Another favorite (but let’s face it, they are all my favorite!) is a recipe for bokkenpootjes (Almond meringue cookies) It’s a type of sandwich cookie but addictively delicious!
3
Dutch bokkenpootjes – Almond meringue cookies
No votes yet
These famous Dutch cookies are called bokkenpootjes and are a delicious treat!
This recipe makes for 24 single layer cookies, but for 12 finished Dutch bokkenpootjes
Probably one of the most famous Dutch cookies. Go anywhere in the world and there is a good chance that they’ve heard of stroopwafels. And there is a very good reason for that!
4
Dutch Stroopwafel Recipe
5 from 3 votes
Make your own Stroopwafels? Yes, you can! With this recipe for Dutch stroopwafels, you will see that it is really not difficult to make these stroopwafels at home.
Dutch boterkoek or Dutch butter cake can be made in many different shapes and flavors. You can use as a crust for a cheesecake for instance or just enjoy on it’s own.
6
Dutch butter cake recipe
4.55 from 51 votes
A good Dutch butter cake is rich in flavor, dense and creamy. With this recipe, you can make a traditional 'boterkoek' at home.
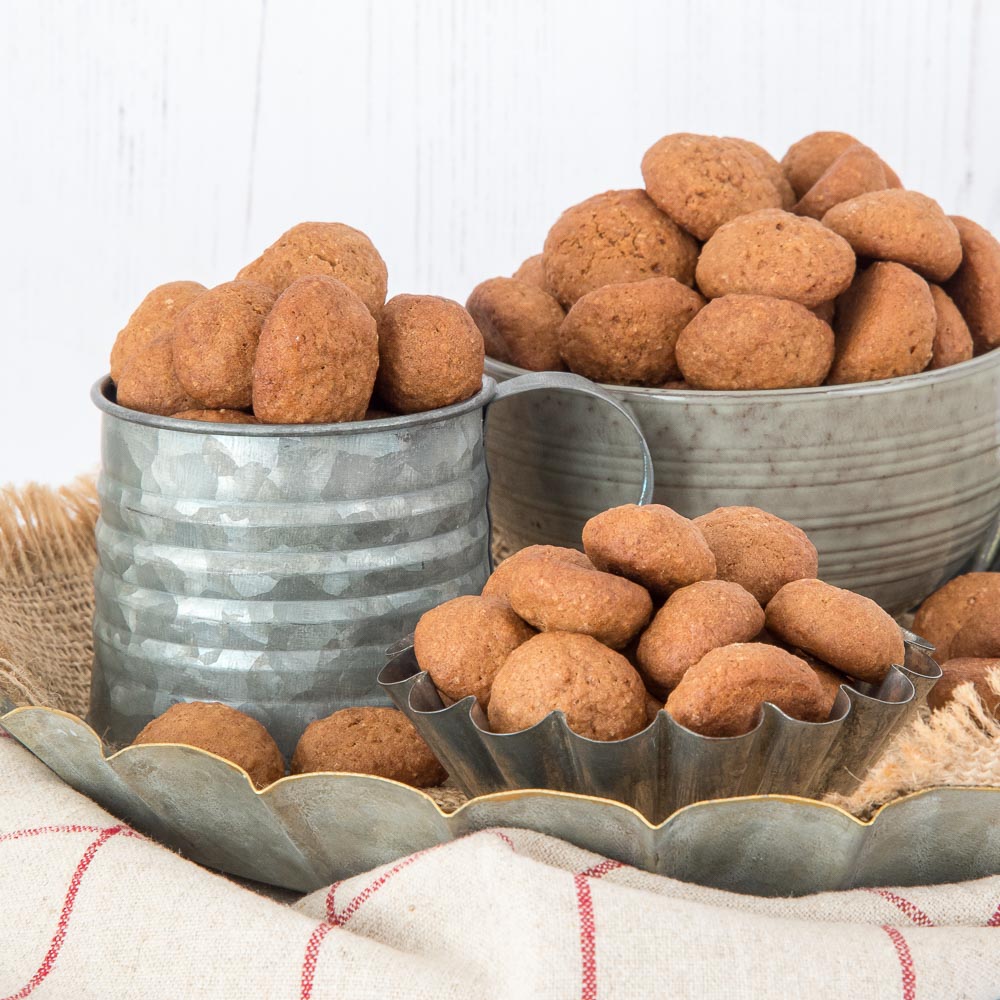
Pepernoten (also referred to as kruidnoten) are another tradition that is closely linked to the month of December, but can be found in stores starting from September (or sometimes even sooner) They are that popular. I have a soft spot for them as well. Want to know why? Make them yourself with this easy recipe!
8
Dutch Pepernoten Recipe
5 of 1 vote
Baking Dutch pepernoten is easy and fun! Also fun to do with children.
Zandkoekjes or sand cookies are probably the most basic cookie recipe out there, but they are buttery and crumbly and worth making! It’s very similar to a shortbread cookie.
9
Dutch sand cookies (shortbread cookie dough)
5 of 1 vote
This delicious basic cookie recipe allows you to make a variety of cookies in addition to shortbread.
This delicious recipe can be made in two separate ways. Both delicious, but one a little easier than the other.
10
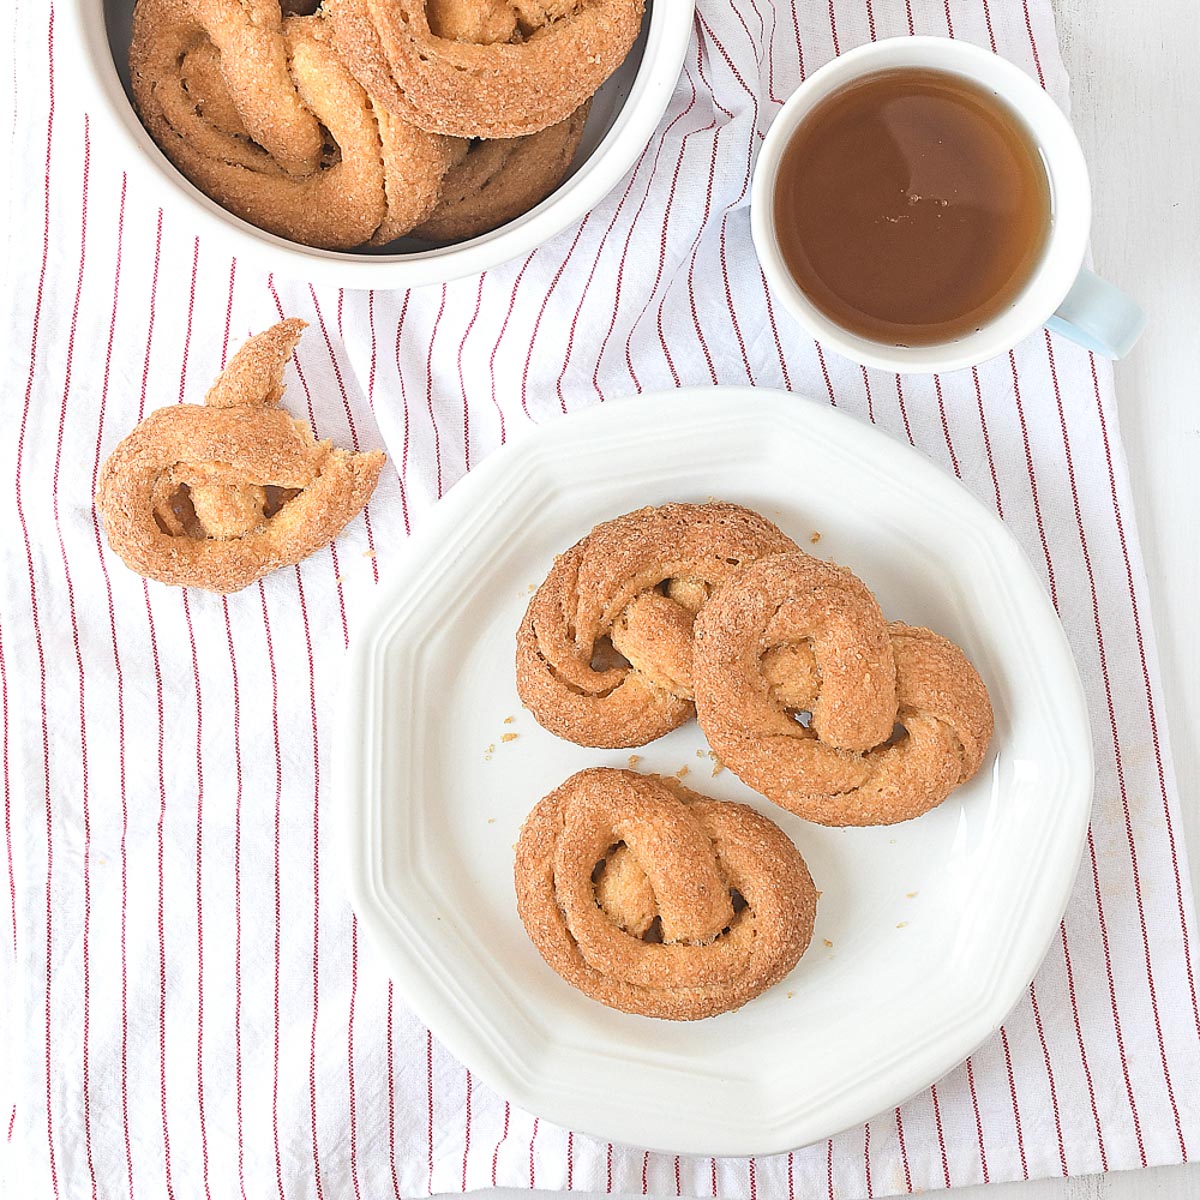
Krakelingen – Dutch Pretzel Cookies
No votes yet
Classic krakelingen, well known in the Netherlands and worth trying for yourself. These crunchy sugar cookies are absolutely delicious and so much fun to make.
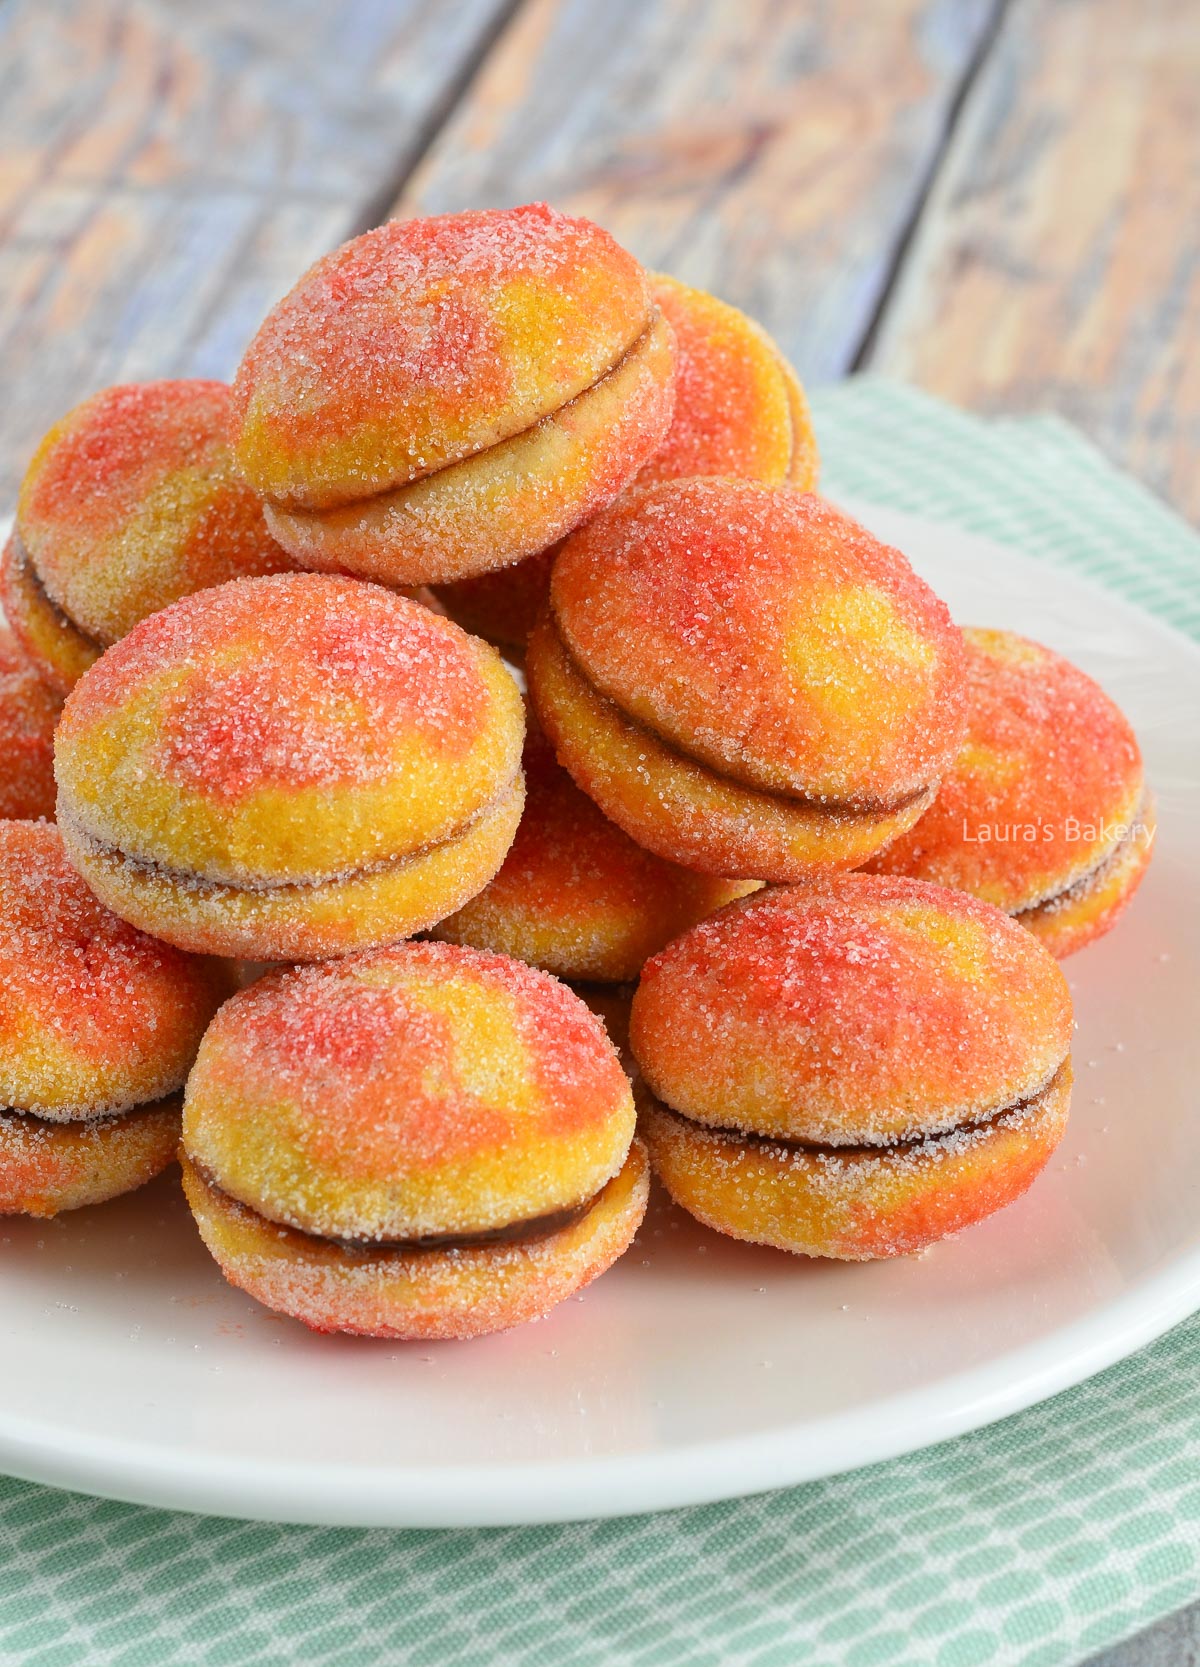
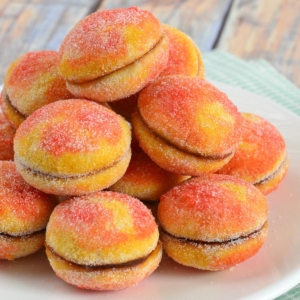
Years ago I found a picture of these beautiful peach cookies and decided I had to make them. These Italian cookies are sandwich cookies that look like gorgeous peaches after decorating. They are called pesche dolci.
Why I Love This Recipe
I love myself a pretty cookie and had so much fun making these Italian sandwich peach cookies!
The most beautiful cookies you’ve ever seen
Easier to make than you might think
Dream of Italy while eating them, because these cookies are Italian and are called pesche dolci.
To make these delicious peach cookies you don’t need to wait until it’s peach season. How’s that for convenience. They use pretty simple ingredients and you can fill them with whatever you like. The original recipe is from Cooking Classy.
butter – make sure to use unsalted butter
sugar – I used a combination of granulated sugar and light brown sugar
all-purpose flour
baking powder
peach confiture or peach jam – or use any other jam or preserve of your liking, I used apricot jam
milk – the milk is used to make the two different colors
food coloring – you will need red and yellow
How To Make Peach Cookies
Now for these peach cookies I will focus on how to decorate them. How to make the sandwich cookies you can find in the recipe card below. This recipe makes about 34 cookies, which will give you a total of 17 sandwiched cookies in the end.
The fun part is that these cookies are pretty well known in countries such as Croatia (breskvice) but are also known as Italian peach cookies (pesche dolci). The exact origin is hard to find as is the case with a lot of recipes. This recipe is slightly different from more traditional versions I found online.
Decorating the cookies
Once you’ve baked the cookies and they have cooled down to room temperature, it is time to decorate the cookies. Add about a teaspoon of filling to one side of the cookies, and add the other one on top. You’ve now made the sandwiches.
Next make the food coloring in two small bowls. One for the red and one for the yellow. Using a small brush start by brushing the cookies with yellow. No need to fill all the gaps, you will do that with the red color later.
Once you’ve used the yellow, add the red coloring and be creative with how you apply the color to the cookies. Once done, dip them into granulated sugar to create that delicious outside that will make them look like fresh peaches!
Storing Peach Cookies
Properly stored in an airtight container, you can keep the peach cookies fresh for about a week.
Can I freeze the peach cookies?
You can freeze the plain, unfilled cookies for up to 2 months. Thaw at room temperature, then fill and decorate before serving. Freezing these cookies is not recommended due to the sugar coating.
More Easy Cookie Recipes
Easy cookie recipes is what we are great at here at Laura’s Bakery. These peach cookies are just one example and I have highlighted a few more below. But make sure to check out the cookies category as well.
Why are these called peach cookies if they don’t taste like peaches?
The name comes from their appearance rather than the flavor. When decorated with red and yellow coloring and coated in sugar, the cookies resemble real peaches. You can use peach jam for the filling, but it’s not required.
What filling works best for peach cookies?
Traditionally, these cookies are filled with jam, peach or apricot being the most common choices. Nutella, caramel, or chocolate spread are also popular variations.
Can I hollow out the cookies for more filling?
Yes! Many people scoop out a small amount from the center of each cookie before filling them. This allows you to add more filling and creates a softer texture, but it’s optional.
Why is the cookie dough so sticky?
This dough is meant to be sticky due to the butter, egg, and sour cream. Don’t add extra flour, as that will make the cookies dry. Lightly greasing or dampening your hands helps when shaping the dough.
Do I have to use food coloring?
For the classic peach look, food coloring is recommended. If you prefer a natural alternative, you can use beet powder (red) and turmeric or saffron (yellow), though the colors will be more subtle.
Mix the butter, granulated sugar, and brown sugar until creamy. Add the egg and vanilla extract and mix until fully incorporated. Add 2 tablespoons of sour cream and mix well. Finally, add the flour, baking powder, and salt. Mix until a smooth dough forms.
This dough is stickier than you might be used to with cookie dough; there’s no need to firm it up by adding extra flour.
Form small balls from the dough. If you have a set of measuring spoons, use 1 full tablespoon of dough per ball. Don’t have one? Just aim for balls about the size of a large marble.
Because the dough is quite sticky, it helps to lightly grease or dampen your hands.
Bake the cookies for 15 minutes at 180°C/350°F until the bottoms are golden brown. The cookies themselves will remain fairly light in color.
Once the cookies have cooled, you can fill them. Spread a small amount of preserves on one cookie; about a small teaspoon is enough. Gently press another cookie on top and place it on a plate. Repeat until all cookies have been turned into sandwich cookies.
Another common method (which I didn’t use) is to hollow out the cookies slightly so you can add more filling. I think that makes them even tastier, but it’s definitely not required.
Decorating the cookies
Take two small bowls and add a small splash of milk to each. Color one with red food coloring and the other with yellow. Don’t be too stingy with the coloring, or it’ll be difficult to get good color on the cookies.
Start with the yellow coloring. Use a brush to color the edges of the cookie. Make sure you cover the entire edge; it’s fine if you touch the filling. Then color the center, leaving a few spots uncolored.
Fill in those uncolored spots with the red coloring, and feel free to blend in a little yellow as well. Continue until you’re happy with the design.
Color the other cookie the same way, then dip it into the granulated sugar.
Place the cookies on a plate and let them dry.
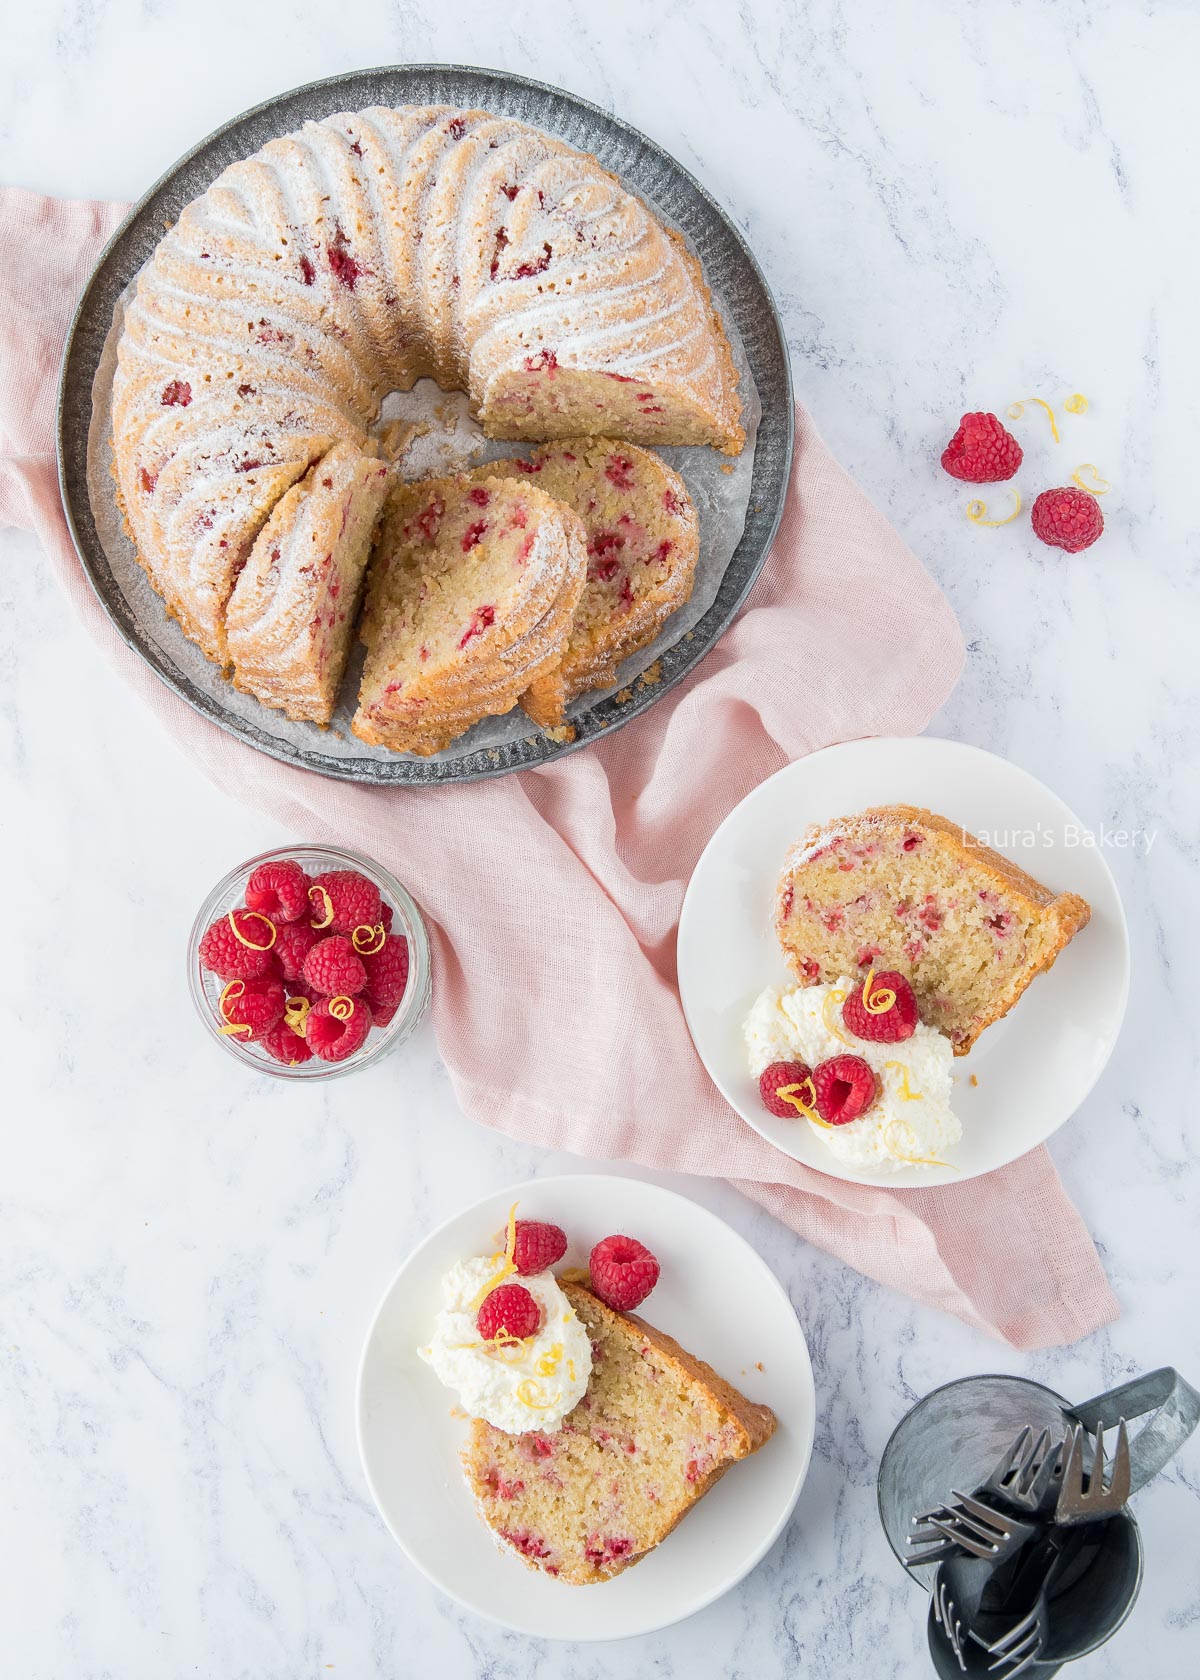
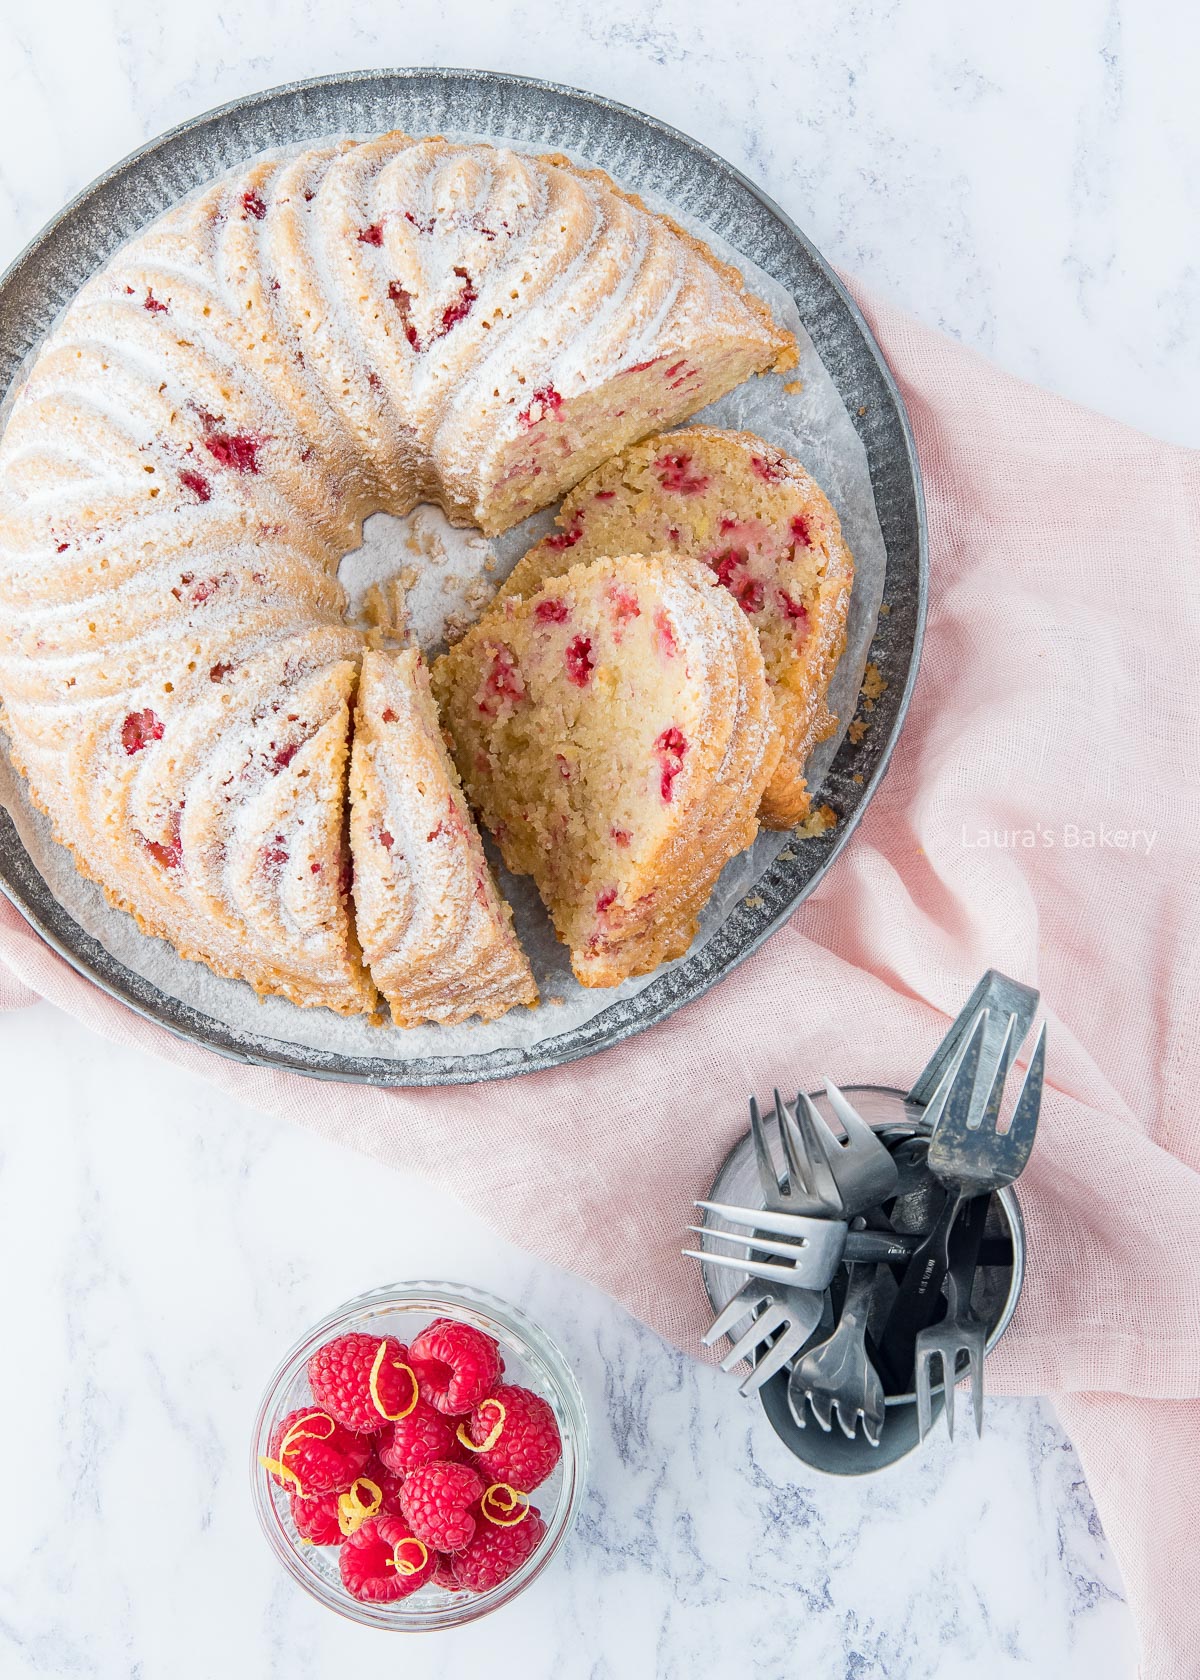
This lemon raspberry bundt cake is one of my favorite bundt cake recipes. It’s wonderfully fresh thanks to the lemon and raspberries and also deliciously moist. Plus it looks so pretty baked in one my favorite Nordic Ware bundt pans.
Why This Recipe Works
Bundt cakes are always a fun way to create a beautiful cake with minimal effort. Just use a pretty bundt cake pan and you’re good to go.
One thing to keep in mind is that you need a bit of patience before taking the bundt cake out of the pan. That is the magic trick for a perfect bundt cake. But read the tips below to make sure you always have a good bundt. Or check the tips on how to bake the perfect bundt cake.
Recipe Ingredients
As always make sure that all ingredients are at room temperature before starting to make the lemon raspberry bundt cake. Double-check the exact ingredients and quantities in the recipe card below.
raspberries – I’ve used fresh raspberries for this recipe. You can use frozen ones, but keep in mind that those will contain more liquid. So in order to have the best result add them while frozen. The cake also might need a bit more time in the oven.
lemon – I use quite a bit of lemon here. Zest of 3 lemons and juice of 2 lemons
sour cream – can be replaced with Greek yogurt or crème fraîche.
butter – use unsalted butter
How To Make Lemon Raspberry Bundt Cake
First start by adding the dry ingredients, flour, baking powder, baking soda and salt together in a large bowl. Mix it through.
In another bowl add the butter and sugar and cream this until light and fluffy. Once it has the right consistency, add the sour cream, lemon zest and the lemon juice.
Now take your time adding the eggs. Add them one by one and make sure that each egg is fully incorporated before adding the next one.
Now is the time to add your flour mixture in stages. Mix it into the sour cream mixture in three parts and stop as soon as the last part is added. Don’t overmix the batter.
When you’re using fresh raspberries use your hands to tear them into smaller pieces or if you’re using frozen just add them to the cake batter and fold them in gently.
Grease the bundt pan
One of the most important parts of a perfect bundt is how well you’ve prepared the bundt pan. Grease it well and make sure to hit every little nook and cranny.
You can also use a cooking spray but the same applies. Now dust the pan with flour and tap out the excess. Add the batter and spread it evenly with a spatula.
Taking the cake out of the pan
The first time I made this cake, I was too impatient. After barely five minutes, I tried to remove the cake from the pan. Needless to say, that didn’t work out, the result was one half of the cake on a plate and the other half still stuck in the pan.
Fortunately, it didn’t affect the flavor at all, because that was perfect. The next day, I was back in the kitchen for a second attempt. This time I patiently waited about 15 minutes, and the Bundt cake released beautifully from the pan. So be patient while the lemon raspberry bundt cake cools and sets in the pan!
More Lemon Recipes
Looking for fresh and flavorful recipes with lemon? This versatile citrus fruit adds a bright, summery touch to any dish. From classic lemon tart to airy cakes. Below you’ll find a selection of delicious lemon recipes to try yourself:
When properly wrapped you can store this bundt cake outside of the fridge for about 4-5 days. You could also use a large storage container voor (bundt) cakes.
Can I freeze this bundt cake?
Absolutely. When packaged in freezer bags or a freezer container, you can store the lemon bundt cake in the freezer for up to three months.
FAQ Lemon Raspberry Bundt Cake
Can I use frozen raspberries instead of fresh?
Yes, you can. Add the raspberries while still frozen and gently fold them into the batter. Keep in mind that the cake may need a little extra baking time.
Why did my Bundt cake stick to the pan?
Bundt pans need to be greased very thoroughly, especially detailed pans. Use butter or baking spray and dust with flour if needed. Also, let the cake cool in the pan for 15-20 minutes before turning it out, too soon and it may break.
Can I substitute the sour cream?
Yes. You can replace the sour cream with full-fat Greek yogurt or crème fraîche. This will give a similar moist texture and slightly tangy flavor.
How do I know when the cake is fully baked?
Insert a skewer or cake tester into the thickest part of the cake. If it comes out clean or with just a few moist crumbs, the cake is done.
What size Bundt pan should I use?
This recipe works best with a Bundt pan with a capacity of about 2.4 liters (10 cups). Using a smaller pan may cause the batter to overflow.
Can I reduce the sugar?
You can slightly reduce the sugar, but keep in mind that sugar contributes not only sweetness but also moisture and structure. Reducing it too much may affect the texture.
Can I add a glaze on top?
Definitely! A simple lemon glaze made with powdered sugar and lemon juice pairs beautifully with this cake and adds an extra citrus kick.
With this Bundt cake, you can make a lot of people happy. The lemon and raspberries give this cake a lovely fresh flavor, and it’s also wonderfully moist.
Preparation15 minutesmins
Cooking1 hourhr15 minutesmins
Total1 hourhr30 minutesmins
Servings: 12people
Equipment
Bundt pan with a capacity of 2.4 L (10 cups)
Ingredients
420gramsall-purpose flour
1tspbaking powder
1tspbaking soda
Pinchof salt
225gramsunsalted butterLurpak
350gramssugar
4eggsmedium
3tbsplemon zestabout 3 small lemons
50mllemon juice = 2 small lemonsabout 2 small lemons
In a bowl, stir together the flour, baking powder, baking soda, and salt.
In a second bowl, cream the butter and sugar for a few minutes until light and fluffy.
Once mixed, stir in the sour cream, lemon zest, and lemon juice.
Add the eggs one at a time to the butter and sugar mixture, only adding the next egg once the previous one has been fully incorporated.
Alternately add the flour mixture and the sour cream mixture in portions until you have a smooth batter. Mix on low speed, and once the flour is incorporated, you can add more (or stop after the final addition).
Tear the raspberries into smaller pieces and add them to the batter, gently folding them in evenly.
Grease your bundt pan and dust with flour. Pour the batter into the pan and spread it evenly with a spatula.
Bake the cake for about 75 minutes at 160°C/320°F (conventional oven) until cooked through and golden brown. Place the rack slightly below the center of the oven.
After 15-20 minutes of cooling in the pan, turn the cake out onto a rack to cool completely. Serve with whipped cream and extra raspberries.
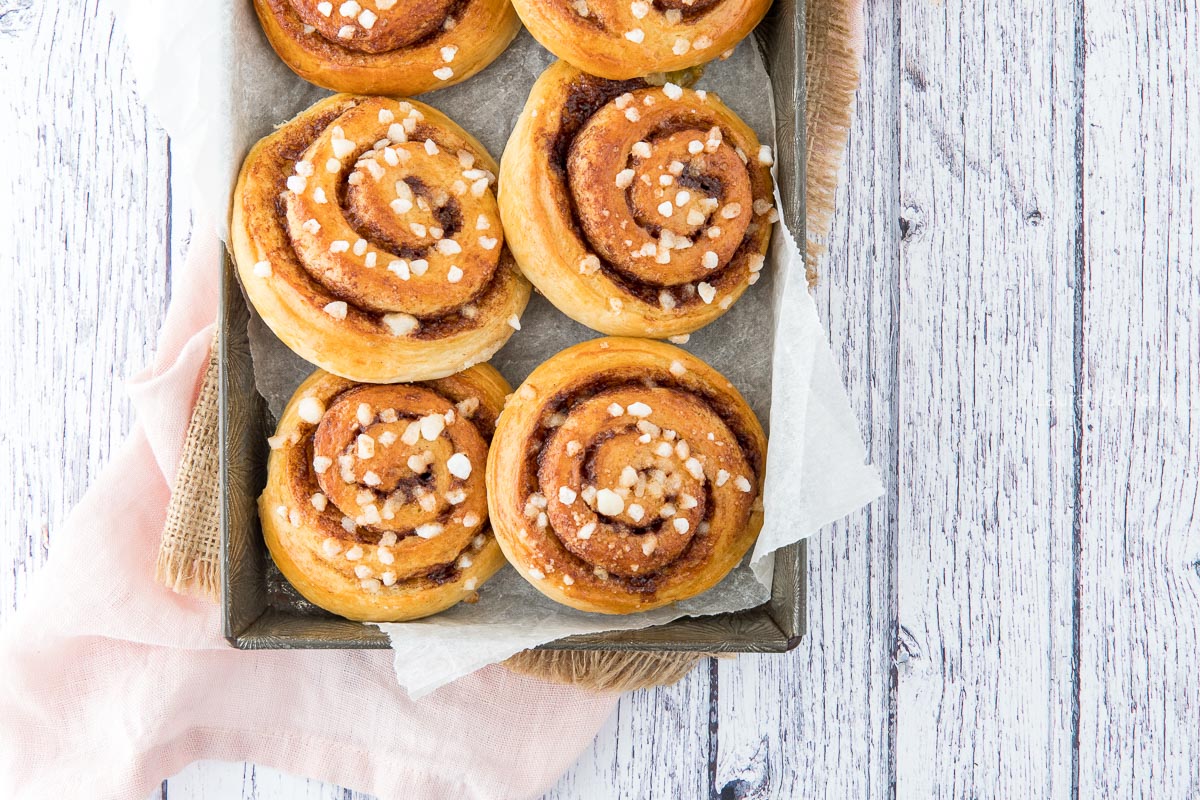
A few years ago I spend a weekend in the south of Sweden and ate my fair share of kanelbullar. They are Swedish cinnamon buns, typically recognizable by the pearl sugar sprinkled on top of the rolls.
You might be wondering whether kanelbullar are the same as American cinnamon buns or rolls, but they’re not. The idea is similar, of course, but kanelbullar also contain cardamom in the dough.
Why I Love This Recipe
I love cinnamon buns in general and this Swedish version with the crunch of the pearl sugar and the added cardamom is irresistible for me! I know you’ll love them too:
With the rising of the dough, I can’t say that they’re quick to make, but they are easy!
The touch is cardamom is delicious, and so is the crunch of the pearl sugar
Perfect for breakfast, brunch and lunch. And for Fika of course 😉
Recipe Ingredients
Most of the ingredients will look familiar if you’ve ever made cinnamon buns but there are a few small differences
active dry yeast – I have not tried this with fresh yeast, but that is an option too
cardamom – for me this is essential for making kanelbullar
butter – unsalted, at room temperature
light brown sugar – you can also use dark brown sugar for the filling. In the dough you use regular sugar
warm milk – can also be replaced with plant-based milk if you prefer
pearl sugar – while optional, it does make it more of a traditional kanelbullar recipe if you do use the pearl sugar.
Make sure to double-check the full ingredient list in the recipe card below.
How To Make Swedish Cinnamon Buns
Making the Swedish cinnamon buns starts with making the dough. I like doing that in a stand mixer with the dough hook attached. Of course you can knead by hand too. In a machine, add all the dough ingredients and mix for about 5 to 7 minutes or until you have a smooth dough.
Now let the dough rise for about an hour or until double in size. Cover the bowl with either a lid, plastic wrap or a clean tea towel.
Filling and making the rolls
Now mix all the ingredients for the filling and roll out the dough with a rolling pin into a rectangular shape of around 12 x 16 inches (30 x 40 cm). Spread your filling evenly over the kanelbullar dough.
Starting from the long side of the dough, roll it up and cut into 12 slices. Use a sharp knife for doing this. Place all 12 pieces on a prepared baking sheet but leave enough space in between the buns.
Cover the baking tray and let the buns rest in a warm place for about 45 minutes.
Once rested brush with egg wash and sprinkle the pearl sugar on top of the dough. Bake in the pre-heated oven at 220˚/425˚F for about 12 to 14 minutes or until golden brown.
Let them cool slightly on a wire rack before eating. Absolutely delicious for your next coffee break!
Recipes with Cinnamon
If you’ve come here more often, you have probably noticed that I have a love for all things cinnamon. A couple of my favorite cinnamon recipes are below:
The cinnamon buns keep quite well and you can store them in an airtight container for 5 days at room temperature.
Can you freeze kanelbullar?
Yes, they also freeze really well. You can freeze them in a freezer bag and store for 3 months.
FAQ Swedish Cinnamon Buns
Are kanelbullar the same as cinnamon rolls?
No. While they may look similar, kanelbullar are less sweet and contain cardamom in the dough. They also don’t include egg in the dough, which gives them a different texture and flavor compared to American cinnamon rolls.
Can I make kanelbullar without cardamom?
You can, but cardamom is a key flavor in traditional kanelbullar. If you leave it out, the buns will taste more like regular cinnamon rolls.
What can I use instead of pearl sugar?
If you can’t find pearl sugar, you can use coarse sugar, crushed sugar cubes, or turbinado sugar. The look will be slightly different, but the crunch is similar.
Can I make the dough ahead of time?
Yes. You can prepare the dough and let it rise slowly in the refrigerator overnight. Let it come to room temperature before rolling it out. Want to know more? I’ve written about storing your bread dough in the fridge.
How do I keep kanelbullar soft?
Store them in an airtight container at room temperature. You can briefly warm them in the microwave or oven before serving to make them soft again.
Can I make these buns dairy-free?
Yes. Use plant-based butter and milk substitutes. The result will be slightly different, but still delicious. Keep in mind that we did not test this!
Add all the ingredients for the dough to a bowl and mix for 5-7 minutes until you have a smooth, elastic dough.
Place the dough in a bowl and cover with a lid, plastic wrap, or a clean kitchen towel. Let rise for 1 hour, or until doubled in size.
Roll out the dough into a rectangle of about 12 x 16 inches (30 x 40 cm). Mix the ingredients for the filling and spread evenly over the dough.
Roll up the dough from the long side. Use a sharp knife to cut it into 12 slices. Place the pieces on a baking sheet lined with parchment paper, leaving enough space between them.
Cover the baking sheet and let the buns rest for 45 minutes.
Brush the buns with the beaten egg and sprinkle with pearl sugar.
Bake the cinnamon buns at 220°C/425°F for about 12-14 minutes, until cooked through and golden brown (conventional oven).
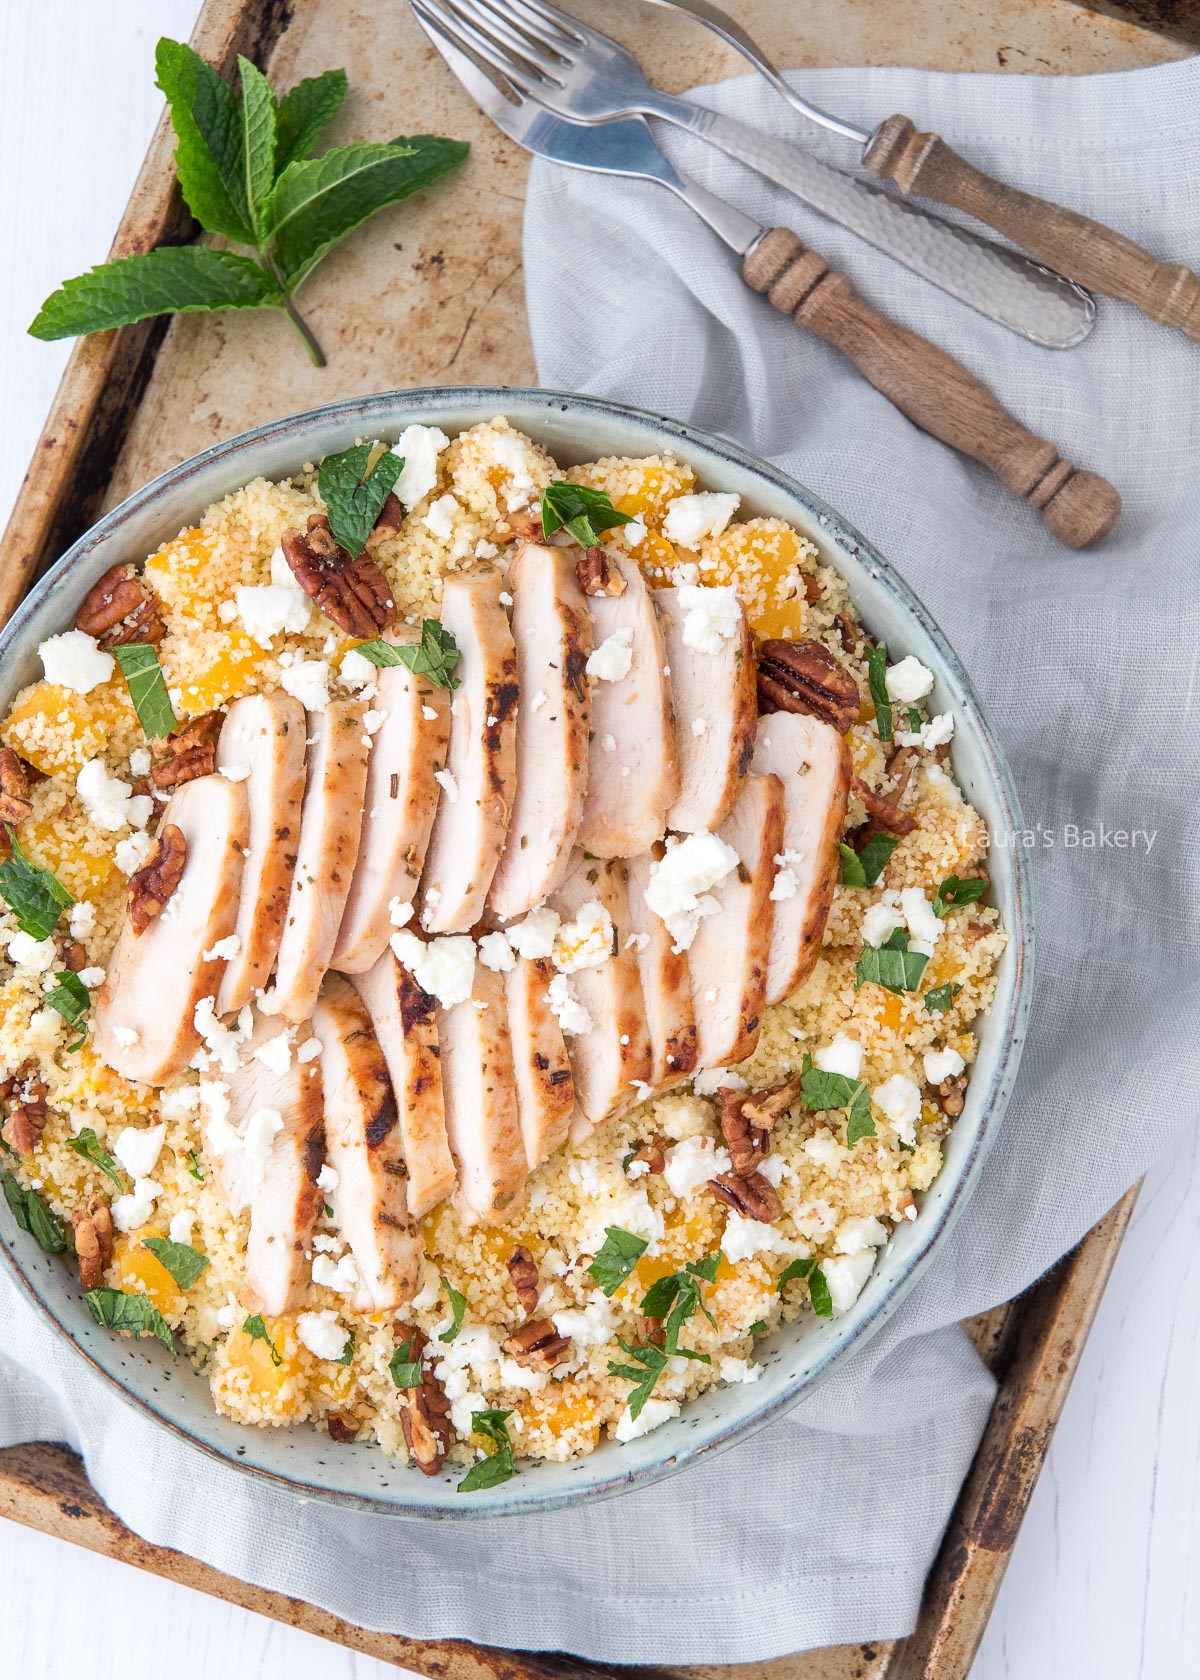
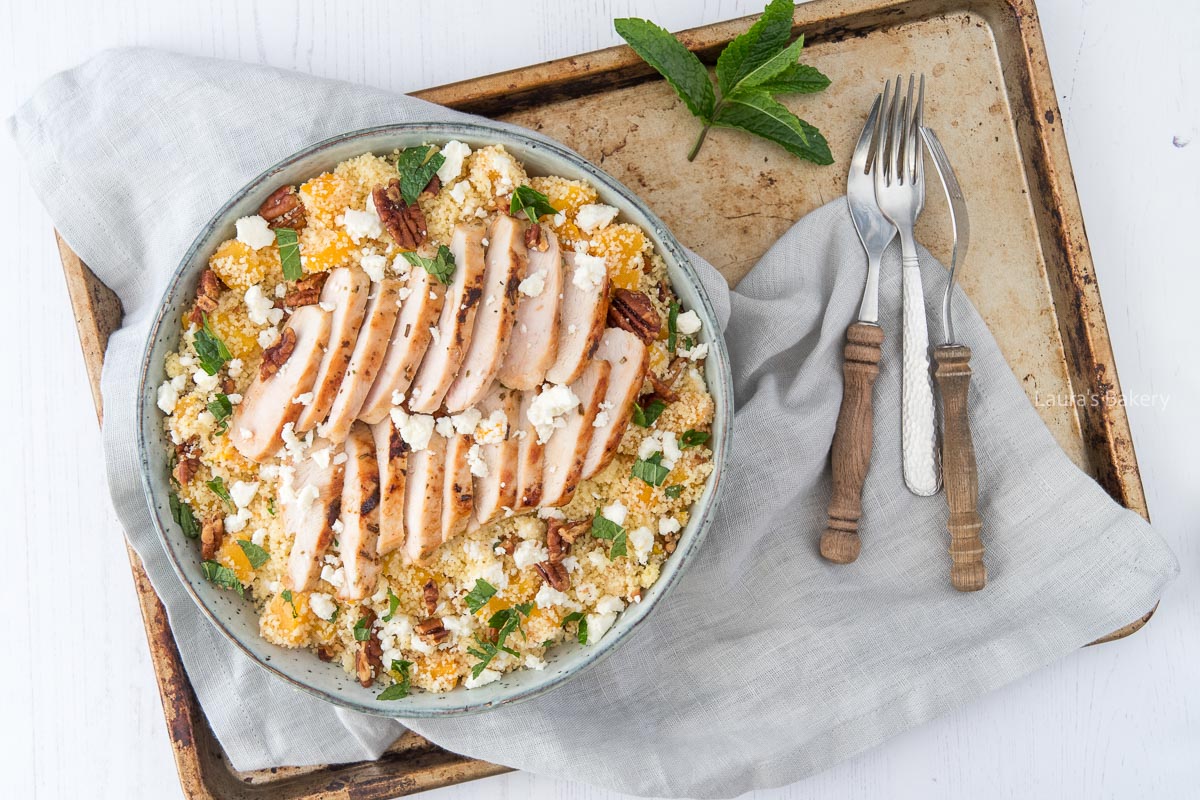
This couscous salad with chicken and peaches is a dish I first tried many years ago. My sister made it at the time, and since then, I’ve made it myself countless times. Never exactly the same though, I almost always tweak the ingredients a bit, but the peaches are the one thing that always stays.
Why I Love This Recipe
This easy couscous salad with chicken is the perfect quick meal when you want something delicious and fresh. It is perfect for spring and summer, and yes, also for those cold winter months.
The peaches are best when fresh but this salad can also easily be made with canned peaches. It’s also a perfect salad for meal prep and can be eaten the next day without issues.
Recipe Ingredients
For making this couscous chicken salad you don’t need a lot of ingredients. Most of the below items are flavor enhancers but you can make it any way you like.
couscous – I used regular couscous for this recipe but you can also use pearl couscous
peaches – as mentioned it is best with fresh peaches but can also be made with canned peaches if they’re not in season
pecans – I love adding some nuts to most of my salads and pecans are perfect. Can also be replaced with walnuts or hazelnuts
feta – can also be replaced with goat cheese or can be left out if you want
chicken – I used chicken breast but chicken thigh is a good option too
How To Make Couscous Salad with Chicken
Salads don’t really come any easier than this couscous salad. You simply add the couscous to a large bowl, add the hot broth to it and cover it with a plate. Let it sit for about 5-10 minutes and use a fork to stir through. Instant fluffy couscous!
Make the chicken marinade by combining olive oil, lemon juice, chopped rosemary, salt and pepper into a small bowl. Rub the chicken so it is fully coated with the marinade.
You can let it marinade, but I generally just cook the chicken right away. Make sure to turn it regularly as it might burn a little quicker due to the marinade.
While the chicken is cooking, chop all the other ingredients (except the feta) finely and mix them through the couscous. Add most of the crumbled feta too but keep some apart.
Slice the cooked chicken and add to the couscous. You can add a bit of black pepper if you want and sprinkle the feta cheese on top.
TIP: It’s also delicious to add some cucumber slices or juicy tomatoes to the salad or roasted pine nuts too.
Storing Couscous Salad with Chicken
It’s great to store the couscous salad in the fridge for one or two days. You can make a big batch and keep some for the rest of the week.
Can you freeze couscous salad?
Yes, you can also easily freeze the couscous salad. I do keep fresh herbs separate and add that later. That ensures the best flavor.
FAQ Couscous Salad with Chicken
Can I use canned or frozen peaches instead of fresh?
Yes! Fresh peaches are best in summer, but canned (well-drained) or frozen peaches (thawed and patted dry) work perfectly when peaches aren’t in season.
What type of couscous should I use?
Regular (instant) couscous works best for this recipe because it hydrates quickly with hot broth. Pearl couscous needs to be cooked separately and will give a different texture.
Can I prepare this salad ahead of time?
Absolutely. You can make the couscous and chop all ingredients a few hours in advance. Add the chicken and mint just before serving to keep everything fresh.
Is this couscous salad good to serve cold?
Yes! It’s delicious warm, room temperature, or chilled, which makes it perfect for picnics, BBQs, and meal prep.
Can I replace the chicken?
Definitely. Grilled shrimp, chickpeas, or roasted tofu are great alternatives if you want to make it pescatarian or vegetarian. Or you can have a look at my vegan couscous salad.
How do I keep the couscous from getting dry?
If the couscous feels a bit dry after mixing, add a splash of olive oil, a bit of lemon juice, or some of the feta brine. This instantly brings back moisture and flavor.
A delicious, fresh dish that’s perfect for spring or summer: couscous with chicken and peaches. You can easily vary the ingredients, but this version really is the best.
Place the couscous in a large bowl and pour the hot broth over it. Cover and let sit for 5-10 minutes. Fluff with a fork. Cut the peaches into small pieces and do the same with the other ingredients, chop everything finely.
Meanwhile, marinate the chicken by placing the fillets in a dish with the olive oil, lemon juice, rosemary, salt, and pepper. Rub the chicken well so it’s fully coated. Cook the chicken through, turning regularly.
Set a little feta aside and mix the remaining ingredients into the couscous. Taste and add a bit of the feta brine and/or lemon juice if needed.
Slice the chicken and distribute over the couscous salad. Garnish with the reserved feta.
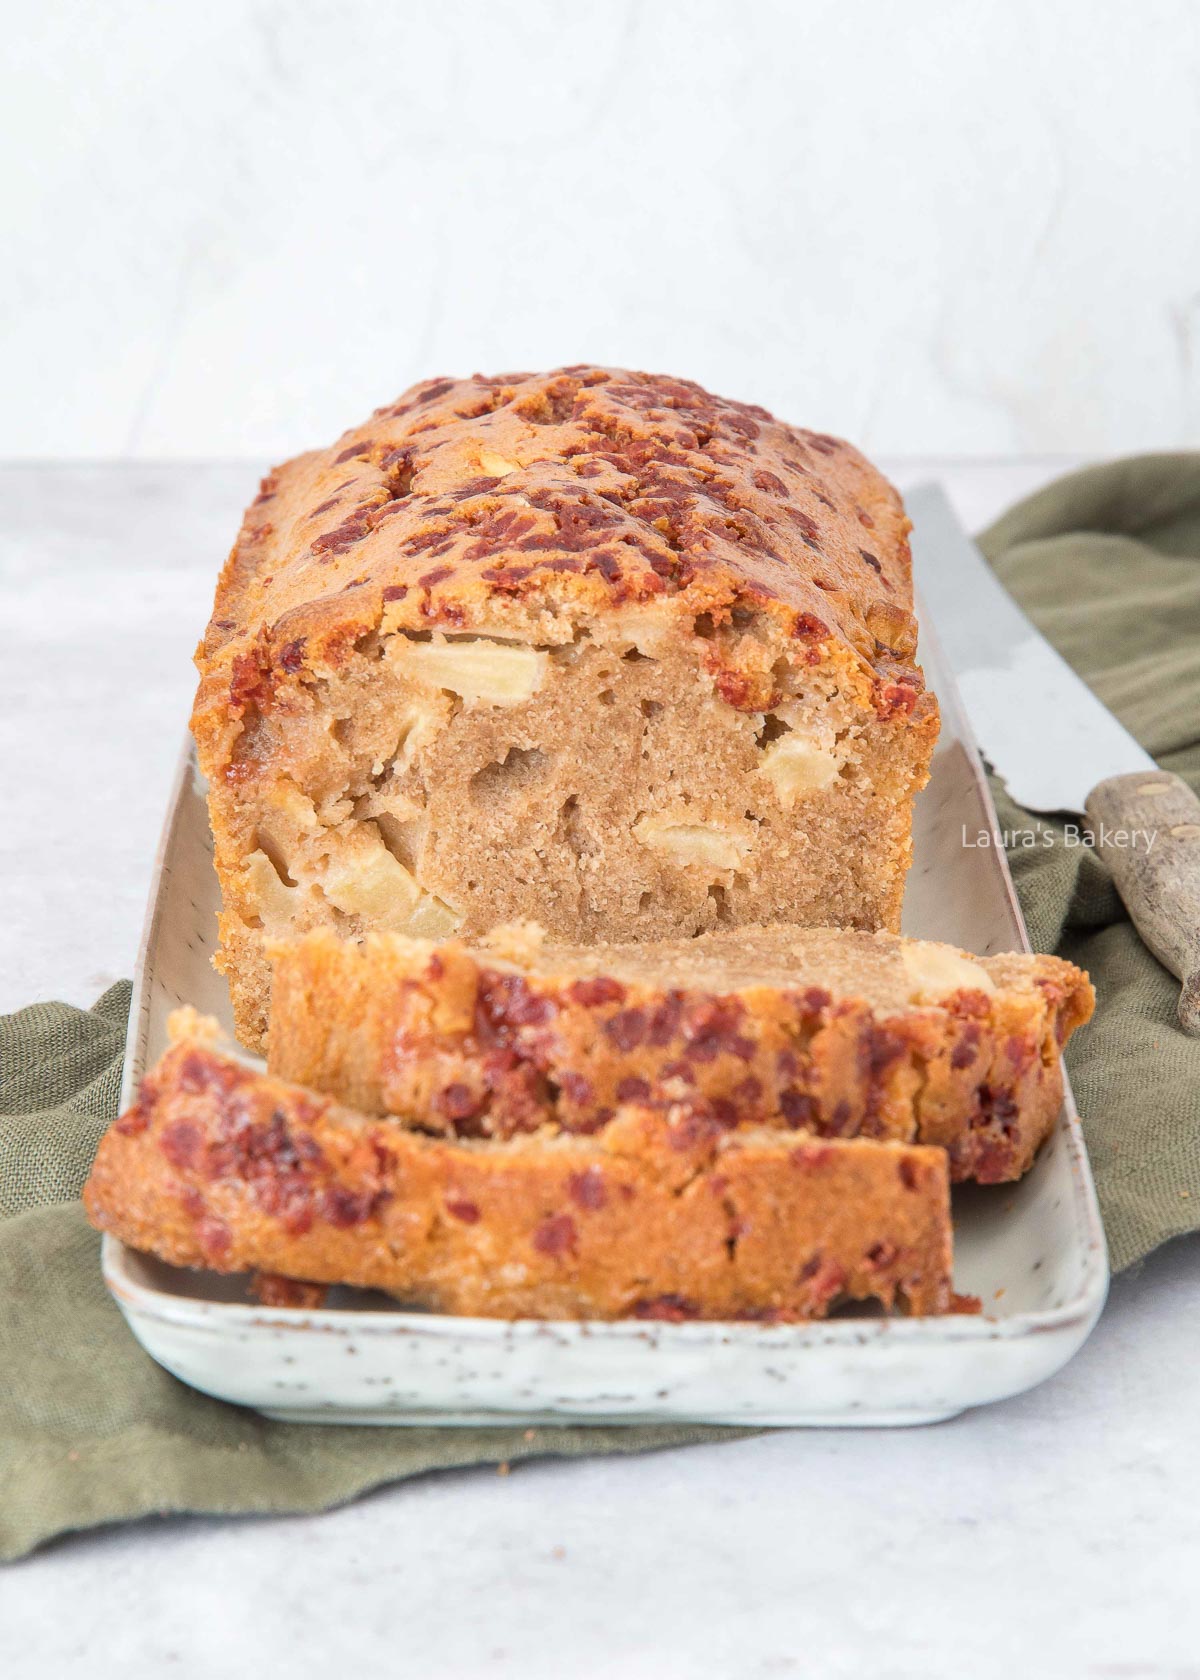
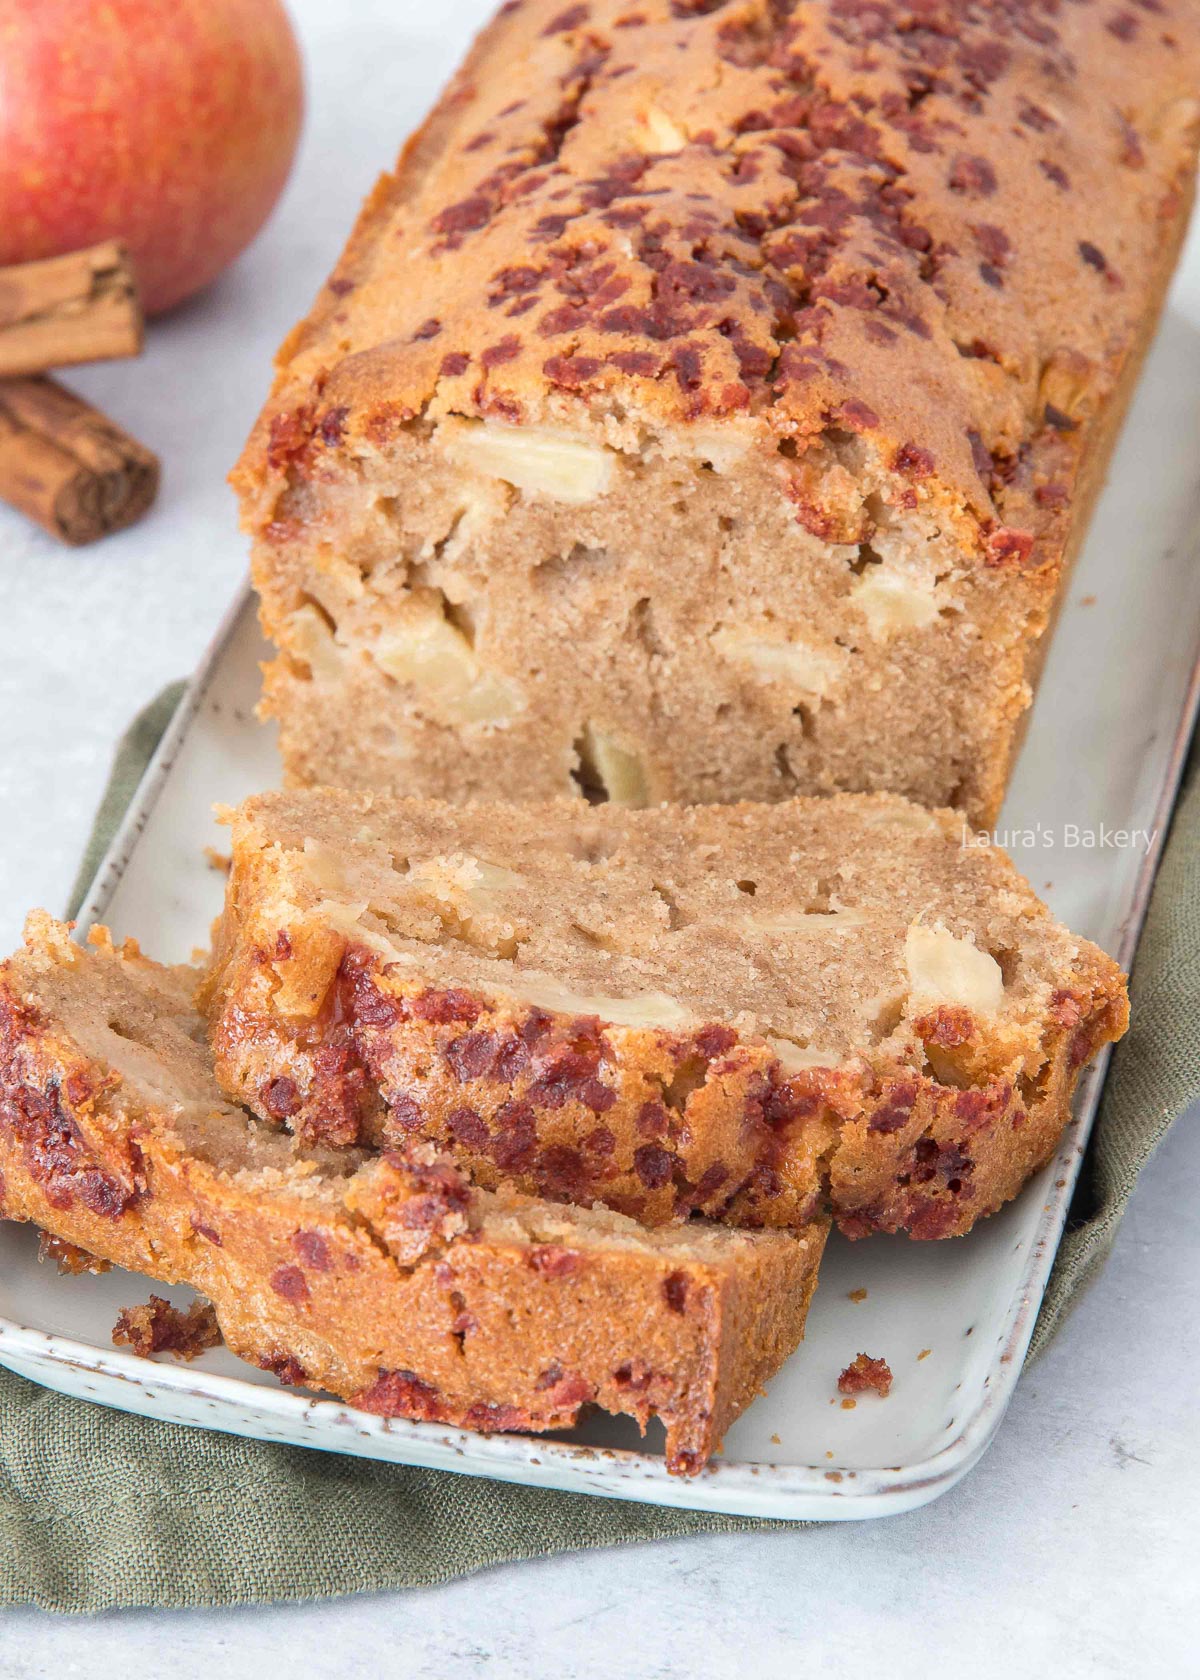
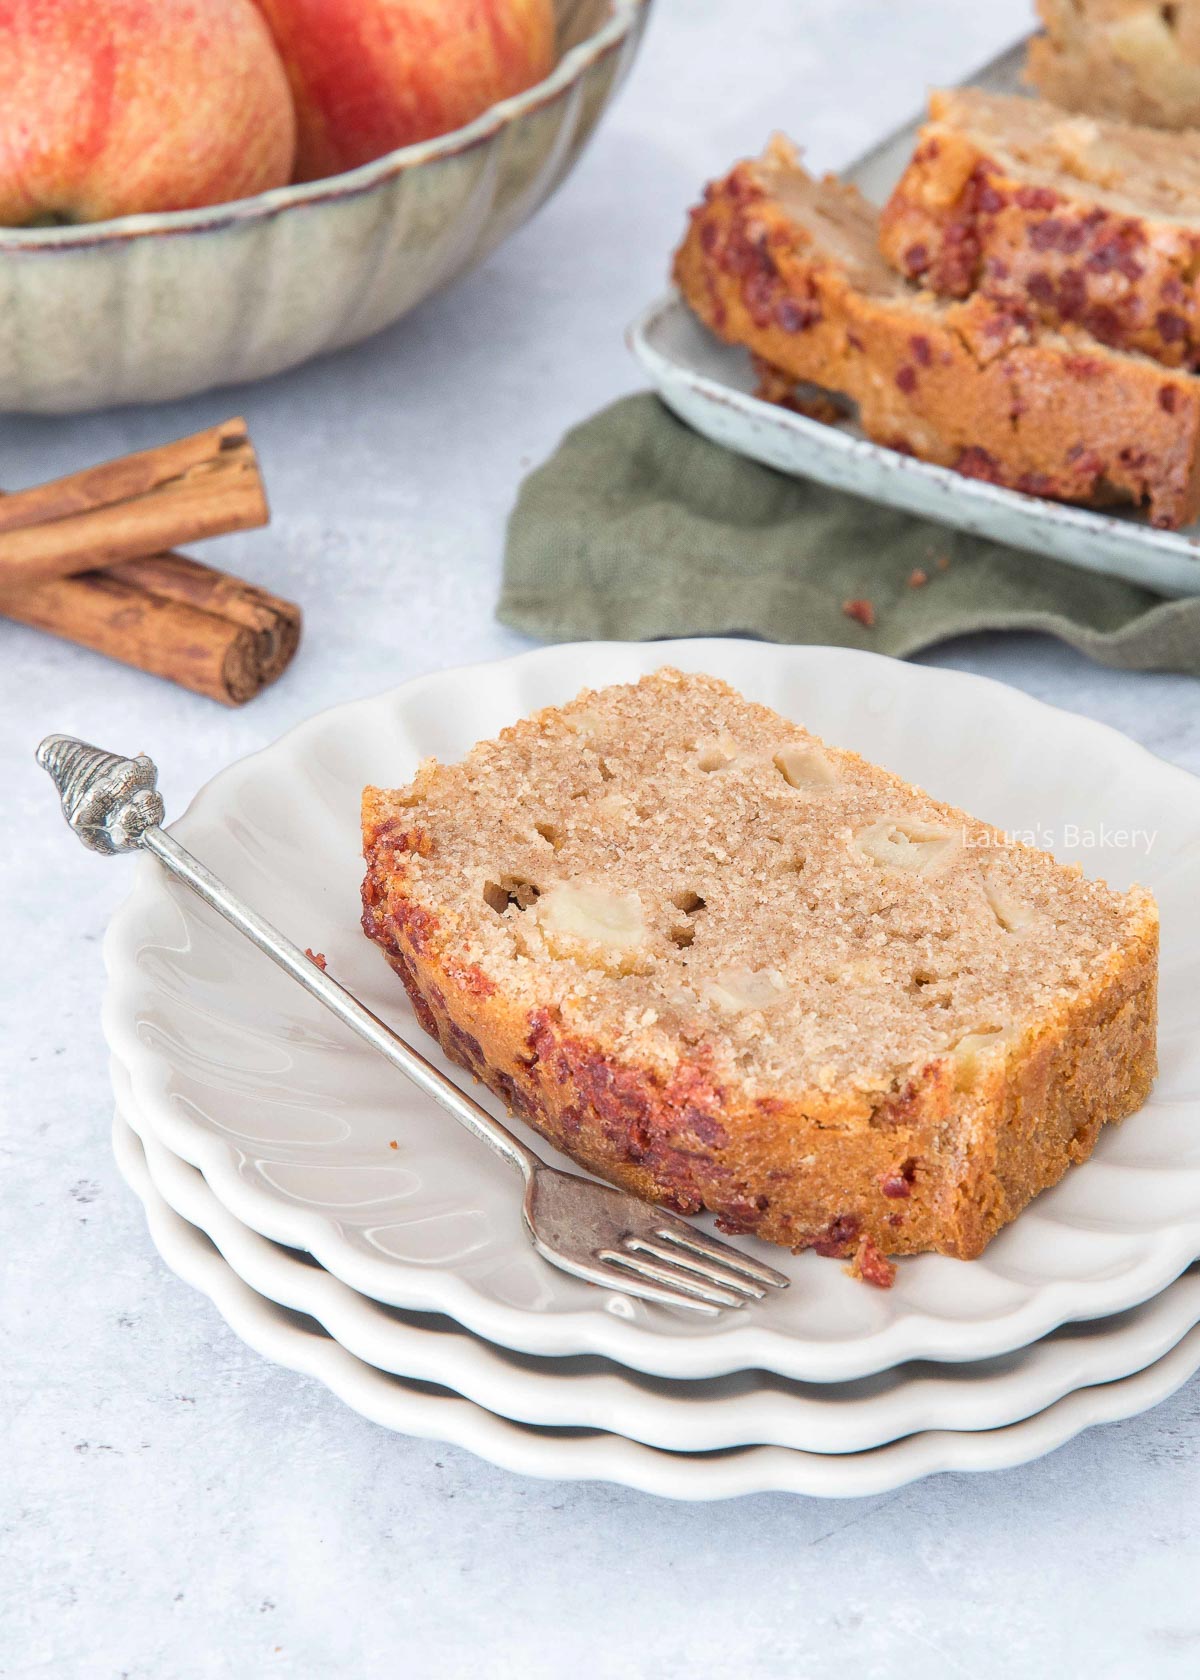
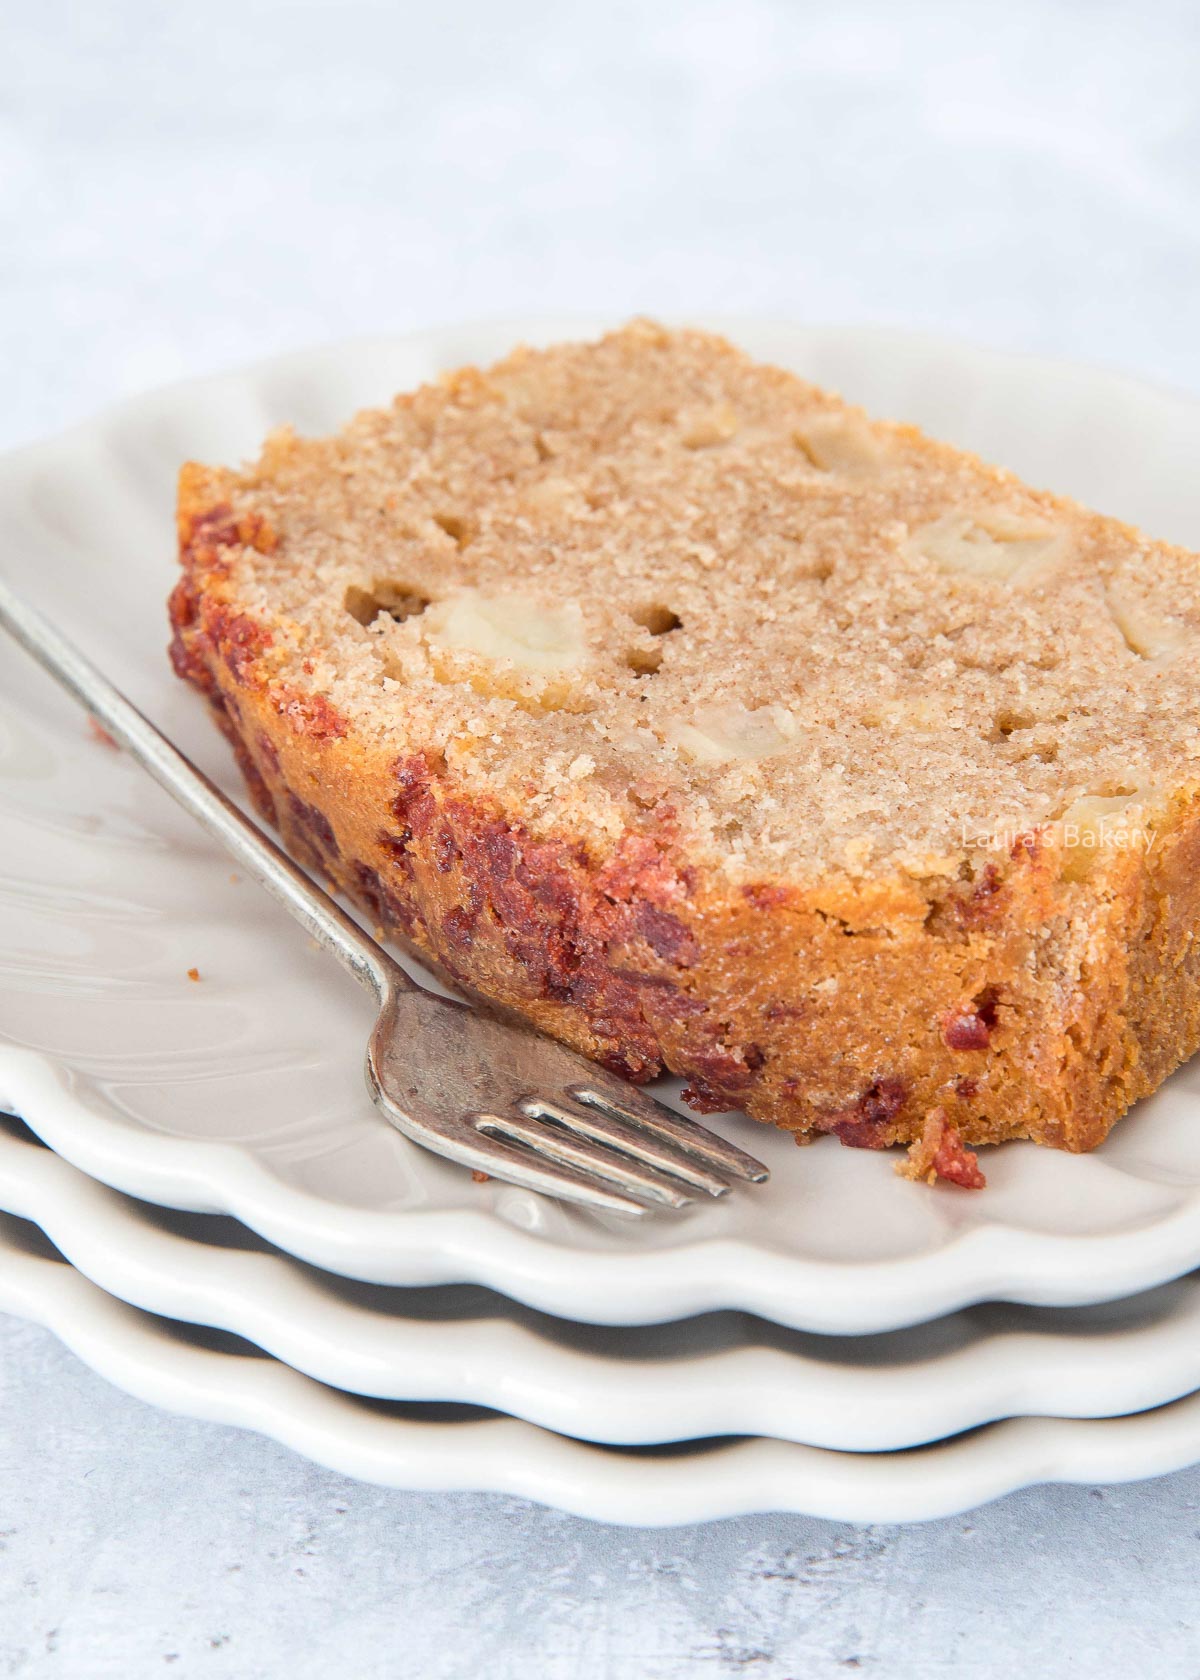
This might just be my all-time favorite cake: apple cinnamon loaf cake! Back when I still worked in an office, I was known for bringing in my apple cinnamon cake and every now and then, I’d find a couple of apples on my desk as a not-so-subtle hint. Naturally, a freshly baked cake would appear the next day.
Why I Love This Recipe
At the end of summer, I always start craving fall and all the cozy flavors that come with it. Apple and cinnamon are my absolute favorite ingredients during this season, and I love adding them to just about any recipe when I can. For this recipe I used coarse cinnamon sugar which give the cake an extra lovely crunch.
In short, this loaf cake:
is easy to make
has perfect fall flavors
is a crowd pleaser
Recipe Ingredients
Make sure all ingredients are at room temperature before you start baking. Check the exact quantities and ingredients below in the recipe card
butter – I use unsalted butter at room temperature
self-rising flour – can also be replaced with all-purpose flour and baking powder. Read the article on how to substitute flour for self-rising and vice versa.
apples – I prefer using Jonagold or Granny Smith apples for this recipe but Honeycrisp, Pink Lady or Braeburn work well too.
sugar – in the batter itself, I use white sugar, but for the topping, I’ve used a coarse sugar, like pearl sugar, but with cinnamon flavor. That looks pretty, and ads crunch to the recipe. Using brown sugar instead of white is also an option.
ground cinnamon – I used about four teaspoons in this recipe but you can add more or less depending on preference.
How To Make Apple Cinnamon Loaf Cake
Making this easy recipe is not much different from any other regular cake, like my favorite vanilla cake recipe.
You start by whisking the butter, sugar and the vanilla sugar together until light and creamy. Add the eggs one by one and mix it until fully incorporated and smooth. Add the rest of the dry ingredients and mix until smooth again.
Peel the apple and cut it into small cubes. I like to toss the cubes with a bit of flour. That helps prevent the cubes from sinking to the bottom of the cake while baking. Using a spatula, fold the apple into the batter.
Using a loaf pan (make sure that it is properly greased and dusted with flour) pour the batter in and sprinkle the cinnamon sugar on top. Now bake the loaf cake for about 60 minutes or until golden brown.
Insert a skewer into the center of the cake to check if it is properly cooked. Let it cool for a few minutes in the pan before turning it out and letting it cool completely on a wire rack.
Storing Apple Cinnamon Loaf Cake
You can store the apple cinnamon loaf cake outside of the fridge. Make sure to wrap the apple cake in aluminum foil and keep it for about a week.
Can I freeze apple cinnamon loaf cake?
Absolutely. You can freeze the whole loaf or slice the entire cake and freeze in smaller portions. I always prefer the latter so I can defrost a portion of cinnamon apple loaf cake when I feel like eating it.
Recipes with Apple
Of course, I’ve tested my favorite flavor combination of apples and cinnamon in many different recipes, which means I have plenty more options to share with you.
For sweet baking recipes, I prefer Jonagold or Granny Smith apples. You can’t go wrong with those. Honeycrisp is also a great alternative if you can’t find the others.
Can I make this recipe in a Bundt pan?
Absolutely, I’ve done that many times. The amount in this recipe fits a 25 cm (10-inch) loaf pan, which holds about 1450 ml/49 floz. If you use a Bundt pan with a 2400 ml/81 floz capacity, simply multiply the recipe by 1.5. Keep in mind that Bundt cakes often need a little extra time in the oven. Start checking around 75 minutes.
Can I make apple cinnamon cupcakes with this recipe?
Yes, you can. I also have a dedicated recipe for apple cinnamon cupcakes, which is even easier. I will share that recipe with you soon, but in the meantime you can definitely make this into cupcakes!
Beat the butter, sugar, and vanilla sugar until creamy. Add the eggs one at a time and mix until smooth.
Add the self-rising flour, salt, and cinnamon; mix until the dry ingredients are incorporated.
Peel the apple, remove the core, and cut into small cubes. Toss the cubes with a little flour, this keeps them from sinking to the bottom while baking.
Fold the apple pieces into the batter. Pour the batter into a greased and floured baking pan. If you like, sprinkle some coarse cinnamon sugar on top.
Bake for about 60 minutes at 175°C/345°F (top and bottom heat) until golden brown.
Insert a skewer into the cake; if it comes out clean, the cake is done. Let it cool slightly in the pan before transferring it to a rack to cool completely.
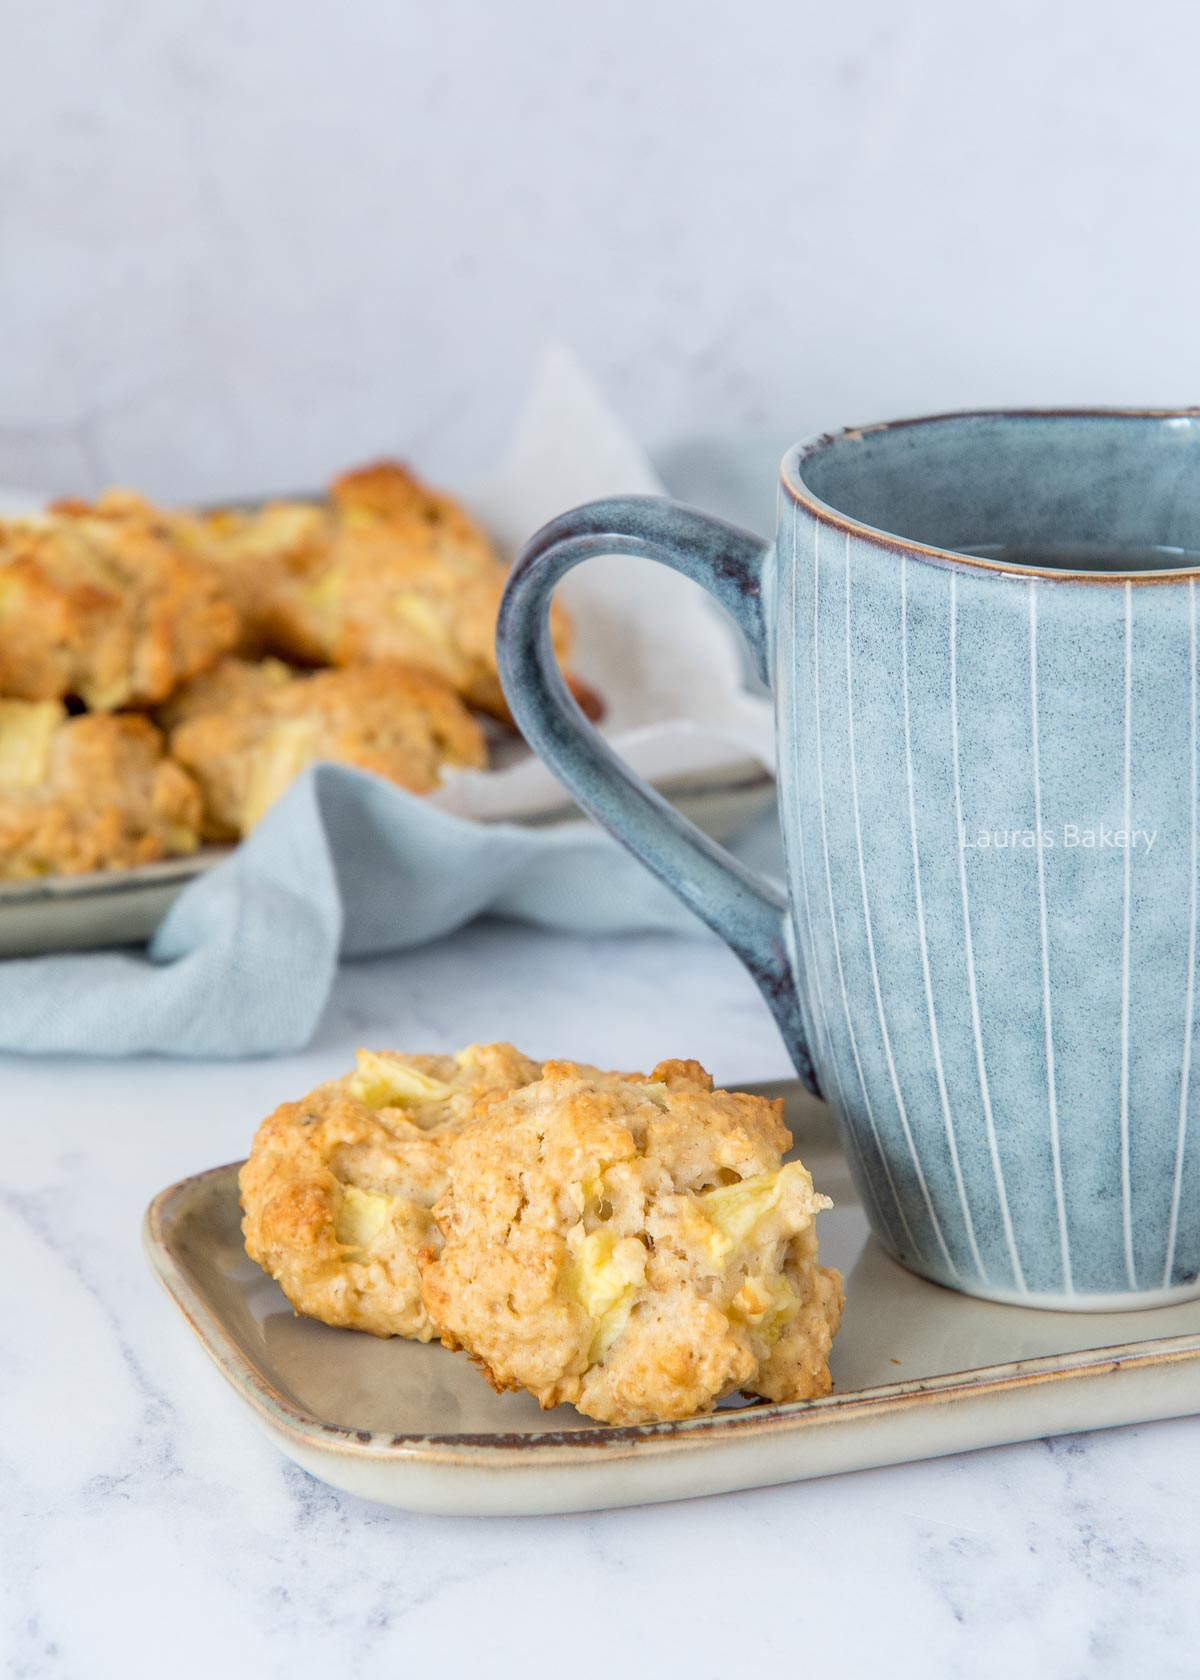
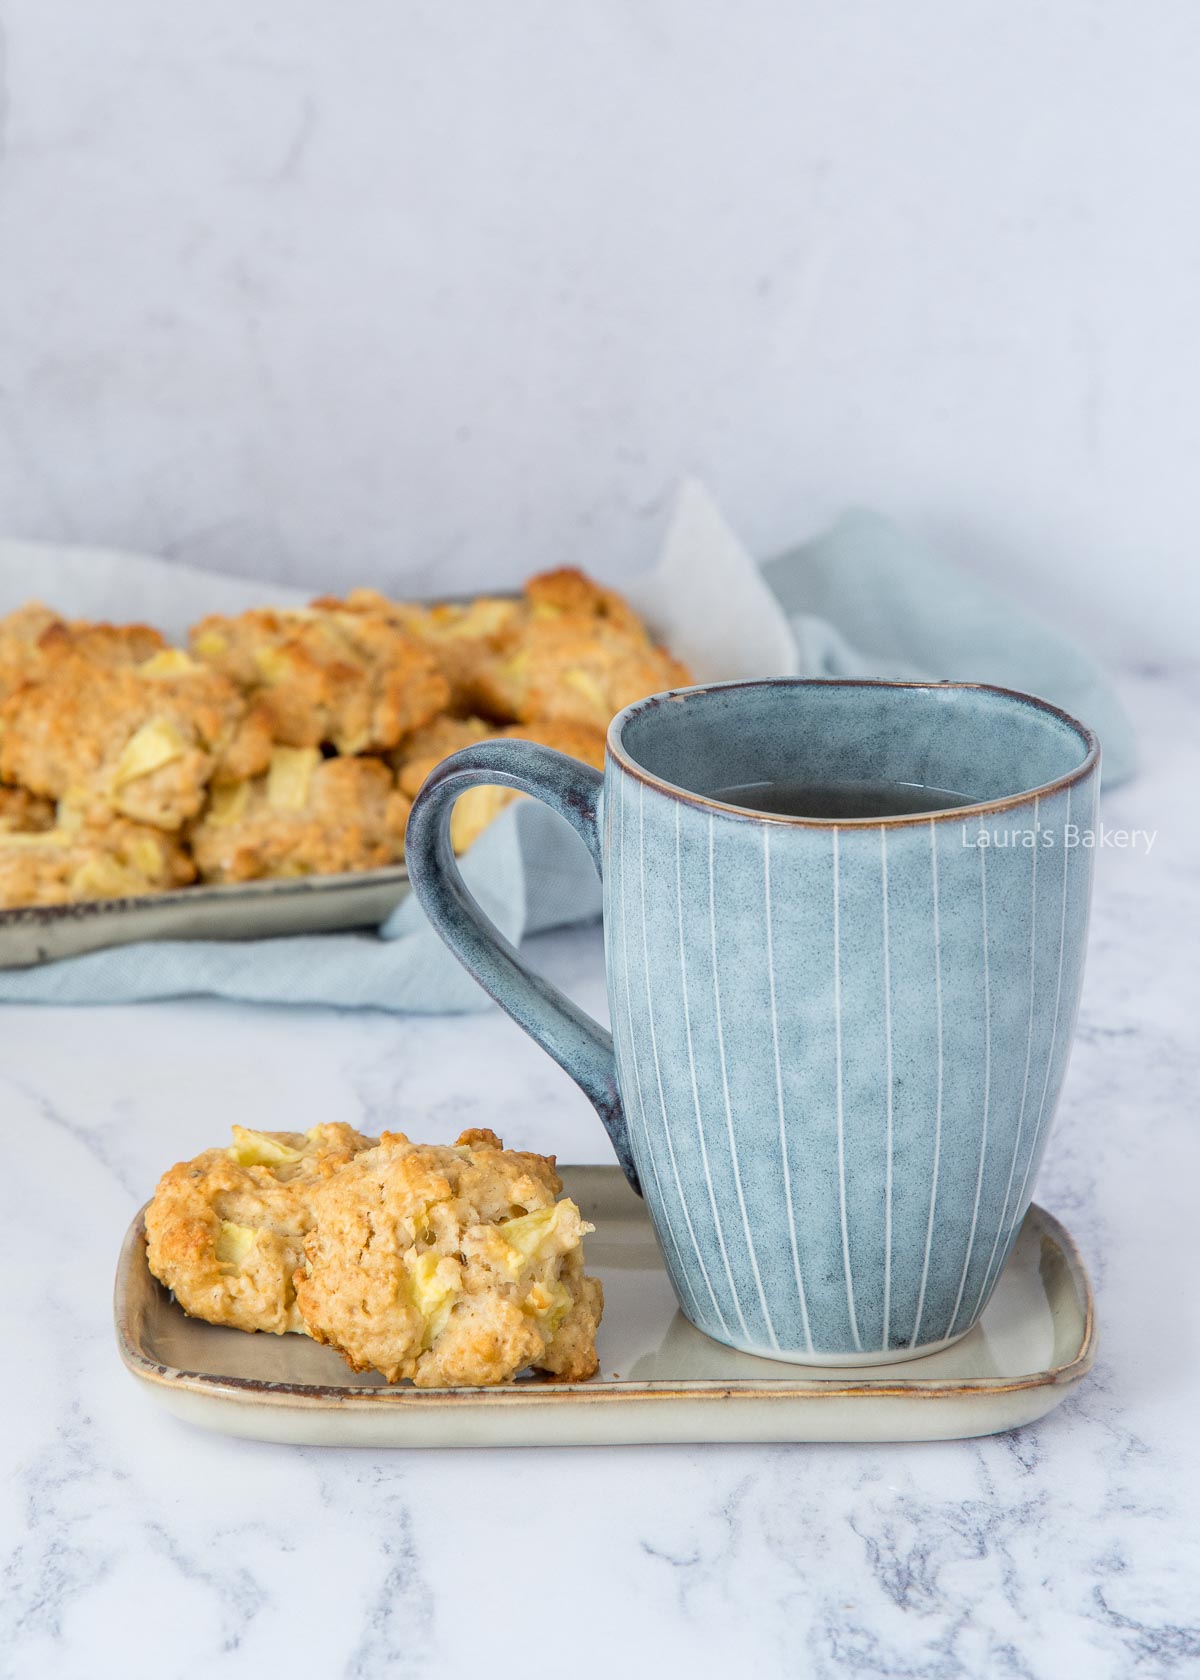
A little over a year ago, I made these delicious healthy apple oatmeal cookies for the first time. I love cookies and happily snack on them, but I was looking for a slightly more wholesome version. They’re not crispy cookies, the texture is softer and almost cake-like. If you ask me, they’re absolutely fantastic.
Why I Love These Cookies
I love a little sweet treat everyday, I mostly enjoy a piece of chocolate or a cookie. And with these healthy cookies, I enjoy two of them. Because why not?
These cookies are the perfect way to still enjoy the occasional cookie but with a bit less sugar. These chewy apple oatmeal cookies are easy to make and the perfect pick-me-up to satisfy your sweet tooth!
Recipe Ingredients
Making these delicious oatmeal cookies is pretty straightforward and you need only a handful of ingredients to make them. As always make sure to check the full list of ingredients in the recipe card below.
all-purpose flour – you can also substitute with whole wheat flour to make them even more wholesome
oatmeal – it’s best to use rolled oats for these cookies. You can also use quick oats but the cookies will be a bit softer
apple – any kind of apple will work in this recipe, so pick your favorite. Changing the apple for pear is also a great idea
egg – you will need one medium egg
honey – the only sweetener used in this recipe is 2 tablespoons of honey. This can be replaced with maple syrup if you prefer
The cookies are pretty much perfect as they are but if you want you could add some warm spices.
How To Make Healthy Apple Oatmeal Cookies
Making these delicious cookies is quite easy. You start by adding all the dry ingredients to a bowl. Now add the butter and rub it into the dry ingredients with your fingers. Cut the apple into small cubes and add the diced apples into the flour mixture.
In a separate bowl you whisk honey, egg and vanilla until the honey melts into the other ingredients. Now add the wet ingredients to the flour and incorporate. It will be quite a sticky dough and that is exactly what you want.
Now take a large baking sheet and line it with parchment paper. Using two spoons, divide the dough into 16 small mounds and gently flatten them a bit. They won’t really spread out too much so you don’t need a huge gap between the cookies.
Bake the cookies for roughly 15 minutes in a preheated oven or until golden brown. Let them cool down on a wire rack and enjoy!
Storing Healthy Apple Oatmeal Cookies
You can keep the oatmeal cookies for around 4-5 days in an airtight container outside of the fridge.
Can I freeze the oatmeal cookies?
The apple oatmeal cookies are absolutely perfect for freezing. You can freeze them in individual portions so you always have some ready to go. In the freezer they will keep for 3 months.
More easy snack ideas
Looking for quick and healthy snacks you can easily make at home? These recipes are perfect for busy days, lunch boxes, or simply as a smarter snack between meals. They’re not only easy to prepare, but also tasty and nourishing. Try, for example:
Can I use old-fashioned rolled oats or should it be quick oats?
You can absolutely use both. Rolled oats work great and give the cookies a slightly chewier texture. Quick oats make them a bit softer. Avoid instant oats, as they become too mushy.
What kind of apple works best?
Firm, sweet-tart apples such as Honeycrisp, Gala, or Pink Lady hold their shape well when baked and add a nice flavor. Softer apples will also work but may make the dough a bit wetter.
Can I replace the honey with another sweetener?
You can use maple syrup or agave syrup in the same amount. Keep in mind that the dough may become a little stickier due to the thinner consistency. Replacing the honey with brown sugar is an option too.
Do the cookies spread in the oven?
Not much. These cookies hold their shape, so gently flatten them before baking if you prefer a less domed cookie.
Can I add extra ingredients?
Definitely! Raisins, chopped nuts, cinnamon, or a handful of chocolate chips all work well. Just avoid adding too many mix-ins, or the dough may not hold together.
Add the flour, oatmeal, baking powder, and salt to a bowl and stir to combine. Add the butter and rub it in with your fingers. Mix the diced apple into the flour mixture.
In a second bowl, whisk together the honey, egg, and vanilla extract until the honey dissolves a bit. Pour this into the first bowl and mix until everything is incorporated. The dough will be sticky, that’s perfect.
Use two spoons or a small cookie scoop to divide the dough into 16 small mounds on a baking sheet lined with parchment paper. Gently flatten them if needed (they won’t spread much in the oven).
Bake the cookies for about 15 minutes at 190°C/375°F (conventional oven) until done and golden brown.
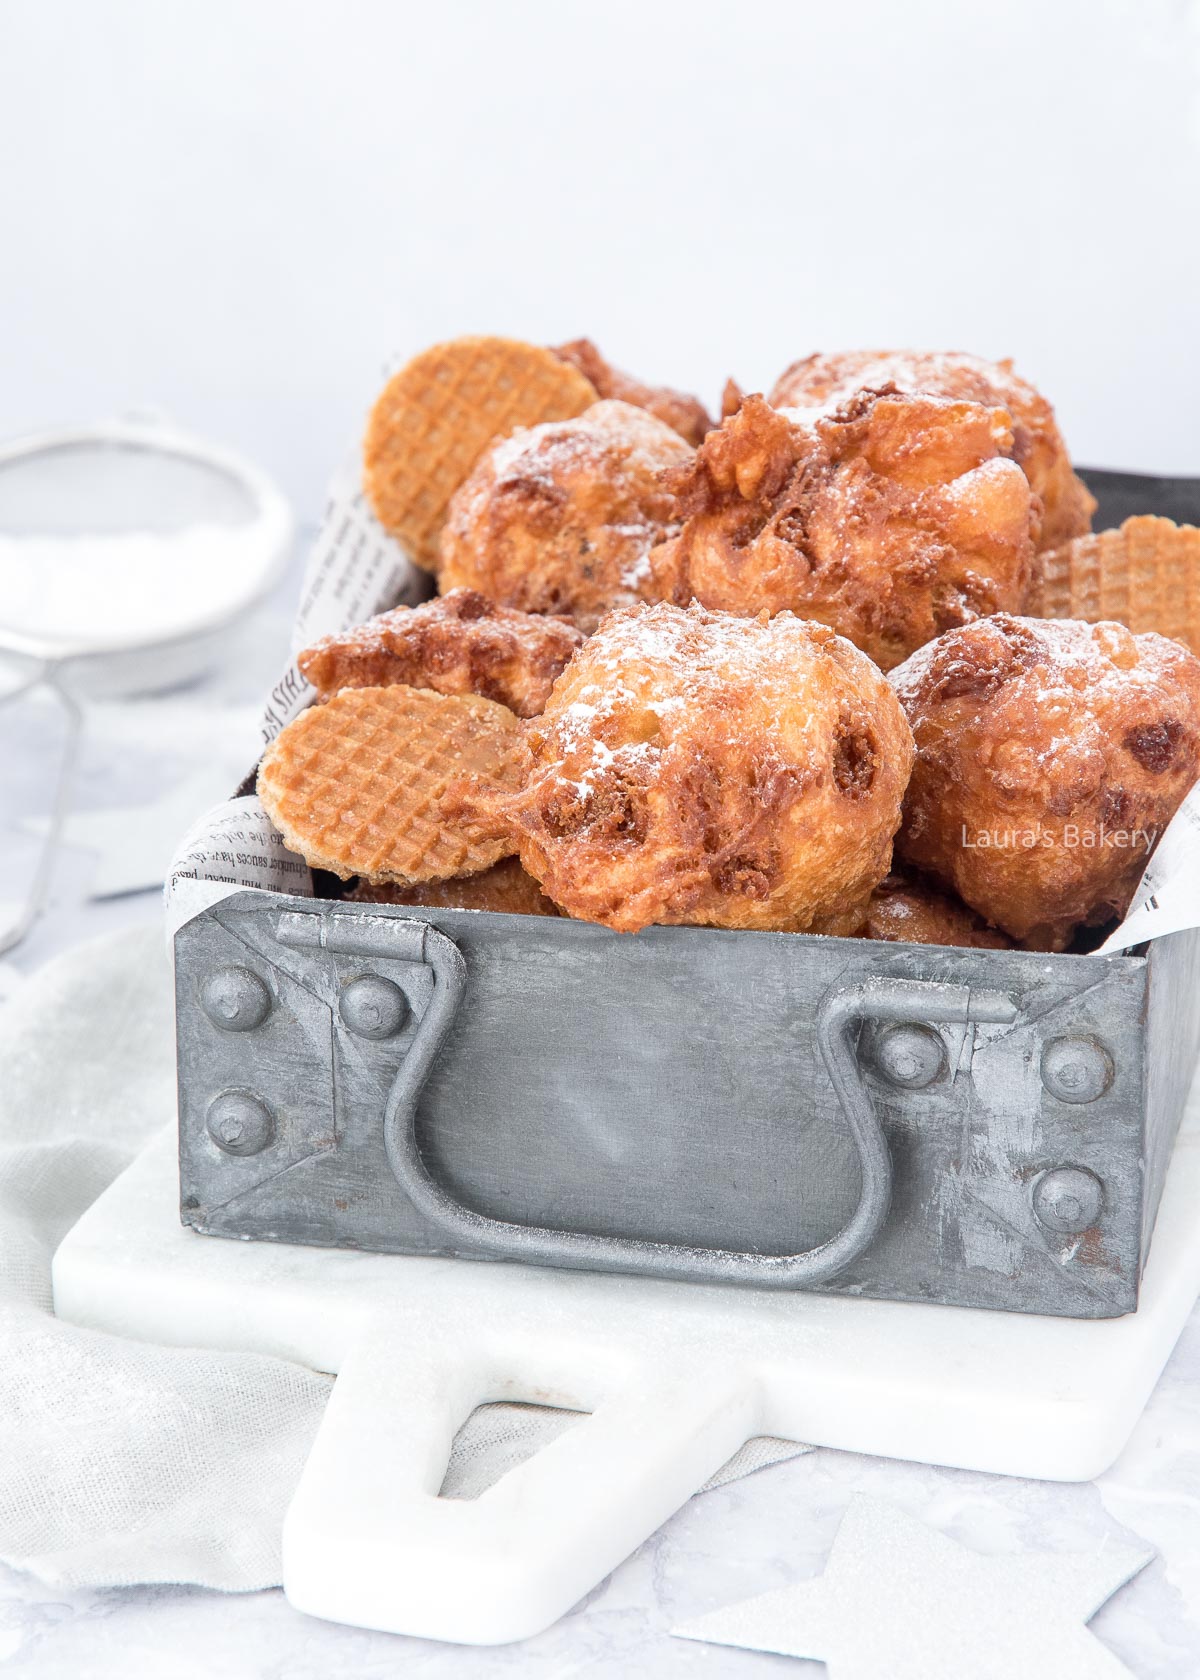
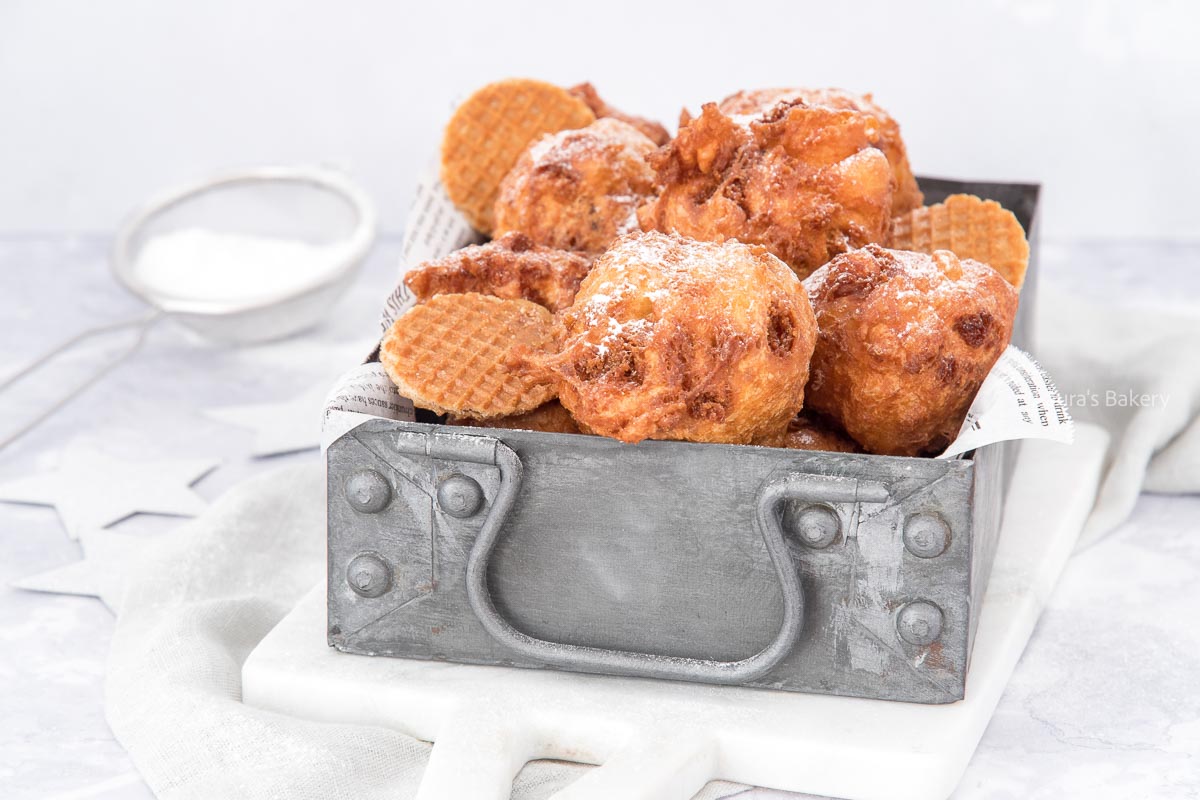
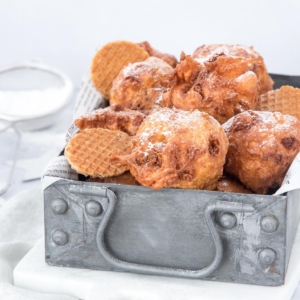
Last year I already shared my favorite recipe for oliebollen or Dutch Doughnuts. One of the most famous traditional Dutch foods. But today I am sharing a twist on the classic. I’ve combined these delicious oliebollen with another Dutch classic: stroopwafels. Here’s my recipe for Dutch doughnuts with stroopwafel!
Why I Love This Recipe
As a ‘Dutchie’, I love myself some oliebollen! And I love to make several varieties as well. It’s always fun to give them a little twist. And I think this version with stroopwafels is possibly one of my all-time favorites.
Oliebollen are really easy to make
This recipe combines two Dutch classics: oliebollen and stroopwafels
Although oliebollen are traditionally eaten with New Years Eve, you can absolutely enjoy them all-year round.
What Are These Dutch Ingredients?
If you’ve never heard of stroopwafels, they are a very specific cookie that is quite famous as a traditional Dutch pastry. I’ve included the photo below, as well as a photo of regular Dutch oliebollen.
Oliebollen are served during the festive season and most famous for being served around New Year’s Eve.
Recipe Ingredients
Apart from the ingredients used for the oliebollen, you will need stroopwafels or a similar cookie.
milk – I use regular milk for this recipe, but you can also go for plant-based milk
yeast – you will need active dry yeast for this recipe
flour – I use regular all-purpose flour for this recipe
stroopwafels – make them yourself with this stroopwafel recipe or use an alternative cookie
Make sure to double-check the quantities in the recipe card below for full details.
How To Make Stroopwafel Dutch Doughnuts
For making these stroopwafel oliebollen you will need a deep fryer or something that is suitable for frying food. We used a Dutch oven. Something similar works fine too.
You start by warming the milk and add the yeast and the sugar. Stir to combine and let it sit for about 5-10 minutes. You will see the yeast starting to form bubbles.
In a large bowl combine the flour and the salt. Add the egg and mix it through. Once combined, slowly pour in the milk mixture. Keep mixing it until you have a smooth batter.
Chop the stroopwafels into smaller pieces. Not too small and not too large. You should be able to distribute them evenly through the dough balls.
Now cover the bowl with plastic wrap and let the dough rise in a warm spot for about an hour. Or until roughly doubled in volume.
Frying
Now it’s time to start making the Dutch donuts. Heat the oil to 350˚F/180˚C
For forming the donuts I like to use an ice cream scoop. This is the easiest method, but you can also use two spoons. Dip the scoop or the spoons into the hot oil first. That way they will easily slide from the scoop into the oil.
Fry each doughnut for about 4-5 minutes or until golden brown. If they don’t flip on their own turn them halfway using a spoon or a fork.
Once fried make sure to place the oliebollen in a colander lined with paper towels. The paper will help absorb the excess oil and will crisp them up nicely. Be sure to replace the paper regularly as it will get soaked with the oil at some point.
Storing Stroopwafel Dutch Doughnuts
You can store the Dutch Doughnuts once baked for 1-2 days. Keep them covered and outside of the fridge. You can eat them cold or reheat them.
Reheating Dutch Doughnuts
You can reheat them in the oven for a few minutes at 350˚F/180˚C. Reheating in the microwave is an option too but they will become a bit softer if you do.
How long you’ll need with the microwave depends on how many oliebollen you want to reheat. For 3 pieces, I reheat them for about 40 seconds.
Can I freeze Dutch Doughnuts?
Freezing the Dutch doughnuts can be done too. You can keep them for three months once frozen. Once defrosted you can easily reheat them in the oven or microwave.
FAQ Stroopwafel Dutch Doughnuts
Can I use caramel waffle cookies instead of stroopwafels?
Yes! If you can’t find traditional Dutch stroopwafels, caramel waffle cookies are a great substitute. Just make sure they’re firm enough to chop into small pieces.
Why didn’t my batter rise?
Most often this happens when the milk was too hot (which kills the yeast) or too cold (which slows activation). The milk should be lukewarm, about the temperature of a warm bath. Also check that your yeast is fresh and not expired.
My oliebollen turned dark too quickly. What went wrong?
This usually means the oil was too hot. Make sure it stays around 350°F (180°C). If the outside browns instantly while the inside stays raw, lower the heat slightly.
Can I make the batter ahead of time?
It’s best to fry the oliebollen right after the first rise. If you need to prep ahead, you can mix the dough and slow the rising process by placing it in the fridge for a few hours. Let it come back to room temperature before frying.
Heat the milk until lukewarm, add the yeast and sugar, and stir briefly. Let it sit for 5-10 minutes; you’ll see the yeast start to bubble.
In a mixing bowl, combine the flour and salt. Give it a quick stir. Add the egg and mix it into the flour. While mixing, slowly pour in the warm milk mixture. Keep mixing until you have a smooth batter.
Fold the chopped stroopwafels evenly into the batter.
Cover the bowl with plastic wrap and let the batter rise in a warm spot for one hour, or until doubled in volume.
About 15-20 minutes before the batter is done rising, heat a pot of oil to 180°C/350°F.
To form the oliebollen, you can use two spoons or -the easiest method- an ice cream scoop. Dip the scoop into the hot oil first, then scoop 4-5 portions of batter into the pot.
Fry the oliebollen for 4-6 minutes until golden brown. Turn them halfway through if they don’t flip on their own.
Dip your scoop back into the oil before shaping each new batch to prevent sticking and oddly shaped oliebollen. No need to clean the scoop each time.
Once fried, place the oliebollen into a colander lined with paper towels, then transfer them to a tray lined with fresh paper towels. This helps absorb excess oil. Be sure to replace the paper regularly.
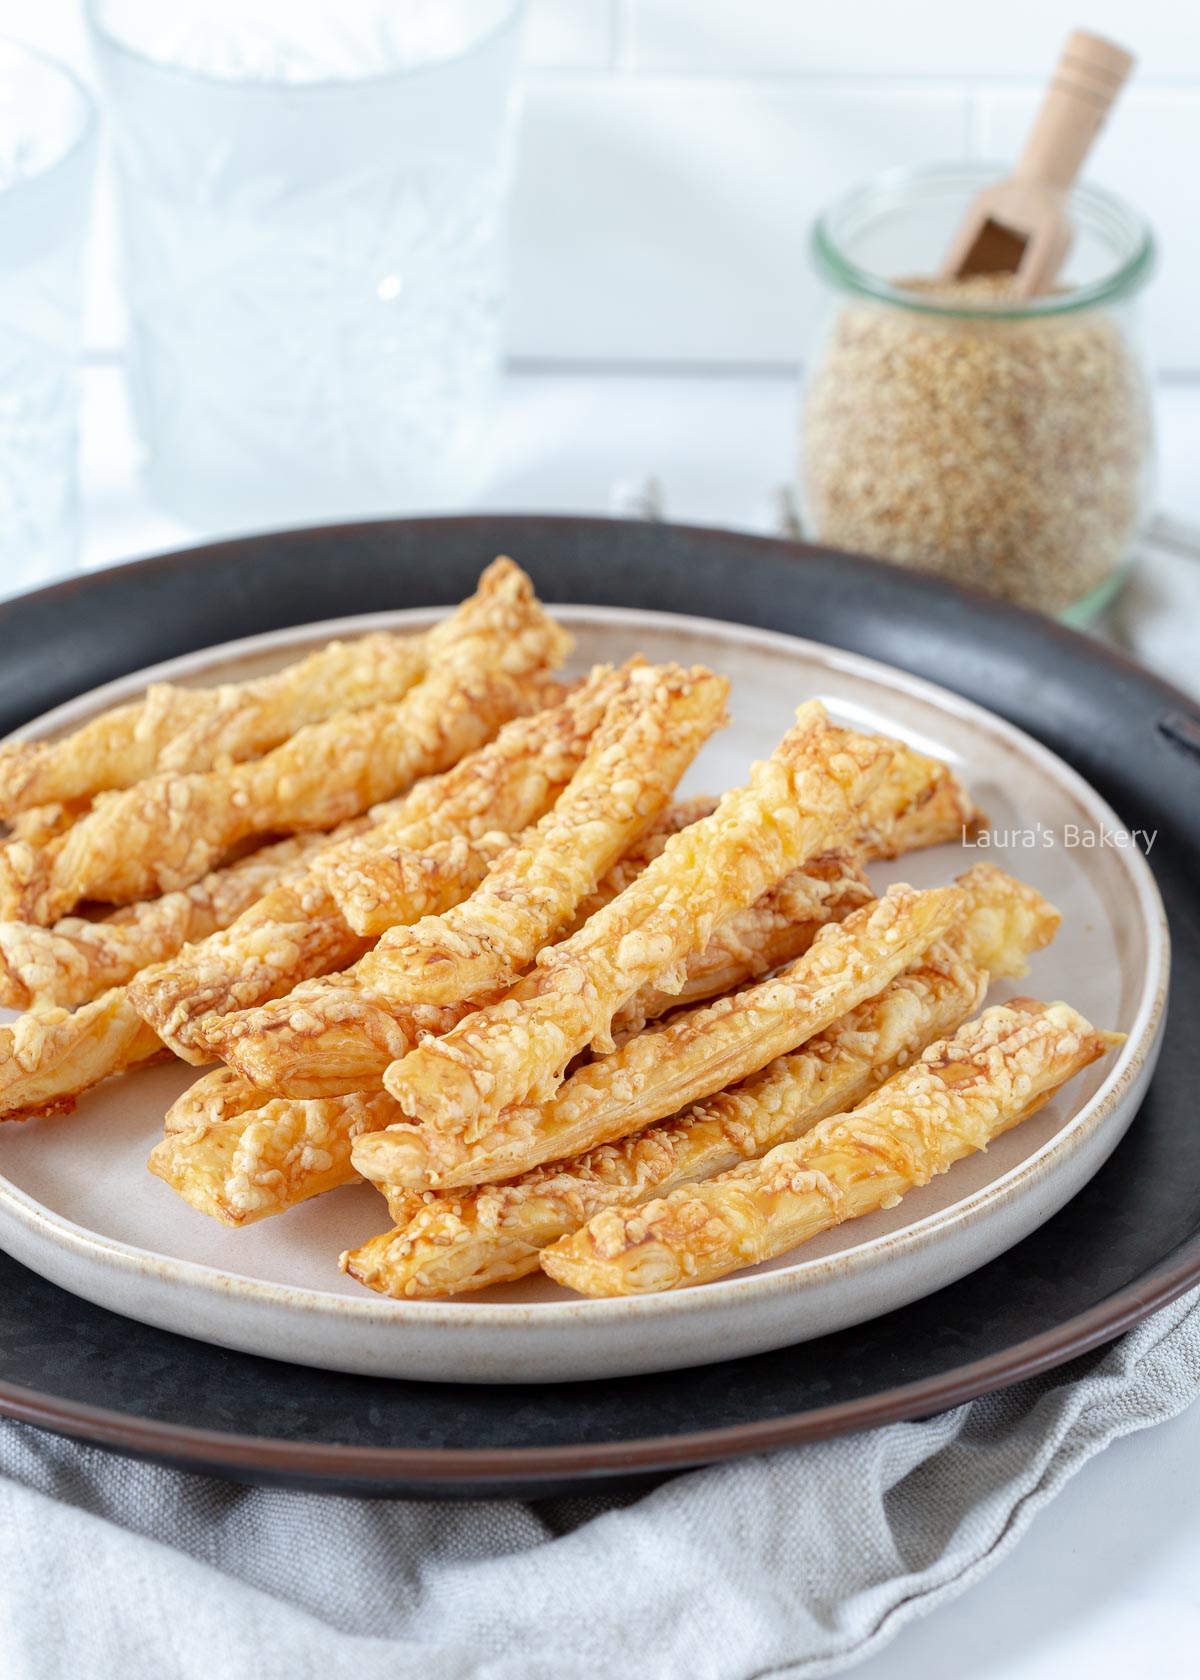
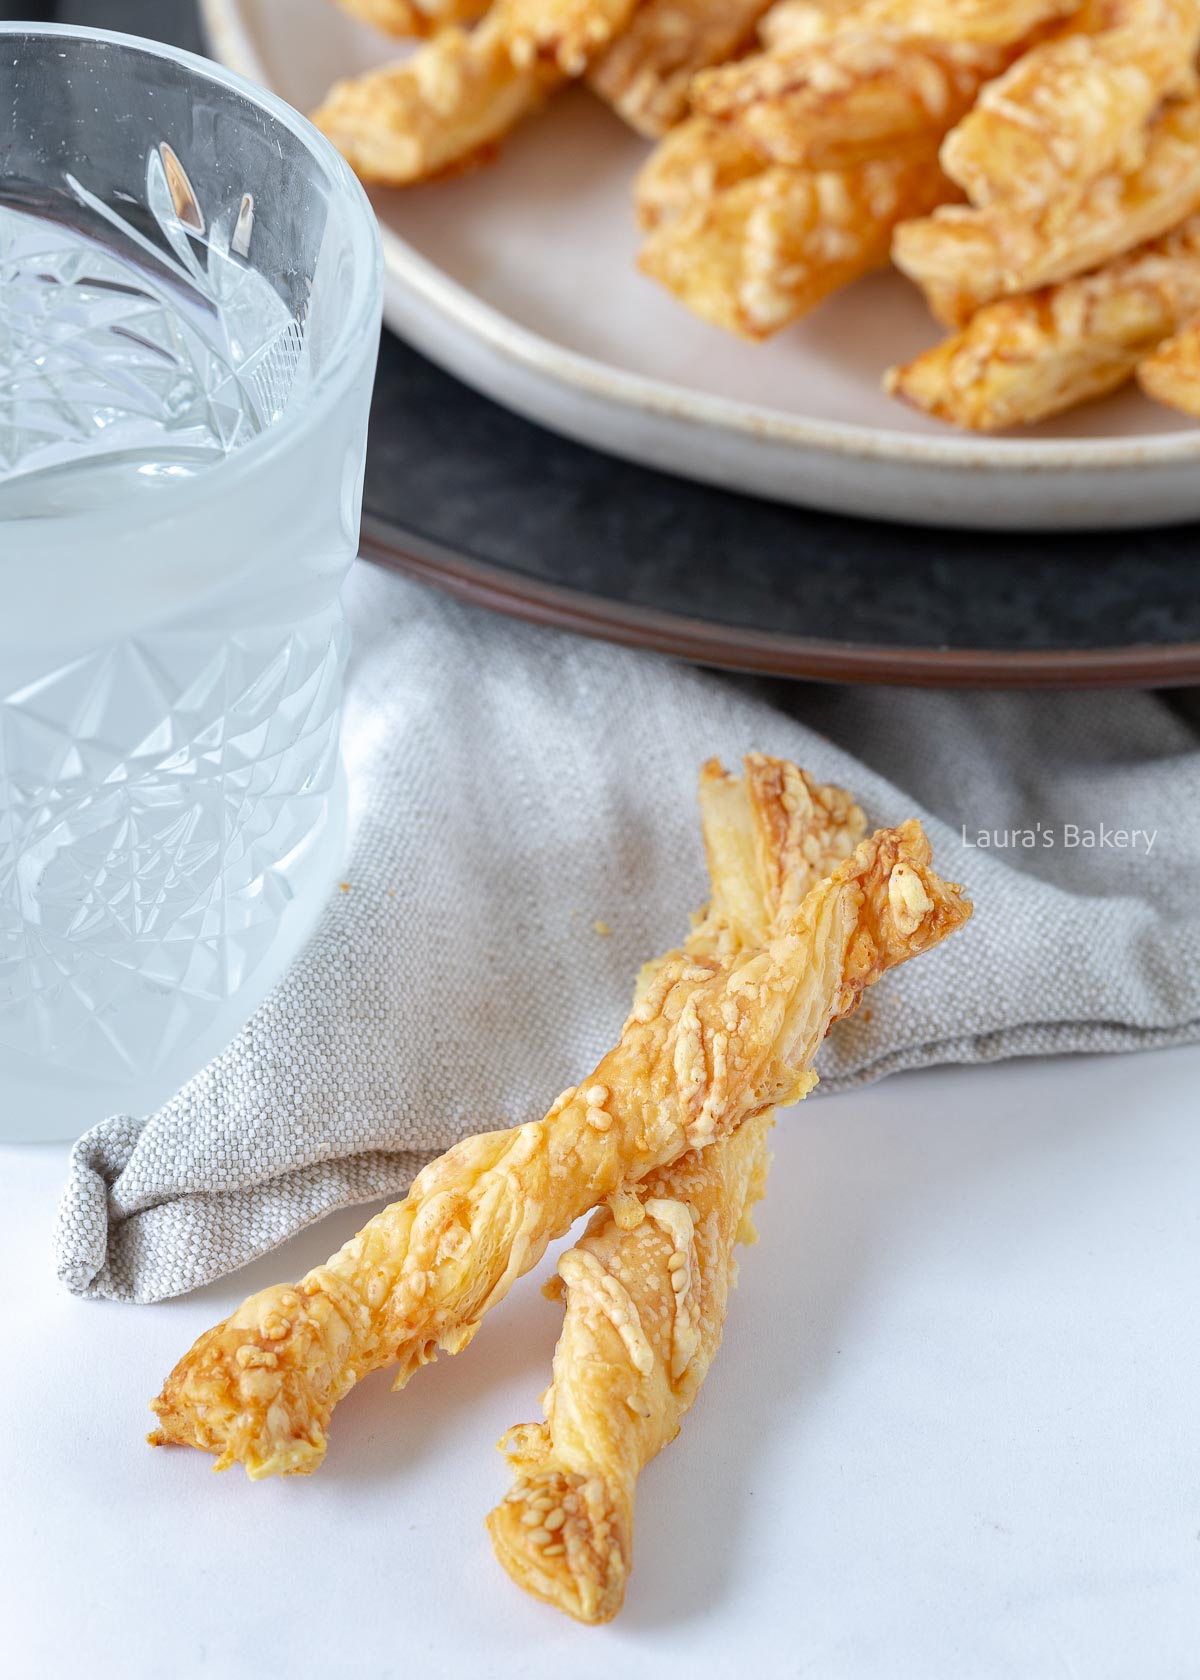
An all-time favorite when it comes to appetizers and snacks: puff pastry cheese straws! Who doesn’t love the crunch and cheese combination? They’re really easy to make and everybody will love them!
Why I Love This Recipe
Whenever I’m at a birthday party (or any other occasion, really), I’m always thrilled when cheese straws are on the table. I just think they’re incredibly delicious! I can’t resist any version of them; a bowl of cheese or salted puff pastry sticks is simply not safe around me.
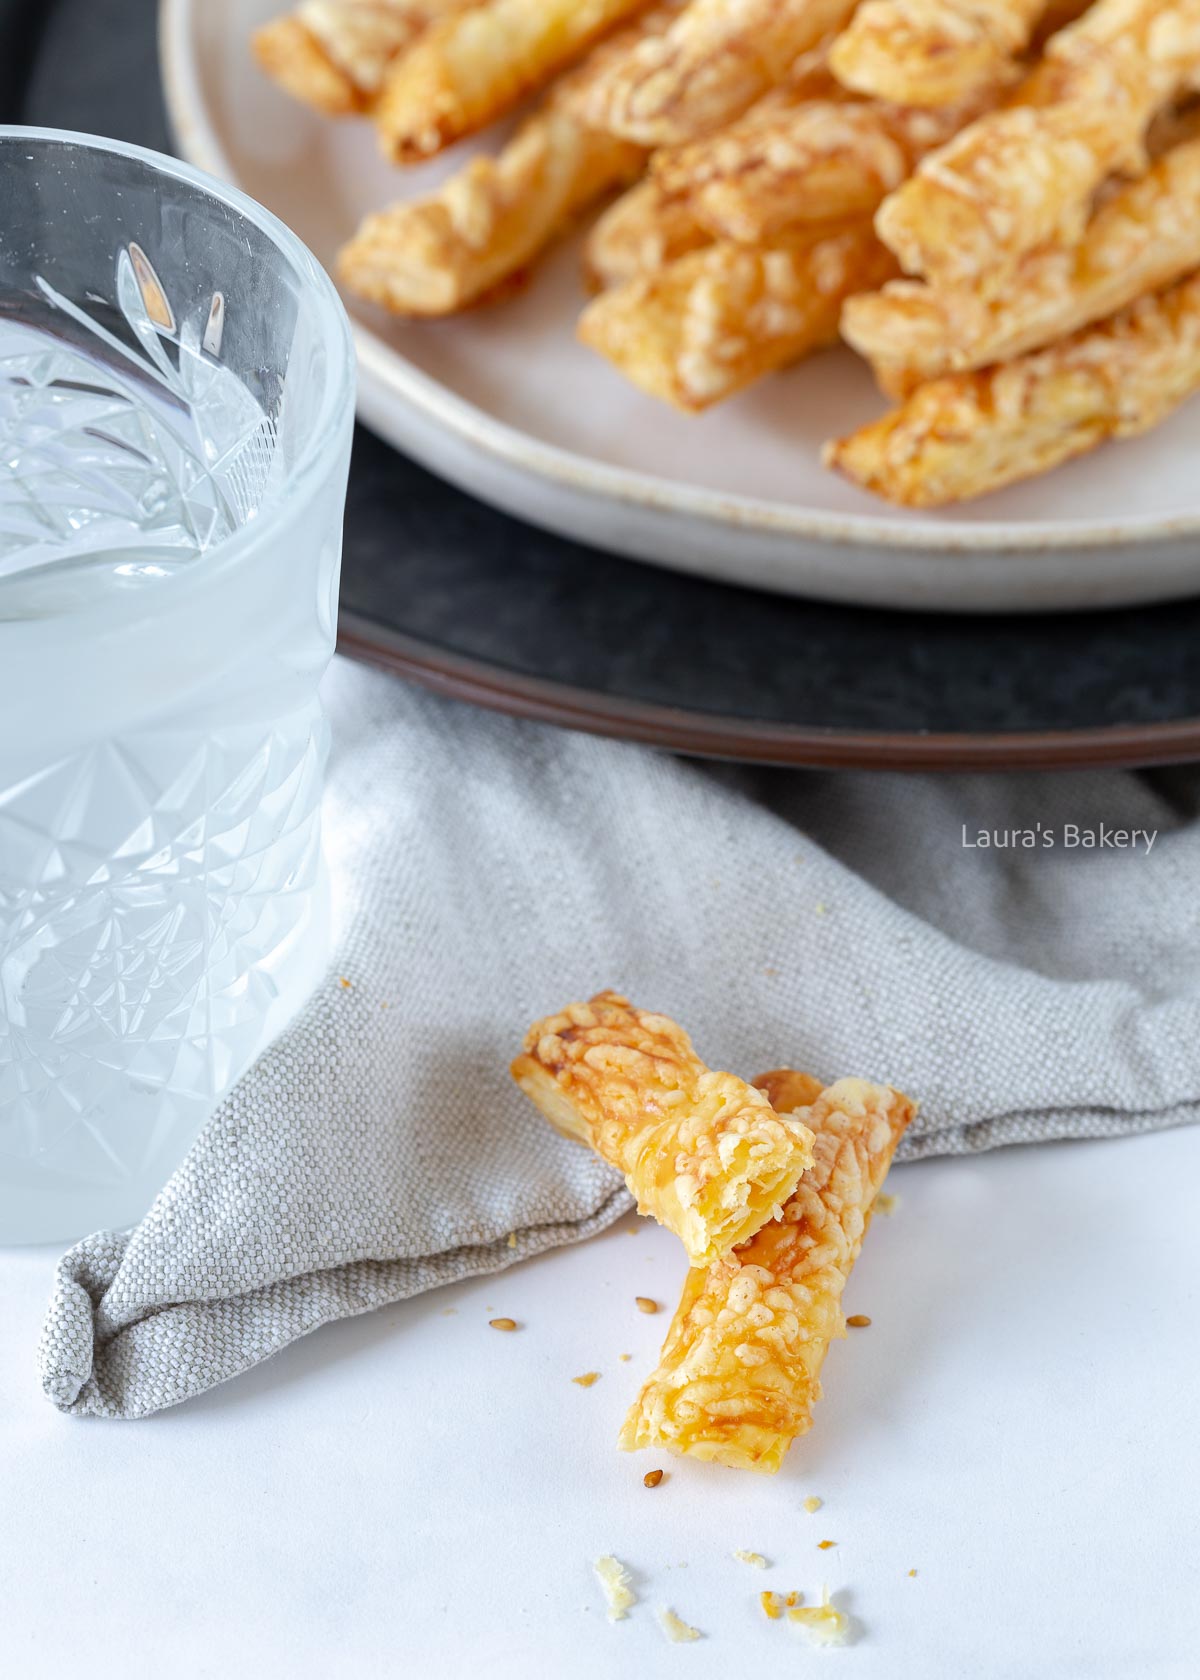
It’s the crunch in combination with the cheese on top that make these puff pastry cheese straws irresistible for me. They’re perfect as a simple snack, but can also be served in combination with a bowl of steaming soup. And they only take a couple of minutes to make!
How To Make Cheese Straws
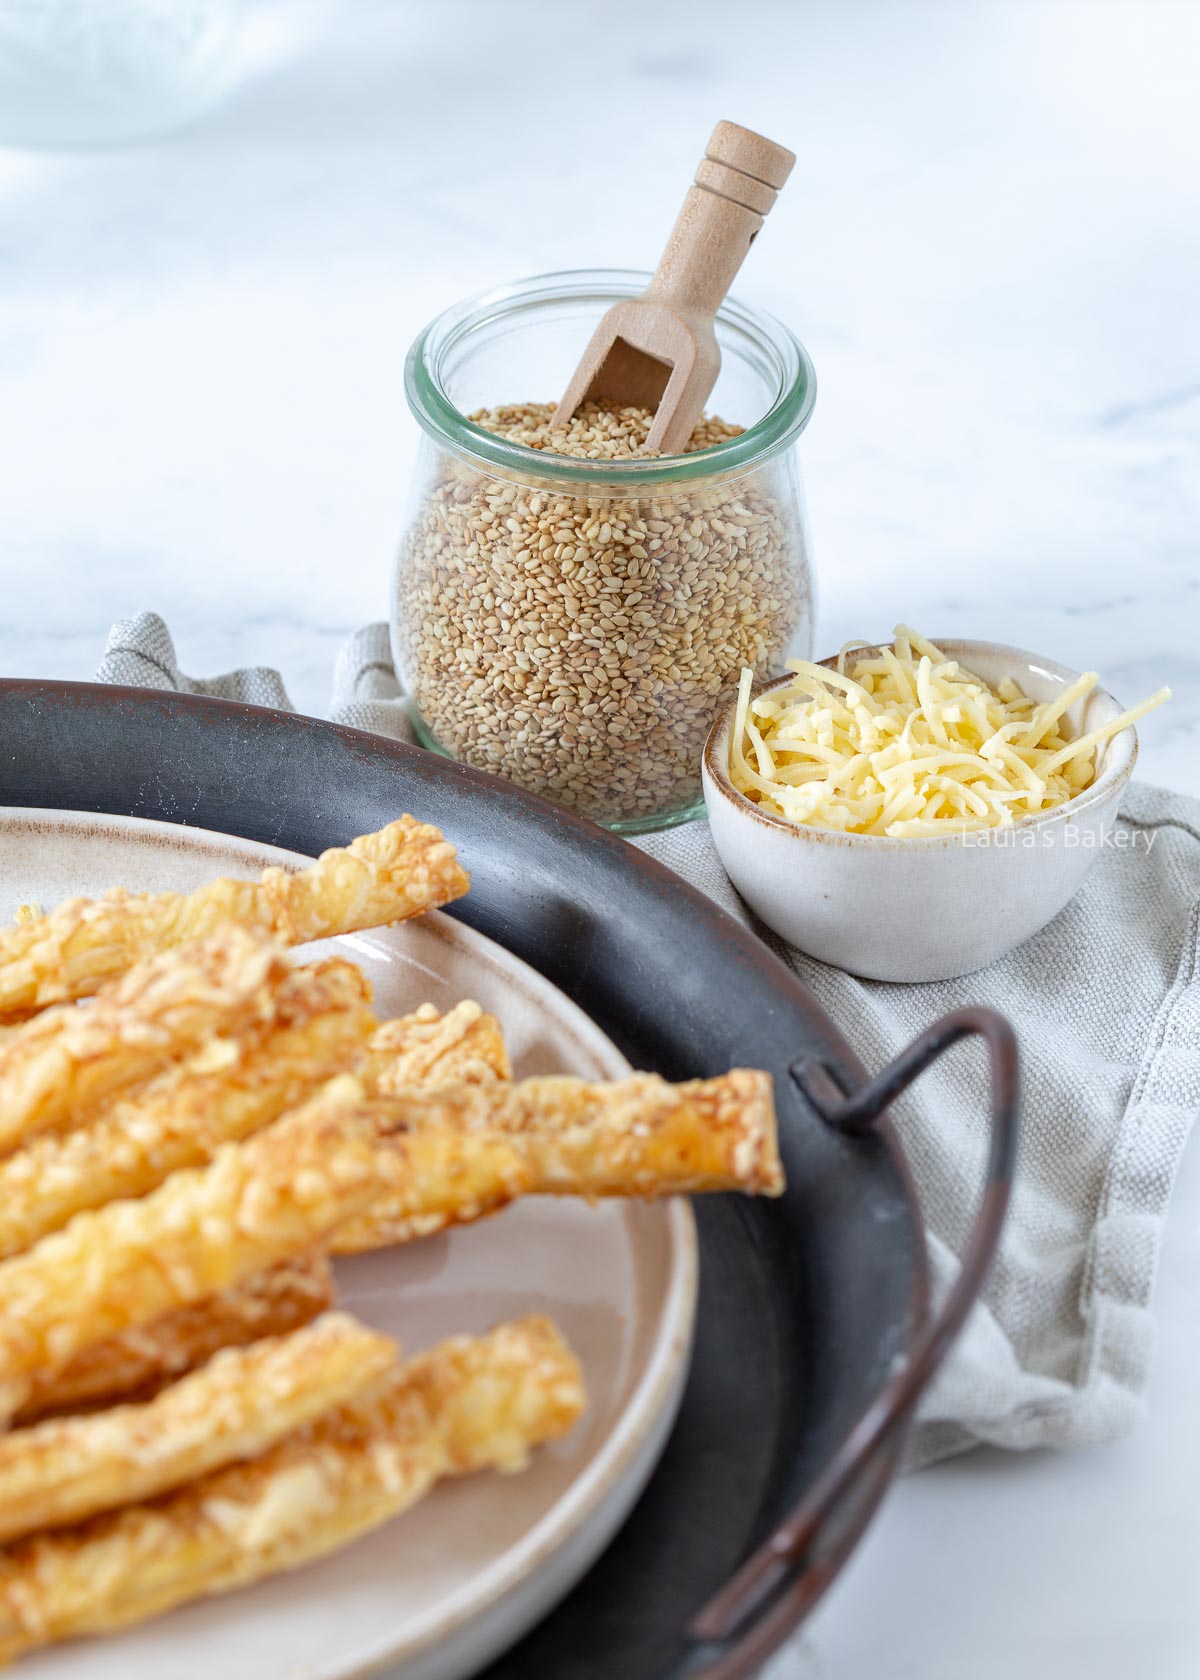
Making the puff pastry cheese straws is as simple as slicing the puff pastry (a pizza cutter is a great tool to do that, but a sharp knife also works), brushing with some egg wash and sprinkling with plenty of grated cheese.
Puff pastry and cheese are a fantastic combination; it’s hard to go wrong. But if you want to make them even better, sprinkle a little black pepper and flaky sea salt on top before baking. It gives the cheese straws a deeper, more delicious flavor.
Prefer not to use extra salt? Try Italian herbs, sesame seeds, or paprika instead. These toppings are also great additions to this puff pastry cheese straw recipe.
Once you sprinkled all the cheese straws place them on a baking sheet, lined with parchment paper and bake in the oven until golden brown. Serve warm or cold.
To Twist or not To Twist
In this recipe, I did not twist the dough but if you prefer puff pastry cheese twists you can easily do that too. If you twist them, make sure to add the grated cheese at the last minute or it will all fall off again.
More Puff Pastry Recipes
If you love puff pastry, you’re going to want to try these delicious recipes as well. I have two savory ones and one sweet tart for you:
Once baked you can easily store the cheese straws for 3-4 days. Make sure to cover them with aluminum foil and keep them outside of the fridge.
You can also keep the unbaked cheese straws. In that case place them inside an airtight container and store in the fridge. Since the puff pastry will start to stick together, add parchment paper in between the layers. You can store them in the fridge for 1-2 days.
Reheating puff pastry snacks
They will lose some of their crispness but you can easily reheat them in the oven at 450˚F/225˚C for about 5 minutes which will return the crisp.
Can I freeze puff pastry cheese straws?
You can freeze both the baked as well as the unbaked cheese straws. For the baked version cover properly and keep for 2 months in the freezer. Reheat in the oven once defrosted to get crispy again.
If you’ve used puff pastry from the freezer you cannot freeze the unbaked cheese straws. So only freeze the unbaked ones if you’ve made your own puff pastry or if you’ve used store-bought puff pastry from the cooler section.
Making Cheese Straws without Puff Pastry
You can absolutely make cheese straws without puff pastry, bread dough works wonderfully too and is super easy.
Another fun option is to swap the puff pastry in this recipe for crescent roll dough. You’ll end up with crescent cheese straws! Twist them a few times before baking so you get nice twisters. It’s extra delicious with this combination, though I also love doing this with regular puff pastry cheese straws.
FAQ Puff Pastry Cheese Straws
Why do you poke holes in the puff pastry?
To help it bake evenly and prevent it from puffing up too much. Use a fork (or a pastry docker) and make sure to press firmly.
Can I make puff pastry cheese straws without egg?
Absolutely. The egg is just for giving the pastry a nice shine. You can brush the pastry with a little milk instead. It won’t be exactly the same, but it works well. I prefer using a silicone pastry brush for applying the egg wash or milk.
Can I use savory pie dough instead?
Technically, yes. I haven’t tested it, so I’m not sure how well it works. It probably depends on the exact type of dough as well. My guess is that puff pastry or crescent dough would be tastier.
What kind of cheese should I use?
I prefer a medium-aged or sharp grated cheese, but feel free to choose whichever you like. Keep in mind that using an older, sharper cheese will give your cheese straws a more intense cheese flavor. You can also sprinkle a mix of medium cheese and Parmesan, for example.
Love cheese straws? With this easy recipe you can quickly make your own using puff pastry. Sprinkle them with cheese and add spices or herbs to your liking
Preparation10 minutesmins
Cooking14 minutesmins
Total24 minutesmins
Servings: 16cheese straws
Ingredients
4sheetspuff pastryI used small squares of around 4 inch/10 cm
Grated cheesemedium or sharp
Salt and pepper
Beaten egg
Instructions
Cut each puff pastry sheet into 4 strips and brush them with egg. Use a fork to poke a few holes into the dough and sprinkle cheese over the strips.
Place the strips on a baking sheet and season with a little pepper and salt if you like. It’s optional, but extra tasty.
Bake the puff pastry cheese straws for 14 minutes at 225°C/437°F (conventional oven).