Why does the dough need to rest overnight?
The long, slow fermentation in the refrigerator develops deep flavor and improves the texture of the pitas. It’s the secret to that authentic, complex taste that you just can’t get from quick-rise breads!
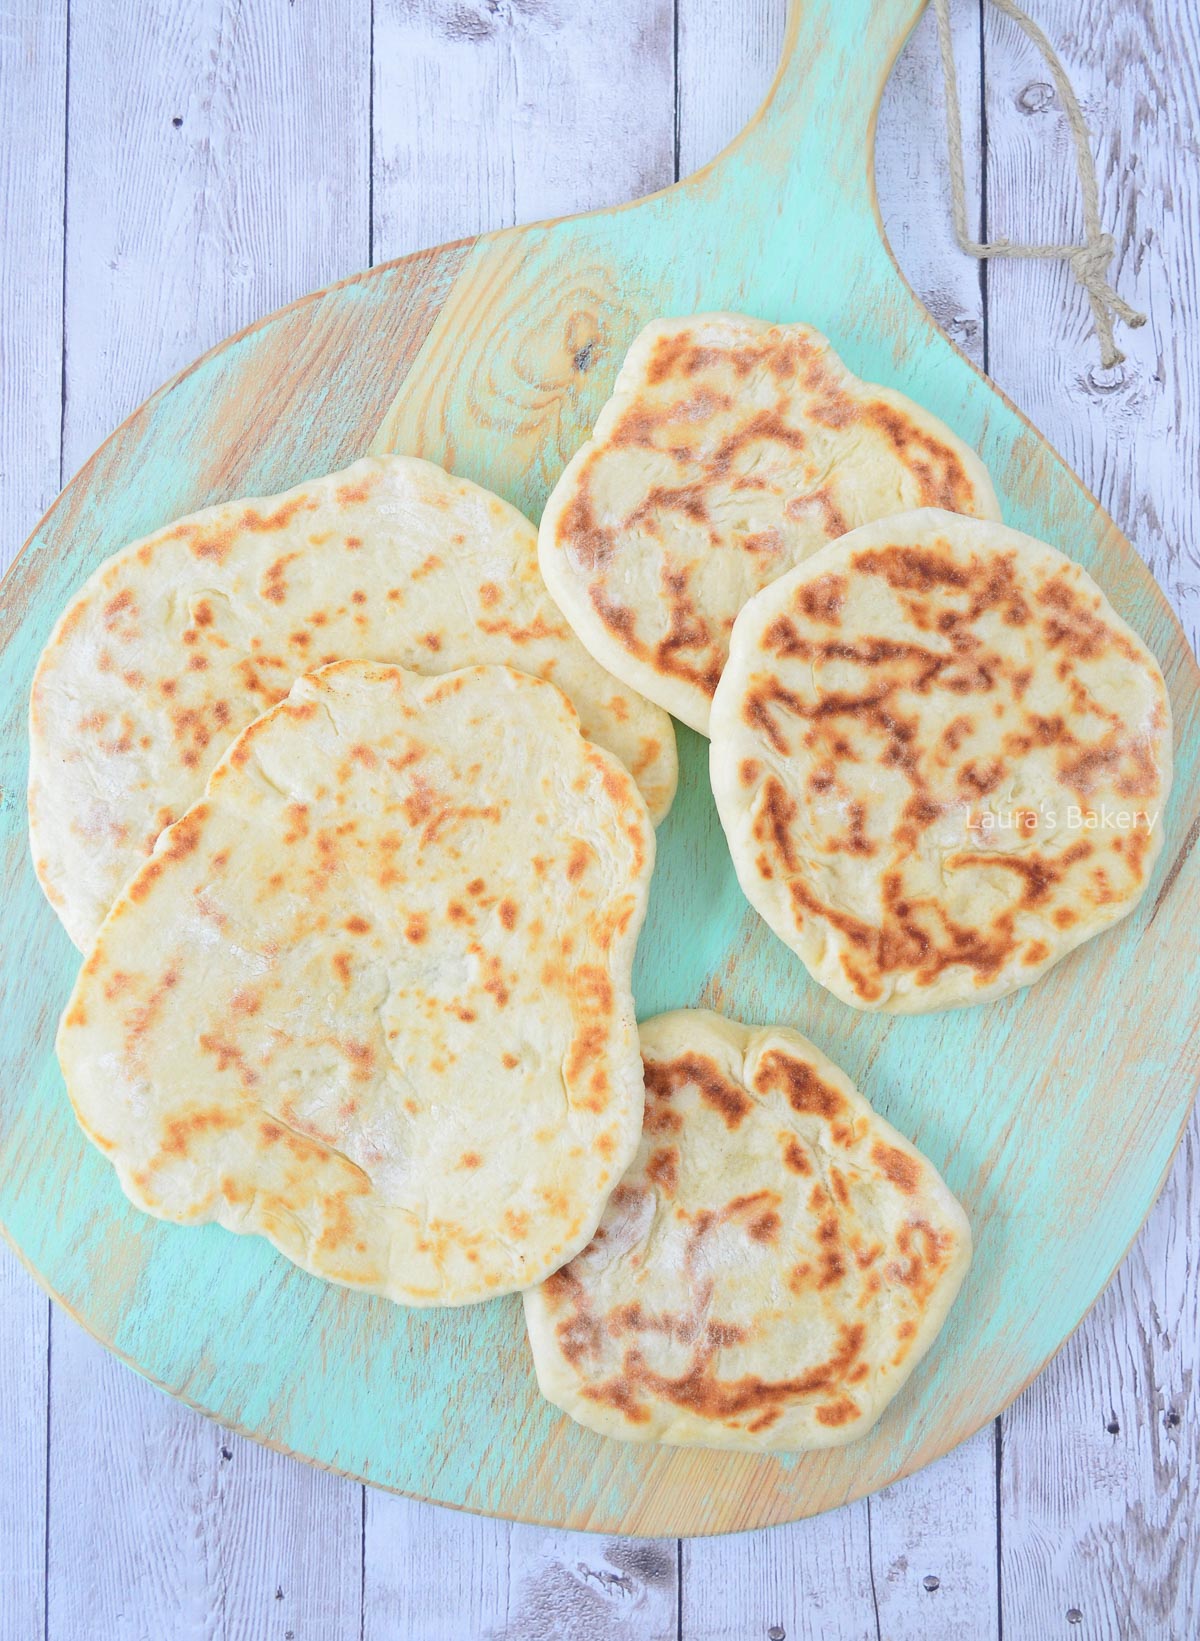
Homemade Greek pita bread is softer, more flavorful, and infinitely better than anything you’ll find in a supermarket bag! With just a little planning ahead, you can enjoy warm, pillowy pitas that are perfect for scooping up dips or wrapping around your favorite fillings.

It can be easy to reach for packaged pita bread without a second thought, but once you discover how incredibly simple it is to make them from scratch, you’ll never looked back! Here’s why homemade pita bread wins every time:
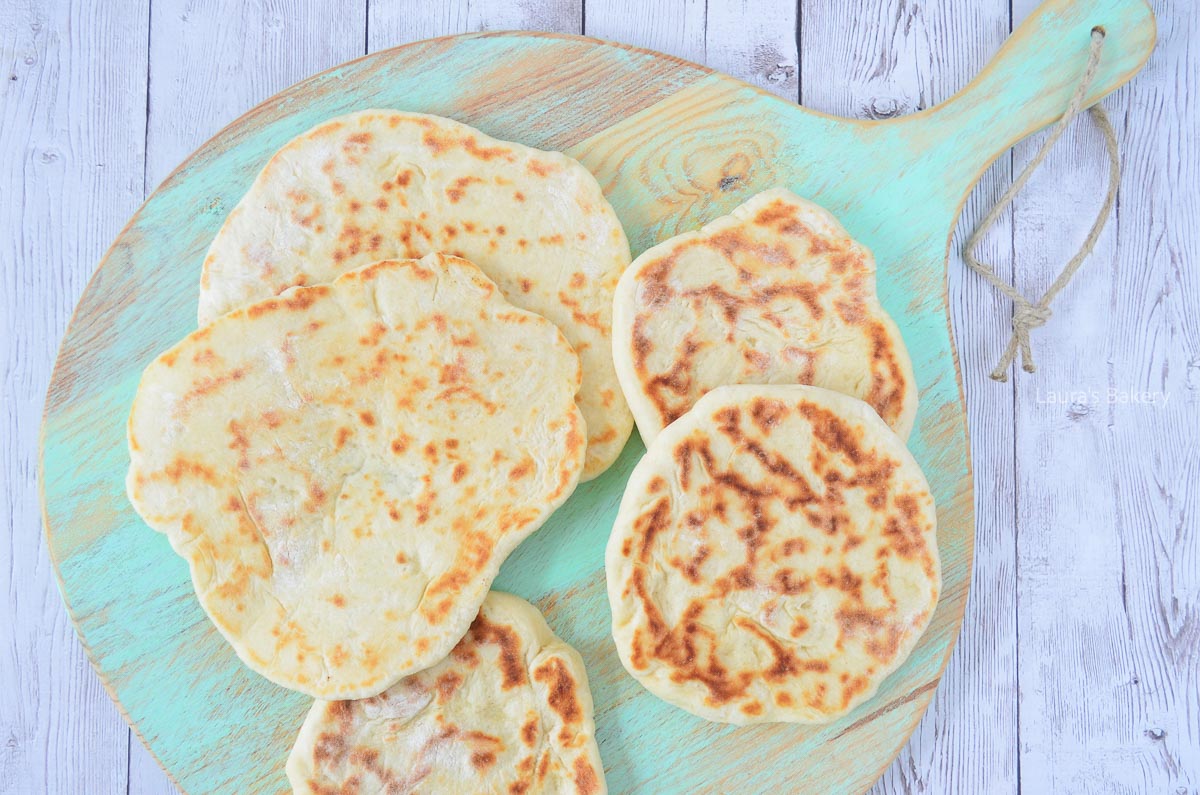
This Greek pita bread recipe uses simple pantry staples to create something truly special. Be sure to check out the full details in the recipe card below for best results.
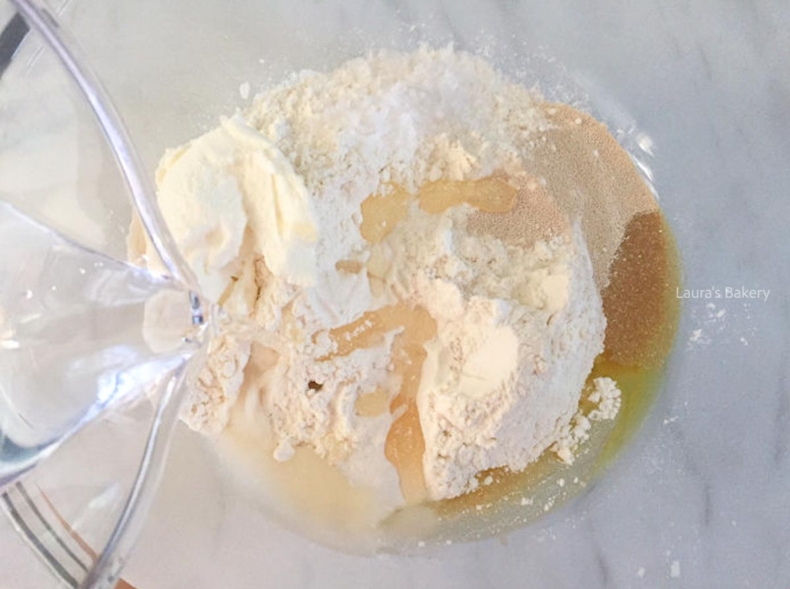
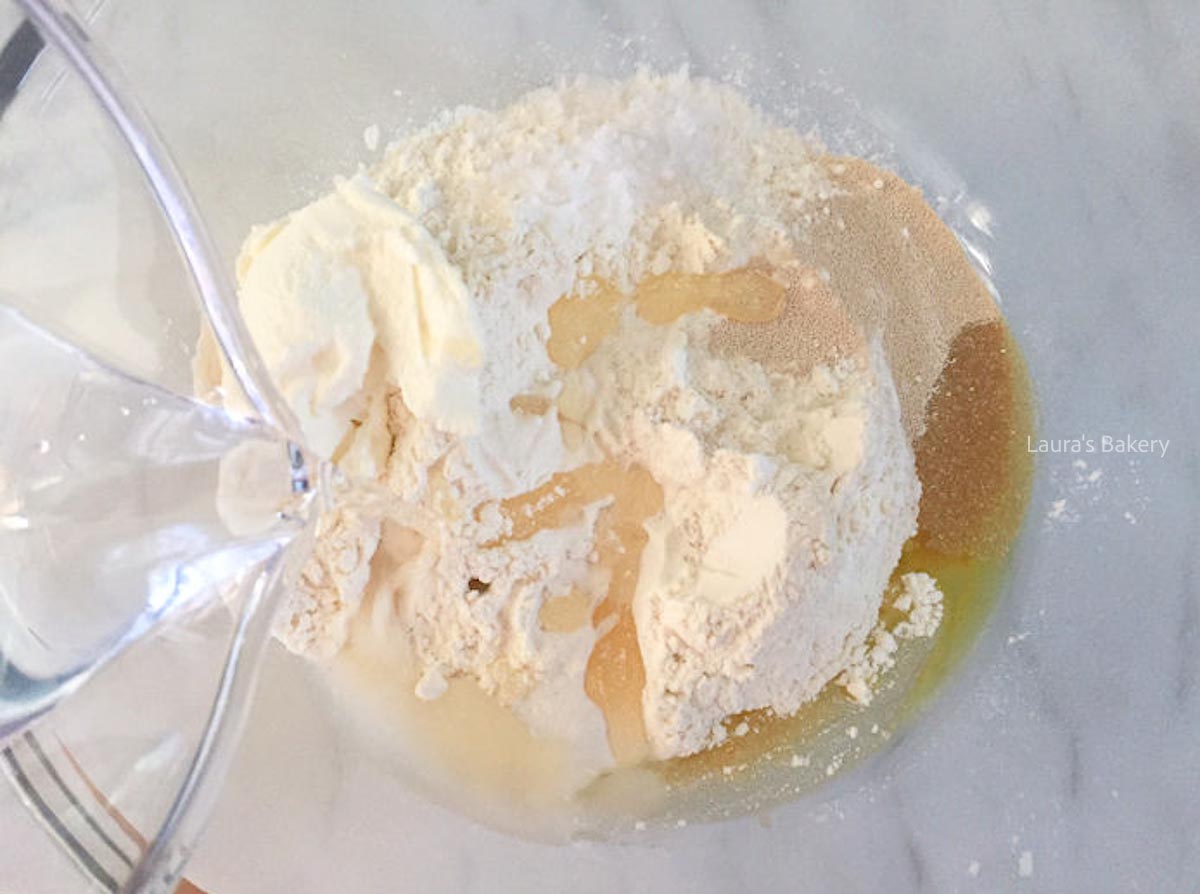
Add half the flour with salt, yeast, oil, yogurt, honey, and warm water to a large mixing bowl.
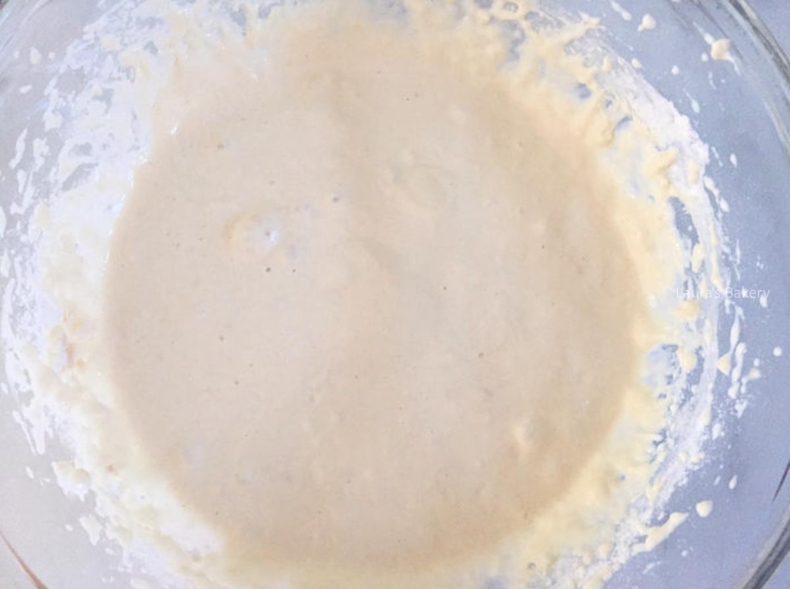
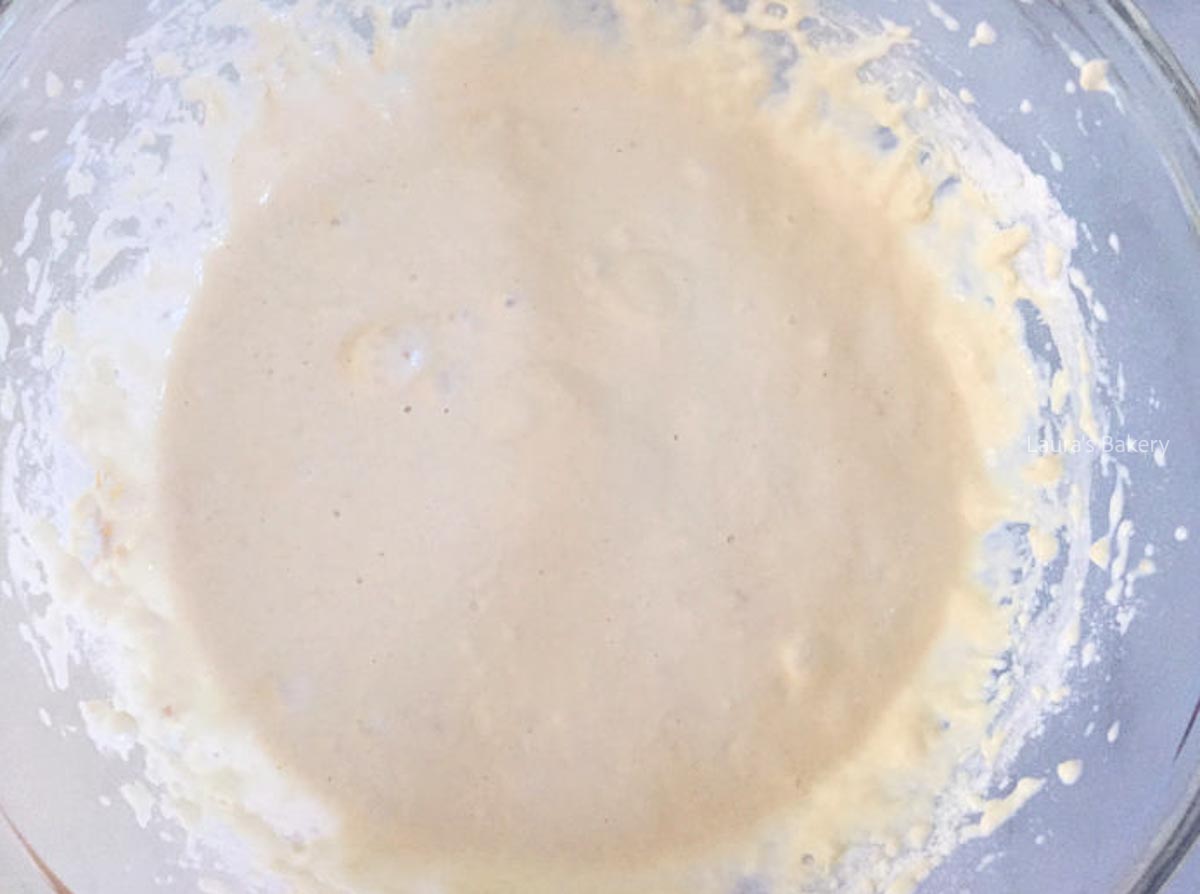
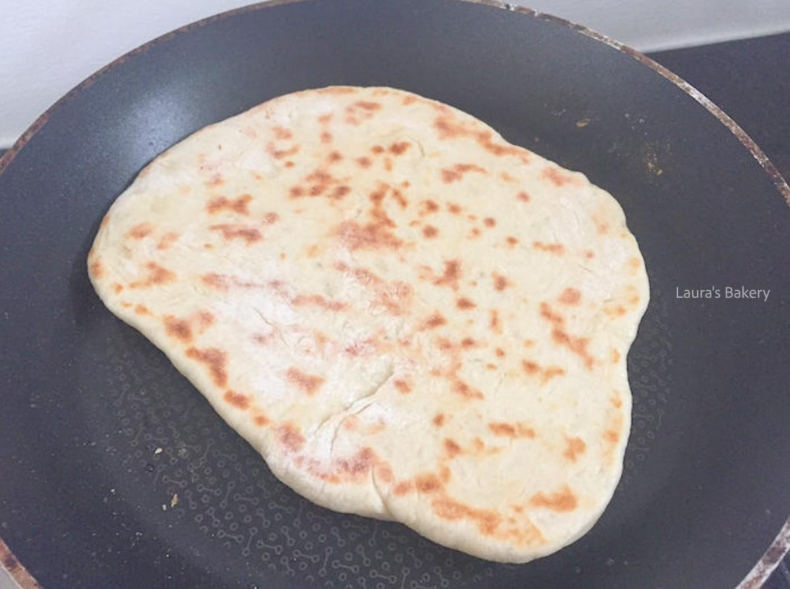
Mix until smooth. Cover with plastic wrap and let it rise in the fridge for at least 12 hours.
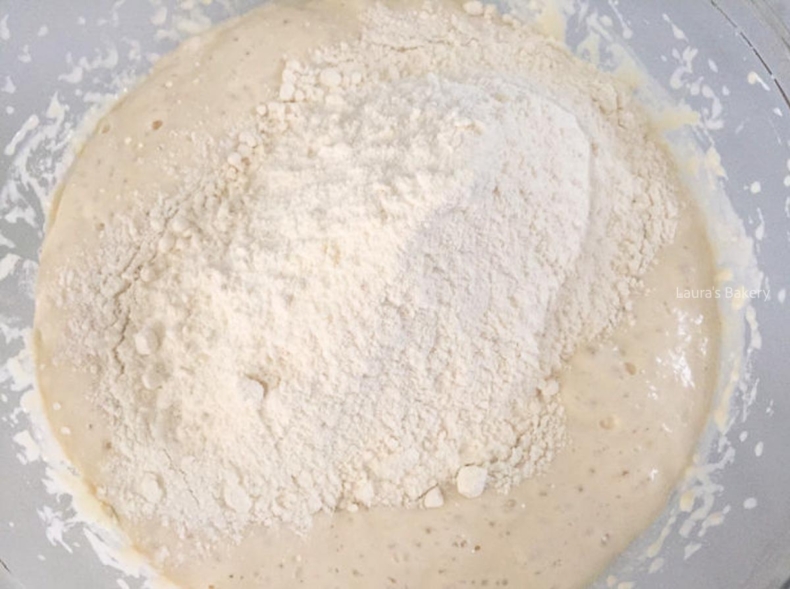
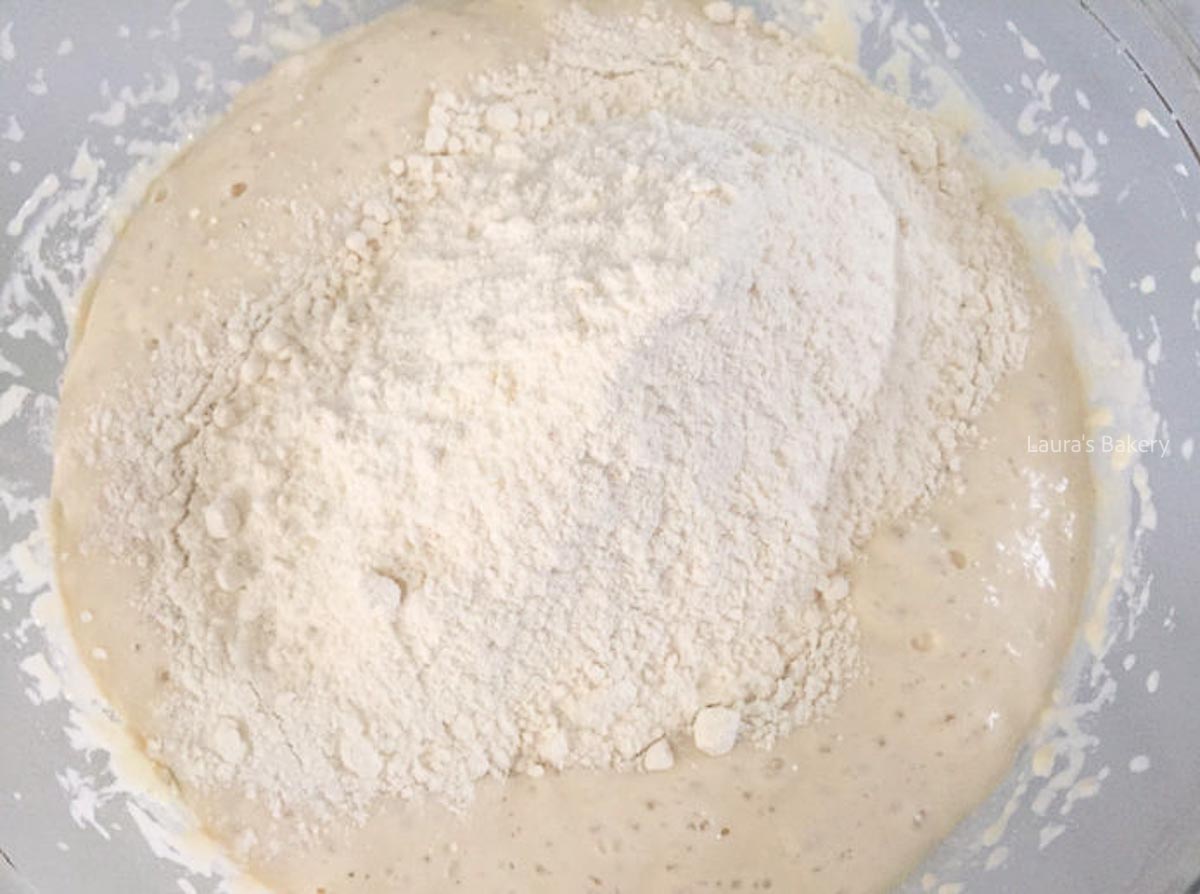
Add the remaining 300 grams / 10.58 o.z. of flour to the bowl. Knead to form a smooth dough.
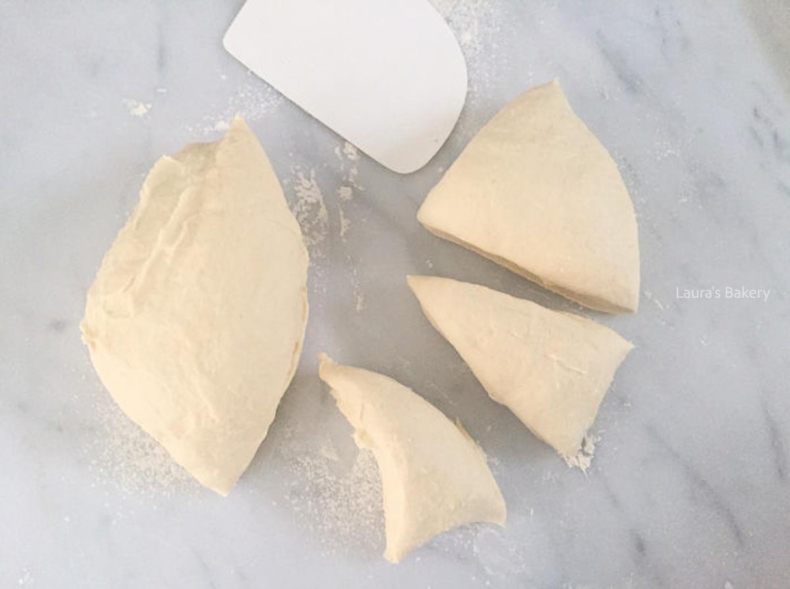
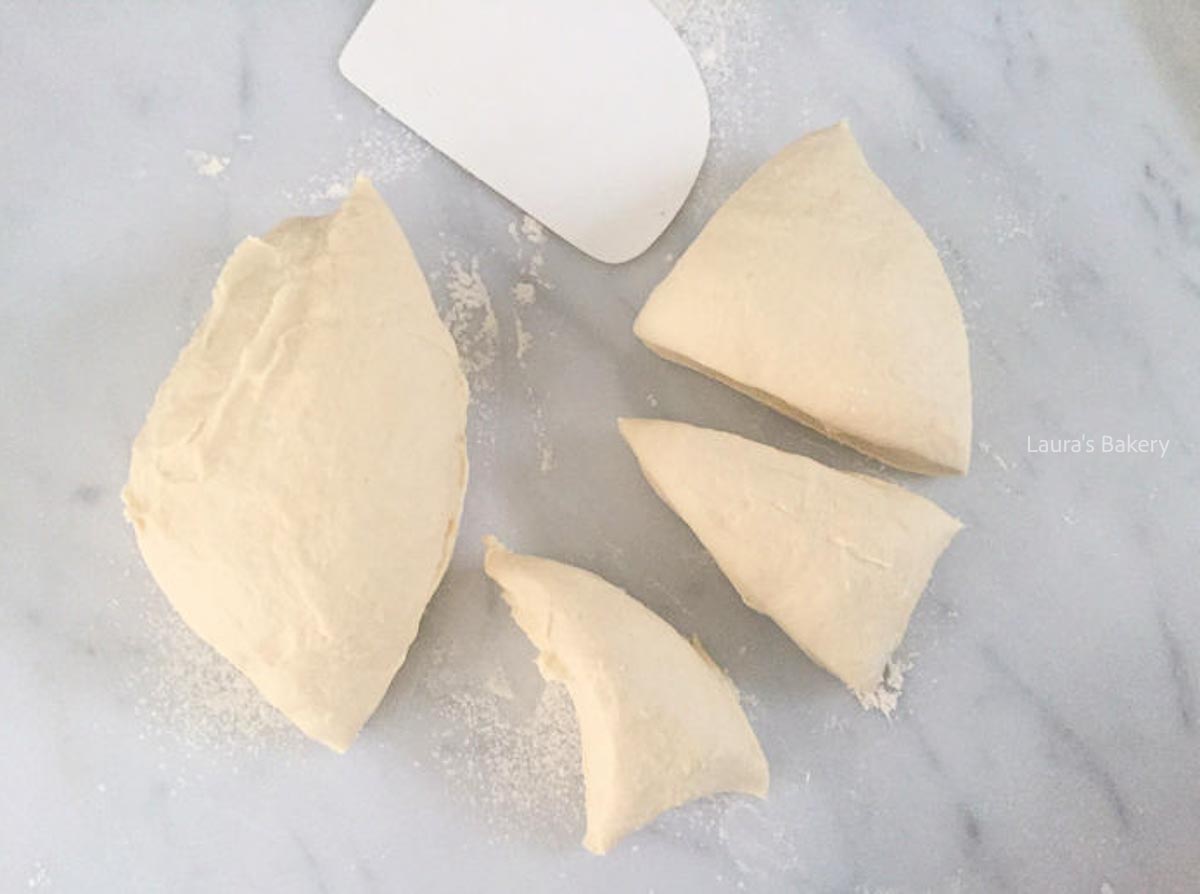
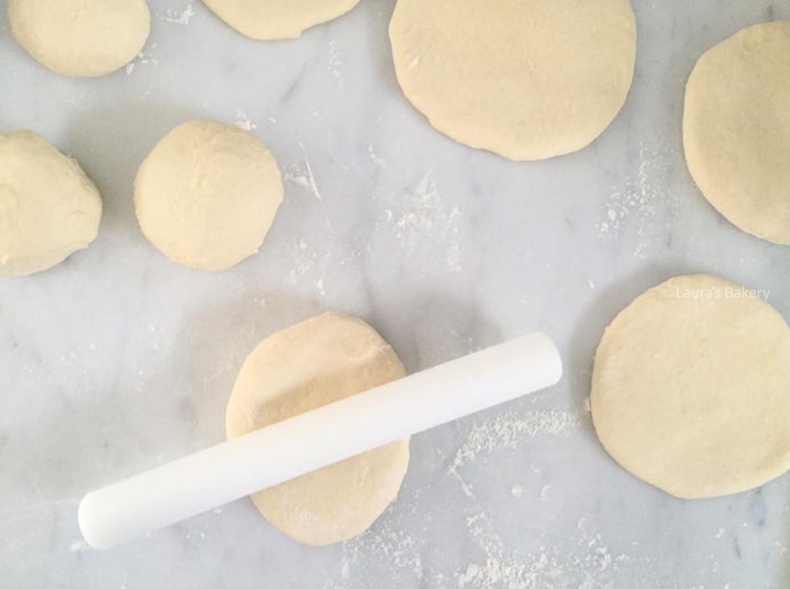
Divide the dough into 8 equal pieces and shape each into a smooth ball.
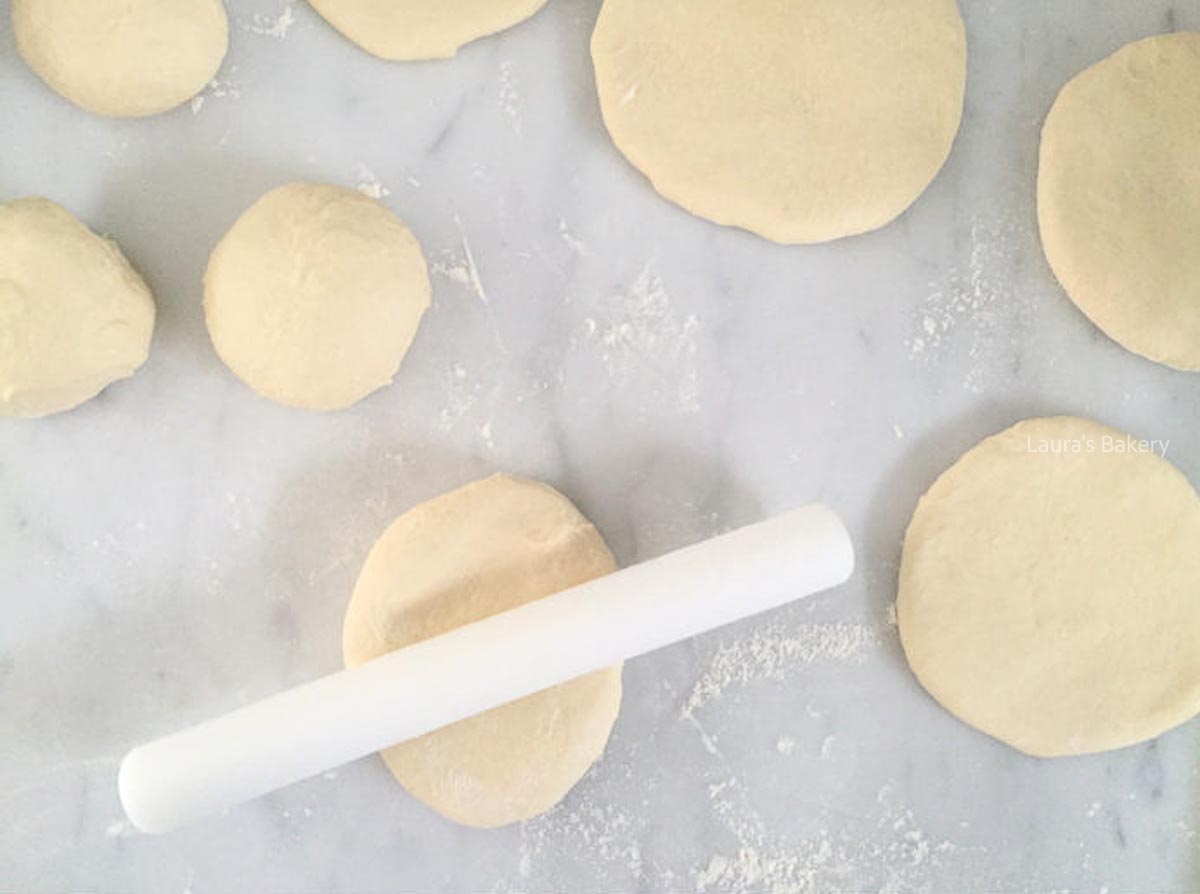
COOKING TIP: If you prefer larger, thinner pitas that are easy to fold into wraps, gently press each dough ball flatter before rolling. For thicker pitas that are perfect for slicing open and stuffing, roll them to about ½ inch/ 12 mm thickness instead.
These Greek pitas are incredibly versatile. Here are some top ways to enjoy them:
These homemade pitas are best enjoyed fresh, but they store beautifully for later use.
At room temperature: Store in an airtight container or sealed bag for 1-2 days. They’ll stay soft, though they won’t be quite as pillowy as fresh.
In the refrigerator: Keep them in a sealed bag for up to 5 days. Reheat in a dry skillet or toaster before serving.
Absolutely! Once completely cool, stack the pitas with parchment paper between each one to prevent sticking. Place the stack in a freezer-safe bag and freeze for up to 3 months. To serve, reheat directly from frozen in a dry skillet or the oven.
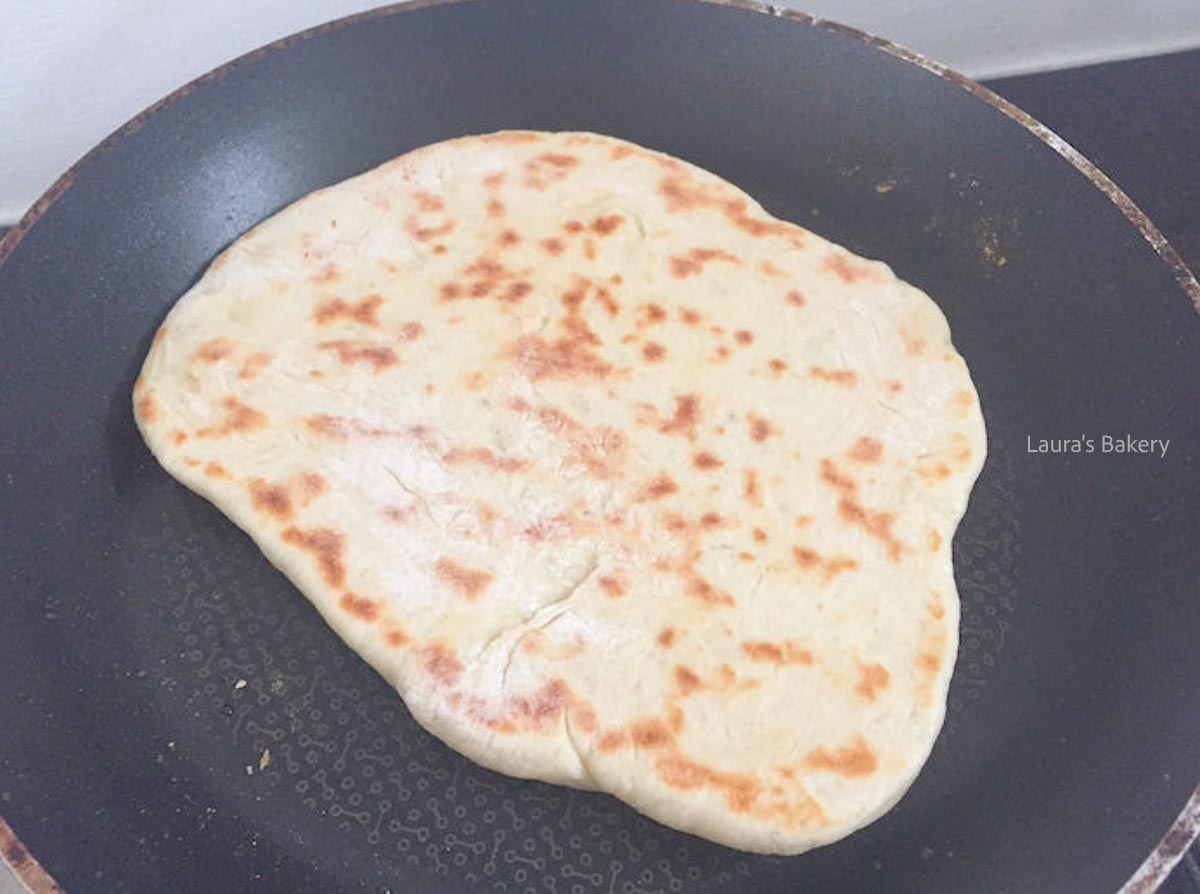
For the best results, warm the pitas in a dry skillet over medium heat for 30-60 seconds per side, or wrap them in foil and heat at 350°F/180°C (conventional oven) for 5-8 minutes. You can also pop them in the toaster for a quick warm-up!
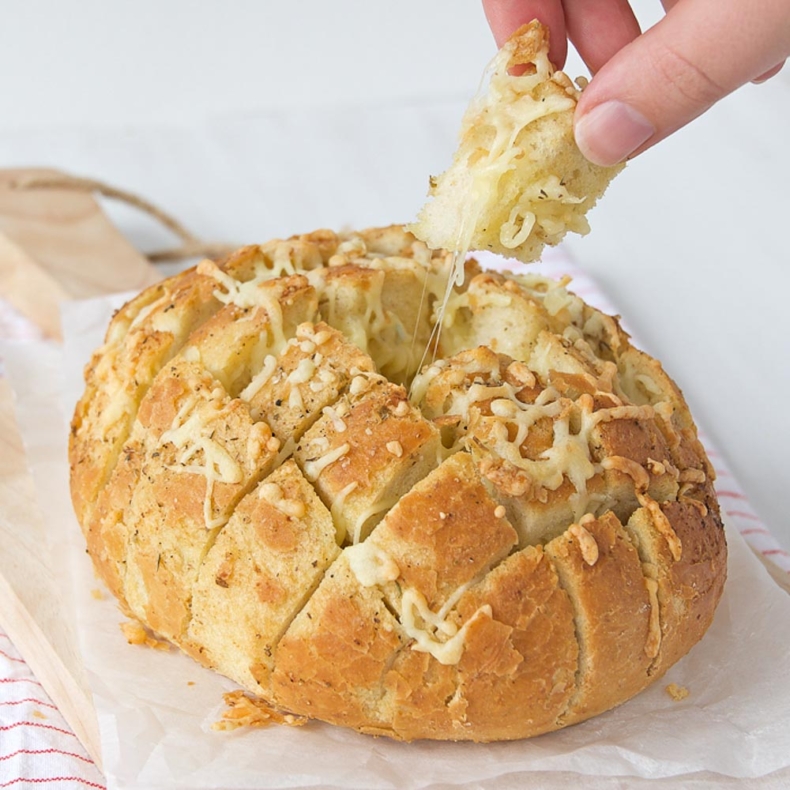
If you enjoyed making these pitas, you might also love:
The long, slow fermentation in the refrigerator develops deep flavor and improves the texture of the pitas. It’s the secret to that authentic, complex taste that you just can’t get from quick-rise breads!
Yes! A grill or grill pan adds beautiful char marks and a slightly smoky flavor. Cook over medium heat for about 1–2 minutes per side.
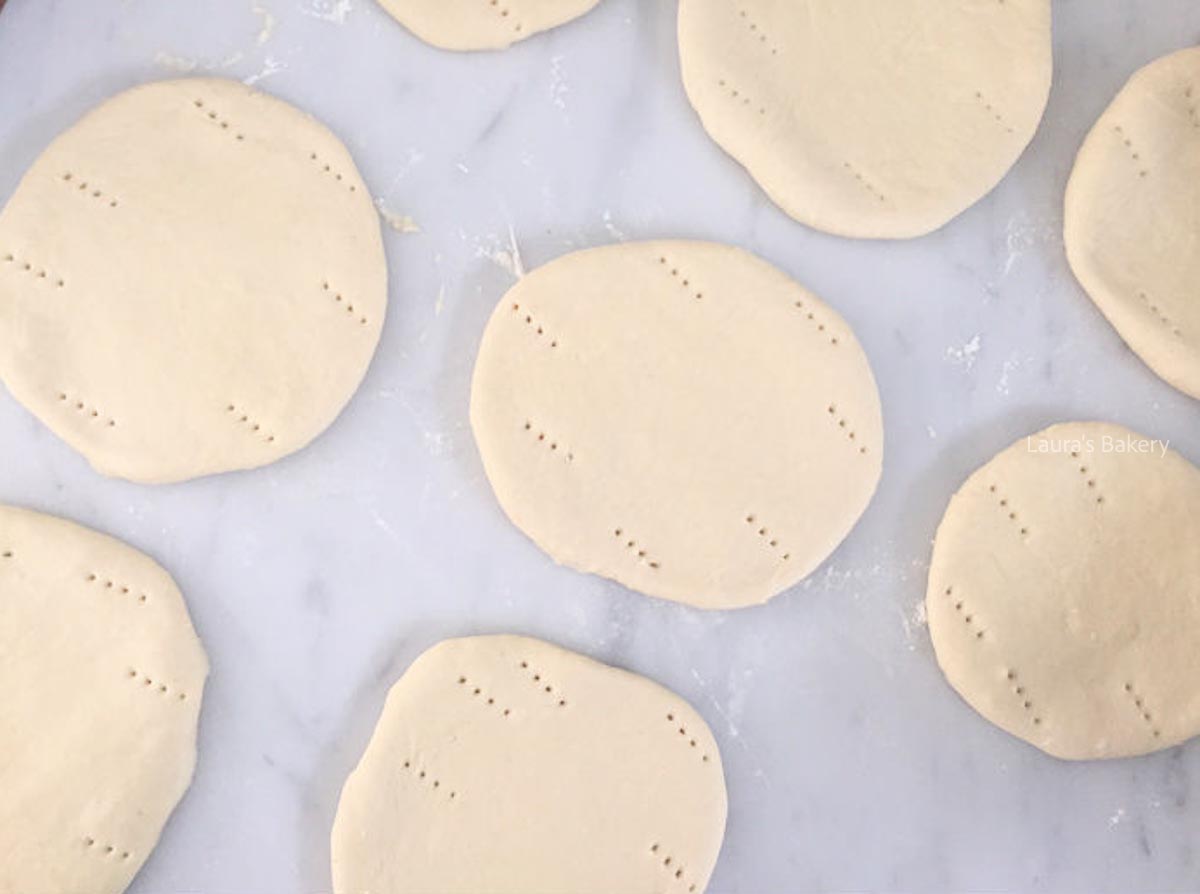
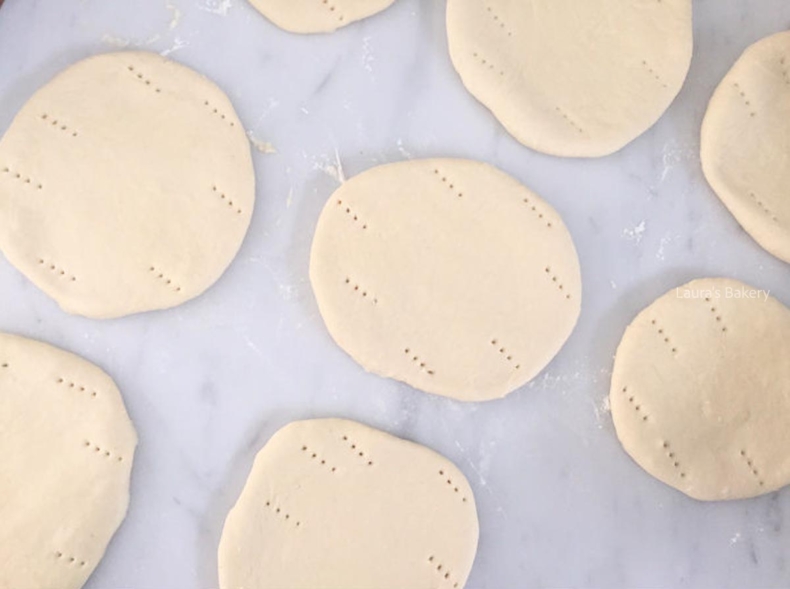
Don’t worry! Pitas may not puff if they’ve been over pricked with a fork (we prick to prevent over-puffing) or if they’ve been rolled too thin. They’ll still be delicious, just flatter. For maximum puff, stick to a few pricks and roll them to an even thickness.
I haven’t tried this myself, but I don’t see why you couldn’t substitute the honey with maple syrup or agave nectar, and use a plant-based yogurt alternative. The results will be slightly different, but I’m sure still tasty!
Let me know if you try this and how it turns out.
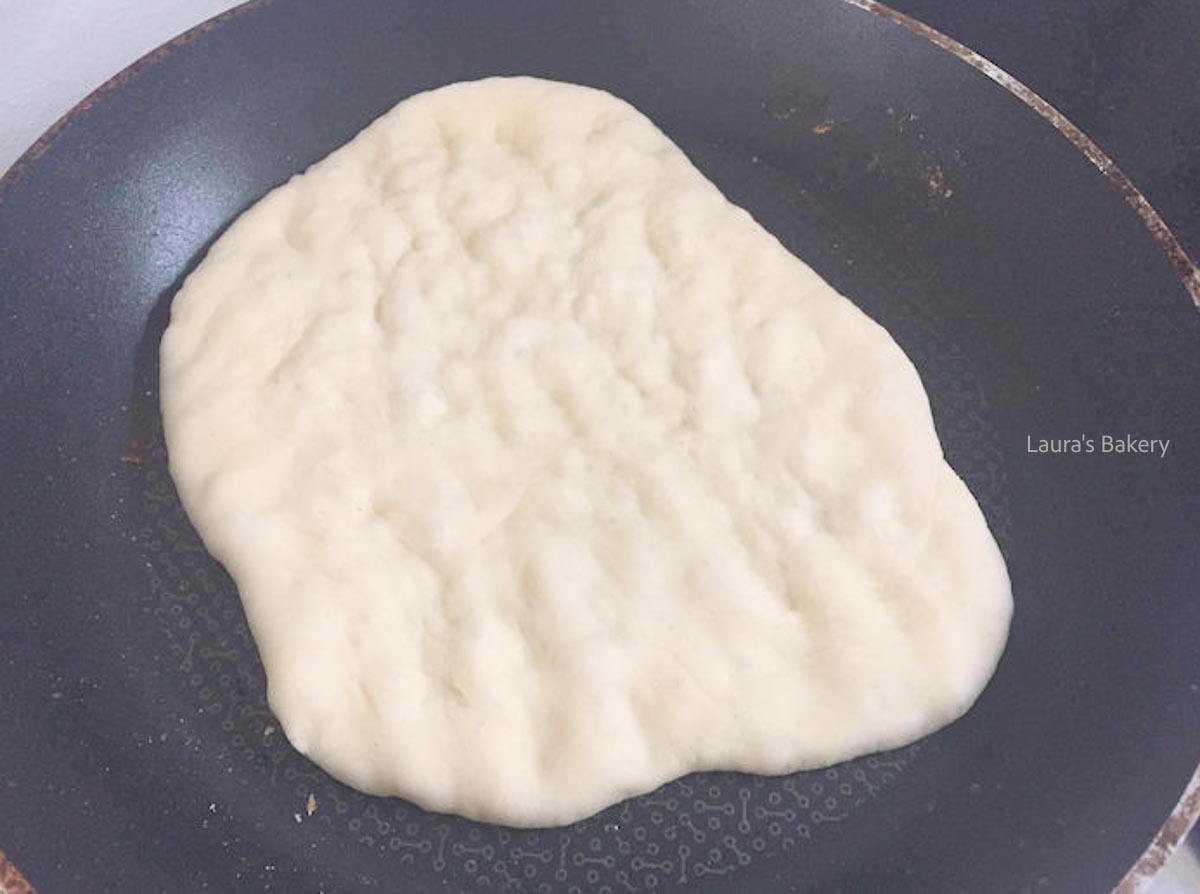
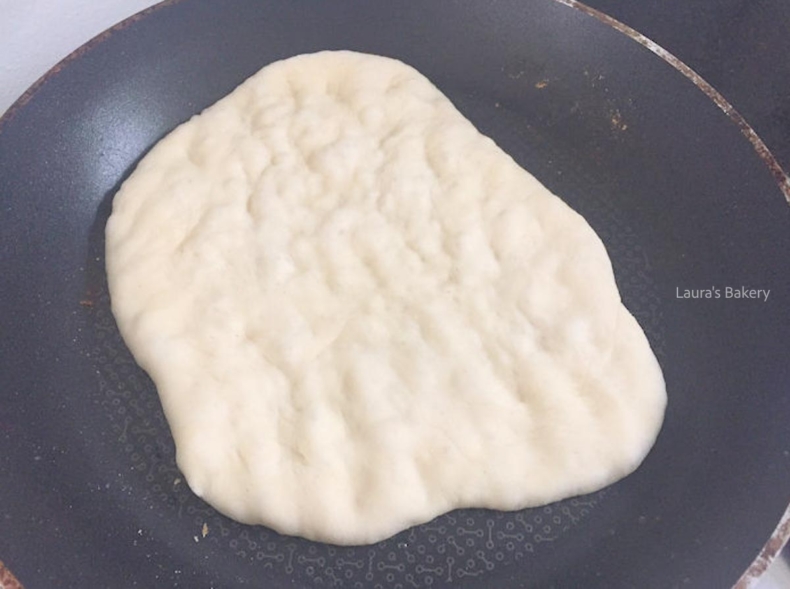
Over-kneading or using too much flour can make pitas tough. Knead just until the dough is smooth, and use a light hand when adding extra flour. Also, make sure not to overcook them. 2 minutes per side is usually perfect.
If you don’t have a stand mixer, turn the dough out onto a floured surface and knead by hand for about 8-10 minutes until smooth and elastic. Add a little extra flour if the dough feels too sticky.
Links in this article may be affiliate links. If you purchase something through such a link, I will receive a small commission, without you paying anything extra.

Welcome to Laura’s Bakery! You’ve come to the right place for the most delicious baked goods and appetizers. With my easy recipes for home bakers I will show you that baking is fun and delicious.
Have fun baking!