Can I replace the champagne with something else?
Yes, prosecco is a great alternative and gives a similar festive flavor. For a non-alcoholic version, use sparkling grape juice or a non-alcoholic sparkling wine.
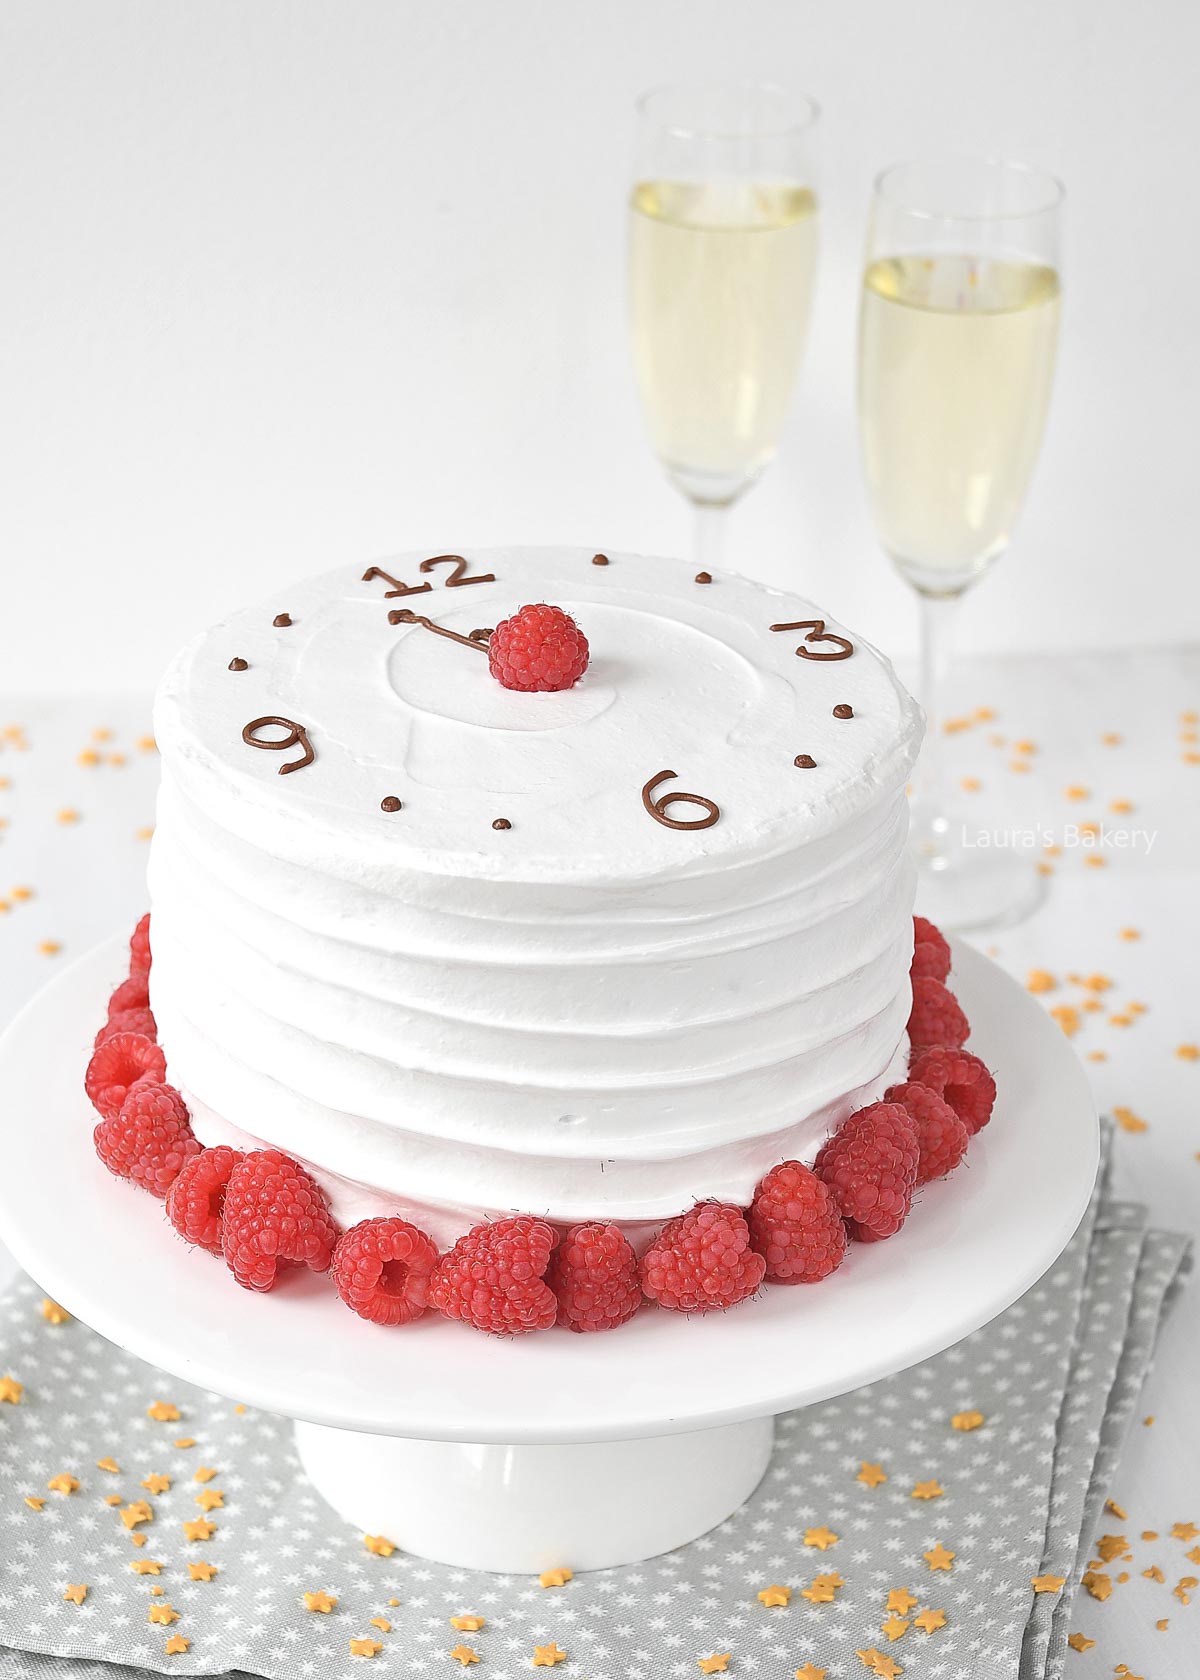
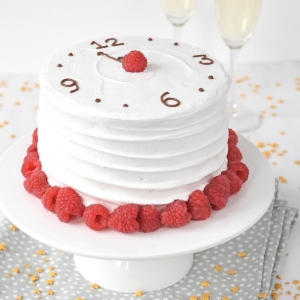
This is the very first time I’m sharing a New Year’s Eve cake on the blog. I felt like making something truly spectacular: this gorgeous New Year’s Champagne Cake! Yep, I made the cake with real champagne, if that’s not festive, I don’t know what is.
The cake is made with three layers of champagne-flavored sponge. Between the layers, you’ll find Italian meringue with raspberries, and the whole cake is frosted with that same meringue.
The flavors already pair perfectly with New Year’s Eve, but the decoration brings it all together beautifully. On top of the cake, I created a chocolate clock!

If you’re looking for a spectacular cake for special occasions, this is the cake for you. It’s a bit of work to make, but it’s guaranteed to be the perfect ending of the year and served with a glass of champagne it’s delicious!
As always you can find the full list of ingredients in the recipe card below. I’m highlighting a couple of special ingredients below.
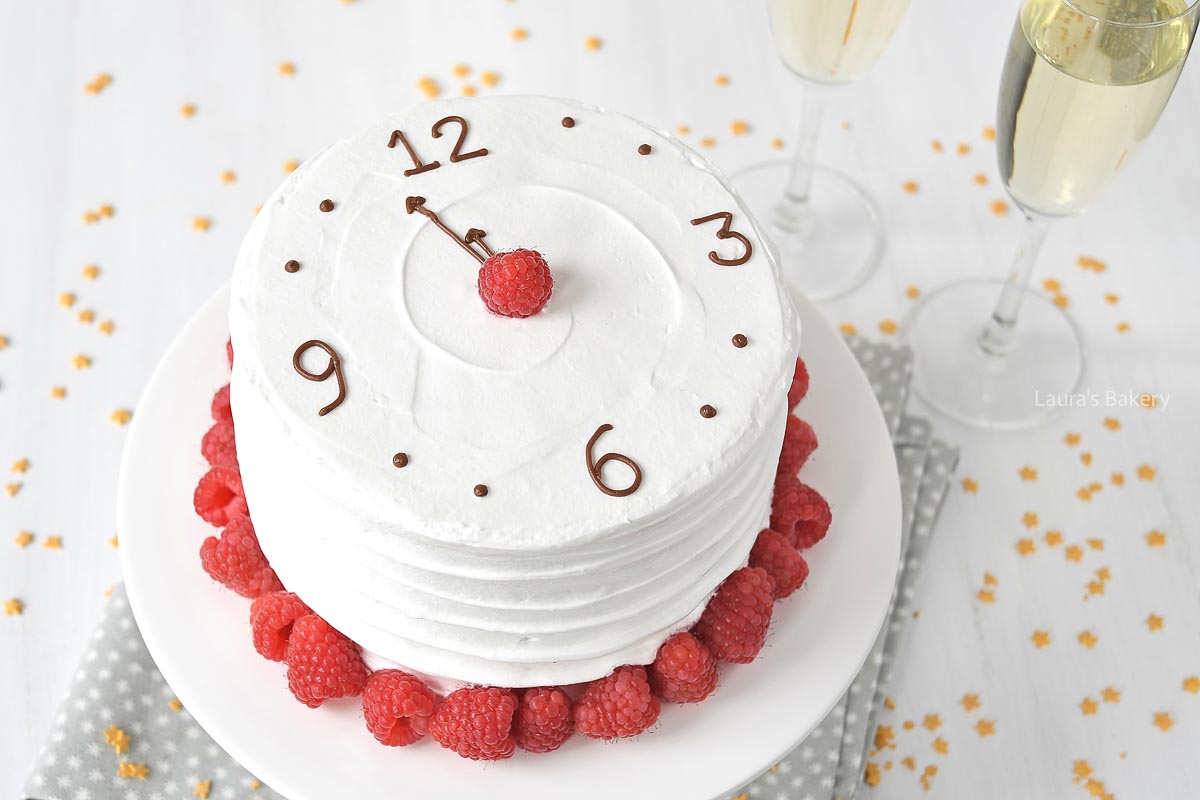
Making this New Years champagne cake is not difficult but there are a few steps to take into account. The good news is that you can prepare most of the cake in advance.
Start by making the cake layers. I use three cake pans for making this and divide the cake batter between the pans in equal measures. Let the baked cakes cool on a wire rack before moving on the next step.
Make the Italian meringue with egg whites according to the recipe.
The last step is to assemble the cake. It helps if you have a cake turntable for decorating the cake. Not an absolute must but it does make it easier.
You first start by adding the first cake layer on a plate or cake stand and spread a layer of meringue on top of the cake. Add some raspberries and gently press them into the meringue.
Now repeat this with the next layer and finish with the third layer. Make sure that the third layer has the flat side of the cake on top. You do not add the raspberries to the top layer.
Add the meringue to the outside of the cake. Start with a thin layer first and add a second thicker layer after that. I used a decorative swirl on the sides which is optional but does make it look prettier.
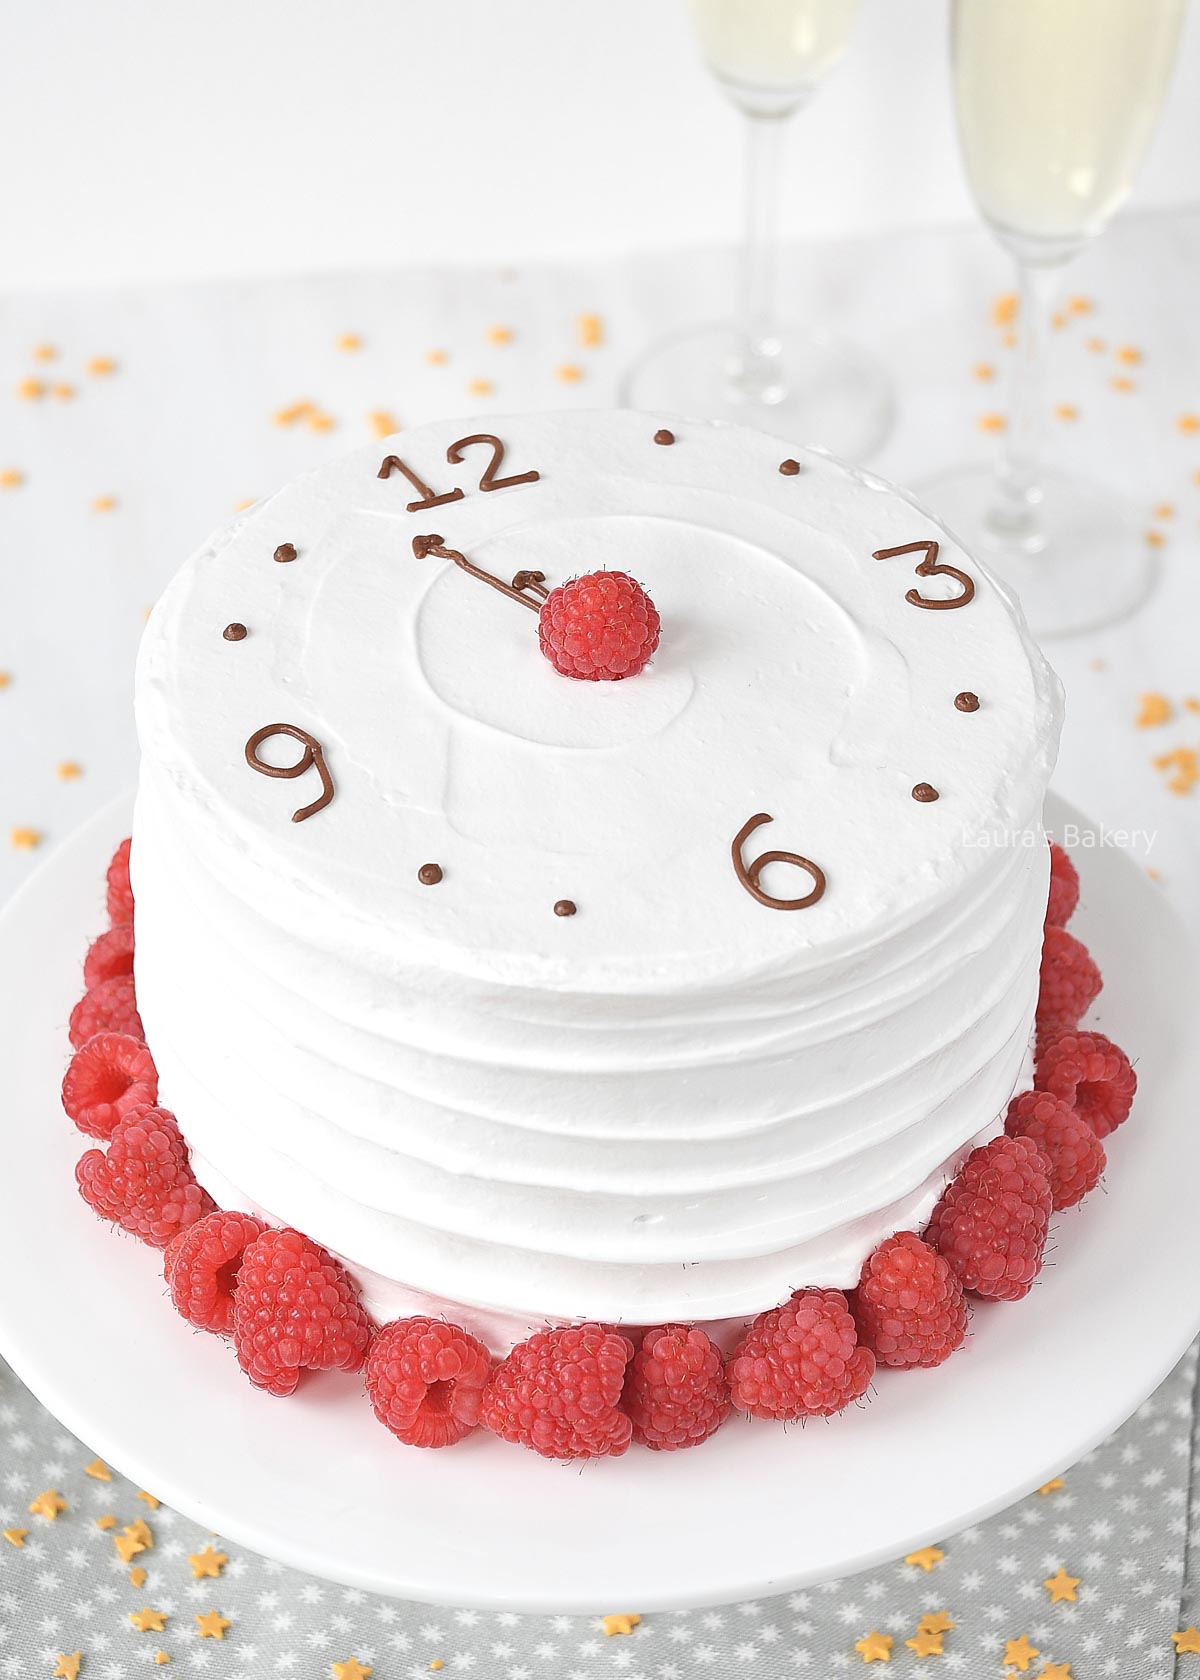
Time to add the clock numbers! Finish with the fresh raspberries and that’s your Champagne Cake done.
You can prepare part of the cake in advance. The cake layers can be baked a few days earlier and wrapped in plastic wrap and kept outside of the fridge.
The Italian meringue is best made fresh as it doesn’t keep all that well.
The finished cake is best eaten right away but if you need to store it, make sure to cover it and keep outside of the fridge. Preferably not more than a few hours before serving or at most one day in advance, that way the cake is the prettiest.
Leftover pieces can be stored for 1-2 days.
You can freeze the cake layers, properly wrapped, once you’ve baked them. Defrost them before assembling. I would not recommend to freeze the decorated cake, that does not work well with the Italian meringue.
Yes, prosecco is a great alternative and gives a similar festive flavor. For a non-alcoholic version, use sparkling grape juice or a non-alcoholic sparkling wine.
Most of the alcohol bakes off in the oven, but very small traces may remain. If you want it completely alcohol-free, use a non-alcoholic sparkling option.
Absolutely. Bake the layers up to 2-3 days ahead and wrap them tightly in plastic wrap. Store at room temperature until you assemble the cake.
Yes. Freeze the unfilled cake layers for up to 3 months. Wrap them well and thaw at room temperature before using.
You can, but the texture and flavor will be different. If you prefer something more stable, use a Swiss meringue buttercream or a light whipped cream frosting.
You can, but fresh raspberries work best because they won’t release extra moisture. Frozen raspberries tend to bleed into the meringue.
Are you looking for more delicious recipes that are perfect for New Year? Check the below recipes as well, these are real Dutch classics for New Years Eve.
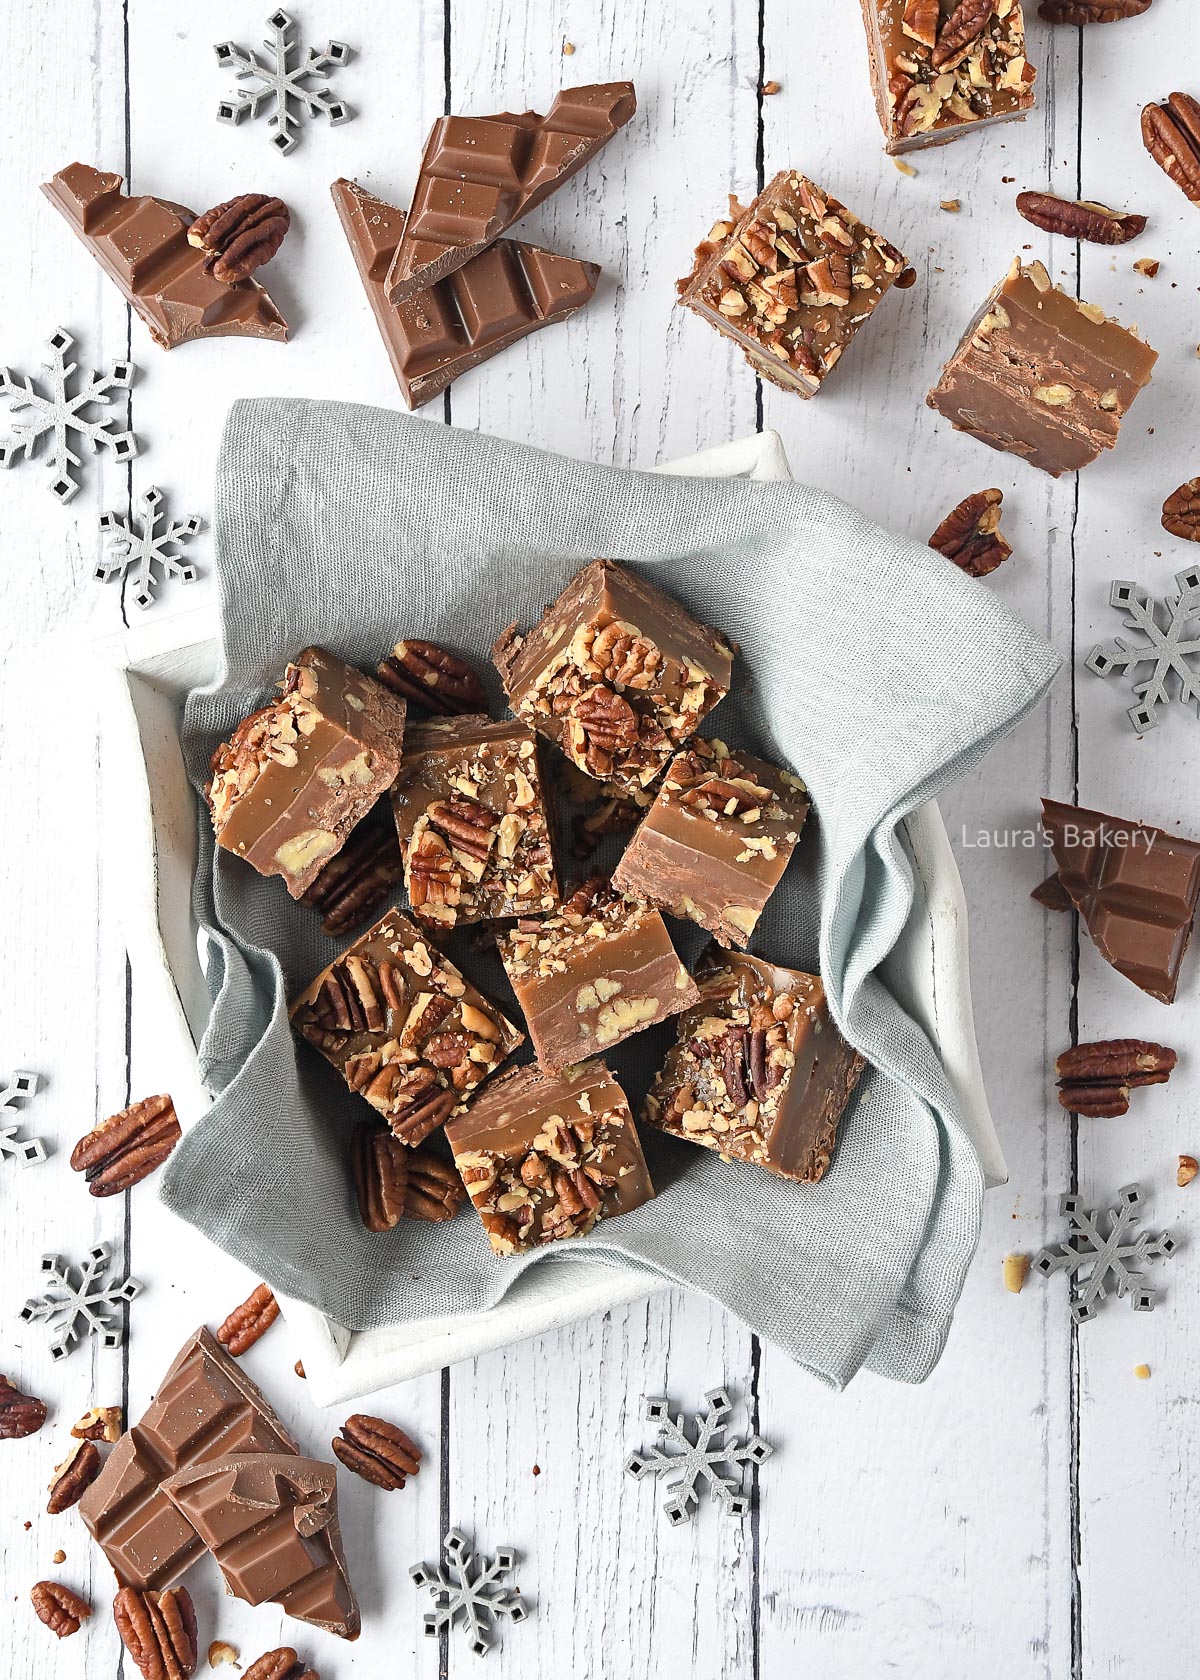
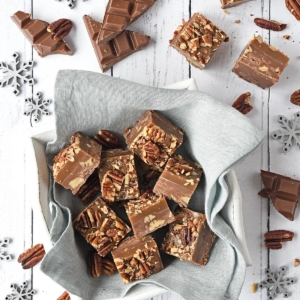
This caramel pecan chocolate fudge is the perfect holiday treat. You can serve the fudge during your Christmas party or you can turn it into cute little gifts for your loved ones and friends. It’s easy to make and pretty irresistible too!
After I made this caramel chocolate fudge recipe, I kept sneaking back into the kitchen. It was just too good, and it kept calling me back. If you want to surprise someone with a homemade gift this Christmas, then this recipe is the perfect present for anyone with a sweet tooth!
This caramel pecan chocolate fudge consists of two layers. A chocolate fudge layer and a caramel layer. You will need the following ingredients for making it:
Making the fudge is pretty simple and quick. You will just need time for the different layers to set. Keep that in mind when you’re going to make this fudge recipe.
Start by lining a baking pan or dish of about 16 × 24 cm (6 × 9½ inches) with parchment paper.
First place the chocolate and condensed milk into a small saucepan. Melt the two together until smooth.
Add the vanilla and the chopped pecans. Stir this quickly to combine and pour into the baking dish. Smooth the top with a spatula and place in the fridge until set completely.
Once the first layer is set you can start on your caramel layer. For the caramel you add all the ingredients to a saucepan. Place on low heat and stir until everything is melted together.
Now increase the heat a little bit and let it cook. Keep in mind that it will become thicker the longer it cooks. As it cools down the caramel will firm up even more so don’t let it sit on the stove for too long.
Add the caramel layer on top of the chocolate layer and spread it evenly. Sprinkle the pecans on top and gently press them in with a spatula.
Don’t use your hands as the caramel is extremely hot! Now let it chill again for a couple of hours and preferably overnight. Cut it into small squares for serving.
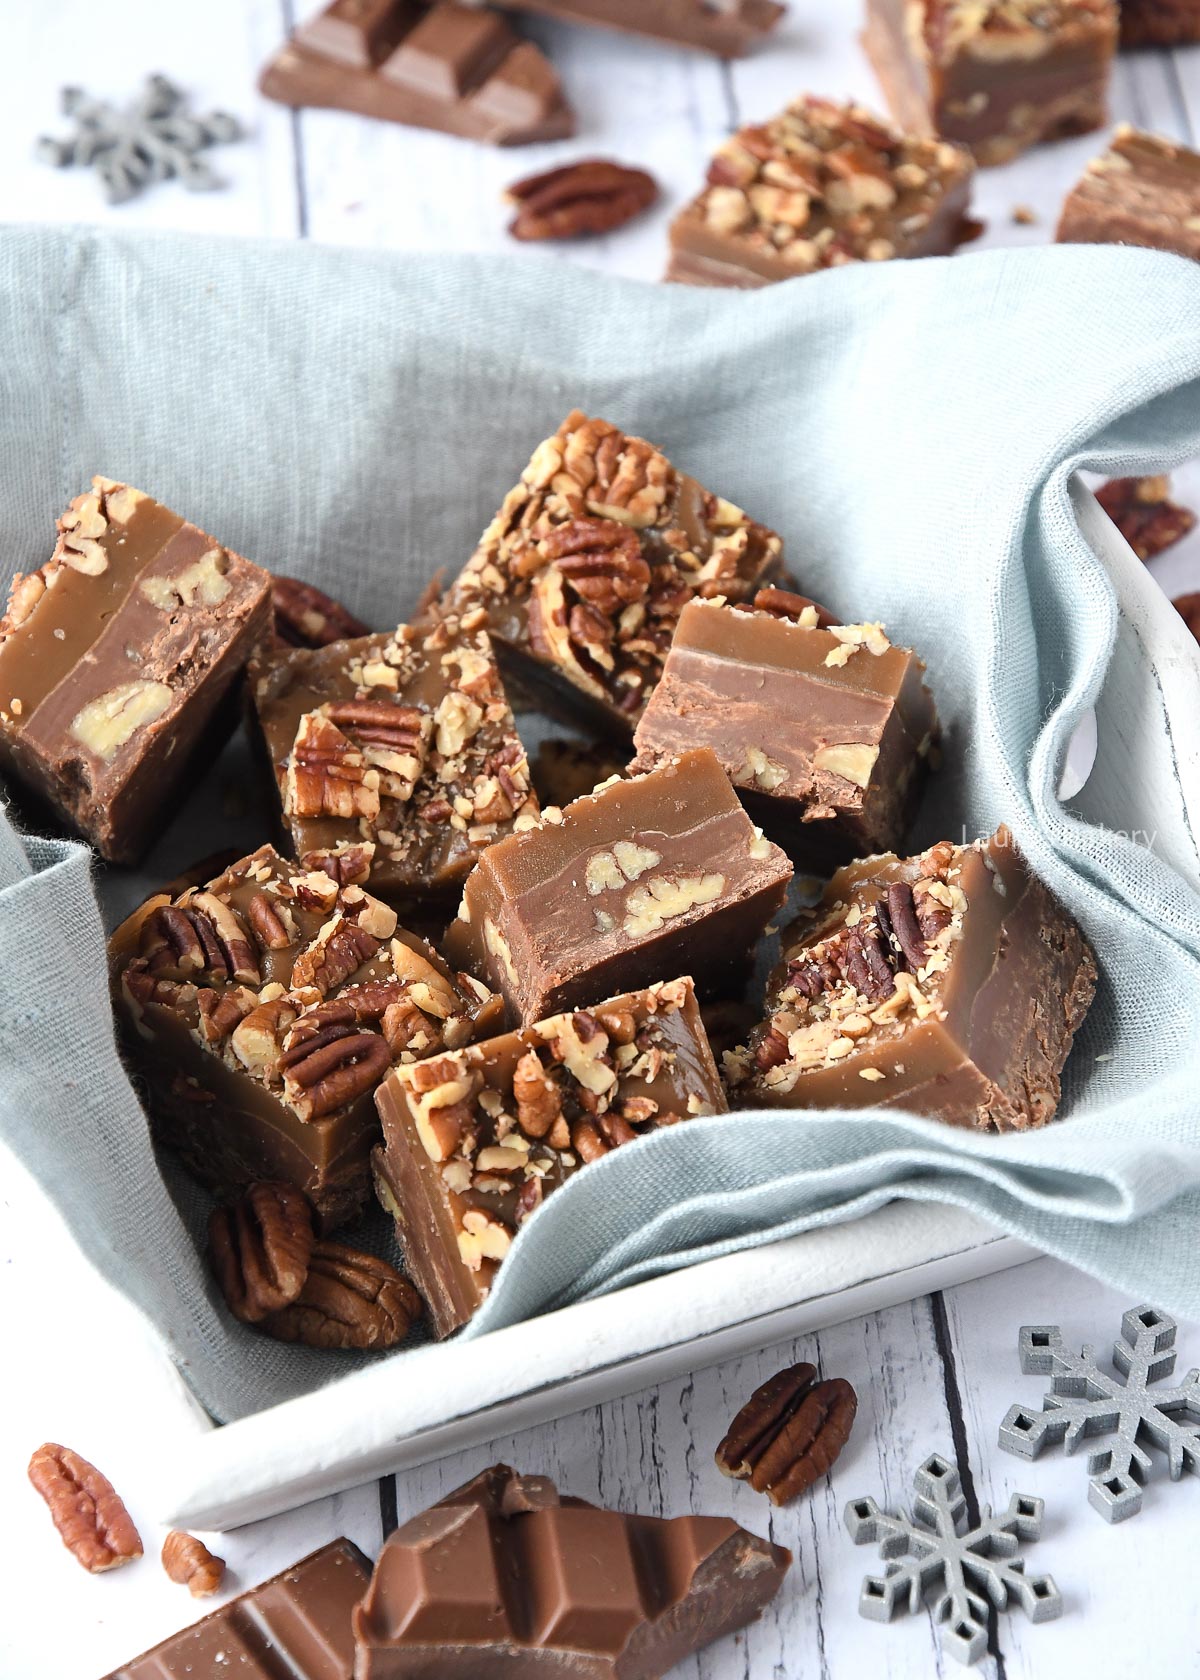
You can store the fudge in an airtight container for up to three weeks on room temperature.
The fudge also freezes well. In that case wrap it properly and freeze for up to 2-3 months. Make sure to thaw it slowly in the refrigerator.
If you love chocolate just as much as me, I think you will like these recipes too:
Of course you can also find other flavored fudge recipes too!
Yes, absolutely. Dark chocolate works very well in this recipe and balances the sweetness of the caramel nicely. You can also use a mix of milk and dark chocolate if you prefer.
The caramel is ready when it has thickened but is still pourable. Keep in mind it will firm up more as it cools, so remove it from the heat slightly before it reaches your desired thickness.
No, a thermometer isn’t necessary. Just cook the caramel over low to medium heat, stirring regularly, and watch the consistency closely.
Definitely. Walnuts, hazelnuts, or almonds also work well in this recipe, though the flavor will be slightly different.
The fudge may need more chilling time. Let it set longer in the refrigerator (preferably overnight) and make sure the caramel wasn’t undercooked.
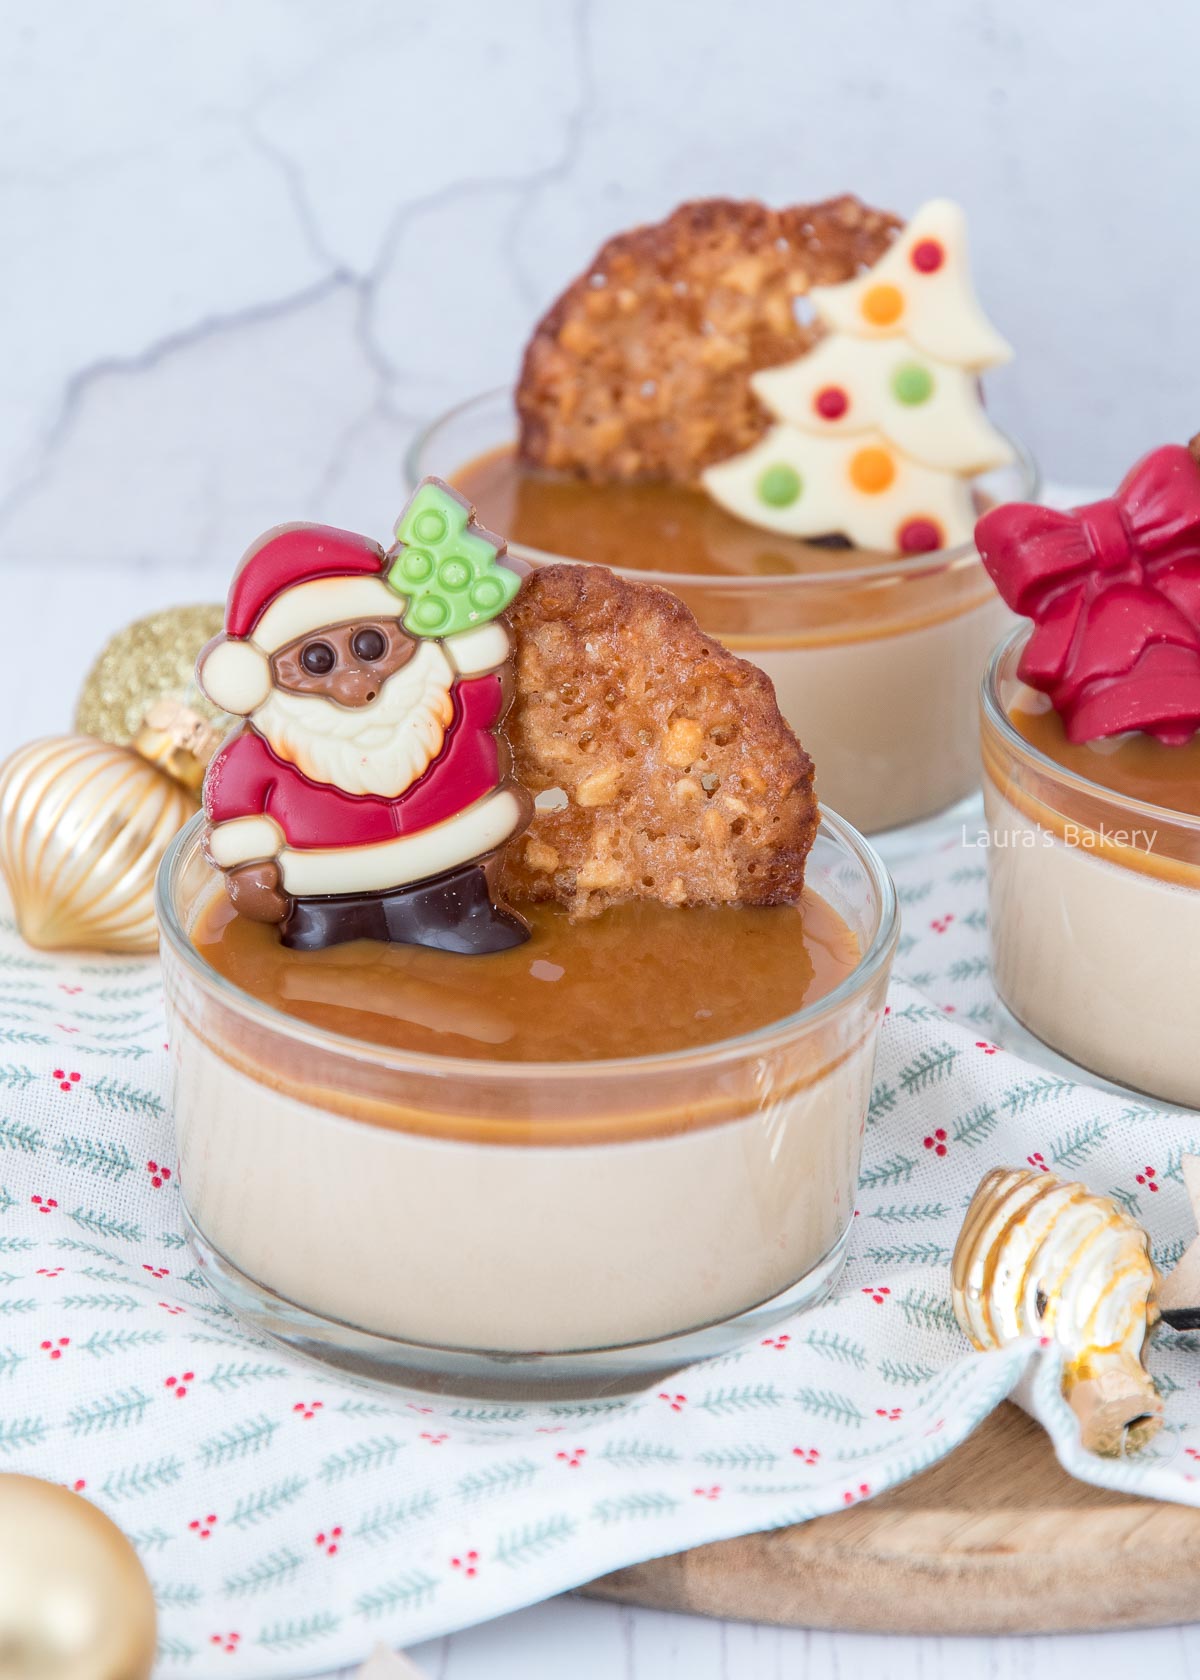
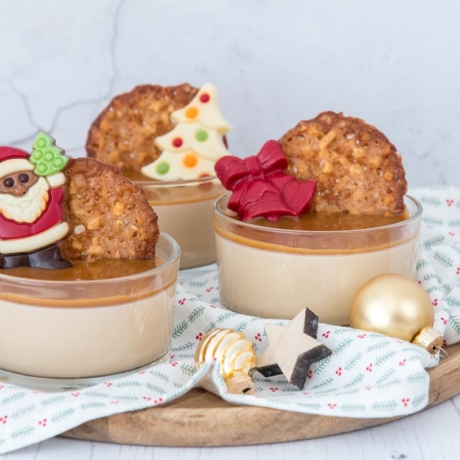
This dessert is the perfect ending to a Christmas dinner: coffee caramel panna cotta. Ideal for anyone who can’t decide between coffee or dessert.
This coffee caramel panna cotta was an instant hit here. And it’s a huge bonus that it is the perfect dessert to prepare in advance.
The only thing you need to add at the last minute is a decorative and festive Christmas chocolate and the cookie. Creamy and delicious and easy to make! Looking for another easy dessert in a glass? Try this Eton Mess.
Make sure to double check the exact quantities and ingredients in the recipe card below.
I love serving desserts in a glass, it’s festive, easy to prepare and serve and perfect to have individual portions. Here are a few of my favorites (or check all desserts here):
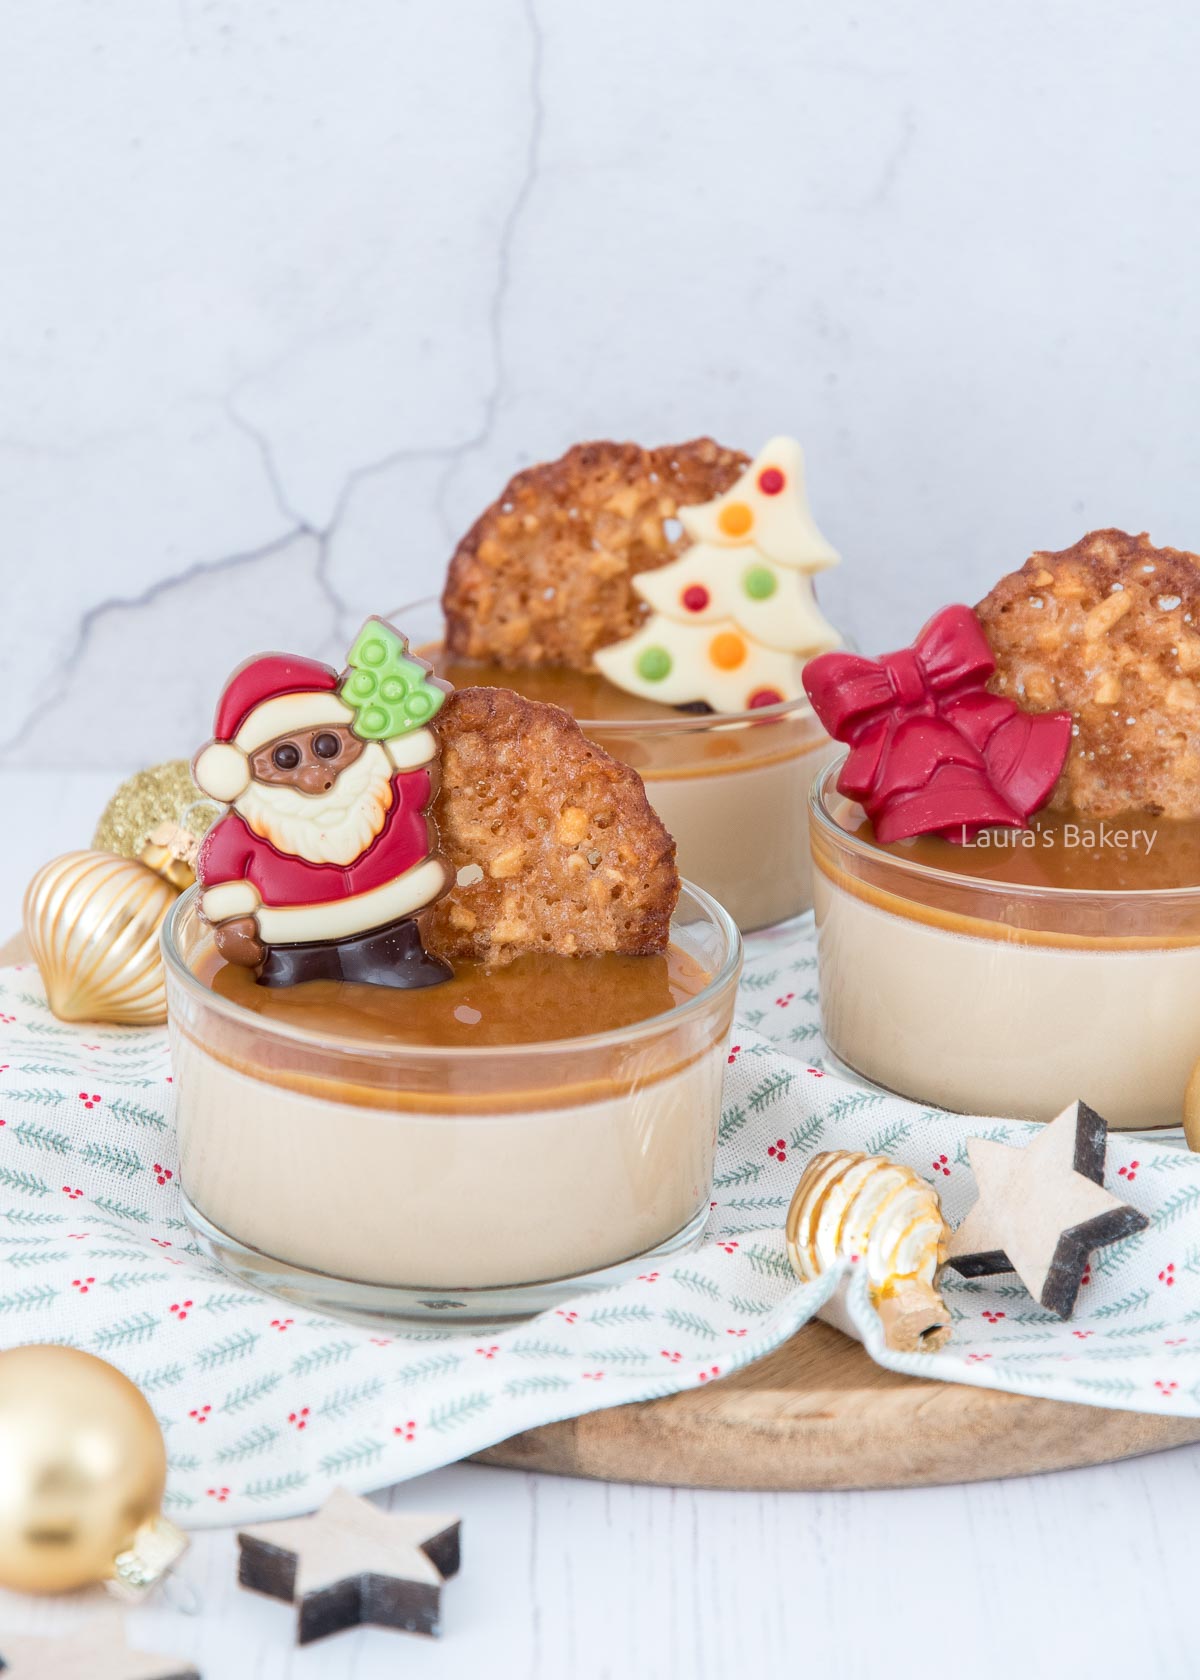
One thing I really love about panna cotta is the fact that you can prepare it all in advance.
You start by soaking the gelatin sheets in a bowl of cold water for at least 15 minutes.
In the meantime, you combine heavy cream, coffee and the milk in a bowl. Mix it through and add part of your mixture into a medium saucepan. Place on medium heat and add the sugar. Stir until the sugar dissolves. Now turn of the heat, add the gelating sheets and stir until combined.
Add your warm mix into the remaining liquid and mix through.
Now divide over the glasses or ramekins and chill in the fridge for at least 3 hours or until set.
The last step in preparing the panna cotta recipe is to decorate with the caramel sauce, cookies and a Christmas chocolate.
Of course you can easily use whatever decoration you like. The coffee panna cotta can also work for any kind of season so adjust your decorations accordingly.
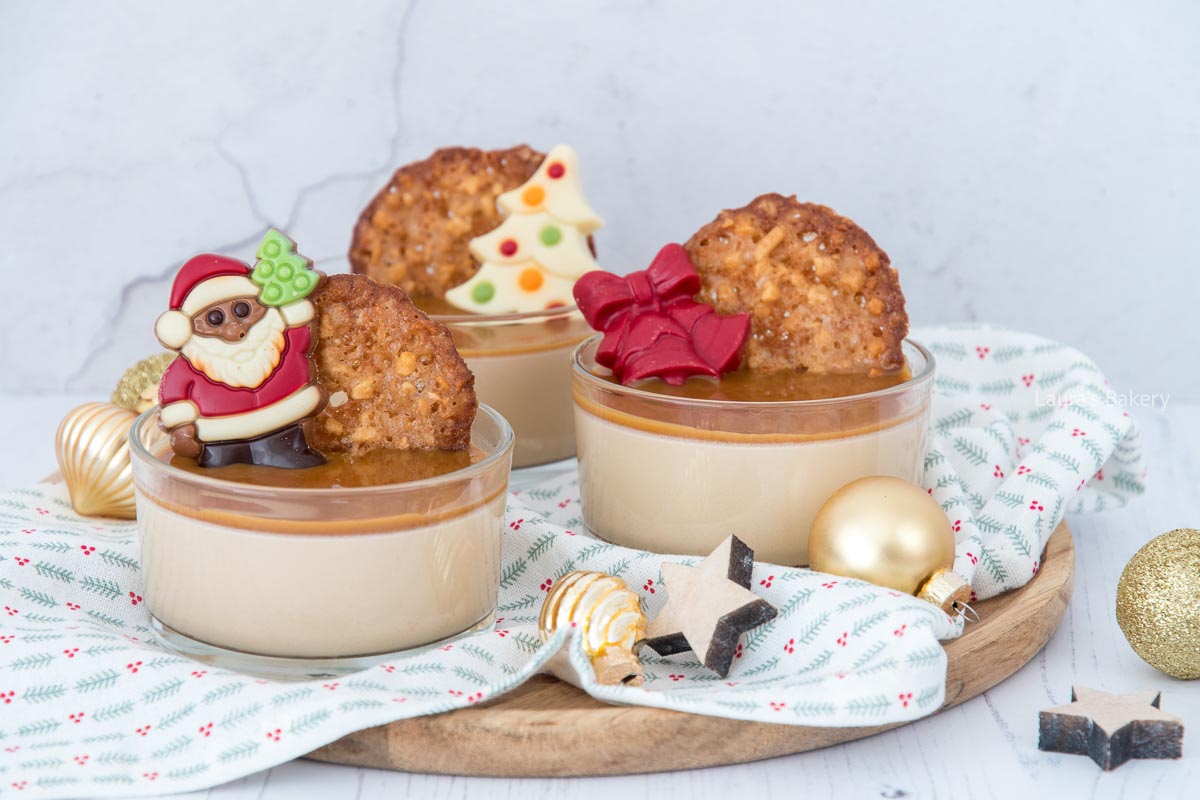
The good news is that you can make and store this panna cotta for 3-4 days. I do add the caramel sauce and the other toppings at the last minute, so that is the only work left to do.
If you store it in the fridge make sure to cover the top of the panna cotta with plastic wrap. That way you prevent the cream soaking up other flavors of ingredients in the fridge.
Yes, this is an ideal make-ahead dessert. You can prepare the panna cotta up to 2 days in advance and store it covered in the refrigerator. Add the caramel sauce and toppings just before serving.
Yes, that works fine. Dissolve 1-2 teaspoons of instant coffee in 150 ml hot water, depending on how strong you like the coffee flavor.
This usually means the gelatin didn’t fully dissolve or the mixture got too hot after adding the gelatin. Make sure the gelatin is completely melted and never let the mixture boil after adding it.
The good news is that you serve this in individual glasses so if the panna cotta doesn’t set enough you can still serve it.
Yes, you can substitute powdered gelatin. Use about 2 teaspoons (roughly 7 g) of powdered gelatin and bloom it according to the package instructions before adding it to the warm mixture.
You can replace them with biscotti, shortbread cookies, or even chocolate shavings for a different texture. A star shaped cookies would look festive too!
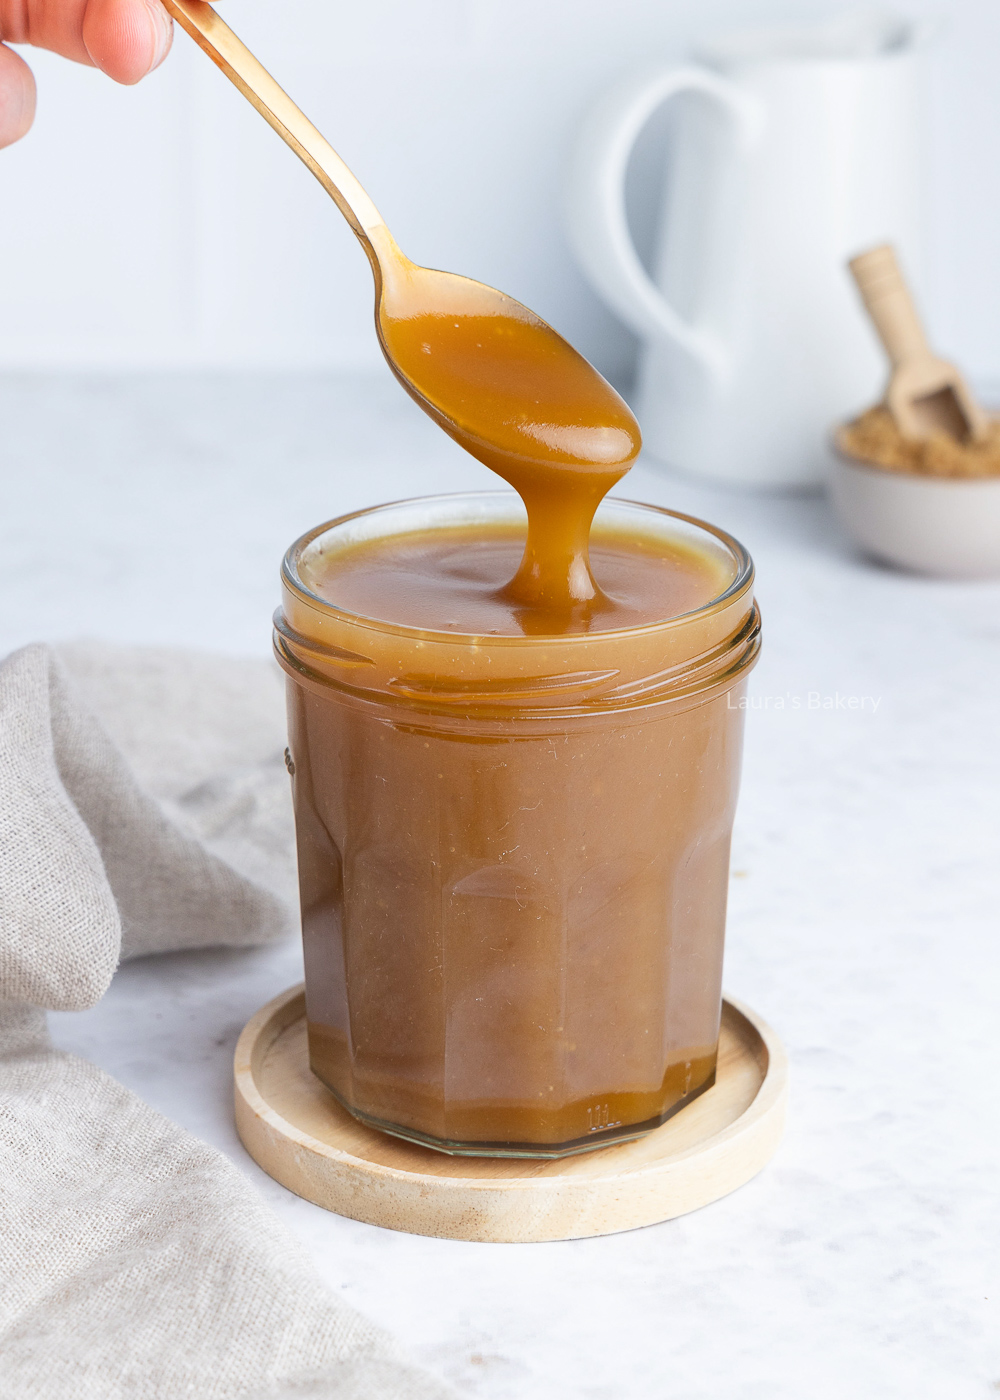
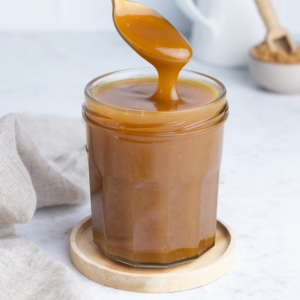
This easy caramel sauce is a true foolproof favorite. With just a handful of ingredients, you can make a rich, smooth caramel that turns out perfectly every time. Delicious drizzled over cakes, pancakes, or desserts, or simply enjoyed straight from the jar.
It took some trial and error to create this easy caramel sauce recipe. You will be surprised to find how simple it is! You need just 4 ingredients for the perfect sauce. Anyone can do it! It’s very different from a classic strawberry sauce but both are just some of my favorite sauce recipes.
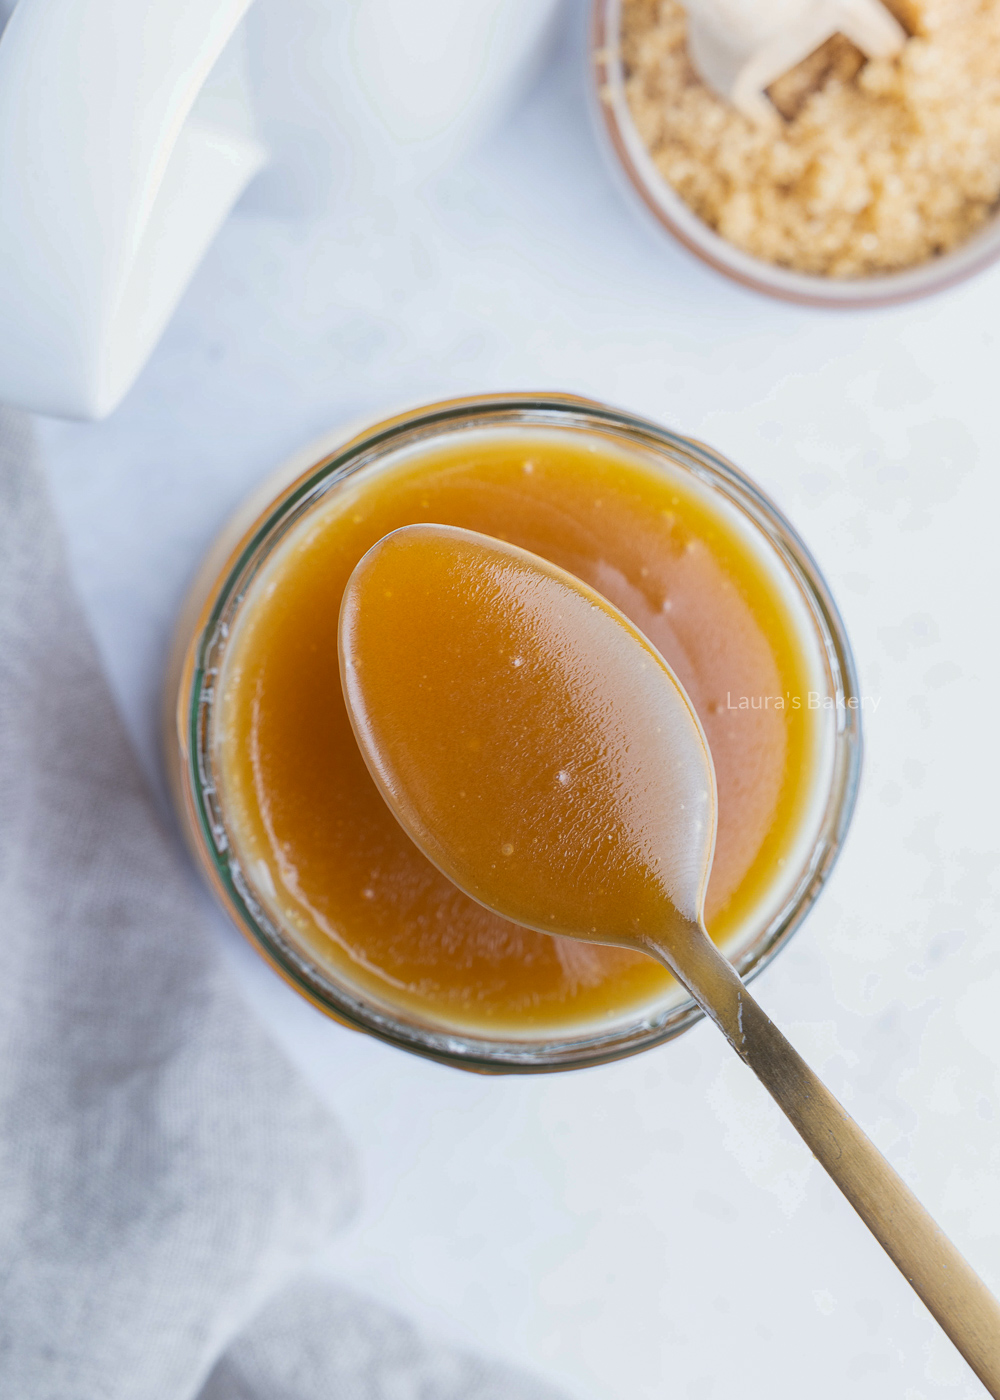
This easy caramel sauce recipe only needs four ingredients plus a few extra items to make it easier.
In addition, it is easy to have the following utensils on hand:
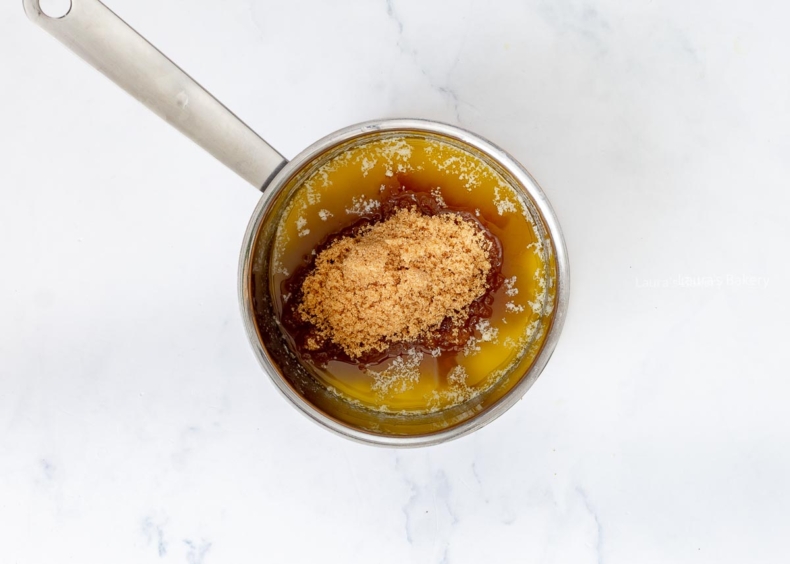
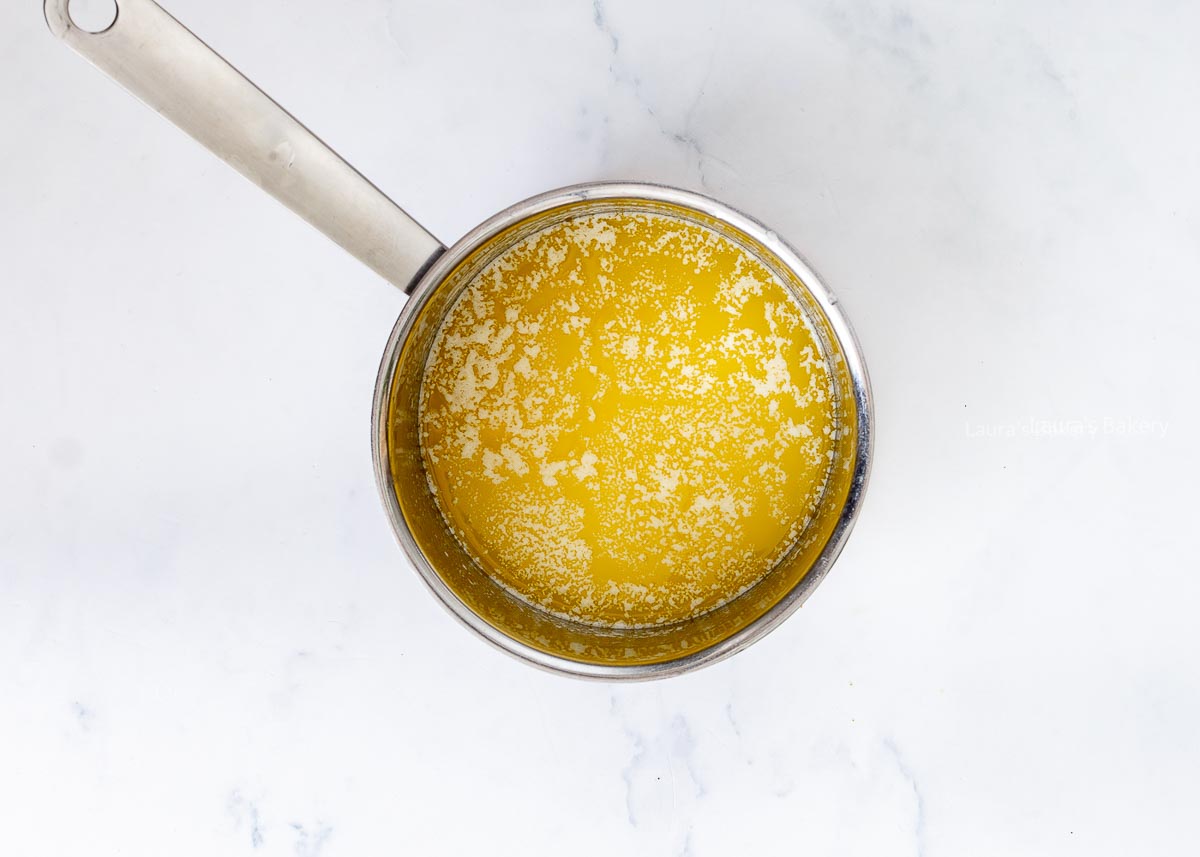
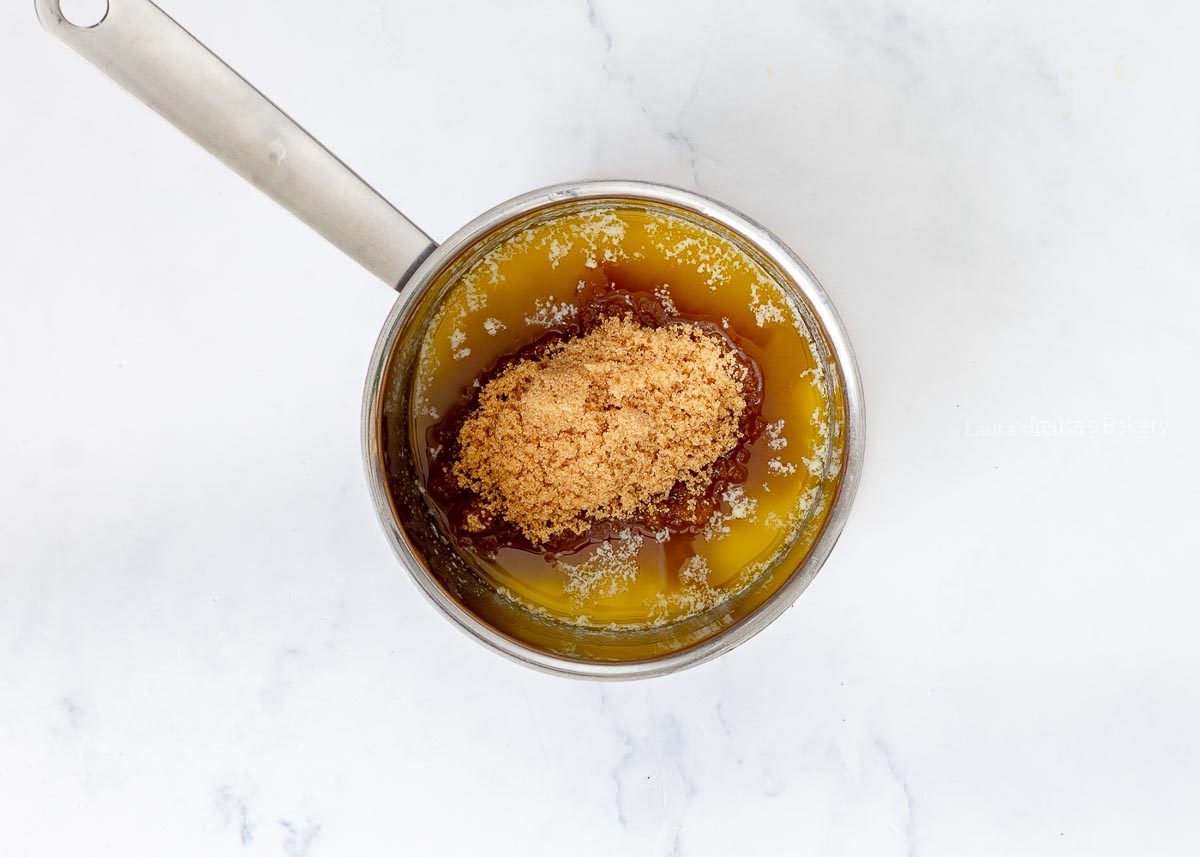
Add the sugar and stir occasionally until combined
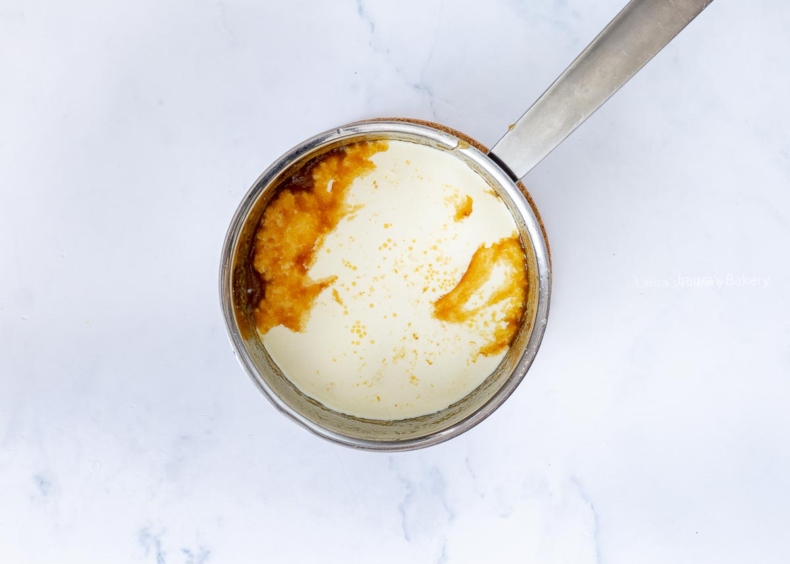
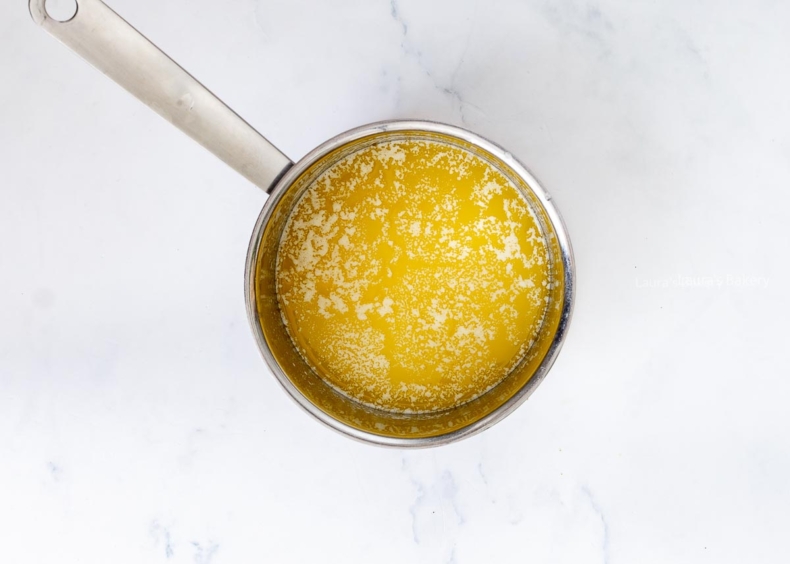
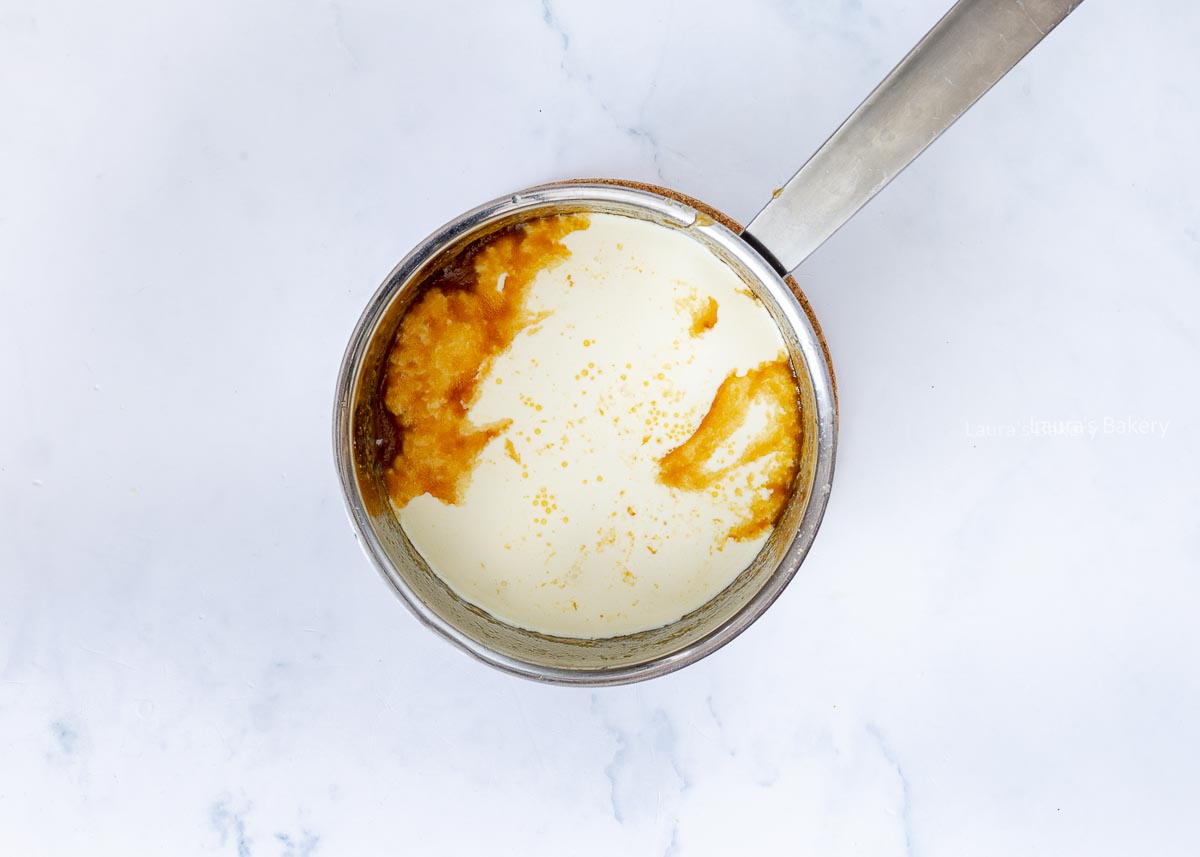
Add the heavy cream and stir until smooth. Bring to a boil
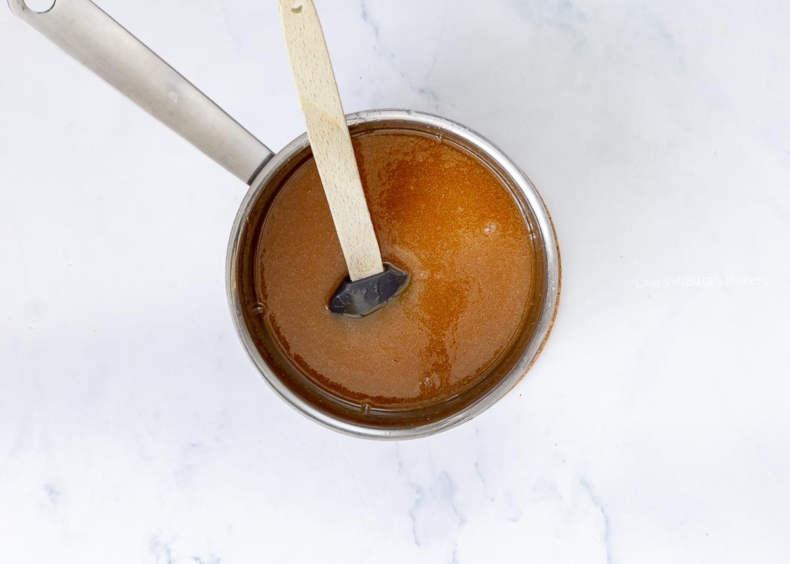
Boil until just slightly thinner than needed
If you store the caramel sauce in a properly sterilized jar it will keep for a year in a cool, dark place. Once opened store it in the refrigerator and use within two weeks.
Yes you can! Ideal for an opened jar that isn’t empty after two weeks. Freeze in an airtight container for up to 3 months. It might separate when you thaw it, but that is easily solved by reheating the sauce.
I can wholeheartedly recommend making a generous batch of caramel sauce. If you store it in sterilized jars, it will keep for at least a year.
That’s perfect, because this sauce is delicious with so many recipes. Think pancakes, muffins, or chocolate desserts.
Some of my favorite recipes with caramel sauce are, for example:
Regular heavy cream from the supermarket. Use it unwhipped and preferably at room temperature.
When stored in the refrigerator, the sauce will thicken and sugar crystals may form. That’s not a problem, just gently reheat the sauce in a saucepan and it will be usable again.
You can easily turn this recipe into salted caramel by adding 1/4 to 1/2 teaspoon of salt in step 4. The amount of salt is personal taste, so don’t add too much at once, taste as you go.
I haven’t personally experienced this yet, but it does come up occasionally. The chances are higher if you use cream with a lower fat percentage or cream straight from the refrigerator.
That’s why I always recommend using all ingredients as specified in the recipe and at room temperature, unless noted otherwise.
If your caramel sauce has separated, you can try one of the following:
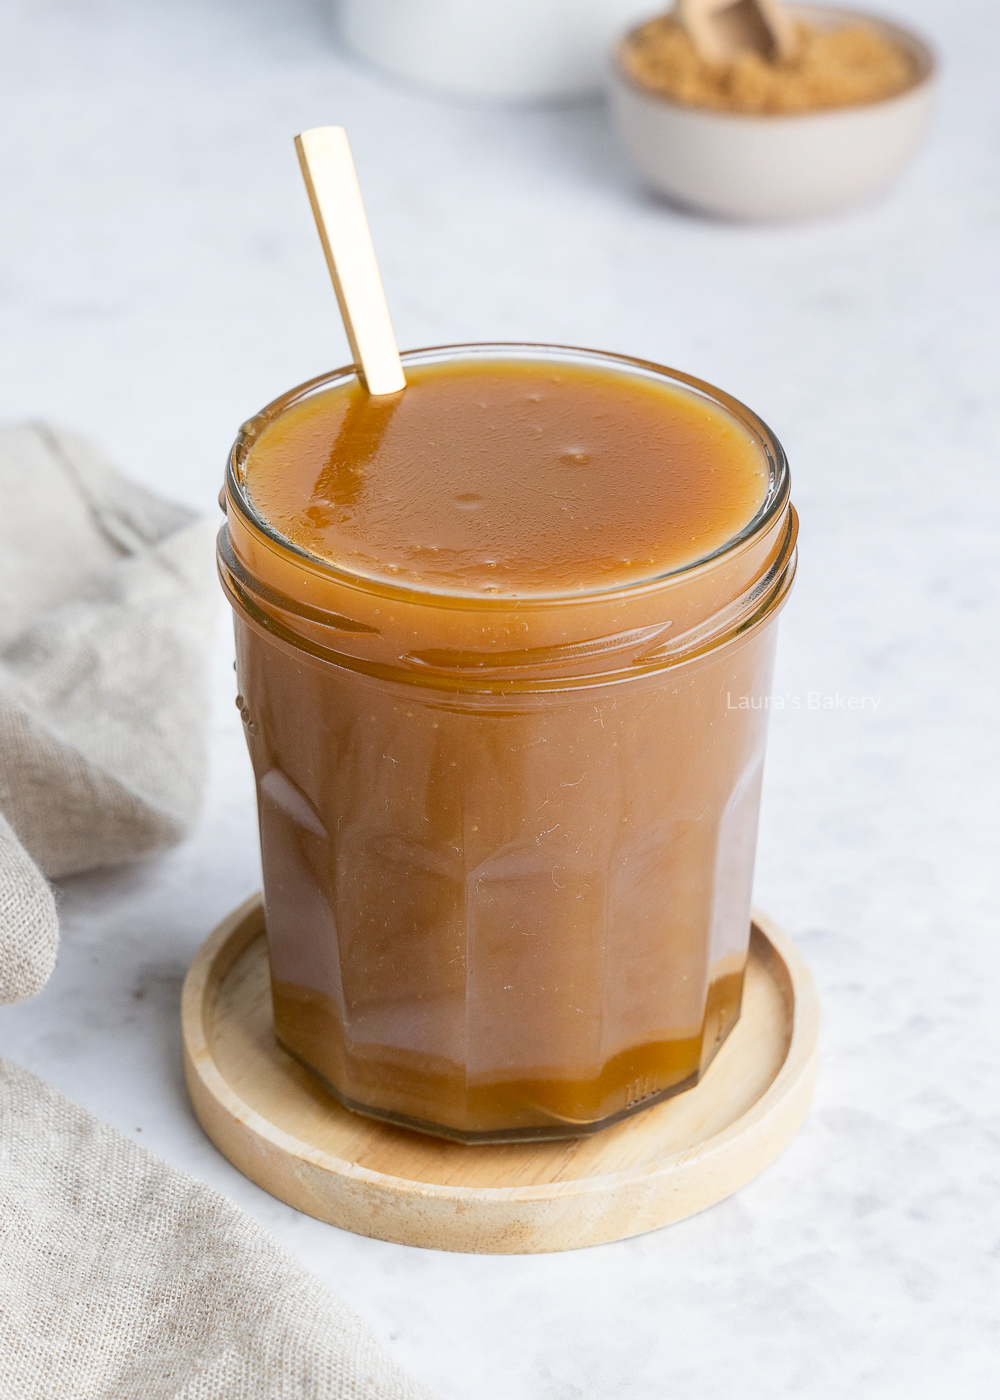
There are many more delicious sauce recipes to serve on Laura’s Bakery. I secretly love sweet dessert sauces the most, but for savory sauces, you can always browse my sauces and dips category. You’ll find something tasty for just about any dish or snack.
Some delicious sweet recipe tips from this category:
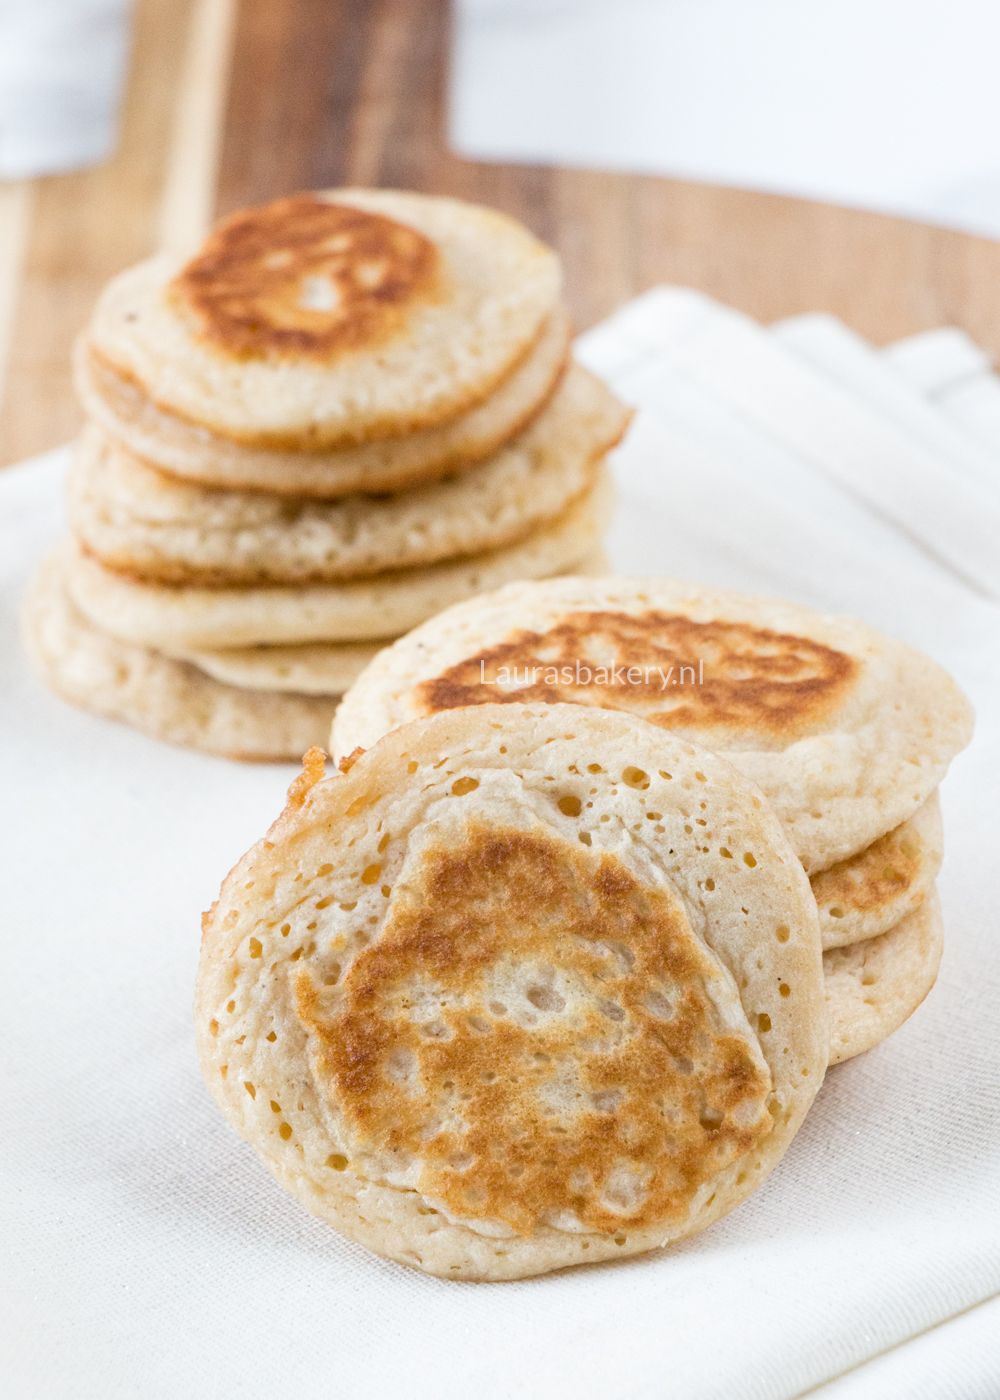
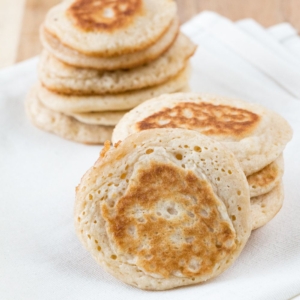
This basic blini recipe is quick and easy to make, and the blini turn out nice and airy. Once topped, they look incredibly elegant and make the perfect festive appetizer.
The good thing about blini is that they are so easy to make and are the perfect little snack.
You can go traditional and serve them with sour cream or crème fraîche and salmon but they can be eaten in so many different ways. The finished blini can even be turned into a sweet treat.
Traditionally blini are made with yeast, but I love to make something quicker if I can as long as the end result is pretty close to the original. So no, these are not authentic but they are still pretty close!
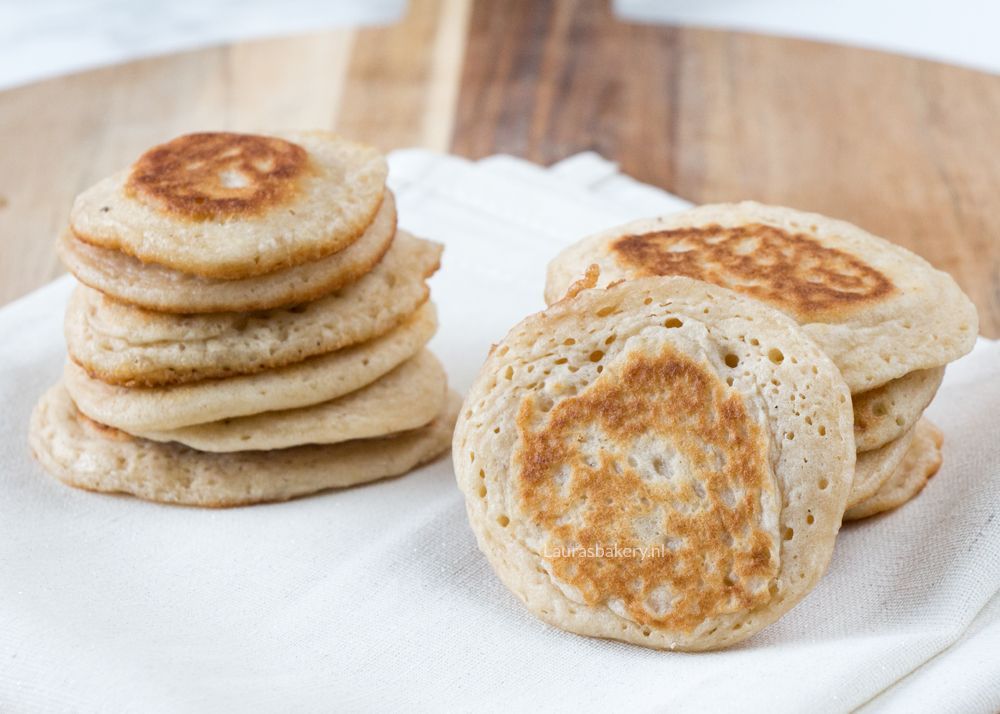
Add both flours into a large bowl and mix it to combine. Now split the egg into egg whites and egg yolk. The yolk is added to the flour and the egg white is placed in a clean, grease free bowl.
The butter is melted and added to the flour mixture together with the milk. Whisk it until smooth and season with salt and pepper to your liking.
Whip the egg whites until you have stiff peaks. Fold this into the batter, making sure not to remove the air from the mixture.
Now it’s time to bake the blini. That works in much the same way as a regular pancake but the difference lies in the size. You use about one tablespoon of batter for each blini. Let them cool before adding the topping.
Blini are small Russian buckwheat pancakes, usually between 2-4 inches (5-10 cm) in diameter. In the Netherlands, they’re often compared to mini pancakes (poffertjes) due to similar ingredients (yeast, buckwheat flour) but mostly because of their small size.
Fun fact I discovered while researching for this post: “blini” is already the plural form! The singular is blin. But hey, who serves just one of these delicious bites anyway? 😉
You can serve them as an amuse-bouche, an appetizer, or as party bites, but they’re just as great in a more casual setting.
Think: picnic snacks or a fun treat for school or daycare! Blini also make a fantastic savory option for a high tea.
With this basic recipe, you’re all set and the toppings are up to you!
Here are a few topping combinations that would work perfectly on blini (including vegetarian and non-vegetarian options and all without salmon!).
These are just ideas but there is so much more you can do with them:
Blinis are easy to store in the refrigerator for 2-3 days. Since they are mostly served cold that makes them perfect for making in advance.
Absolutely. They are very easy so freeze and will keep for about 3 months when frozen. Make sure to store them in a freezer proof container.
Yes, you can swap it 1:1 for regular flour. But buckwheat does give blini their signature flavor.
Use a blini pan, similar to a Dutch mini-pancake pan but with larger molds (about 2.5 inches). It helps make them uniformly round and even.
Note: I didn’t use a blini pan for this basic recipe. Simply using the same amount of batter each time (like a level tablespoon or small cookie scoop) will also help keep the blini even.
Since this recipe doesn’t include yeast, it’s important to whip the egg white properly and fold it gently into the batter. Next time, you can also add ½ teaspoon of baking powder to ensure extra fluffiness.
Buckwheat flour doesn’t contain gluten, so it creates a denser texture. Without yeast in this recipe, I replaced part of it with regular flour for a lighter result.
I wouldn’t replace all of it, try 60 g buckwheat flour + 40 g all-purpose flour instead, and add ½ teaspoon baking powder. Keep in mind: buckwheat has a strong, distinctive flavor.
Reheat them without toppings, either in the oven or the microwave.
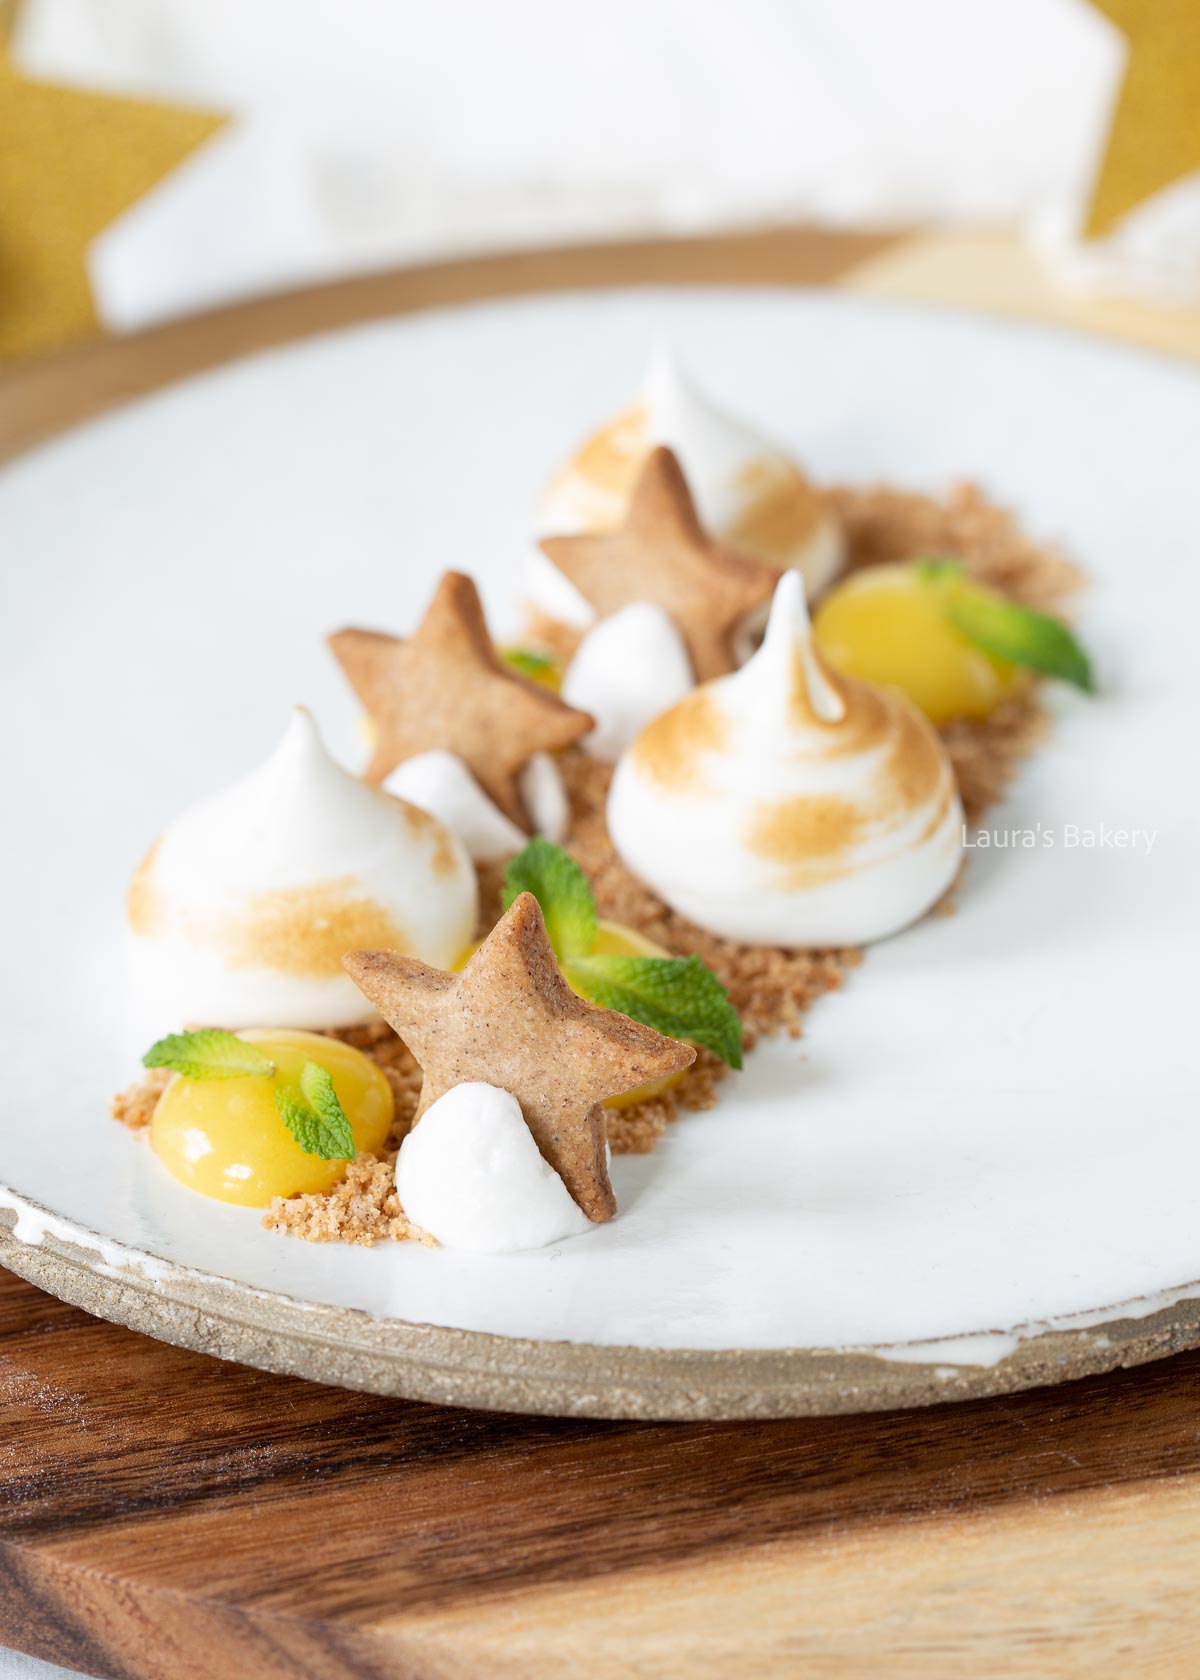
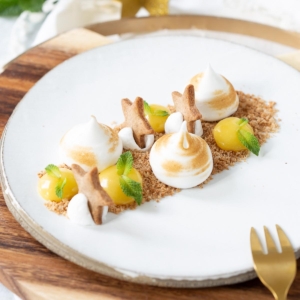
With this deconstructed lemon meringue pie dessert, you can easily serve a festive and elegant treat without the stress. In this article, I’ll also give you a few tips on how to create even more upscale desserts at home!
This dessert absolutely looks fancy, but it doesn’t require a lot of work and is easy to make.
It’s a fun way to present a dessert, makes it look like you spend hours creating it, while in fact it is easier than the original!
For this deconstructed dessert, I’ve taken the crispy cookie crust, the lemon curd, and the meringue and presented them in a fun, new way.
It looks like a restaurant-worthy dessert, but it’s surprisingly easy to make. Win-win! 😉 Once you’ve made the separate components it’s a matter of arranging them on the plate!
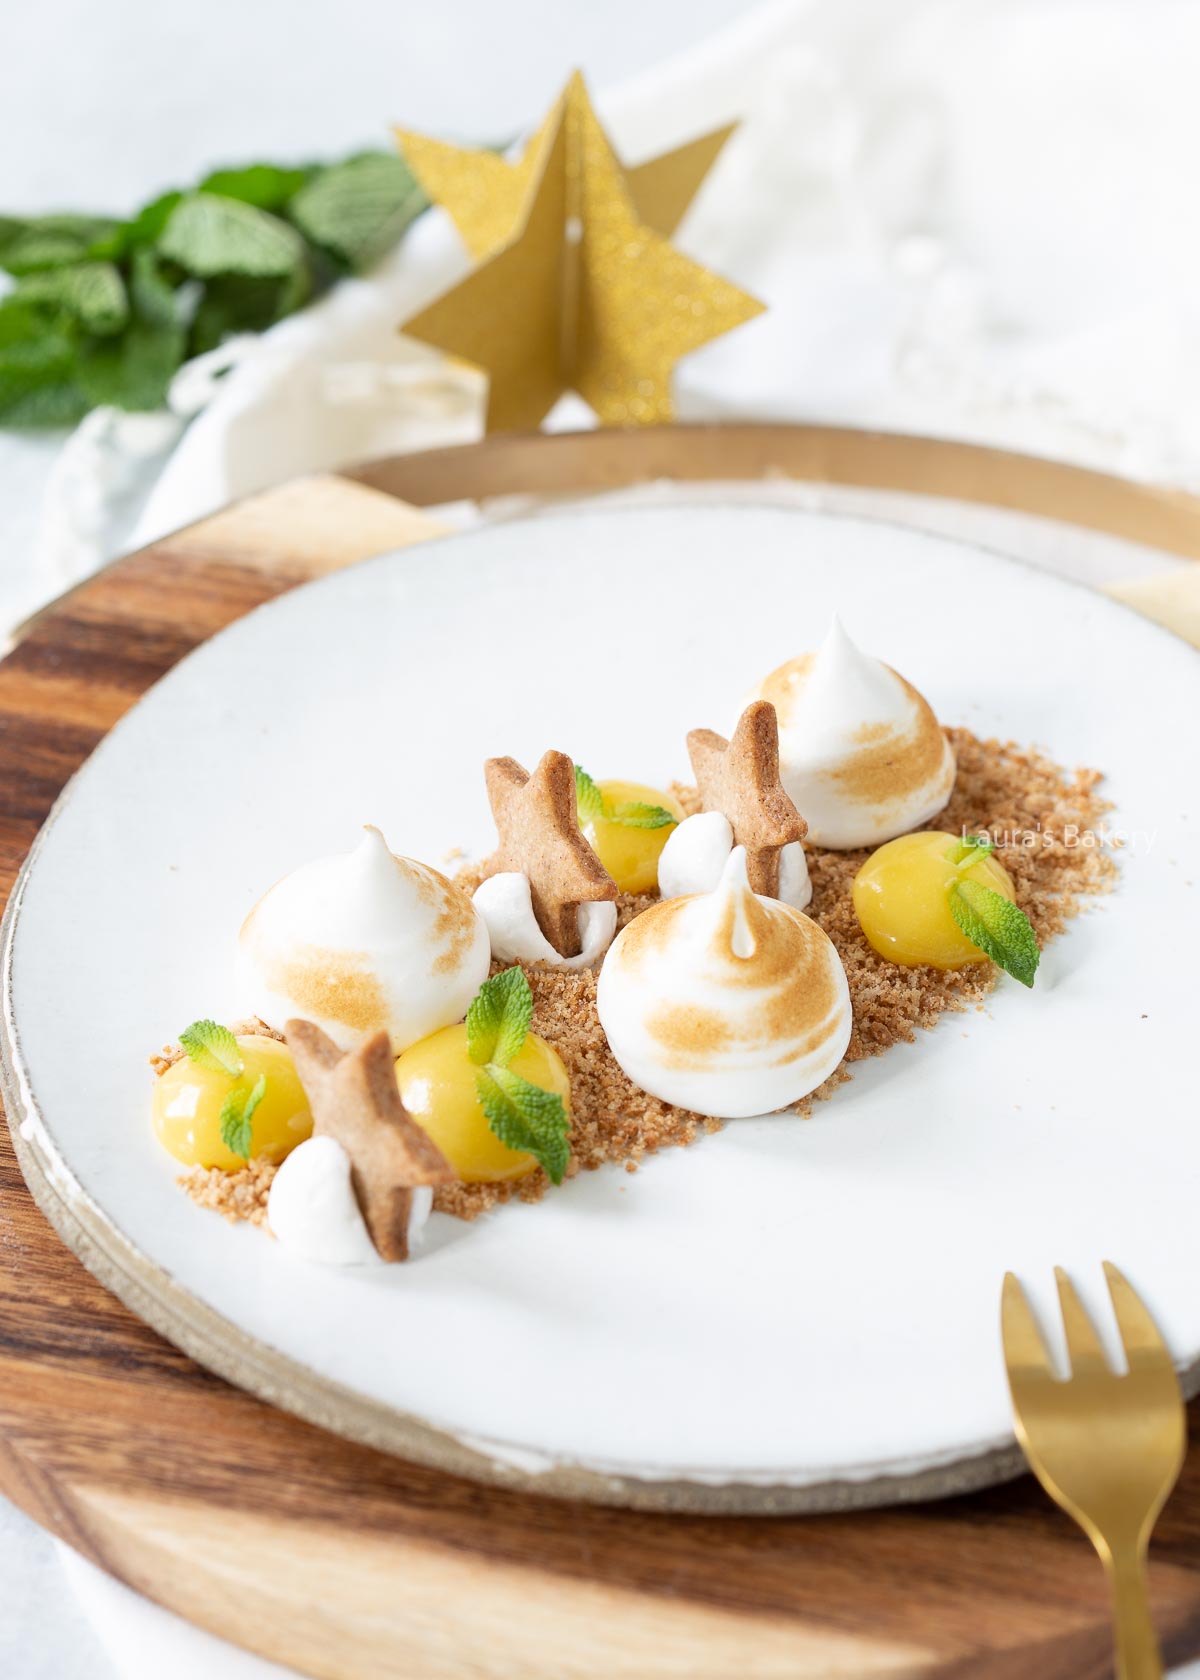
I used gingerbread cookies for the “crust,” since they’re perfect for the holiday season. To make everything look even more festive, I cut the dough into tiny star shapes.
I finished the dessert with fresh mint leaves. They add both a beautiful pop of color and a delicious fresh flavor.
That’s how you effortlessly create a chic, restaurant-style dessert right at home!
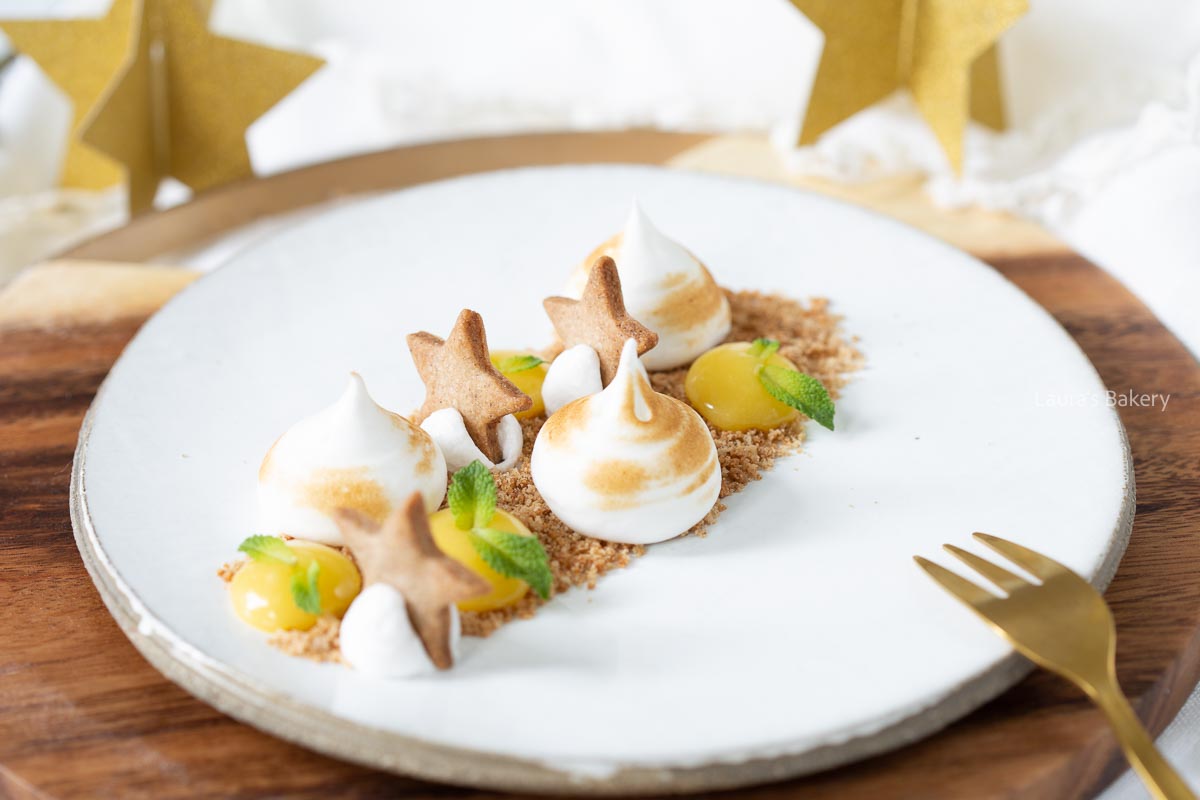
Many years ago, I tried a deconstructed pie dessert for the first time -an apple pie version- and I loved it. I mean, who doesn’t love apple pie?
A “deconstructed” dessert simply means that all the classic elements are served separately on the plate. It gives you the chance to plate each component in a fun and elevated way.
This style of serving desserts is something you’ll often see in fine dining restaurants. How fun would it be to recreate that experience at home for Christmas? And honestly, it’s almost as easy as making these mini lemon meringue pies.
Most of the time, I keep things simple, both in baking and in styling. But on special occasions, you may want a more luxurious dessert to serve. And as you’ve probably noticed: the presentation makes all the difference.
Instead of serving dessert in a bowl or jar, go for a sleek, shallow or deep plate and combine different elements creatively: sweet, crunchy, creamy, fresh/tart, spiced, and maybe even a hint of salty.
Before assembling the plate, think about how you want it to look overall and what will be the base of your dessert.
For this deconstructed lemon meringue pie, the crumbled cookies are the base. Play with different sizes and textures, be creative but precise, and don’t forget your piping bag, because it’s always useful!
You can prepare both the gingerbread cookies and the lemon curd a few days in advance. The gingerbread cookies can be stored in a cookie jar for up to 3 weeks. The lemon curd is best kept in the fridge for up to two weeks.
The Italian meringue is best made fresh as that doesn’t store as well.
Definitely! Lemon meringue pie is traditionally made with a shortcrust base, so those cookies would also work well. Just make sure you choose a cookie recipe that holds its shape in the oven if you want neat little stars, like cut out sugar cookies.
Absolutely! Just keep the flavor simple, vanilla or lemon ice cream is perfect. Use two spoons to form quenelles (oval scoops). It looks extra classy!
Swap mint for small basil leaves or use a different type of curd, like passion fruit or orange. Both are delicious!

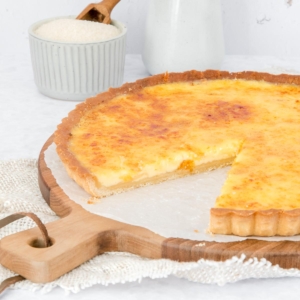
Are you a crème brûlée fan too? Then you absolutely need to try this crème brûlée pie. Your favorite creamy dessert with that crispy caramelized topping is now combined with a buttery, tender crust. So delicious! And easy to make too!
For years I kept postponing making crème brûlée because I thought it would be complicated. But it’s actually incredibly easy to make.
For this crème brûlée pie or crème brûlée tart, I use the exact same recipe (and quantities) as for my regular vanilla crème brûlée. I’ve made it many times and it always works perfectly.
The most important thing is to whisk the egg yolks and sugar together thoroughly.
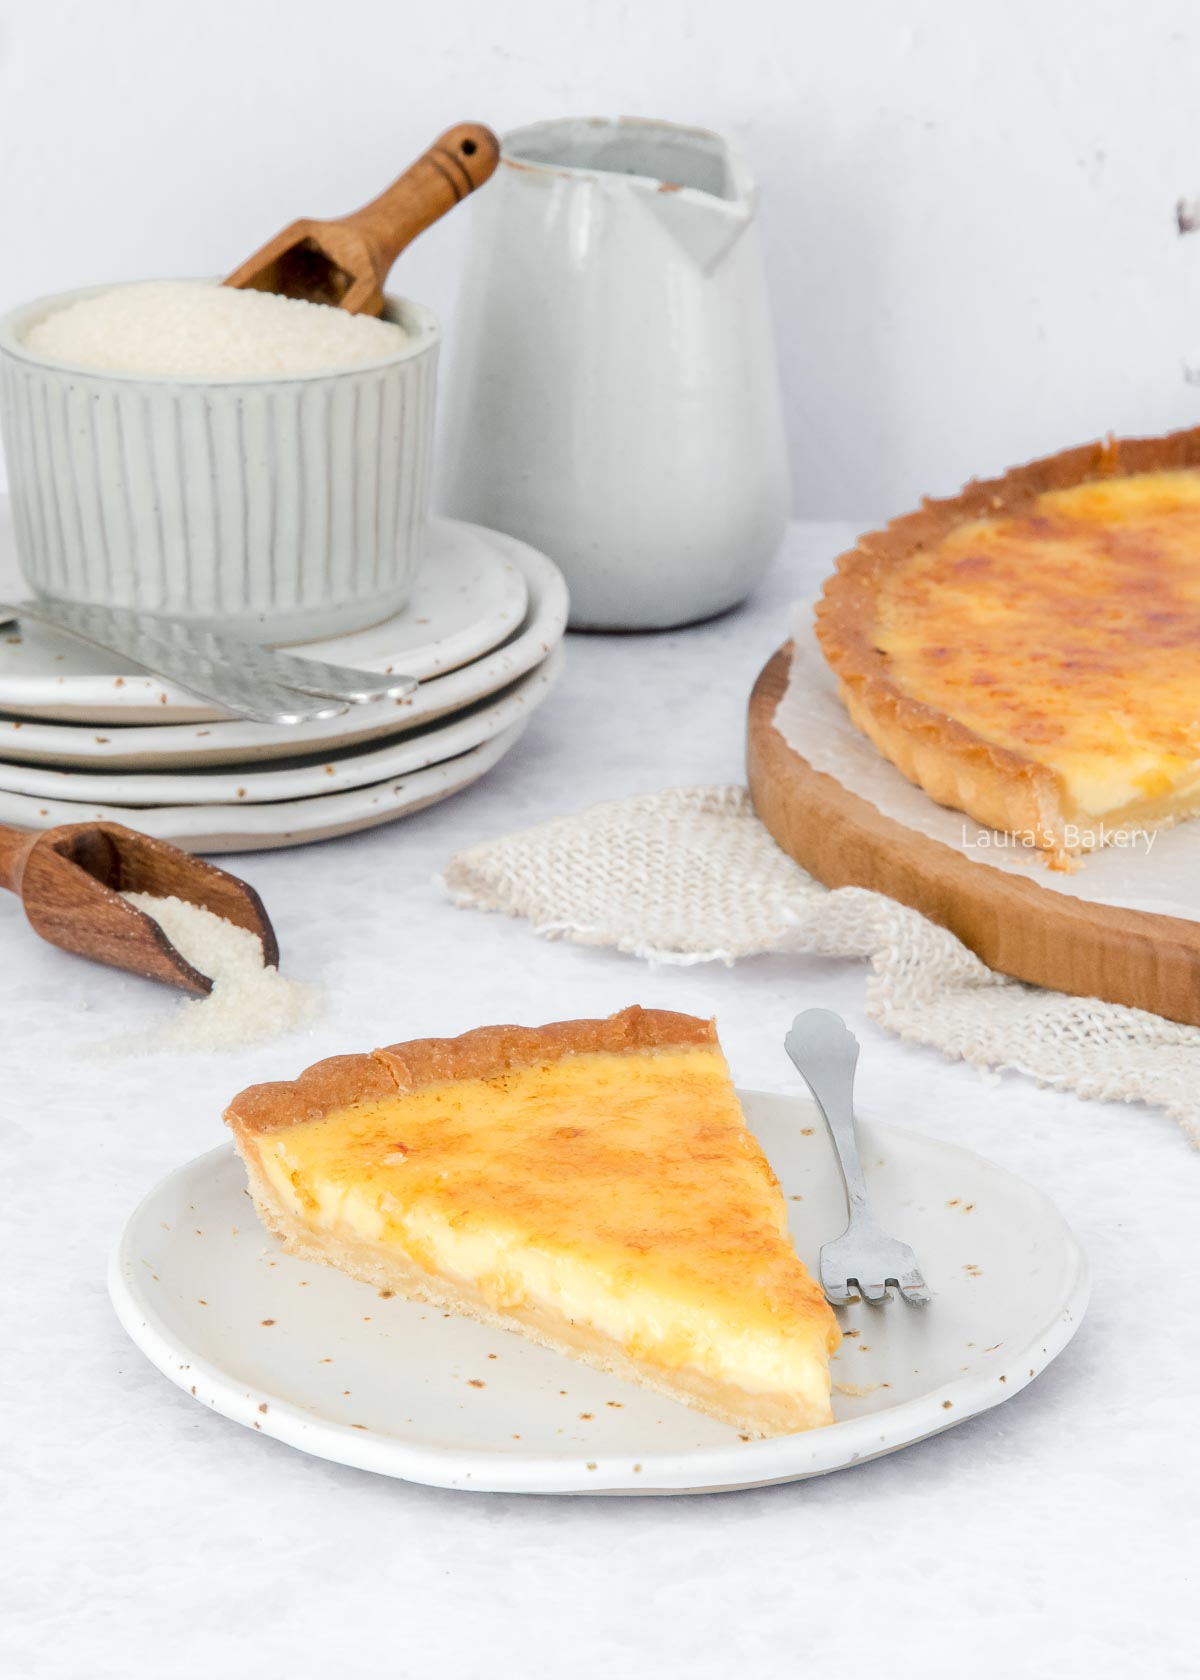
The crust is my shortcrust pastry recipe, but for this tart I use powdered sugar instead of granulated sugar. It gives the crust a finer texture, which pairs really well with the crème brûlée filling.
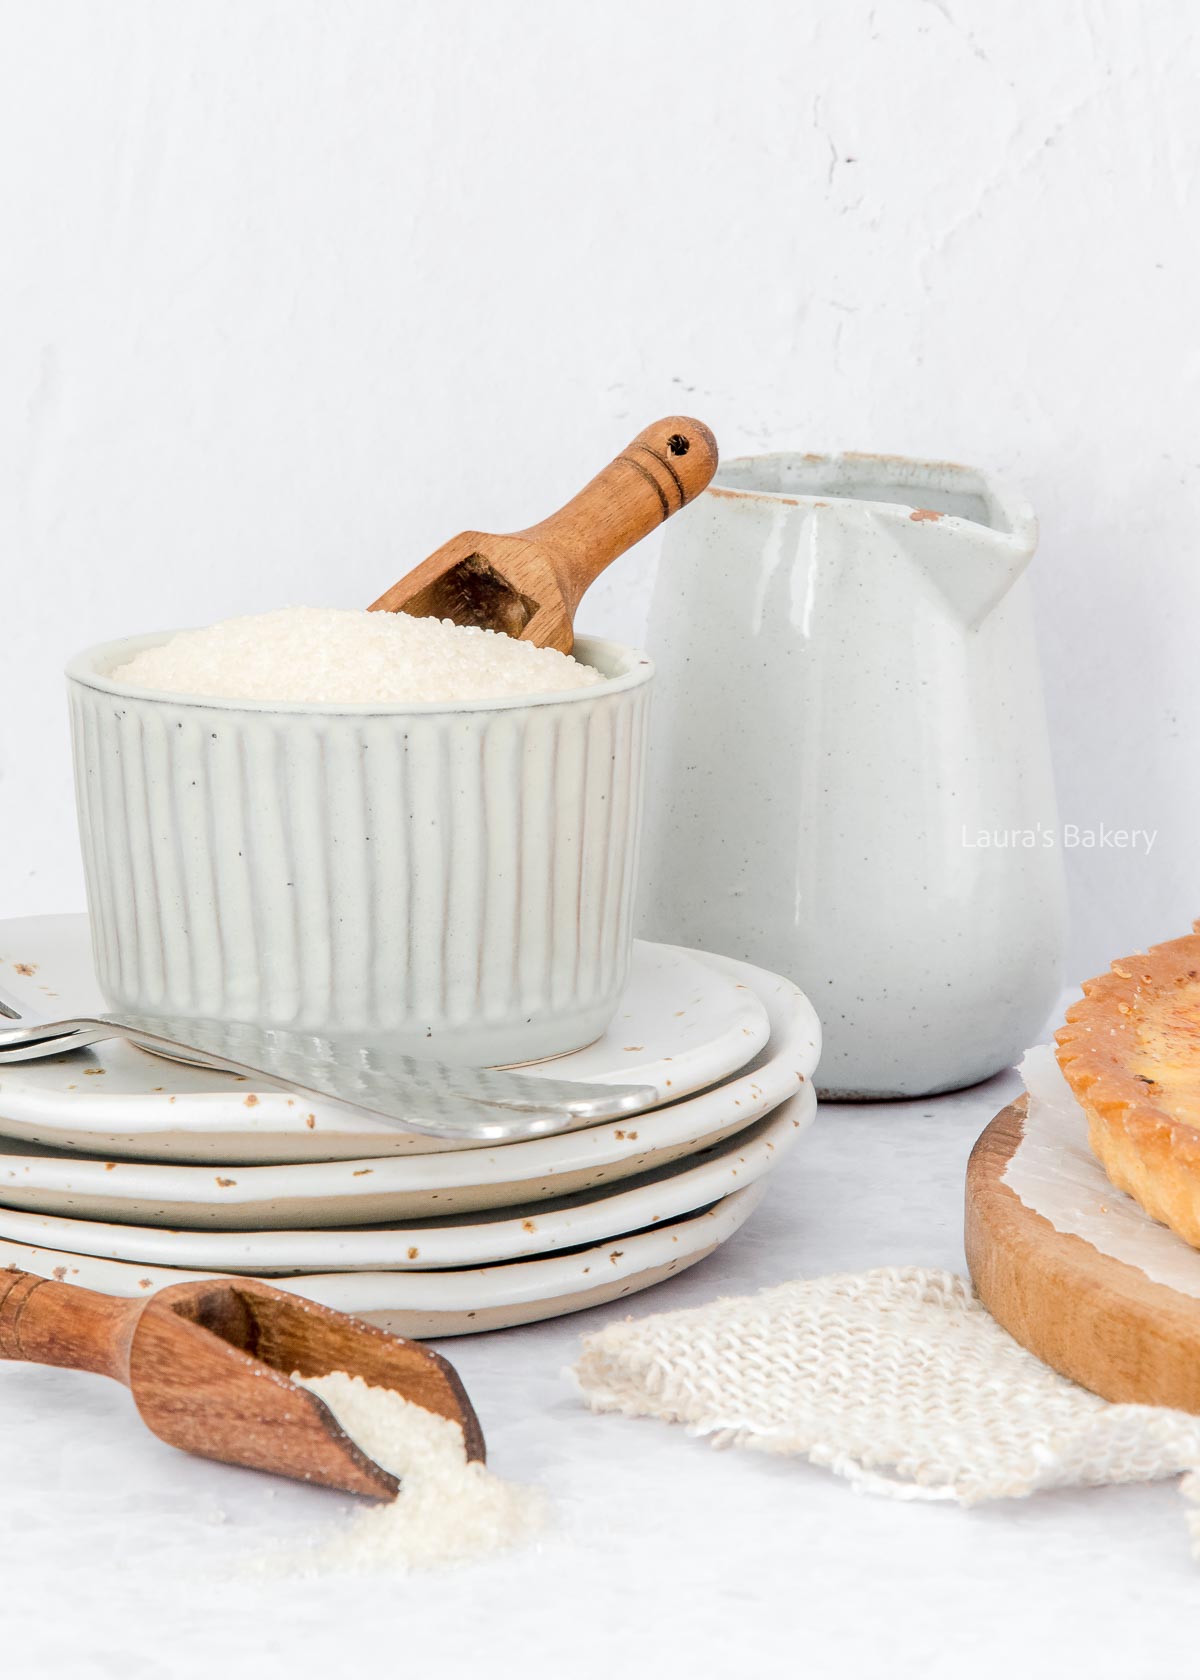
You start by making the crust. Keep in mind that it will need to chill in the fridge for at least an hour. Roll the dough using a rolling pin and line a pie pan or a pie shell with the dough.
Now add a piece of parchment paper on top of the dough and weigh it down with pie weights. Bake it in the preheated oven for about 20 minutes. Remove the paper and weights and bake for another 15 minutes or until light golden brown.
The next step is to prepare the filling. Whisk the egg yolks and the sugar together in a bowl. Combine the cream and the vanilla in a saucepan.
Keep whisking while you heat it to it just comes to the boil. Take off the heat and slowly pour the hot mixture into the egg mixture, while you keep whisking continuously.
Now place the tart crust back in the oven. This is easier than having to move the crust from the kitchen counter into the oven with the filling.
It’s less messy if you first place the crust into the oven and pour in the mixture. Carefully slide it into the oven and close the door. Bake at 150˚C/300˚F or until set but slightly wobbly in the center.
Let it cool completely to room temperature and then refrigerate for at least 3 hours. If possible, it is best to let it cool overnight.
The final step is to sprinkle a thin layer of sugar on top of the crème brûlée pie and caramelize the sugar with the blow torch until golden brown and crispy.
You can easily make this crème brûlée pie in advance, just add the sugar layer last minute.
Without the caramelized sugar, you can store the crème brûlée pie for up to two days. Don’t add the sugar topping yet as that will get soft and lose its crunch.
You can freeze the pie properly wrapped or in an airtight container for up to three months. Again without the sugar topping. Add the topping once the pie is defrosted.
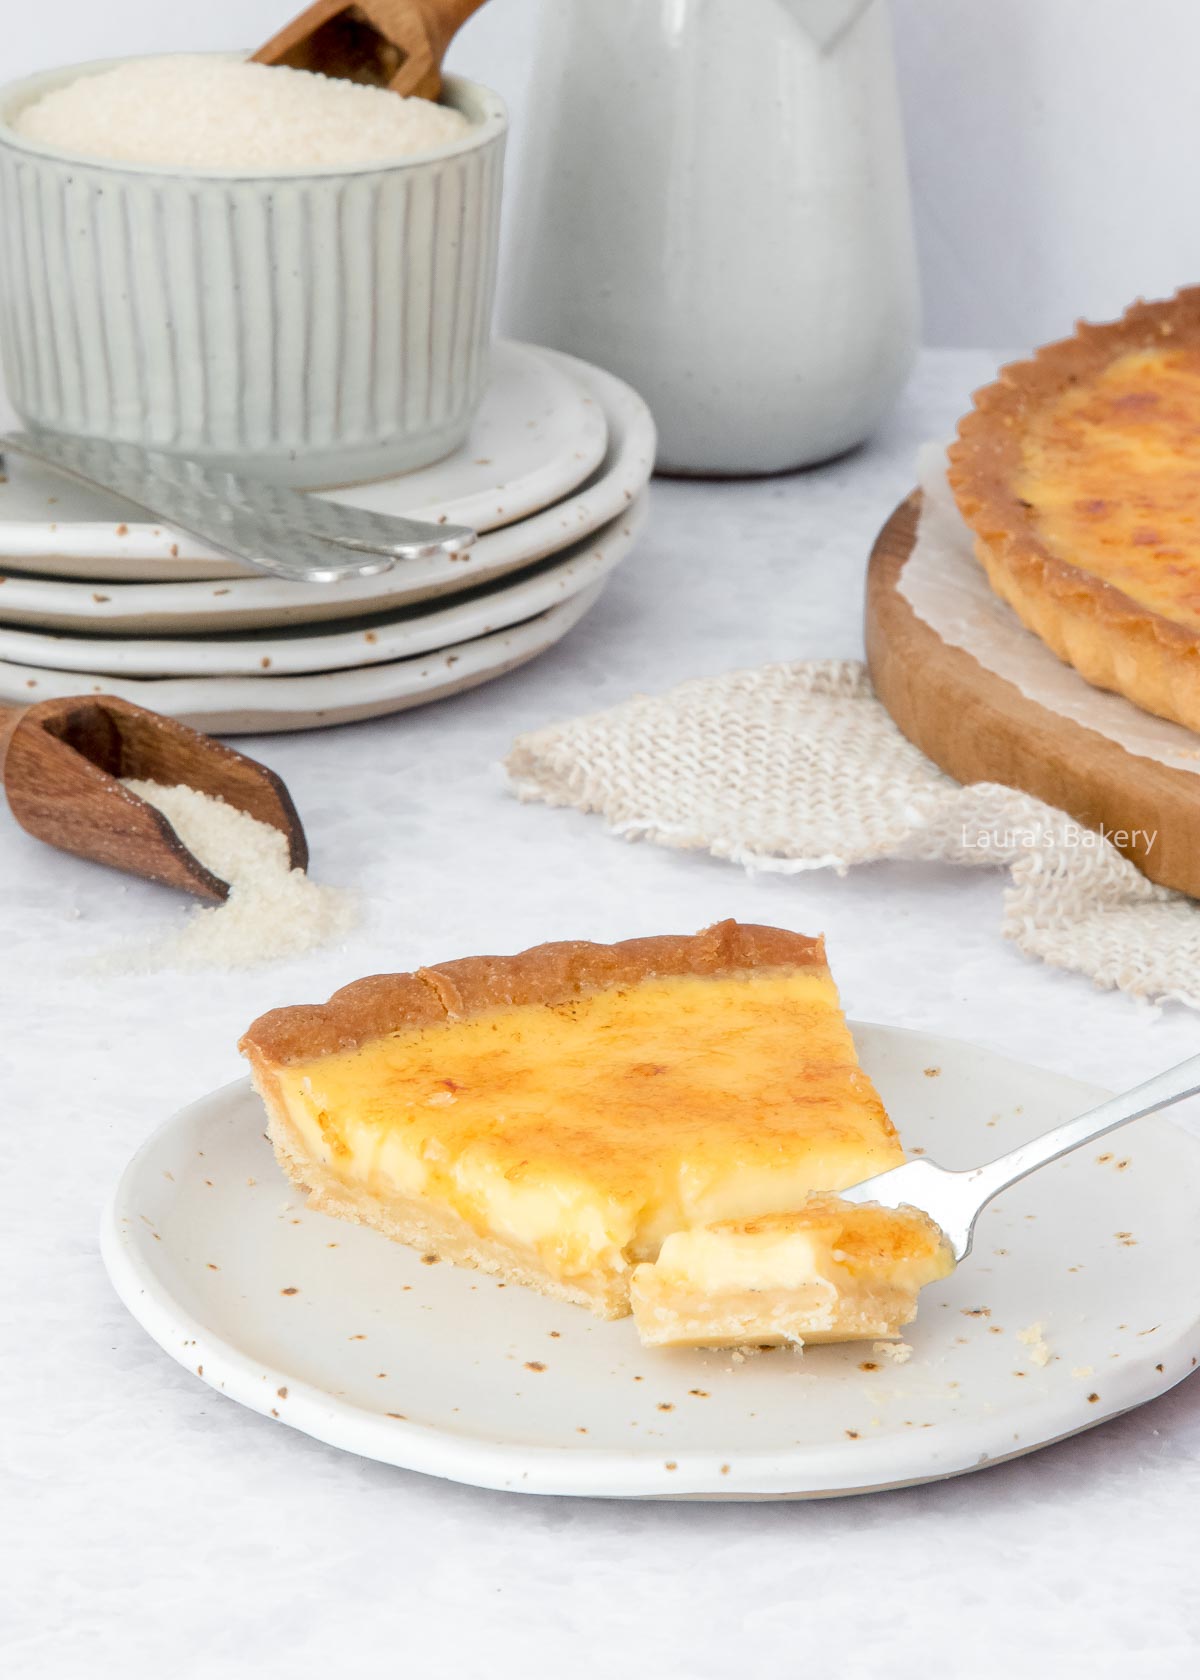
I recommend heavy cream for the best and richest result. If you want a slightly lighter version, you can replace part of the cream with whole milk.
To get the signature crackly sugar top, you can use the broiler, but I prefer a kitchen blow torch for more control and a better result.
Blind baking means lining your pie crust with parchment paper and filling it with baking weights, like rice, beans, or ceramic baking beads. This keeps the crust flat and prevents it from puffing up. Always bake the crust again without the weights so it turns golden brown.
Your pie may need a little more time in the oven. It’s okay if the filling jiggles just slightly when you remove it from the oven, it will continue to set as it cools.

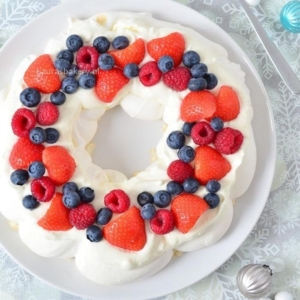
If there ever was an easy recipe for making a Christmas wreath pavlova, this is it. It will impress your guests, taste delicious and the good news is that you can prepare most of it in advance. Perfect for a no-stress Christmas dessert.
Pavlova is the perfect dessert to wow people with. Just look at this Christmas pavlova wreath, doesn’t it look amazing?
Who wouldn’t be thrilled to see this show-stopping dessert arrive at the table after Christmas dinner? Making a great impression with dessert is easy with this pavlova.
The great thing about this recipe is that it’s really not complicated. Yes, you’ll need a little patience while the meringue base bakes, but the good news is that you can prepare it well in advance. You can easily make the Christmas pavlova wreath a couple of days ahead.
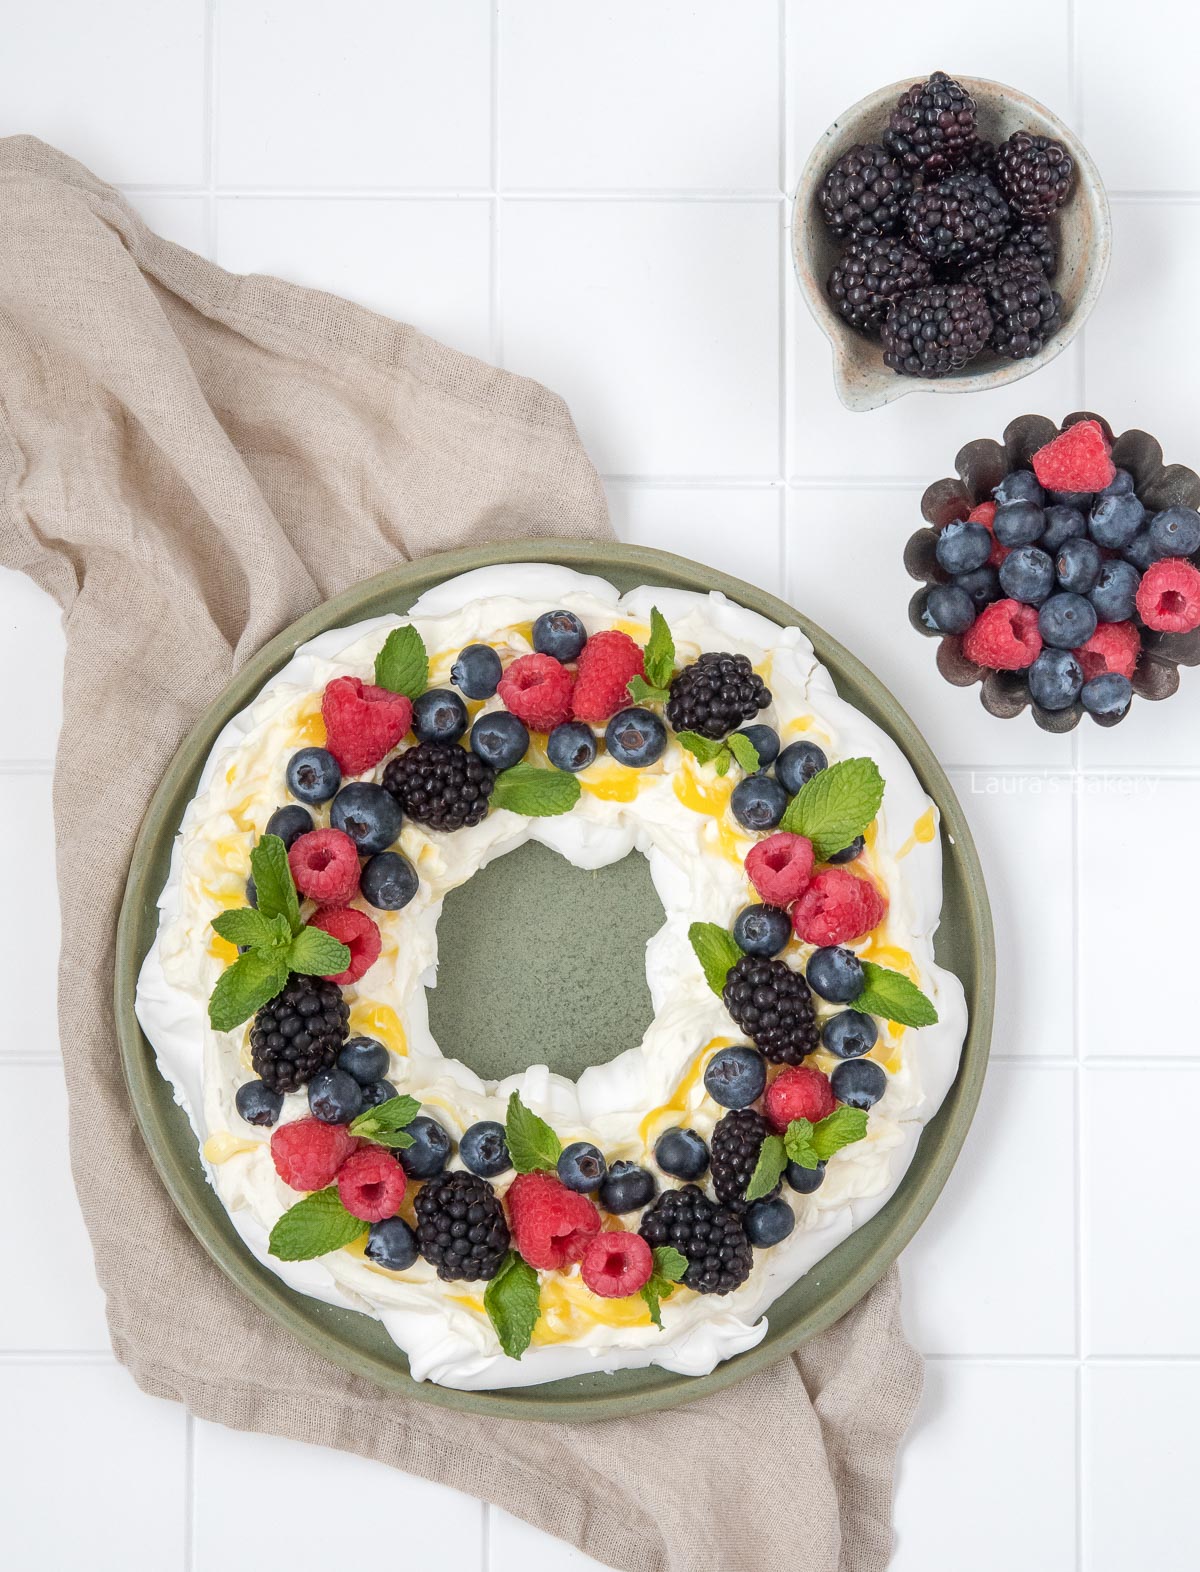
Right before serving, all you need to do is spread the mascarpone cream on top and decorate with fresh berries. Tadaa; your spectacular Christmas dessert is ready!
Make sure to double check exact quantities and ingredients in the recipe card below.
Start by whipping the egg whites to soft peaks. This is easiest to do in a food processor or stand mixer with the whisk attachment.
Make sure you use a bowl that is clean and free of grease. Now, gradually add the sugar as well as the lemon juice (or vinegar) and the cornstarch. Mix until stiff peaks form.
Take a baking tray lined with a sheet of parchment paper and spoon the meringue on top into a wreath shape.
You can draw a circle on the paper as a guide. If you do, make sure to flip the parchment paper over so the pencil doesn’t touch the food. You can also use a large piping bag if that is easier to do.
Bake the pavlova for 1½-2 hours at 210°F (100°C). Allow to cool completely in the oven with the oven door slightly ajar.
For the topping, you whip the heavy cream with the vanilla sugar until you have stiff peaks. Whip the mascarpone a bit to loosen it and fold it into the whipped cream. This is easiest to do with your mixer on a low speed. Gently mix until smooth.
Once the pavlova wreath is completely cooled down, you can spread the mascarpone topping over it and decorate it with red fruit. Serve immediately.
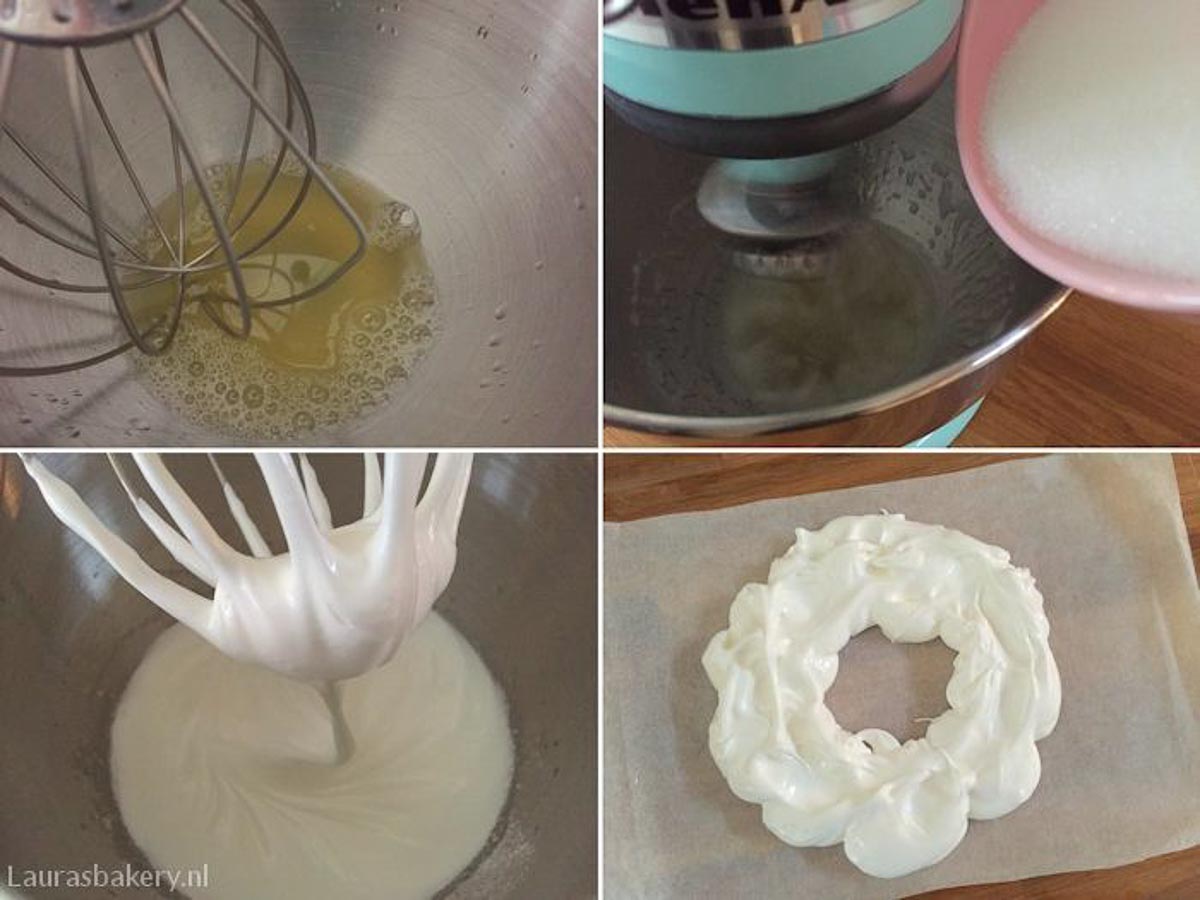
Pavlova is a dessert made from meringue. It was named after the Russian ballerina Anna Pavlova.
Technically, the difference lies in the texture. Meringue is crisp and crunchy all the way through, while pavlova has a soft, marshmallow-like interior and a crisp exterior. That softer center comes from adding cornstarch to the mixture.
Of course, I’m one of those stubborn home bakers who prefers even meringues to have a slightly chewy center, so for me, the topping is the real difference! A pavlova is always topped with cream and fresh fruit, making it almost like a cake.
You can store the pavlova, once baked, outside of the fridge for 3-4 days. Do not store in an airtight container because it will get soft.
A cardboard box or similar is ideal for keeping the texture nice and crispy. Or cover loosely with aluminum foil. Make sure to keep it dry.
Add the toppings at the last minute, right before serving.
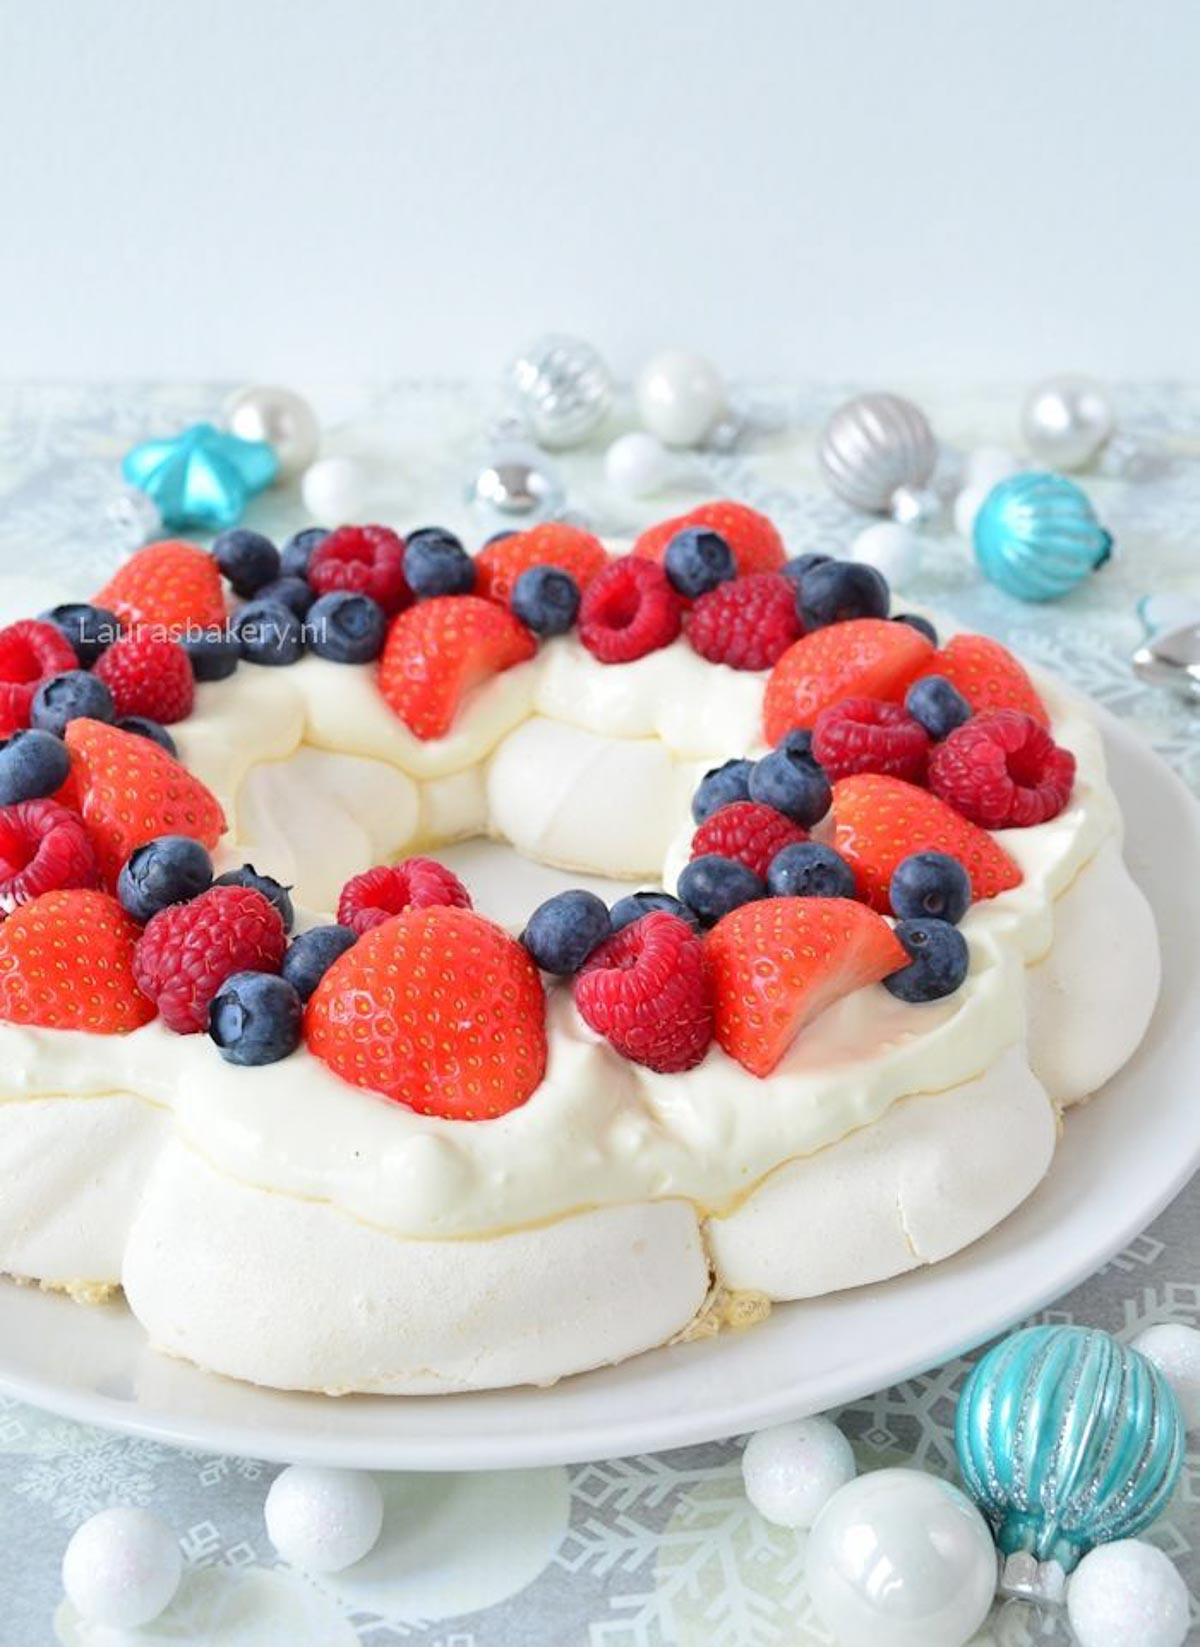
As long as you haven’t added the mascarpone cream or fruit yet, the pavlova can be stored for at least 3-4 days (or longer) without losing flavor or texture. Just make sure you don’t store it in an airtight container and do not refrigerate it. A cardboard cake box works great.
Your bowl or utensils likely had a trace of grease on them. Or a tiny bit of egg yolk may have gotten into the whites. Egg yolk contains fat, which stops egg whites from whipping up properly. Read all my tips for whipping egg whites here.
My pavlovas are rarely pure white, and that’s fine by me. But if yours turned really brown, the oven temperature was too high or it baked too long.
Absolutely! Follow these steps:

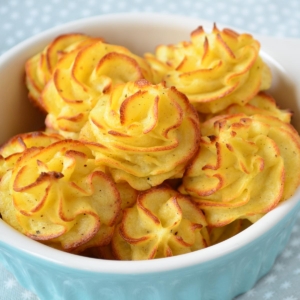
These duchess potatoes are always a hit during the holidays in our house. Making them yourself is easier than you might think. It’s a great way to serve potatoes and the decorative swirls look great on your plate!
Pommes duchesse or duchess potatoes have become somewhat of a Christmas tradition in our family. We hardly ever eat them outside of the holidays. They’re pretty much reserved for Christmas dinner.
We always called them “potato puffs” (they’re also known as potato rosettes) and we used to buy them ready-made, just to pop them in the oven.
But in the spirit of “let’s make everything from scratch”, I added homemade duchess potatoes to my list. And believe me when I say that golden brown homemade pommes duchesse are so much better than store-bought!
It looks pretty and tastes amazing. Perfect for your holiday dinners.
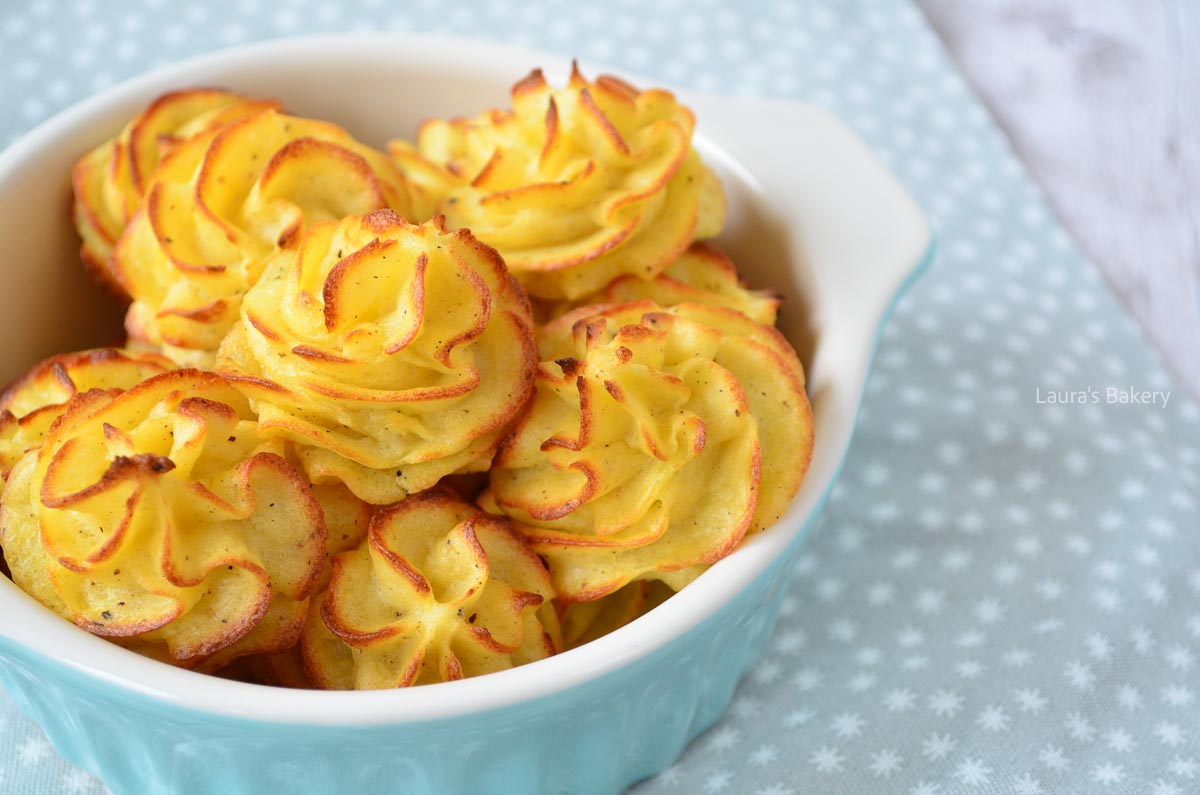
Making these pretty potato swirls is very straightforward and easy. You boil the potatoes in a large pot as you would for potato mash. Drain the potatoes and mash them until very smooth.
You can use a potato ricer for doing this. Do not use a stick blender as that will make the starch in the potatoes act like a glue and will not get you a very pleasant texture.
Add the egg yolk and the butter to the potatoes and stir it through. Season well with salt, pepper and nutmeg. You will have a smooth and creamy result.
Take a pastry bag and fit it with a large star tip (like the Wilton 1M) and pipe small swirls onto a baking sheet lined with parchment paper.
Bake the duchess potatoes for about 25 minutes in the preheated oven or until golden brown.
This duchess potatoes recipe is made with mashed potatoes, so starchy potatoes work best, something like Yukon Gold potatoes in the U.S.. It also helps to use a good potato masher, because you want a smooth mash to pipe into nice, neat swirls.
Now the good news is that you can also use other types of potatoes for making these pommes duchesse. Sweet potatoes will work and you could even use pumpkin puree for creating the swirls.
You can make these duchess potatoes in advance, which makes them perfect for prepping for your Christmas dinner. You can store either the potato mash or the potato swirls in the fridge for up to 1 day.
Definitely! Either baked or unbaked. If freezing unbaked, freeze them individually on a tray first, then transfer to a well-sealed freezer bag.
They’ll keep up to three months. If baking from frozen, just add a couple of extra minutes to the cook time. Check below on how best to reheat them.
Yes! You’ll just need to test the timing. In my experience they cook faster in the air fryer, so keep an eye on them.
Absolutely. That works just fine.
Yes, and that’s perfect for easy holiday prep or a dinner party. You can store the mashed potatoes or the piped potato swirls covered in the refrigerator for up to a day. You can also bake them first and reheat right before serving. Or freeze them, see above.
Bake them for about 10 minutes at 375°F (190°C). If reheating from frozen (already baked), add a few extra minutes.

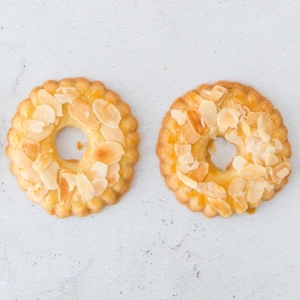
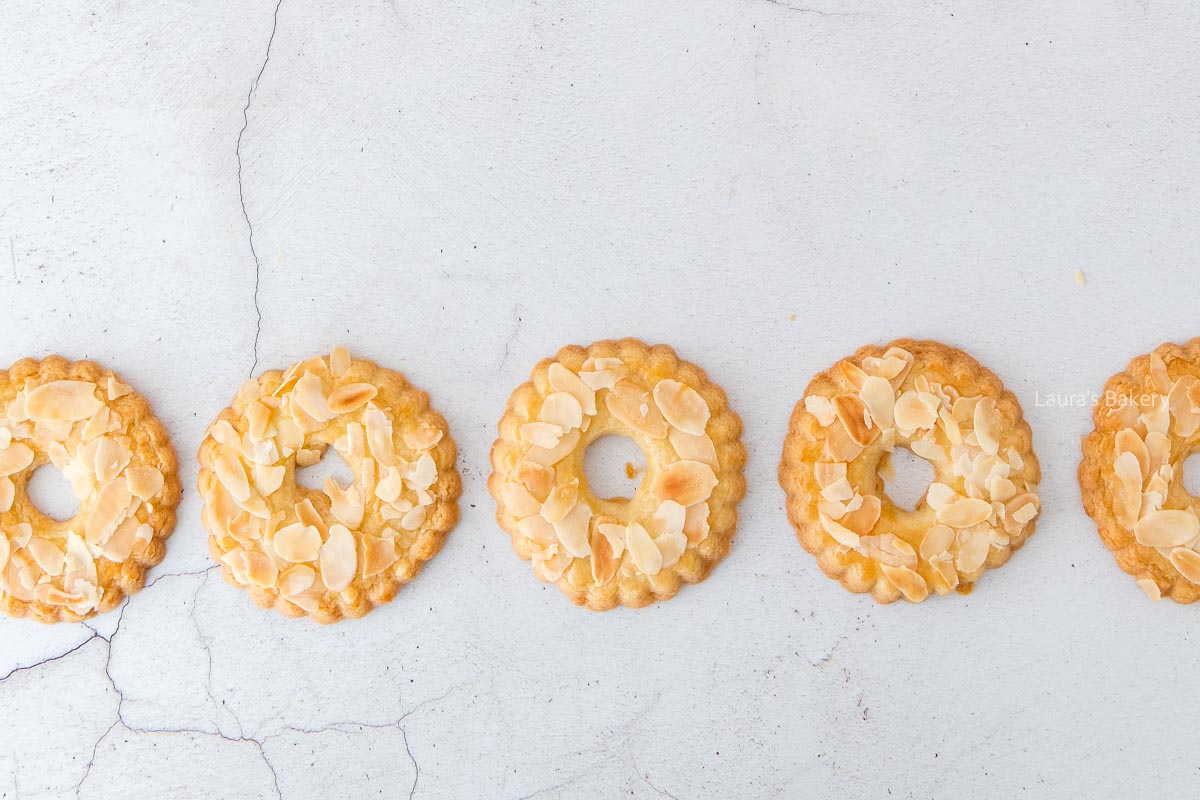
Today I am sharing one of my favorite Christmas cookies: Dutch Christmas wreath cookies or ‘kerstkransjes’, as we call them in the Netherlands. They’re perfect for the Christmas season, totally delicious and you can even hang them in the Christmas tree!
These cookies, in the shape of little Christmas wreaths are a classic during Dutch holiday season. They’re buttery, crunchy and delicious and once you’ve made them the first time, you will be hooked.
You can decorate the cookies with almond flakes or use pearl sugar. Both will be delicious!
You don’t need a lot of difficult ingredients for making these easy cookies.
You will find the full details and quantities in the recipe card below.
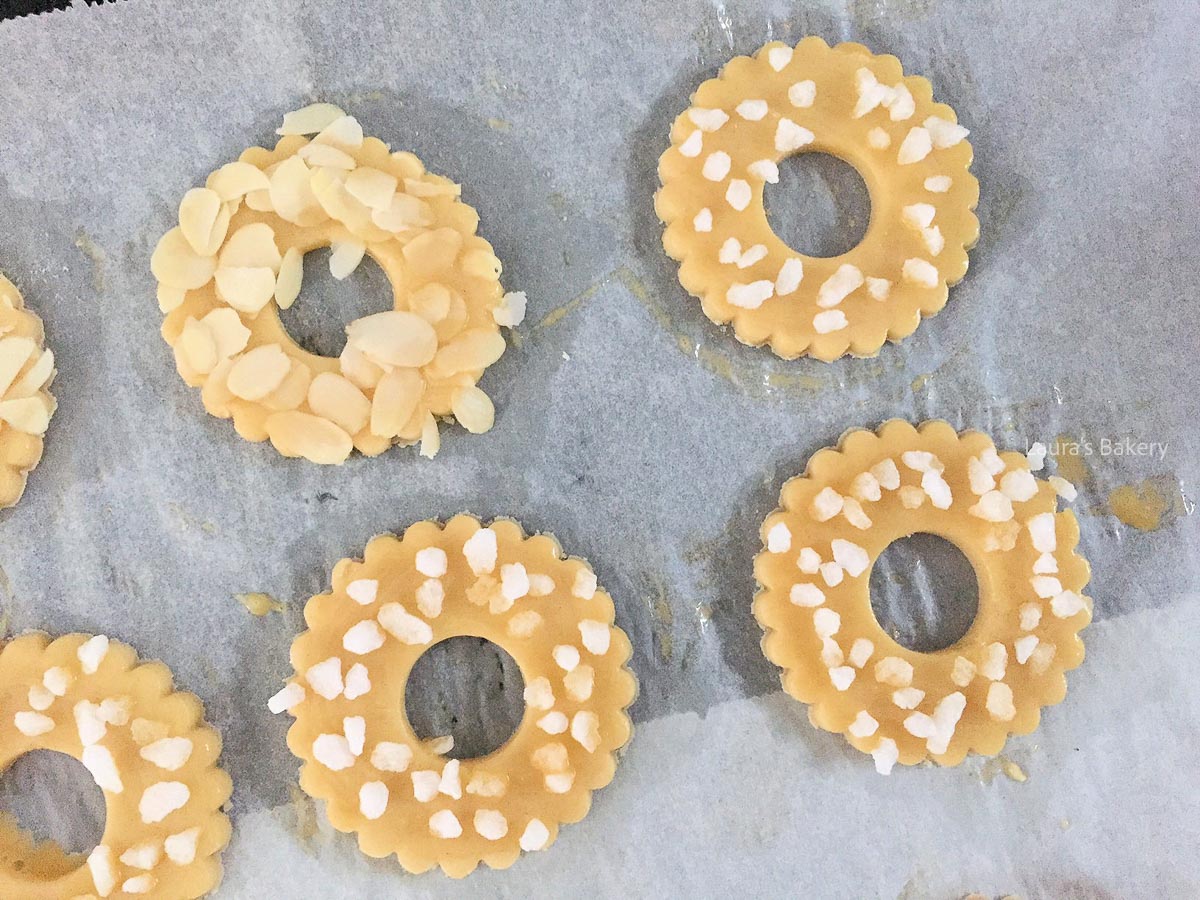
You start by combining the butter and both sugars and mix until it is creamy. Add the egg yolk and make sure it is fully combined.
Add the dry ingredients in the bowl and knead till a firm cookie dough forms. Wrap this in plastic and chill for at least an hour in the fridge. Check here why chilling your dough is so important!
Once the dough is properly chilled you can roll it out on a floured surface to about 5 mm/0,25 inch thick. You make the wreath shape by using a fluted round cookie cutter. I use one that is roughly 7 cm or 2.75 inches.
You can use different sizes if you want or use all the same size. Place the cookies on baking sheets lined with parchment paper.
The last step is to use a small round cutter to punch out the center hole. This is best done on the baking tray, so the cookies keep their shape.
Brush the cookies with the beaten egg and sprinkle with sliced almonds and/or pearl sugar.
Bake in the preheated oven for about 14-16 minutes or until golden brown. Let the cookies cool down so they get crunchy before removing them from the baking sheet.
These cookies are perfect for hanging on the tree. You can hang them directly on a branch, but it looks even nicer if you tie a ribbon through the hole and hang them that way.
Just keep in mind that after a few days in the tree, they’ll become soft and stale, so they won’t taste as good anymore.
Christmas wreath cookies are one of those cookies that everyone here knows and loves. Christmas day is not complete without a plate filled with these delicious butter cookies.
In an airtight container they will stay fresh for quite some time but they probably won’t last that long! And if you love baking fun Christmas cookies, make sure to try these melted snowman cookies too. Or check all cookie recipes here.
Like most cookies you can store these delicious “kerstkransjes” in a cookie jar or airtight container for 2-3 weeks. You can also store the dough in the fridge for up to two days.
Yes you can! In an airtight container, they will keep for up to 3 months. Thawing the cookies can affect the almonds or pearl sugar, they become a bit softer.
Yes you can freeze the dough and bake the cookies straight from the freezer. That will only work if you’ve already cut them into the right shape.
If you haven’t done that you can also store the dough in a log form, let it defrost and process the cookies as you would from freshly made dough.
Even if you follow a recipe exactly, this can happen. If your dough is sticky, add small amounts of flour (a tablespoon at a time) until it becomes workable. If your dough is too dry, try kneading it a bit longer. If it still cracks, add a tablespoon of milk or a small piece of butter and knead it in.
This is an important step, one that impatient home bakers sometimes skip. Don’t! Chilling allows the gluten to relax and helps the cookies become crisp. Resting the dough improves both flavor and texture. You can read my tips on chilling cookie dough here.
You can absolutely store it. Wrapped well, the dough will keep for up to two days in the refrigerator, or up to three months in the freezer.
Step one when rolling out cookie dough is to prevent it from sticking to your work surface and rolling pin. Dust your surface lightly with flour, but don’t overdo it or you’ll taste the extra flour in the cookies. A great trick is to roll the dough between two sheets of parchment paper.
Step two is making sure the dough is rolled out evenly. Adjustable rolling pins with rings on the sides are perfect for this. They keep the dough from becoming too thick or too thin in spots.
Once the dough is rolled out, you can cut the cookies. To make Christmas wreaths, you’ll need a larger fluted cutter (about 7 cm / 2.75 inches) and a small round cutter for the center hole. I often use a small cutter from a basic set, but you could also use the bottom of a piping tip.
You can’t check doneness by touch, they’ll always feel soft when they come out of the oven. They firm up as they cool. These cookies should turn a light golden brown while baking; that’s when they’re perfect. Check the tips for baking perfect cookies here.

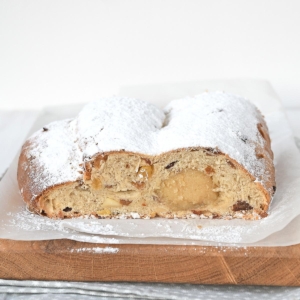
Today I’m sharing a recipe that absolutely had to be on Laura’s Bakery: the classic Christmas Stollen! This is the ultimate holiday bread and I’m sure many of you will serve it on your breakfast table during the Christmas season.
My dad is obsessed with this lightly sweet Christmas bread filled with almond paste and raisins, but I was never really a fan myself, until I took a bite of my homemade stollen.
This one I actually love! I’m the kind of person who wants a bit of almond paste in every bite and spreads it over the rest of the slice before eating it. Of course, that is totally optional but so tasty! Am I the only one who does this?
I’m listing the most important recipe ingredients below, but make sure to double-check quantities and full ingredients in the recipe card below. This recipe is easy to swap ingredients to your preference.
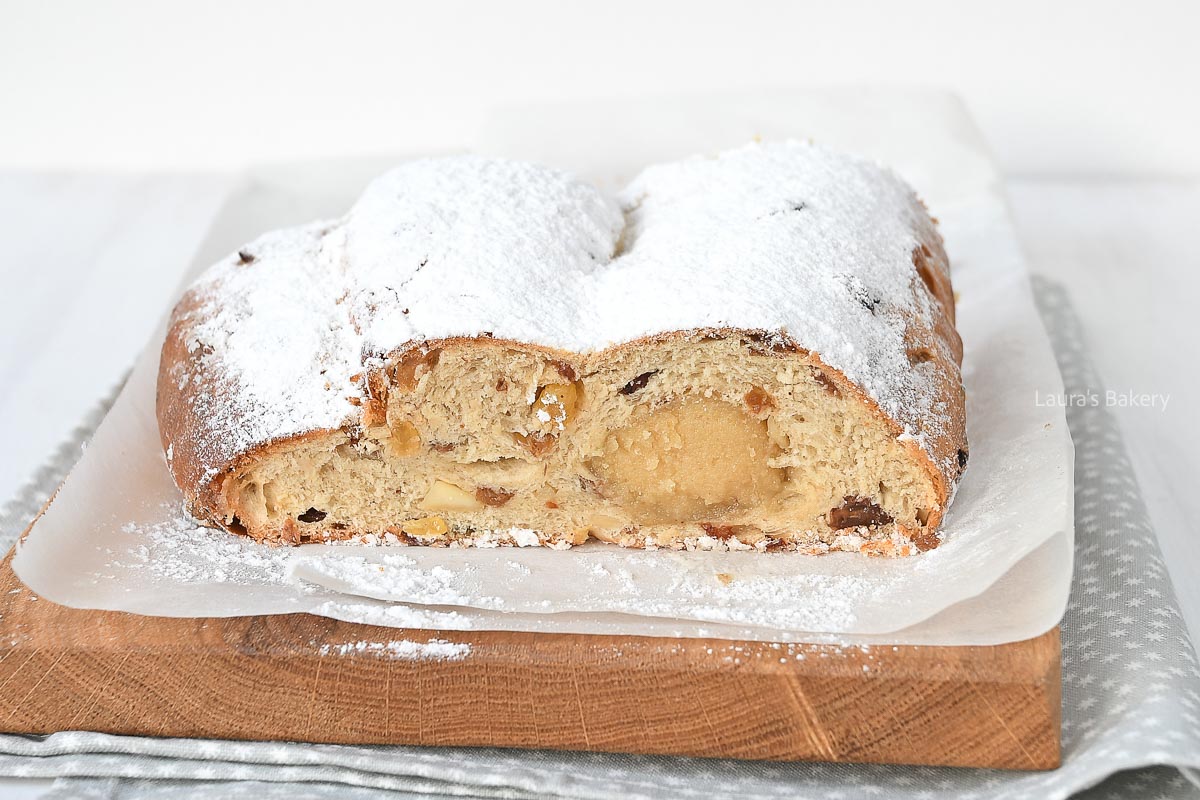
It’s really not difficult to make Christmas stollen at home. Still, I’ve noticed that bread recipes can intimidate a lot of home bakers.
That’s why I’m not only sharing this basic stollen recipe with you, but also a batch of frequently asked baking questions plus several step-by-step photos showing exactly how to shape the loaf and fill it with almond paste.
Just follow the instructions in the recipe card below and I’m sure you will make your own Christmas stollen for this holiday season!
The credit for this recipe goes to one of my favorite Dutch Bakers Levine. I did change the filling to my preference but the basic recipe is from her.
One more tip: try making mini stollens! This way you can easily leave the almond paste out for those who don’t like it or add an extra-thick layer for those who love it. And make sure to also check my other holiday recipes!
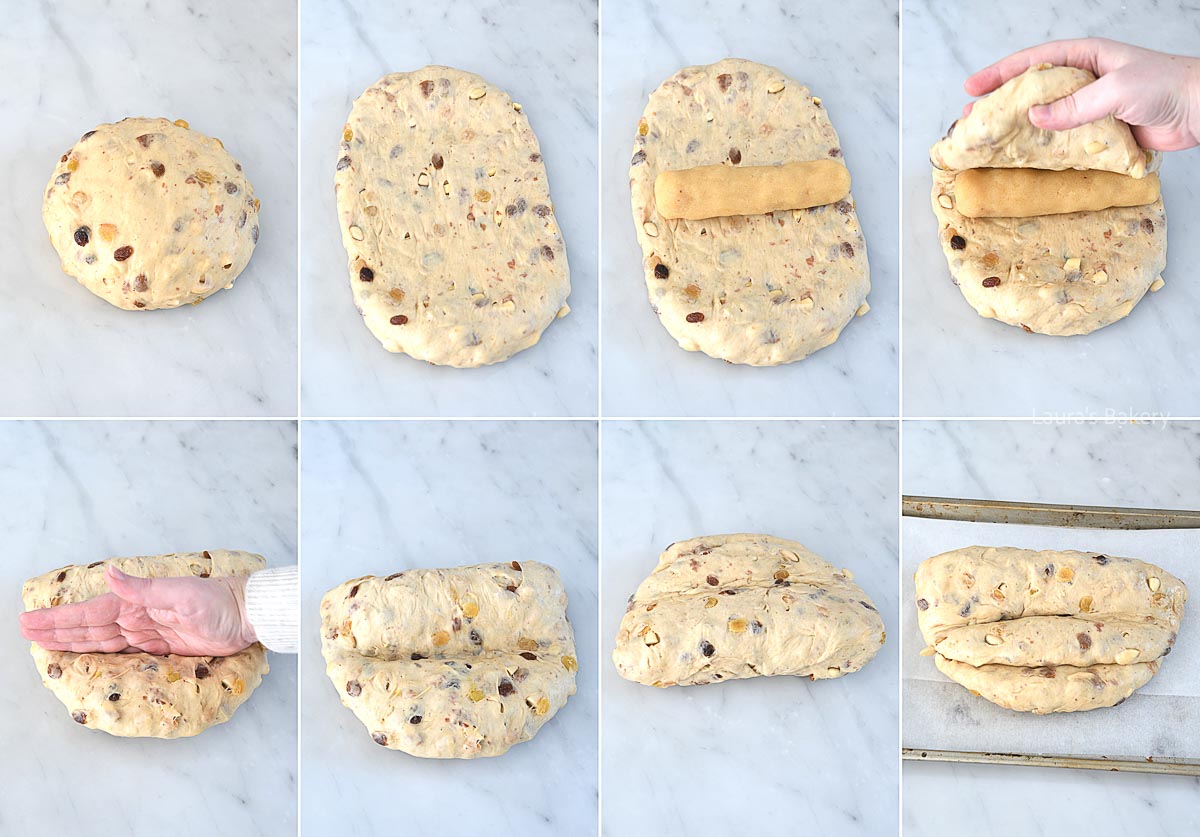
In most Dutch households, Christmas stollen is eaten generously during Christmas brunch or breakfast. Maybe you baked a delicious stollen yourself, but a family member also brings one along.
Either way, chances are you’ll end up with a few extra slices after the holidays.
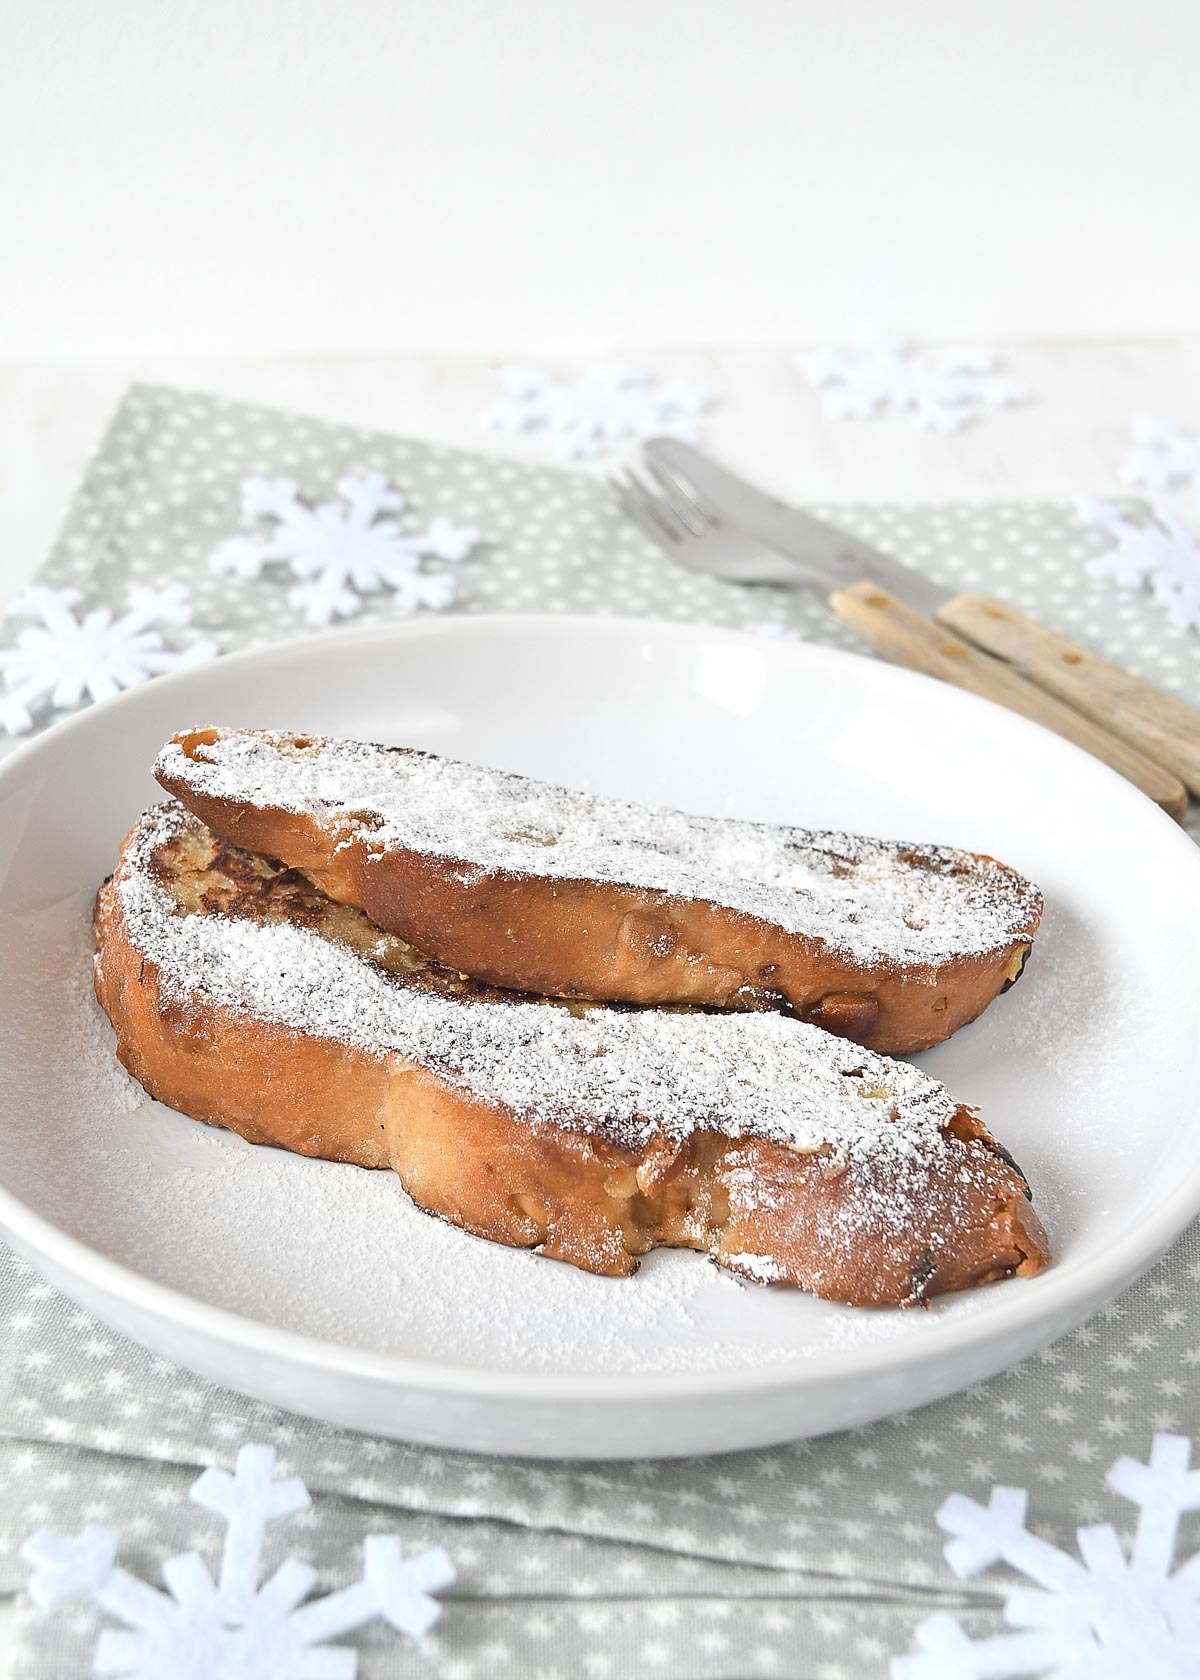
I have the perfect solution: make stollen French toast! It’s incredibly delicious and a nice change from what you’ve been eating the past couple of days.
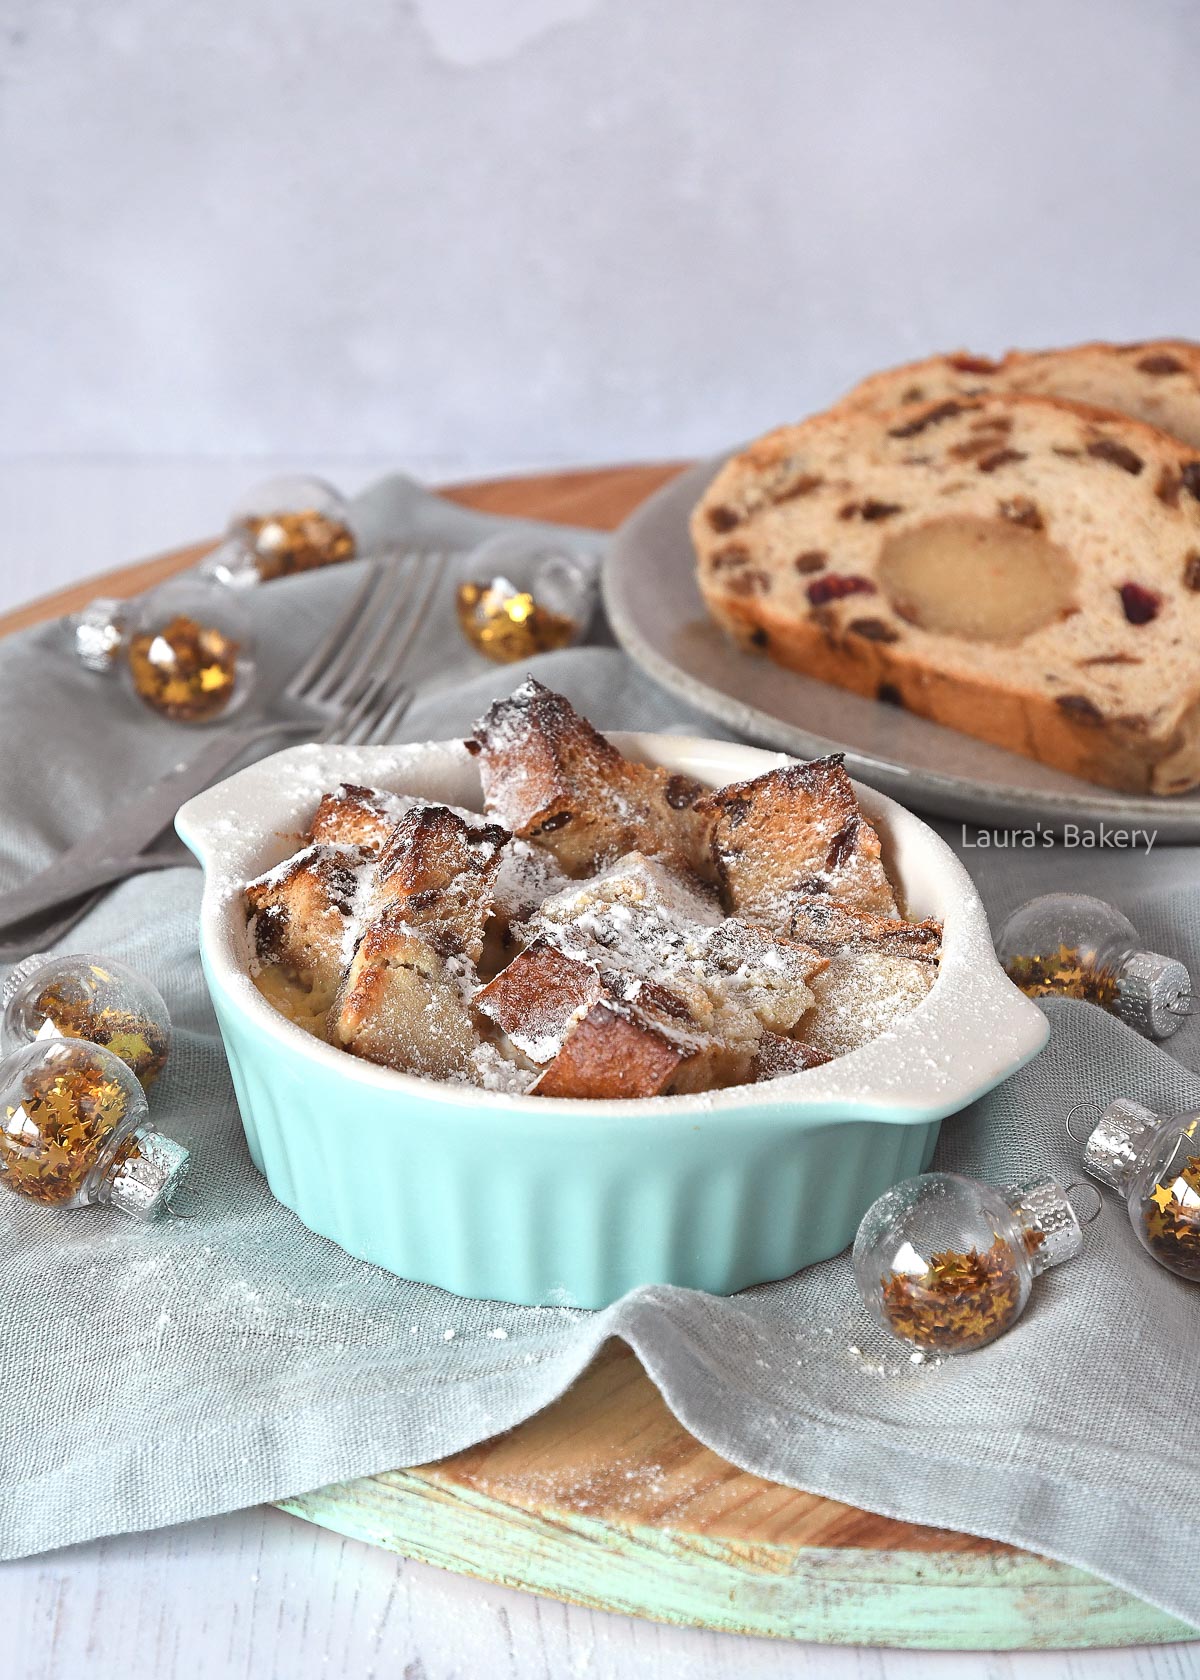
You can use this recipe for French toast but just change the bread for leftover stollen. Another great way to use extra’s is to make a bread pudding with stollen. I will soon be sharing that recipe too!
You can easily store Christmas stollen. Keep the bread in a plastic or paper bag. It might get a little drier after one or two days, but will still be delicious.
You can turn it into toast if it is too dry. If you want to keep the crunch of the crust, wrap the bread in a clean tea towel. It will stay delicious that way!
Absolutely. You can freeze the bread in slices for easy access and easier defrosting or you can freeze the whole bread. It will keep in the freezer for up to three months.
Absolutely. You can customize the filling to your taste. For example, I’m not a fan of candied citrus peel and I don’t like too many raisins, let alone currants. But if you love them, feel free to add extra raisins, candied peel, cranberries, or currants.
Yes, no problem at all. If you don’t like almonds, you could also replace them with nuts you do enjoy, such as hazelnuts or walnuts.
You can leave them out, make your own speculaas spices or replace them with gingerbread spices. Don’t add just cinnamon, too much cinnamon can negatively affect the rise of the bread (it interferes with the yeast). Instead of spices, you can also add an extract such as almond or lemon extract.
The bread was likely baked a little too long or too hot. Are you using a convection oven? If so, always reduce the temperature by 10–20% from what the recipe states (my recipes are based on a conventional oven).
Yes, I recommend it. It makes the almond paste smoother, richer, and more flavorful.
I haven’t tested it, but it should work. You might want to check out this post about storing bread dough in the fridge.

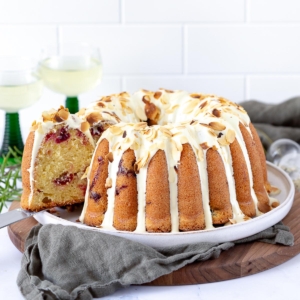
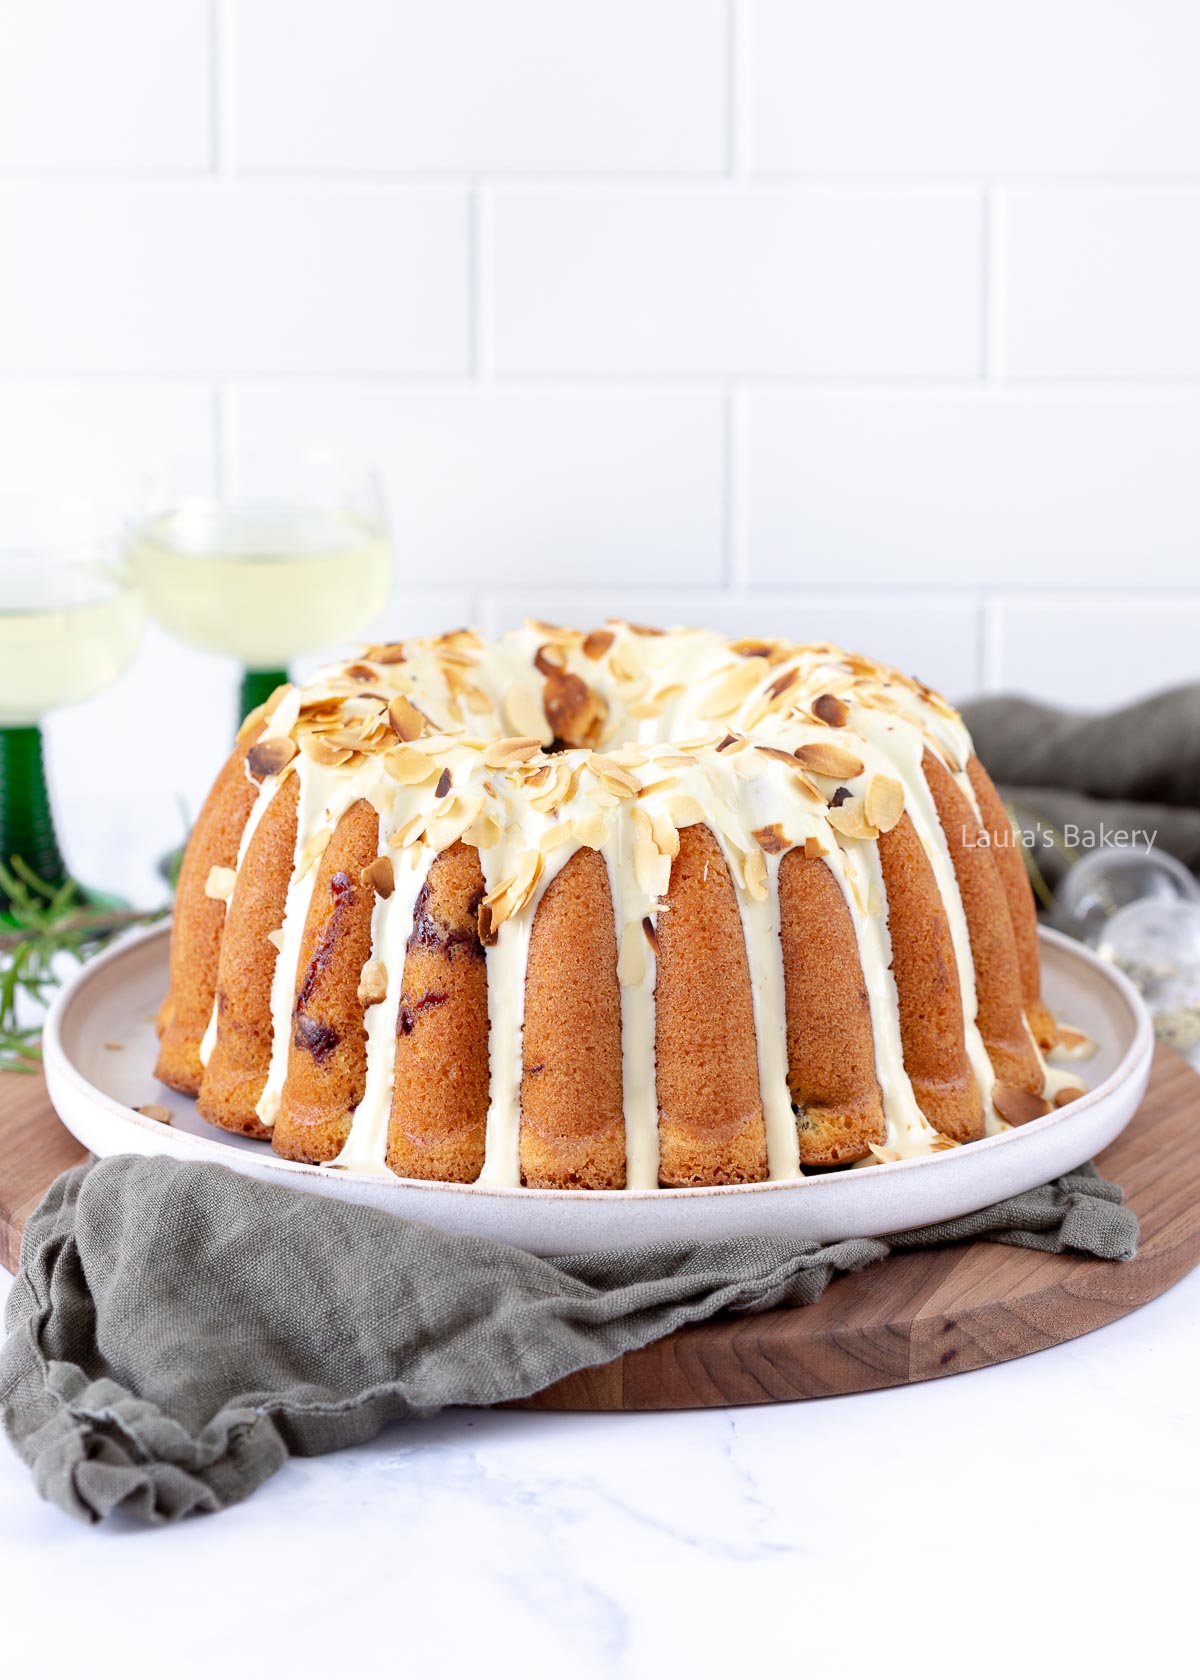
This orange cranberry Bundt cake with white chocolate is the ultimate Christmas Bundt cake. The fresh pop of cranberries is a delightful surprise in every bite of this sweet holiday cake.
Every cake baked in a bundt pan automatically looks beautiful, but this orange cranberry Bundt turned out especially stunning.
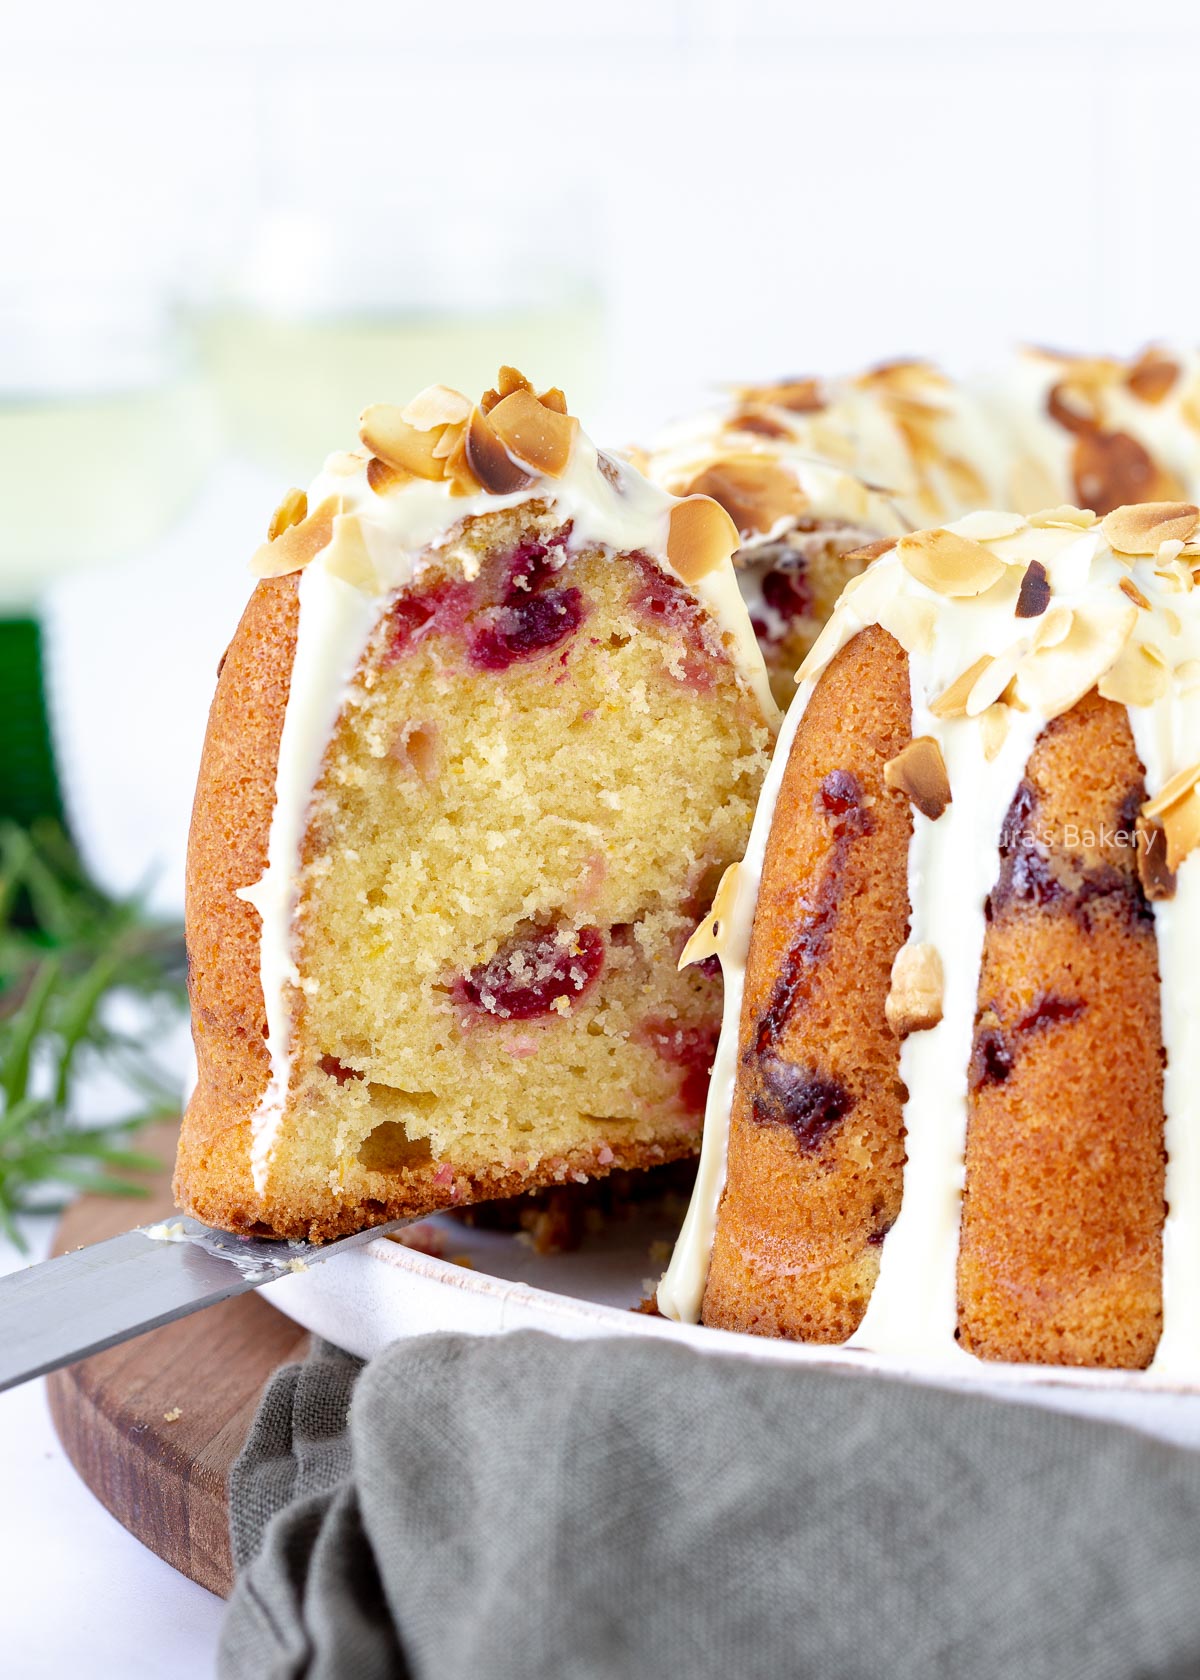
The white chocolate on the outside, combined with the toasted sliced almonds, adds a festive touch. And once you cut into it, those gorgeous red cranberries appear in every slice. A true Christmas Bundt cake!
The combination of a light, tender cake subtly flavored with orange, and the fresh, tart cranberries throughout (and let’s not forget that crisp white-chocolate layer on top!) works incredibly well together. I don’t say this often, but I just couldn’t stop eating this cake!
Making this delicious Christmas bundt is really quite easy. You start by beating the butter, sugar and vanilla together until fluffy and creamy. Now add the eggs one by one and make sure to mix each one in, before adding the next egg.
Next you add the flour, zest and the salt. Mix it together, but make sure not too overmix. Once it’s combined it’s fine.
The fresh cranberries are tossed together with about a tablespoon of flour. This will make sure they don’t all sink to the bottom of the bundt cake. Once coated, fold them through using a rubber spatula.
Make sure you prepare the bundt pan properly. Using a pastry brush, hit every corner of the bundt cake with a bit of butter. Dust it with flour and get rid of the excess flour by tapping it above the sink.
Add the batter into the tin and make sure it’s evenly distributed.
Bake the bundt cake for about 60-70 minutes or until a skewer comes out clean.
Let it cool in the pan for 10-15 minutes, then remove the cake and place on a wire rack to cool completely.
Once the cake is completely cooled you melt two third of the white chocolate using a double boiler. Remove from the heat and stir the remaining chocolate in until melted.
Drizzle this over the cake and sprinkle with some toasted almonds. The perfect bundt cake for the holiday season!
This delicious bundt cake can be stored at room temperature for 4-5 days. Make sure to wrap it properly and do not keep it in the fridge.
You can freeze the bundt cake as well. You can store the cranberry orange bundt for three months in the freezer.
Chocolate can look a bit different after freezing and thawing, so for the best result you freeze the cake without chocolate. After defrosting you can add the white chocolate and decorations.
There are three key steps:
No. Let the cake cool in the pan for 10-15 minutes outside of the oven. Then place a serving board on top of the pan and flip it over in one motion. If everything is prepared properly, the bundt will release without an issue.
I’m a big fan of Nordic Ware pans. They’re sturdy, long-lasting (I’ve used mine for as long as I can remember), and they come in many beautiful designs. For this recipe, I used the Nordic Ware Original Bundt pan.
Feel free to leave your question in the comments below, but chances are the answer is already covered in my in-depth article full of Bundt cake baking tips.
Absolutely. Just make sure to thaw them completely, drain any excess liquid, and gently pat them dry.
If you’re like me and love bundt cake, these will probably be perfect for you: