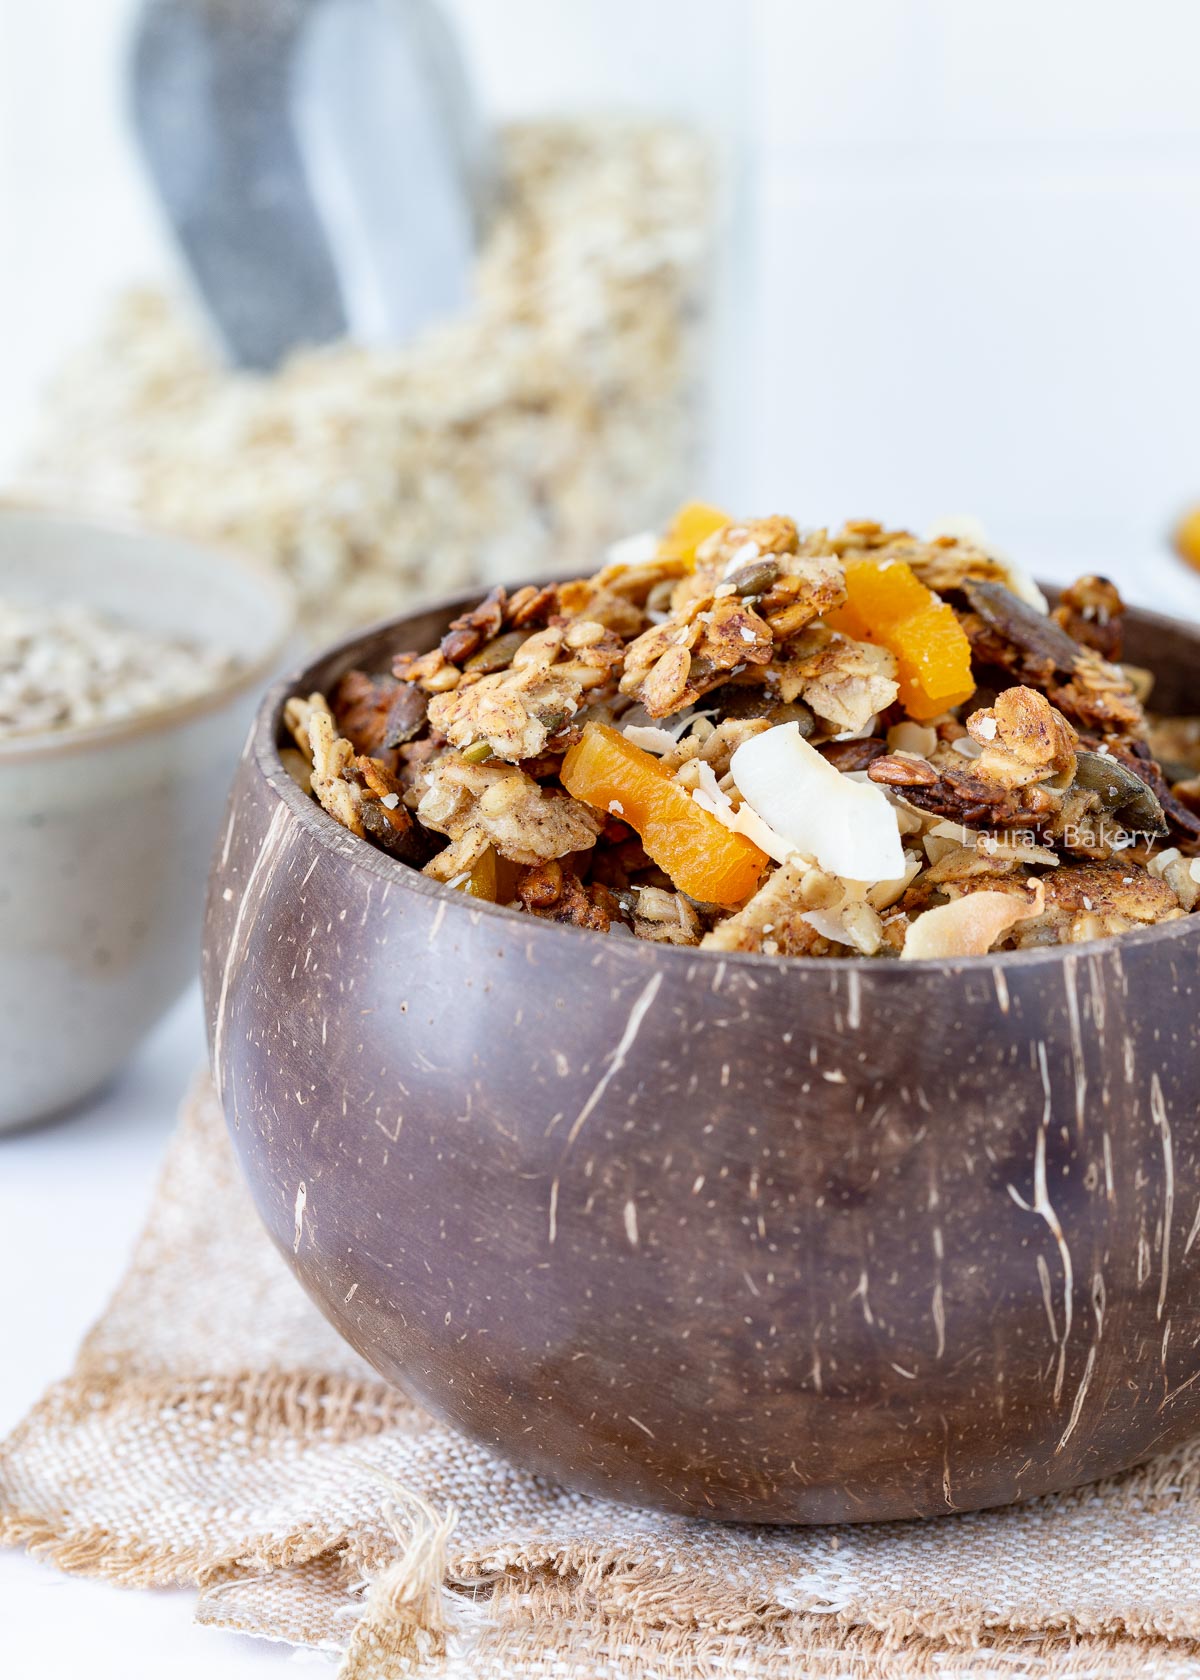
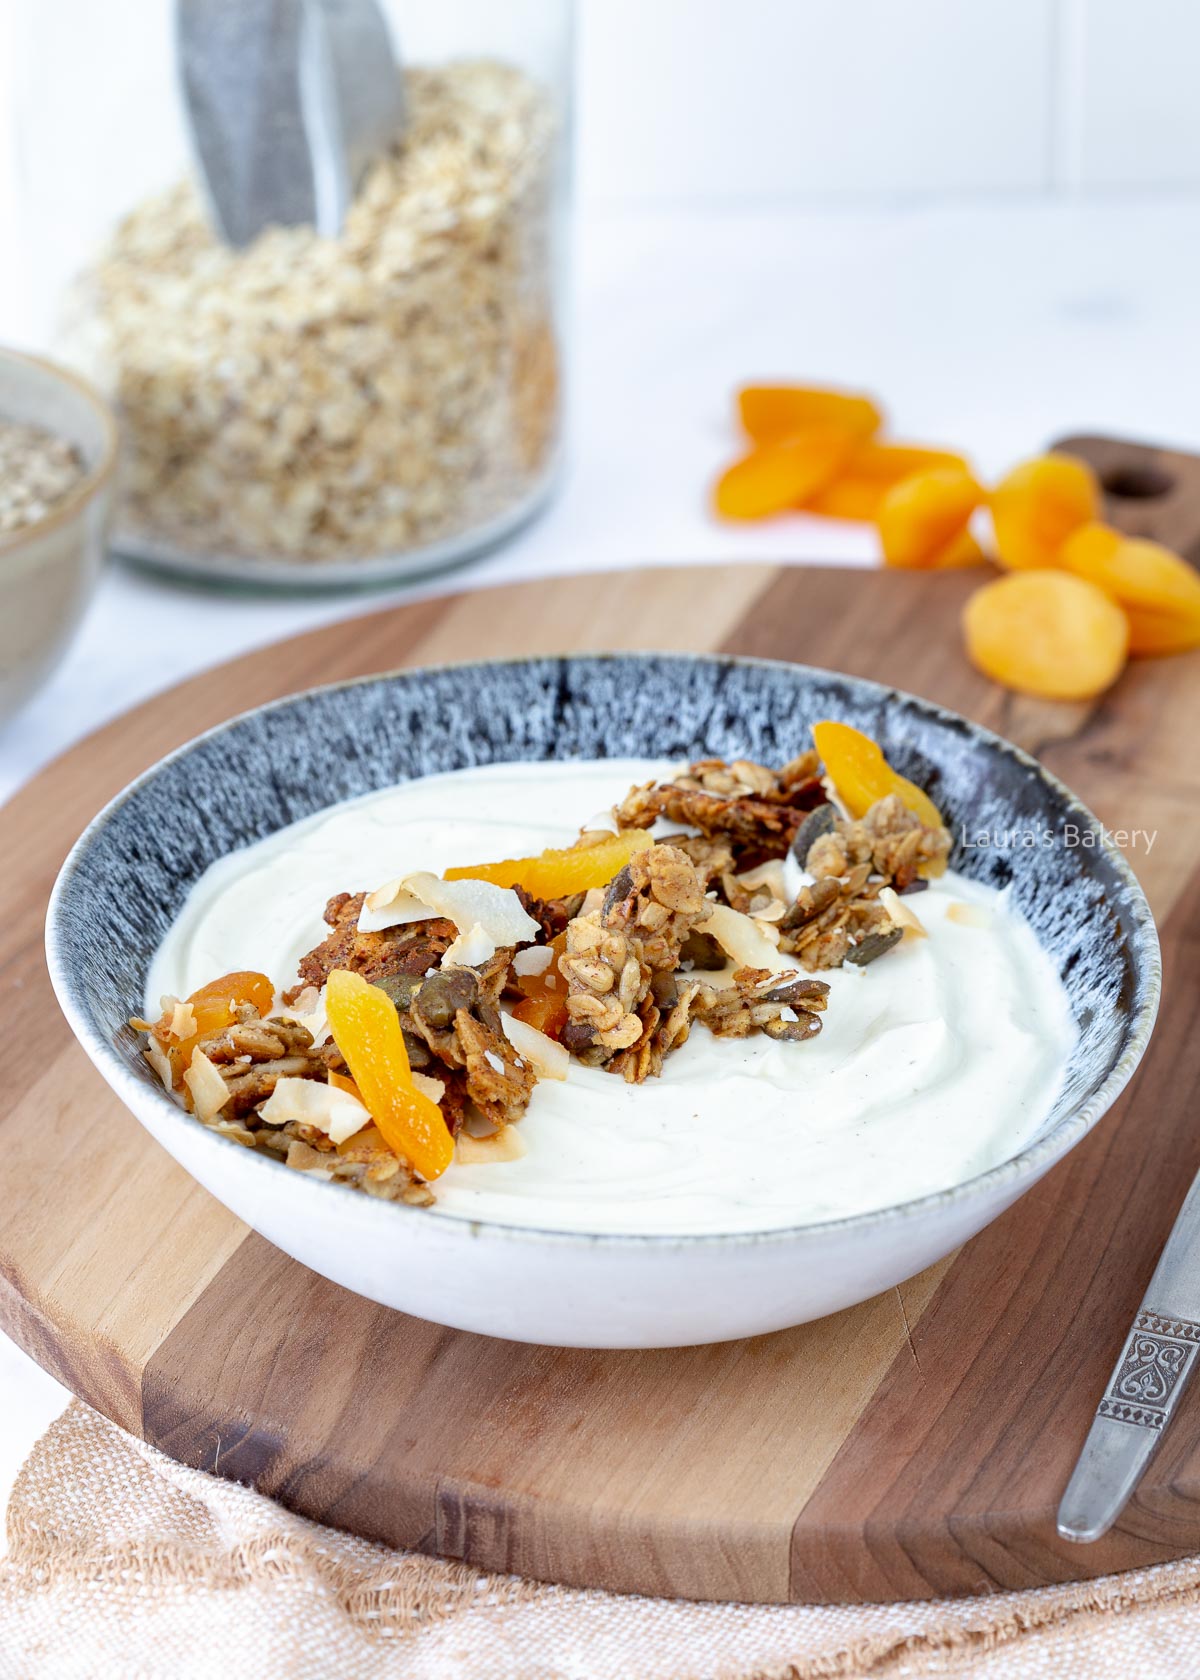
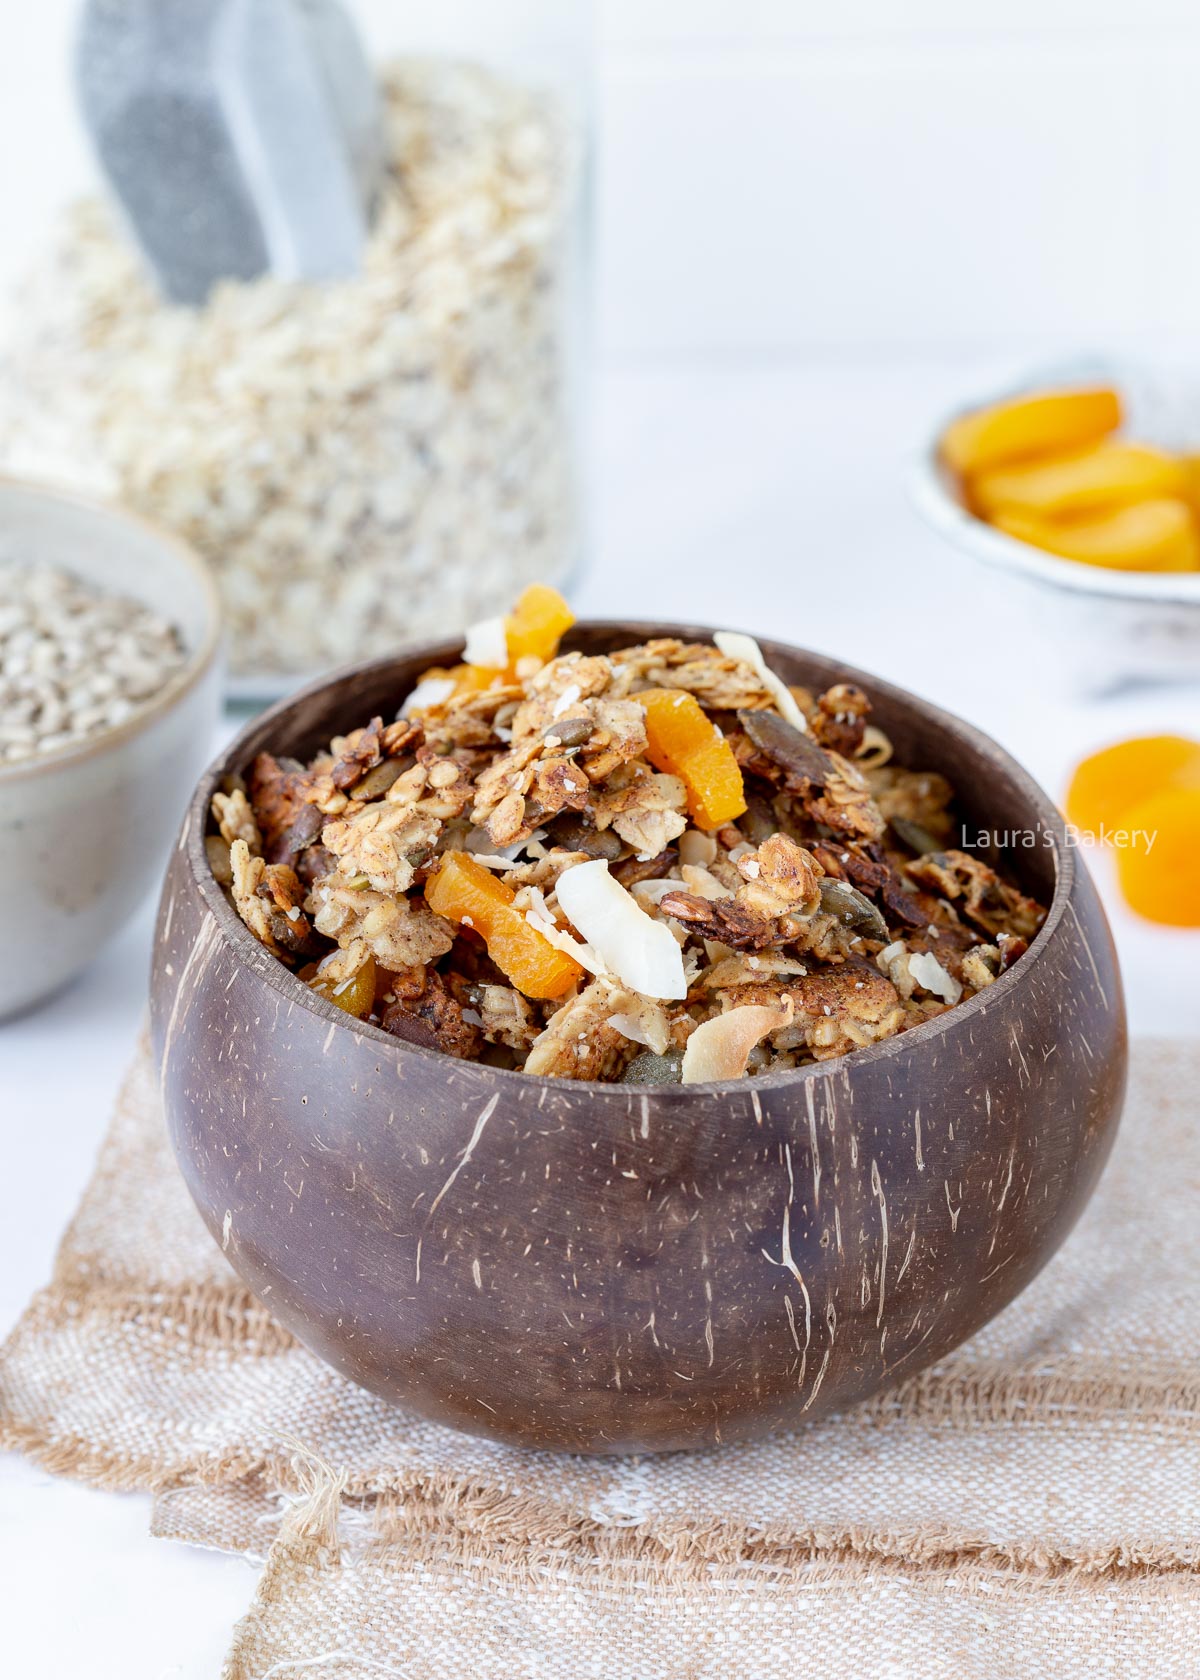
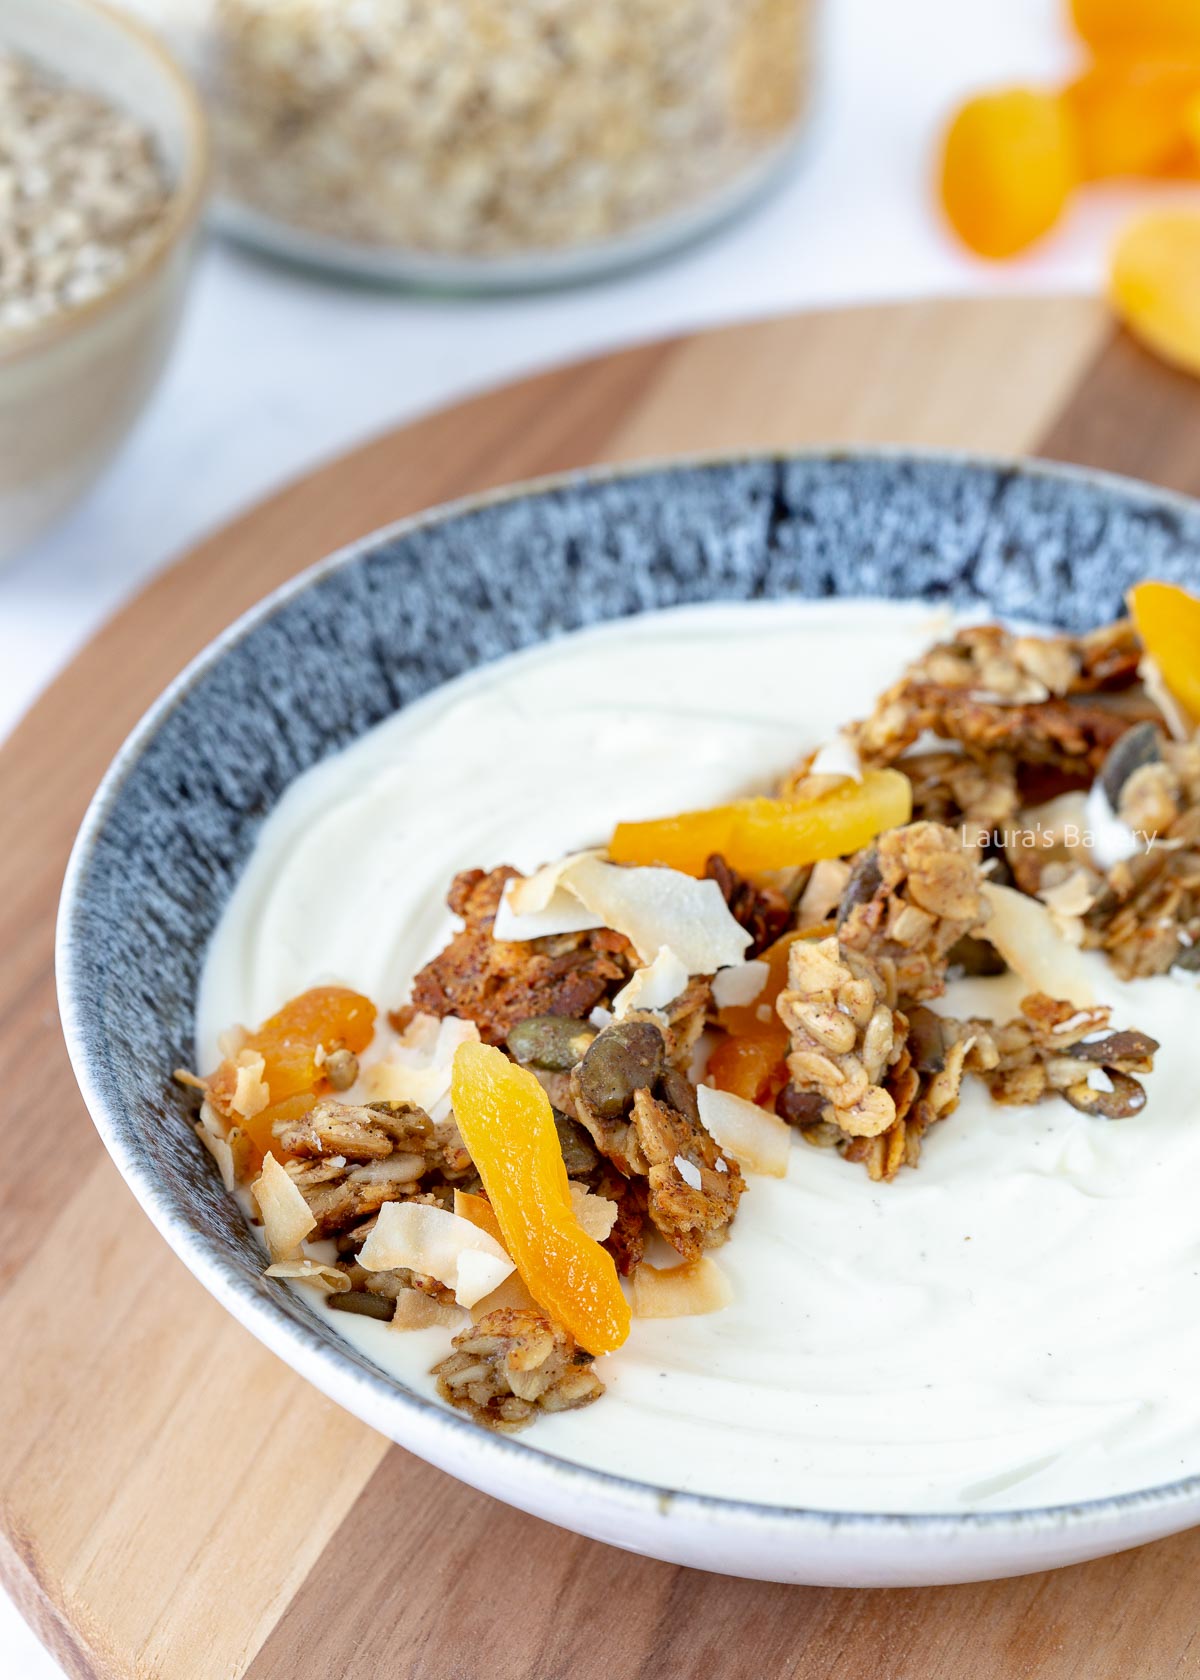
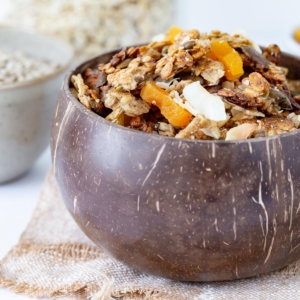
This easy nut free granola is packed with sunflower seeds, pumpkin seeds, coconut flakes and old-fashioned rolled oats. Plus it’s super easy to customize!

All the Crunch but Without the Nuts

Making this nut-free granola is as easy as making my classic homemade granola or a delicious coffee granola, but without the nuts.

  • Super easy to make
  • Great for anyone with a nut allergy or food allergies
  • Easy to customize

Recipe Ingredients

I’ll give you the basic ingredients for this granola without nuts, but it is incredibly easy to customize. Let me give you some tips below. Make sure to check exact quantities and ingredients in the recipe card.

  • oats – I like using old-fashioned rolled oats for this, but quick oats is an option too. Don’t use instant oats as that won’t have the same effect
  • coconut flakes – this is totally optional. If you’re not a fan of coconut leave them out. I add the coconut flakes after baking
  • pumpkin and sunflower seeds – these provide a lovely crunch
  • oil – I prefer using a neutral vegetable oil like sunflower oil. You can also use coconut oil but that will give a coconut flavor to everything
  • honey – honey creates those lovely sweet clusters of granola once baked. It can be replaced with maple syrup or another liquid sweetener
  • vanilla – I use the seeds from a vanilla pod for this recipe. A little bit of vanilla extract is an option too
  • apricots – I add the dried apricots after roasting the granola in the oven. You can swap for other kind of dried fruit as well (raisins, cranberries etc.)
  • salt – a small pinch of salt brings out the other flavors in the granola
Nut free granola-1

How to Make Nut-Free Granola

For making this homemade nut-free granola recipe you start by taking a large mixing bowl and adding all the dry ingredients (except the coconut flakes and the dried apricots) to it.

Stir it well and add the dry ingredients. Mix it through so all ingredients have a bit of the liquid ingredients.

First toast the coconut flakes separately for just a few minutes. They brown quickly and if you add them to the granola they might become too dark. Set them aside while you toast the granola.

Take a large baking sheet lined with parchment paper and add the granola mixture on top. Spread it out in an even layer that is not too thick.

The granola will take about 15 to 18 minutes to turn lightly golden. Stir it through halfway so it bakes evenly.

Let the granola cool down completely.

Slice the apricots into small strips and stir into the cooled granola along with the toasted coconut flakes.

Variations to Nut-Free Granola

One of the fun things of making this homemade granola recipe is that it is super easy to customize and will be so much tastier than any store-bought granola. But there are endless variations possible so I’ll give you a few suggestions of what to add or extract from the recipe.

  • flax seeds
  • chia seeds
  • chocolate chips (add those after baking!)
  • banana chips (also add those after baking)

You can leave out the coconut flakes as well as the apricots and replace them with:

  • raisins
  • currants
  • dried cranberries
  • chopped dried figs
  • dried prunes
Nut free granola-3

​Storing Nut-Free Granola

If you make sure the granola is completely cooled before you add it to an airtight container it lasts surprisingly long. It will last at least two weeks but probably a lot longer than that.

Can I freeze nut-free granola?

Yes. Granola freezes very well. Store it in a freezer-safe container or bag for up to 3 months. Let it come to room temperature before serving.

Tips for the Ultimate Granola Crunch

Everyone wants a crunchy granola to sprinkle over their yogurt. My granola recipes are designed to deliver exactly that, but here are my best tips for making perfectly crunchy granola every time:

  • Use Liquid Sweetener and Oil – use a combination of honey or maple syrup and a neutral vegetable oil. Personally, I prefer sunflower oil or melted refined coconut oil because they work particularly well.
  • Mix Thoroughly – make sure all of the oats are evenly coated with the honey or maple syrup and oil mixture. Thorough mixing ensures every oat gets covered, which helps create those crunchy clusters.
  • Choose Old-Fashioned Rolled Oats – use old-fashioned rolled oats rather than quick oats. They crisp up much better during baking.
  • Let It Cool Completely – allow the granola to cool completely on the parchment-lined baking sheet after baking. You can remove the baking sheet from the oven and place it on the counter, but don’t disturb the granola too much. Just like cookies, granola becomes fully crisp as it cools.
  • Add Dried Fruit After Baking – always add dried fruit after the granola has baked and cooled, or even just before serving.
Nut free granola-2

FAQ Nut-Free Granola

Can I make this granola completely allergy-friendly?

This recipe is naturally nut-free, but always check ingredient labels if you’re baking for someone with a nut allergy. Oats, seeds, dried fruit, and coconut products can sometimes be processed in facilities that also handle nuts.

Is coconut considered a nut?

Despite its name, coconut is technically a fruit, not a tree nut. Many people with tree nut allergies can safely eat coconut, but allergies vary from person to person. If you’re unsure, consult your doctor or allergist.

Can I leave out the coconut flakes?

Absolutely. The coconut flakes add flavor and texture, but you can simply omit them or replace them with flax seeds, chia seeds, banana chips, or chocolate chips.

Can I use maple syrup instead of honey?

Yes. Maple syrup works very well in this recipe and makes the granola suitable for a vegan diet. The flavor will be slightly different but equally delicious.

Why isn't my granola crunchy?

The most common reason is that the granola hasn’t cooled completely. Granola continues to crisp up as it cools. Also, make sure the oats are evenly coated with the honey and oil mixture before baking.

What can I serve with nut-free granola?

It’s delicious sprinkled over yogurt, smoothie bowls, oatmeal, or fresh fruit. You can also enjoy it with milk as a breakfast cereal or simply eat it by the handful as a snack.

Can I reduce the sweetness?

You can slightly reduce the honey or maple syrup, but keep in mind that the sweetener also helps create the crunchy texture and clusters that make homemade granola so delicious.

Nut free granola

Save
Print recipe

No votes yet

Nut-Free Granola

Delicious granola that is perfect for anyone with a nut allergy!
Preparation5 minutes
Cooking20 minutes
Total25 minutes
Servings: 1 large jar

Ingredients 

  • 200 grams old-fashioned rolled oats
  • 100 grams coconut flakes or coconut chips
  • 75 grams pumpkin seeds
  • 50 grams sunflower seeds
  • 4 tbsp vegetable oil
  • 4 tbsp honey
  • Seeds from 1 vanilla bean
  • Pinch of salt
  • 80 grams dried apricots

Instructions

  • Toast the coconut flakes or chips in a 350°F/ 180°C oven (conventional oven) for a few minutes, until lightly golden brown. Set aside until the granola has finished baking.
  • In a large bowl, combine the rolled oats, pumpkin seeds, sunflower seeds, vegetable oil, honey, vanilla bean seeds, and salt. Stir until everything is well coated.
  • Spread the mixture evenly onto a parchment-lined baking sheet.
  • Bake at 350°F /180°C (conventional oven) for 15-18 minutes, or until lightly golden. Stir once halfway through baking.
  • Let the granola cool completely.
  • Slice the dried apricots into strips and stir them into the cooled granola along with the toasted coconut flakes.
  • Store in an airtight jar.

Tips

  • Some dried apricots contain a bit more moisture than others. If they seem too soft, they can make the granola lose its crunch. To prevent this, place the apricot strips in the still-warm oven after baking the granola. Turn the oven off, the residual heat is enough to dry them slightly.
  • You can also leave the dried apricots out entirely and simply add them to individual servings right before sprinkling the granola over yogurt.
How to store

Stored in an airtight container the nut-free granola keeps for at least two weeks.

Links in this article may be affiliate links. If you purchase something through such a link, I will receive a small commission, without you paying anything extra.

Leave a comment

Your email address will not be published. Required fields are marked *

Recipe Rating