What kind of rum is best for a mojito?
Use white rum (also known as light or silver rum). It’s smoother and blends better with the citrus and mint.

A Mojito cocktail is one of those drinks that represent summer for me. I never used to make cocktails at home. I only ordered them when I went out in the evening. Until recently, that is.
Now, my collection of drinks at home is gradually expanding. I started with the ingredients for a mojito. When I go out for a cocktail, it’s usually a mojito.
I had my last mojito on a holiday in Peru, where they weren’t all that great, actually. Which in itself is already quite an achievement because let’s face it; making a mojito requires just a few simple ingredients. So what can go wrong?
As always make sure to check the ingredients and quantities in the recipe card below.

What is better than a delicious fresh mojito cocktail during the hot days of summer? With this easy mojito recipe you make your own from scratch.
I see some recipes use a simple syrup instead of regular sugar for making a mojito and that is also an option. It will make sure that the sugar is dissolved properly. But I find that just mixing the sugar with the lime and the rum does the trick just fine.
For releasing the mint aroma’s you can crush it in your hand or use a firm stick to do so. Next you add a handful of ice to the glass and serve with some extra mint and/or lime.
I would not recommend storing mojito. It’s best served right away and made fresh. If you want you can squeeze the lime juice in advance.
I like a few snacks or appetizers when enjoying my mojito, maybe you will like these too:
Use white rum (also known as light or silver rum). It’s smoother and blends better with the citrus and mint.
Fresh lime juice is strongly recommended for the best flavor, but bottled will make it even quicker.
Usually 8–12 mint leaves per drink. Too many can make the drink bitter.

The perfect summer recipe with a Dutch twist: stroopwafel ice cream! You will absolutely love it.
You already know I have this love for all things stroopwafel. I’ve already shared my favorite recipe for making Dutch stroopwafels yourself. If you can’t be bothered to make the stroopwafels, you can use other waffles of your own choice.
Stroopwafels are essentially (a sort of) syrup waffles and nothing is more tasty than a warm stroopwafel if you ask me. Stroopwafel is a very popular Dutch cookie, and on my Dutch website, this is one of the favorite flavors of ice cream.
You really only need about 4 ingredients for this simple recipe.

Making the ice cream is super easy. You whip the heavy cream until you have stiff peaks. Fold the cinnamon and the condensed milk in until smooth. Chop the stroopwafel cookies into small pieces and fold them into the mixture.
Add to a airtight container and – if you want – add some of the caramel on top. Use a fork or a skewer to mix the caramel, making a swirl.
Place it into the freezer and let it set in about 6 hours.
You can store the ice cream with stroopwafels in the freezer for up to three months. But I guarantee it will be finished so much faster than that!
You can really add whatever cookie you like. The advantage of the stroopwafel is that the cookies stay firmer due to their texture, but in general if you add the cookies at the last minute, fold it in and place it in the freezer, the cookies will retain some of their crunch.
Instead of the caramel you can also use a chocolate sauce and swirl that through the ice cream. You can also add some chopped dark chocolate or add some vanilla extract for a different flavor.
Really, with this kind of ice cream, your only limit is your imagination. Feel free to mix in whatever you like: marshmallows, mini fudge, chopped cookies, chopped chocolate or whatever else you fancy.
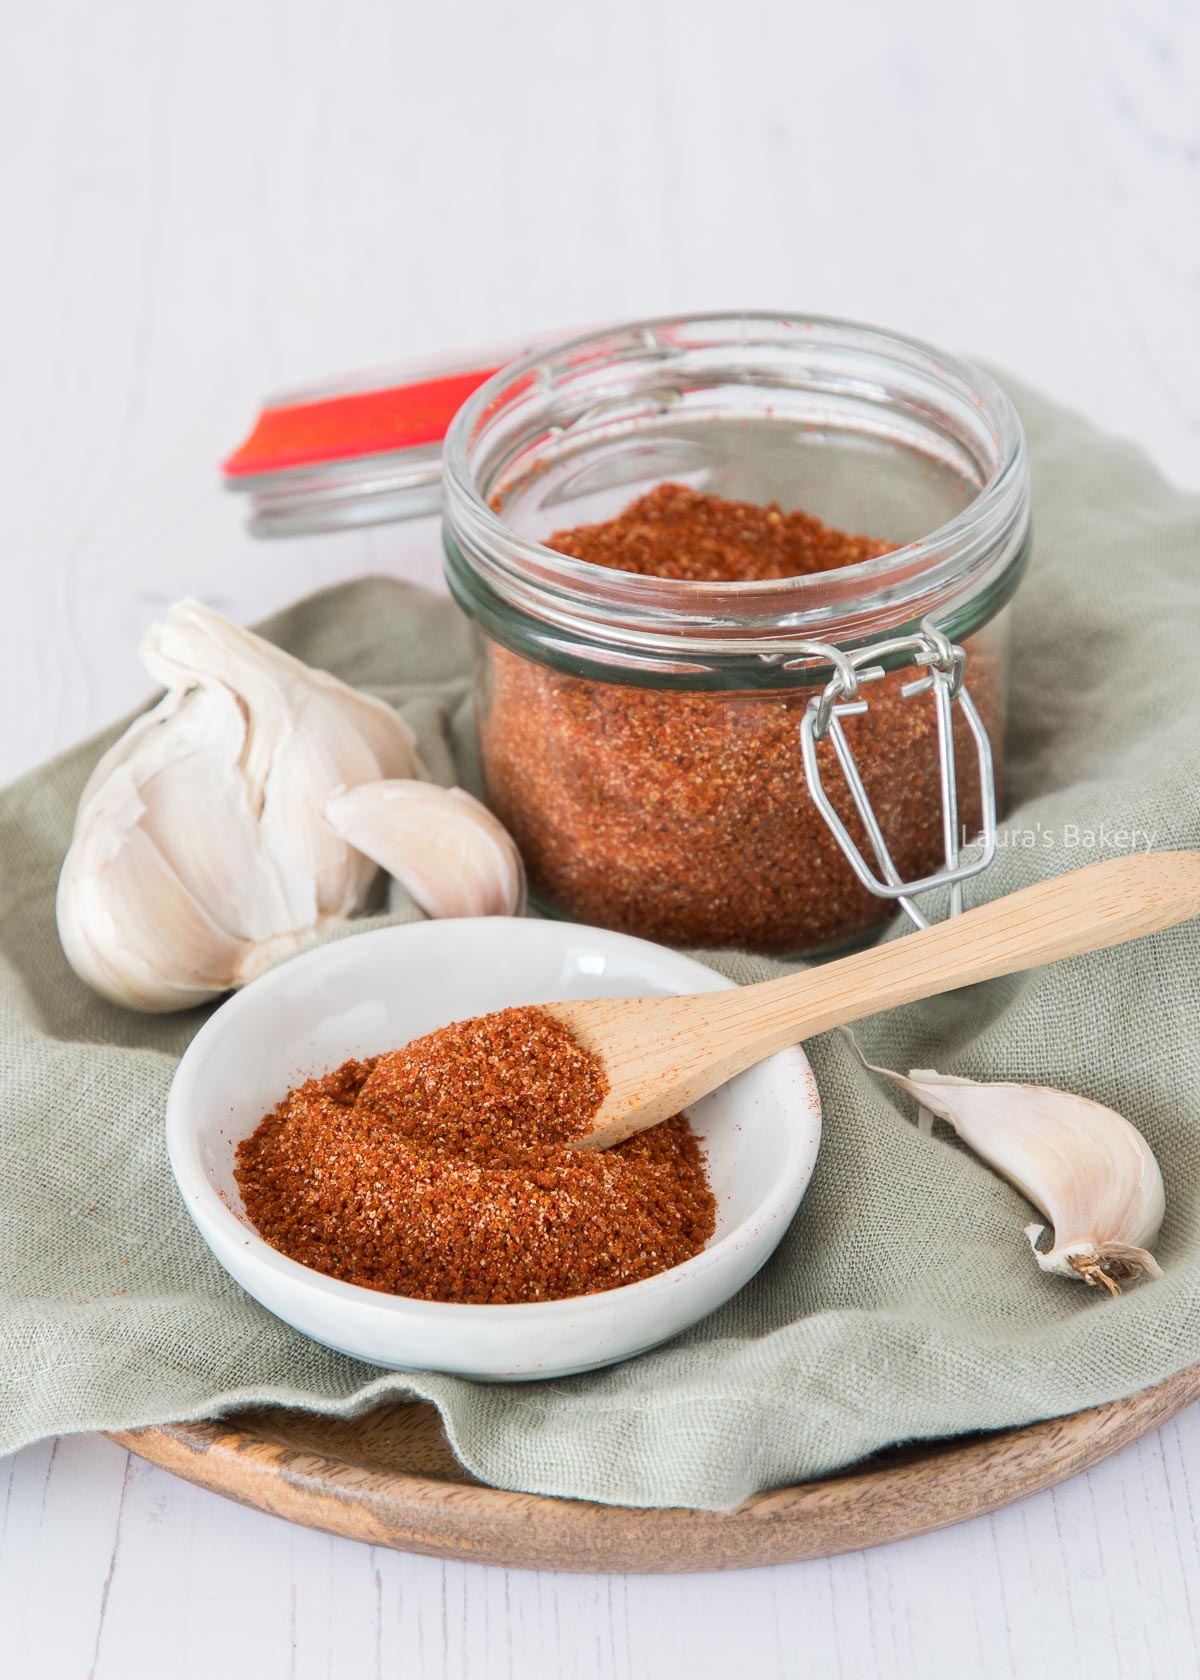
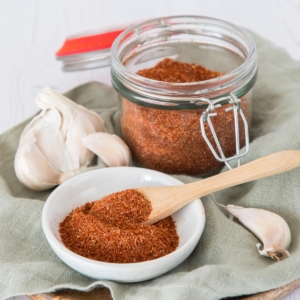
Yes, it is barbecue season! So I thought it would be the perfect time to give you my favorite barbecue chicken spice rub recipe, which you can also use on other ingredients like vegetables.
Of course I know you can buy any spice mixture at the grocery stores but most of the mixtures have been there for a while, plus they usually contain ingredients you might not particularly like.
Making your own dry rub recipe has simply the best flavor! Plus it is super easy to do!
The fun thing with this spice rub recipe is that you can easily vary with whatever spices you like. Or add a bit more of one. The basis of your homemade bbq chicken rub is as follows:
Now in addition to the above you can give the barbecue spice rub any kind of additional spices you like. Think about adding cumin or ground cilantro or a generous amount of black pepper. Check the recipe card for the full details on what I added specifically.
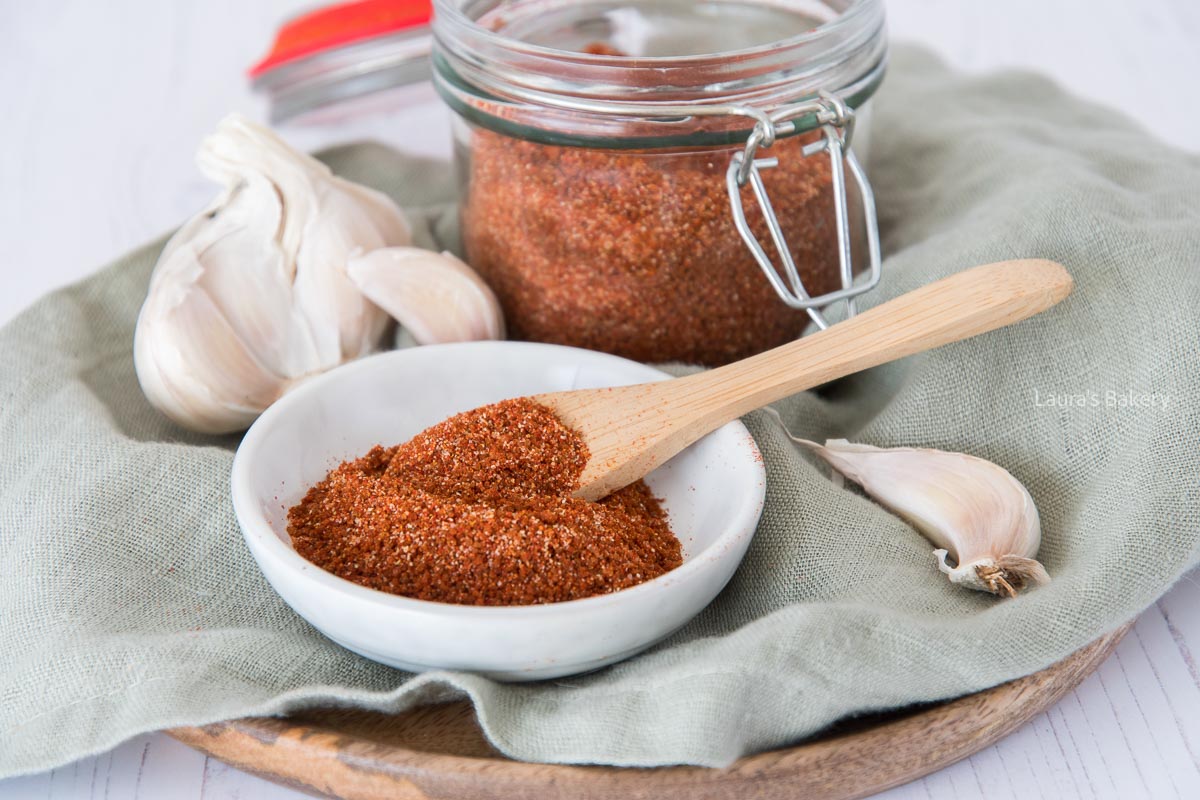
You can use the barbecue chicken spice rub both dry as well as for a marinade. It would be awesome on chicken breasts, chicken drumsticks or pork chops.
You can mix the spice rub with a bit of olive oil to create an easy marinade. Rub it on vegetable skewers, any cut of chicken or a whole chicken and let it sit for a while.
You can store the spice rub for quite a long time in an airtight container. Keep in mind that spices lose much flavor after a while, so it is best not to make a really big batch.
Unless, of course, you know you’ll be using it a lot this summer. You can store it at room temperature, preferably in a dark place.
As for how long you can store it? Check the expiration dates of the original spices you used but more importantly, use your nose. If the smell starts to go you know your spices need replacement.
Sure. if you don’t like spicy you can leave out the cayenne or use less of it.
For a dry spice mix, use powdered/dried ingredients only. Fresh herbs and garlic will shorten shelf life and could spoil in storage.
Use 1 to 1.5 tablespoons per pound of chicken. Adjust depending on how bold you want the flavor.
Yes! It works well in all cooking methods – just make sure to coat the chicken evenly and consider a light coating of oil to help the spices stick.

I drink almost exclusively water and tea, but I like to switch it up in the summer with a glass of iced tea or lemonade. Now that I know how to make delicious lemon iced tea, it’s even better.
Just like with lemonade, you can control how strong and sweet your iced tea is because you can easily dilute it with water. I think that’s ideal because, although I have a sweet tooth, I don’t need my drinks to be sweet.
I’m the type of person who makes lemonade with a glass of water and a few drops of syrup. That gives it enough flavor for me. Of course, I don’t dilute this iced tea as much because it’s too delicious.

If you’re looking for a delicious refreshing drink this summer? Look no further!

As always make sure to check the full list of ingredients as well as the instructions and quantities in the recipe card below.
Of course making this more or less classic iced tea is not complicated at all. You start by making the tea. Make it stronger than you would normally make it. Let it cool down while you make the sugar syrup.
For that you combine the sugar with 3/4 cups of water. Heat the mixture until the sugar is completely dissolved. Take off the heat and add the lemon juice. Allow it to cool. Now combine the two together and pour into jugs to place in the fridge. It’s delicious served with lemon ricotta cake for instance.
You can store the sweet tea in the fridge for several days.
Baking tip: A delicious homemade drink like this looks great served in a beautiful glass with a stainless steel straw. The iced tea would also be delicious with a splash of elderflower syrup added. or have a look at this homemade lemonade recipe as well.

Black tea is the classic choice, especially varieties like English Breakfast or Ceylon. However, green tea, white tea, or even herbal teas (like hibiscus) can also work depending on your flavor preferences.
Fresh lemon is best for flavor and aroma. Bottled lemon juice can be used in a pinch but may taste more acidic or artificial.
Cool it gradually before refrigerating, and avoid shocking it with ice while it’s hot. Also, use soft or filtered water if possible.
Yes! Mint, ginger, berries, or cucumber all pair nicely with lemon and can be added for extra flavor.

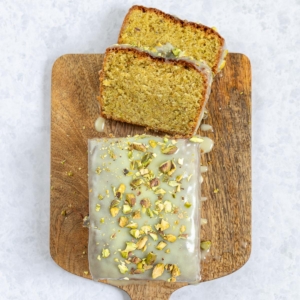
Baking a delicious pistachio pound cake is easy to do. With this recipe, you can make this tasty green cake with pistachios and white chocolate ganache in no time!
In my mind, the perfect pistachio cake is a beautiful, soft green color. In reality, the color is more subtle, but some pistachios are greener than others. It also helps to remove the skins from the pistachios by blanching them, but I found that to be too much of a hassle. So, I settled for a slightly less green cake that still tasted distinctly of those delicious pistachios.

As always make sure to double check the full ingredients and quantities needed in the recipe card.
Are you a fan of delicious cakes? Check the below recipes as well:

Start by mixing butter and sugar till you have a creamy mixture. This is easiest in the bowl of a stand mixer with the paddle attachment. But you can also use a large bowl with a hand mixer. Add the eggs one by one and the vanilla extract with the last egg.
Next you add the dry ingredients; flour, baking powder and the pistachio flour. Add a bit of salt too. Mix until you have a smooth batter and stop mixing as soon as all the flour is incorporated. Don’t overmix.
Next pour batter into the prepared pan lined with parchment paper. I generally use both a cooking spray and parchment paper. Cooking spray mostly for making sure the paper sticks to the pan properly.
Smooth the top of the cake with a rubber spatula and place in the preheated oven until golden brown. This should take around 55 minutes. Use a cake tester to make sure the cake is cooked. Let it cool on a wire rack.
Once the cake is cooked and cooled down it is time to make the chocolate ganache. For this, you break the chocolate into smaller pieces and add this to a small mixing bowl.
Now heat the heavy cream in a small saucepan over medium heat. As soon as the cream starts to bubble add to the chocolate. Stir with a spatula until all chocolate has fully melted.
Let the ganache cool down to room temperature before pouring over the cake. Chop the remaining pistachio’s and sprinkle over the cake.

The cake itself keeps well, but once the white chocolate ganache is added, the ganache’s storage instructions apply.
The cake can be stored outside the refrigerator for up to five days. With the ganache on top, however, the cake must be stored in the refrigerator. Wrap the cake well and store it in an airtight container. This is especially important in the refrigerator, as the cake will otherwise dry out.
It can be stored in the freezer for up to three months if placed in an airtight container.

Yes, with almonds or self-rising flour, for example. You will need a total of 200 grams/7 oz of self-rising flour. If you use almonds, you will need 100 grams/3.5 oz of almond flour and 100 grams/3.5 oz of self-rising flour.
Yes! There are many delicious toppings for this cake.
This batter makes 12 cupcakes. Use a cupcake or muffin pan and line it with paper or silicone cups to help the cupcakes keep their shape. Bake the cupcakes for 20 minutes at the temperature specified in the recipe.
Self-rising flour is just flour and baking powder in the right proportions. You can easily substitute one for the other. To replace self-rising flour, use the following proportions:
500 grams/17.5 oz of flour and 15 grams/7.5 oz (one packet) of baking powder.

This easy cold pasta salad with chicken is the perfect dish for a warm summer evening. It’s easy to make, and the Italian flavors are truly delicious.
Who doesn’t love pasta salad with smoked chicken? I certainly am a fan of pasta salads and they do taste best in the summer. This Italian pasta salad with smoked chicken, bacon, tomato, and pesto is one of my favorites.
Anything that needs to be cooked or baked can be prepared in advance. For example, you can do it in the morning when it’s still cool out. Then, before dinner, all you have to do is chop a few fresh ingredients and toss everything together in a bowl. This will save you from panting and sweating over a hot stove at dinnertime. 😉
For exact details and full ingredients make sure to check the recipe card below.

You start by cooking the pasta in a large pot of salted water until al dente. Rinse under cold water to stop the cooking process and let it cool. Roast the pine nuts in a dry skillet, let it cool and set aside. Fry the slices of bacon and let it drain on paper towels.
Chop the tomatoes, the cucumber and the smoked chicken. In a big bowl add all the ingredients together and mix some pesto through it. Sprinkle some pine nuts on top and serve with parmesan cheese, extra virgin olive oil and arugula.
This pasta salad is easy to store. In the fridge, it will keep for about 2 days if placed in an airtight container.

To make a vegetarian version of this Italian pasta salad, replace the smoked chicken and bacon with olives and mozzarella. Olives have a deliciously salty flavor, making them a good vegetarian alternative to bacon. If you don’t like olives, sun-dried tomatoes are a tasty, flavorful alternative. Mozzarella always tastes good in this salad, whether you add meat or not.
Would you like to add more fresh vegetables to this pasta salad, or simply replace the tomatoes and/or cucumbers? Consider the vegetables below. My only tip is not to overdo it and to choose a maximum of three different vegetables. Otherwise, you won’t be able to taste the individual flavors. You can also add some Italian seasoning, black pepper and even some dijon mustard to change things up.
On a weekday, a large bowl of pasta salad is a complete meal. However, if you’re making it for summer gatherings, you might want to serve something else. Here are a few suggestions for what to serve with this pasta salad:

Sometimes, a recipe makes me happier than others. That can be due to all sorts of things, but in this case, it was because the end result was even tastier and more beautiful than I had hoped. To be honest, I’m also extra happy with the photos of this raspberry ice cream.
Photographing ice cream is always challenging because you have to work quickly, and there’s not much room to move around and adjust your setup. For this ice cream, which I made with raspberry jam, I had a few compositions in mind.
Still, I didn’t get the perfect shot right away. That is, until I started scooping and the swirl of the jam became clearly visible. Then, I went wild with my camera! The hardest part was choosing from all the photos I took. The ice cream is perfect for the summer heat!

Make the base of the ice cream by whipping the cream to stiff peaks. You can use a food processor or an immersion blender. Whatever you have available. Fold the condensed milk and the vanilla through the cream. Now add raspberry jam until you have the desired taste. Keep in mind that freezing the mixture will dull the flavors a little bit so be aware of that.
Add the ice cream mixture to a container. First add a layer to the container and spread raspberries on top. Repeat this until all ice cream and all raspberries are used. Add a little bit of raspberry jam on top and swirl it through with a spoon for a nice effect. End with some raspberries.
Now the hardest part of making this ice cream is waiting. You will need around 6 hours in the freezer before the ice cream is set. Take it out of the freezer 10 minutes before you’re ready to eat so it can soften just a little bit.


You can store the raspberry ice cream in an airtight container in the freezer for around 3 months.
Do you love homemade ice cream but don’t want complicated recipes or an ice cream maker? Then you’ve come to the right place! I’ve collected lots of easy ice cream recipes that you can whip up in no time. They’re perfect for hot days or when you’re craving a delicious, refreshing dessert. The below recipes are already online but expect more to come soon!

Absolutely. That will make it even faster as you only have to wait for the ice cream to churn.
You can’t remove them from the fresh raspberries but you can use other fresh berries if you want. You can remove them from the jam or raspberry puree by using a fine mesh sieve. But to be honest if the seeds bother you it’s best to go for something like strawberries instead and turn this into a strawberry ice cream.
Typically this happens if you leave the ice cream in the freezer uncovered for too long. Use an airtight container or cover the ice cream with plastic wrap.
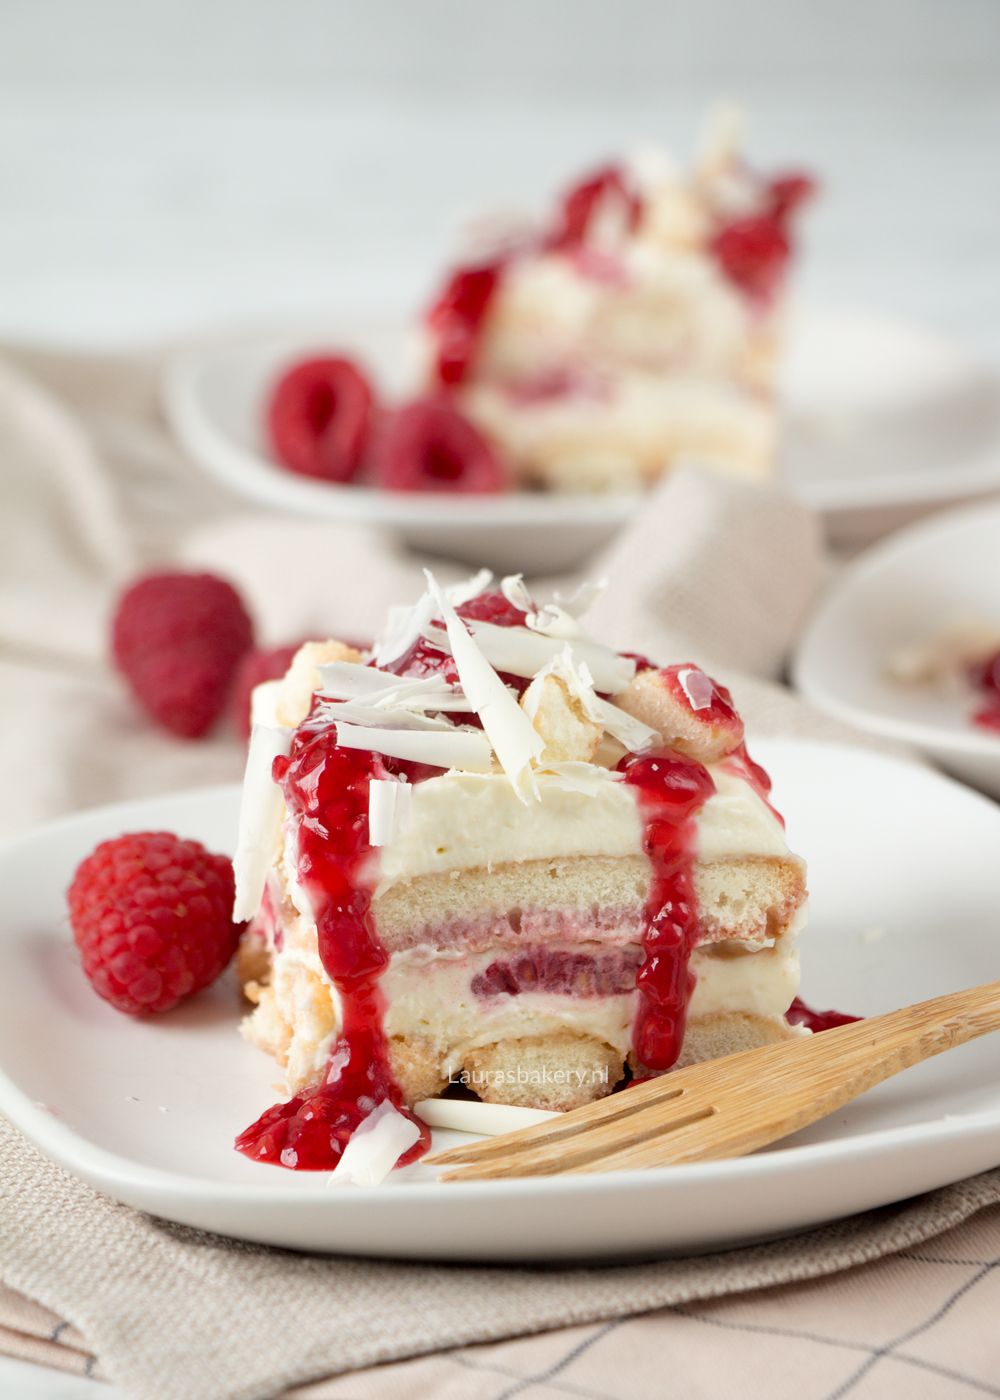
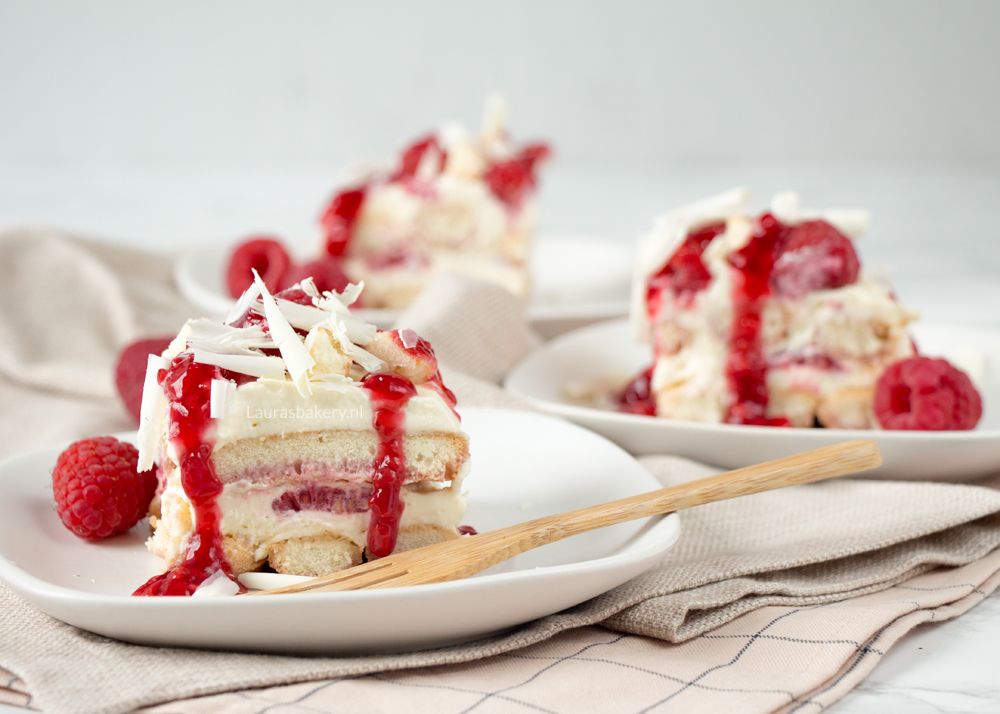
Let me start by saying that you must try this tiramisu at least once. Whether that’s this weekend, next month, or during the holidays in December, you’ll want to taste this lemon raspberry tiramisu.
It’s easy to make and absolutely delicious. Although it doesn’t contain alcohol or raw eggs, you wouldn’t know it because it tastes like a real tiramisu. I decided to make the traditional tiramisu version (in terms of presentation not in terms of flavor!) because we’ve never done that before on the blog. The mascarpone set well, and the pieces were easy to cut. It’s a perfect tiramisu to serve and turn your plate into a party.
Of course we have a lot more delicious and easy dessert recipes and a few tiramisu favorites are these:
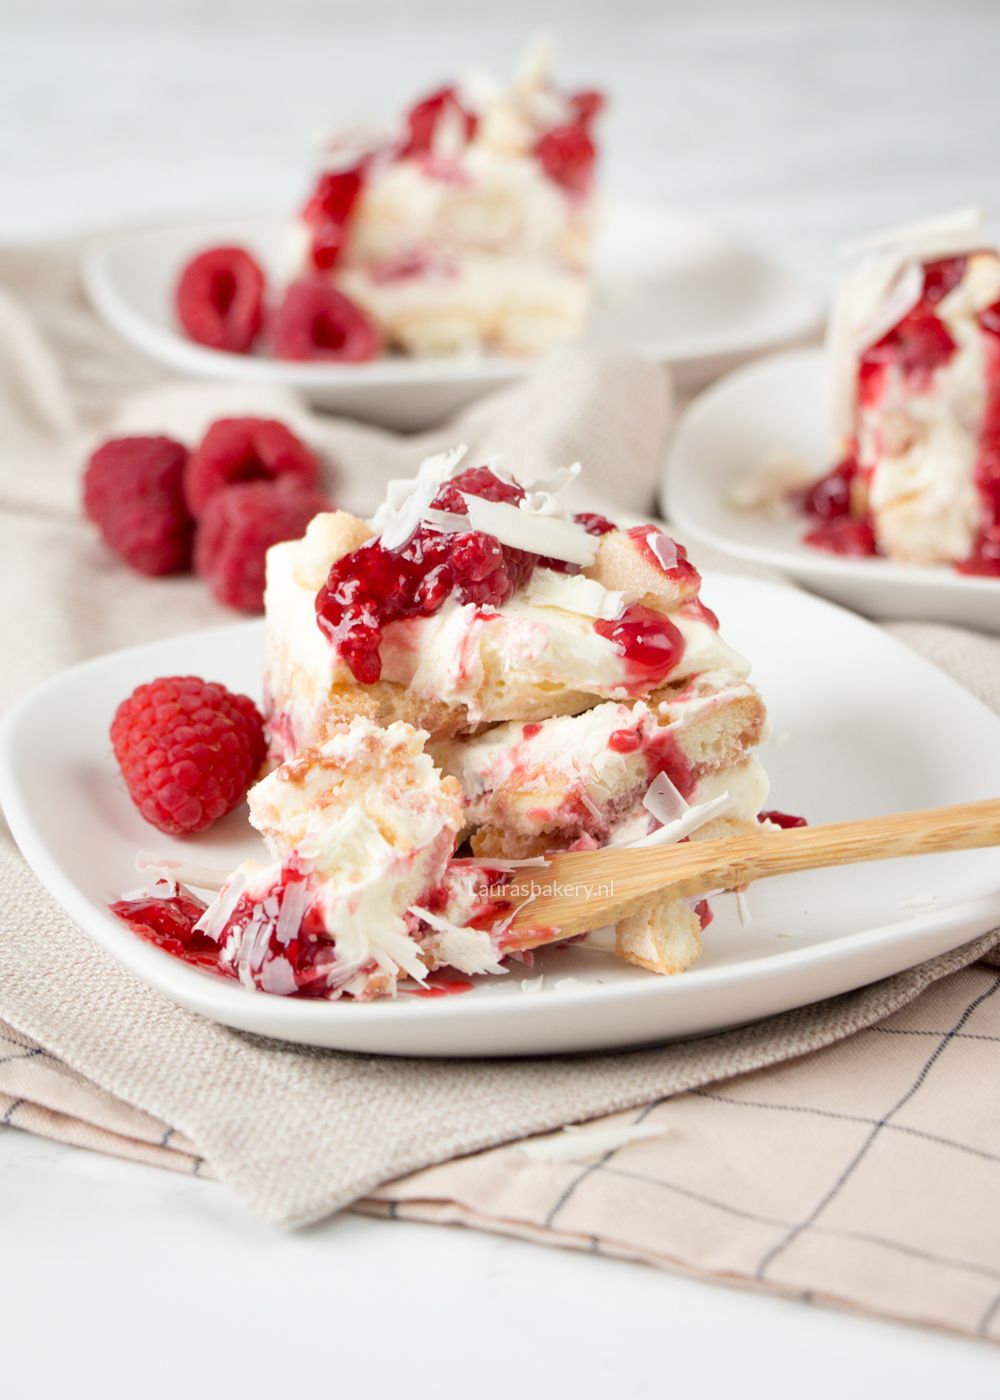
In a mixing bowl of the stand mixer with a whisk attachment add the mascarpone cheese, heavy cream, lemon curd, and one tablespoon of sugar. Whisk this until you have stiff peaks and the mixture is smooth and creamy.
For the raspberry dipping sauce you mash the thawed raspberries with a little bit of water. Dip each ladyfinger into the mixture and place them in a single layer at the bottom of a serving bowl. Spread a little less than half of the mascarpone mixture over the cookies and smooth the layer.
Add a few fresh raspberries, flatten them a little with your hand before adding so they merge with the layers more easily. Instead of mixing the raspberries with water you can also use a bit of orange juice instead. Now repeat this step and finish all your ingredients.
The last step is to scatter the remaining raspberries over the top of the tiramisu. Crumble one of the ladyfingers and sprinkle that over the berries. Refrigerate the tiramisu for at least an hour.
This tiramisu recipe is already delicious as it is but you can enhance it further by including the raspberry sauce. Add the frozen raspberries to a small saucepan and add the sugar. Bring to the boil. Mix the cornstarch with a bit of water to smooth out any lumps and add to the pan. Simmer until the sauce thickens. Pour into a small bowl and let it cool down.
Once the tiramisu has set slice it into 4-6 pieces and serve with the raspberry sauce. Scrape a sharp knife over a chocolate bar and sprinkle those on top.
You can store the raspberry tiramisu in the fridge covered with plastic wrap for about 2-3 days.
It’s best not to freeze the tiramisu as the structure of the cream will change. It’s best eaten from the fridge!
Yes, you can use store-bought lemon curd for convenience, but homemade lemon curd offers fresher flavor and better control over sweetness and tartness.
Both work!
Use crisp Savoiardi ladyfingers. They hold up better when dipped and layered, absorbing flavor without turning mushy.
Tiramisu is best made at least 4–6 hours in advance (or overnight) to allow the flavors to meld. It keeps well for 2-3 days in the fridge.
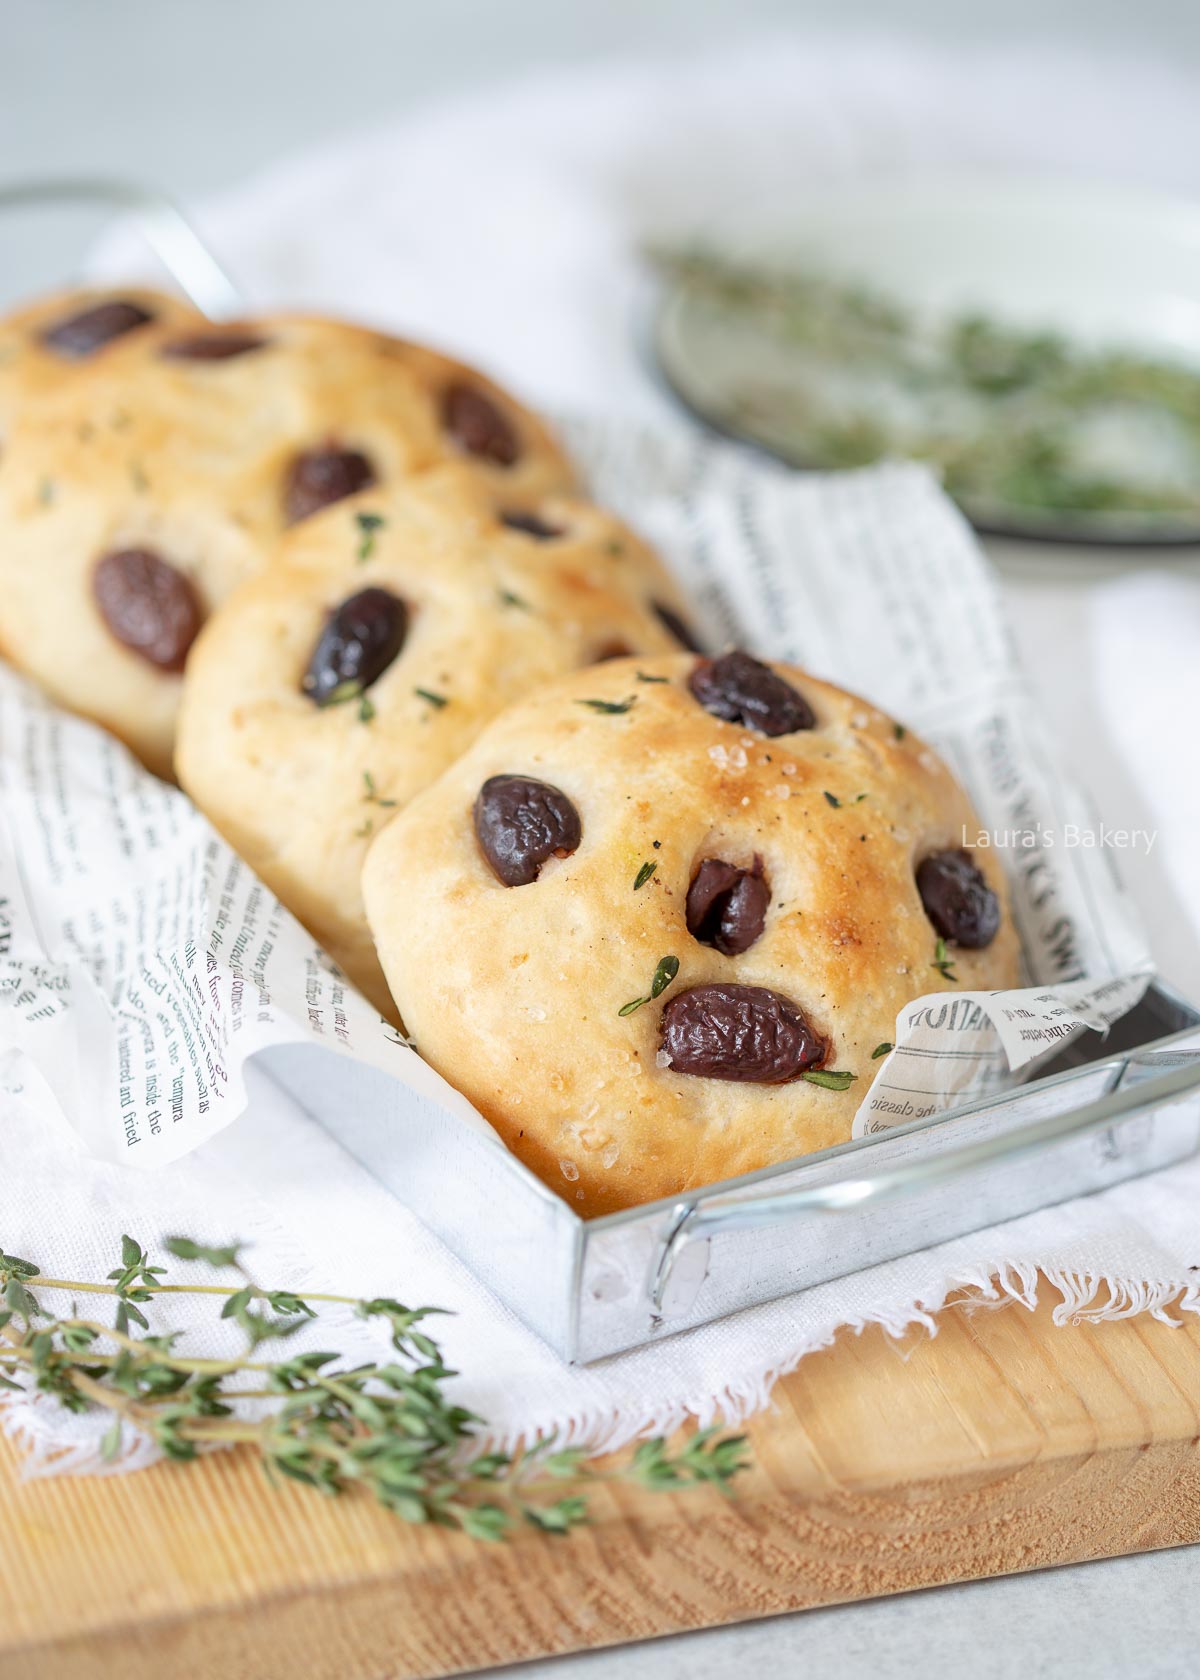
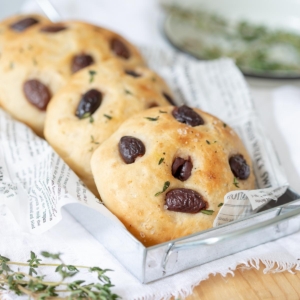
I can’t get enough of focaccia! It’s been two years since I first made a picnic-sized focaccia with tomatoes. This time, I made smaller garlic focaccia with black olives. I topped the bread with thyme, but rosemary would work well too.
These olive and garlic focaccias are ideal for lunch or with a light Italian meal. They’re tough to resist when they come out of the oven because they taste best the same day they’re baked. They would be delicious with this Italian tomato soup for instance, with this cold pasta salad or an egg salad.
If you want to vary your Italian bread you can add some parmesan cheese or red onions to this focaccia bread recipe as well. Make sure all ingredients are at room temperature. For full details on the exact quantities and all ingredients check the recipe card below.
Add all the ingredients for the dough to a large bowl or use the dough hook of your stand mixer. It will take about 10 to 15 minutes to knead so give it some time. You want the dough to be smooth and elastic. By hand it will take around 20-25 minutes to get the same result.
Cover the dough in a bowl with plastic wrap and let it rest in a warm spot, away from drafts if possible. It will take about 45 to 60 minutes before the dough has doubled in size.
While the dough rises prepare the topping. Chop the thyme finely and add to a few tablespoons of olive oil and sea salt. Let it sit for a while so the flavors can infuse. Cut the olives in half.
Press out all the air of your dough on a workbench. Divide into six equal pieces. This works best if you coat your hands in olive oil. Form dough into balls and make whatever shape of bread you want. Place the bread rolls on a baking sheet with parchment paper. Cover with a clean tea towel and rest for about 20 minutes.
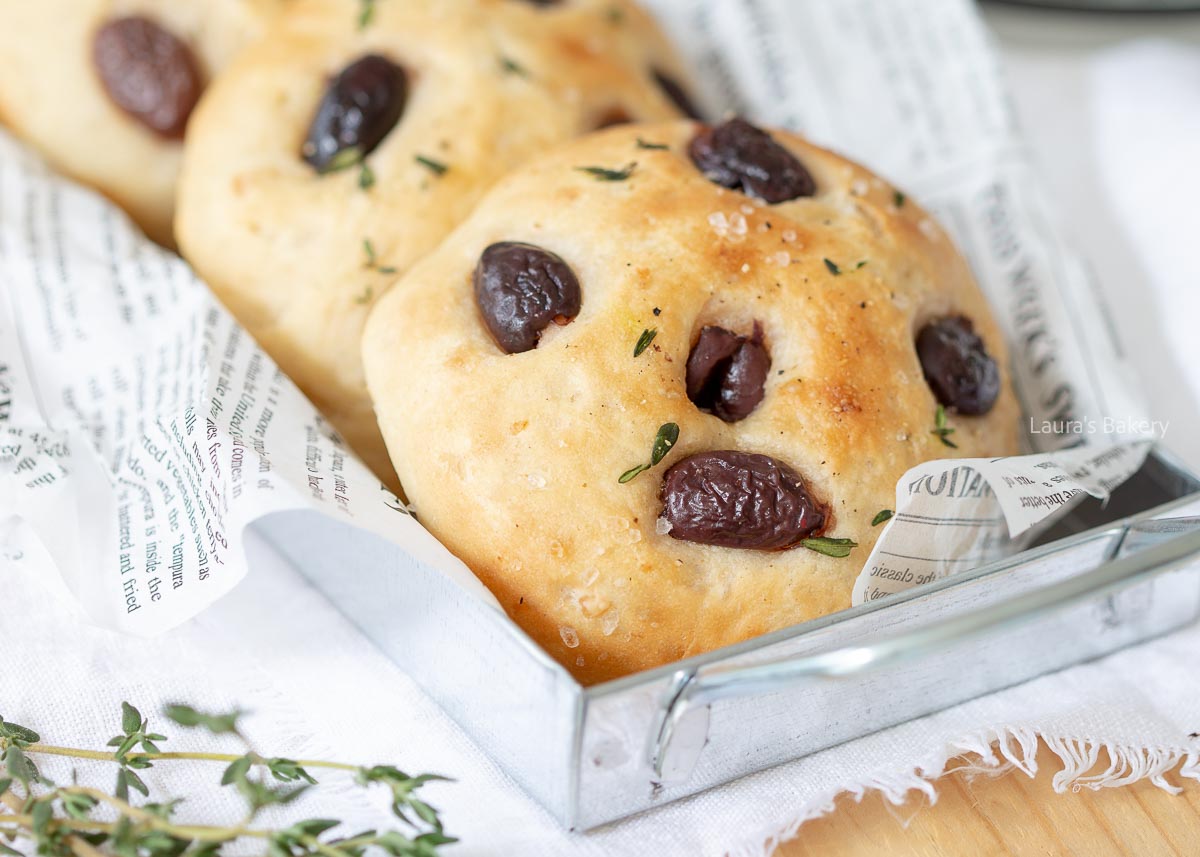
Drizzle some of your thyme oil over the focaccia. Use your fingers to make indentations in each garlic focaccia and press the olives firmly in each indentation. Sprinkle over some coarse sea salt and place in the preheated oven for about 15-18 minutes or until golden brown and cooked. Let it cool down on a wire rack.
Store the focaccia outside of the fridge for 2-3 days. They’re best if you eat them fresh but you can store them in an airtight container or wrapped properly if you want.
You can store the focaccia in the freezer for up to three months.
You can reheat the focaccia in a toaster or in the oven at 180˚C/350˚F for about 10-15 minutes. It helps sometimes to sprinkle a bit of water over the top which will crisp the crust up again.
Focaccia typically takes around 3–4 hours, including time for the dough to rise. Most of this is hands-off time for proofing. Some recipes may recommend an overnight rise in the fridge for even better flavor and texture.
No, a stand mixer is helpful but not necessary. Focaccia dough is quite wet, so mixing by hand can be messy but totally doable. Use a bowl and a sturdy spatula or your hands — and don’t be afraid of a bit of stickiness.
Not at all! Focaccia dough is supposed to be very hydrated (wet and sticky). This high hydration is what gives it the airy, soft interior. Just oil your hands and the bowl well to manage the stickiness while shaping.
Yes — though fresh garlic and good-quality olives (like Kalamata) will give the best flavor. I used garlic powder in this case, as that was what I had on hand. If using jarred ingredients, pat them dry to avoid excess moisture that could make the dough soggy.

Are you looking for a quick and easy breakfast recipe that is perfect and delicious? Try this mango and banana smoothie. It’s super tasty and will give you your daily values in fruit!
Let’s face it; making a smoothie is no rocket science but you can vary with your fruit smoothies to get different flavors. This recipe has simple ingredients, is very versatile (I’ll give some variations below) and is one of my favorite go-to breakfast recipes.
If you want to add some healthy fats to your smoothie you can consider adding some avocado which will also give it a nice creamy texture. You can also serve the smoothie in a bowl and add toppings such as chia seeds, hemp seeds or more fresh fruit. I find it a great way to add more fruit to my diet.
To make the banana mango smoothie you need a blender. A stick blender would also work, but a blender is the easier option.
Add the banana slices, the mango, lemon and milk of your choice to the bowl of the blender. Blend until smooth and you’re done! This is also easily turned into a green smoothie by adding a handful of spinach for instance.
Storing the smoothie is not recommended as this is really best enjoyed freshly made. But if you must you can store it in the fridge for up to a day. Make sure to shake again before drinking.

Sure! It’s also very tasty. Simply replace the milk in the recipe with yogurt. You can use regular Greek yogurt or go for a soy-based yogurt.
There are many ways to make tasty variations of this smoothie. Consider a peanut butter banana smoothie. To make it, omit the lemon juice and mango, and add one or two tablespoons of peanut butter. Another option is to replace the mango with red berries. It’s also very tasty! The options for making a smoothie are more or less endless.
I wouldn’t recommend it. Smoothies are generally best when consumed immediately. However, if necessary, you can store the smoothie in the refrigerator until the next day using the recipe below. The lemon will prevent the banana from turning brown but it will eventually get darker.

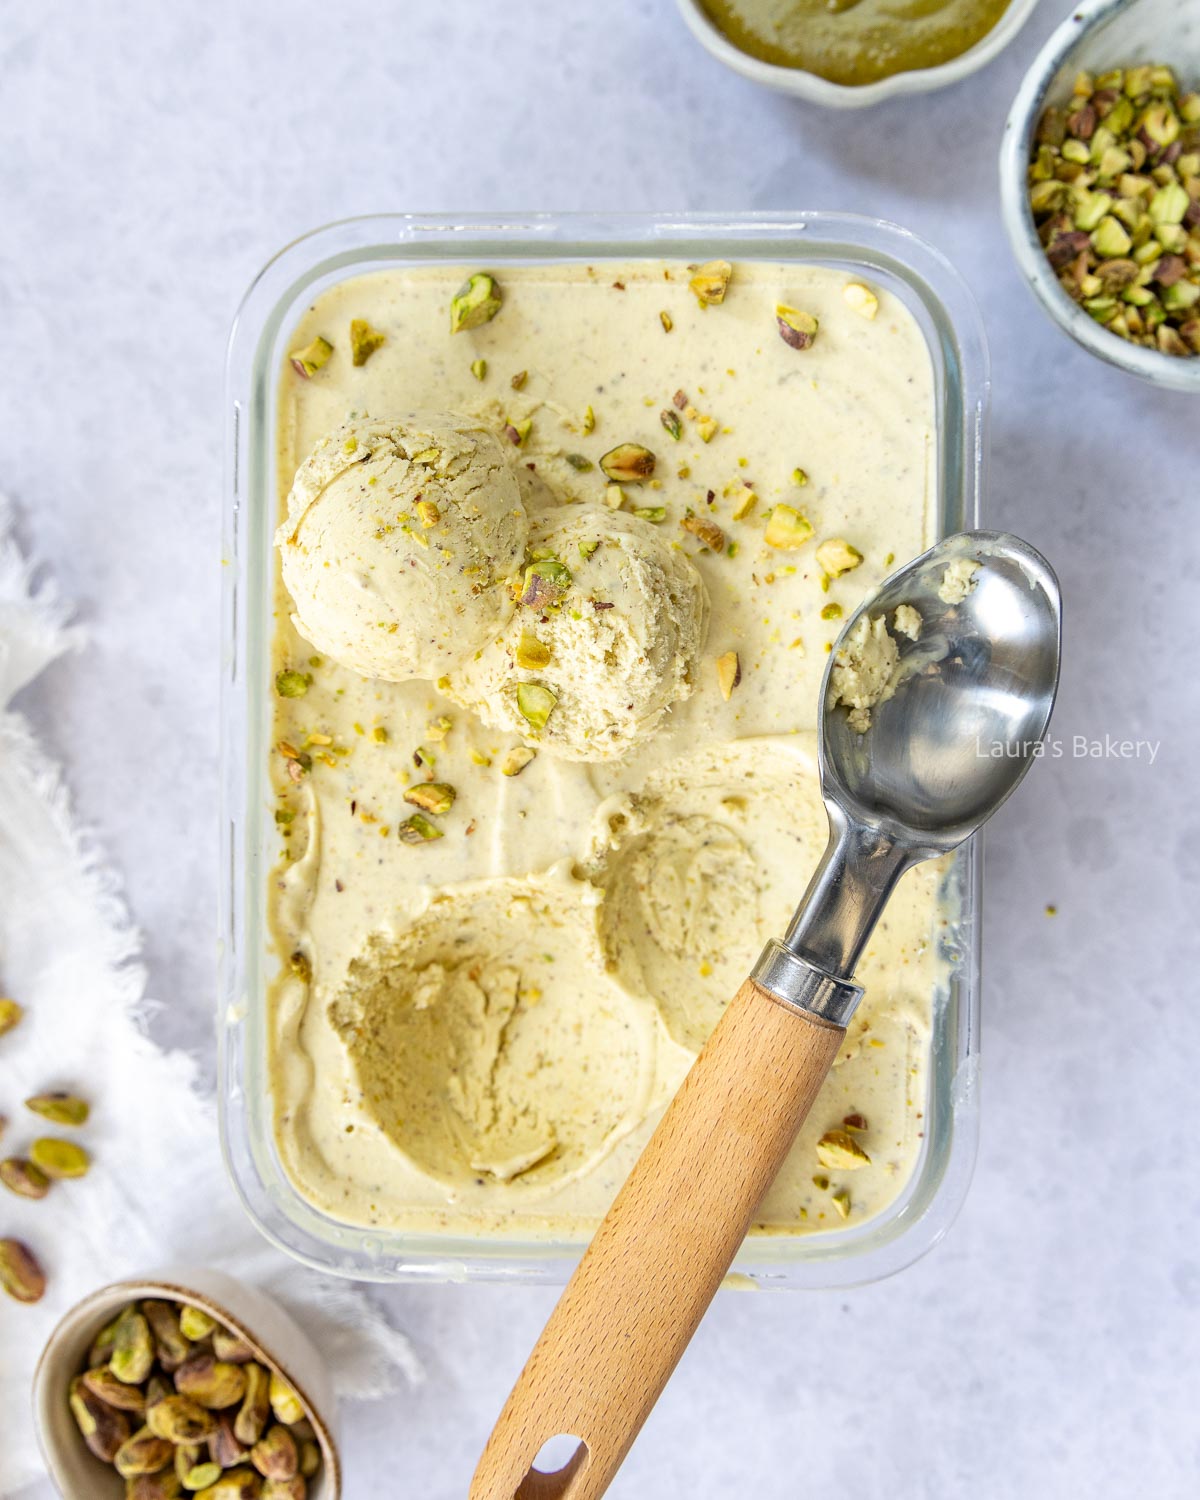
Pistachio has always been one of my favorite ice cream flavors, so creating a homemade recipe was inevitable. With this easy recipe, you can whip up a batch of delicious pistachio ice cream in no time with just four ingredients.
While most recipes use egg yolks and whole milk in the ice cream base, this recipe uses condensed milk and heavy cream making it also suitable for pregnant women.
You really don’t need much to make a delicious ice cream mixture yourself. I recently shared my recipe for pistachio paste, which is the key ingredient in this ice cream. Let me tell you a little more about the ingredients:
This recipe has been developed so that you don’t need an ice cream maker. However, using an ice cream machine will allow you to enjoy your churn ice cream more quickly.
So if you cannot wait to taste homemade ice cream you might want to use a machine. But as mentioned that is not necessary for this recipe.
If you do own a machine use the manufacturer’s instructions for making the ice cream.
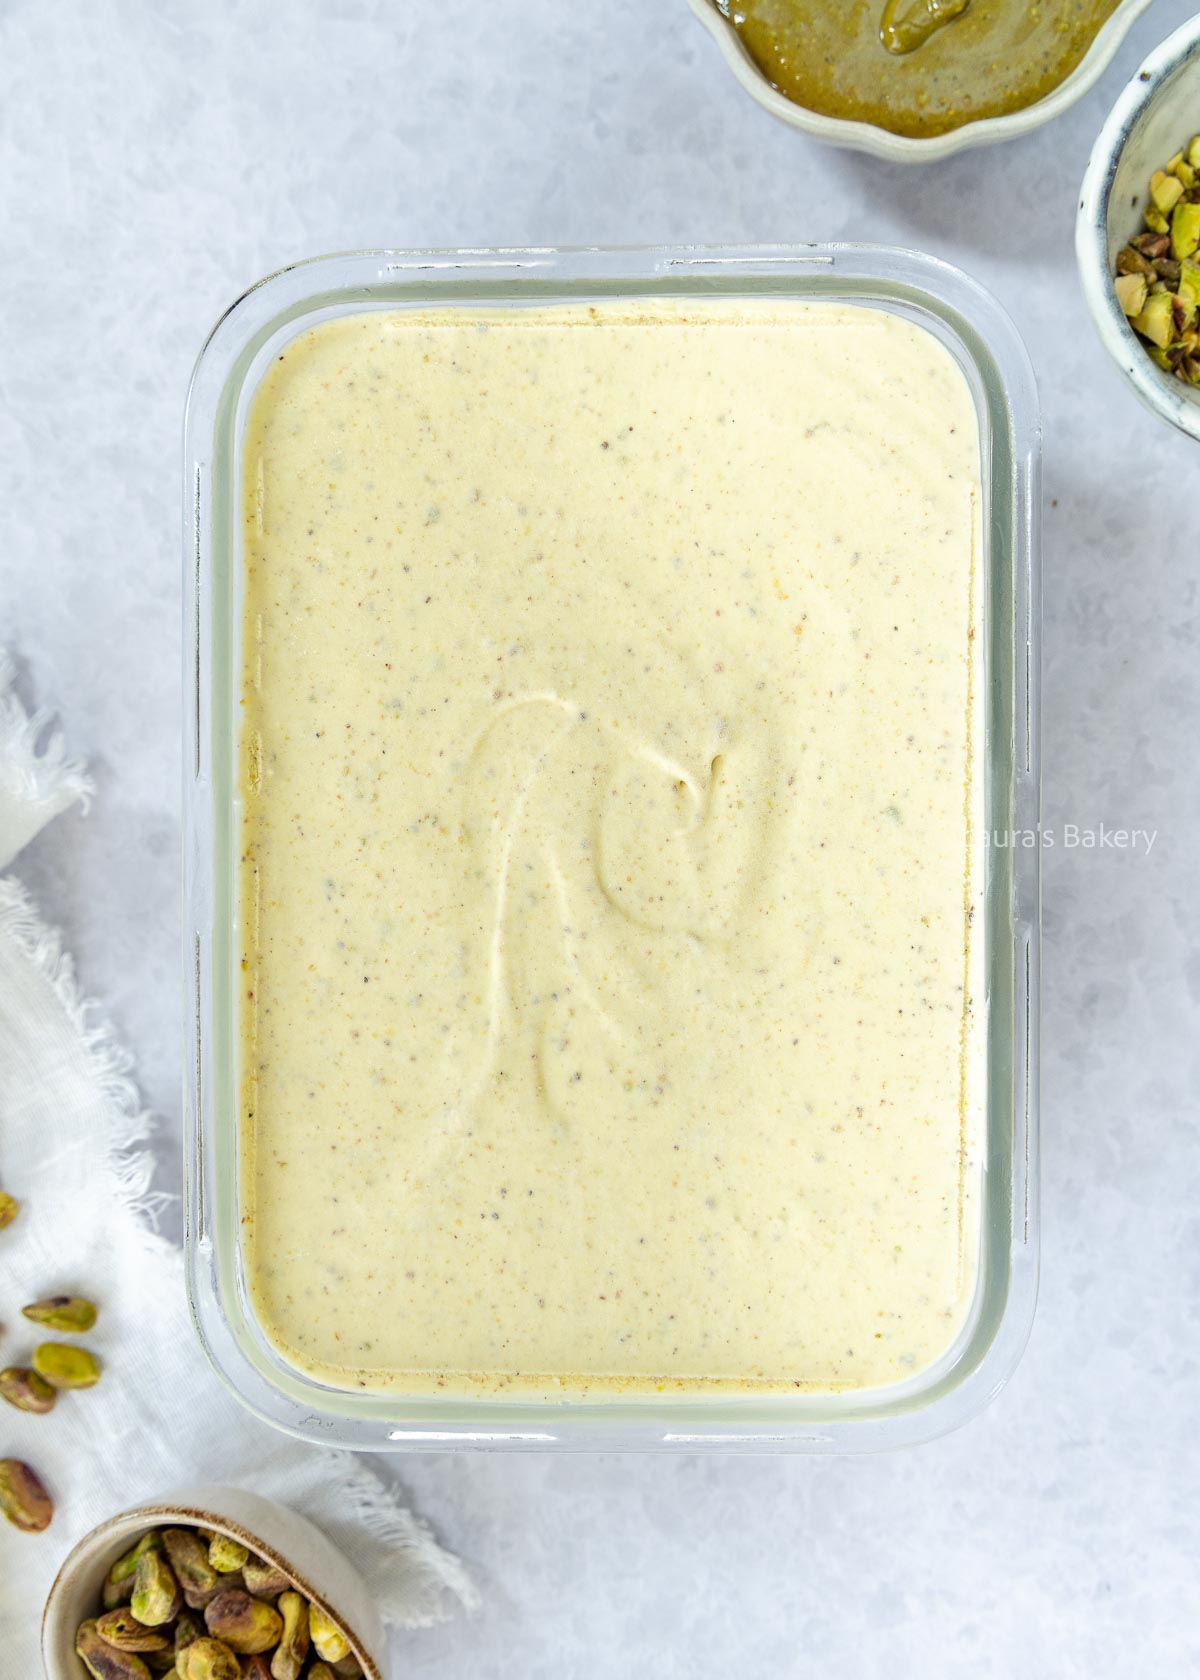

Homemade pistachio ice cream should be stored in an airtight container in the freezer. Ideally, it should be stored in a separate freezer, as the temperature there is more consistent.
A shallow freezer container can be handy because it allows the ice cream to reach the right temperature more quickly when you want to serve it. I like to use glass freezer containers for this purpose.
You can store it for up to three months. Once you have defrosted it (even partially), it is best not to refreeze it.
I can almost smell summer, so it’s time to dig out the best ice cream recipes! I’ve put together a great selection of my two favorite popsicles for you. But stay tuned for more ice cream recipes soon.
To make this pistachio ice cream, I used my homemade pistachio paste. I left the paste slightly coarse so you can taste small pieces of pistachio in the ice cream. For a more vibrant color and completely smooth texture, grind the paste very finely.
For a nice swirl effect, mix a little pistachio paste into the top layer of ice cream once you’ve scooped it into the freezer container. It looks great and gives an extra strong pistachio flavor!
If you don’t want to make it yourself, you can buy a ready-made version. These are now available in more and more supermarkets and online. The color and texture may vary depending on the brand, but it’s best to choose one made from 100% pistachios. You can go for a smooth paste or a more coarse paste. Both will work. Remember that the bright green versions you might find in the supermarkets generally use green food coloring to make them look so green. Real pistachios can vary in color from purple to brownish or very green. If you make it your pistachio cream you will have a different color depending on which pistachios you use.
You don’t need an ice cream maker for this recipe. Would you rather use an ice cream maker to enjoy your ice cream as soon as possible? That’s possible, too! Follow the instructions with the machine.
You can find it at cooking stores and online shops, or easily make it yourself. It can be used as a 1:1 replacement for vanilla extract, which has the same strong flavor. This time, I chose paste so you could see the specks of vanilla in the ice cream. Alternatively, you can use a vanilla bean; you only need one pod. Read more about different vanilla flavorings here.
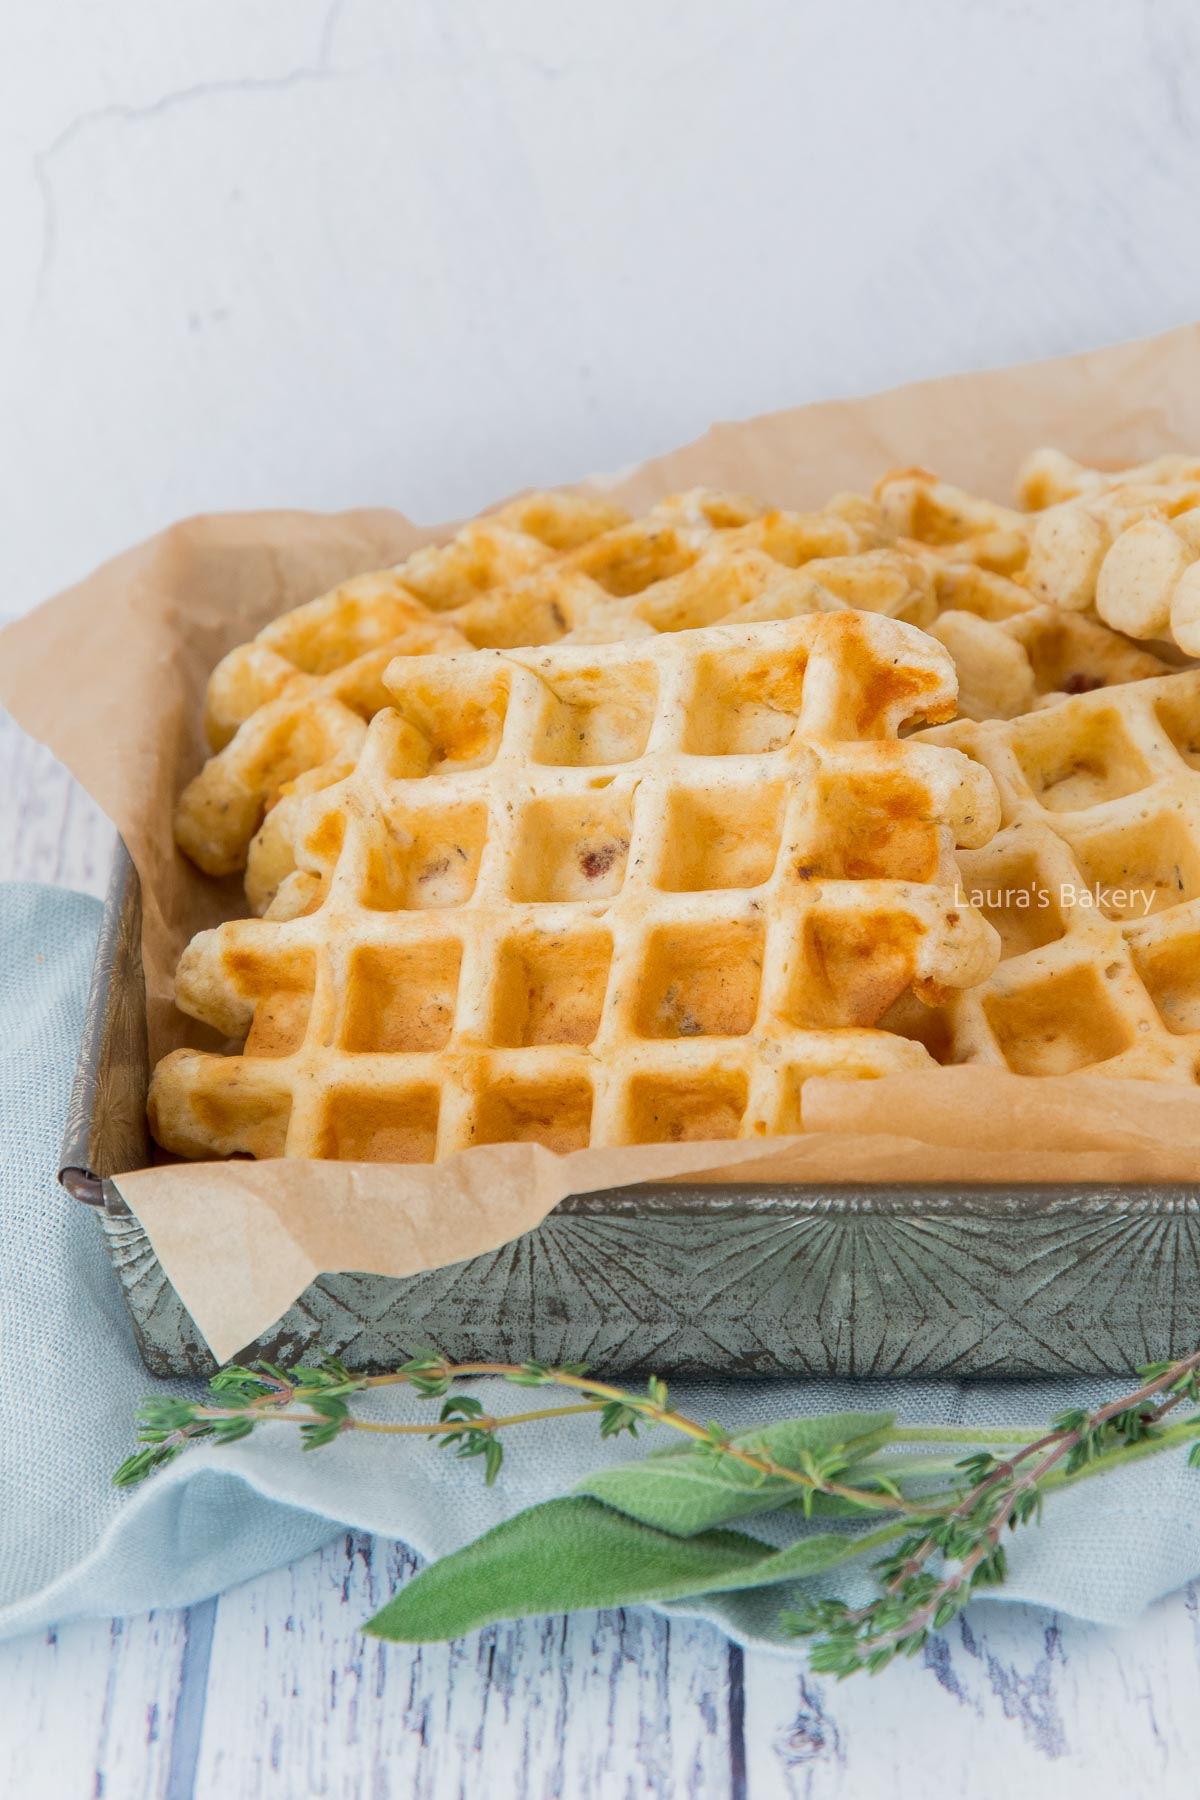
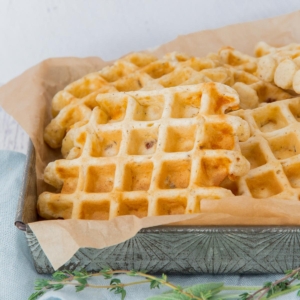
If you love waffles, you’re going to really love these Italian savory waffles. I’ve been taking my waffle iron out of the cupboard surprisingly often lately. I’ve made whole wheat waffles several times.
Last time, I decided to try giving the waffles a savory twist. Since I love Italian cuisine, I made Italian-style savory waffles. I added Italian herbs, Parmesan cheese, and sun-dried tomatoes to the batter. They’re delicious, especially when they’re still warm.
I eat these waffles on their own because I don’t think they need anything extra. This also makes them a great snack to take with you.
The main ingredients are listed below with possible additions and substitutions. For the full details and quantities make sure to check the recipe card below. You will also need a waffle maker to make the waffles.
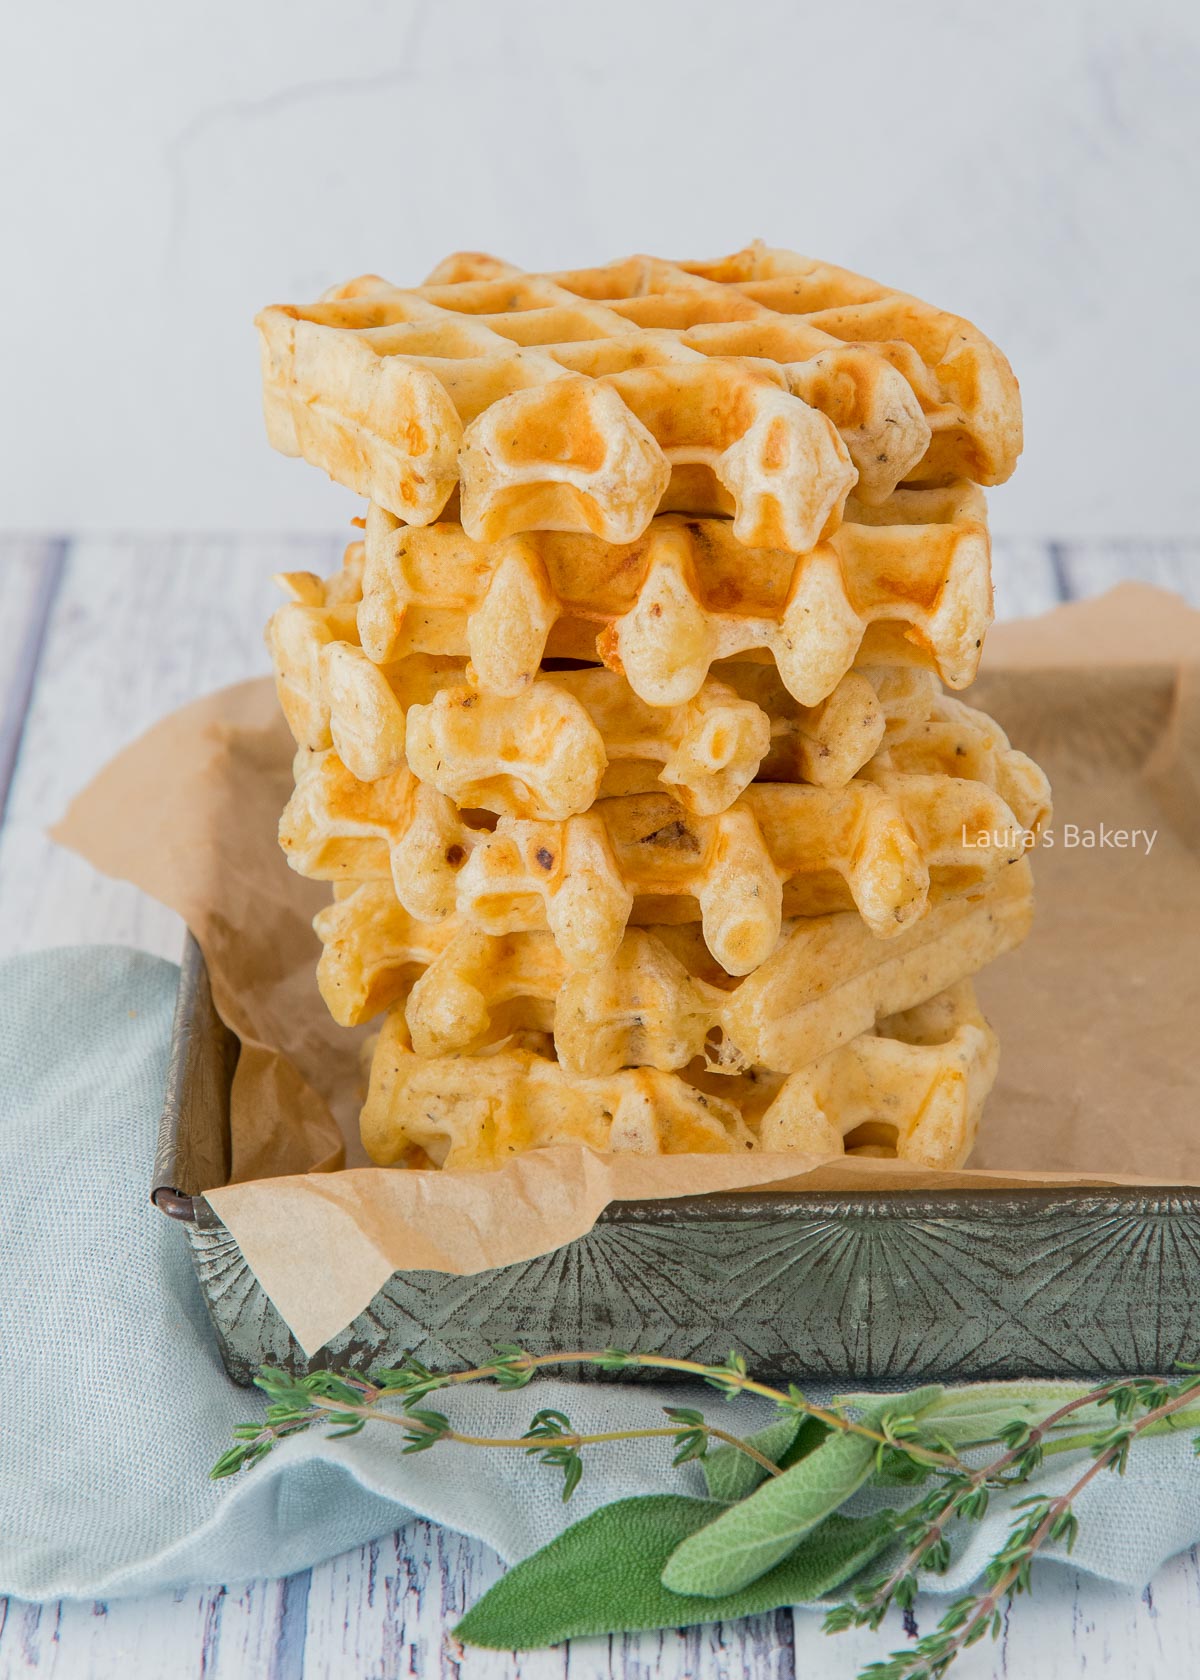
Making the batter for the waffles is super easy to do. You first mix the dry ingredients in a large bowl. I count the tomatoes and the cheese also as dry which they technically are not, but they are added into the batter with the first step. Next add the vegetable oil, the egg and the milk. Mix it all together until you have a smooth mixture.
This might seem like a simple step, but you’d be surprised at how many people get impatient and start to bake their waffles in a waffle iron that is not hot enough. Wait for the signal (depending on the machine) so that the machine is hot enough. Now brush your iron properly with either melted butter, oil or use a cooking spray.
Now it is time to bake those delicious savory Italian waffles. I use an ice cream scoop or a cookie scoop to get evenly sized waffles. Place the batter in the middle of the iron and gently close it.
Don’t worry if your batter is in the middle. It doesn’t make a difference as it will spread to the edges. How long your waffles need to become golden brown depends on your machine, so keep an eye on things.
One thing that always surprises people is the fact that waffles, straight out of the machine are limp and not crunchy. Just like cookies they need a bit of time to firm up. Place them on a cooling rack and give it a few minutes and they will firm up.
Make sure to let them rest in a single layer. And that’s it! They’re delicious as they are but you can also serve them with a fried egg for instance.
You can store the waffles in an airtight container outside of the fridge for 3-4 days. Reheating is easy to do in a toaster or in the oven.
If you want to keep them longer, it helps to store them in the freezer. Make sure to wrap them individually for easier defrosting. That will make for a perfect easy snack or savory breakfast.
Want to try real Dutch waffles? Try these stroopwafels!

Savory Italian waffles often include a base of flour, eggs, and milk, combined with flavorful add-ins like Parmesan or mozzarella cheese, Italian herbs (basil, oregano), garlic, and sometimes vegetables like spinach or sun-dried tomatoes.
Yes, but you’ll want to modify it by reducing or removing sugar and adding salt, herbs, and savory mix-ins like cheese or meats. The batter should be thick enough to hold up but still pourable.
Be sure to preheat your waffle iron and coat it with non-stick spray or brush it with oil before each batch. Cheese can cause sticking, so avoid overloading the batter.
They’re great topped with poached eggs, pesto, marinara sauce, or a balsamic glaze. You can also serve them with salad, roasted veggies, or even soup for a light meal.