Can I use overripe banana?
Yes! Overripe bananas with brown spots are ideal. They’re sweeter and mash more easily, giving the cookies great flavor and moisture.
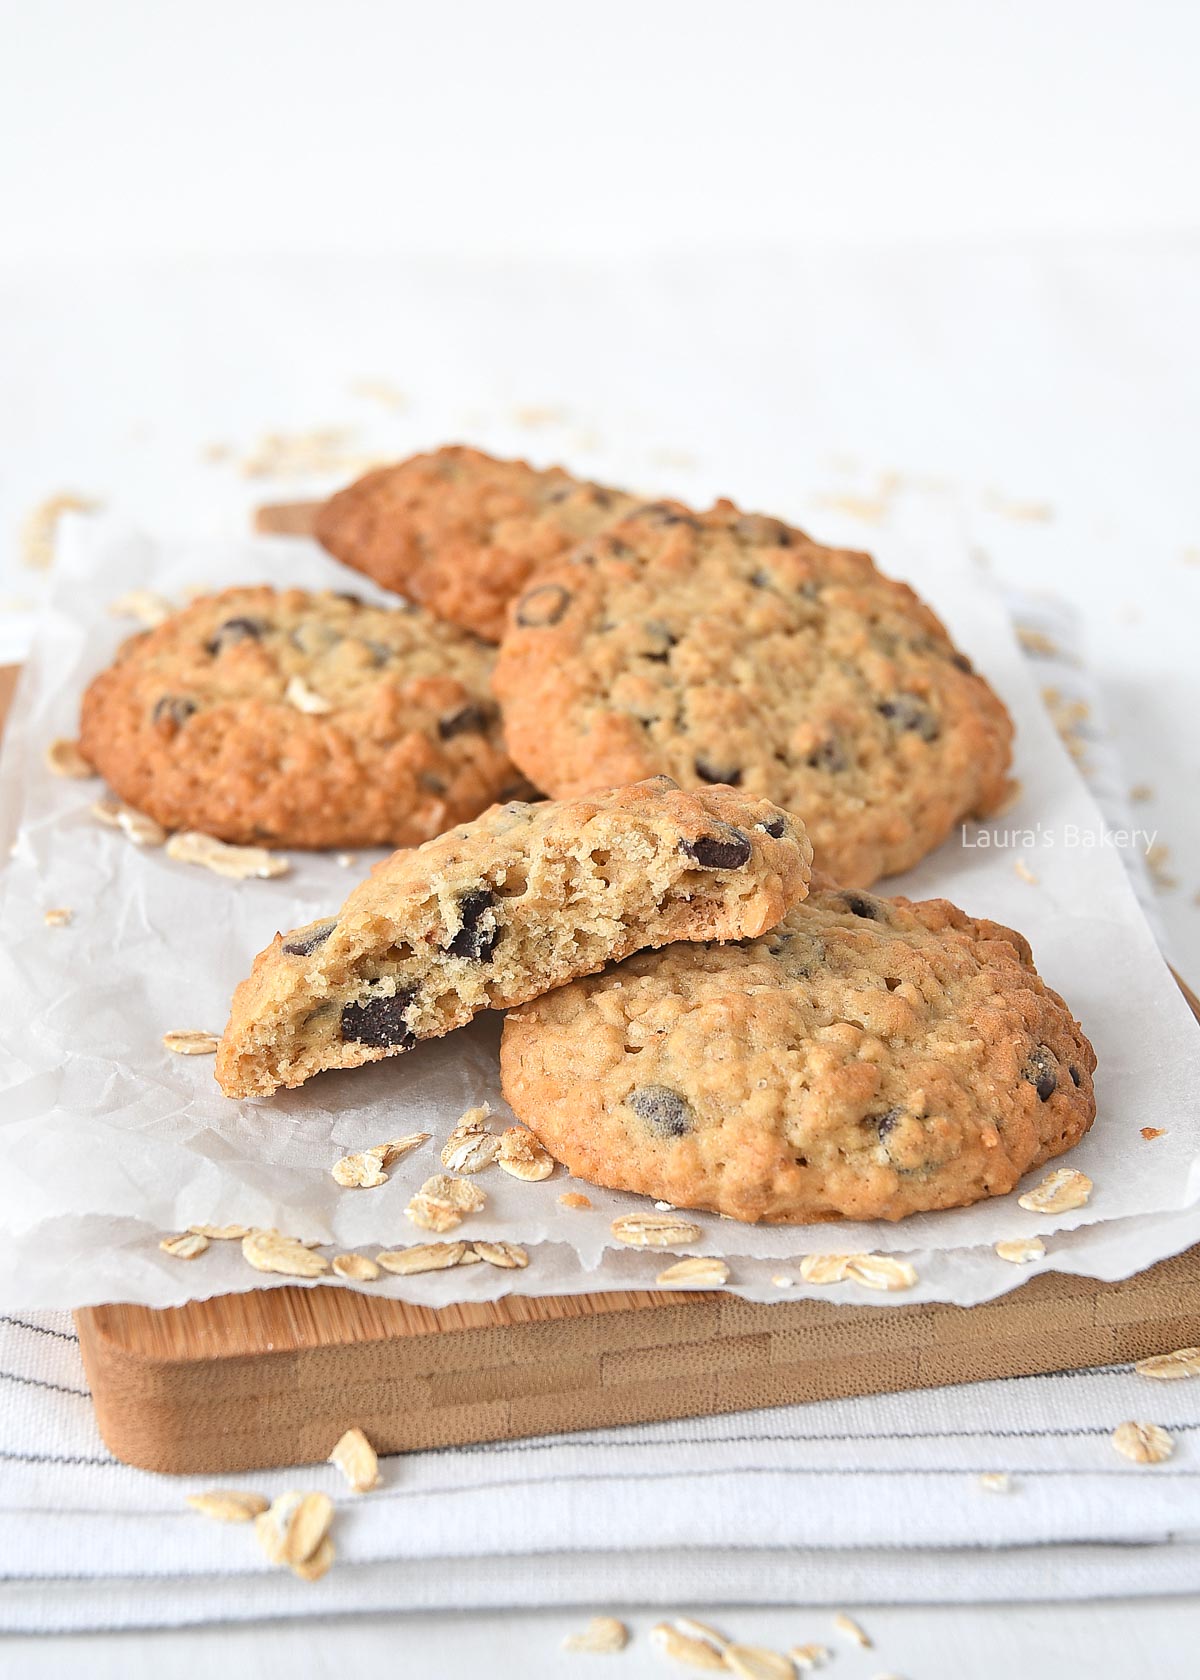
As I was brainstorming new recipes, I decided that I wanted to bake oatmeal cookies again. As I scrolled through endless photos on Pinterest for inspiration, I came across banana oatmeal cookies.
Yes, those are what I’ll make! After all, I love experimenting with oatmeal cookies. I waited until my bananas were ripe, then hurried into the kitchen to make this easy recipe.

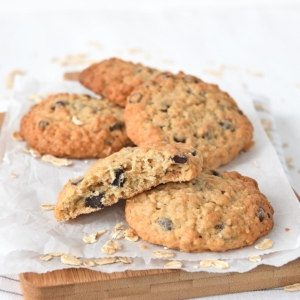
There is just something so delicious about oatmeal cookies! I can’t get enough of them. These banana oatmeal cookies have a texture that is almost similar to banana bread and with the added chocolate, these might just be my all time favorite oatmeal cookies.
For making these delicious oatmeal banana cookies you need just a couple of simple ingredients:
As always, make sure to double-check the exact quantities and ingredients in the recipe card below.

Making this soft cookie is super easy. Start by creaming the butter and the two types of sugar together in a large bowl. Add the egg and vanilla extract and mix until combined.
Now add the mashed bananas and mix again. Add the dry ingredients until they are fully incorporated. The last step is to add the chocolate chip and mix them through the dough.
The dough itself is quite sticky but that is what you want. It will produce the most delicious and soft banana bread cookies. Make sure to chill the dough for about an hour in the fridge to firm up.
Next step is to shape the dough into balls. You can use your hands or a cookie scoop. Place them on a baking or cookie sheet lined with parchment paper and flatten them a little bit. Bake the cookies at 180˚C/350˚F or until the edges are golden brown.
These delicious cookies are so good they probably won’t last very long but you can keep them for up to 1 week in an airtight container or freeze them in individual portions so you always have a tasty snack.
In the freezer they will keep for up to 3 months.
Love oatmeal cookie recipes? I’m sure you’ll like these baked goods too!

Yes! Overripe bananas with brown spots are ideal. They’re sweeter and mash more easily, giving the cookies great flavor and moisture.
Using both gives the cookies structure and a chewy texture. Regular all-purpose flour adds body, while oats (preferably old-fashioned rolled oats) give them a hearty, banana-bread-like feel.
Whole wheat flour can be used, but it may make the cookies denser. For gluten-free options, use a 1:1 gluten-free flour blend, though results may vary slightly.
Semi-sweet chocolate chips are popular, but dark chocolate, milk chocolate, or even chopped chocolate bars work well too. It depends on your sweetness preference.
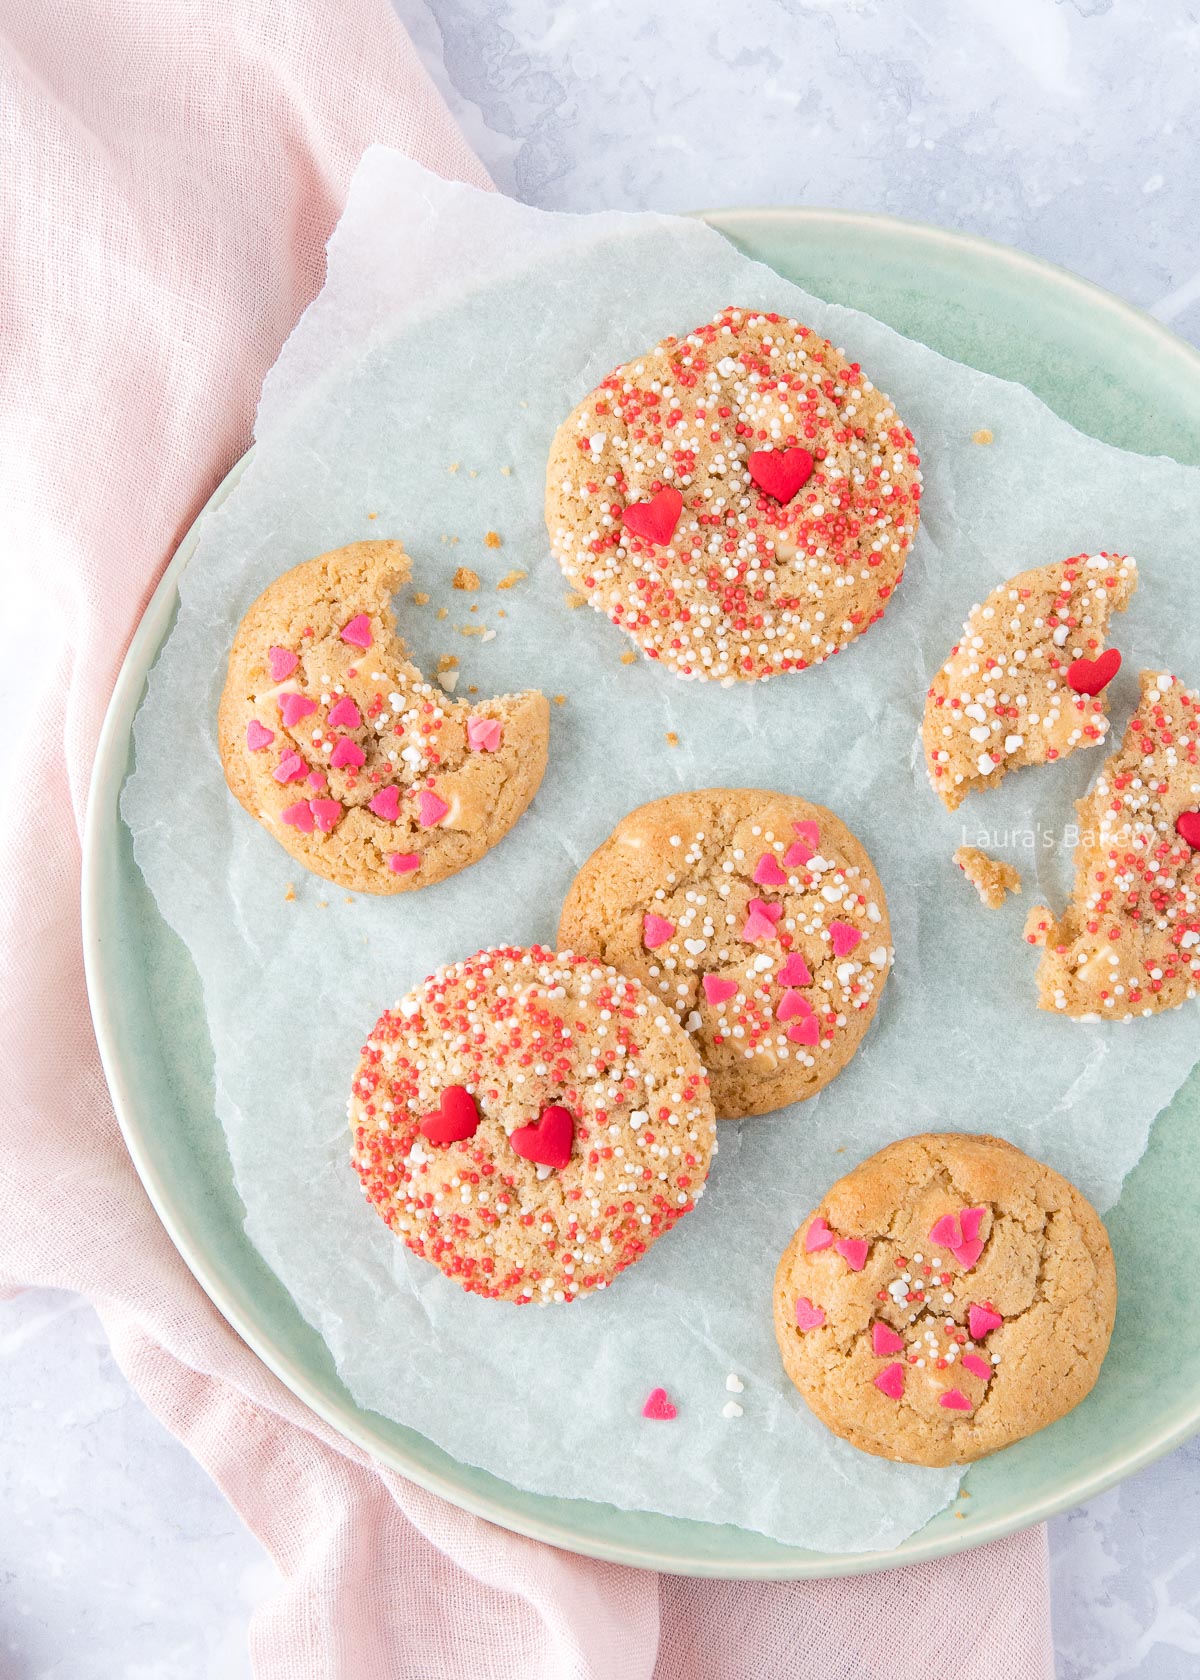
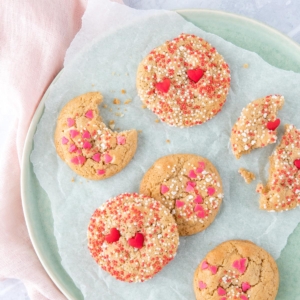
These super cute mini chocolate chip cookies can be made for Valentine’s Day but they are just as well suited for any other festive occasion, especially when you change the sprinkles. I used white chocolate for making these tiny cookies, but you can use dark chocolate as well.
Who doesn’t love a good cookie recipe right? And these mini chocolate chip cookies are perfect to make with kids but adults will love them too. They make a great gift for festive occasions (think birthdays, Valentine’s and whatever festivities you can come up with) There is never a wrong day to bake cookies!
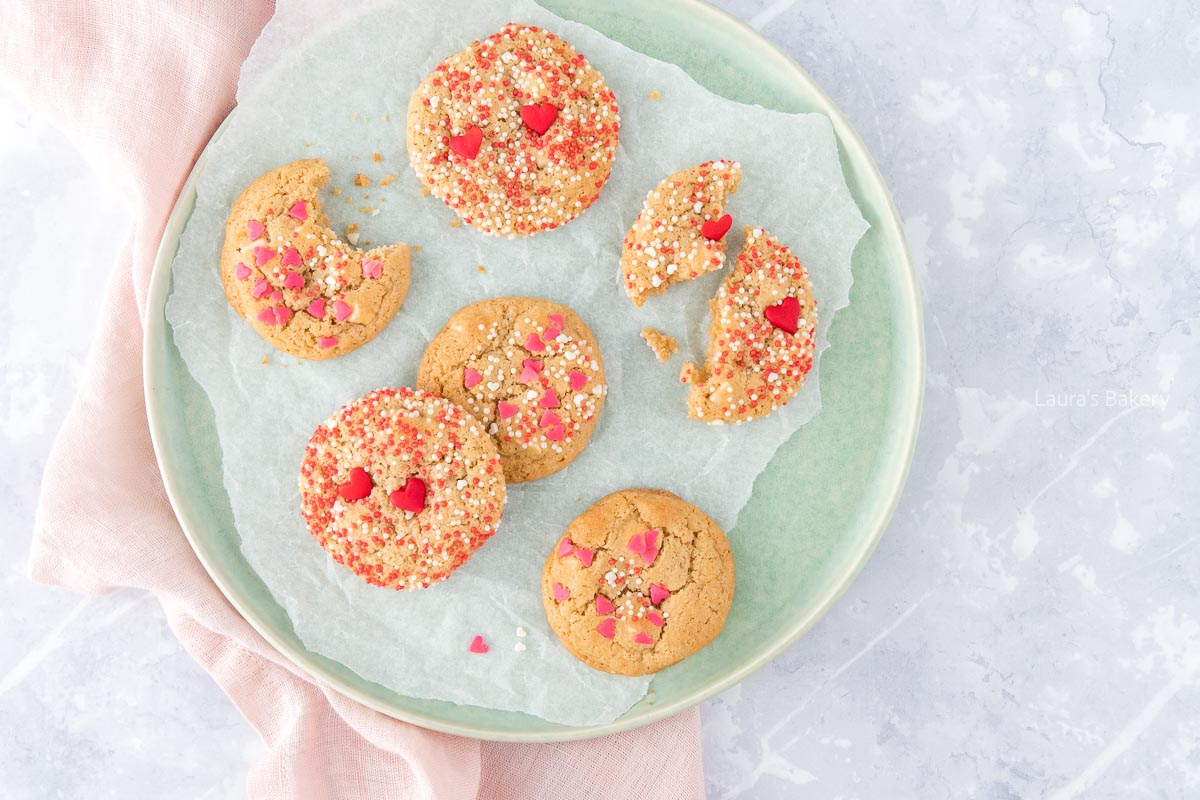
Making these smaller cookies is no different from regular chocolate chip cookies. You just shape them smaller. You start by creaming the butter and the sugar together. Add egg and vanilla extract and mix until combined.
Next you add the dry ingredients into the bowl and knead it into a firm cookie dough. The last step is to mix the chocolate chips in. Make sure to refrigerate your dough properly. Check here if you want to know why you should refrigerate your dough first.
Once the dough is chilled you can use a cookie scoop or your hands to roll them into small balls. Dip each ball into sprinkles of your choice. If the sprinkles are big you only dip one side of the dough, if they are small you can roll them through it.
Place the cookie dough balls on a baking sheet or cookie sheet lined with parchment paper or use silicone mats. This recipe makes roughly 25 cookies so you may need two or three baking sheets. You do want to have some space in between the cookies.
Now bake them for 10-12 minutes or until golden brown. The bake time may vary depending on how big or how small you made the cookies. Keep in mind that the cookies will be soft when they come out of the oven. They will harden as they cool so let them cool down on a wire rack.
I’m pretty sure these baked cookies will not last very long but if you have to store them, they will keep in an airtight container for about one to two weeks.
You can also freeze the unbaked dough and use whenever you’re in need of some delicious fresh cookies. I would advise you to make the cookie dough balls en freeze them like that.
Valentine’s Day is the perfect time to bake something special. Whether you’re looking for a tasty breakfast, a sweet coffee treat, or a savory cocktail snack, these baked goods are sure to put a smile on your loved one’s face. With these recipes, it will be a day to savor.
And if you love chocolate chip cookies, check these out as well:
Use high-quality white chocolate chips or chop a white chocolate bar into small chunks. Avoid “white baking morsels” that don’t contain cocoa butter, as they may not melt properly.
It won’t change the texture much, but because white chocolate is softer and sweeter, the cookies might spread a bit more and taste richer. I’ve never experienced any significant changes in texture though.
Absolutely. A 50/50 mix is popular and balances sweetness with the deeper flavor of dark or semi-sweet chocolate.
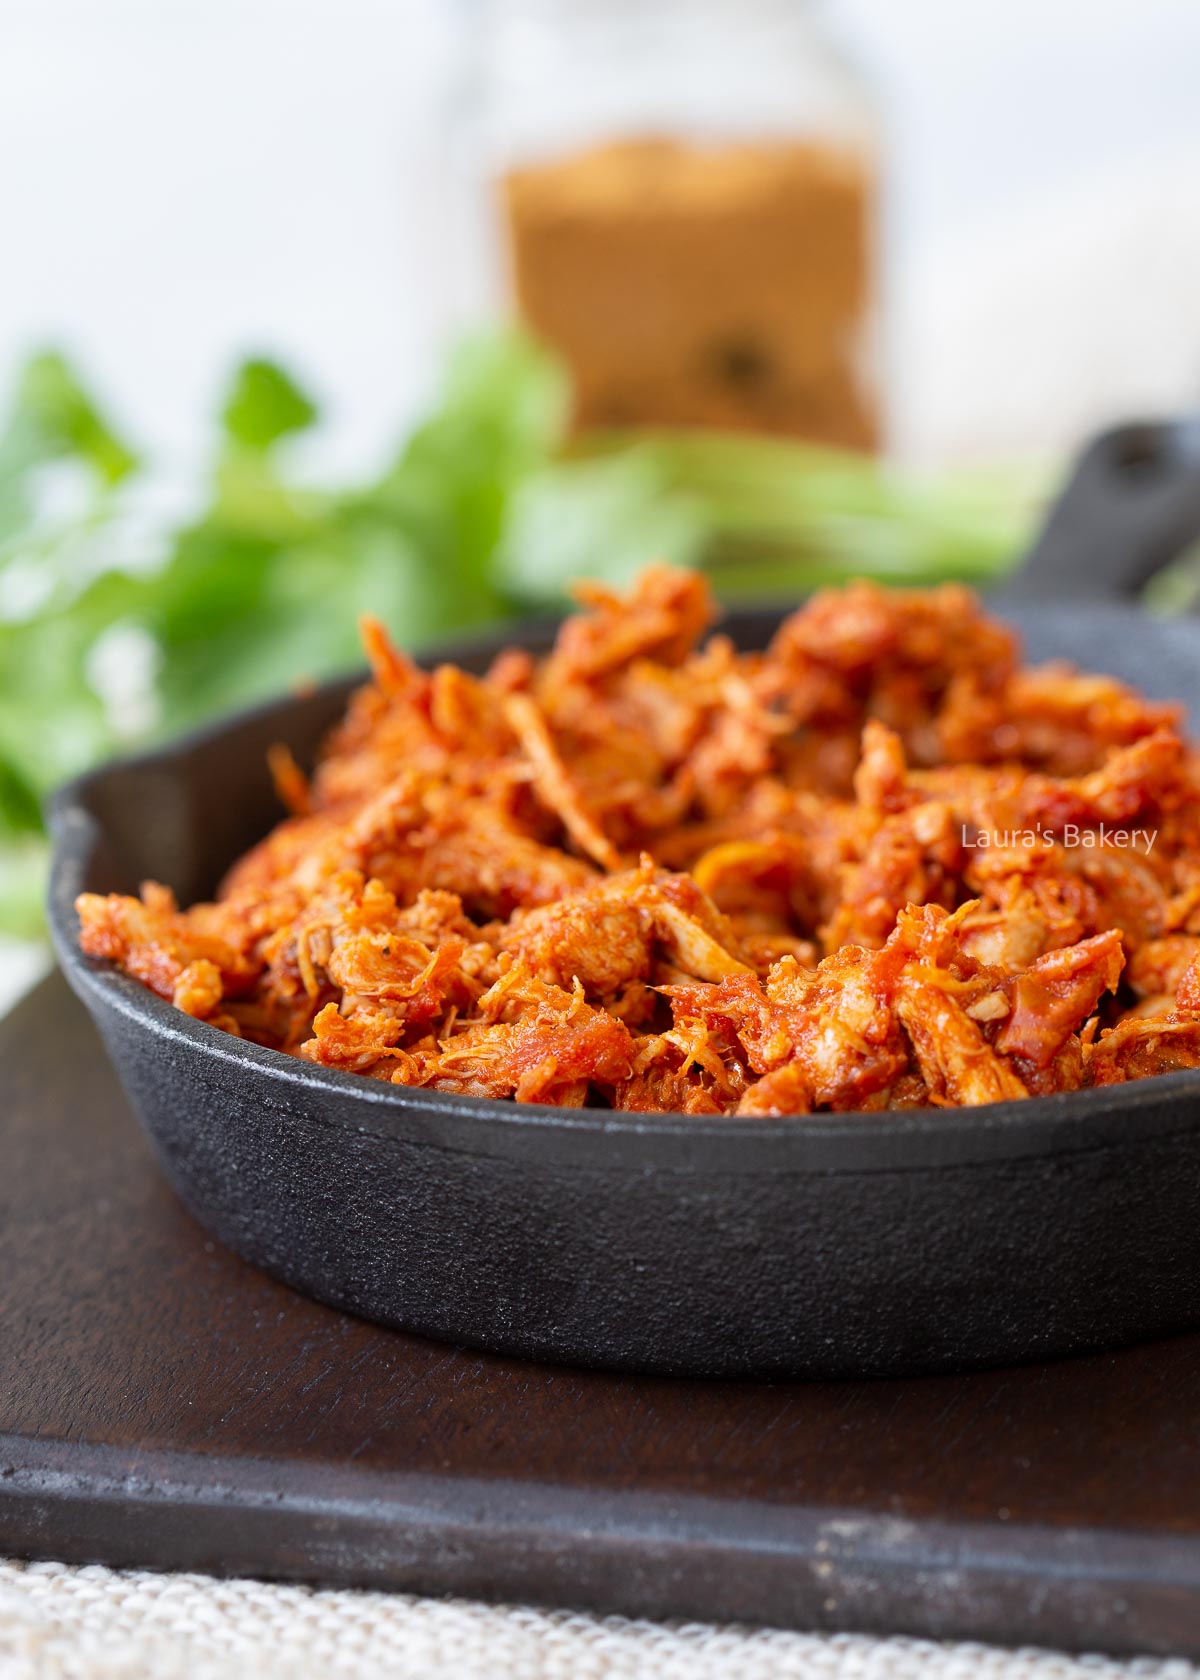
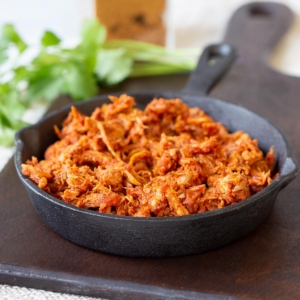
Today, I have another delicious Mexican dish for you: tender pulled chicken! As you can see from the number of Mexican recipes on Laura’s Bakery, I really love this cuisine.
Serve this chicken with fresh guacamole, sliced tomatoes, cucumber, corn, red onion, black beans, and/or lettuce on a homemade tortilla. It’s delicious and quick to make, especially if you’ve already prepared the chicken.
It’s the perfect comfort food, and it’s great for serving to friends or family. Put all the tortilla ingredients on the table and let everyone make their own. It’s so much fun!
If you want to serve a starter and dessert with your dinner, try these delicious oven-baked tortilla chips for the starter and tres leches cake for dessert. Your guests will be impressed!
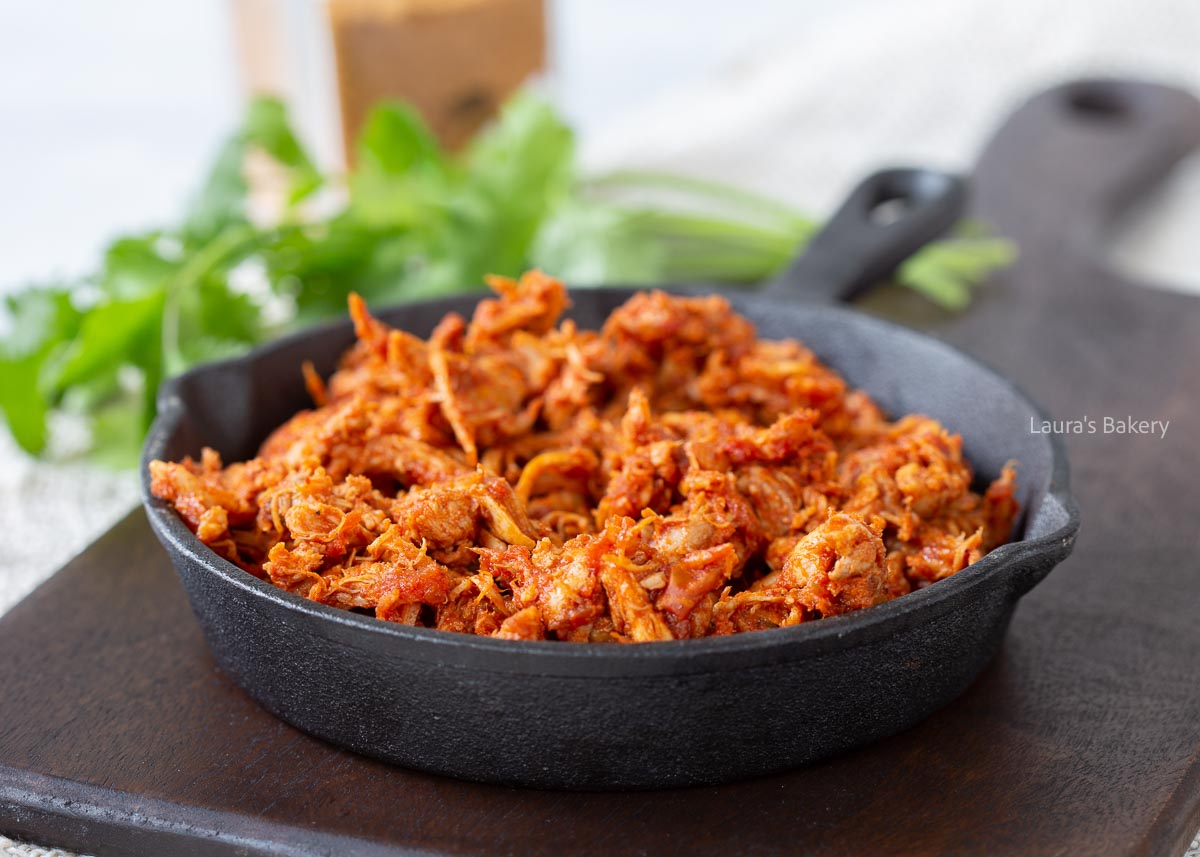
Check full recipe ingredients and quantities in the recipe card below. I’ve prepared this recipe in a large skillet (Dutch oven would work as well) but you can also make this easily in an instant pot or slow cooker. If you do stick to around 4-5 hours for the slow cooker setting.
If not using a ready-made blend, mix your spices now. You will need only 1 tablespoon for this recipe, so you can save the rest for future use. Make sure to store it in a small airtight container.
I’ve used chicken thighs here. You start by making the tomato mixture in a large skillet and add the chicken to it. Make sure that the chicken is completely covered with liquid. If necessary, add a bit of extra water.
The cooking time might vary a bit since the size of the chicken can vary too. Cover the pand and let it simmer for about 25 minutes and turn the chicken half way. Remove the chicken from the sauce and place on a cutting board. Using two forks, pull apart the chicken.
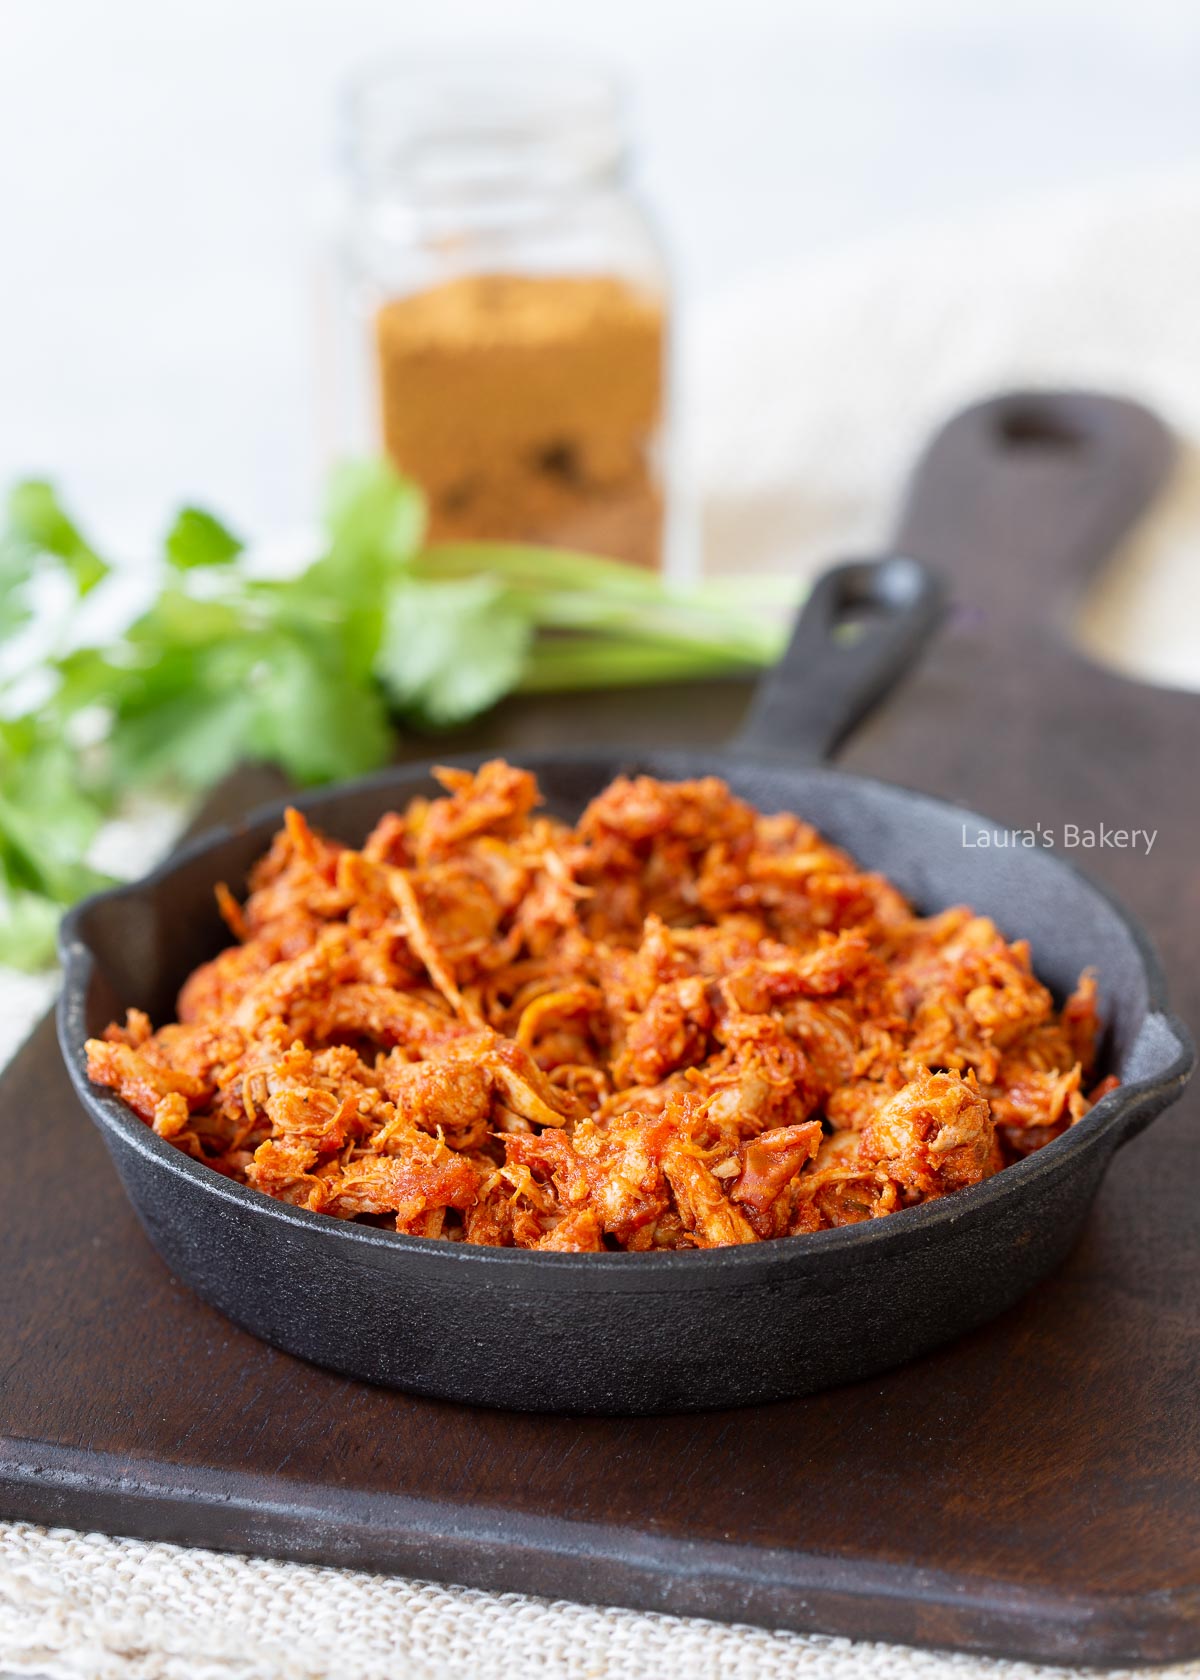
Before you add the chicken back to the pan remove about half of the sauce. If you don’t do this the chicken will be too wet. But ultimately it also depends on how you’re going to use your Mexican shredded chicken. It is delicious in burrito bowls or make chicken tacos out of it.
You can store the Mexican shredded chicken for up to two days in the fridge. Or use a freezer bag and store in the freezer for up to three months.
Boneless, skinless chicken breasts or thighs work best. Thighs are juicier and more forgiving if you accidentally overcook, while breasts are leaner.
Yes, but you’ll need to add extra cooking time. If using a slow cooker or Instant Pot, you can put it in frozen. If cooking on the stove, thaw it first for even cooking.
Season the chicken generously before cooking and use a mix of spices like chili powder, cumin, paprika, garlic powder, and oregano. Adding a bit of lime juice at the end brightens the flavor of the pulled chicken.
Absolutely.
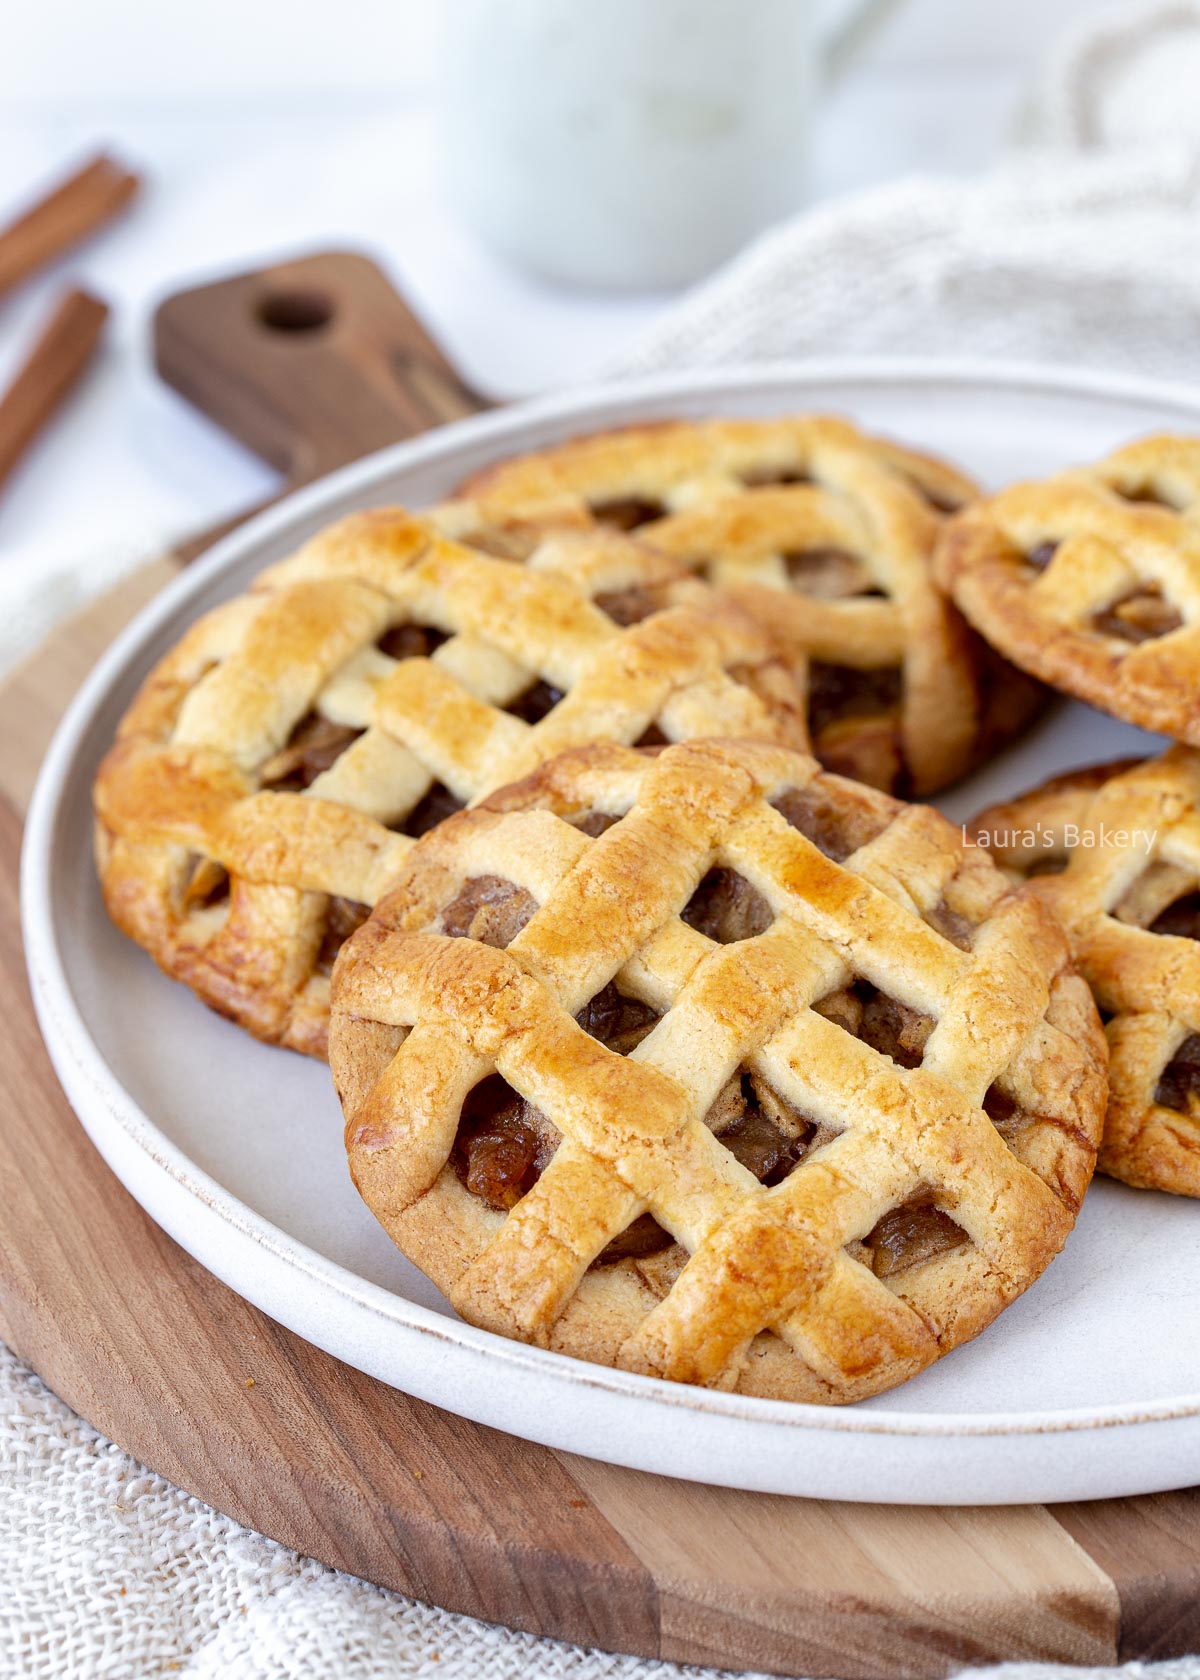
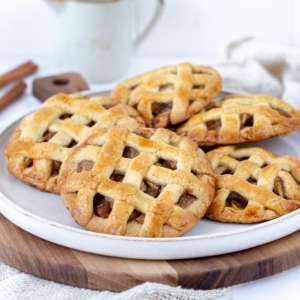
Do you have leftover apple pie dough, or do you love the crust of an apple pie? If so, then this recipe for apple pie cookies is just the thing for you!
Are you crazy about apple pie like me? Have you made my classic apple pie recipe many times? Then these apple pie cookies are perfect for you! It’s the original recipe, but with a twist.
Making apple pie cookies is just as easy as making the pie itself, but there are a few differences.
Apple pie cookies contain a lot more cookie than apple, which probably won’t surprise you. Personally, I really like that and I can never get enough of them.
As always check all ingredients plus quantities in the recipe card below.
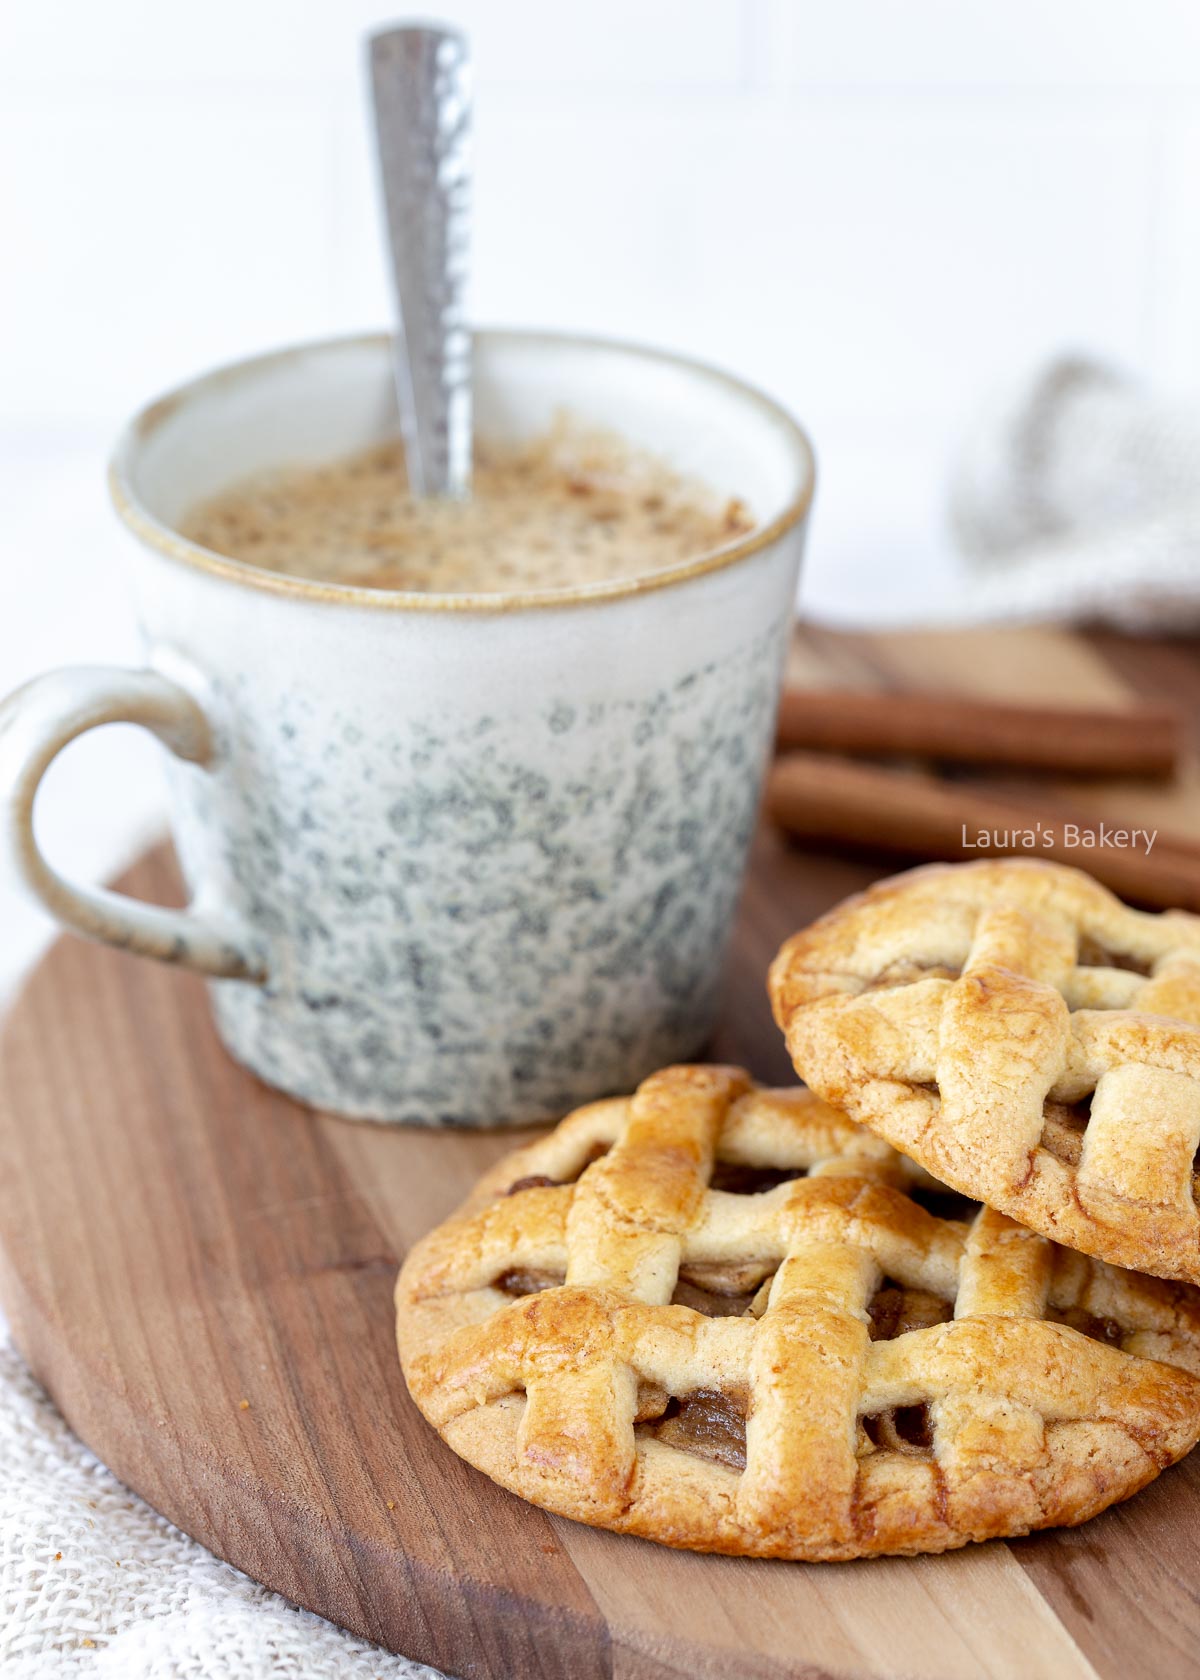
Now the fun part about making these apple pie cookies is that you can make them easily from leftover dough if you’ve made a traditional apple pie.
I’m never left with any dough but depending on the tin you’ve used you might have some leftover for making these mini apple pies. If not, it is super easy to make your own quickly. Just follow the steps below to make the dough.
Once the dough is made, roll it out on a lightly floured surface. Ideally you want the dough to be roughly 0.15 inch or 4mm thickness. No need to start measuring but just use common sense here.
Using a round cookie cutter, cut out the circles. If you do not have a cookie cutter, you can first make cookie dough balls and flatten them with the rolling pin to be roughly the same size. You will need dough that is around 3 inches/8cm in diameter.
For the apple filling you cut the apple into small pieces. Mix it with the cinnamon sugar mixture and melt the butter in a medium saucepan. Add the apple mixture and let it caramelize a bit. Let it cool before you add it to the dough.
Place a tablespoon of your apple mix in the center of each cookie and make a simple lattice network to go over the filling. Brush with the remaining egg and bake in the oven for about 25 minutes until golden brown. Let them cool down on a wire rack.
There are now lots of apple recipes on Laura’s Bakery, and they’re all too delicious not to share with you. Maybe one of these recipes will make it onto your baking list after you’ve tried these apple pie cakes. I find it delicious year round but absolutely a perfect fall treat.
You can store the cookies outside of the fridge at room temperature for 3-4 days in an airtight container. Or alternatively, freeze them for up to three months.
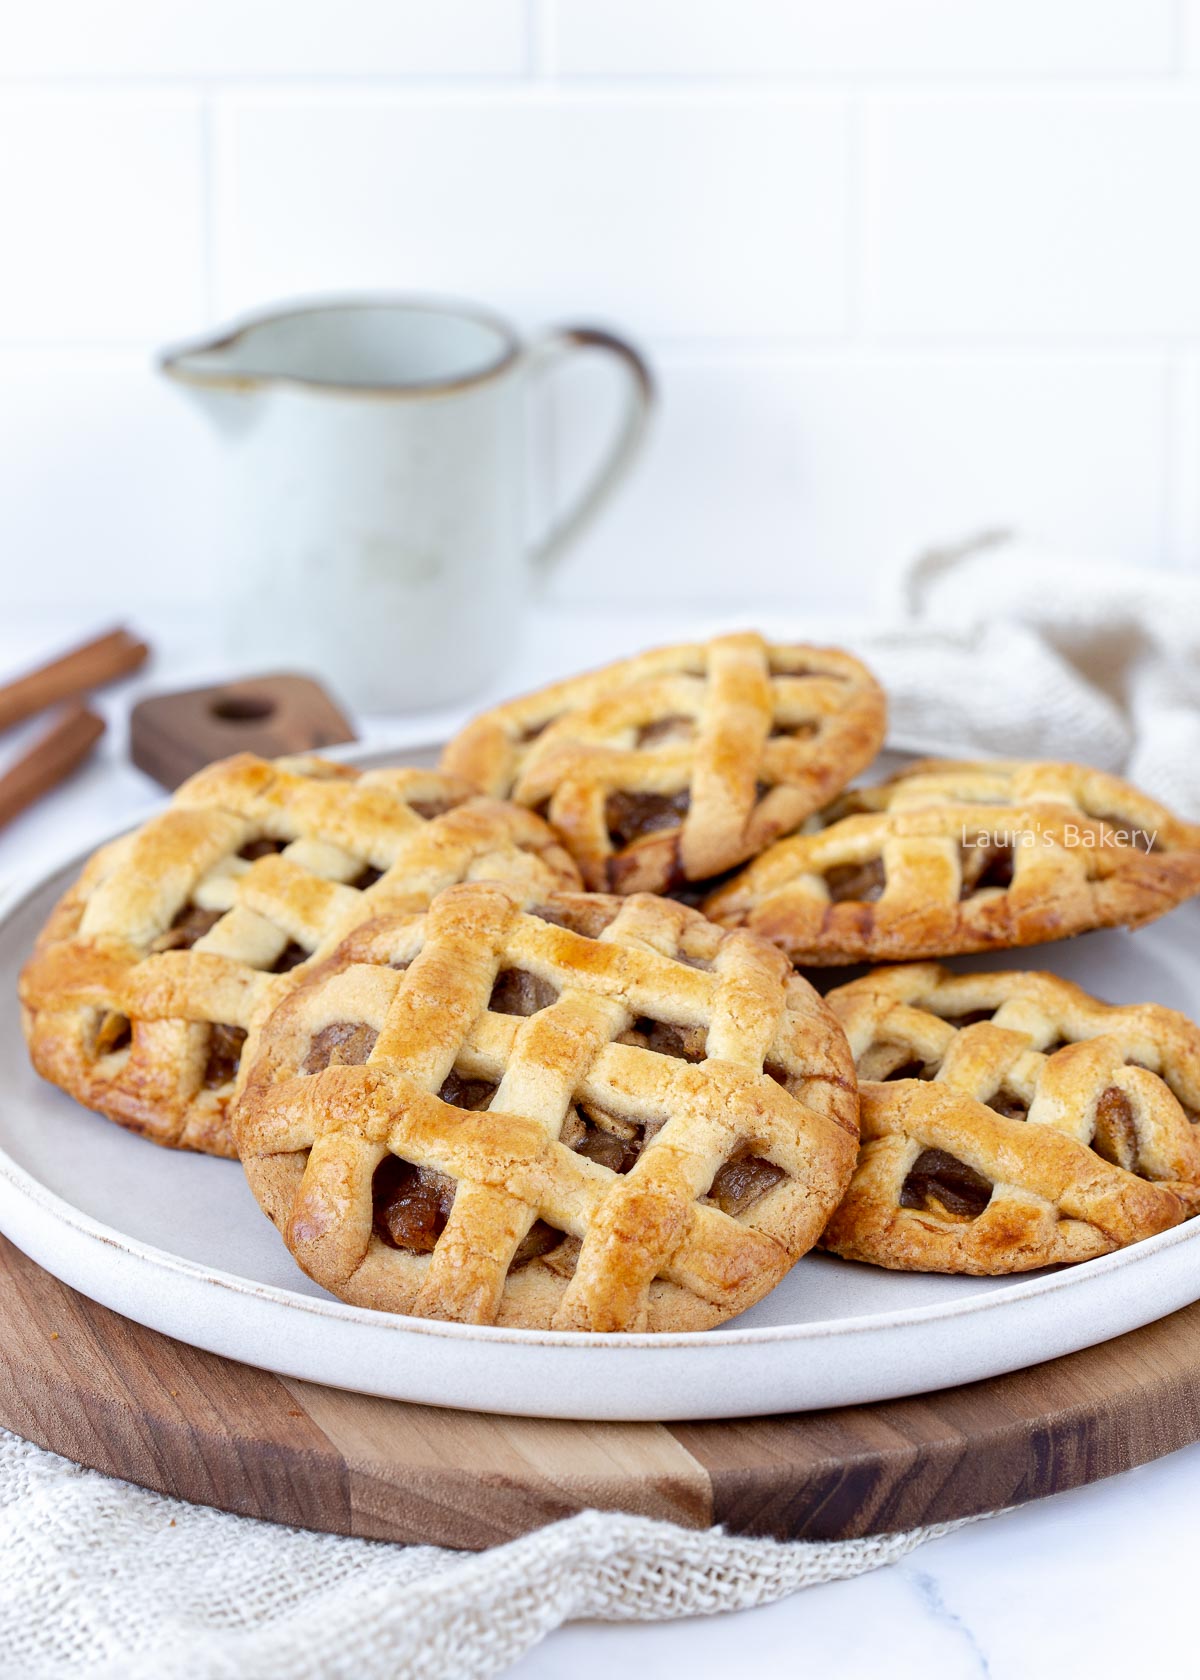
I prefer Granny Smith apples, Honey Crisp or Braeburn apples, but the most important thing is to use firm, tart apples. It also depends largely on where you live as I tend to find different apples here in The Netherlands than you would in the US.
I’ve made these cookies with 8-cm (3 inch) and 9-cm (3.5 inch) baking rings. The size of the cutter determines how big your cookies will be and how many you can make with this recipe. I can tell you that these are quite large cookies.
Another option is to place a glass or small bowl with the same diameter on top of the dough and cut around it (or cut it with a knife). In my experience, this method doesn’t work as well or as neatly, but it is absolutely possible.
Ideally, no, as this yields the best results. However, you can replace it with milk. Be careful not to make the dough too moist.
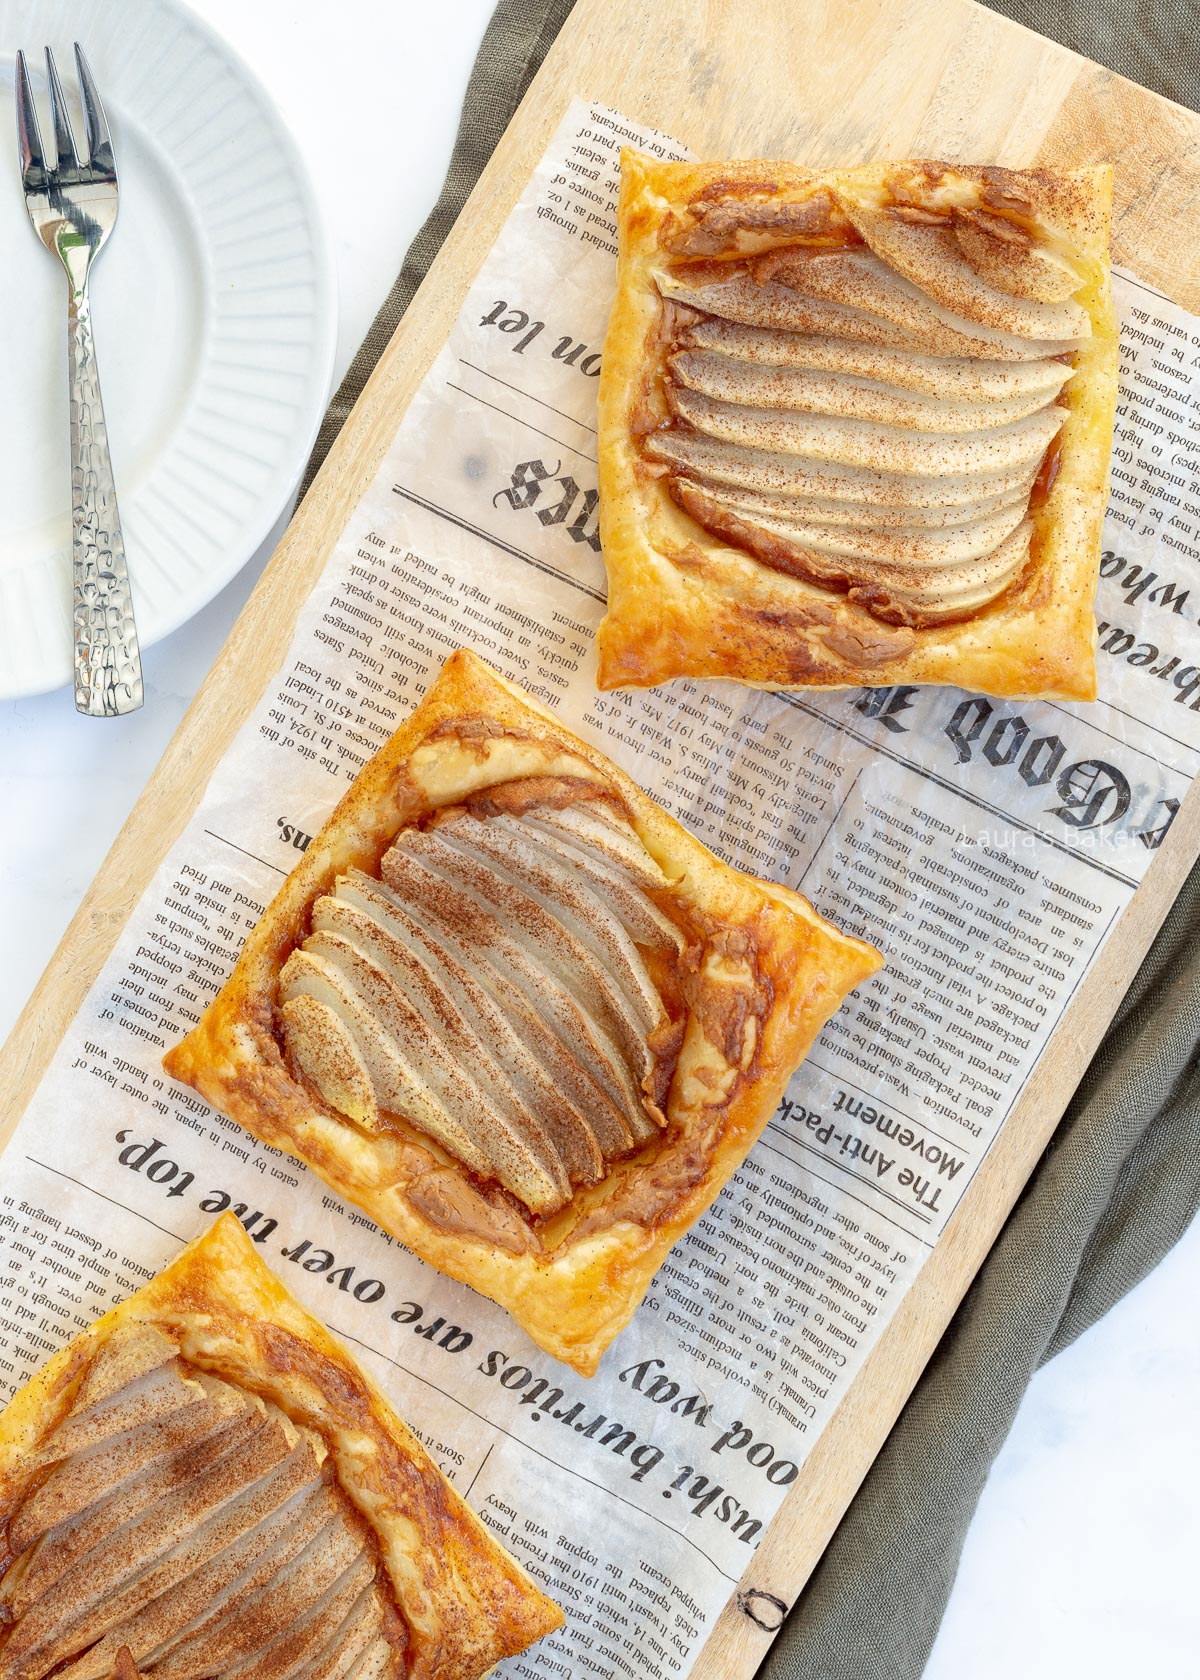
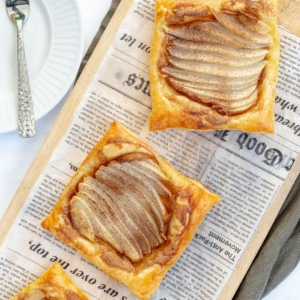
Seasonal fruit and puff pastry are the perfect ingredients for making delicious, easy tarts. This simple pear pie recipe is proof of that! Adding Biscoff spread makes them completely irresistible.
I’m a big fan of these quick pear tarts! They’re the perfect pastry to serve with coffee and are also delicious as a dessert. You can make them in less than 15 minutes, then pop them in the oven.
It’s handy if you have unexpected visitors, and chances are you already have all the ingredients at home. For dessert, serve them with a scoop of ice cream or some whipped cream to make them even more special. But, to be honest, they’re just as delicious on their own.
And other than an egg and some cinnamon, that is all you need for making these super easy pear pies. Depending on the season you can also transform them into fig tarts.
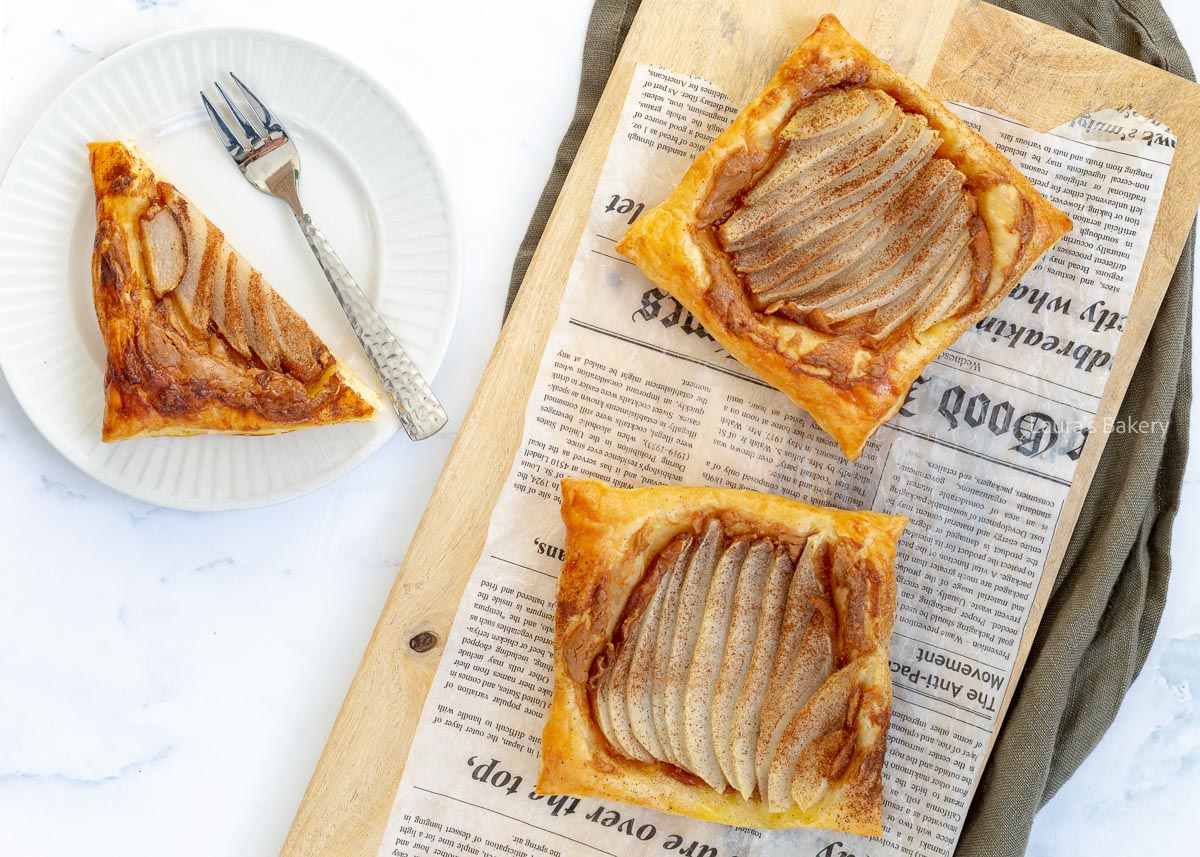
Making these easy pies is quick too. I’ve used frozen puff pastry slices that come in squares. You will need to defrost them before you can use it.
If you can only find fresh puff pastry that is perfectly fine to use too. In that case slice it into the desired shape.
Make sure to leave about half an inch of space on the borders of the slices and spread a generous amount of Biscoff spread on the bottom of the puff pastry. On top of that you add the fresh pears.
I sprinkled a bit of cinnamon on top but you can also use other warm spices like ginger or cardamom for a different flavor.
Next bake the pear tarts in the oven until golden brown.
I prefer to serve these tarts immediately after they come out of the oven. They’re warm and taste incredibly delicious, and there’s nothing better than crispy puff pastry.
Like most sweet puff pastry cakes, you can store them in the refrigerator for up to 3-4 days. Reheat the tarts in the oven at 180°C/350°F (conventional oven) for about 5 minutes to make the puff pastry crispy again.
I haven’t tried freezing these specific tarts, but it is possible. Allow the tarts to cool completely after baking, then freeze them in an airtight container. They will keep for up to three months this way.
After thawing, reheat them in the oven as described above. Fresh puff pastry (not from the freezer) can also be frozen unbaked. You can freeze the pear tarts unbaked and bake them fresh, which is always my preference.
I have quite a few Biscoff recipes lined up but for now make sure to check out the Biscoff tiramisu! More to come soon!
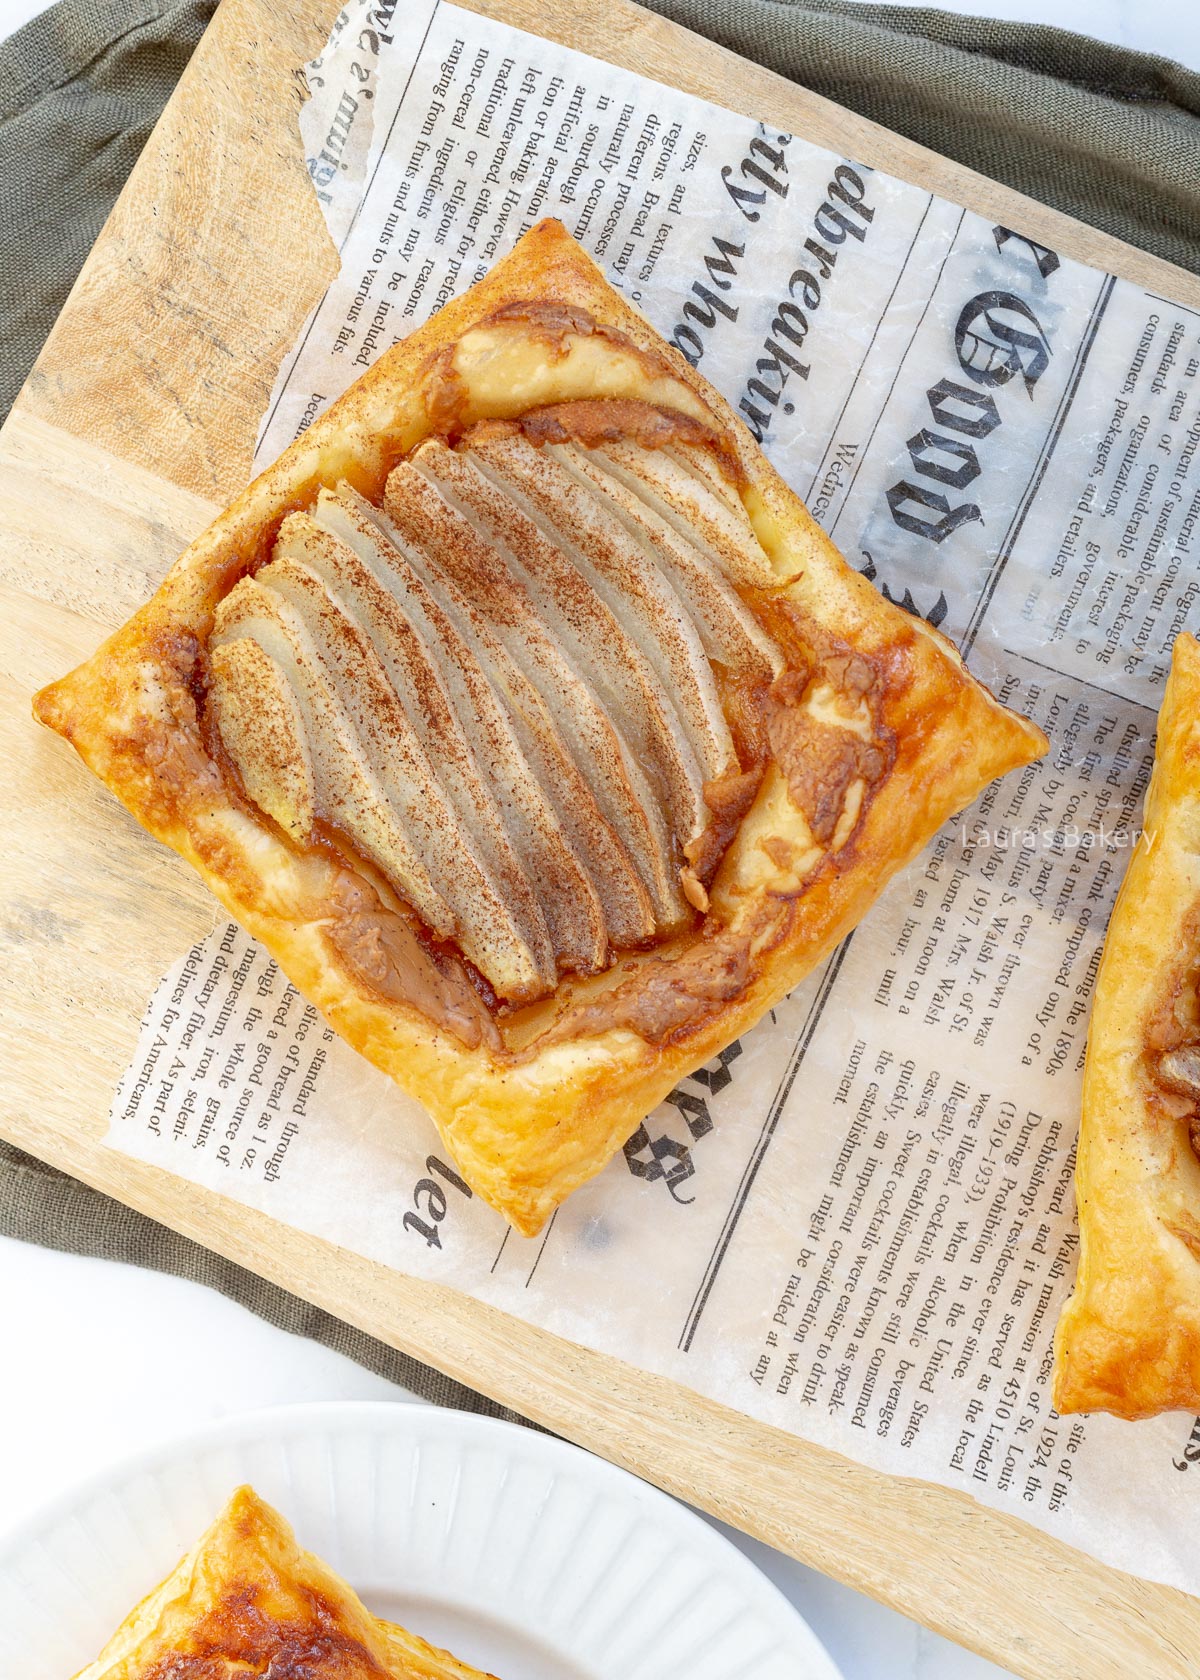
I use bosc pears, the variety most often found in supermarkets. You can use any kind of pears, like Anjou pear or Bartlett pears, but keep in mind that some are firmer or have a fresher texture than others.
Yes, but it adds flavor and gives the tarts a subtle sweet taste. Instead of leaving it out, I would replace it with a mixture of sugar and cinnamon or almond paste.
You can replace the pears with apples at a 1:1 ratio, which works perfectly and tastes great. Follow the recipe exactly.
Many other types of fruit would probably work as well, such as nectarines or plums. In that case, I would replace the Biscoff spread with almond paste or cream cheese mixed with a little sugar.
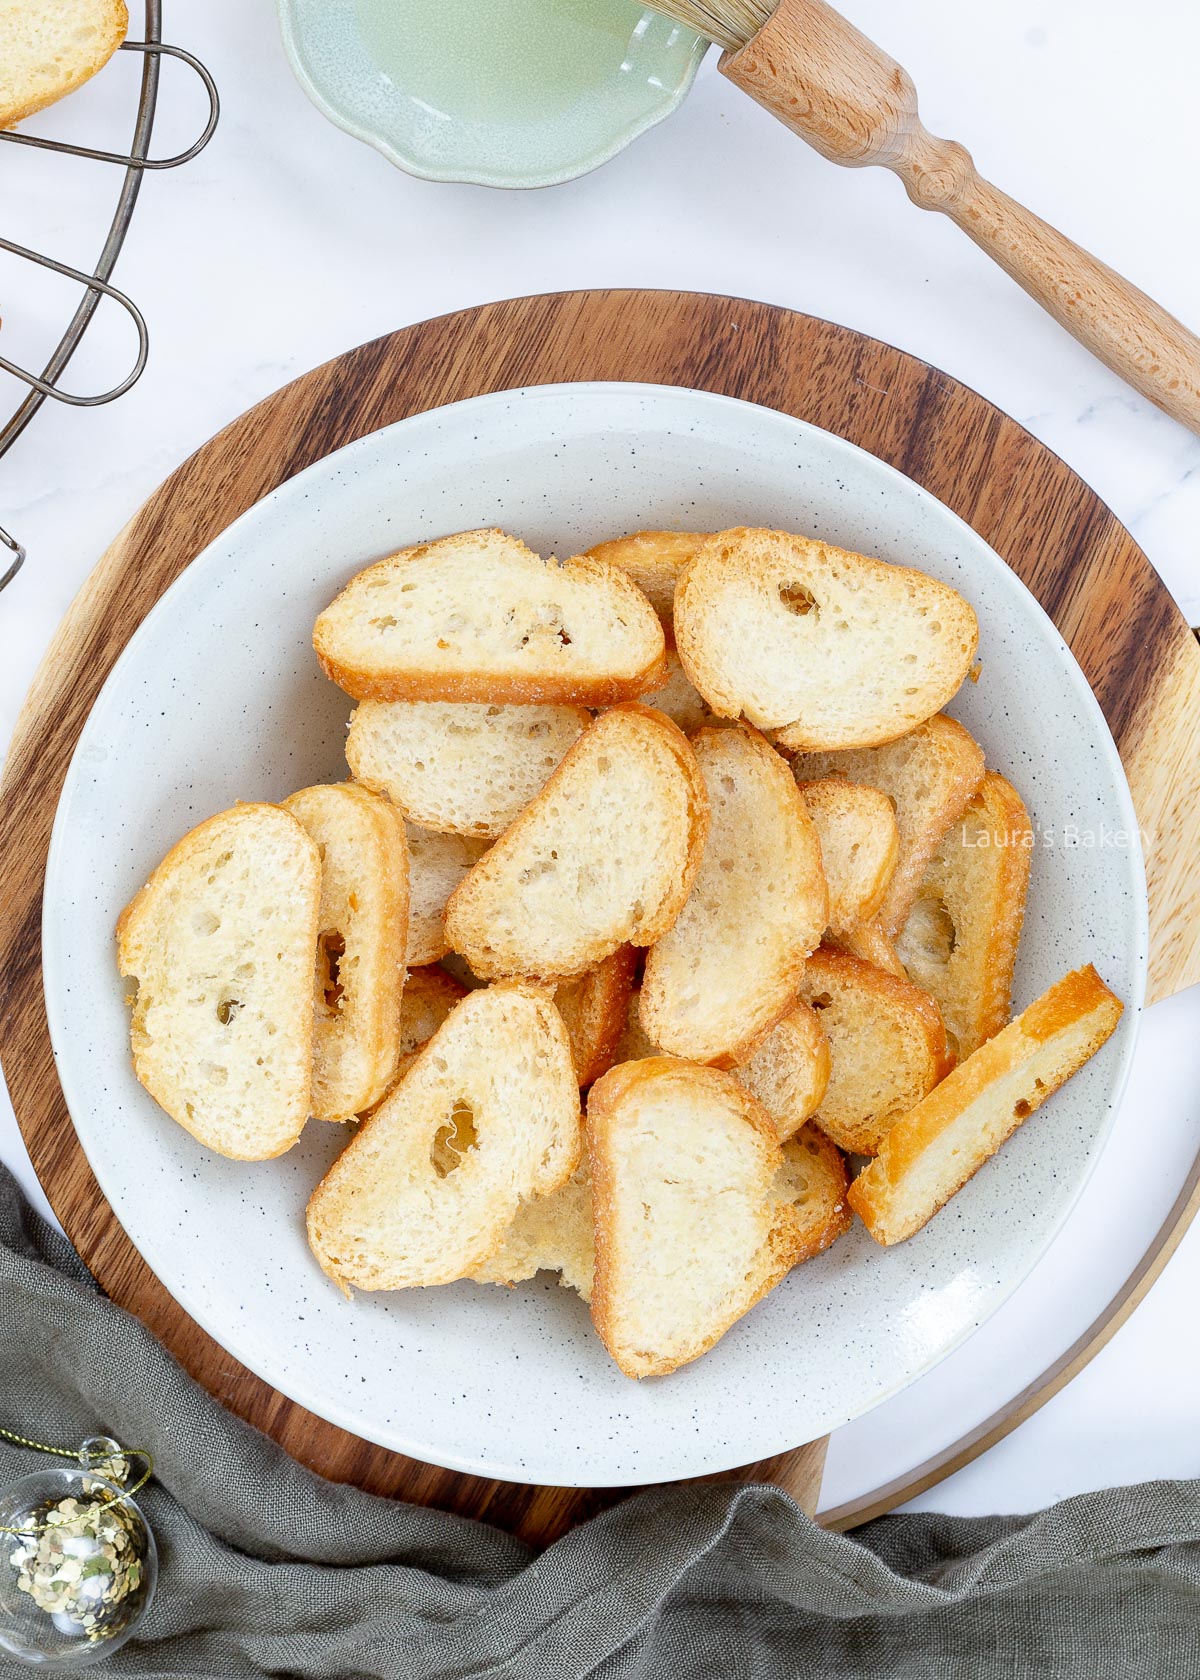
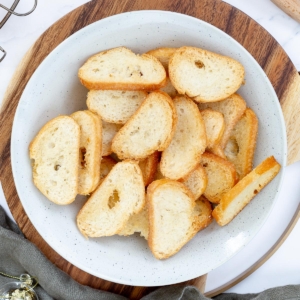
Making your own crostini is incredibly easy and very tasty. With just a few extra ingredients, you can make the most delicious snacks for your party. It’s a great appetizer for Christmas brunch, Easter or any kind of festive occasion.
They are small, thin slices of baguette toast made according to an Italian recipe. These Italian toasts are ideal for serving with brunch, drinks, or as an appetizer.
They are delicious served with Christmas brunch, for example, as a savory counterpart to the often sweet dishes.
This basic crostini recipe is incredibly easy to make. All you need is a baguette, oil, salt, and an oven. After baking, top them with whatever you like or dip them in a sauce. The possibilities are endless!
After reading the above explanation about crostini, you probably thought of bruschetta, another type of Italian “toast” made from bread often seen on delicious antipasto platters.
The main difference is the type of bread used. Bruschetta should be made with rustic Italian bread. Think of bread with a coarser texture and crust like ciabatta. Bruschetta is also generally cut into thicker slices than crostini.
Crostini are thin slices of toast made from smaller, finer-textured baguettes, such as French baguettes.
In this recipe article, I explain how to make crostini and vary the flavors, as well as how to top them. I’m curious to hear what your favorite flavor combination is! And the possibilities are literally endless!
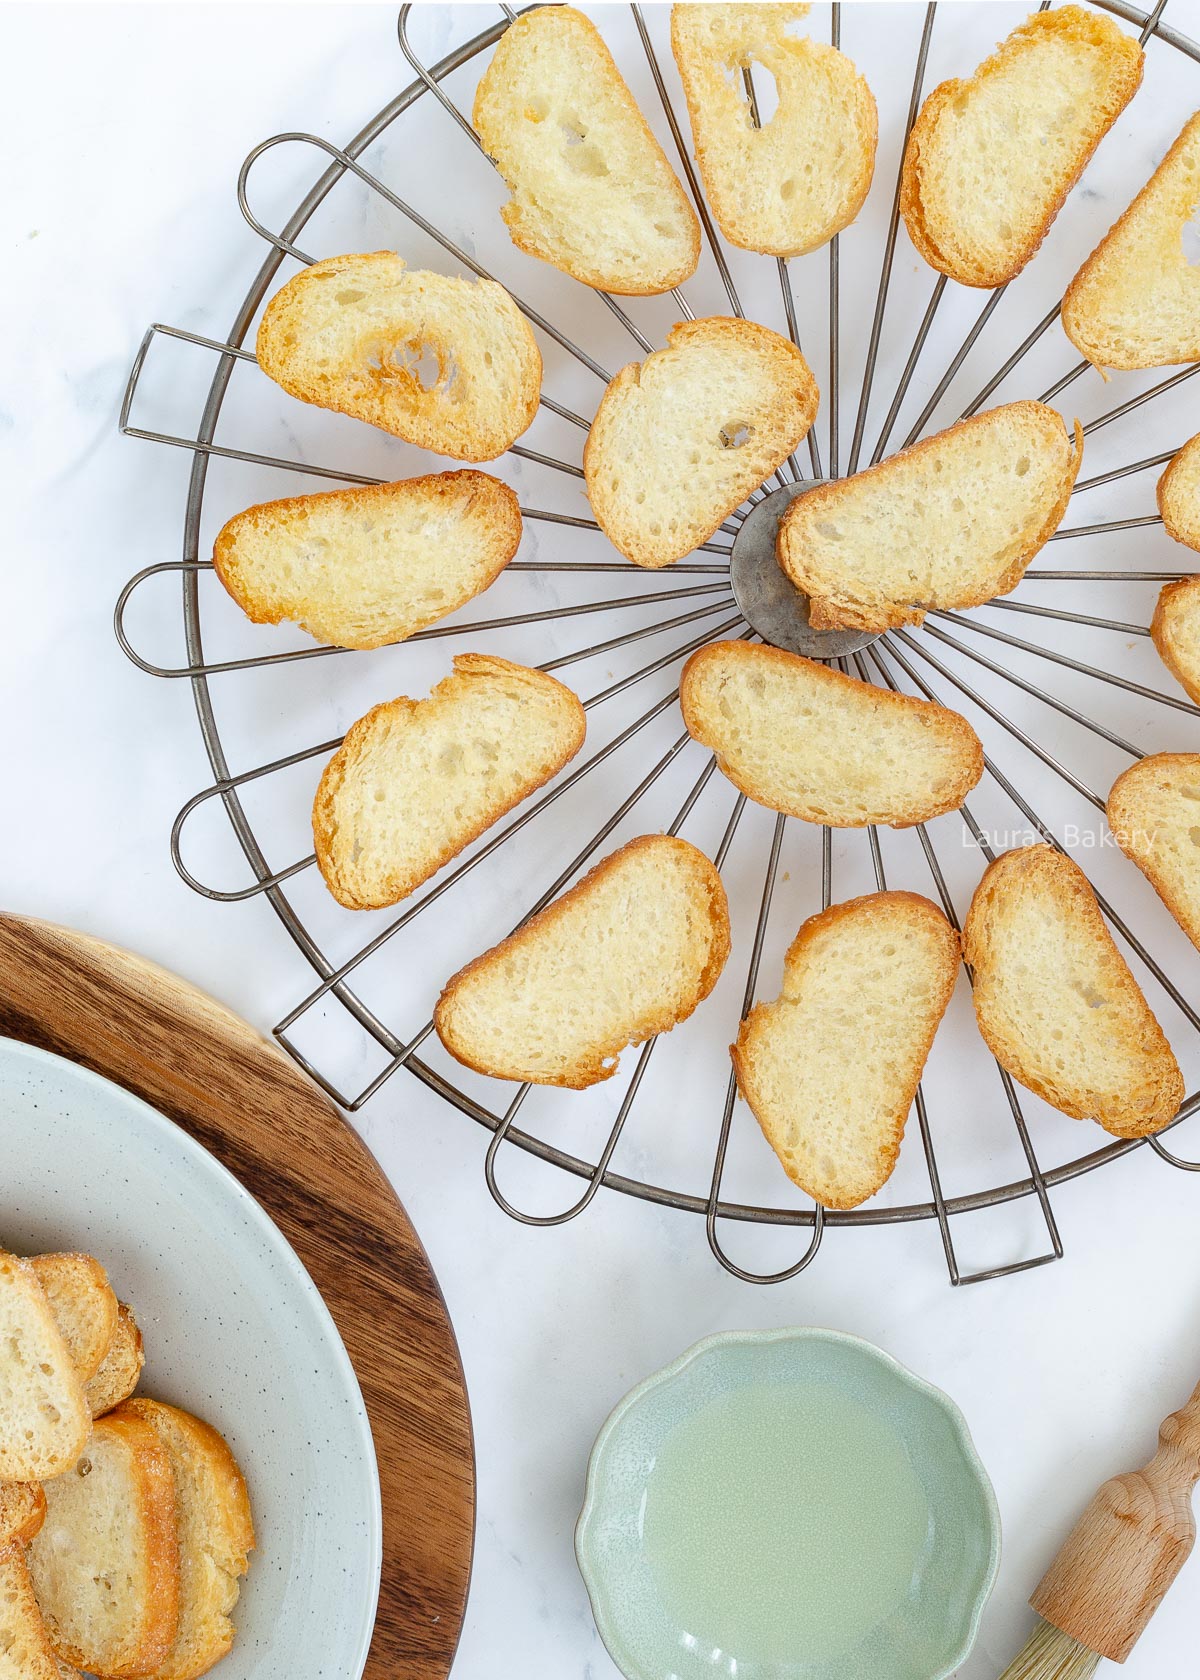
I did mention you don’t need a lot for making these crostini right?
Making crostini is really a great way to get rid of stale bread too. Especially with baguette that tends to get stale quicker than normal bread. Making this with fresh bread is also an option but I love the fact that I get to use my leftovers for this easy recipe.
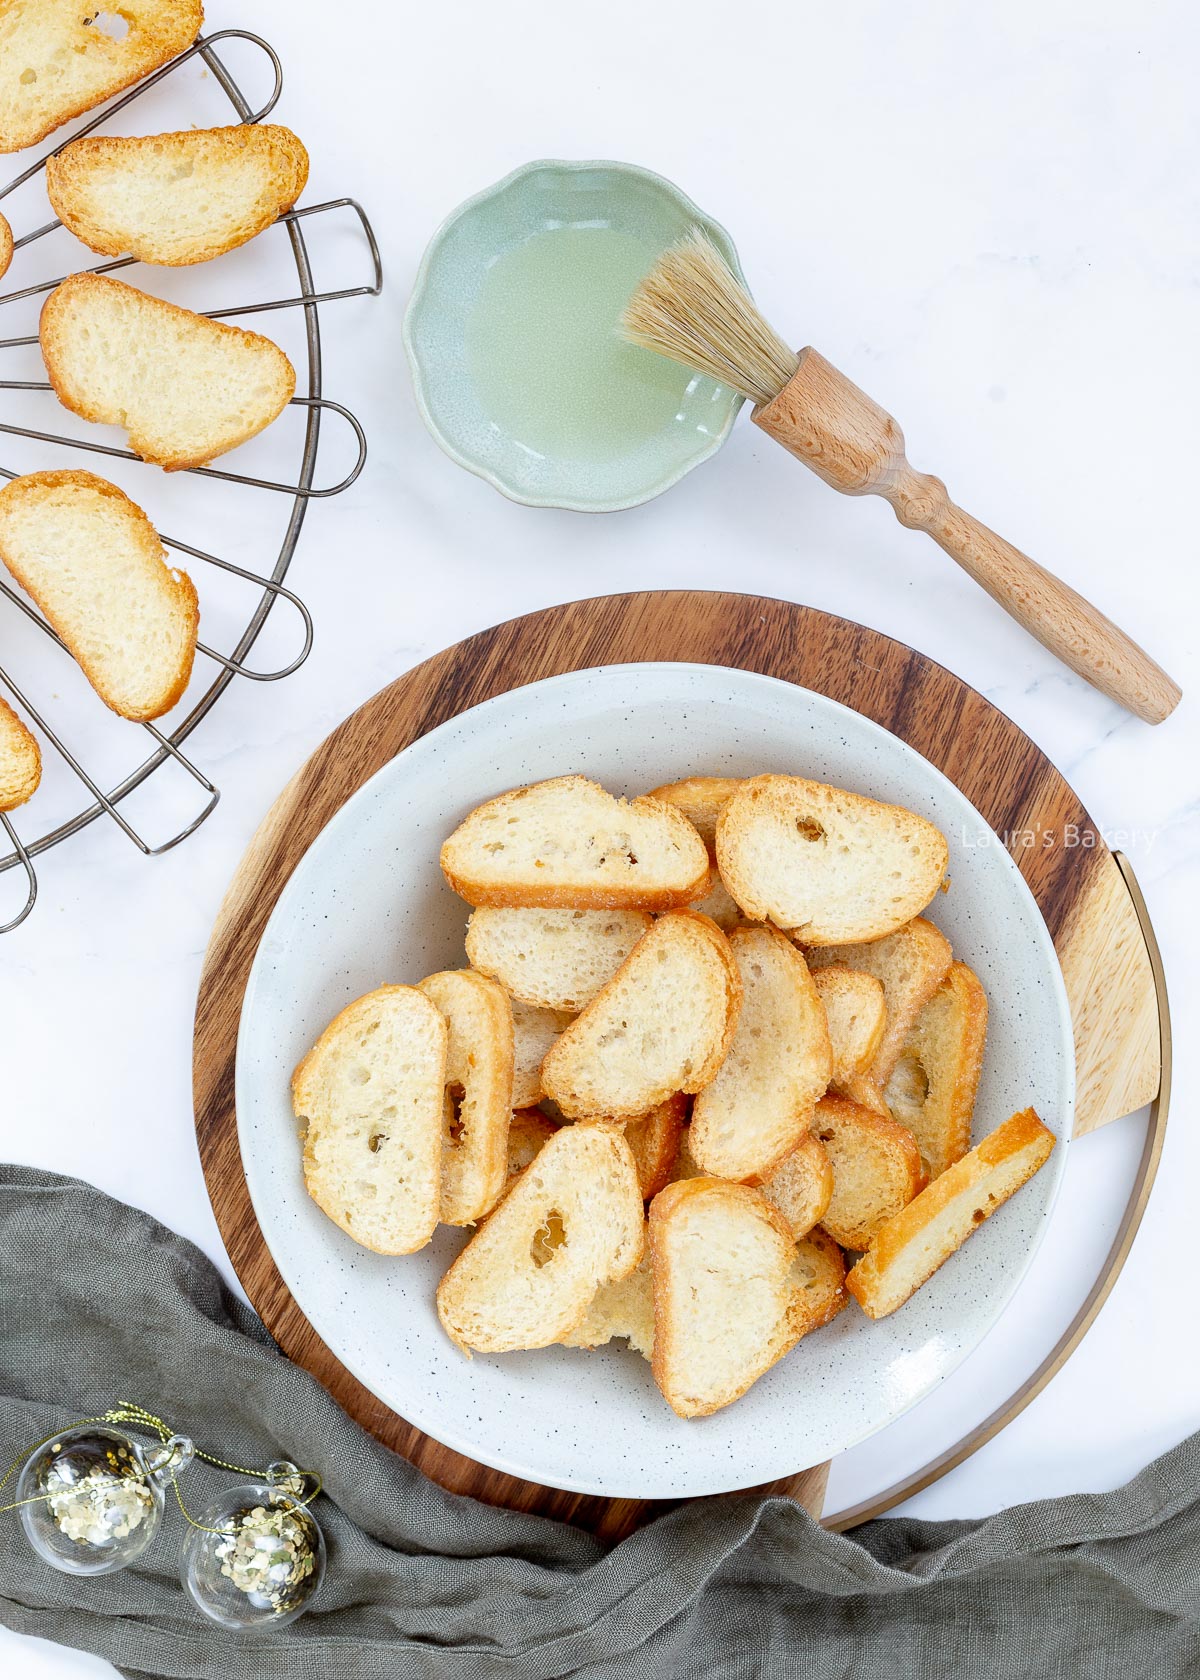
You spread the thin slices with olive oil and salt on a baking sheet lined with parchment paper and bake in the preheated oven for about 10 minutes until they are lightly golden brown. Don’t let it get too dark.
These Italian toasts are delicious on their own. They’re a salty treat that you can season with all kinds of herbs and spices, and then dip in a creamy spread or something like a spinach artichoke dip.
It’s even more fun to top crostini because then you have a complete savory snack for your (Christmas) brunch. They’re the perfect base for so many different dips.
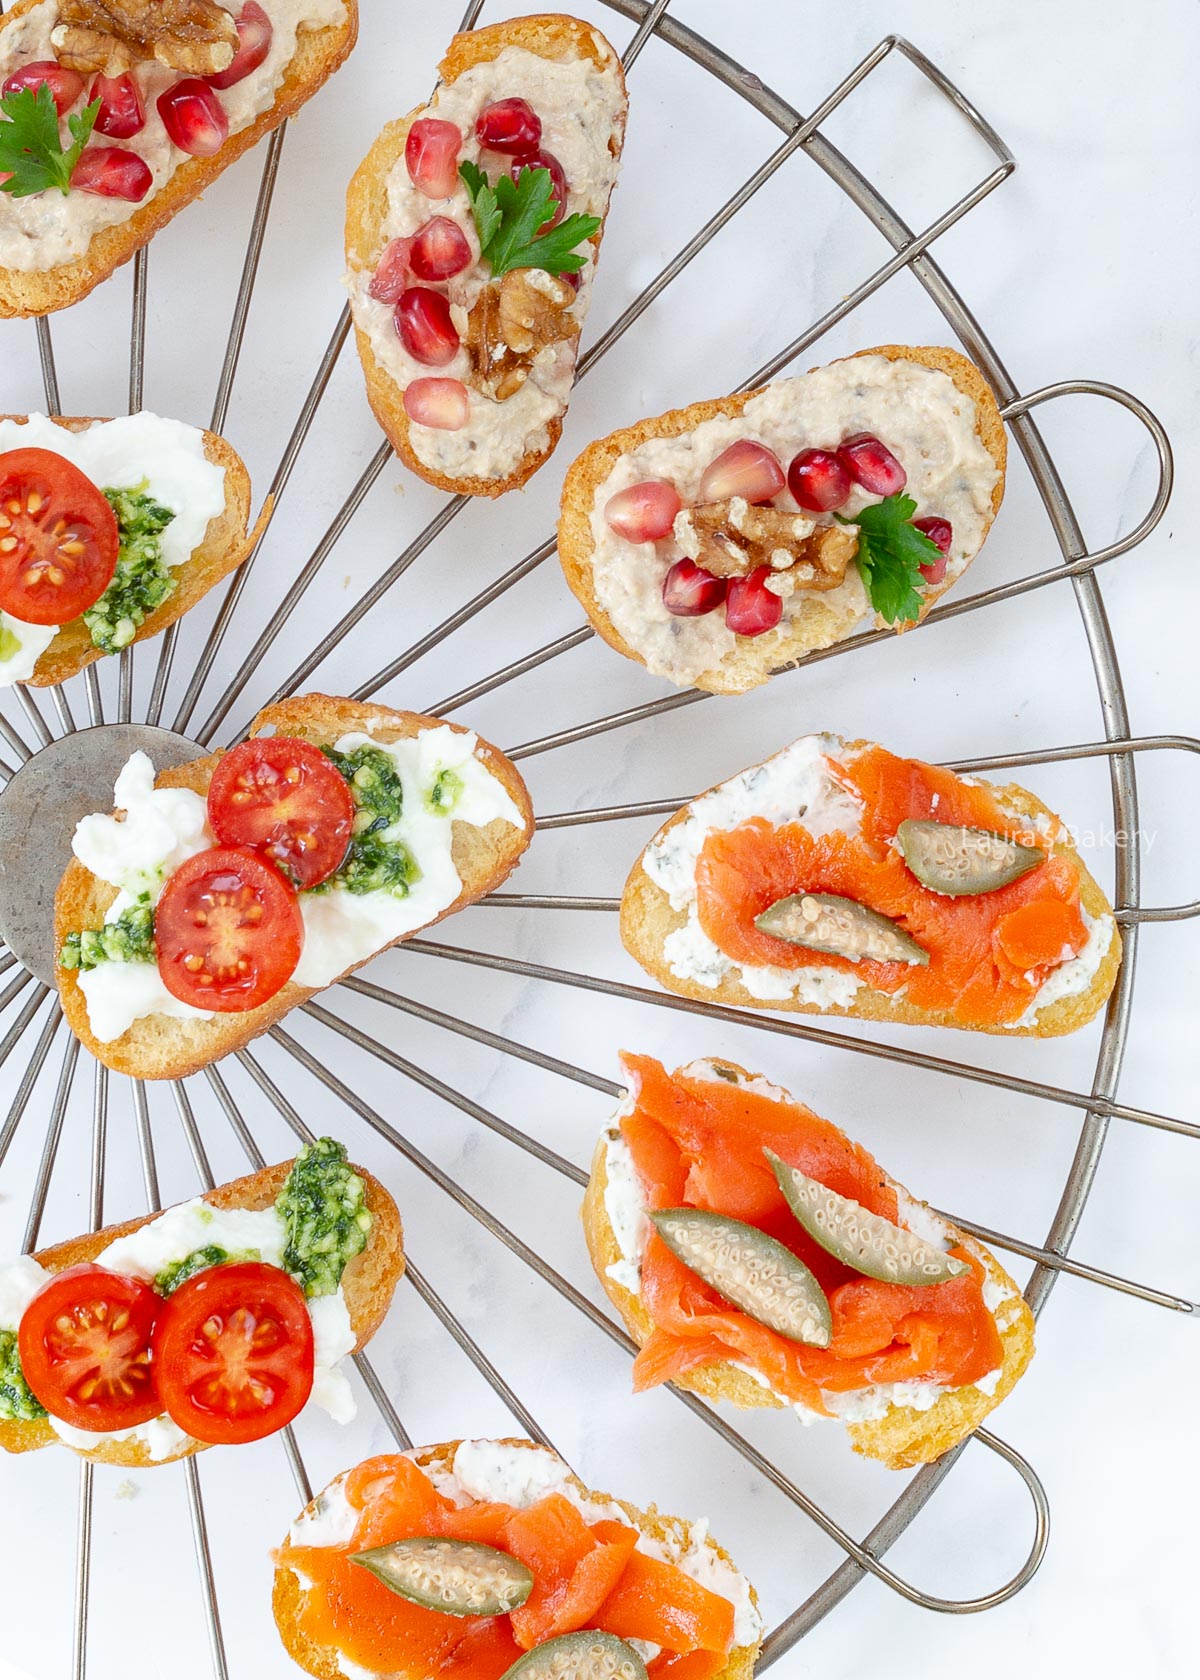
I’ve tested several delicious flavor combinations for you to try right away after making the basic recipe. There’s something for everyone, so you can please all your guests. I give you a couple of crostini toppings below.
Also make sure to try them with my favorite egg salad.
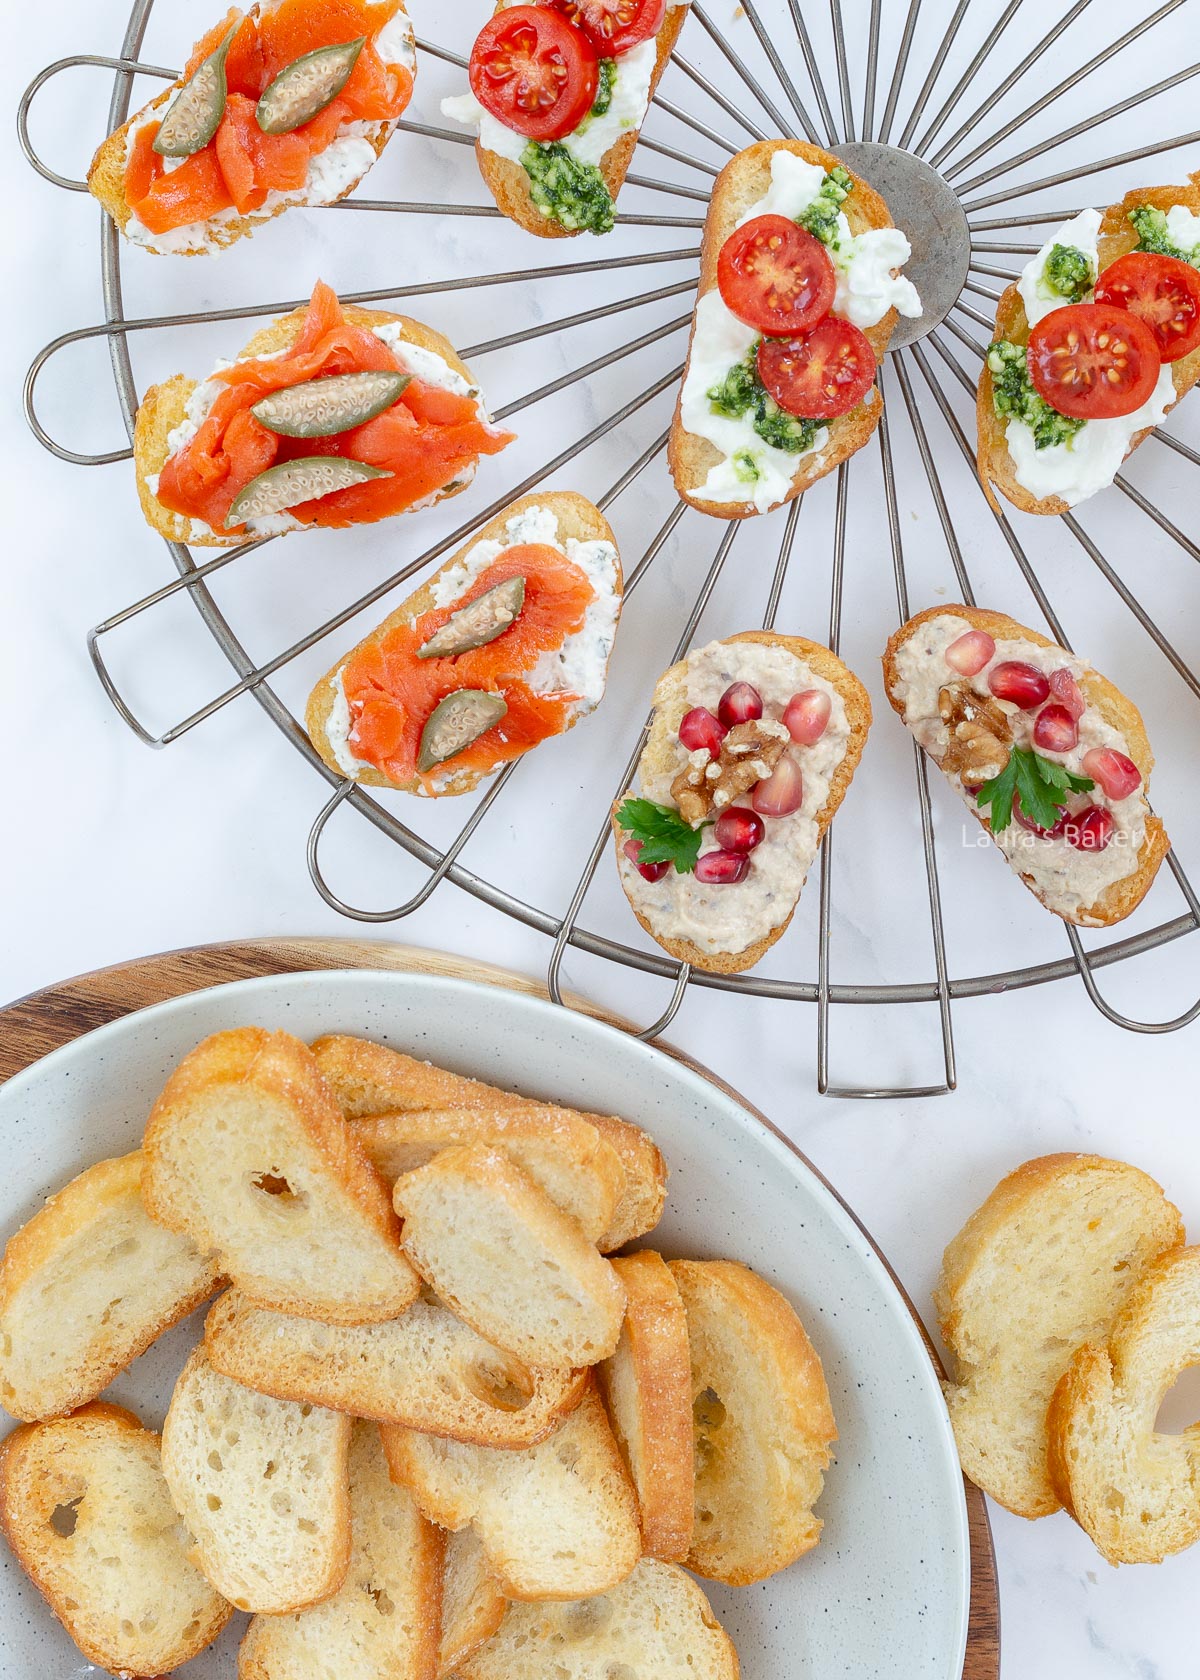
These tomato crostini have a delicious layer of burrata or buffalo mozzarella topped with sweet cherry tomato wedges and pesto. Finish with a little salt and pepper, and you’ll have tasty vegetarian crostini with the flavors of a classic caprese salad.
Another classic is the combination of herb cream cheese and smoked salmon. Instead of regular capers, I used larger apple capers, also called caper berries, which I cut into quarters. They’re very tasty, but you can also use regular capers.
I created this baba ganoush crostini especially for vegan eaters. Make plenty because everyone will love it! Top them with a layer of baba ganoush, walnut pieces, pomegranate seeds, and cilantro for a nice green accent.
Of course, you can choose to make the pesto, herb cream cheese, and baba ganoush yourself, but I bought them ready-made in the fresh food section at the grocery store. Preparing a brunch is hard enough, so make it easy on yourself!
Once baked, you can store the crostini in an airtight container for up to a week. Once you have topped them, they should be eaten immediately.
In the recipe below, I use bake-off bread, but you can also make crostini with a stale baguette you have on hand. Keep in mind that the baking time will be different since the baguette has already been baked.
They are ready when they are golden brown. Even if you have different kinds of breads left over like a focaccia such as this garlic focaccia, you can turn them into crostini!
Of course! Season the crostini with garlic and other dried herbs. Mix them into the olive oil that you brush onto the baguette slices before baking.
If you mix the garlic or herbs into the oil the day before, it will absorb the herbs’ flavor even better. Keep in mind that not all herbs (or garlic) taste good with the toppings you want to spread on the Italian toast.
They do not need to be turned over during baking. They will bake nicely on both sides until golden brown and crispy because you coated them with oil on both sides. Nice and easy!
I prefer coarse sea salt flakes, which I sprinkle over the Italian toast just before putting them in the oven. This creates little bursts of flavor when you eat them, which is delicious. You can also use fine table salt or add pepper to the unbaked toast.
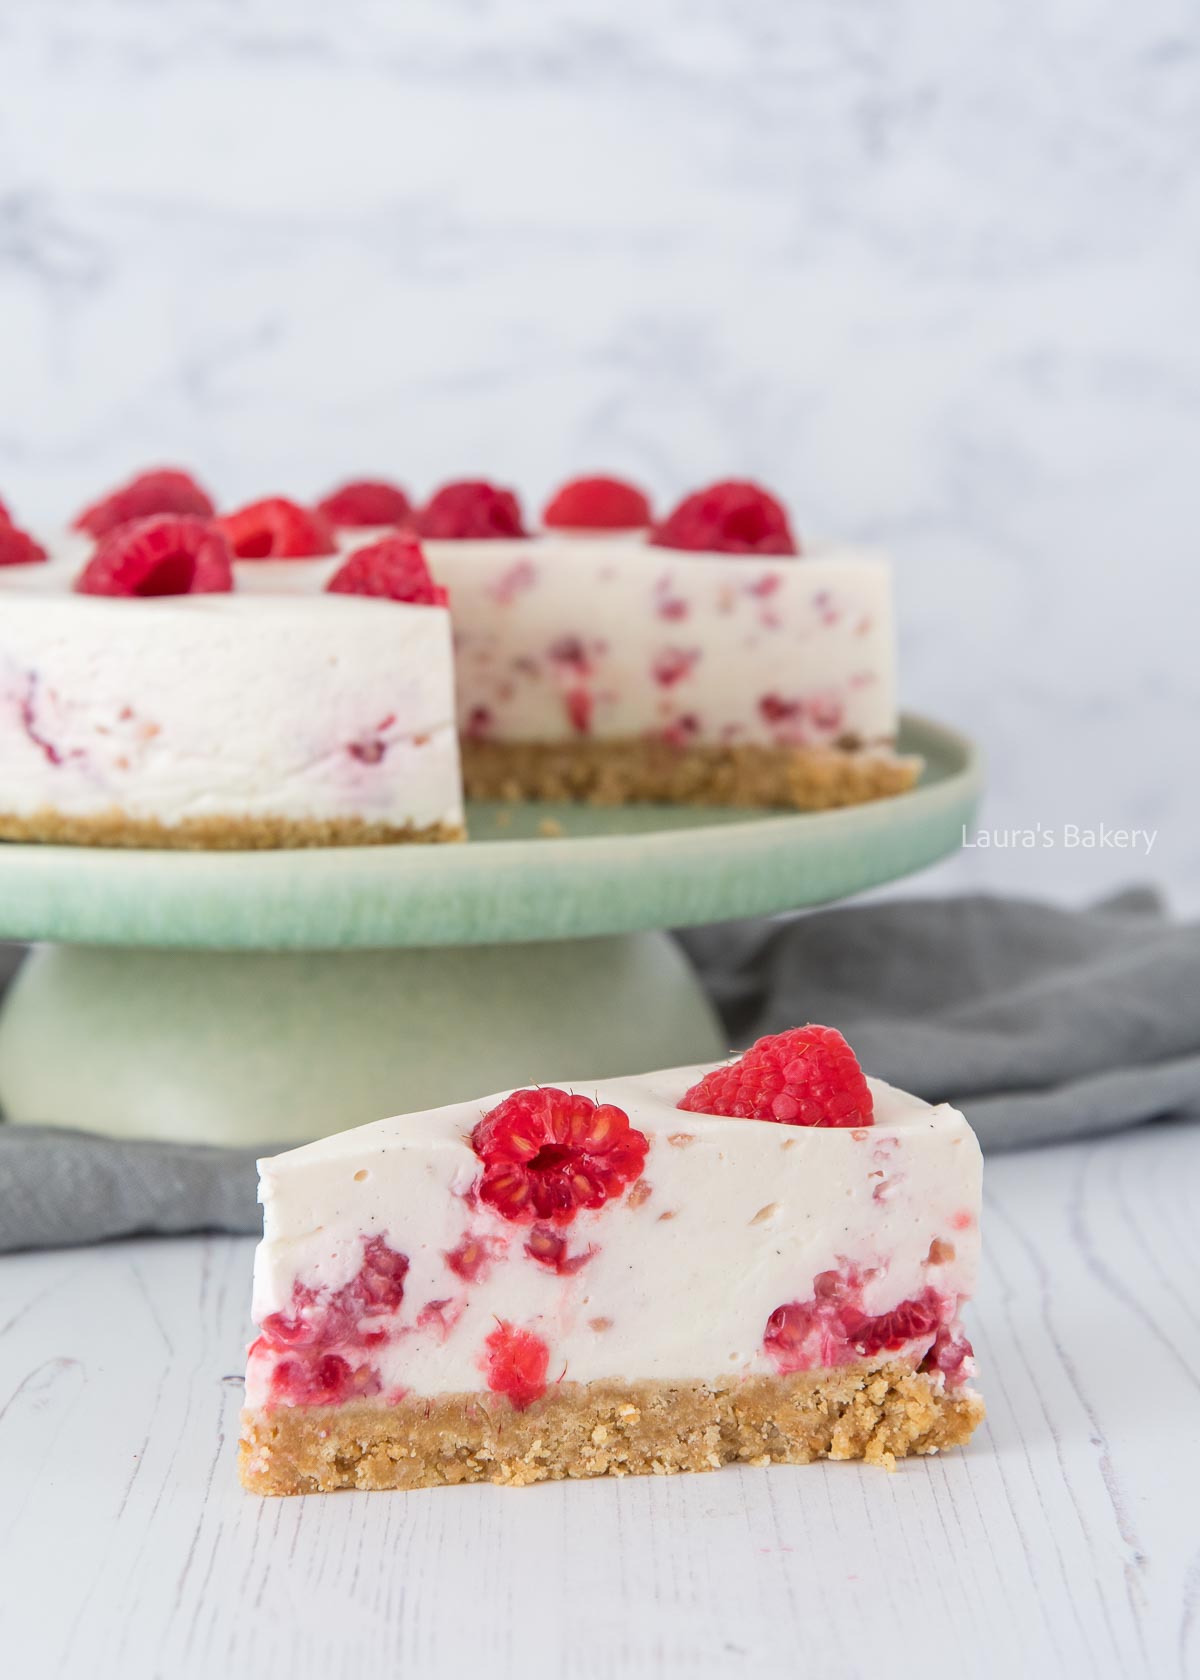
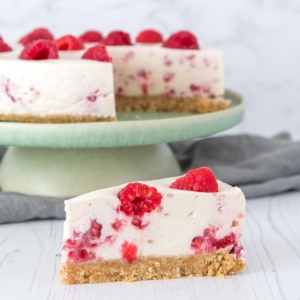
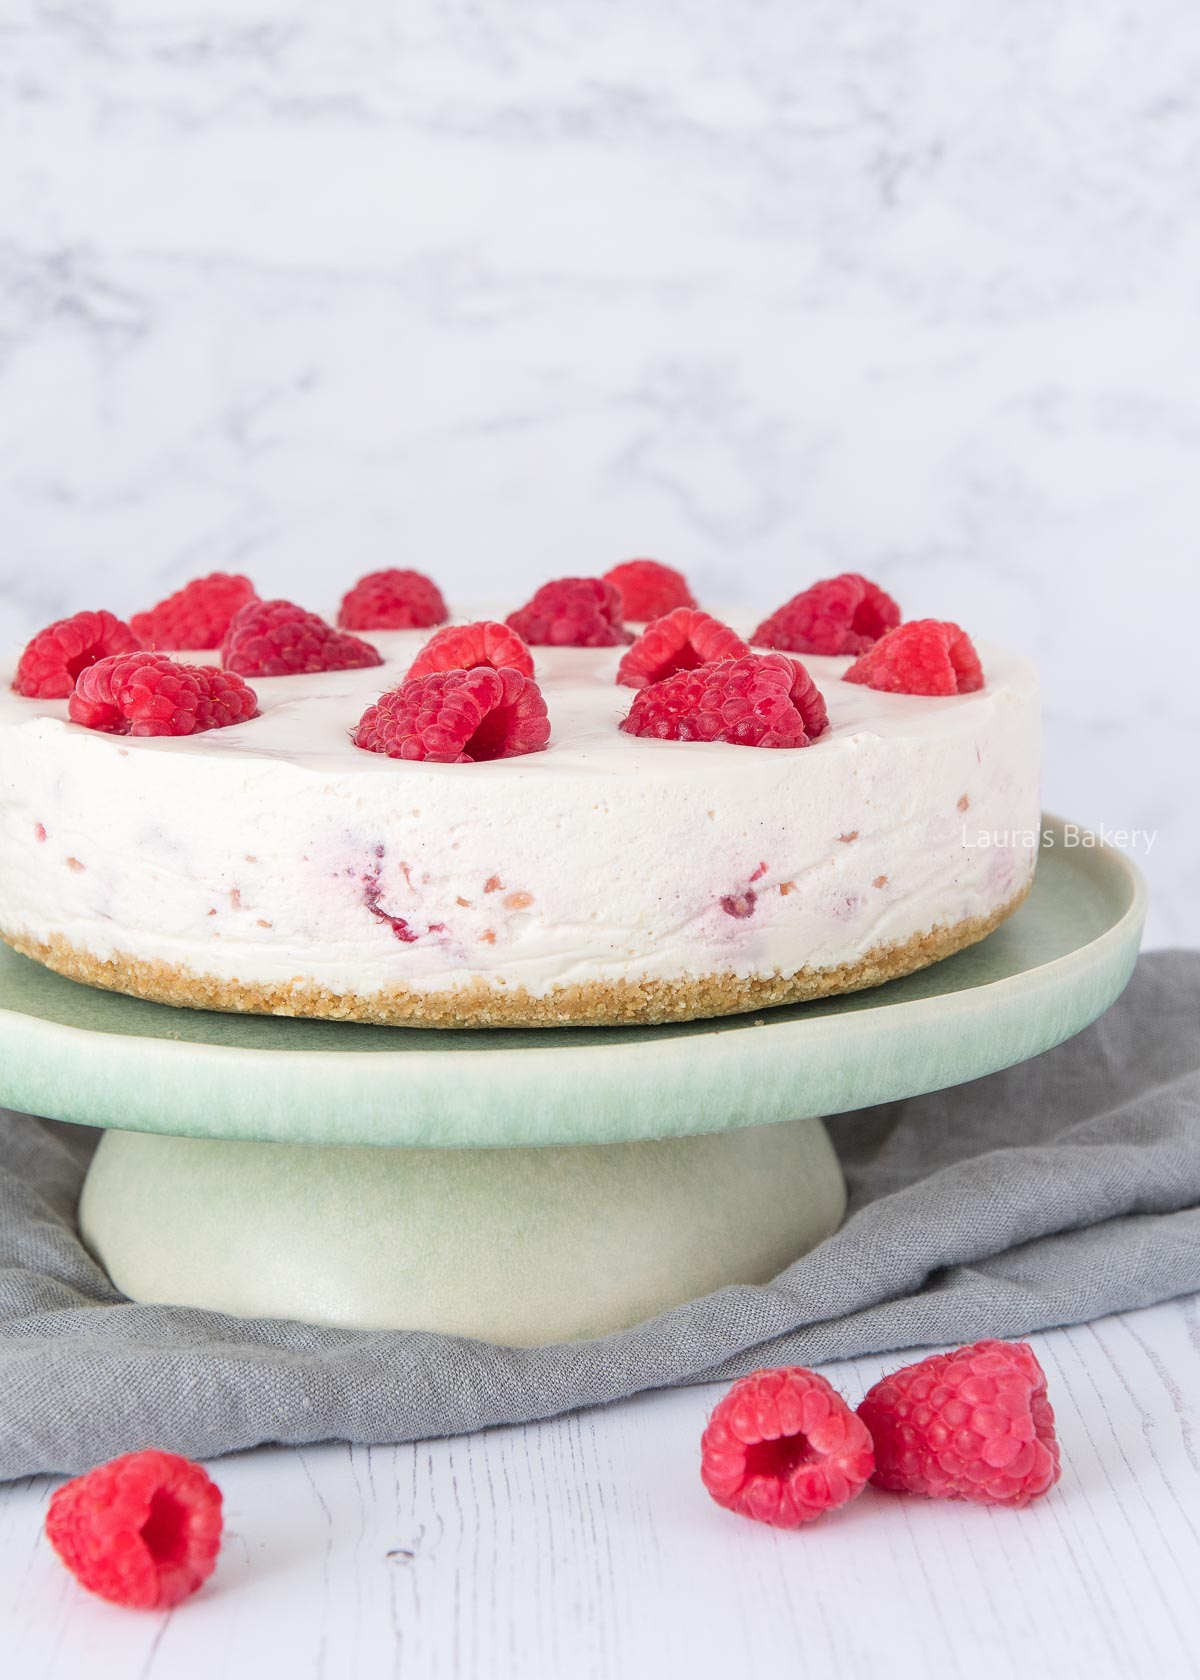
Today, I present to you this beautiful no bake raspberry pie. It has an extra-thick biscuit base because that’s just the way it tastes best.
To make it different from a plain no-bake pink cheesecake, I mashed the raspberries a bit and folded them into the cream mixture instead of puréeing them. This way, you get little bites with pieces of raspberry in them—delicious!
It looks beautiful, too. I’m curious to see who will try this raspberry pie. Or you can also try the no bake mango pie, which is equally delicious!
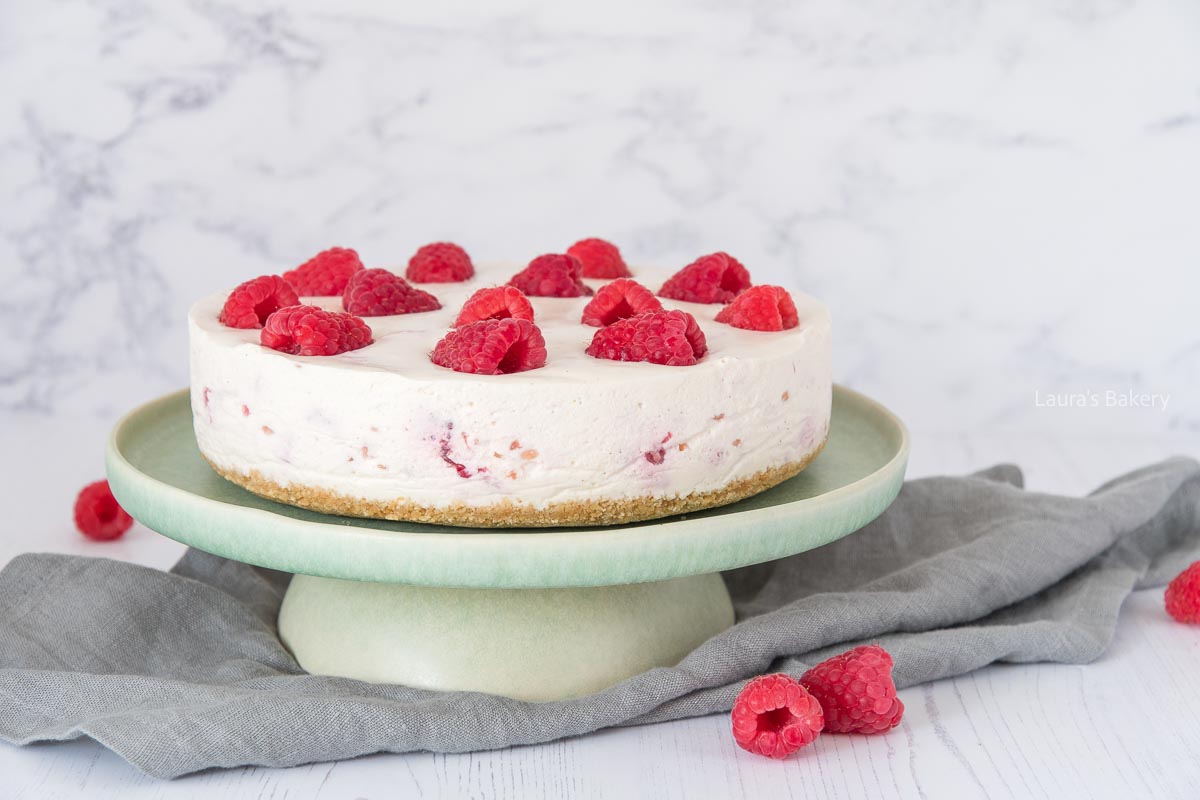
Making the no-bake raspberry pie starts with making the homemade pie crust. That’s as simple as crushing the cookies and adding the melted butter. Press it into your prepared pie pan. I always line the tin with parchment paper to make sure it comes out easily. Place the tin in the fridge while you work on the filling.
Soak the gelatin in cold water for about 10 minutes. Place your quark or Greek yogurt in a large bowl. Now in a separate bowl, add the heavy cream and whip this to stiff peaks with the vanilla paste and the sugar.
Take a small saucepan and add the milk. You will dissolve the gelatin sheets in the lukewarm milk. Don’t cook the milk; it only needs to be a bit warm, not cooking. Then you have the risk of the gelatin to loose it’s binding function.
Once the milk is warm, add the gelatin and stir until it is dissolved. Allow the mixture to cool slightly and add it to the creamy filling.
Fold the whipped cream into the yogurt or quark mixture. You can now mash your raspberries. I love keeping that somewhat coarse so you can still see the separate pieces of raspberry in the raspberry layer.
Add this on top of the graham cracker crust. Now add a few of the fruits into the raspberry topping and leave them partially exposed. Refrigerate your raspberry pie for at least 3 hours to set or preferably overnight.
Storing this no bake pie is easy, and you can prepare it a few days in advance.
You can store the pie in the fridge for about 3-4 days. Make sure you store the pie in a container or wrap the top of your springform pan with aluminum foil.
Freeze if you want to store it longer than that. Store the whole pie or slices in an airtight container. You can freeze the raspberry pie for up to 3 months.
Yes you can. Make sure to defrost the raspberries first and let them drain to remove excess fluids. I wouldn’t recommend to freeze the pie itself if you use thawed raspberries.
My gelatin sheets are 1.6 grams per sheet. If you want to convert this to gelatin powder you should be using roughly 9.6 grams or 3 1/3 teaspoon of gelatin powder.
Make sure to double check the instructions on your packaging as the method may be different per brand.
Sure! If you want to use other fruit like fresh strawberries or even blueberries or blackberries follow the same instructions roughly. Of course keep in mind the color of your pie will be different with other fruits.
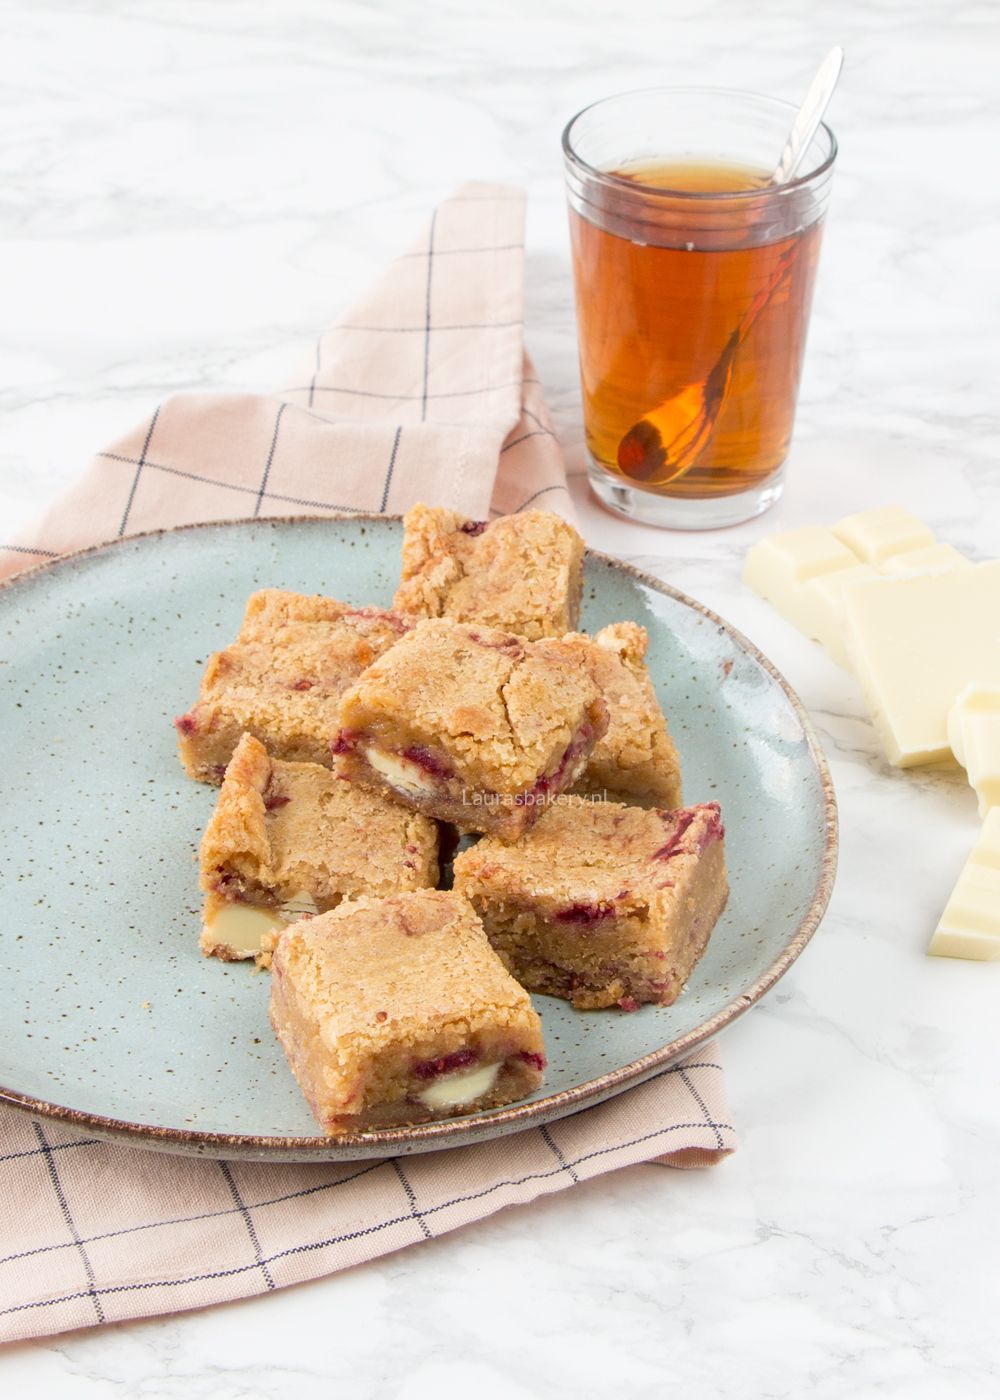
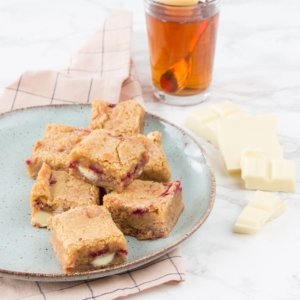
Blondies are one of my favorite things to bake (although, granted, I do like to bake a lot of things!), and this twist on the classic is perfect for summer: white chocolate raspberry blondies.
And even better: you can make these with frozen raspberries, making it also much more affordable. Plus you can make it in winter too.
I have a lot of blondie recipes still waiting to be shared here (but maybe you’ve seen the Easter blondies already!) so I will soon bring you more delicious blondies, but for now I have this raspberry blondies recipe.
If you’re not a fan of raspberries, you can leave them out entirely and treat this as a white chocolate blondies recipe. As always you can find the full list of ingredients in the recipe card.
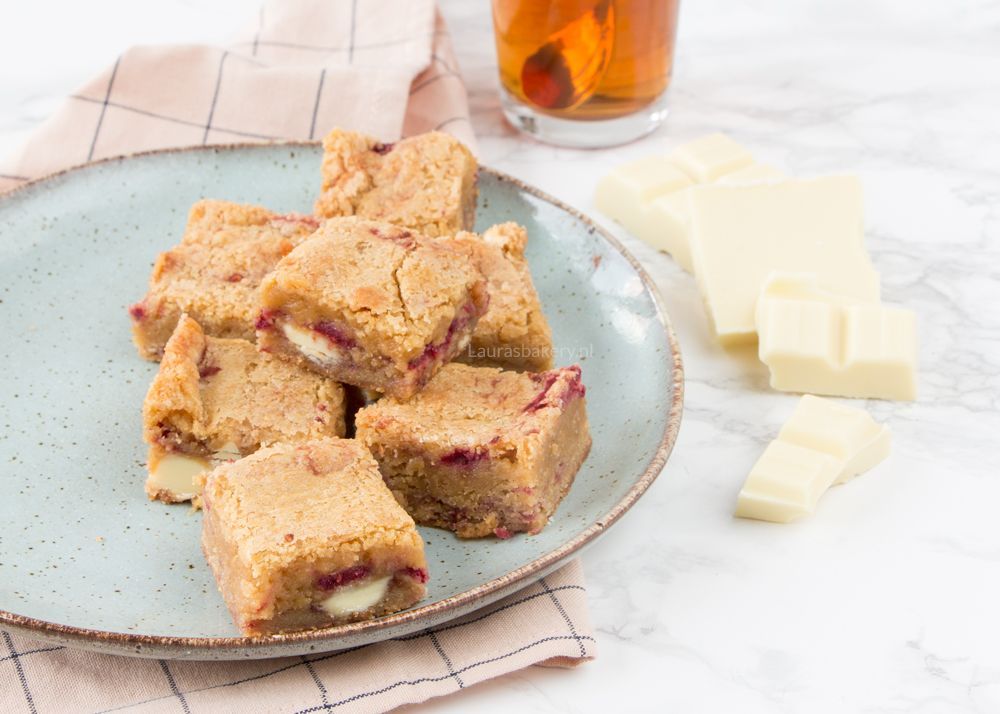
The first step in making the blondie batter is to take a large bowl (it helps to have a food processor or stand mixer) and add the melted butter and the sugar. Mix this until smooth and add the eggs one at a time while you keep mixing.
Add the vanilla extract and finally add the flour and the salt. Mix it briefly on high speed, and once mixed, fold in the frozen raspberries and the chopped white chocolate.
Add the batter to your prepared tin and bake in the preheated oven for about 30 to 35 minutes or until golden brown.
Now you want a fudgy texture, and in order to get those, you want the top of the blondies to be somewhat firm, but the inside can still be slightly wet. Not too wet, and the edges of the blondie should feel firm. Keep in mind that it will firm up once it cools down.
Let it cool to room temperature before cutting, preferably. I think these raspberry white chocolate blondies are the perfect balance between the tangy raspberries and the sweet chocolate. Absolutely delicious!
You can store the blondies in an airtight container for about 4 days. Or if you want to store them for longer you can freeze them for up to 3 months in individual portions for an easy snack on the go.
Yes you can. They might act slightly different so keep an eye on baking times
Absolutely. You can use other berries like strawberries or even blueberries or other fruits. Keep in mind that the moisture content of other fruits might be different so baking times may vary. As soon as you hit 25-30 minutes check regularly.
You can definitely bake these in another pan if you want. Keep in mind that you want roughly the same dimensions or make sure to double check the baking times.
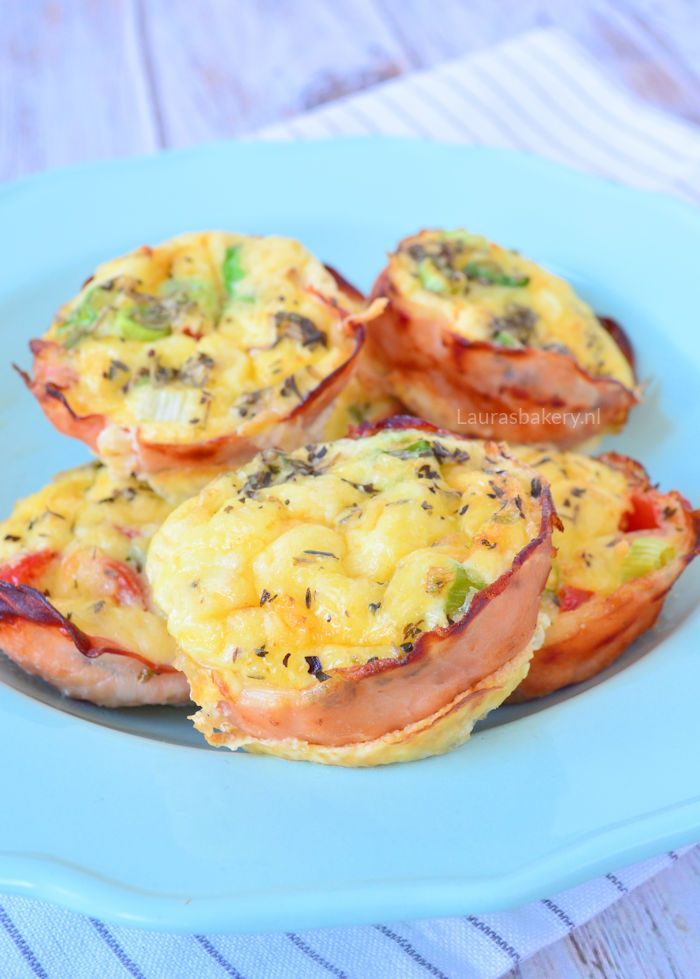
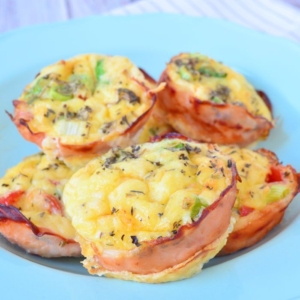
Making muffins in all shapes and sizes is one of my favorite things to do. These bacon and egg muffins aren’t really muffins as they do not have that cake like texture that ‘regular’ muffins are known for.
They do not contain any oil or flour which also makes them gluten-free. They’re essentially really handy egg “sandwiches” for busy mornings. Instead of in a muffin liner they are wrapped in bacon.
I call them bacon egg cups as well. I love the combination of the crispy bacon on the outside and the creamy egg mixture on the inside. It’s the perfect quick breakfast.
Think of these bacon and egg muffins as essentially mini frittatas. So you can use whatever you use in those as well. In addition to the ingredients you will need a muffin tin and some non-stick cooking spray. Full instructions and ingredients can be found in the recipe card below.
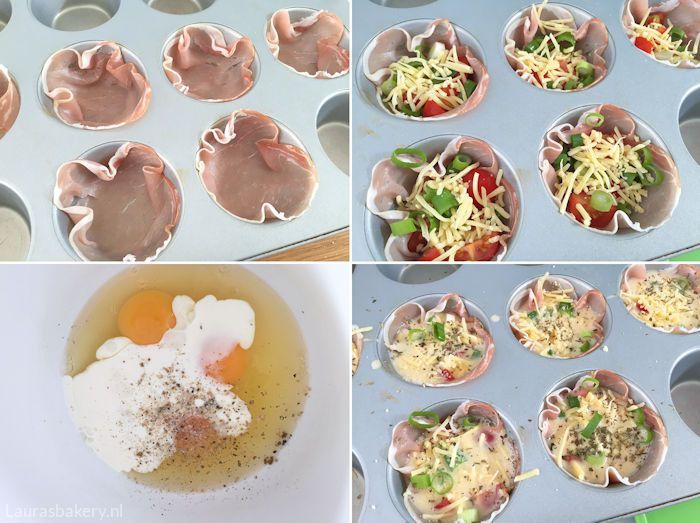
Making these muffins is super easy. You simply combine eggs with the cream, Italian seasoning, black pepper and salt to your liking in a large mixing bowl. Whisk it and set aside.
Now using a pastry brush, brush the insides of your muffin pan and line with the bacon slices. Chop the tomatoes and divide over the cups as well as the green onions and sprinkle over the tomatoes with the cheese.
Add the egg mixture and bake in the preheated oven until golden brown and the eggs cooked.
These egg breakfast muffins are also low carb, which is a great way to reduce your carb intake for breakfast. You can even make them in an air fryer if you have one. Apart from using them as breakfast egg muffins you can add a green salad and have them for lunch. They’re easy to take with you too!

You can store the muffins in an airtight container for 3-4 days in the fridge.
No, although that is a personal preference. You can eat them at room temperature or you can reheat quickly in a microwave, oven or air fryer if you want.
Sure. While not as creamy when you would use both the egg whites and the egg yolk, you can do that.
You can use a sharp cheddar cheese, parmesan cheese, Gouda cheese or any kind of gooey cheese you like!
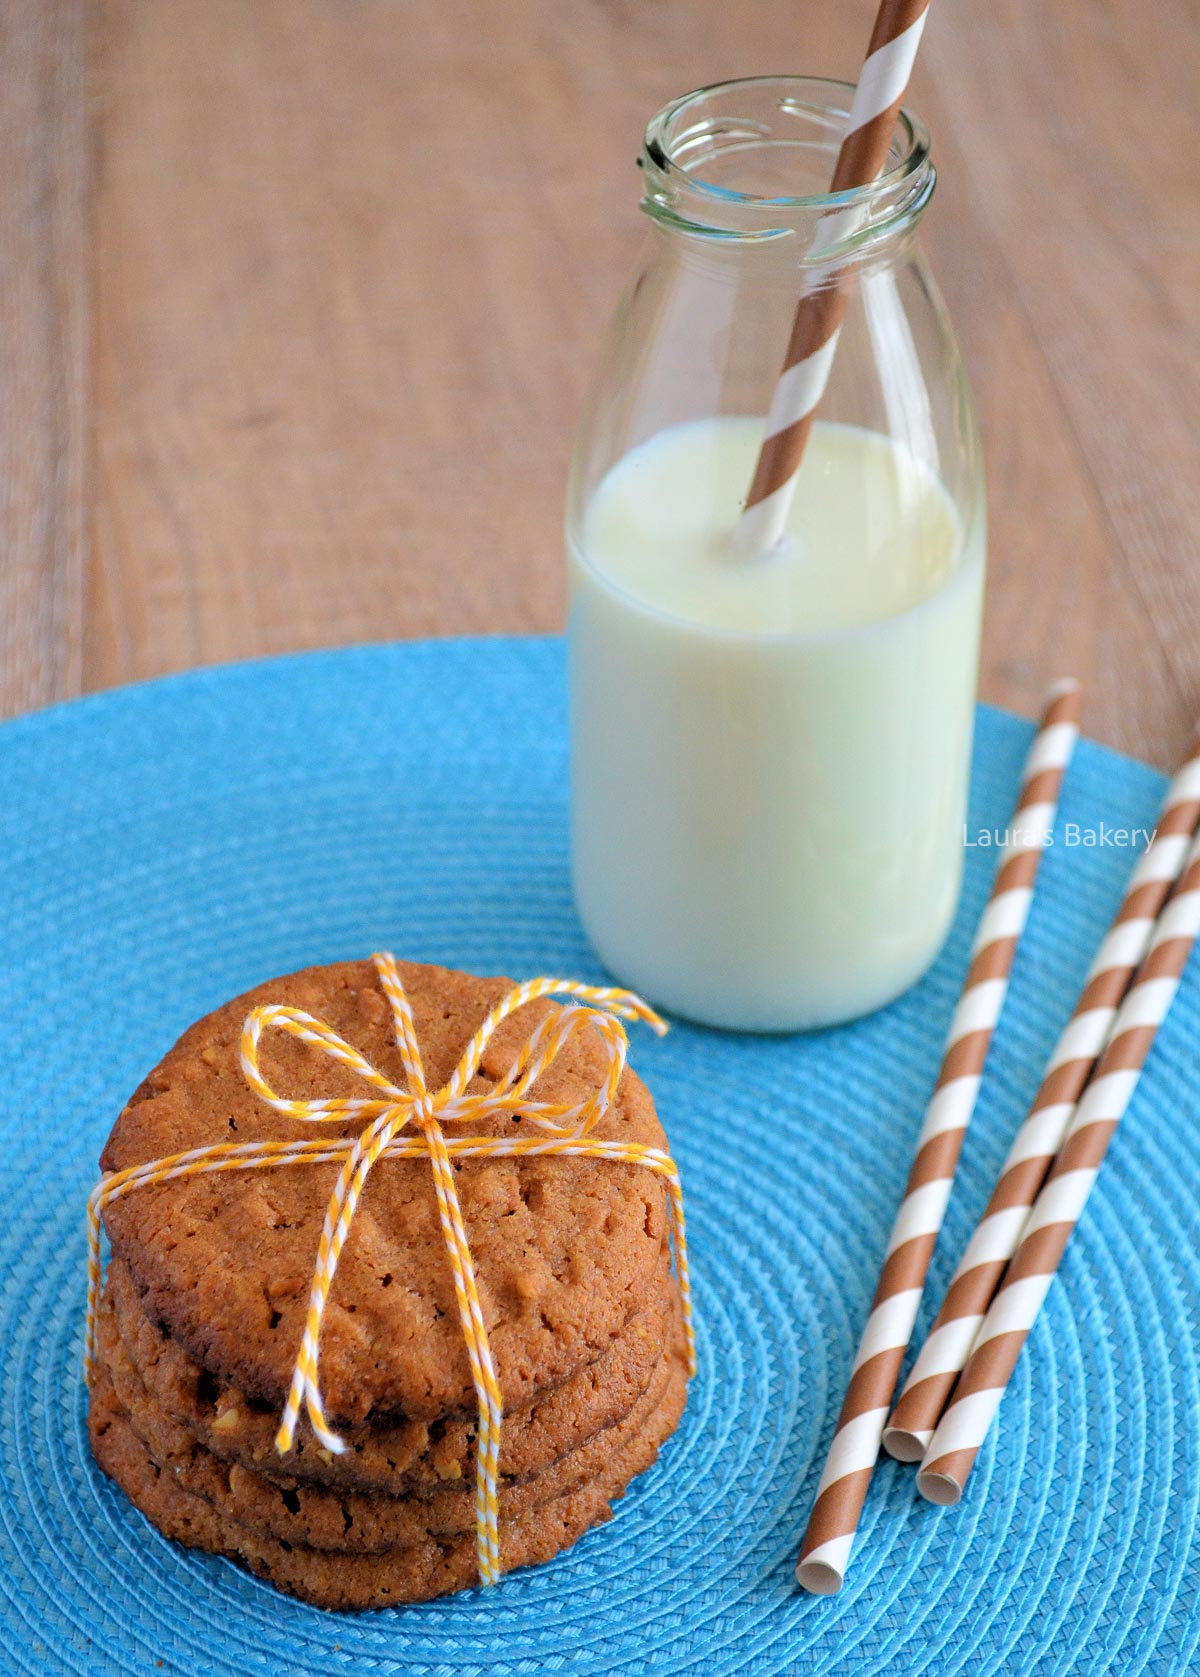
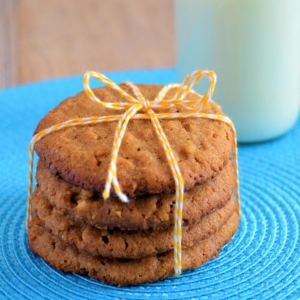
These super delicious chewy peanut butter cookies I first made a pretty long time ago but it was instant love for me. I mean; who doesn’t love a good peanut butter cookie right? These are pretty simple to make but I’ll give you a couple of tips on the most delicious cookies below. They’re also gluten-free, making them perfect for almost anyone.
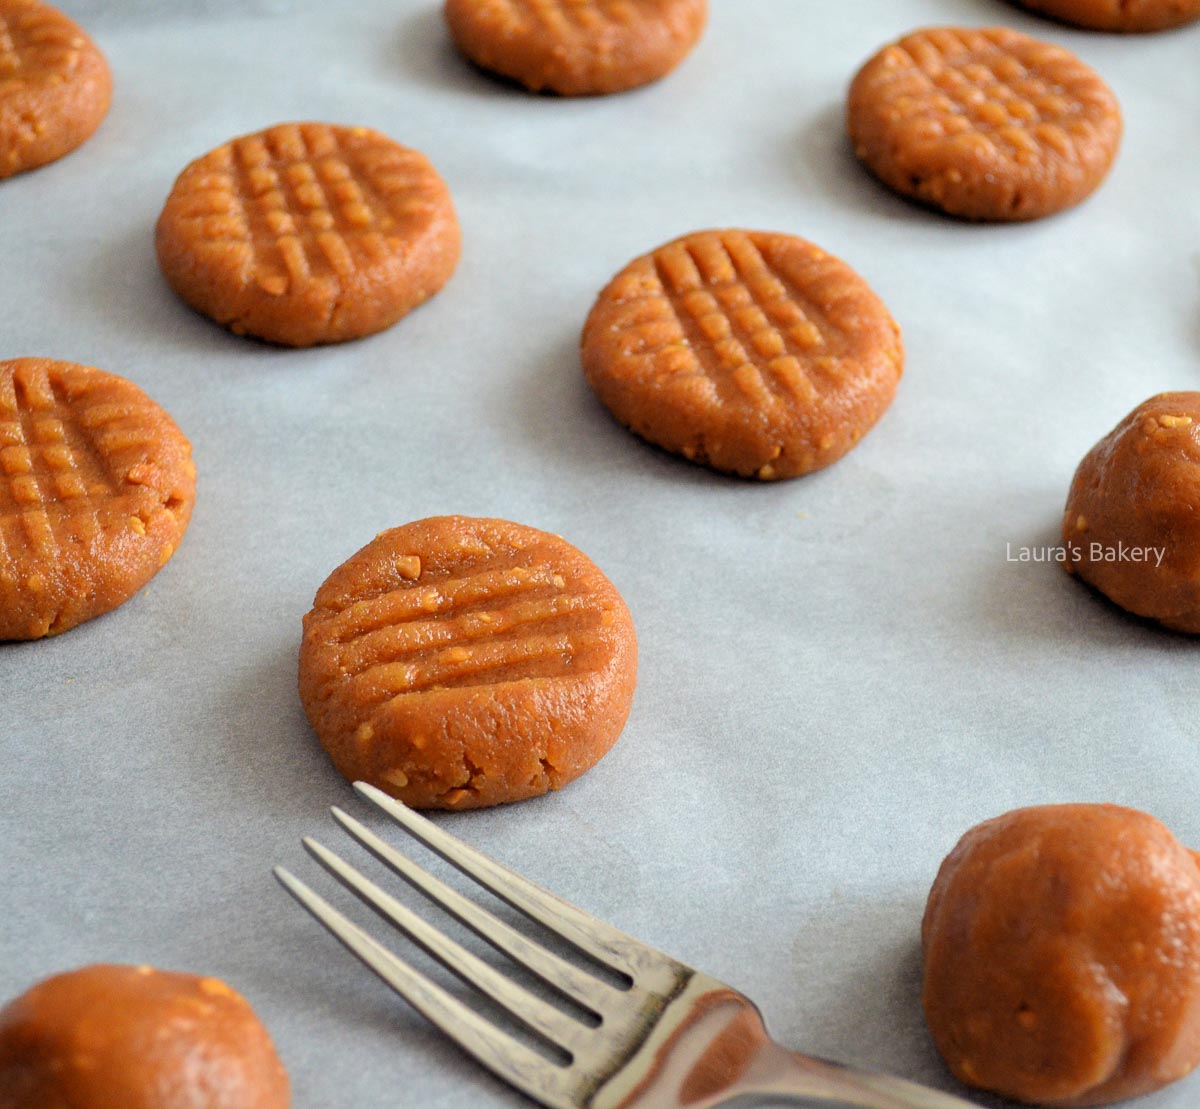
Once you’ve assembled all the simple ingredients, you need a large bowl. First mix the sugar and the peanut butter together. In another bowl you add the egg, vanilla extract, baking powder and cinnamon.
Mix together and combine the two until you have a firm dough. It will look a little bit greasier than regular cookie dough due to the peanut butter.
Now you can use a cookie scoop or your hands to make small balls of the peanut butter cookie dough. Add the cookie dough balls to a baking sheet lined with parchment paper.
Make a criss-cross pattern on the cookies with a fork which will also flatten them a little bit. Now bake the cookies for about 12 minutes at 350˚F/180˚C or until they have crisp edges. Let them cool down completely on a wire rack. The total bake time will vary depending on the size of your cookies.
You can store the cookies in an airtight container for 4 to 6 weeks. The chewy texture might change a little bit depending on how long you store them. Freezing the cookies is also an option! They will keep up to 3 months in the freezer.
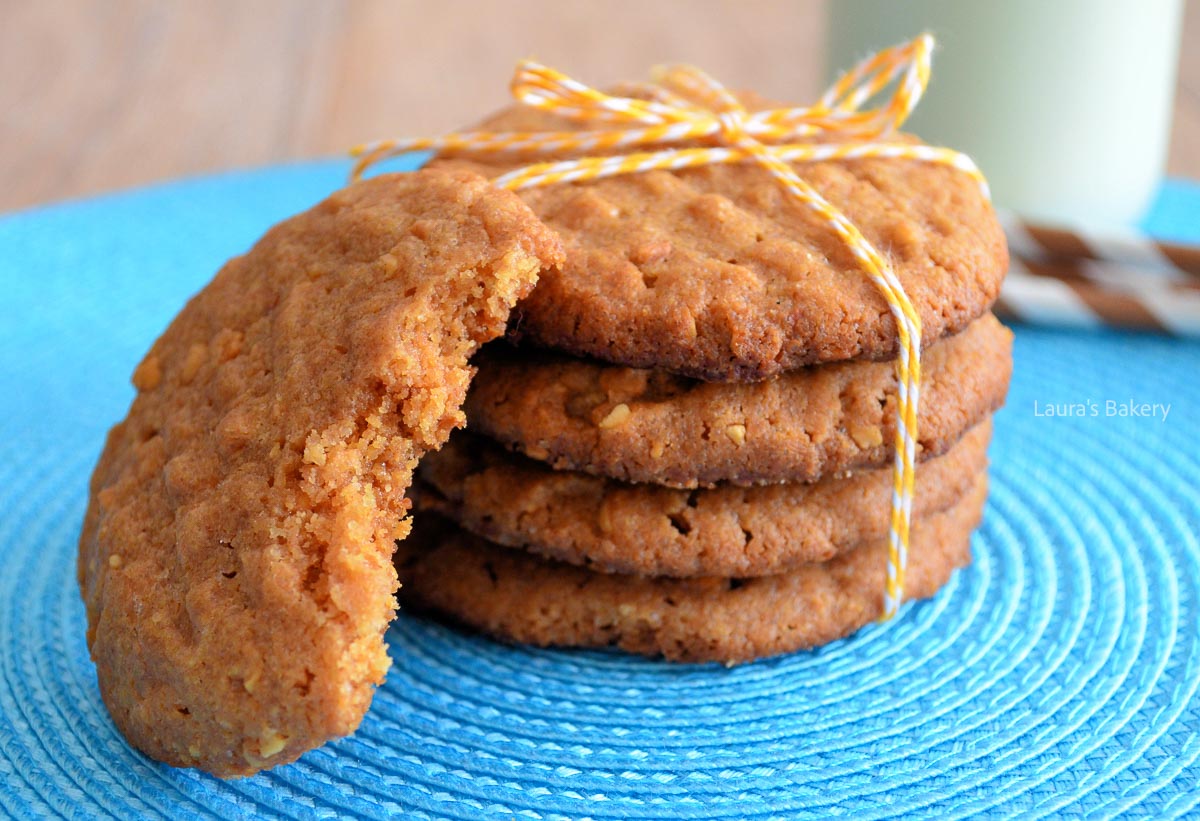
Yes, they are naturally gluten-free because they don’t contain wheat, flour, or any gluten-containing ingredients. Just check that your peanut butter and any added spices are certified gluten-free to avoid cross-contamination. Also double check your baking powder.
Both creamy and crunchy peanut butter work. However:
Avoid peanut butters with added oils or lots of sugar for the best result. Natural peanut butter (just peanuts and salt) works great but may make the dough slightly looser.
Yes, many sugar substitutes work, but they may affect texture and sweetness:
If your dough is very soft (especially with natural peanut butter), chilling it for 15–30 minutes before baking helps control spread.

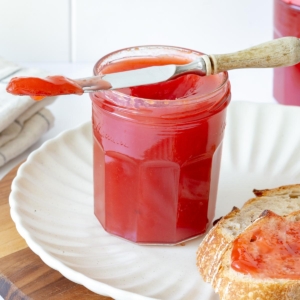
Making plum jam is surprisingly simple—and the result is absolutely delicious! With just three basic ingredients, this easy plum jam recipe lets you stock your pantry with a homemade treat that’s bursting with fruity flavor. It’s a great way to make the most of plum season.
Whether you’re a seasoned jam maker or trying it for the first time, this easy recipe is practically foolproof. Making homemade jams is super simple. All you need are:
I’ll walk you through the entire process and share tips along the way.
First make sure to remove all the stones from the plum and chop them into chunks. Add to a large saucepan or large pot with the sugar and bring to the boil.
I use less sugar than certain jam recipes which call for half sugar and half fruit. The amount of sugar does need to be enough to make sure it is preserved properly.
If you are planning on eating the jam right away and have no need for plum preserves you can use only a small amount of sugar. But if you want to store it make sure to use enough sugar.
Once the fruit starts to break apart you can use a stick blender to smooth the mixture or you can use something like a potato masher to break the fruit down but keep some texture.

Good news:any type of plum works for this recipe! The variety you choose will influence the flavor and color of your jam. Sweeter plums yield a milder jam, while tarter varieties give it a bright, tangy kick.
The plum skins especially affect the final color. For example, in the batch shown in my photos, the plum flesh was golden yellow, but the pinkish-red skin gave the jam a gorgeous blush hue.
Jam sugar is granulated sugar with added pectin and citric acid, which help your jam thicken and set. No gelatin is involved, so it’s completely plant-based.
Even though juicy plums contain a lot of natural pectin, the sugar not only helps with texture, but it’s essential for preservation.
Lemon juice enhances flavor with its acidity, balancing out the sweetness and helping the jam set properly. It also brings out the fruity brightness in the plums.

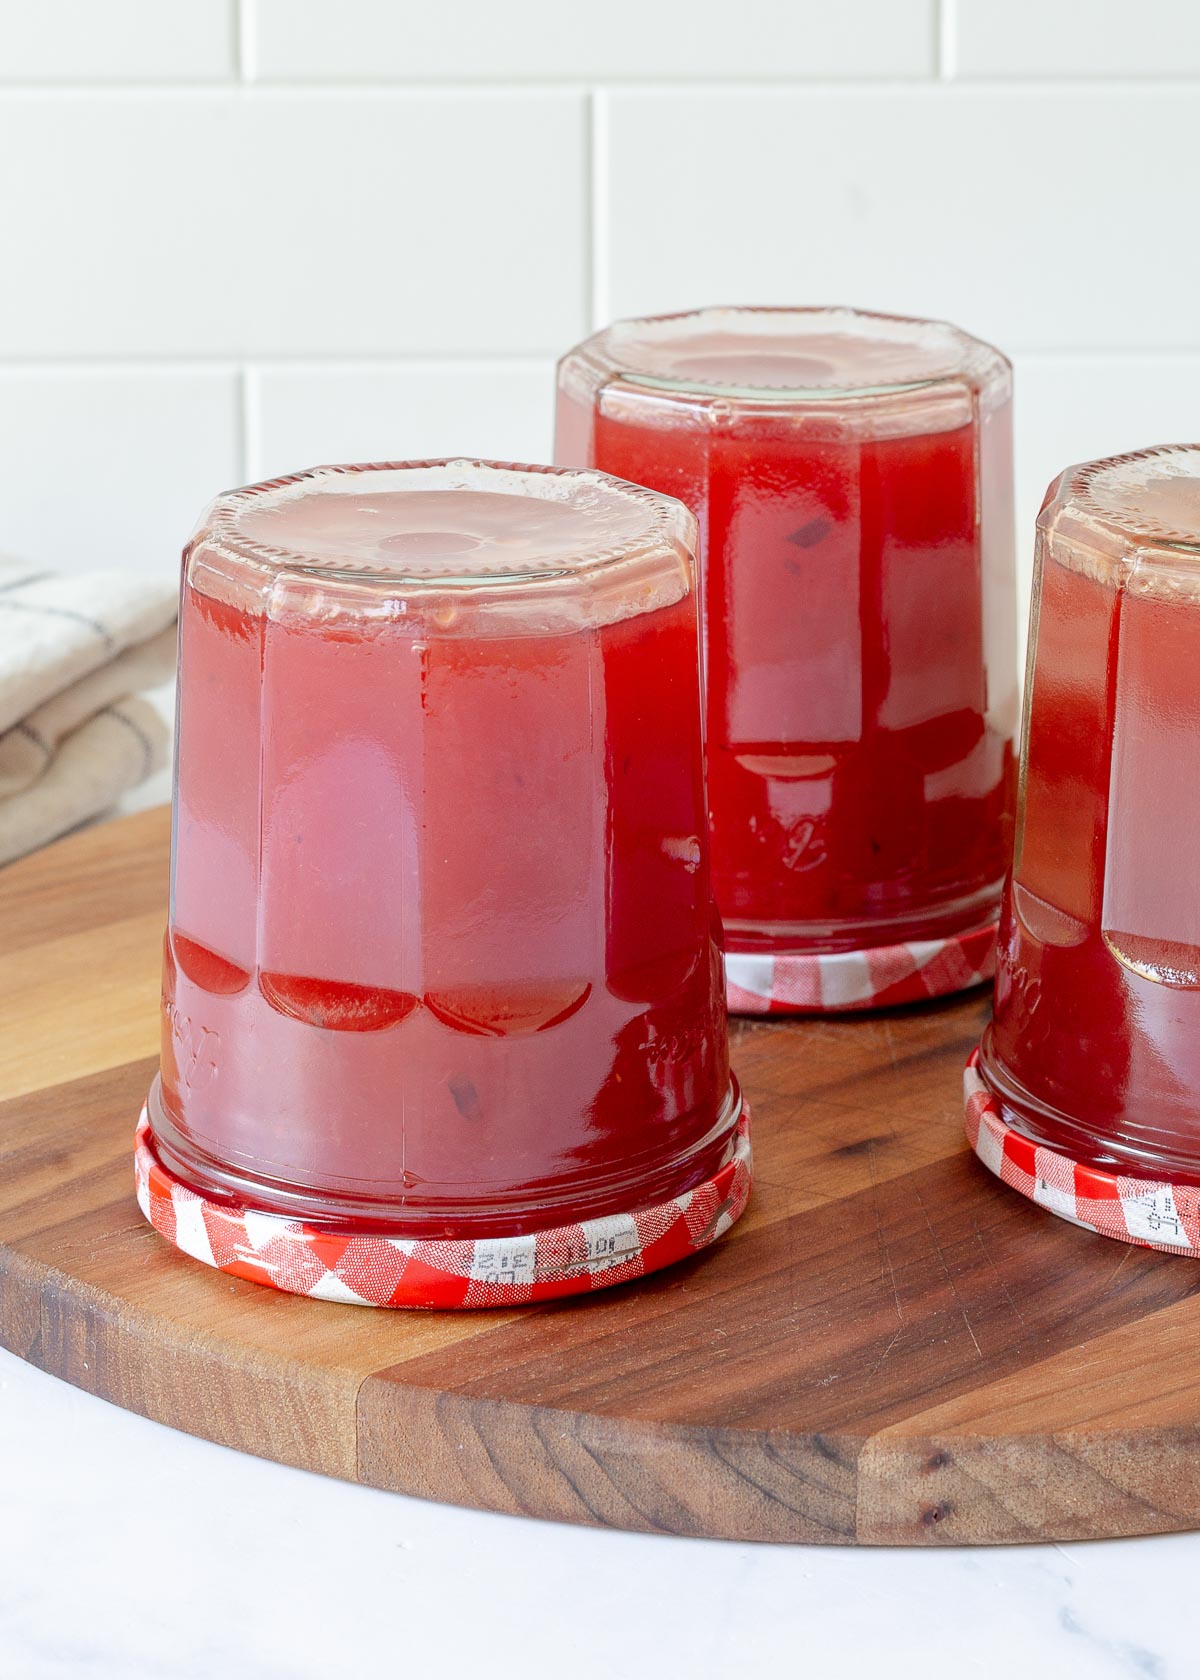
Proper storage starts with sterilizing your jars. Here’s how:
No need to dry them – the heat will evaporate any remaining moisture.
Depending on where you live you can probably find jars in different sizes at various stores or online. I like to have different jar sizes on hand so I can choose which size I need, depending on the quantity of jam I’m making. (also check the extensive article on how to sterilize your jars)
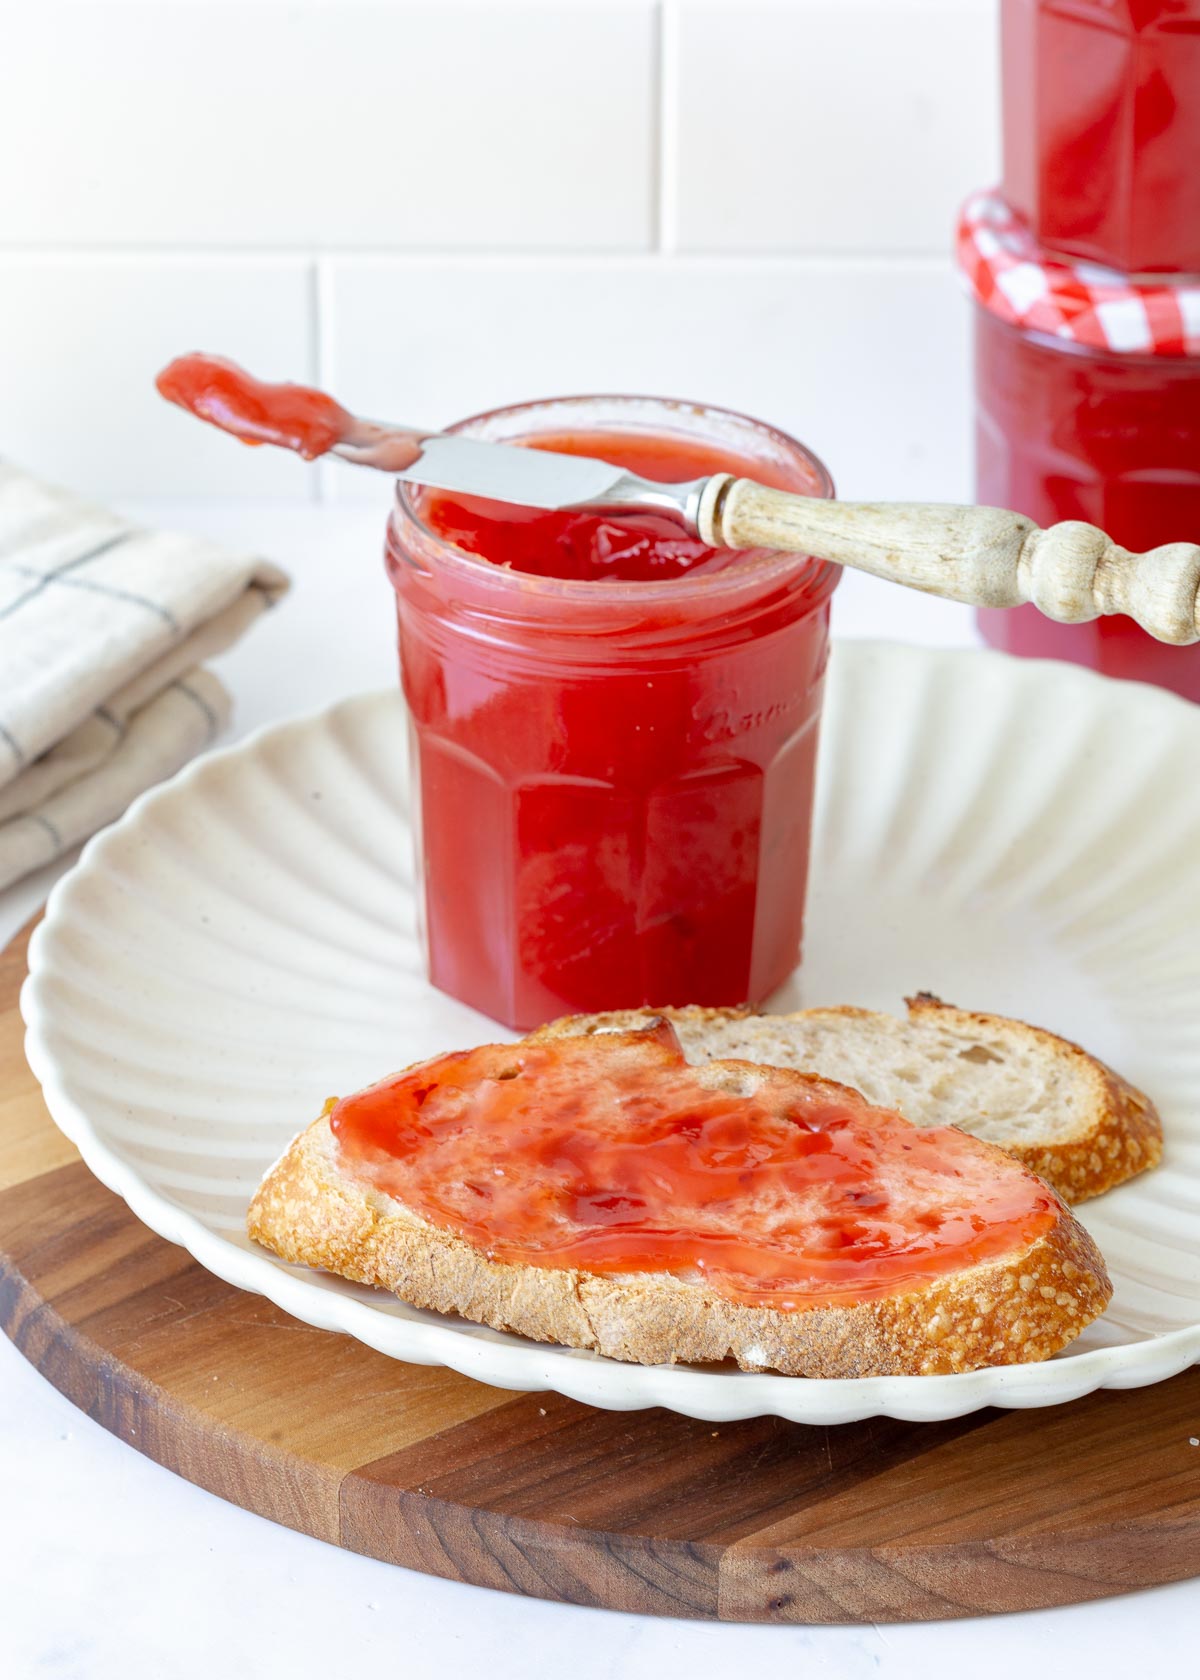
There are so many tasty ways to enjoy your homemade plum jam:
Try it in one of these recipe ideas:
I don’t have specific recipes using plum jam on the site just yet, but wherever you see jam mentioned, like strawberry jam, you can replace it with this delicious plum jam.
Here’s a simple trick to check:
Dip a spatula into the jam and run your finger across the back of the spoon. If the line stays visible and the jam doesn’t run, it’s ready. If it runs back together, let it simmer a little longer. Instead of a spatula you can also add a little bit of the jam to a small plate and do the same.
Tip: If your jam seems too runny, just boil it for a few more minutes. Also remember that it will thicken once cooled.
Once you’ve mastered the basic recipe, the fun begins! Try adding:
You can also skip the hand blender if you prefer a rustic jam with visible fruit chunks and skins.
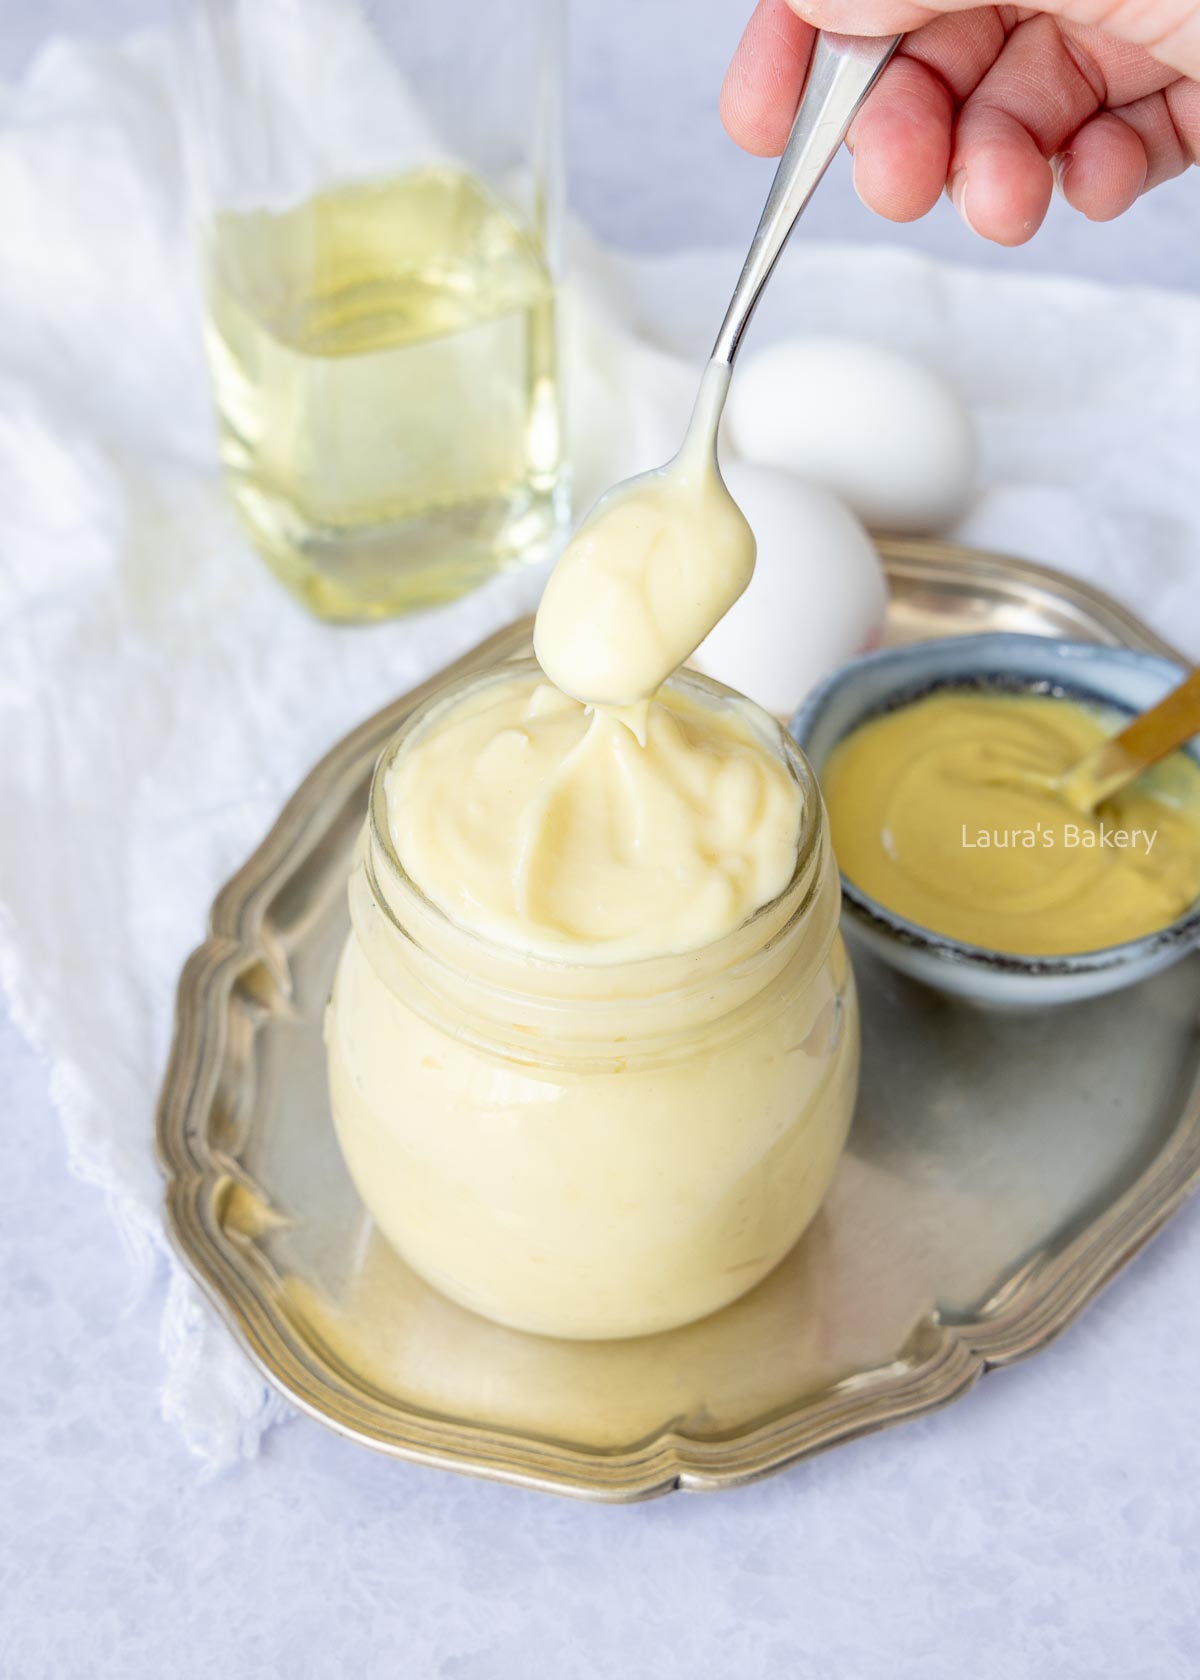
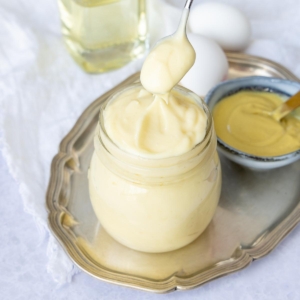
If you go to a good snack bar in the Netherlands, they’ll serve your fries with homemade mayonnaise and honestly, there’s nothing better. With this easy recipe, you can whip up the tastiest mayonnaise at home to go with your fries.
I’ll explain how to make it both with an immersion blender and by hand with a whisk.
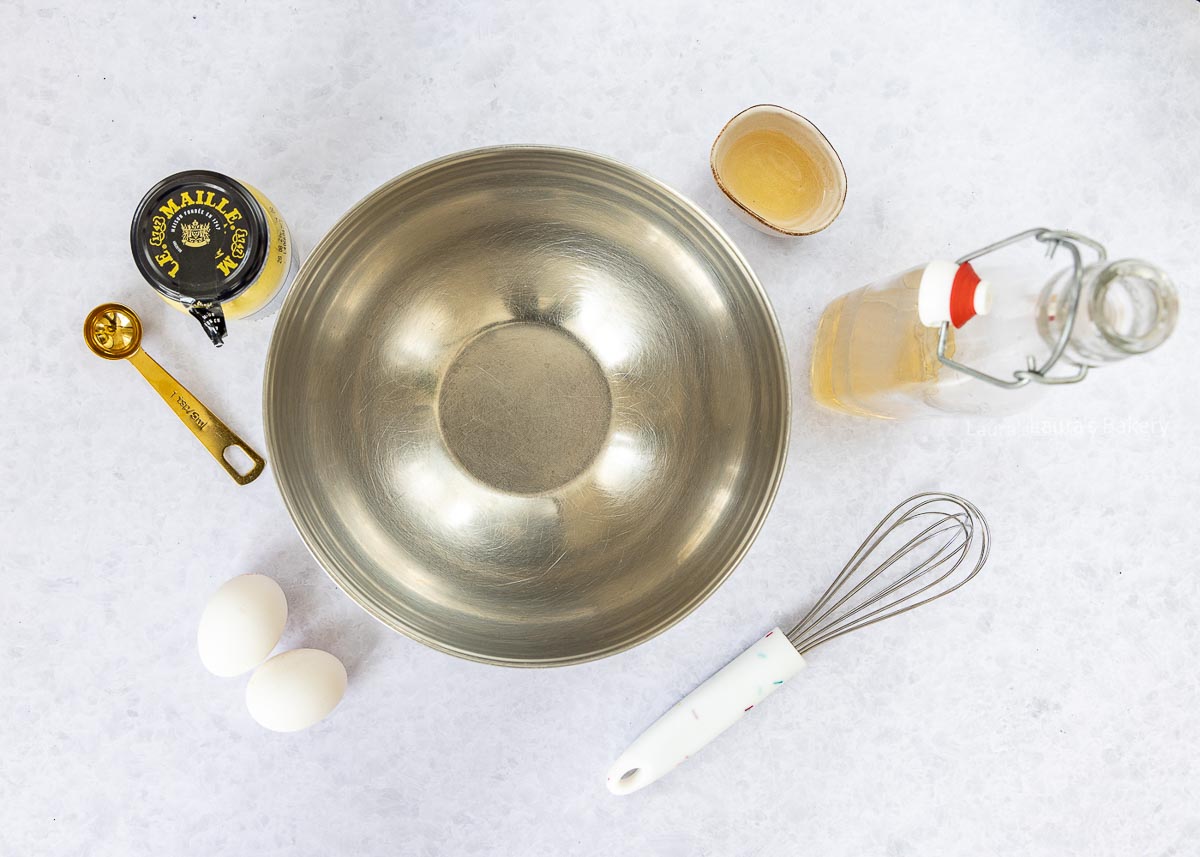
I didn’t make mayonnaise myself until I was 34, and if I’d known how easy it was, I would’ve started way sooner! People often say something is easy, but this mayo was ready in two minutes. And oh wow, it’s unbelievably delicious!
A big plus: you can completely tailor the flavor to your own taste. All you need is a teaspoon, a mixing bowl, a whisk, and these 5 ingredients:
Tip: I describe two methods in the recipe: one with a whisk or mixer, and one with an immersion blender.
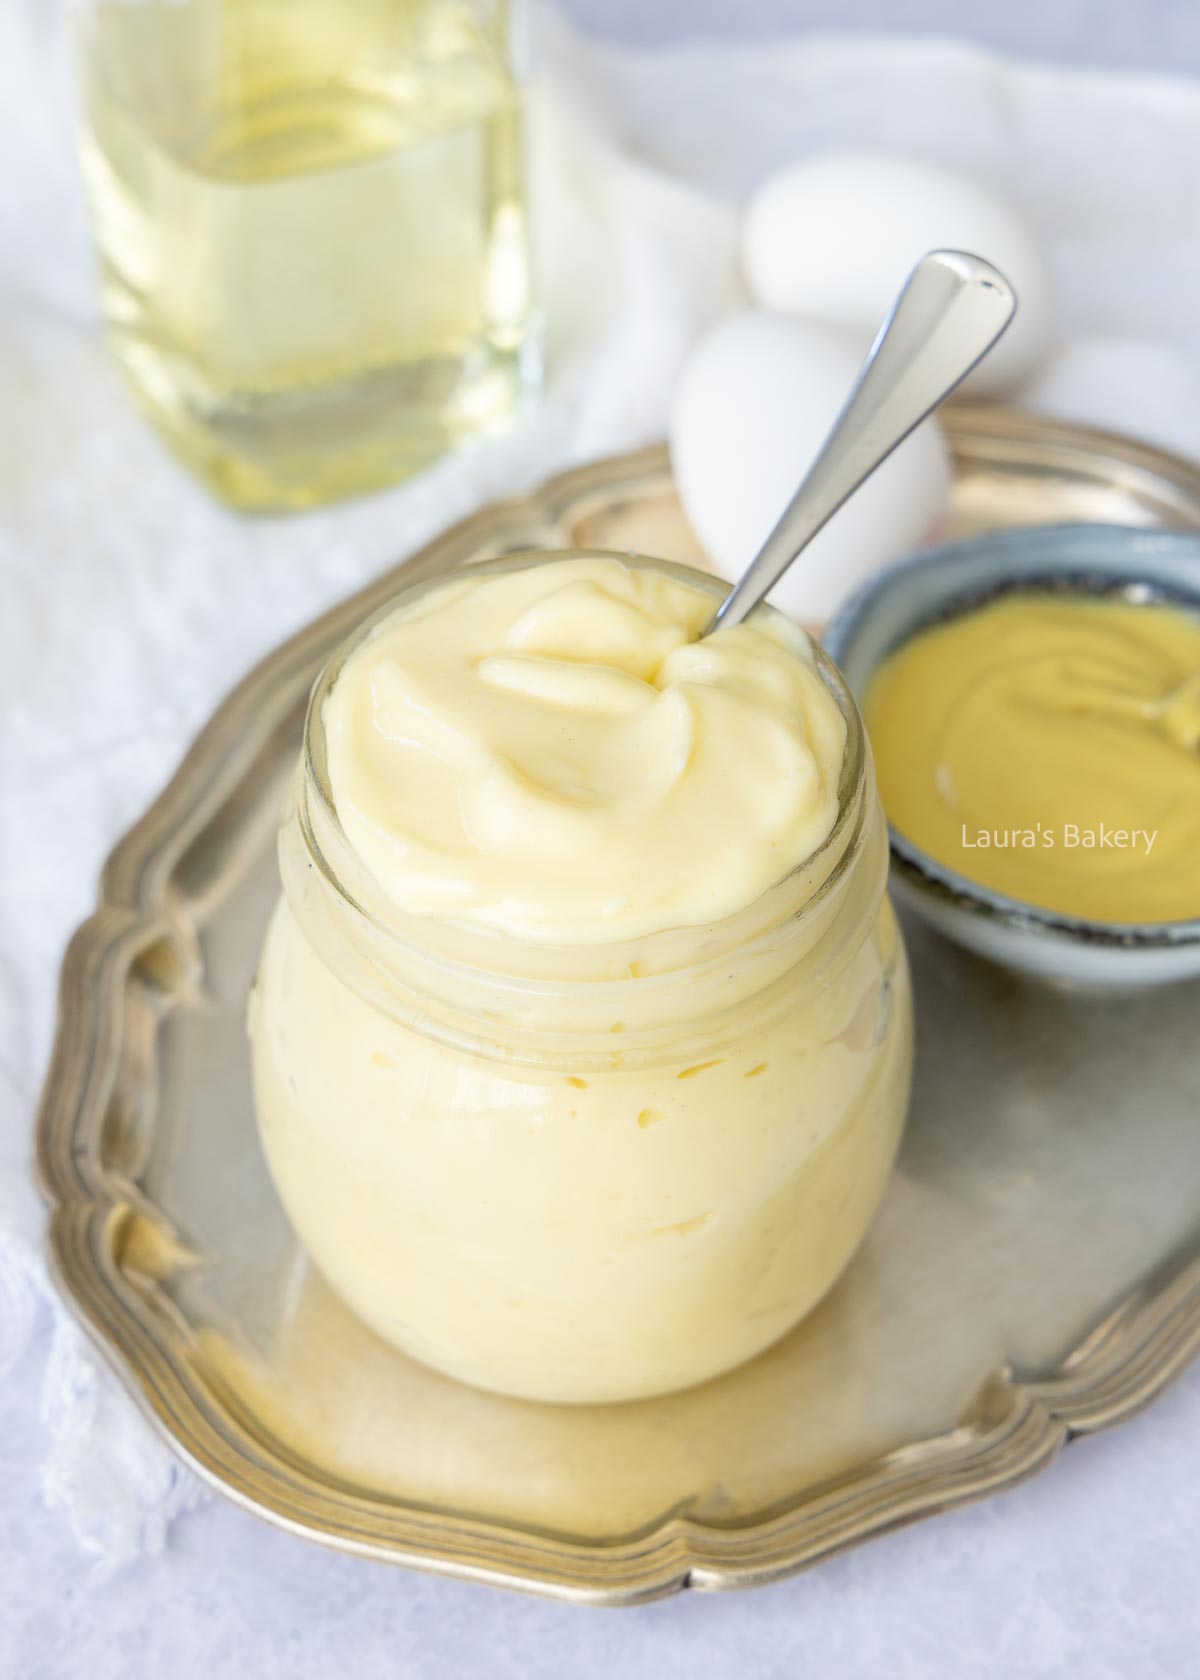
This base mayo recipe is super easy to customize. Add a crushed garlic clove, or mix in some spices like paprika or curry powder. These two flavors are favorites here.
Sriracha is a spicy chili sauce from Thailand that’s great on its own or as a dip. This sriracha mayo is amazing with bitterballen or sweet potato fries. Just stir these ingredients together:
I’ve shared my mustard mayo dip before, but this honey version is just as tasty. It’s perfect on a hot dog or with these feta rolls. Adjust the honey and mustard to taste, but this is my favorite ratio:
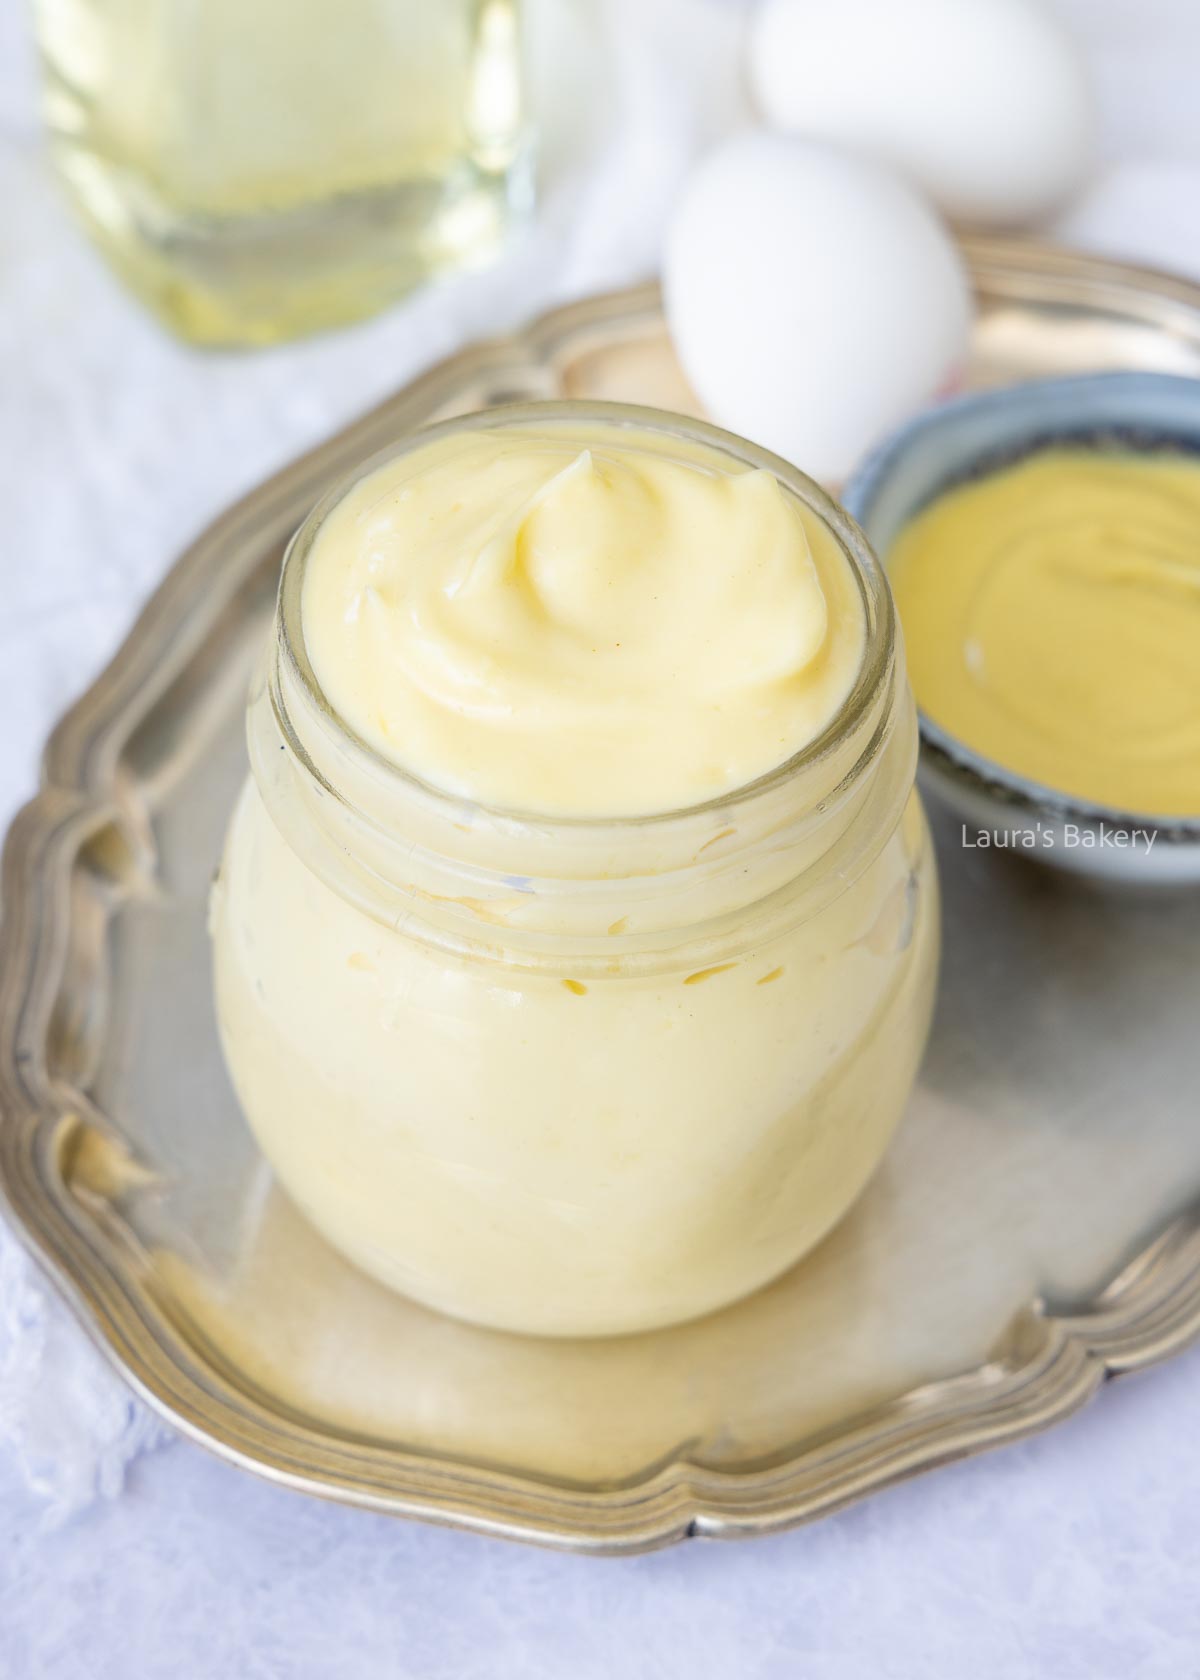
Because it’s made with raw egg, homemade mayo doesn’t keep as long as store-bought. Don’t leave the whole jar on the table—just scoop out what you need into a bowl or onto plates, and put the rest straight back in the fridge. This keeps bacteria at bay.
In a clean, tightly sealed jar, homemade mayonnaise will keep in the fridge for up to one week.
Unfortunately, no. Freezing will cause the mayo to split, the ingredients separate when thawed.
Go for a neutral vegetable oil like sunflower. Corn, peanut, or canola oil also work well.
Yes, but it gives the mayo a more bitter flavor. You can always experiment to see what you like.
Vinegar and lemon juice help with emulsification, but too much can overpower the flavor. You can soften the acidity with a little honey. Next time, try using less vinegar or switch to a milder kind like apple cider vinegar or lemon juice.