When will the meringues be ready?
When they release easily from the baking paper. If you bake them for too long or at too high a temperature, the meringues will turn brown.

This French meringue recipe is my go-to for creating light, crisp meringues that are perfectly chewy on the inside and delightfully brittle on the outside.
Honestly, it’s one of those basic recipes that looks impressive but is surprisingly simple once you know the tricks. Plus, it’s a wonderful way to use up leftover egg yolks and turn them into elegant homemade sweet treats.

Also known as Dutch meringue or raw meringue because it is not heated during whipping (unlike Italian meringue), this basic recipe for French meringues still requires baking the piped raw meringue, resulting in the most delicious little meringues!
Foam and meringue are two different names for the same thing: firmly whipped egg white foam with sugar. You can bake this foam in the oven until crispy meringues have formed.
Bakers usually call it ‘drying’, because the oven temperature is set relatively low during this baking process; no warmer than 100 °C/212 °F (conventional oven).
All it takes is egg whites, sugar, and a little cornstarch to create these beautiful meringues. It’s really that straightforward, but don’t skip the recipe card below for all the details that guarantee perfect results.
BAKING TIP: Use an egg separator if you are worried about accidentally mixing egg yolk with egg whites. Remember, absolutely no egg yolk must get into the egg whites. This is fat and can cause the meringue to fail.
Before you even start with making your French meringues, make sure all of your equipment is completely grease-free by wiping it with lemon juice.
This includes your mixing bowl, spatula, whisk, small bowls, and even your hands. Even the smallest amount of grease can prevent the egg whites from whipping properly.

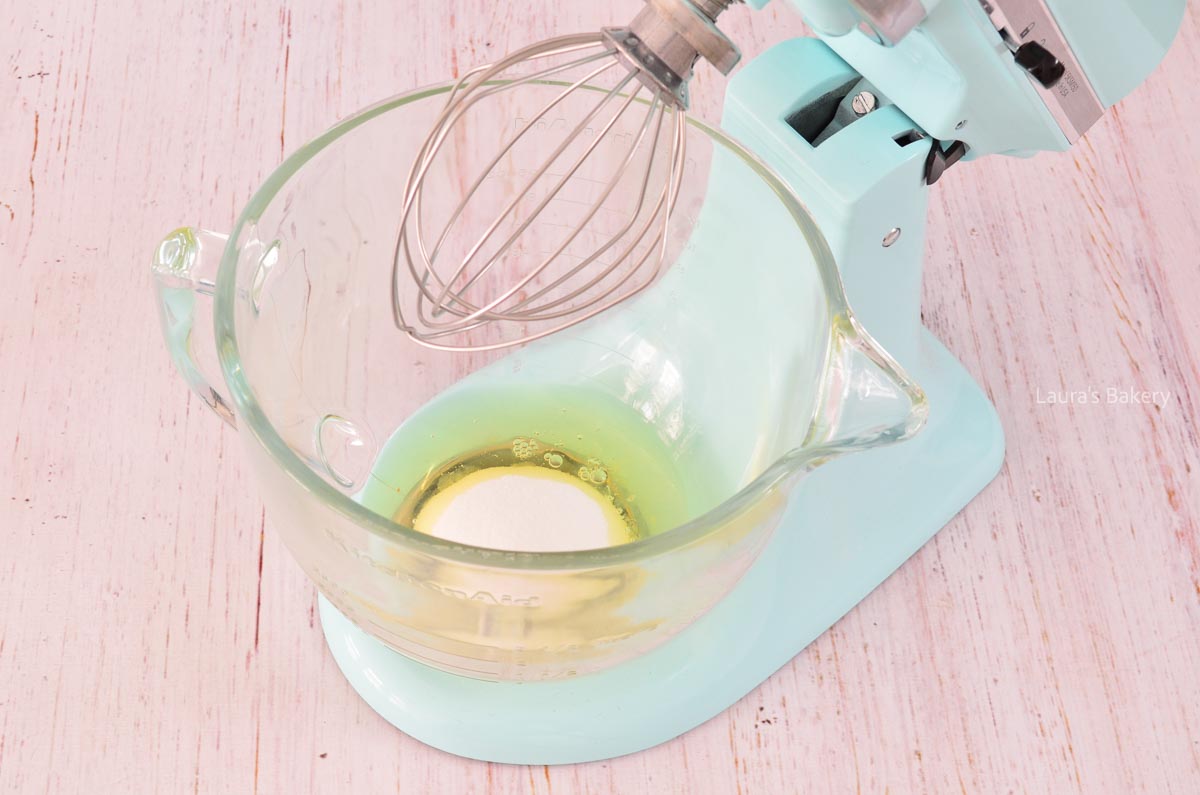
Place the egg whites and granulated sugar in a mixing bowl.

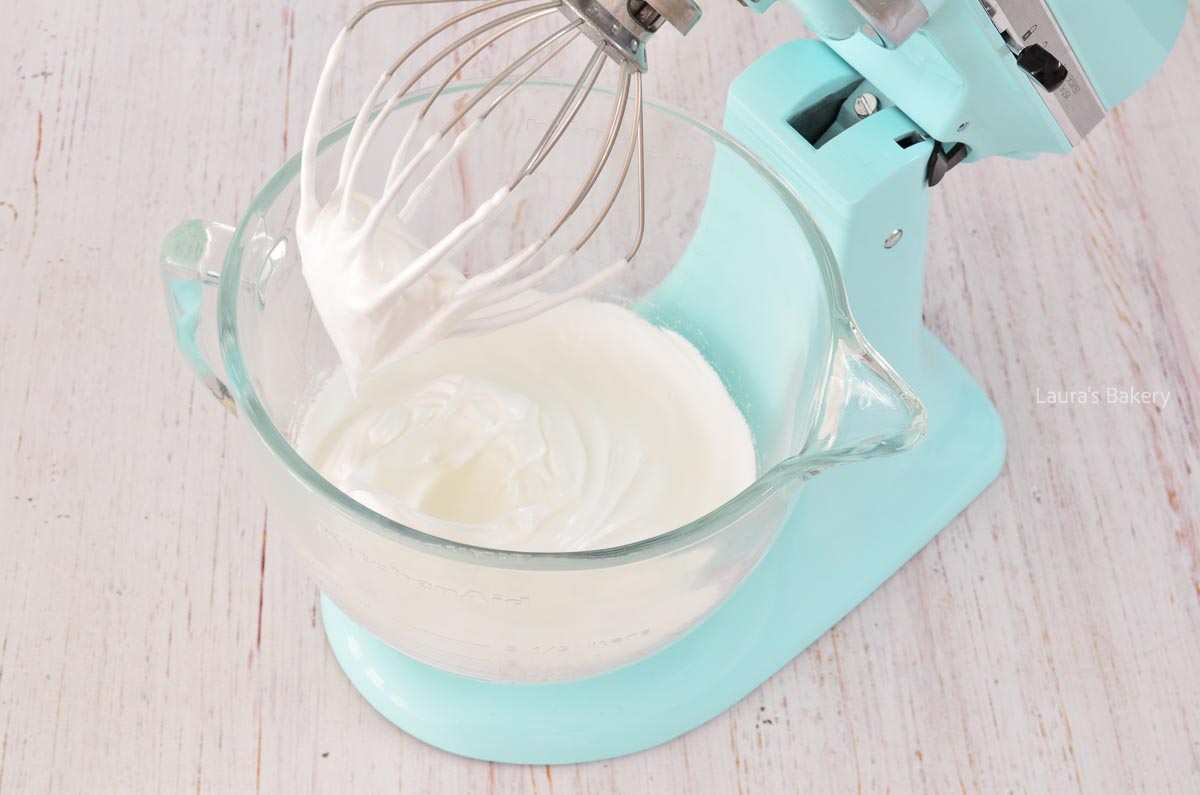
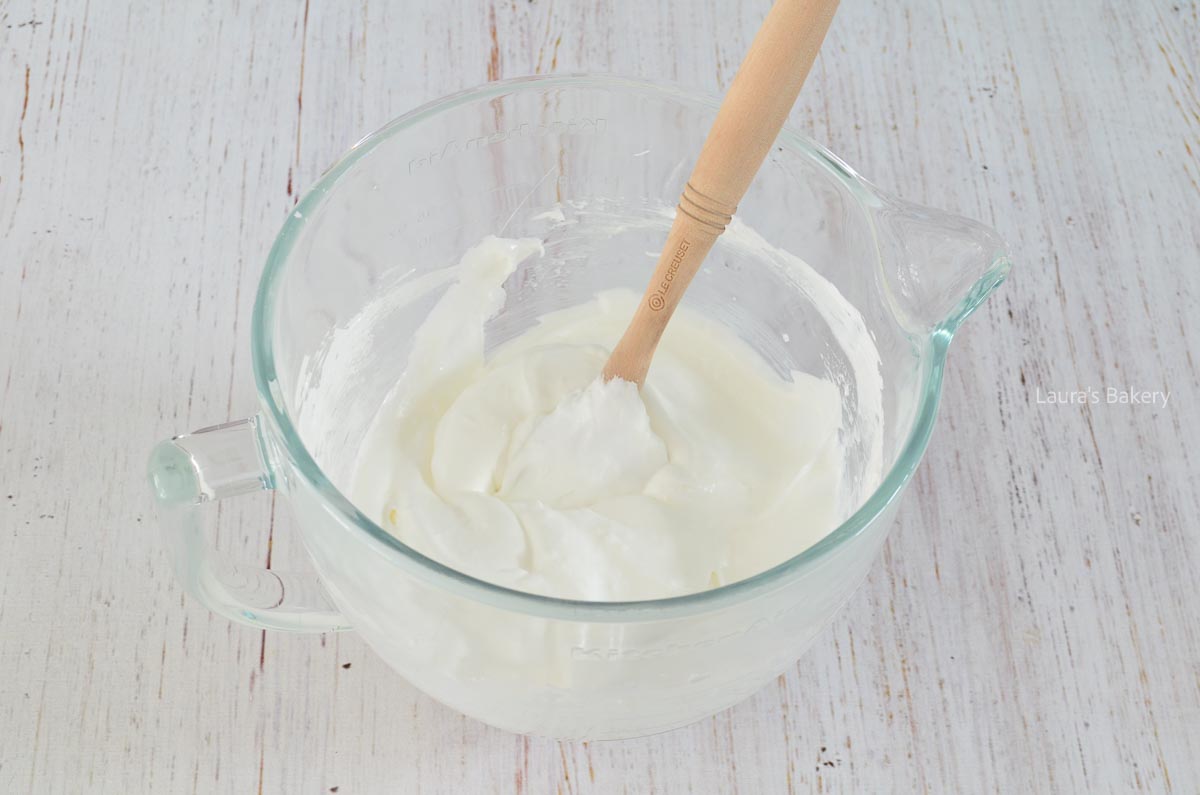
Beat until stiff peaks form (4-5 mins).

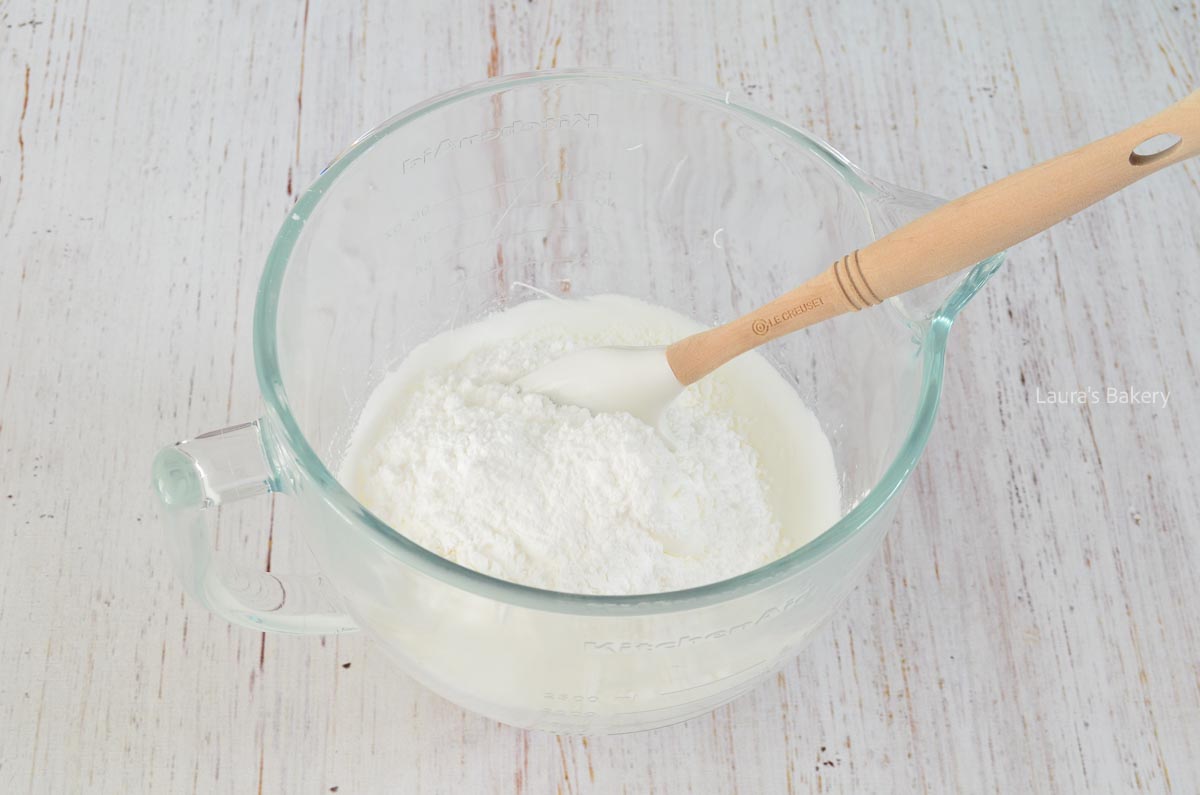
Add the sifted powdered sugar and cornstarch. Gently fold them into the meringue using a spatula.

Pipe your meringue on a baking sheet and bake for 1-2 hours at 100 °C /212 °F (conventional oven).

You can leave your meringue mixture bright white or color it with food coloring before baking if you’d like. When I use food coloring, I always choose a paste, gel, or color powder. That way, you don’t add too much moisture, which can cause the foam to fail.
For a solid color, simply fold the food coloring into the raw meringue with a spatula before piping and baking.
For a more creative, multi-colored effect, follow these easy steps:
Now that your French meringue mixture is ready and the piping bag is prepared (with or without the colors), it is time for the best part: shaping and decorating the meringues. Fill your piping bag with the meringue and line a baking sheet with parchment paper.
Now you can pipe your meringues onto the tray. I made swirls, but feel free to be creative. You can make rosettes, swirls, sticks, and much more. If you like, you can also sprinkle some sprinkles over the meringues.


Never store meringues in an airtight container, as this will make them soft and tough. Any moisture must be able to escape. Moisture is disastrous for meringues, which is why you cannot store them in the refrigerator or freeze them. They will (partially) melt when thawed.
I often store meringues in a cardboard cake box. The moisture remaining in the meringues can escape, but moisture from the air won’t penetrate them. This is absorbed by the cake box. This way, your meringues will stay fresh for at least 1-2 weeks.
Meringues cannot be frozen. Due to the moisture, they will melt when thawed. Therefore, you cannot store them in the refrigerator either.
Over the years, I have baked quite a few meringues. I love them, so I’m sure I’ll just keep adding to the list. In the meantime, make sure to try these delicious meringue-inspired recipes:
In addition to the above recipes, feel free to get creative with your French meringues by topping them with whipped cream and fresh berries or mix in some chopped nuts and spices before baking for a scrumptious twist!


When they release easily from the baking paper. If you bake them for too long or at too high a temperature, the meringues will turn brown.
There are various methods for separating egg yolks and egg whites. Here are a few you can try:
The Shaking Method: Carefully break the egg in half and ‘shake’ the yolk from one half of the eggshell into the other while letting the egg white run out. You need three bowls for this: one bowl for the ‘clean’ egg whites, one bowl for the yolks, and the last bowl over which you work.
Yolk Fishing Method: Break the egg over the bowl you are working with and let it fall into the bowl; the yolk must remain intact. Using a piece of eggshell, or your hand cupping your fingers, fish the yolk out of the egg white and place it in the separate bowl for the yolks. The clean egg white goes into the bowl for the egg whites, and you repeat this process.
Hand as a Sieve: You will need one extra bowl, unless you manage to break the egg with one hand over the other. So, you break an egg over a bowl, making sure again that the yolk remains intact. You pour this egg over your hand, spreading your finger slightly but not too much. You catch the yolk with your hand and let the egg white drip into a second small bowl. You do need quite a lot of bowls for this method and it gets a bit time-consuming.
Plastic Bottle Method: Crack an egg into a bowl or onto a somewhat deep plate and use the plastic bottle to suck the yolk out of the egg white. Just squeeze the bottle briefly, hold it over the yolk, stop squeezing, and the bottle does the rest. Then you pour the yolk into another small bowl.
Egg Separator Method: This is a type of sieve in which you catch the egg you break. The yolk is caught by the sieve and the egg white drips out through the sides. It’s a great tool to have in the kitchen.
French meringue (also known as Dutch or raw meringue) is made by whipping raw egg whites with sugar and is the simplest method. Italian meringue uses hot sugar syrup poured into whipping egg whites, making it more stable. Swiss meringue is gently heated over a bain-marie before whipping. Each type has its own specific applications!
I advise against reducing the amount of sugar. Sugar is essential for structure and stability in meringues. Reducing it can result in flat, weeping, or collapsed meringues. For the best results, stick to the measurements provided.
Save them for other recipes! You can make crème brûlée, pastry cream, lemon curd, custard or vanilla sauce, ice cream base, or to enrich pasta dough. They also freeze well for later use.
Links in this article may be affiliate links. If you purchase something through such a link, I will receive a small commission, without you paying anything extra.

Welcome to Laura’s Bakery! You’ve come to the right place for the most delicious baked goods and appetizers. With my easy recipes for home bakers I will show you that baking is fun and delicious.
Have fun baking!