My starter smells like acetone. Is that bad?
No. An acetone smell is usually a sign that your starter is hungry. Simply feed it again and continue with your regular feeding schedule.
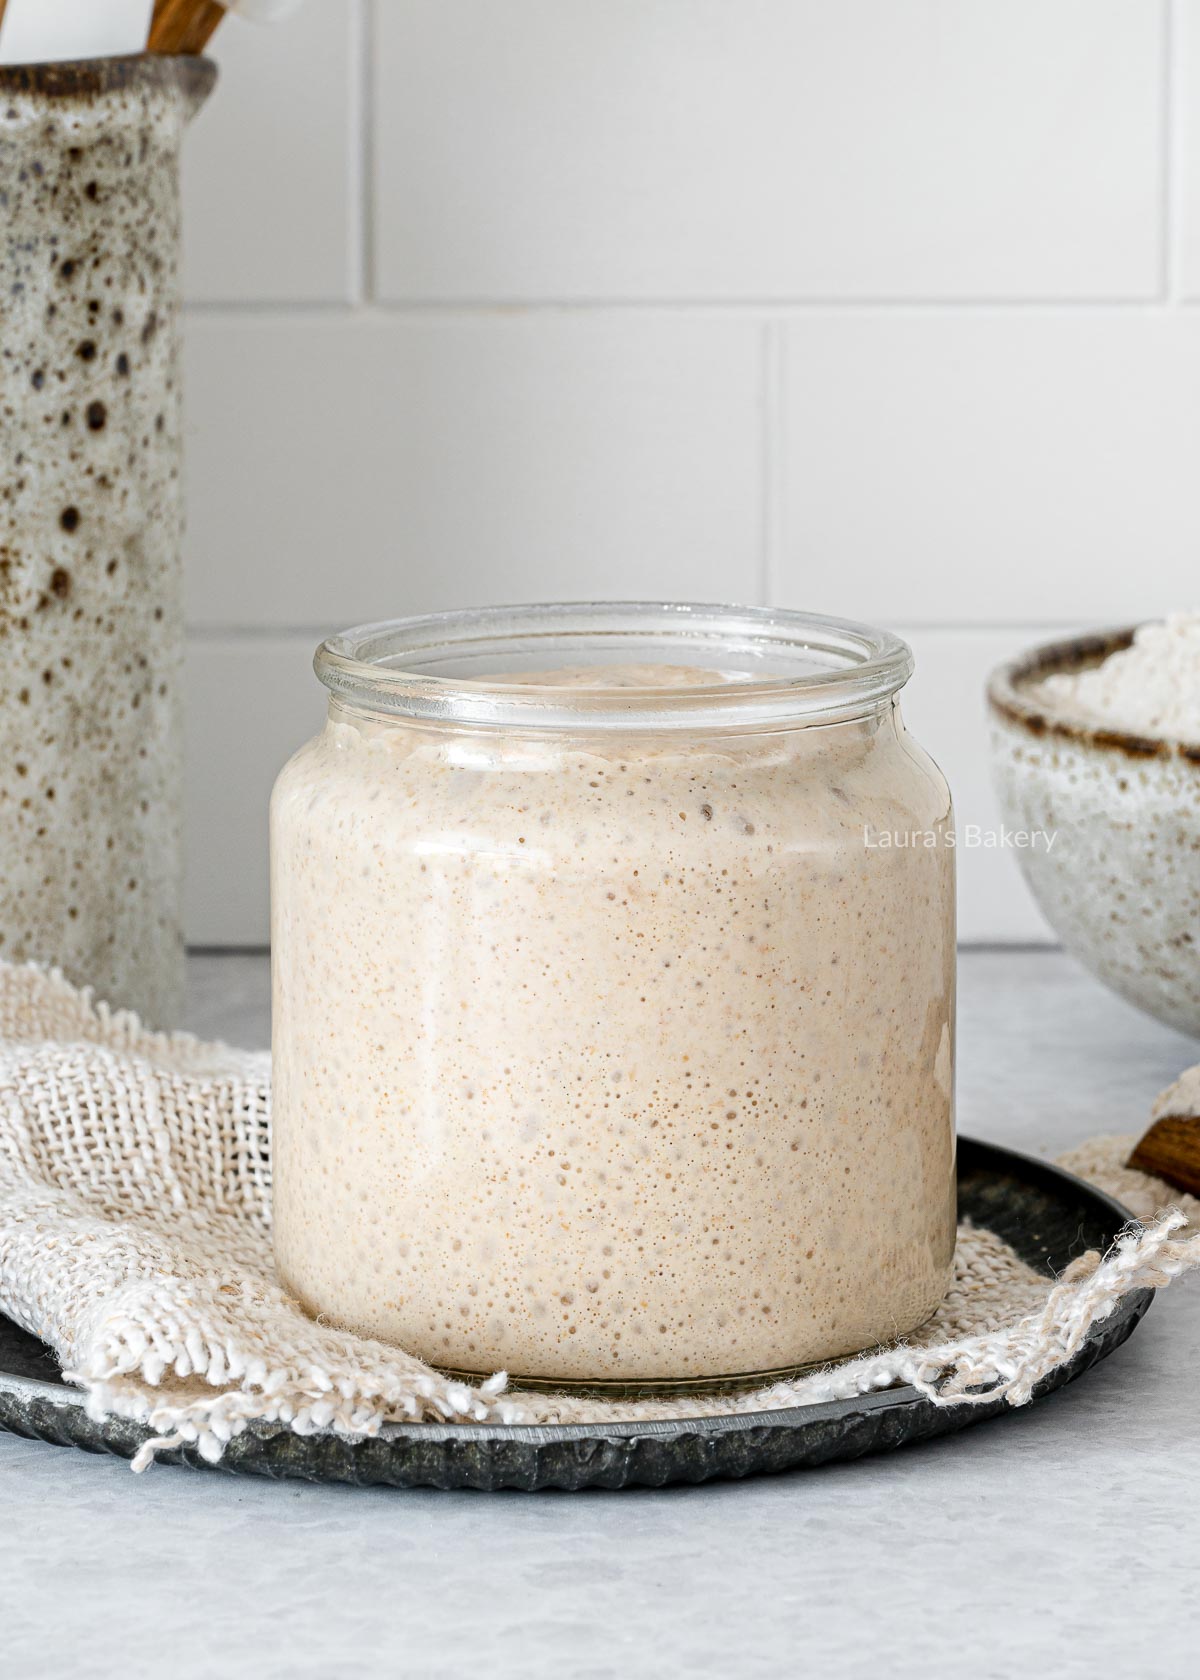
Making a sourdough starter takes time, not much effort. With just flour, water, and a little patience, you can create your own natural starter in about one to two weeks.
My first starter didn’t last very long, but during my second attempt I documented everything: what I observed, the mistakes I made, and, most importantly, what actually worked. I’ve combined all of those experiences into this comprehensive guide.
In short, a sourdough starter is a mixture of flour and water that naturally cultivates wild yeast and lactic acid bacteria. These natural yeasts make bread rise, so there’s no need for commercial yeast.
The beauty of it is that you only need two ingredients: flour and water. Nature takes care of the rest. By feeding your starter fresh flour and water every day, you’ll gradually develop an active culture that can be used to bake incredible sourdough bread.
On average, it takes about one to two weeks for a starter to become strong enough for baking. For some people it happens faster, while for others it takes a little longer. Factors like temperature, the type of flour you use, and a bit of luck all play a role.
And perhaps the most important thing to know before you start: you can’t rush a sourdough starter. Patience really is part of the recipe.

Before you enthusiastically start mixing flour and water, I’d like to share a few things that helped me tremendously along the way.
Every starter is different. Try not to compare your starter too much with someone else’s. My current starter, for example, took 19 days before it was strong enough to bake with. Temperature and other environmental factors have a huge impact, so give your starter the time it needs.
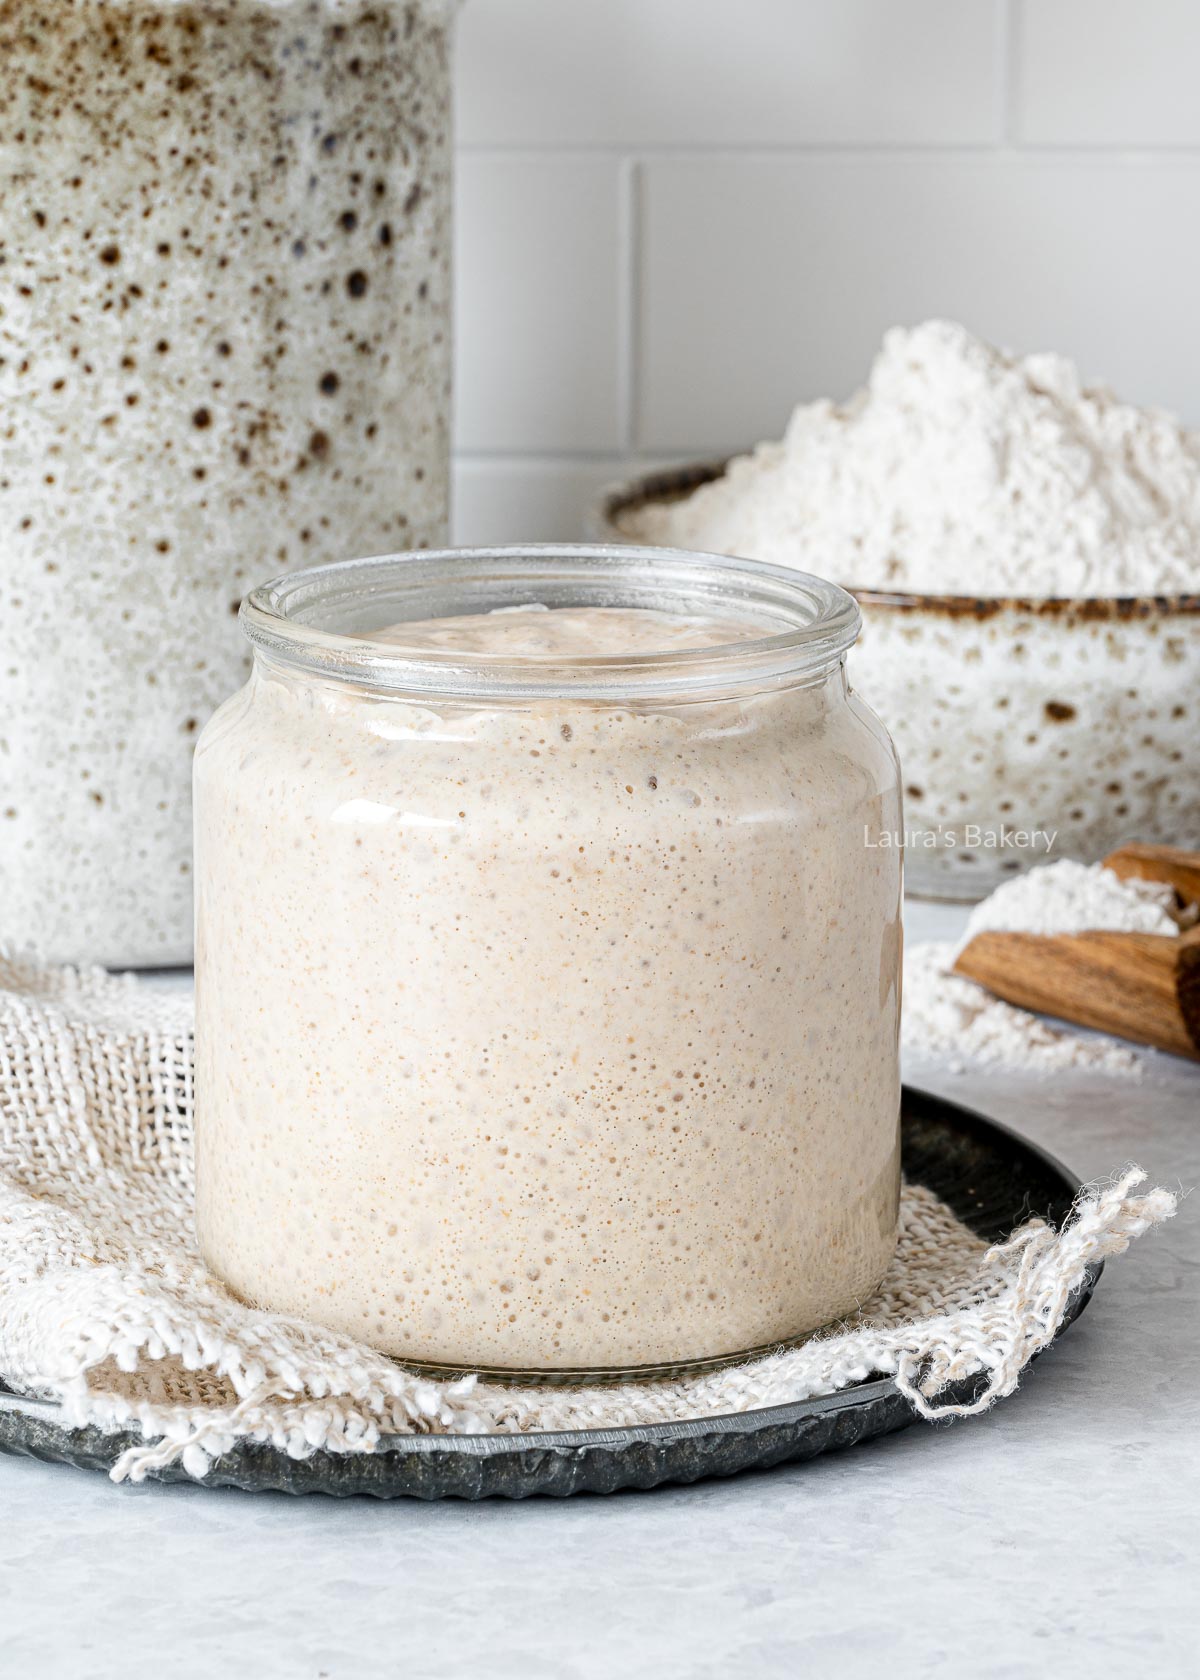
Air bubbles are more important than height alone. You’ll often read that a starter needs to double in size before it’s ready, but that’s only part of the story. I mainly look for bubbles throughout the entire starter, from top to bottom. Once it’s full of bubbles, I know it’s ready to bake with.
Don’t expect steady progress every day. During the first few days your starter may suddenly become very active, only to slow down again afterward. That’s completely normal. Keep feeding it on the same schedule, even if you don’t notice much happening for a few days.
Temperature makes a bigger difference than you might think. I made my first starter during the winter, and the process took much longer than I expected because my kitchen was cold. A warmer spot, or even a seedling heat mat, can make a world of difference.
P.S. Lots of people give their starter a name. Since I’m a fan of (true) crime shows and movies, mine is called Jane Dough. I’d love to hear what you name yours!
One of the best things about making a sourdough starter is how little you actually need. It’s an easy project to get started with.
There are also convenient sourdough starter kits that include everything you need. I really liked using a kit with a glass jar and a temperature strip attached to the outside. It made it much easier to monitor the starter while it was developing.
If you’re planning to bake sourdough bread as well, you may prefer a more complete starter kit that includes additional baking essentials.
TIP: During the winter months, a heating plate (or heating mat) was an absolute game changer for me. My kitchen was simply too cold to keep the starter active. I still pull it out every winter. It’s certainly not essential, but it can noticeably speed up the process.
I started my sourdough starter using whole rye flour and later began feeding it with a combination of whole rye flour and light rye flour. That’s still what I use today, usually a mix of both, though sometimes I feed it with only light rye flour.
Technically, you can make a starter with all-purpose flour, but it usually takes longer to become active. Whole wheat flour is already a better option. Still, I recommend using rye flour whenever possible because it’s richer in nutrients, allowing the starter to develop more quickly.
My Preference. These days I usually feed my starter with a combination of whole rye flour and light rye flour. The whole rye keeps the starter vigorous, while the light rye tends to produce a lighter texture with lots of small bubbles. That’s why I generally use a little more light rye flour than whole rye flour.
Temperature plays a major role in sourdough baking. It affects not only how quickly your starter develops but also how long your dough needs to ferment.
I started my first sourdough starter during the winter. During the day, my kitchen stayed around 19–20°C, but at night it dropped to about 15°C. You can absolutely make a starter at those temperatures, but the process usually takes a bit longer. Eventually, I placed my starter on a seedling heat mat and noticed it became much more active.
In my experience:
TIP: Don’t have a warm spot in your house? Try draping a clean kitchen towel loosely over the jar. It can help keep the temperature a little more stable. My favorite solution, though, is still a seedling heat mat. I use mine every winter whenever the house gets chilly.
No two sourdough starters develop exactly the same way. One may be ready to bake with after a week, while another might need two or even three weeks. Think of the stages below as a general guide rather than a strict timeline.
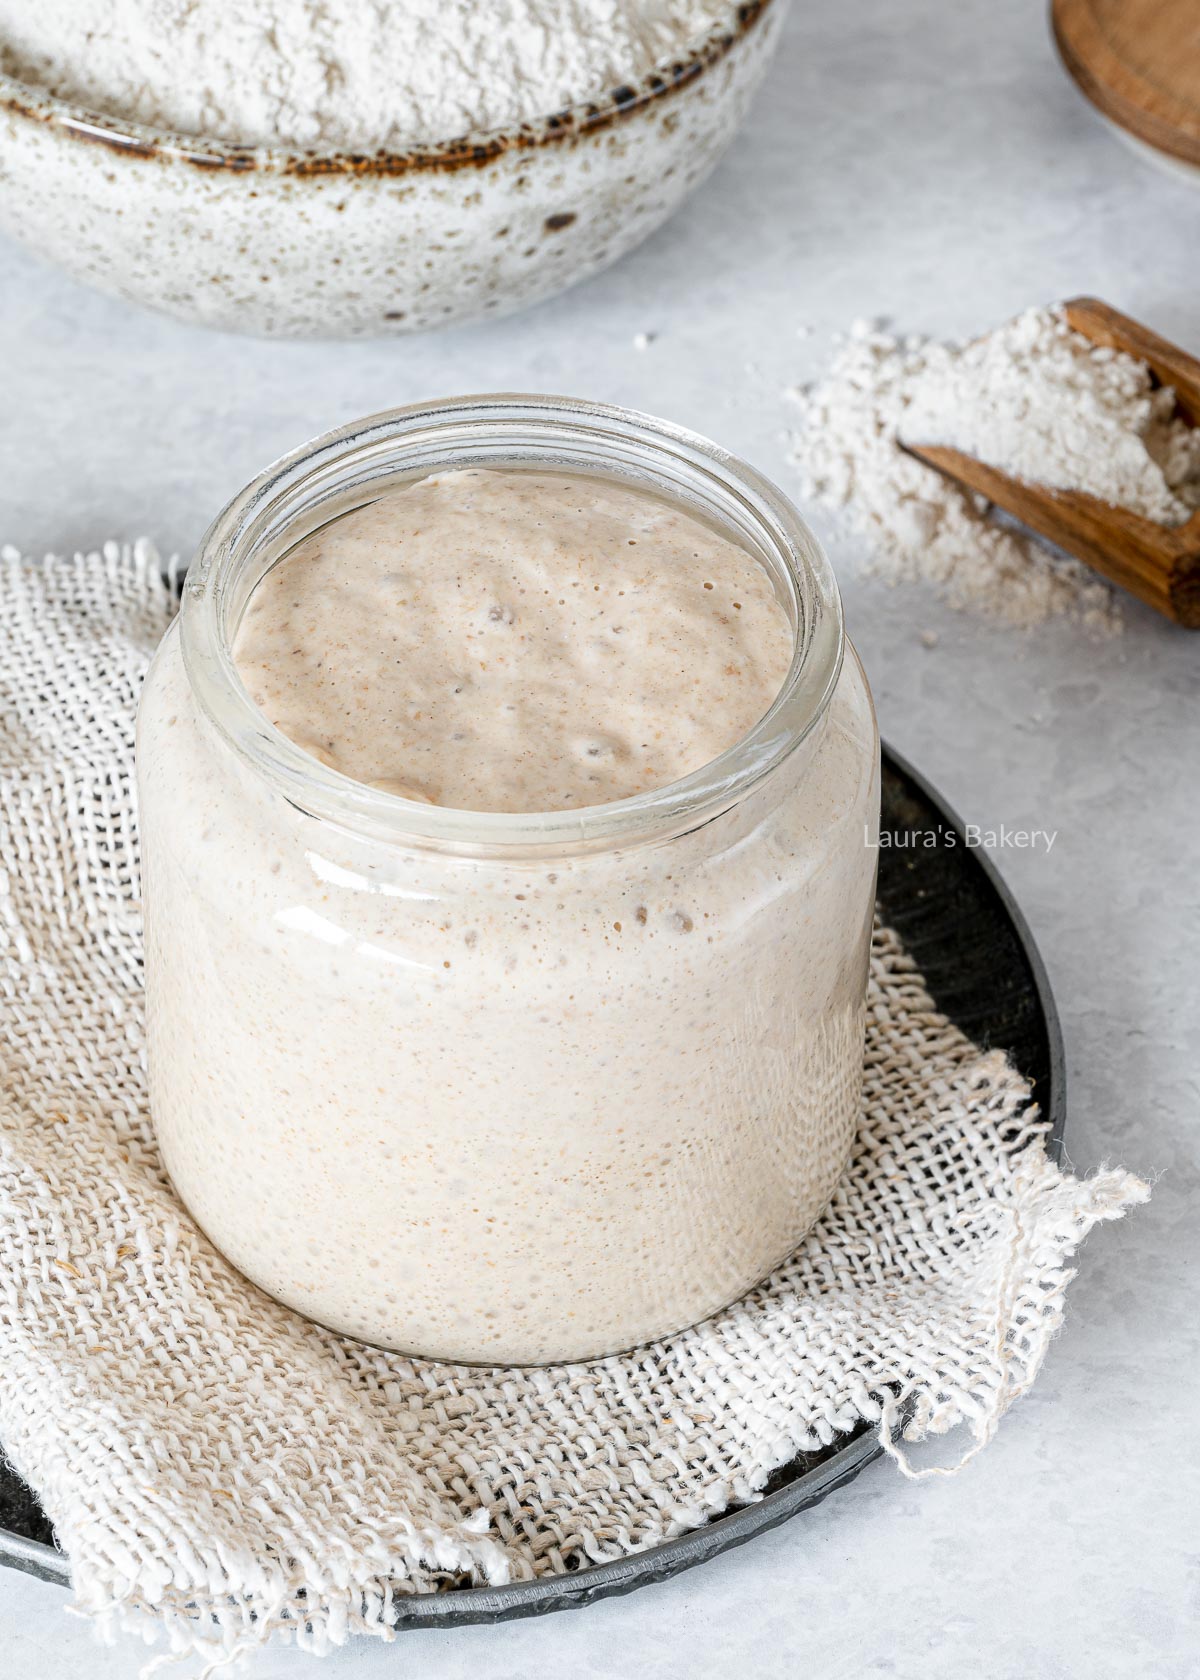
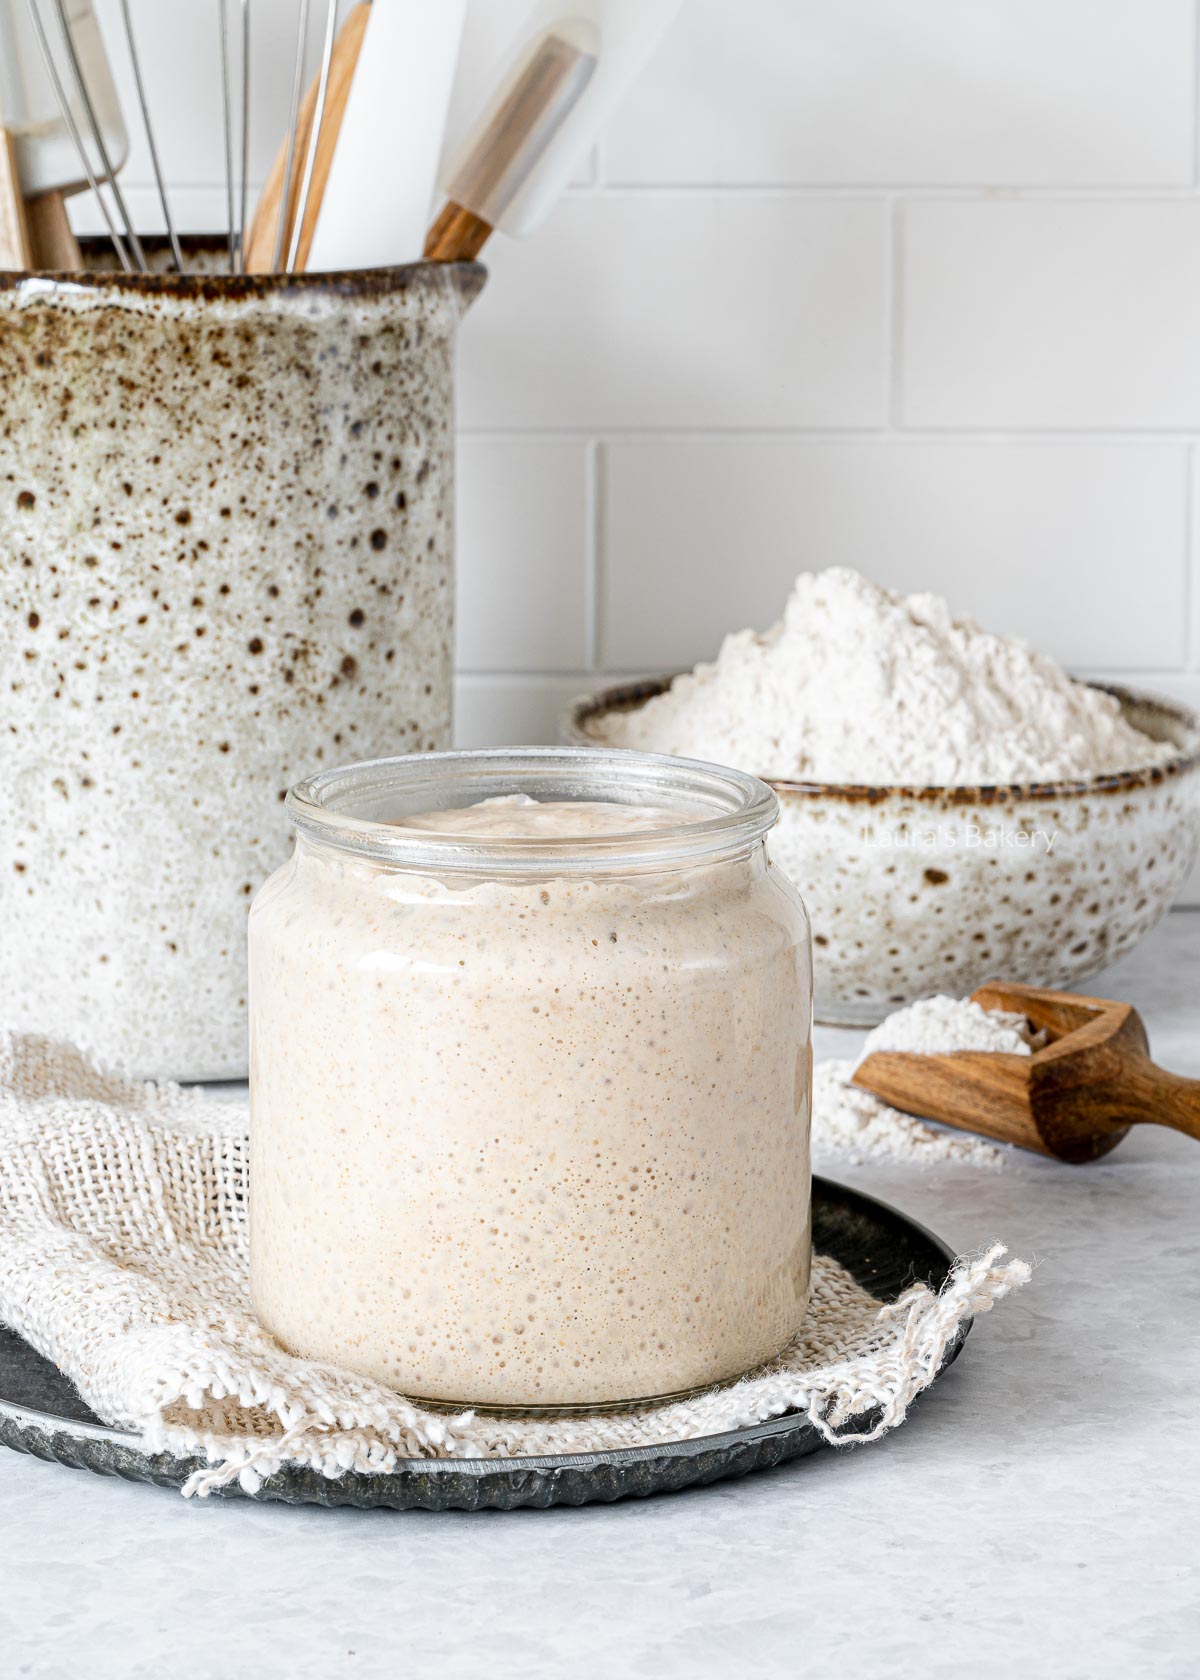
Once your starter has matured, there are a few signs that tell you it’s ready to use. Your starter is ready when it:
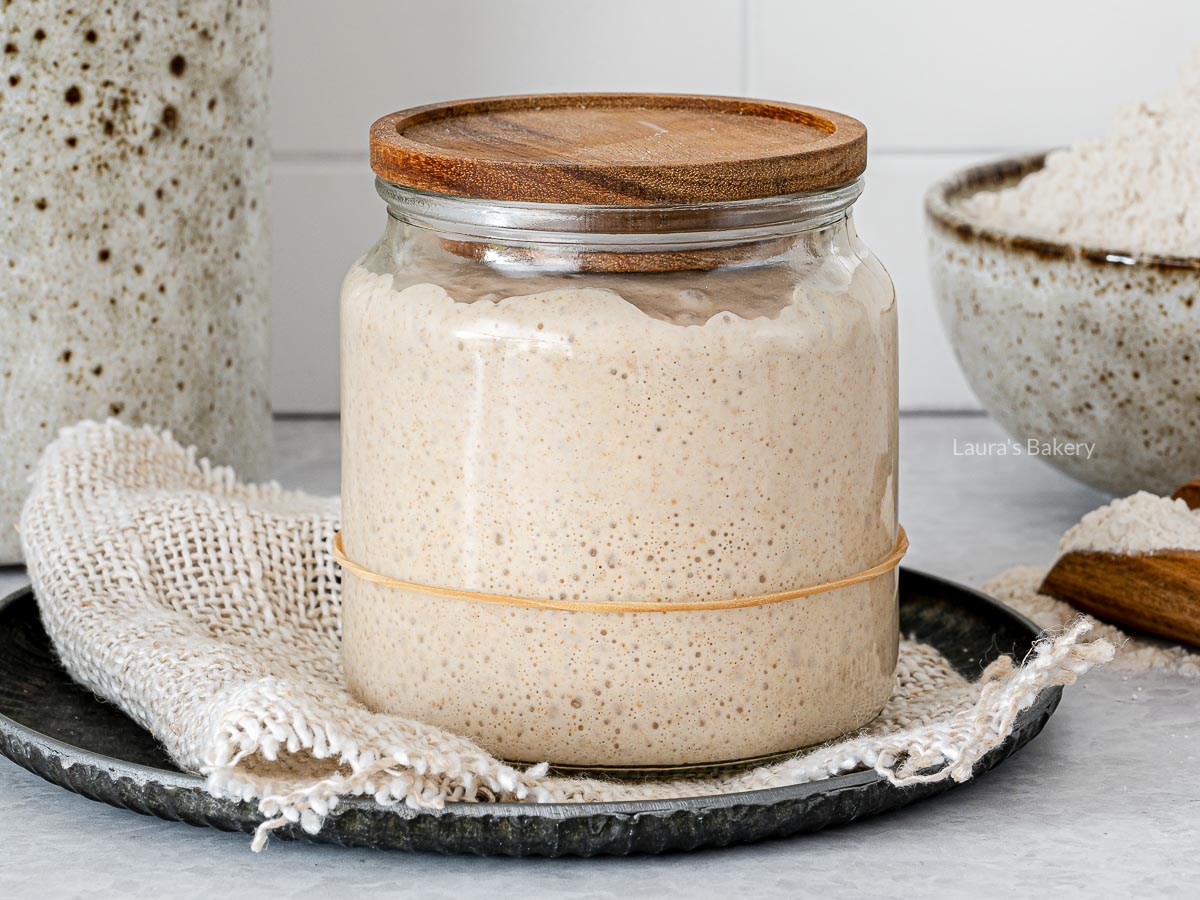
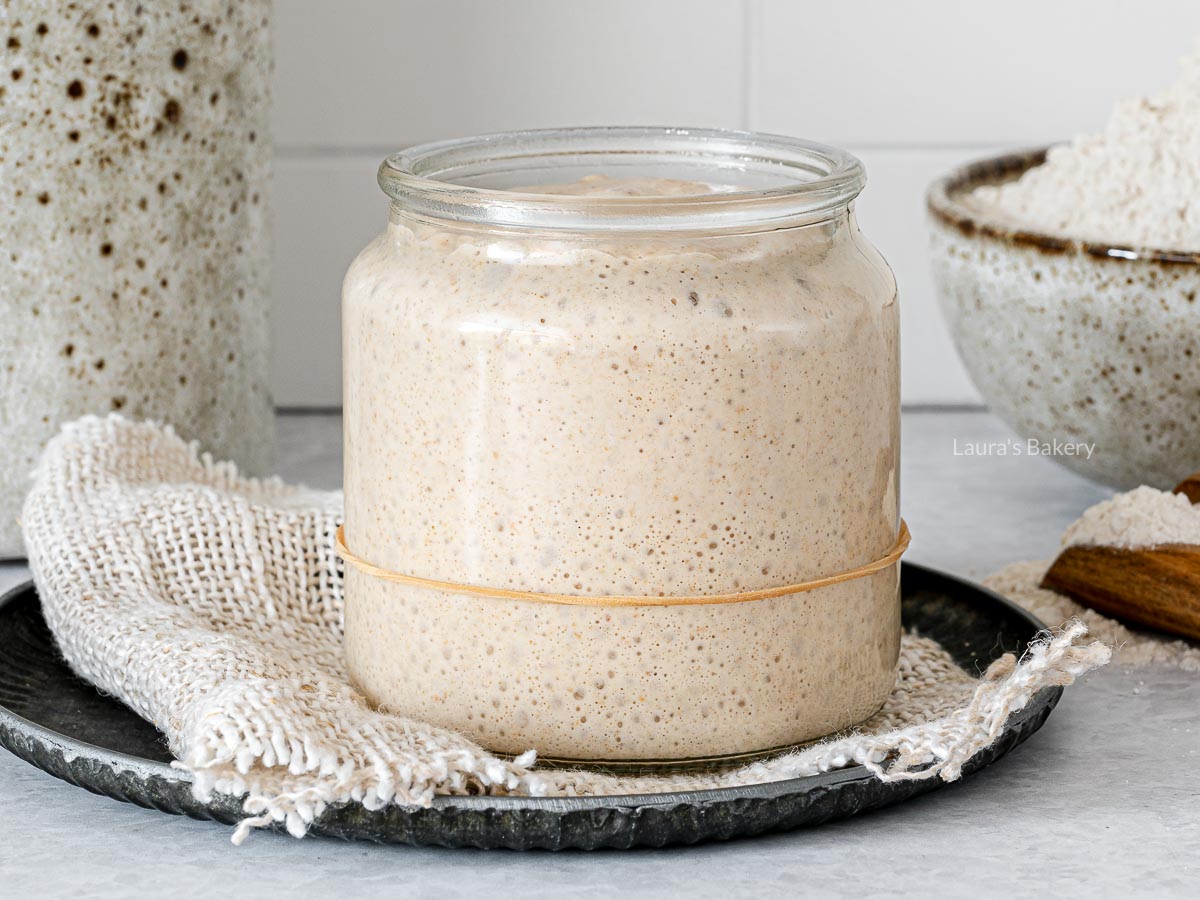
When your starter matches this description, it’s at – or very close to – its peak activity and ready for baking. In fact, you can usually bake successfully just before it reaches its absolute peak as well.
Has your starter already begun to fall? That simply means it’s past its peak. It’s still often perfectly usable for baking, but I personally get the most consistent results when I use it at, or just before, its highest point.
TIP: Many bakers use the float test by dropping a small spoonful of starter into a glass of water. If it floats, it’s often considered a sign that the starter contains enough trapped air. Personally, I rarely use this test. Instead, I rely on observing my starter’s behavior. Over time, you’ll naturally learn to recognize when your own starter is ready.
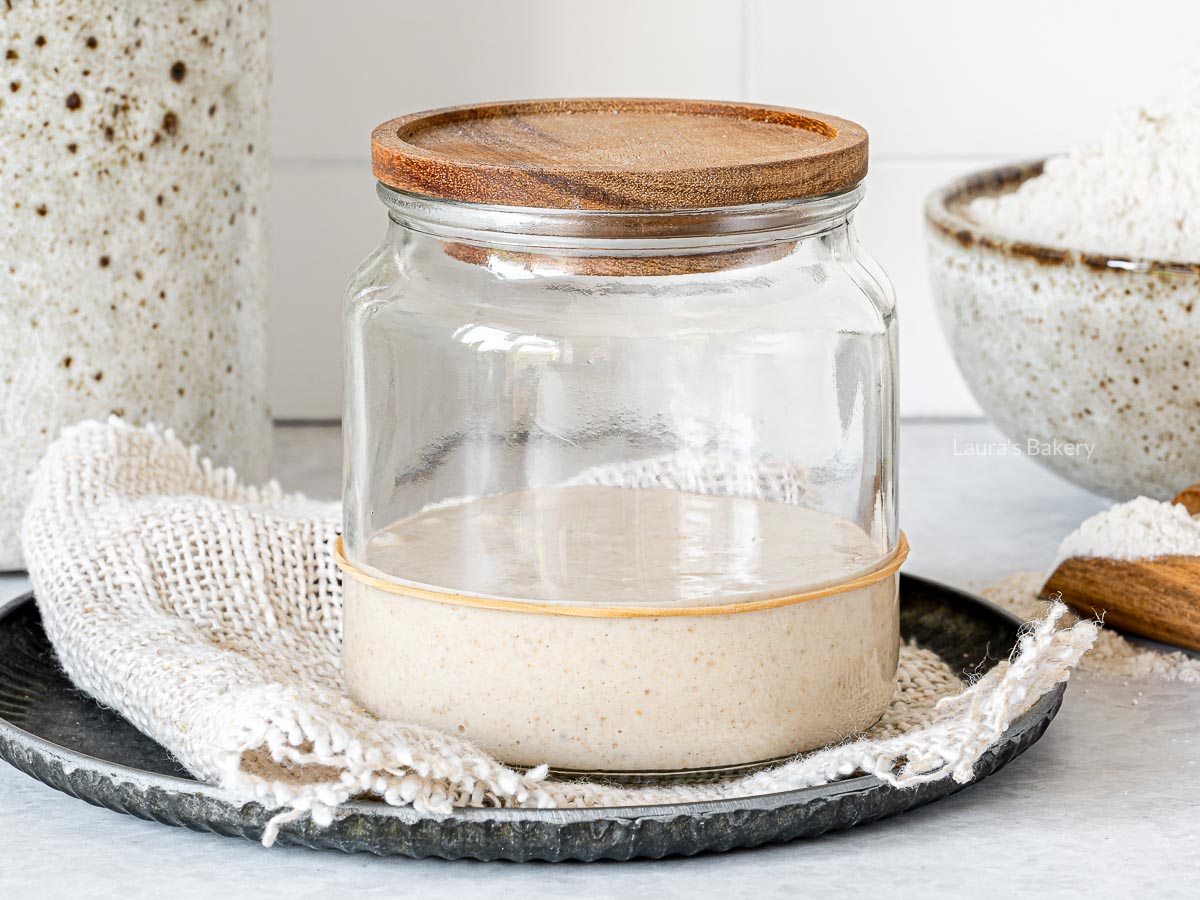
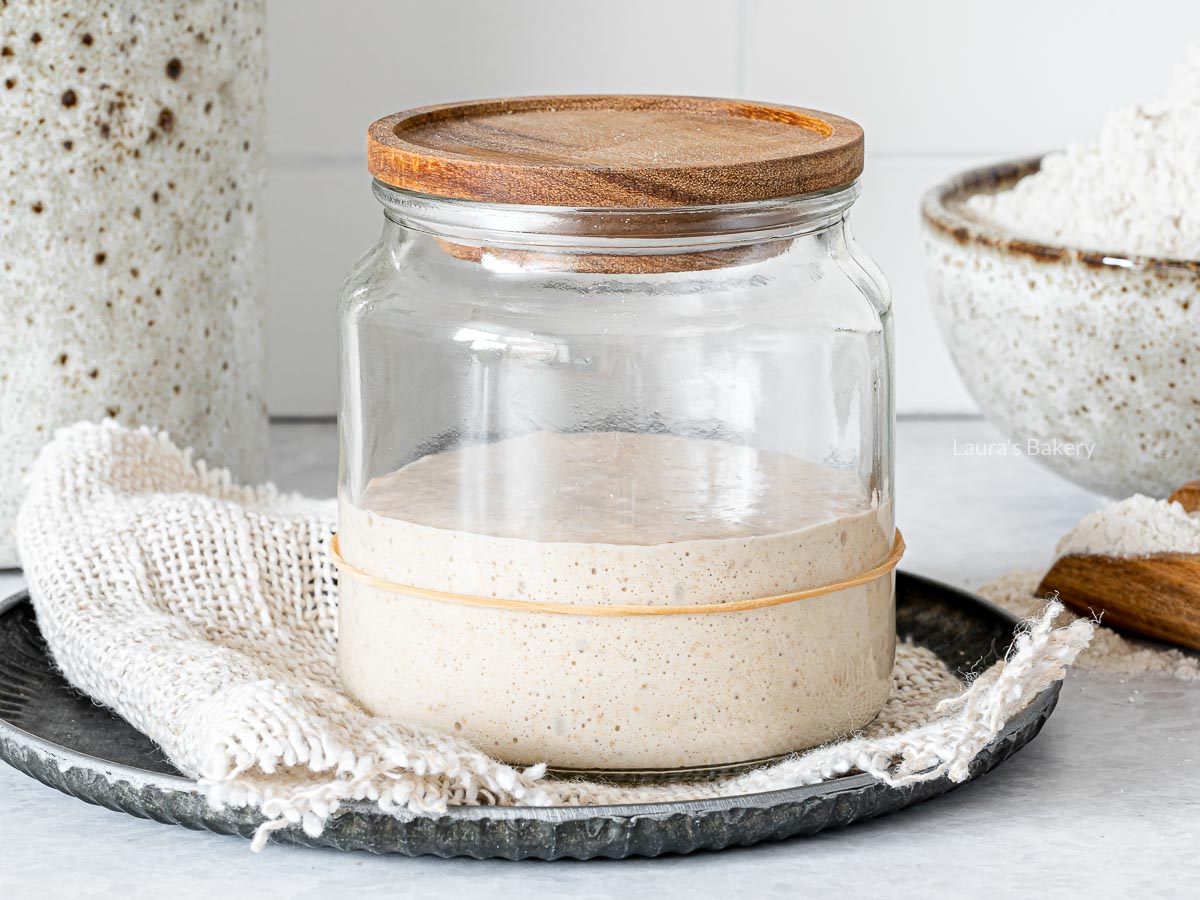
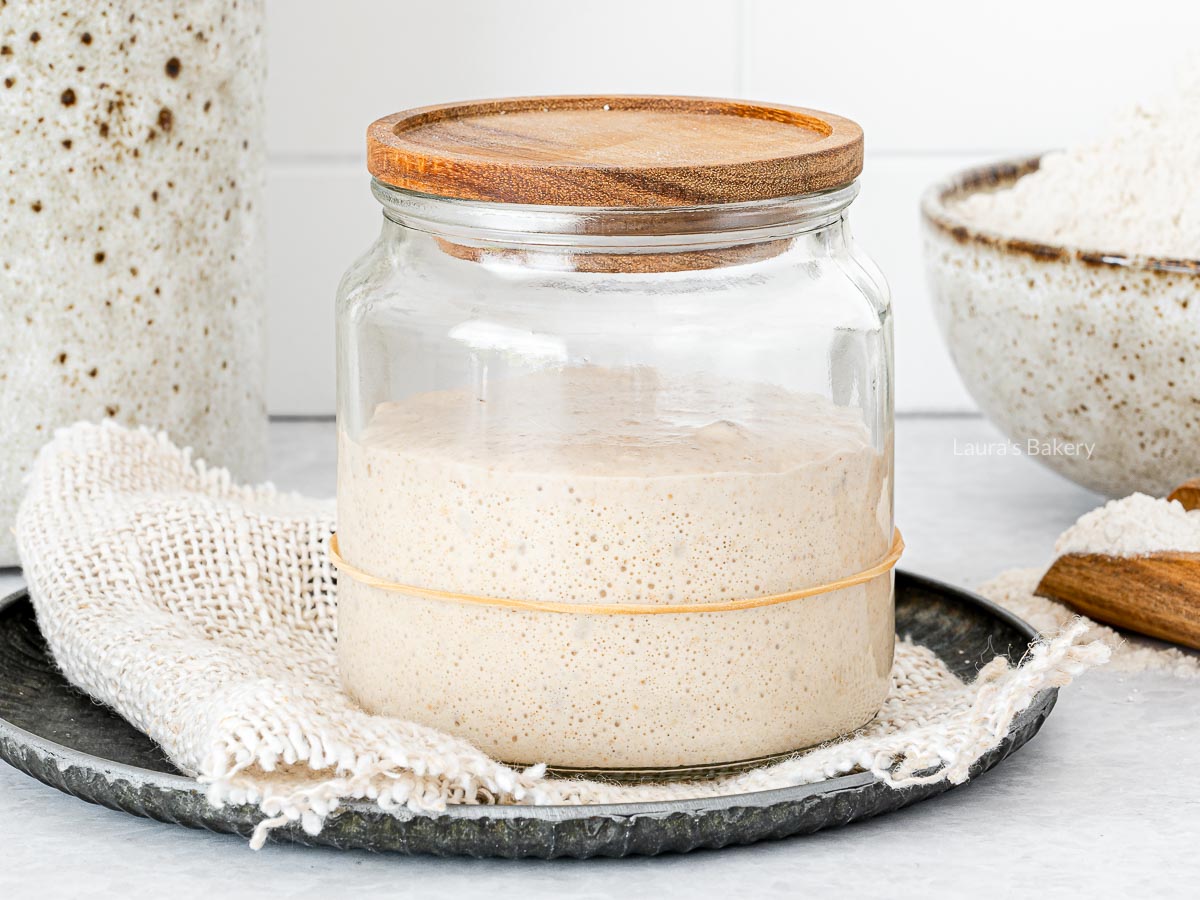
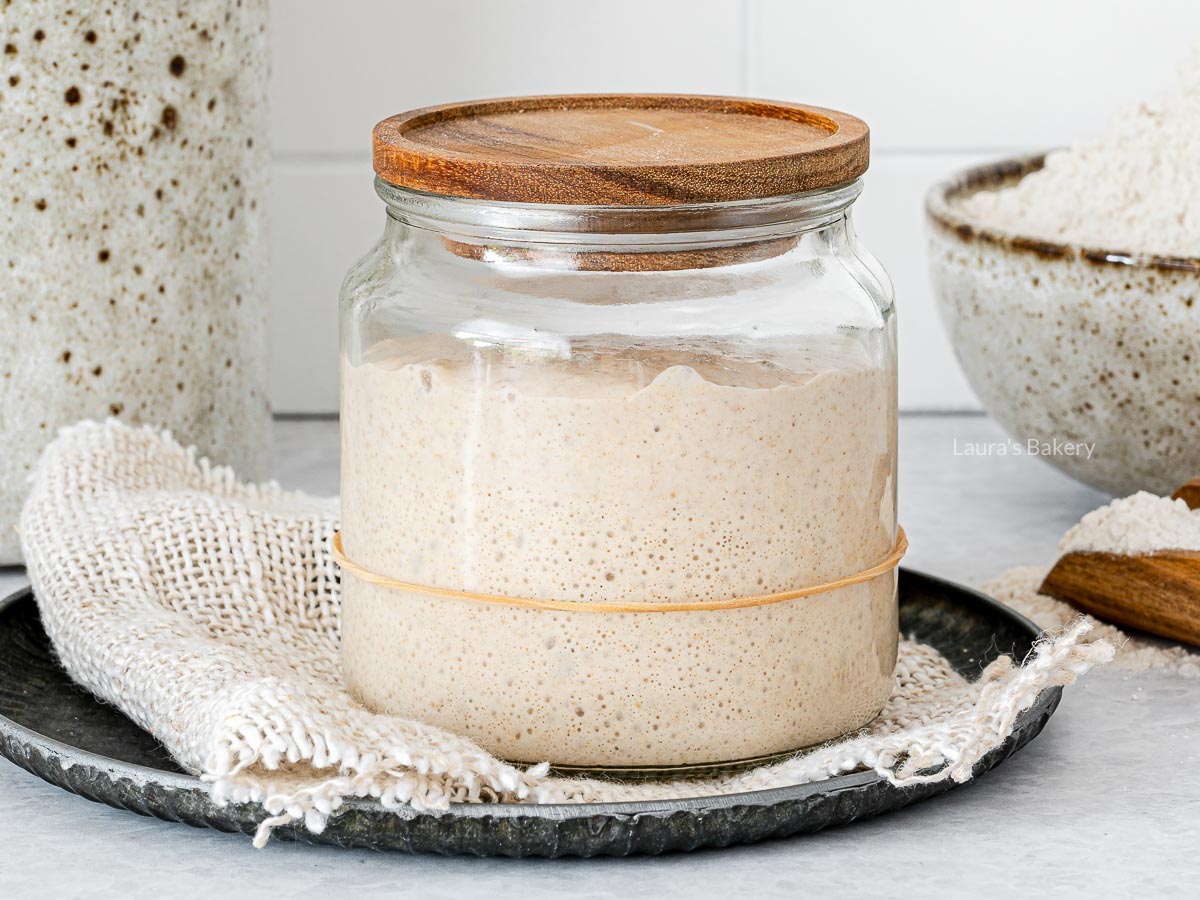
To give you a better idea of what this looks like, I photographed my own starter from immediately after feeding until it was ready to bake with. Your starter may not follow exactly the same timeline, since temperature and other conditions affect how quickly it develops.
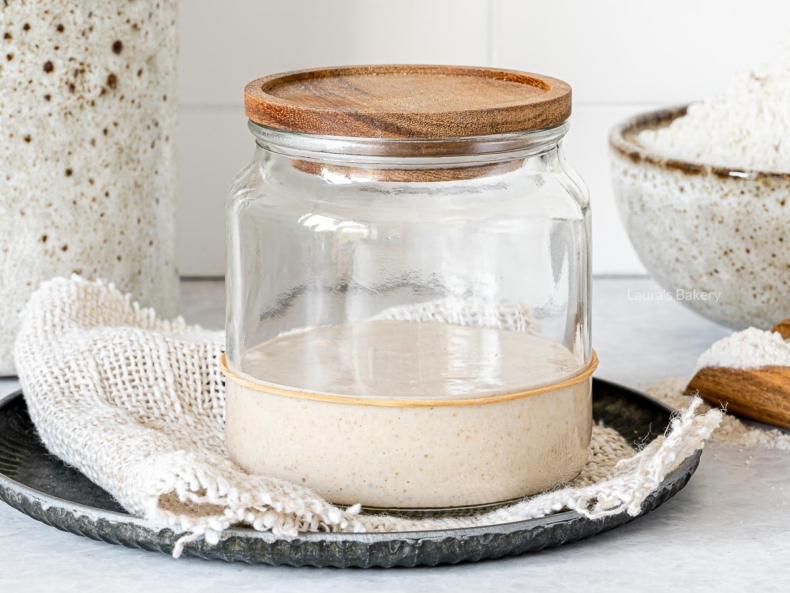
Immediately after feeding in a 1:1:1 ratio
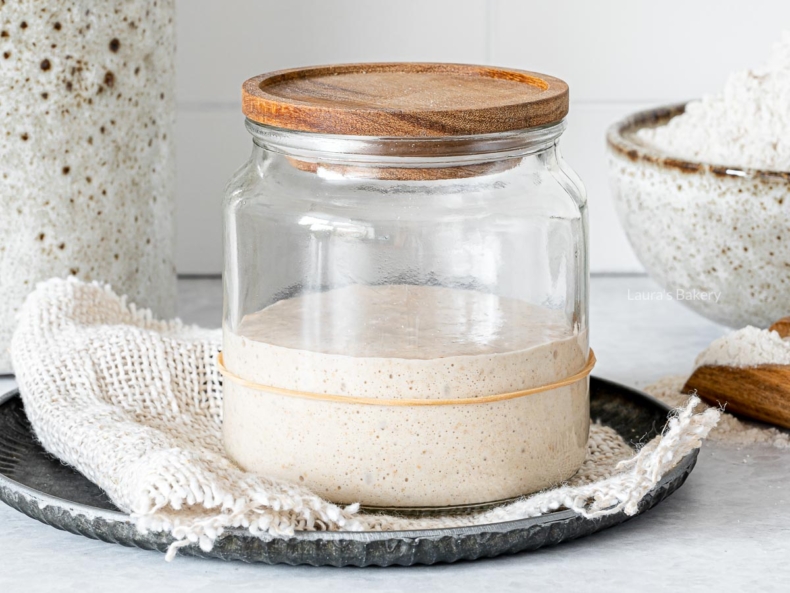
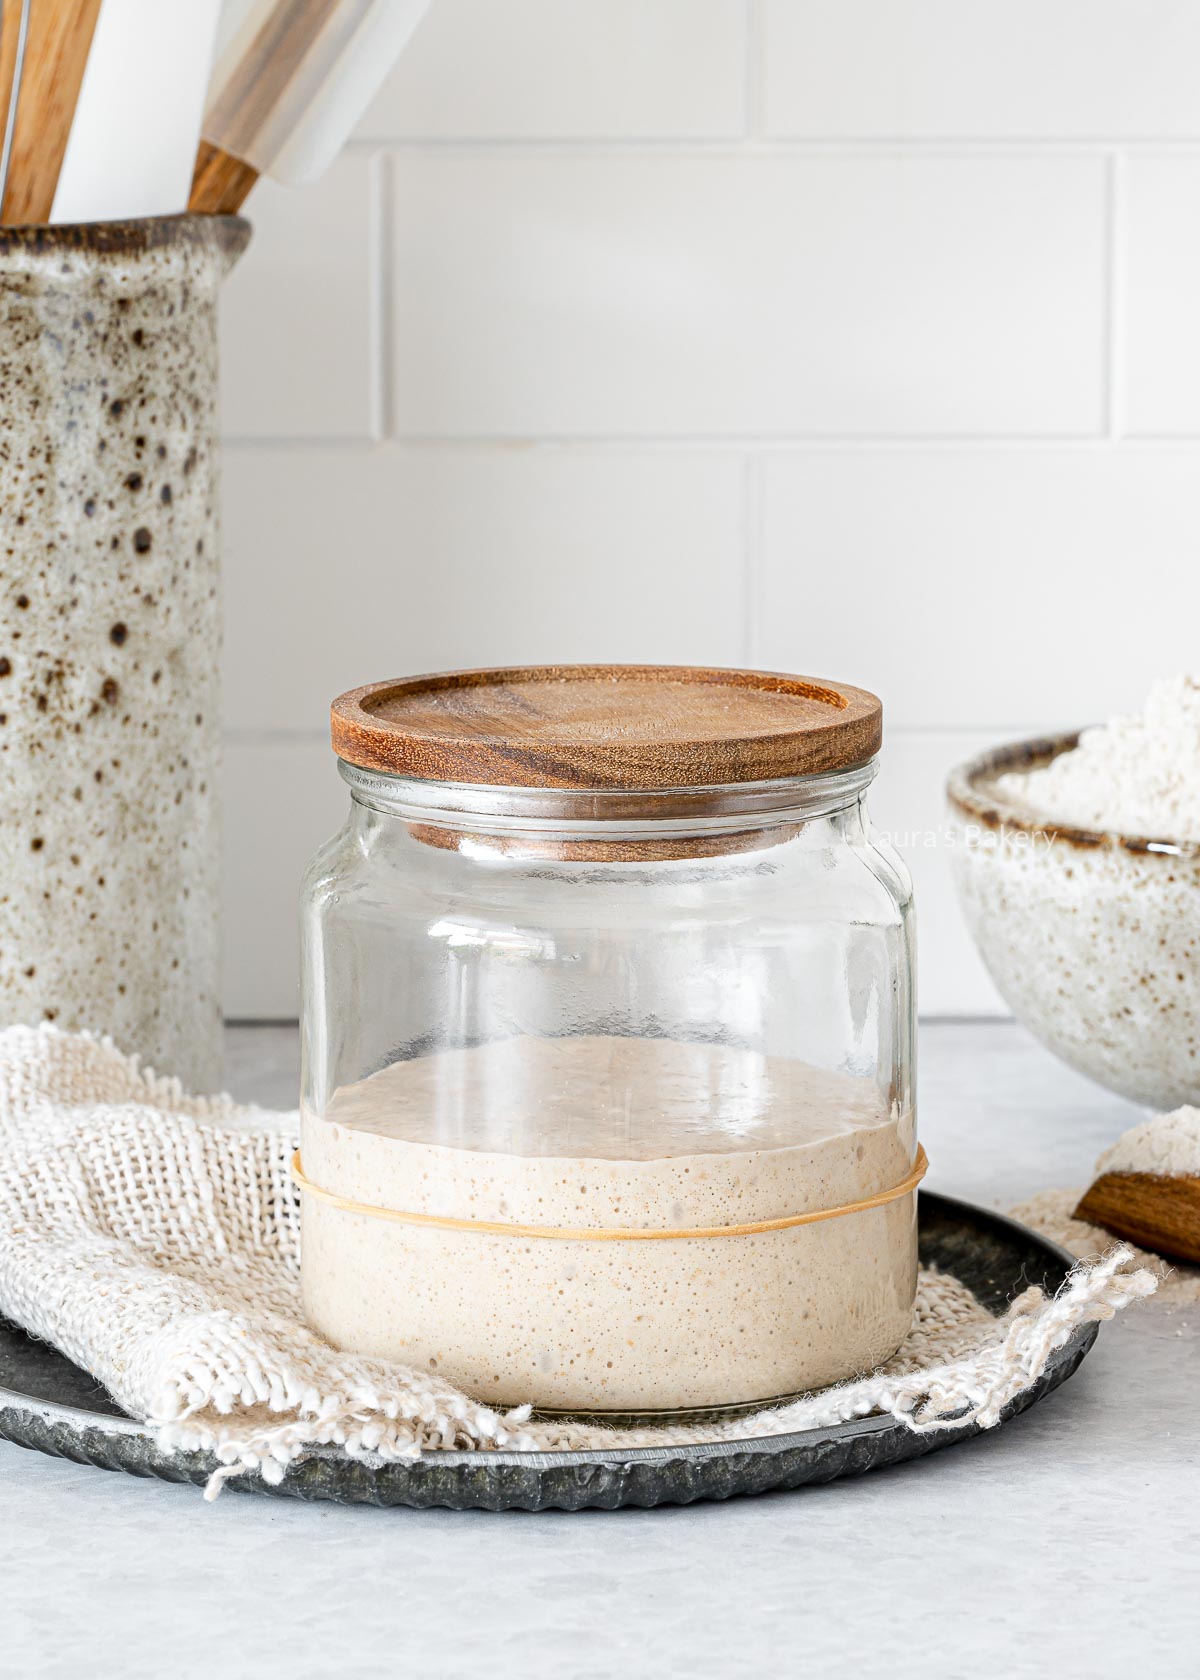
After 1½ Hours The first bubbles begin to appear, and the starter starts to rise.
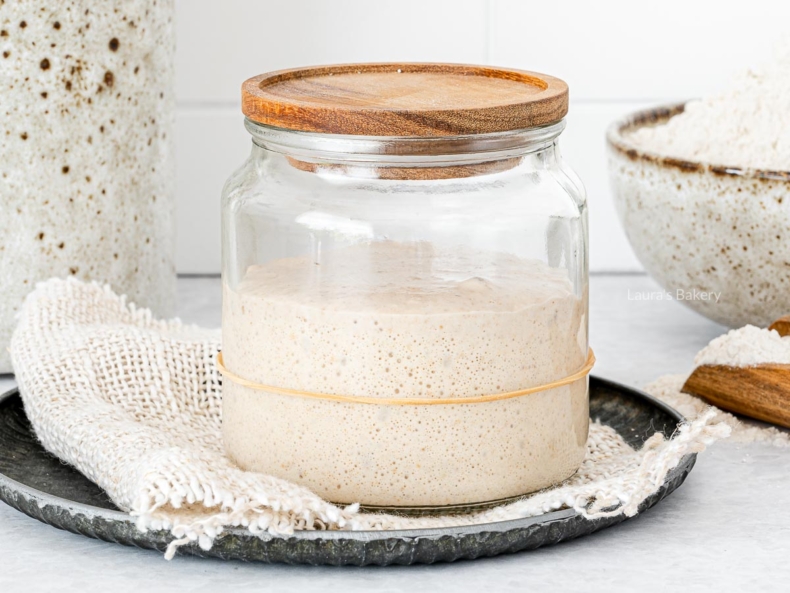
After 2½ Hours There are now plenty of bubbles, although the starter hasn't doubled in size yet.
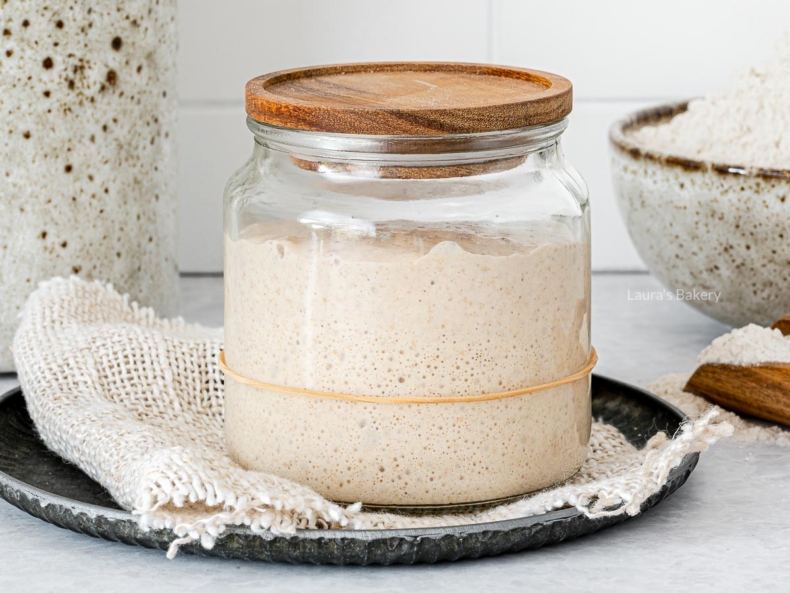
After 3½ Hours The starter has doubled in volume, but the very top layer still contains few bubbles
If you feed your starter every 24 hours, you’re usually feeding it once it’s hungry and no longer very active. That’s not the ideal moment to start baking.
After a 1:1:1 feeding, my own starter reaches its peak after about 3 to 5 hours, depending on the temperature in my house.
As you become more familiar with your starter, you’ll discover that changing the feeding ratio allows you to plan more precisely when it will peak. I often feed mine in the evening so it’s perfectly active first thing the next morning when I’m ready to bake.
TIP: If you’ve weighed out part of your starter for a sourdough bread recipe, simply leave the remaining starter in the jar. Feed it again once it becomes hungry, which is usually about 24 hours after its previous feeding.
As you become more familiar with your sourdough starter, you’ll find that changing the feeding ratio makes it easier to plan when your starter will be at its peak. Here’s a general idea of how the most common ratios work:
Think of these times as general guidelines rather than fixed rules. Room temperature, the strength of your starter, and the type of flour you use all influence how quickly it becomes active. The more often you bake, the easier it becomes to recognize exactly when your starter is ready.
When you’re first creating a starter, you’ll feed it every day. Once it’s mature and healthy, caring for it becomes much easier.
I keep my starter covered in the refrigerator and usually feed it once every 2 to 3 weeks, whenever I know I’ll be baking soon. One or two days before baking, I take it out of the refrigerator, feed it again, and wait until it’s nice and active.
I like to refrigerate my starter shortly after feeding, when it’s clearly active but just before it reaches its peak. That way it goes into the refrigerator strong and stays healthy while it’s resting.
Every time you feed your starter, you’ll remove a portion before adding fresh flour and water. The part you remove is called discard.
During the first few days of creating a new starter, it’s best to throw the discard away. At that stage, the starter isn’t stable enough to bake with.
Once your starter has become established, you can save the discard instead. Simply transfer it to a container and store it in the refrigerator.
Discard is incredibly versatile and can be used in all kinds of recipes. One of my personal favorites is sourdough discard crackers. It’s also wonderful in waffles, pancakes, muffins, and many other baked goods.
You can store discard in an airtight container in the refrigerator for about 1 to 2 weeks.
I don’t mind having some discard on hand because I love making sourdough crackers with it. But with a little planning, you can reduce waste significantly.
For example, if your recipe calls for 100 grams of active starter, you could feed:
(using a 1:1:1 ratio)
That gives you 120 grams of active starter: 100 grams for your recipe and 20 grams left to keep your starter going or return to the refrigerator.
The nice thing is that you don’t need much starter to build it back up. I’ve even fed my starter when there was only about 1 teaspoon left in the jar. Using a 1:10:10 feeding ratio, it grew back into a healthy, active starter without any problems.
No. An acetone smell is usually a sign that your starter is hungry. Simply feed it again and continue with your regular feeding schedule.
First, check the temperature. A cool environment is one of the most common reasons a starter develops slowly.
Keep feeding it consistently and, most importantly, be patient. Some starters simply need two to three weeks before they’re strong enough to bake with.
This usually means your starter has used up its food. It’s a completely normal part of the fermentation process.
If you see pink, orange, green, or any other unusual discoloration, or if you notice fuzzy mold, unfortunately it’s time to throw the starter away.
If your starter has been sitting in the refrigerator for a while, you may notice a gray, brown, or almost black liquid on top. This is called hooch, and it isn’t mold. It’s simply a sign that your starter is hungry. You can either pour it off or stir it back into the starter before feeding it again.
After a long time in the refrigerator, your starter may also develop a dark, dried-out layer on top. Remove that layer and inspect the starter underneath carefully. If you see colored streaks, fuzzy growth, or detect a spoiled smell, it’s safest to discard the entire starter.
Don’t panic! In most cases, you can simply resume your normal feeding schedule and your starter will recover.
Perhaps the biggest lesson I’ve learned is that a sourdough starter is much more resilient than you might think. Don’t get discouraged if it’s less active one day or behaves differently than expected. With patience, consistent feedings, and the right care, a healthy starter will usually bounce back on its own.
Once your starter is ready, you can move on to my sourdough bread recipe (coming soon!)
Once your starter is mature, the discard can be used in all kinds of recipes. One of the easiest options is pancakes.
A good starting point is:
Whisk everything together into a smooth batter and cook thin pancakes in a lightly buttered skillet until golden on both sides.
If you only bake occasionally, storing it in the refrigerator is much more convenient. I usually feed mine about once every 2 to 3 weeks.
Links in this article may be affiliate links. If you purchase something through such a link, I will receive a small commission, without you paying anything extra.


Welcome to Laura’s Bakery! You’ve come to the right place for the most delicious baked goods and appetizers. With my easy recipes for home bakers I will show you that baking is fun and delicious.
Have fun baking!