Easy plum jam recipe

Posted: August 19, 2025 Last modified: September 9, 2025
Easy plum jam recipe

Making plum jam is surprisingly simple—and the result is absolutely delicious! With just three basic ingredients, this easy plum jam recipe lets you stock your pantry with a homemade treat that’s bursting with fruity flavor. It’s a great way to make the most of plum season.

Recipe Ingredients

Whether you’re a seasoned jam maker or trying it for the first time, this easy recipe is practically foolproof. Making homemade jams is super simple. All you need are:

    • Plums
    • Jam Sugar (with pectin)
    • Fresh lemon juice

I’ll walk you through the entire process and share tips along the way.

How To Make Homemade Plum Jam

First make sure to remove all the stones from the plum and chop them into chunks. Add to a large saucepan or large pot with the sugar and bring to the boil.

I use less sugar than certain jam recipes which call for half sugar and half fruit. The amount of sugar does need to be enough to make sure it is preserved properly.

If you are planning on eating the jam right away and have no need for plum preserves you can use only a small amount of sugar. But if you want to store it make sure to use enough sugar.

Once the fruit starts to break apart you can use a stick blender to smooth the mixture or you can use something like a potato masher to break the fruit down but keep some texture.

Plum jam recipe-1

Which Plums Should You Use?

Good news:any type of plum works for this recipe! The variety you choose will influence the flavor and color of your jam. Sweeter plums yield a milder jam, while tarter varieties give it a bright, tangy kick.

The plum skins especially affect the final color. For example, in the batch shown in my photos, the plum flesh was golden yellow, but the pinkish-red skin gave the jam a gorgeous blush hue.

Understanding Jam Sugar and Lemon Juice

Jam sugar is granulated sugar with added pectin and citric acid, which help your jam thicken and set. No gelatin is involved, so it’s completely plant-based.

Even though juicy plums contain a lot of natural pectin, the sugar not only helps with texture, but it’s essential for preservation.

Lemon juice enhances flavor with its acidity, balancing out the sweetness and helping the jam set properly. It also brings out the fruity brightness in the plums.

Plum jam recipe-2

How to Store Your Plum Jam

Proper storage starts with sterilizing your jars. Here’s how:

  1. Place clean jars in a tall pot and cover them with water. You can use hot soapy water but in general boiling them is sufficient.
  2. Bring the water to a boil and let the jars boil with a full rolling boil for a few minutes.
  3. Use tongs or a special jar lifter to remove the hot jars and place jars upside down on a clean tea towel.

No need to dry them—the heat will evaporate any remaining moisture.

Depending on where you live you can probably find jars in different sizes at various stores or online. I like to have different jar sizes on hand so I can choose which size I need, depending on the quantity of jam I’m making.

How Long Does Plum Jam Last?

  • Unopened jars (properly sterilized): up to 1 year in a cool, dark place like a pantry.
  • Opened jars: store in the refrigerator and use within a few weeks.
  • Freezing: Yes, you can freeze jam! Store it in an airtight container for up to 3 months. Freezing in small portions makes it easier to thaw only what you need.

Storing plum jam

plum jam recipe

FAQ Plum Jam

Ways to Use Plum Jam

There are so many tasty ways to enjoy your homemade plum jam:

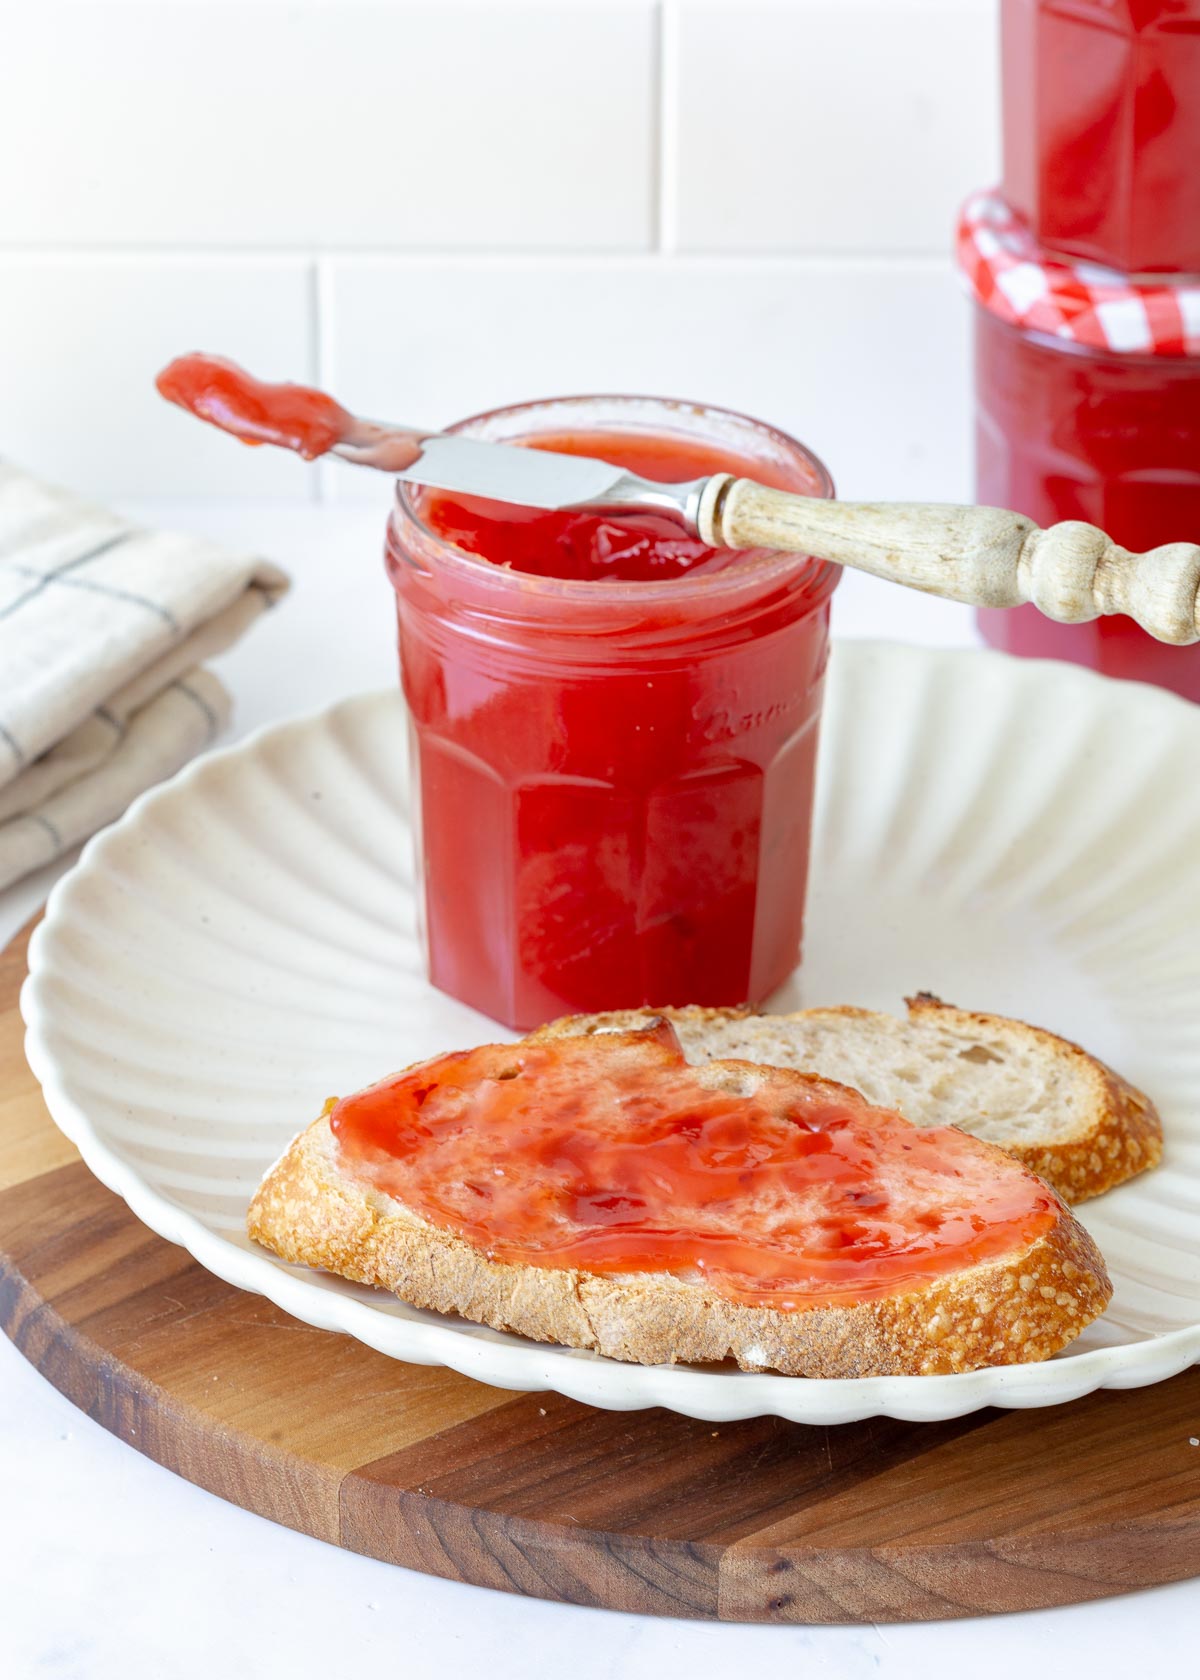
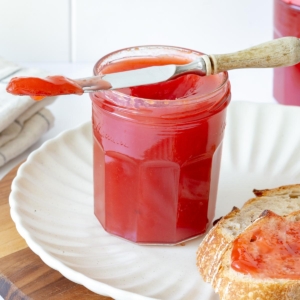
  • Spread on toast or cookies
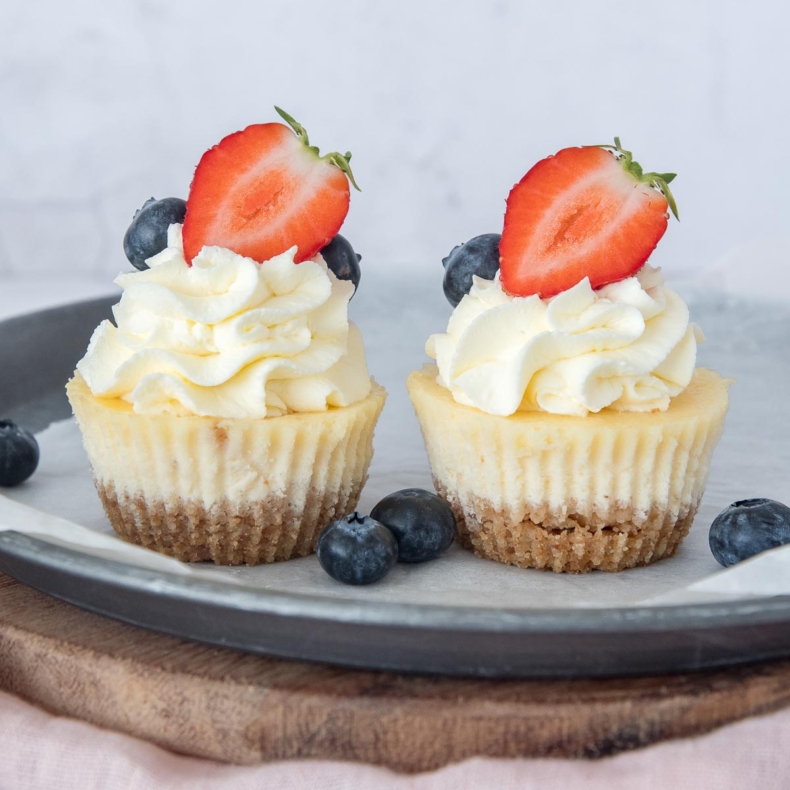
  • Swirled into cake batters or cheesecakes
  • Mixed into buttercream
  • Spooned into thumbprint cookies or sandwich bars

Try it in one of these recipe ideas:

I don’t have specific recipes using plum jam on the site just yet, but wherever you see jam mentioned, like strawberry jam, you can replace it with this delicious plum jam.

When Is Your Jam Ready?

Here’s a simple trick to check:

Dip a spatula into the jam and run your finger across the back of the spoon. If the line stays visible and the jam doesn’t run, it’s ready. If it runs back together, let it simmer a little longer. Instead of a spatula you can also add a little bit of the jam to a small plate and do the same.

Tip: If your jam seems too runny, just boil it for a few more minutes. Also remember that it will thicken once cooled.

Want to Experiment?

Once you’ve mastered the basic recipe, the fun begins! Try adding:

  • Other fruits: apples, raspberries, strawberries
  • Spices or herbs: cinnamon, ginger, rosemary

You can also skip the hand blender if you prefer a rustic jam with visible fruit chunks and skins.


Plum jam recipe

Save
Print recipe

No votes yet

Plum Jam Recipe

Making plum jam is easy and delicious! With this basic recipe, you can make a batch of jam in no time. This recipe makes about 1200 ml jam or 40 floz.
Prep Time10 minutes
Cook Time15 minutes
Total Time25 minutes
Servings: 1200 ml

Ingredients 

  • 1 kg plums washed and pitted
  • 500 grams of jam sugar
  • 1 lemon juiced

Equipment

  • jam jars

Instructions

  • Cut the cleaned, pitted plums into pieces and place them in a large saucepan. Add the jam sugar and lemon juice.
  • Bring the mixture to a boil over medium heat, stirring constantly. Once it begins to boil, reduce the heat and simmer for 10 minutes, until the plums are soft.
  • I chose to purée the jam at this point to a smooth consistency with a hand blender. Alternatively, you can purée it coarsely or mash it with a potato masher.
  • Spoon the jam into the jars, then immediately screw the lids on. Then, turn the jars upside down. This pushes the air out of the jars, allowing you to store them better and for longer.
  • Leave the jars upside down for about five minutes before turning them upright again. Allow the jam to cool completely to room temperature.
Tips

Once cooled, clean the jars and label them with the preparation date.
How to store

Store the jars in a dry, cool place. Once opened, store them in the refrigerator. Jars of jam can be kept for up to a year as long as they remain sealed.

Links in this article may be affiliate links. If you purchase something through such a link, I will receive a small commission, without you paying anything extra.

Leave a comment

Your email address will not be published. Required fields are marked *

Recipe Rating