I knew a classic mini cheesecake base recipe was a must, they are such a huge hit at parties! So, a little while ago, I got back in the kitchen to perfect it, and even made a few flavor variations, which I’ll be sharing with you soon.

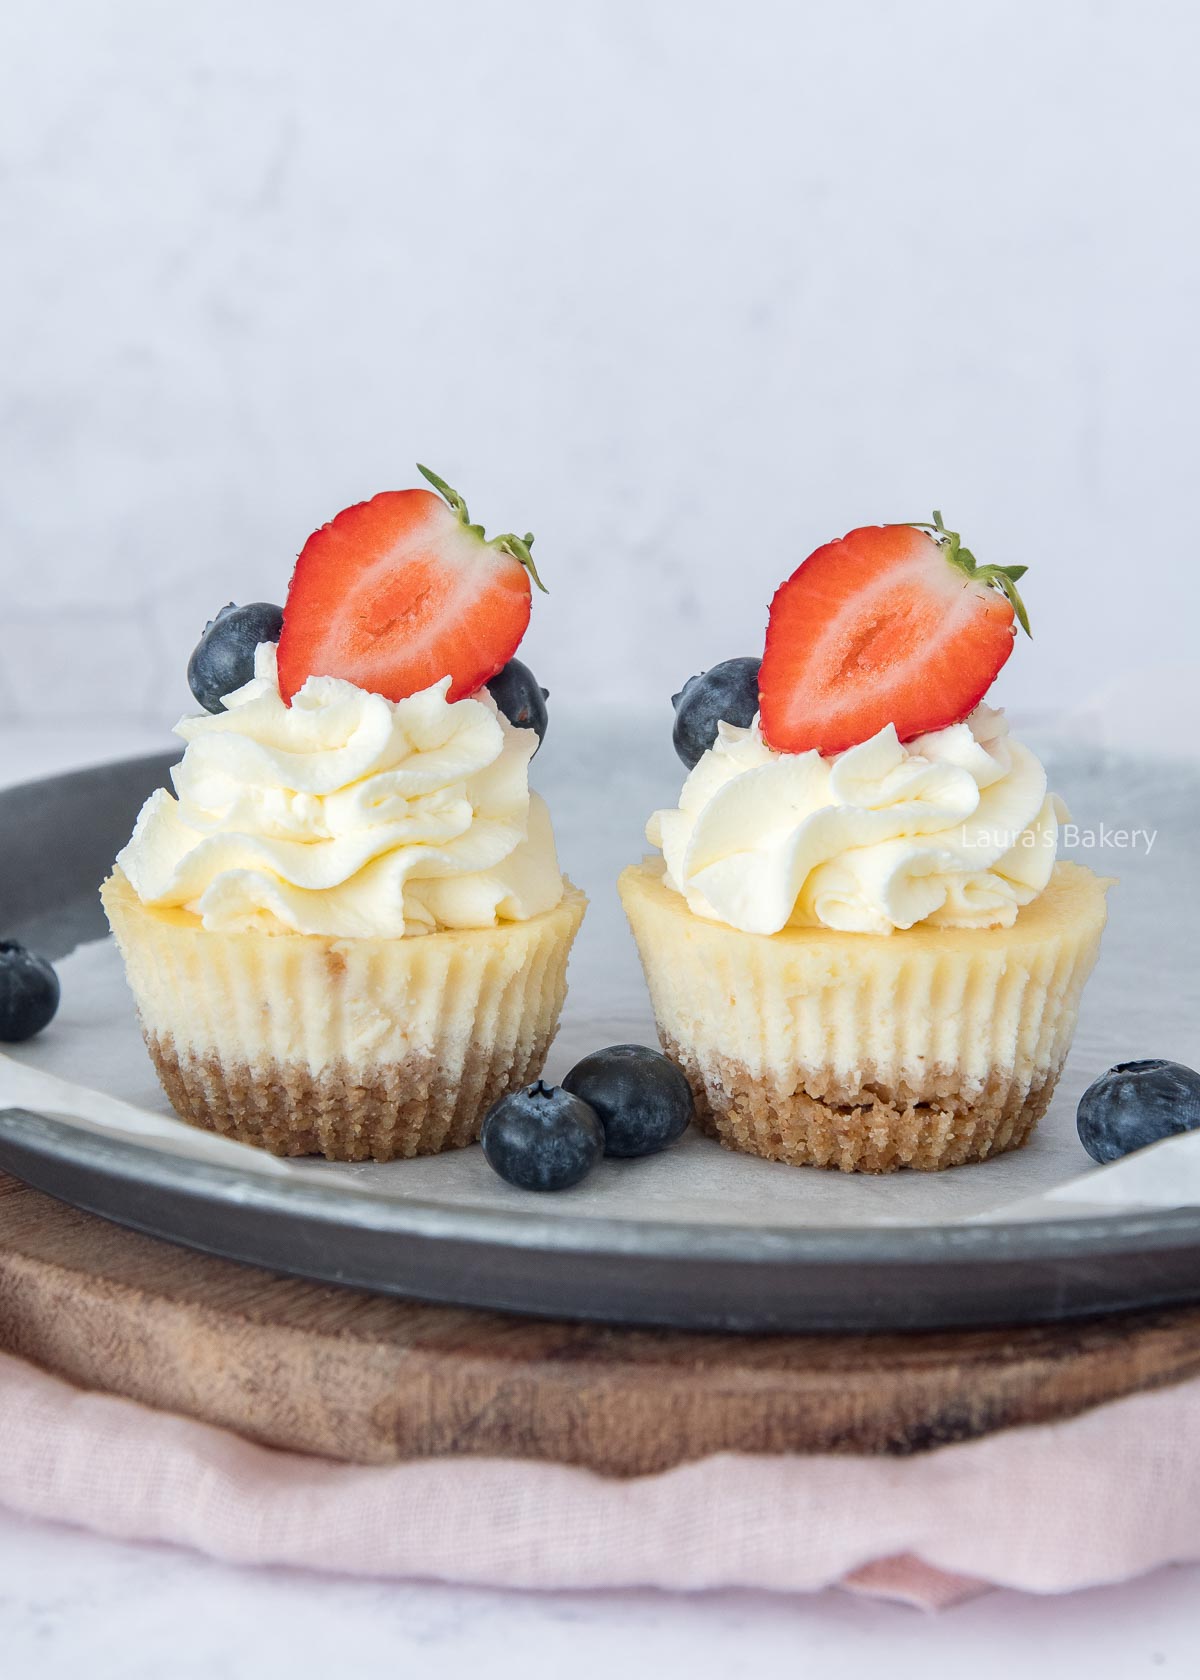
Over the years, I’ve made all kinds of cheesecakes. I think my very first one was a regular cheesecake. I’ve baked many more in a springform pan since, but eventually I started experimenting with different formats. These easy mini cheesecakes are some of my favorite mini desserts.

Why You’ll Love This Recipe

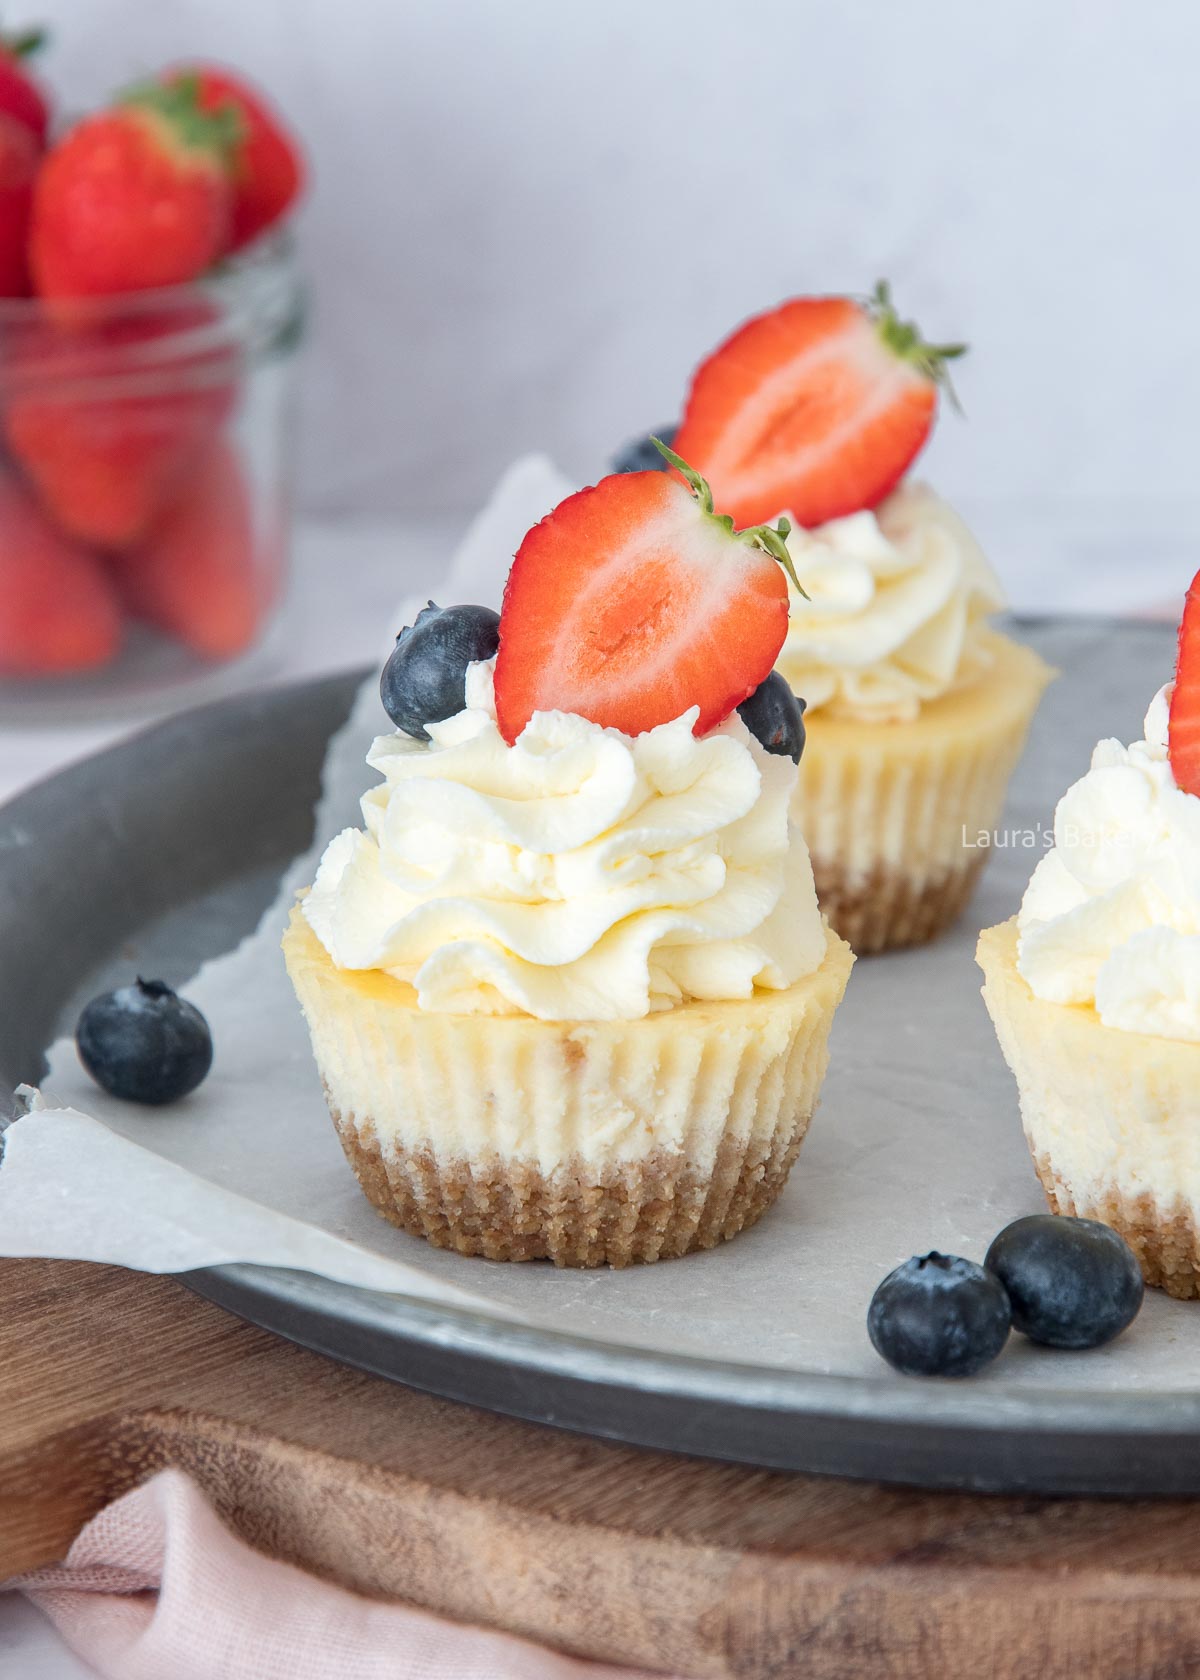
  • Bite-Sized Bliss: These mini cheesecakes are the perfect portion and great for parties, birthdays, or as a sweet treat to share.
  • Endlessly Customizable: Once you have the base recipe, you can make all your favorite flavors in mini form!
  • Great for Gifting: They look adorable, are easy to transport, and always a crowd-pleaser.

Recipe Ingredients

Use individual silicone cupcake liners for best results.

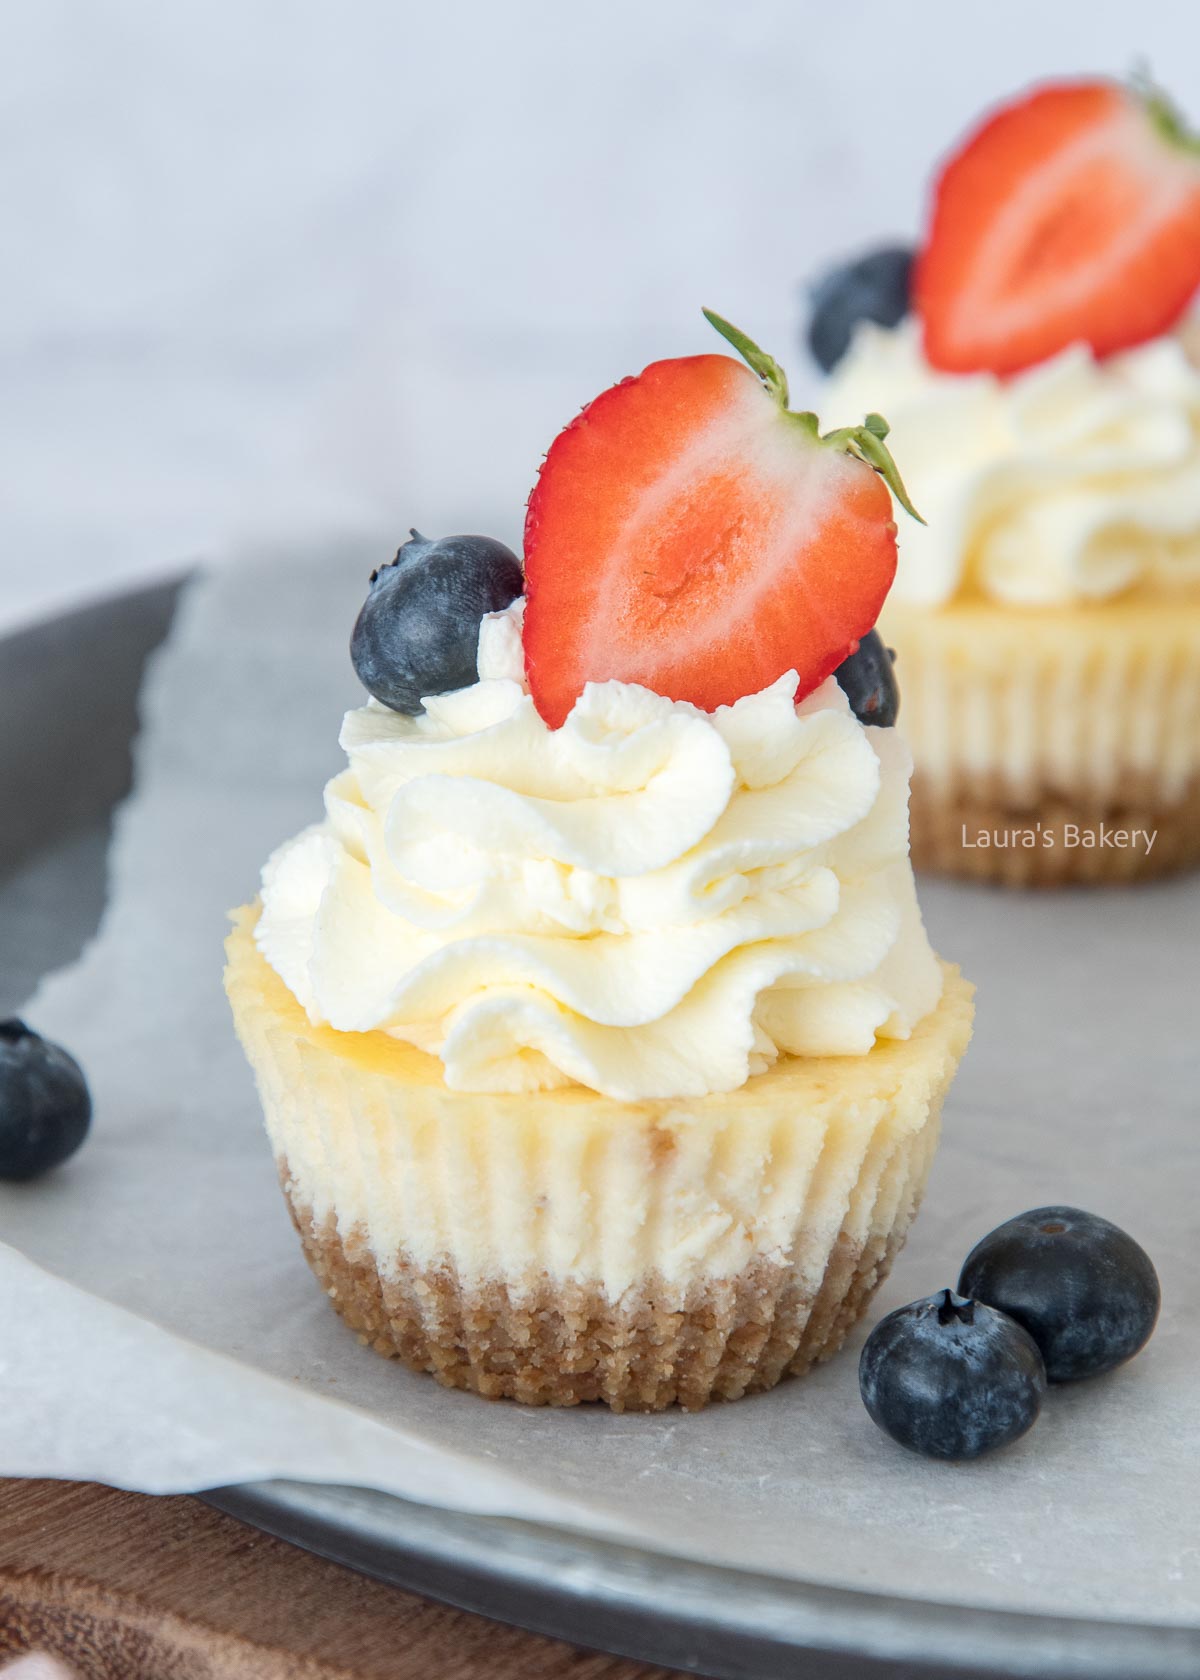
  • crushed biscuits or graham cracker crumbs: you can use any kind of digestive biscuits you like. I love a buttery graham cracker crust.
  • unsalted butter: melted
  • cream cheese: use a firm natural flavored type.
  • fine granulated sugar 
  • eggs: you will need about 3 eggs for this recipe.
  • sour cream: I love adding a bit of sour cream to the creamy mini cheesecakes as it gives them a slightly fresher flavor.
  • all-purpose flour: the flour stabilizes the cream cheese mixture.
Mini cheesecake recipe-1

How to Make Mini Cheesecakes

  1. Prepare the crust: Crush the graham crackers finely and mix with melted butter. Divide the mixture among the silicone cupcake molds or muffins cups placed in a muffin tin. Use a cocktail muddler or the bottom of a small glass to press the crumbs down firmly.
  2. Make the filling: In a bowl, beat the cream cheese and sugar until smooth. I like to do this in a stand mixer. Add the eggs, sour cream, and flour. Mix until the batter is creamy and uniform.
  3. Fill the molds: Spoon the batter into the molds, filling them almost to the top. Leave just 1-2 mm of space from the edge. The batter doesn’t rise much in the oven.
  4. Bake: Bake in a preheated oven at 150°C (300°F) for about 20 minutes (conventional oven). Once done, let them cool in the oven with the door slightly open. Then refrigerate for at least 6 hours or overnight.
  5. Decorate: Once fully chilled, pipe a swirl of mascarpone whipped cream on top of each cheesecake and finish with fresh berries or fresh fruit of choice. Or use your favorite toppings.
Mini cheesecake recipe-2

Tips for the Best Mini Cheesecakes

  • Use individual silicone molds: They make it much easier to remove the cheesecakes cleanly and keep their perfect shape.
  • Bake ahead: Like all cheesecakes, these need time to chill and set properly. Make them a day in advance for the best texture and flavor.
  • No waste: If you only make 12 cheesecakes (one tray), you’ll have a little batter left. Pour it into a small baking dish and bake it alongside the others – nothing goes to waste!

Storage

Store the mini cheesecakes in an airtight container in the fridge for up to 2–3 days. They’re perfect for making ahead of time! In the freezer they will keep for up to 3 months.

More Cheesecake Recipes

Did I already mention I love to bake cheesecakes? Here are some of my favorites.

Also make sure to check out my article on how to make the best cheesecake.

Mini cheesecake recipe-3

FAQ Mini cheesecakes

Can I use a metal or paper cupcake liner instead of silicone molds?

You can, but silicone molds give the best results because they release the cheesecakes cleanly without tearing or sticking. If using paper liners, be sure to chill the cheesecakes thoroughly before unwrapping to help them hold their shape.

Do mini cheesecakes need a water bath?

Nope! Because they’re so small, mini cheesecakes don’t require a water bath like full-sized versions. Just bake at a lower temperature and let them cool slowly in the oven with the door ajar to prevent cracking.

How do I know when mini cheesecakes are done baking?

They’re ready when the centers are just set and still have a slight jiggle. The edges should be firm, but not browned. Overbaking can lead to a dry texture, so keep an eye on them around the 20-minute mark.

Can I freeze mini cheesecakes?

Yes! Once fully cooled and chilled, you can freeze them (without toppings) in an airtight container or freezer bag for up to 3 months. Thaw in the fridge overnight, then add your toppings before serving.

Mini cheesecake recipe

Save
Print recipe

No votes yet

Mini Cheesecake Recipe

With this basic recipe, you can make endless variations of cheesecake in a small format.
Prep Time15 minutes
Cook Time20 minutes
Total Time35 minutes
Servings: 16 pieces

Ingredients 

Cheesecakes:

  • 120 grams graham crackers
  • 80 grams unsalted butter
  • 450 grams cream cheese
  • 130 grams granulated sugar
  • 3 eggs
  • 90 grams sour cream
  • 15 grams all-purpose flour

Topping:

  • 1 portion mascarpone cream see below
  • Red fruit for decoration

Mascarpone cream

Equipment

  • (silicone) cupcake molds

Instructions

  • Crush the biscuits into fine crumbs and melt the butter.
  • Add the melted butter to the biscuit crumbs. Stir well, then divide the mixture between the cupcake cases. Place the silicone cases in a cupcake tray. Use a cocktail muddler to press the mixture firmly into the cases. A small jar or cup also works well for this.
  • In a bowl, mix the cream cheese and sugar until creamy.
  • Add the eggs, sour cream, and flour. Mix until you have a smooth cheesecake batter.
  • Divide the batter between the cases, filling them almost to the top. I filled mine to 1-2 mm below the rim.
  • Bake the mini cheesecakes for 20 minutes at 150°C/302˚F (conventional oven). Leave them to cool in the oven with the door slightly ajar. Then, place them in the refrigerator for at least six hours.
  • Once cooled, prepare the mascarpone cream according to the recipe. Top each mini cheesecake with a dollop of cream and garnish with red fruit.

Mascarpone cream

  • Add heavy cream, mascarpone and the sugar together in a bowl. Whip first at low speed until the mascarpone is smooth and then turn it higher and whip until you have stiff peaks. Pipe the mascarpone cream on top of the cheesecakes.
Tips

You can fill the cupcake cases with batter just below the rim because they won't rise much in the oven.
How to store

The mini cheesecakes can be stored in the refrigerator for two to three days. You can freeze them for up to 3 months.

Links in this article may be affiliate links. If you purchase something through such a link, I will receive a small commission, without you paying anything extra.

Leave a comment

Your email address will not be published. Required fields are marked *

Recipe Rating