Dutch Mergpijpjes (Marzipan Sponge Cakes)

Posted: November 13, 2026
Dutch Mergpijpjes (Marzipan Sponge Cakes)

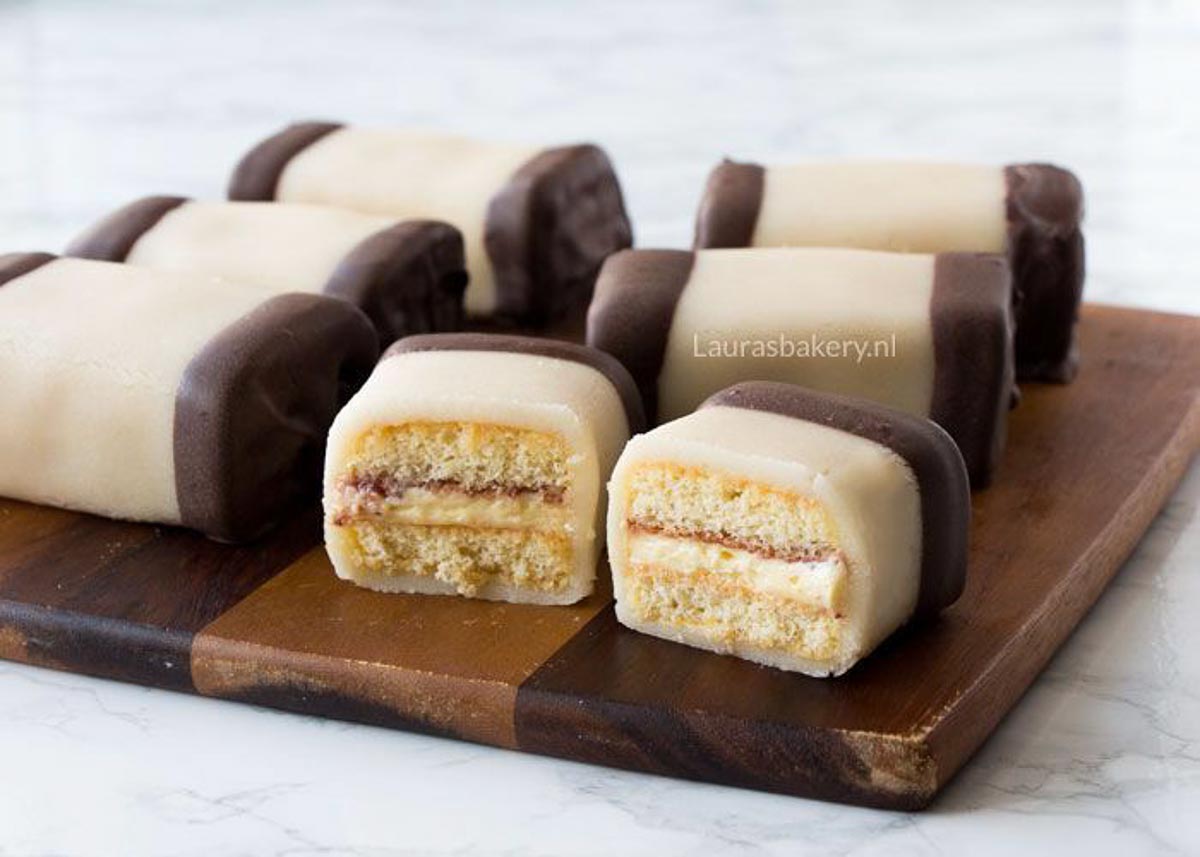
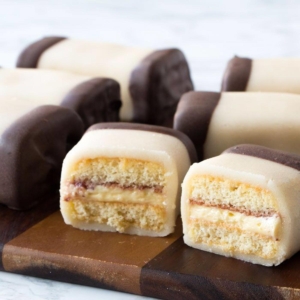
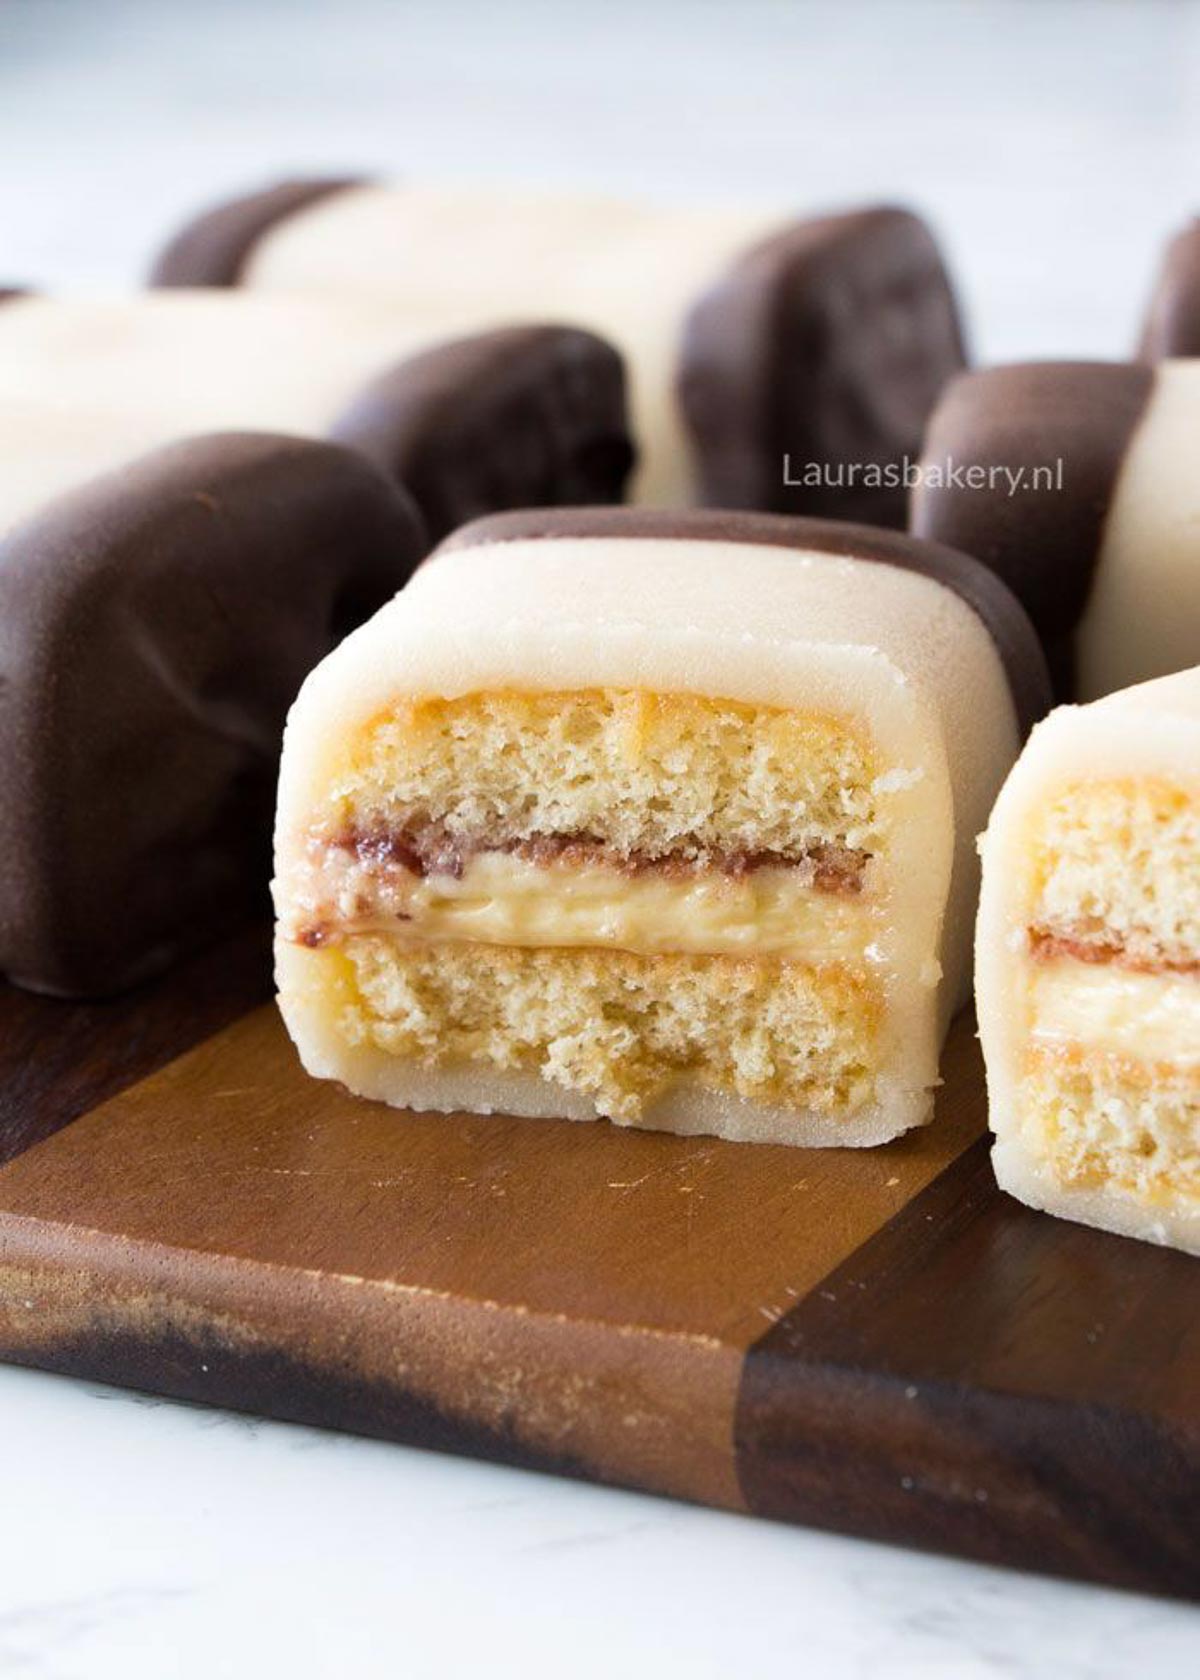
It is time for one of my favorite Dutch cookie recipes which are called Dutch mergpijpjes. If you’re not familiair with this Dutch classic; it is essentially a little sponge cake with jam and cream, wrapped in marzipan and dipped in chocolate. What’s not to love right?

What Are Dutch Mergpijpjes?

Mergpijpjes are a classic Dutch pastry made with soft sponge cake, a creamy filling and jam, all wrapped in marzipan with both ends dipped in chocolate. Although their exact origin isn’t entirely clear, mergpijpjes were already being sold by Dutch bakers in the early 20th century.

Their unusual name comes from their appearance. Mergpijp means “marrow bone” in Dutch, and the long shape and pale marzipan exterior are said to resemble a small bone. Today, mergpijpjes are a familiar Dutch treat that you’ll find at bakeries and supermarkets throughout the Netherlands.

A perfect little treat I love!

These delicious Dutch mergpijpjes or marzipan sponge cakes are one of my favorite treats. Yes they take a bit of time to make, but it’s so delicious!

  • A delicious combination of flavors.  Light sponge cake, strawberry jam, creamy buttercream, marzipan and dark chocolate come together in every bite.
  • A true Dutch favorite. If you love discovering classic Dutch treats, mergpijpjes are definitely one to try.
  • Easier than they look. I’ll share a simple trick for wrapping the cakes in marzipan, making this recipe much more approachable.
  • Perfect for a baking project. This is a fun recipe for an afternoon when you have some extra time and feel like making something special.

Recipe Ingredients

Making Dutch mergpijpjes does take a bit of effort but with the easy step-by-step instructions I’m sure you’ll be able to make this delicious treat too! You will need the following ingredients and make sure to always check the exact details in the recipe card below.

  • eggs – for making the cake you will need 3 medium eggs. They will provide the rise and make the inside nice and fluffy
  • sugar – I used (superfine) granulated sugar as well as vanilla sugar
  • flour and cornstarch – the batter uses both all-purpose flour and cornstarch

Filling

The filling is partially made with pastry cream and jam. The pastry cream is added to the butter creating a delicious buttercream for the filling. For the jam, I used strawberry jam, but you can use any kind you like.

  • sugar – again regular sugar and vanilla sugar
  • egg – you will only need the egg yolk
  • milk and custard powder – to get that lovely creamy result
  • butter
  • powdered sugar
  • jam

​Decoration

  • ​marzipan
  • dark chocolate
  • powdered sugar

BAKING TIP: For the buttercream, I always use disposable piping bags. I find them the easiest to work with, and they’re also more hygienic.

Dutch mergpijpjes-1

How To Assemble Dutch Mergpijpjes

1/6

Storing Marzipan Sponge Cakes

You can store the Dutch mergpijpjes in an airtight container in the fridge for up to 4 days. They do taste best if you let them get to room temperature a bit before eating.

Can I freeze Dutch mergpijpjes?

You can also freeze them for up to 3 months. Let them thaw in the refrigerator before serving.

More Dutch Recipes

If you love trying out some delicious Dutch treats, try the recipes below!

FAQ Dutch Mergpijpjes

Can I make mergpijpjes ahead of time?

Yes. Mergpijpjes are a great treat to prepare in advance. Store them in an airtight container in the refrigerator and let them come to room temperature for a little while before serving.
What kind of jam should I use?

This recipe uses strawberry jam, which pairs beautifully with the buttercream, marzipan and chocolate. You could also experiment with another smooth fruit jam (like blueberry jam) if you want to give your mergpijpjes a different flavor.

How do I stop the filling from squeezing out?

Make sure the filled sponge cake has had enough time to firm up in the refrigerator before cutting it. Use a sharp knife and a gentle sawing motion rather than pressing down on the cake. This helps keep the layers and filling neatly in place.

What if I find it difficult to wrap the mergpijpjes in marzipan?

There’s an easy shortcut. Instead of wrapping the marzipan all the way around each cake, cover just the top and sides and leave the bottom uncovered. Once both ends are dipped in chocolate, you’ll hardly notice the difference.

Why does my sponge cake turn out flat?

The eggs and sugar need to be beaten until very light and airy, which takes about 10 minutes in a stand mixer. When adding the flour and cornstarch, fold them in gently so you don’t knock out the air you’ve incorporated.

Can I make smaller mergpijpjes?

Yes. The recipe makes 6 large mergpijpjes, but you can cut the filled sponge into smaller portions instead. Keep in mind that you may need to adjust how much marzipan you use for each one.


Dutch mergpijpjes

Save
Print recipe

No votes yet

Dutch Mergpijpjes (Marzipan Sponge Cakes)

Mergpijpjes are delicious little cakes that are definitely worth making yourself at least once. They aren’t the easiest treats to make, but homemade ones taste so much better than store-bought!
Preparation45 minutes
Cooking45 minutes
Total1 hour 30 minutes
Servings: 6 large mergpijpjes

Ingredients 

  • 3 medium eggs
  • 100 grams superfine sugar
  • 6 grams vanilla sugar
  • 75 grams all-purpose flour
  • 25 grams cornstarch

For the filling

  • 100 ml milk
  • 1 egg yolk
  • 20 grams superfine sugar
  • 5 grams vanilla sugar
  • 10 grams custard powder
  • Strawberry jam
  • 125 grams unsalted butter
  • 35 grams powdered sugar

For the decoration

  • 500 grams marzipan
  • Powdered sugar
  • 180 grams dark chocolate

Instructions

  • Start by making the sponge cake. Beat the eggs, sugar and vanilla sugar until pale, fluffy and airy. Mix for about 10 minutes in a stand mixer at medium-high speed.
  • Sift the flour and cornstarch and add them to the mixture. Gently fold them in, taking care not to knock out all the air you have incorporated. The batter is ready once all the flour has been incorporated.
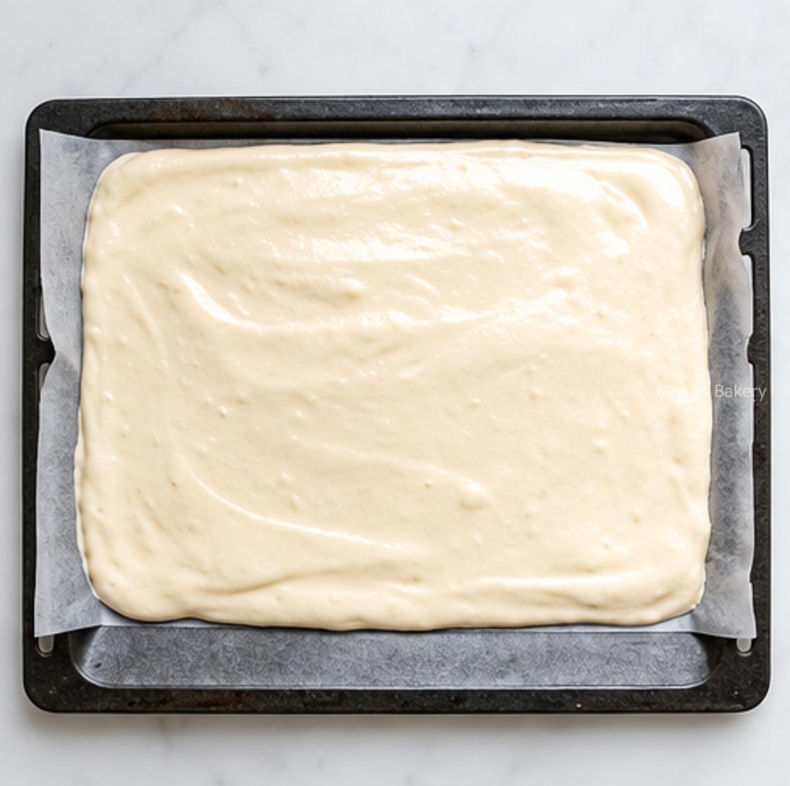
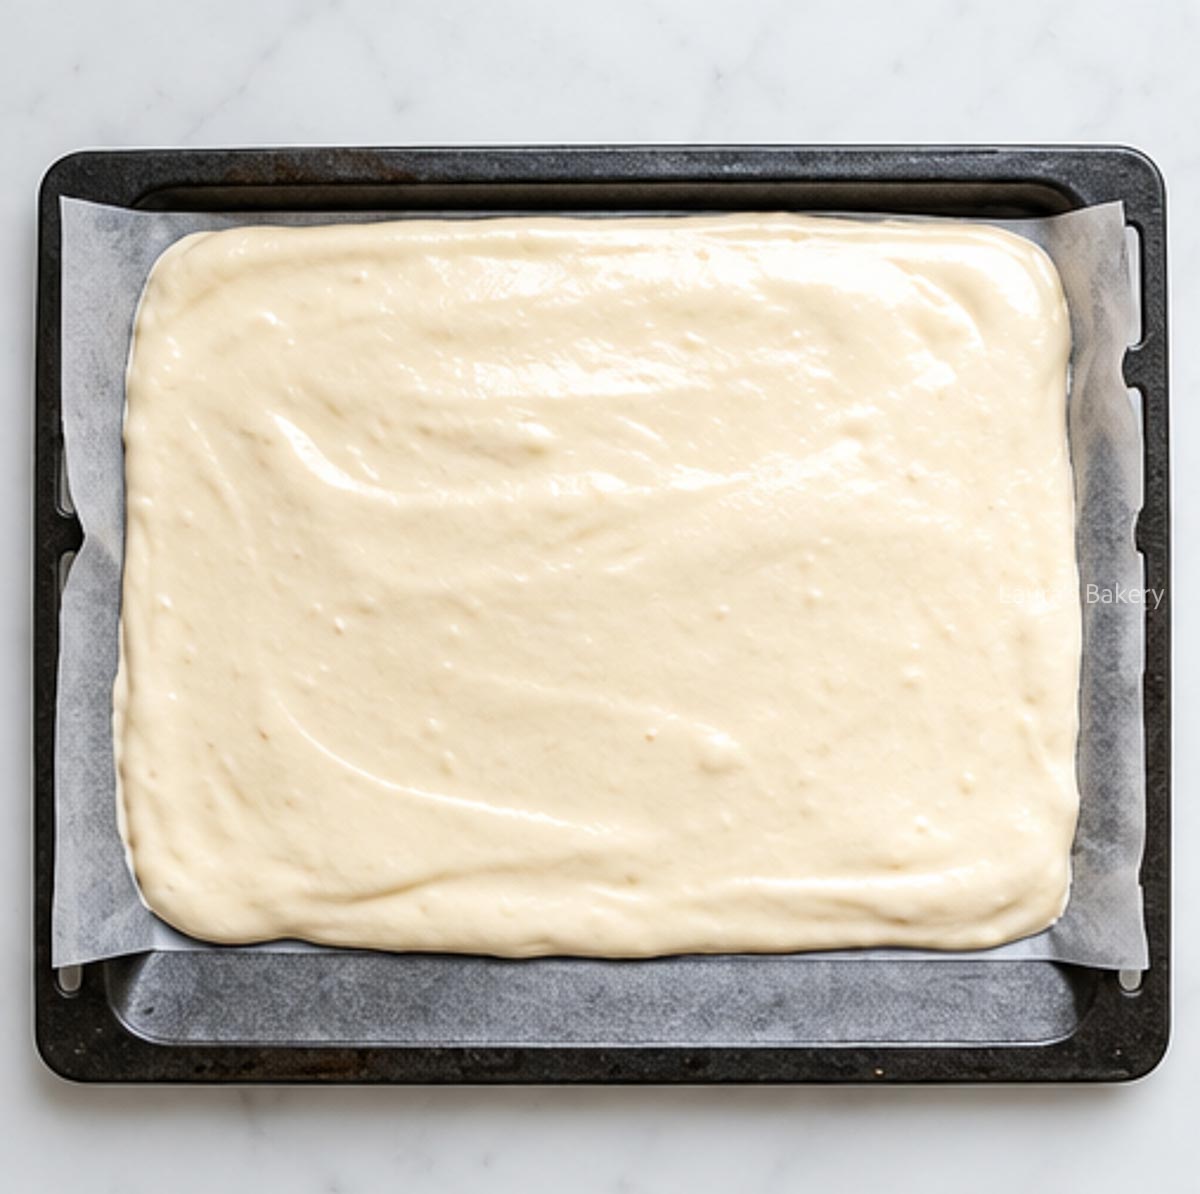
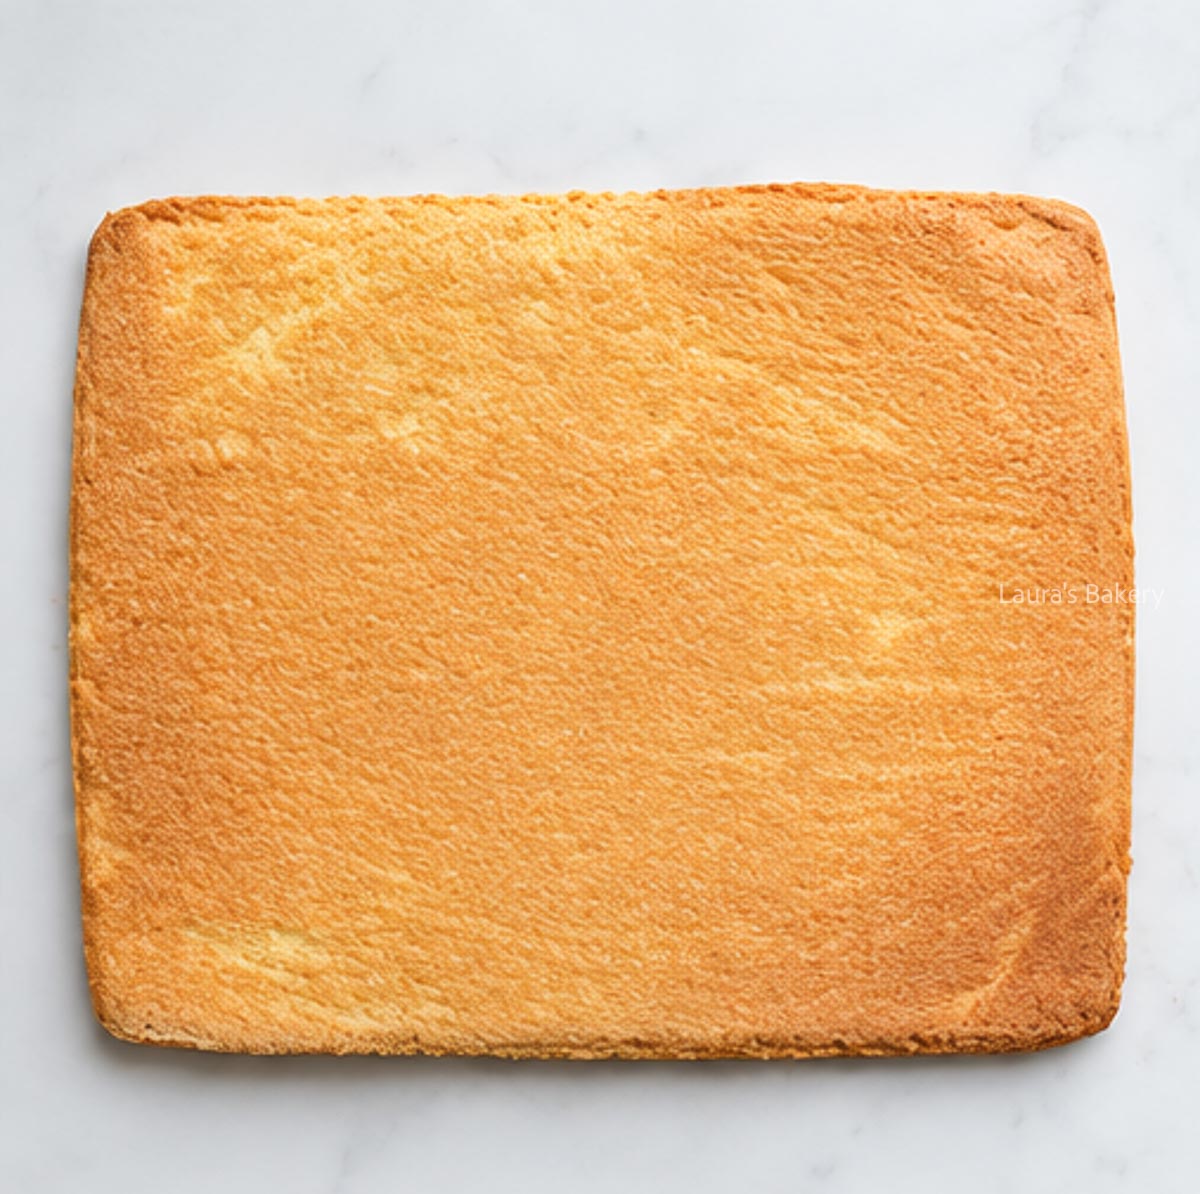
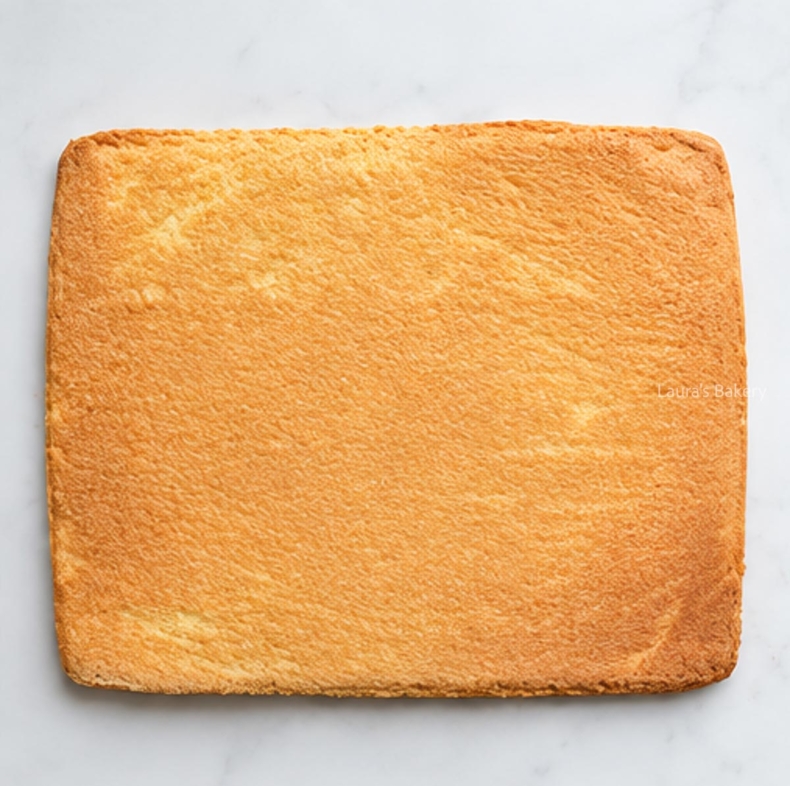
  • Line a baking sheet with parchment paper and spread the sponge batter over it to a thickness of about 1-2 cm. Bake in a preheated oven at 180°C/350˚F (conventional oven) for 20 minutes. The sponge is done when you gently press the surface and it springs back.
  • Leave the sponge to cool underneath a clean tea towel so it doesn’t dry out. Meanwhile, prepare the pastry cream.
  • Place the sugar, egg yolk and custard powder in a bowl and whisk until smooth. If the mixture seems too thick to combine, leave it for a moment. It will become more fluid after sitting briefly.
  • Pour the milk into a saucepan and slowly bring it to a boil. As soon as you see bubbles appearing around the edges, turn off the heat. Gradually add the warm milk to the egg mixture. You can pour it in slowly or add it with a large ladle. Keep whisking continuously while adding the milk.
  • Once all the milk has been added and combined with the egg mixture, pour everything back into the saucepan. Bring the mixture to a boil again over medium heat while continuing to whisk. As soon as the cream starts to boil and thicken, remove the pan from the heat. Continue whisking thoroughly for another minute. The pastry cream will continue to thicken.
  • Pour the pastry cream onto a plate and cover it directly with plastic wrap. Leave to cool.
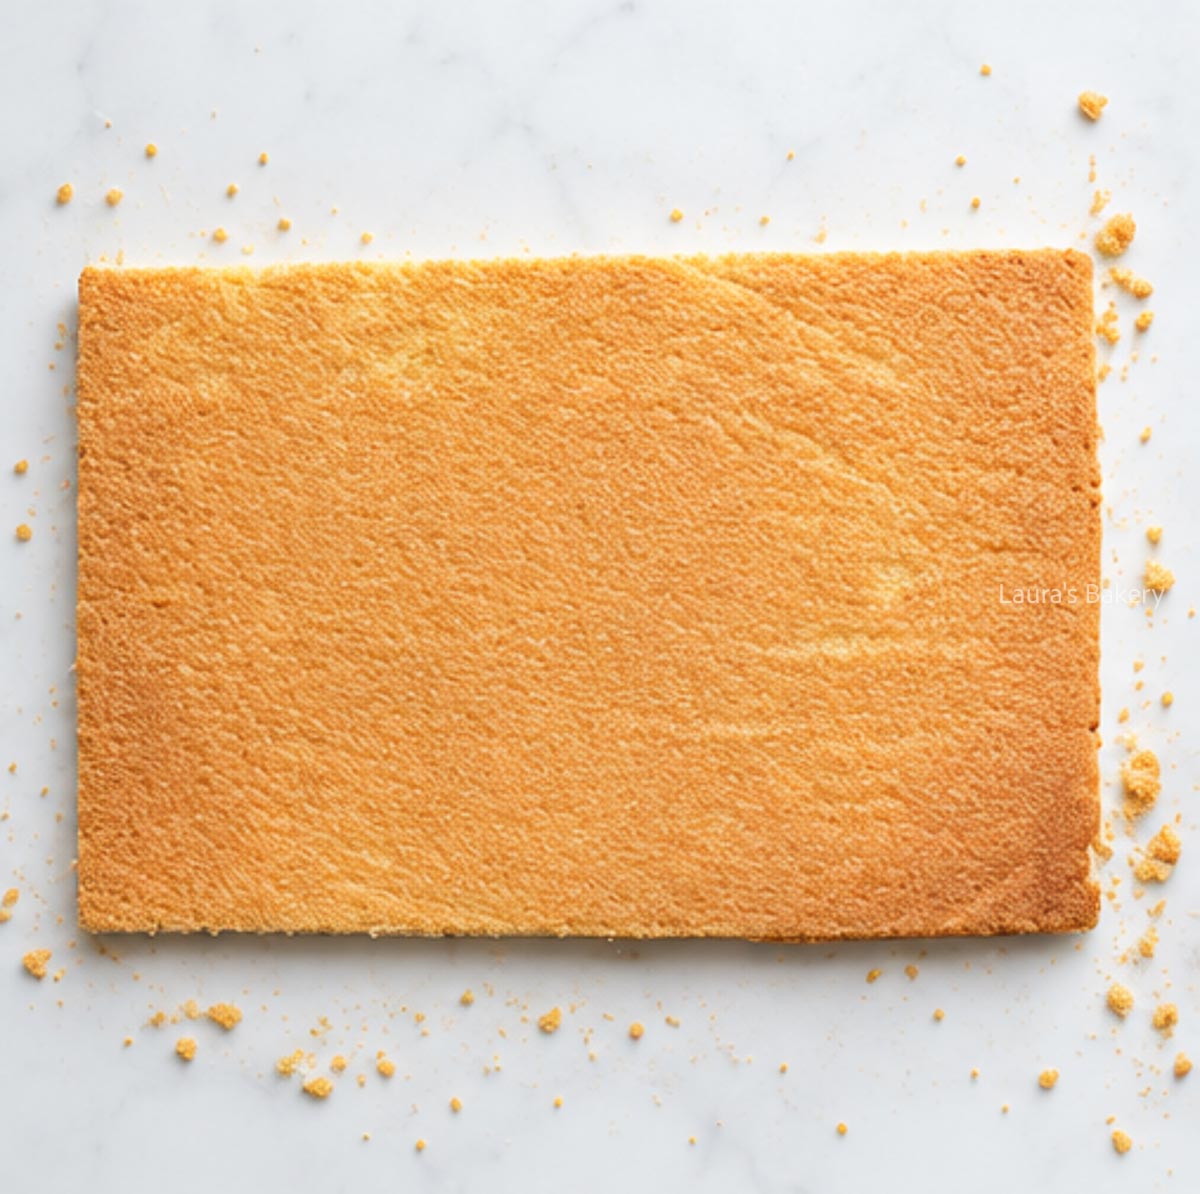
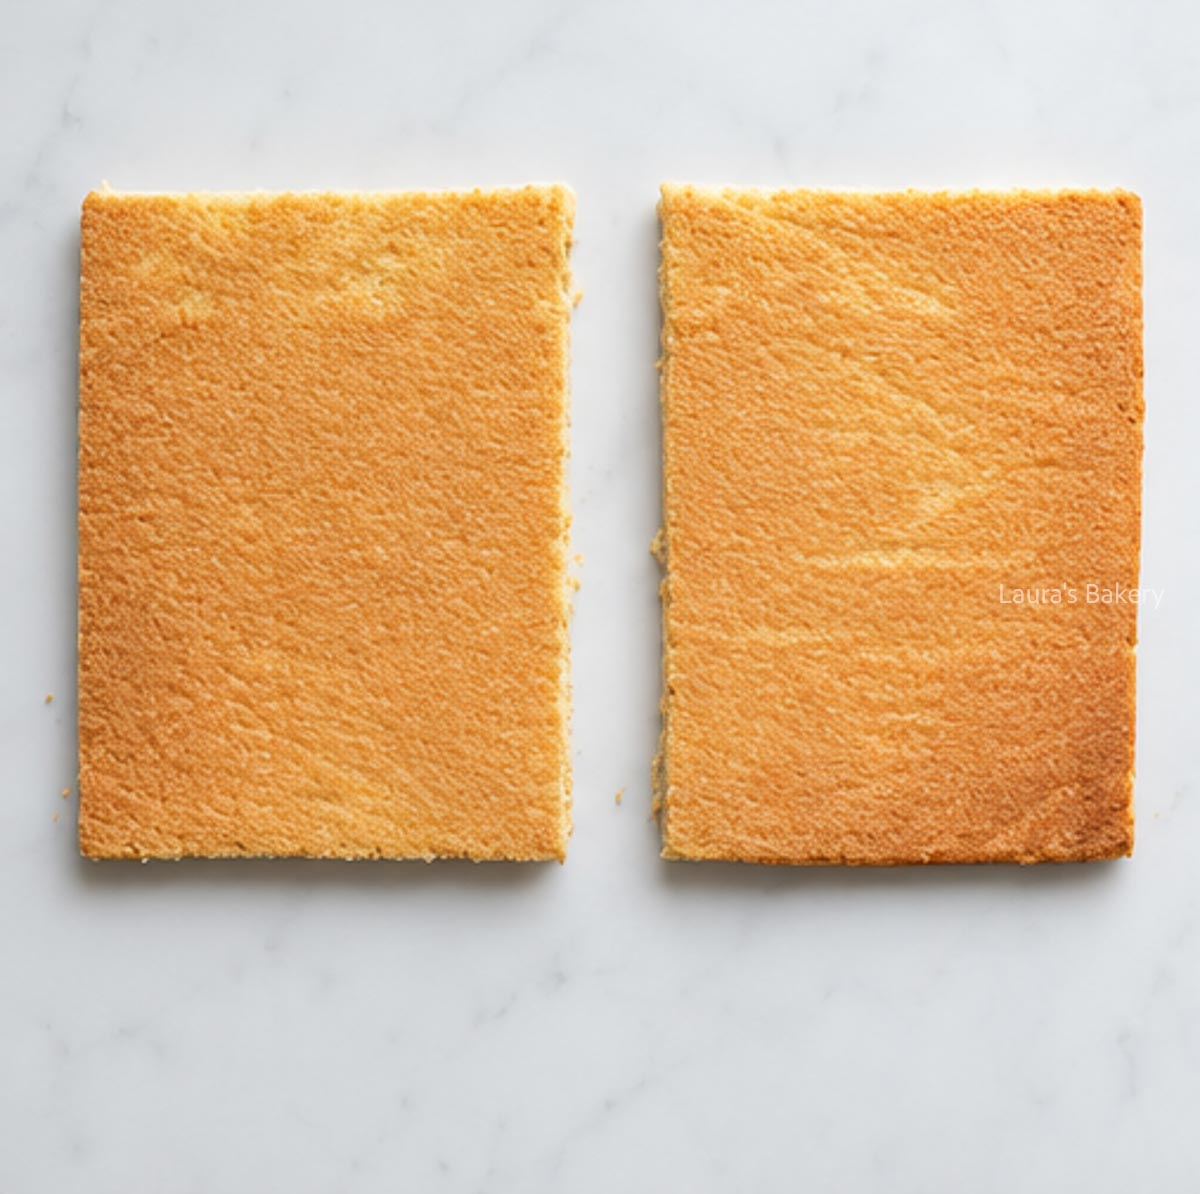
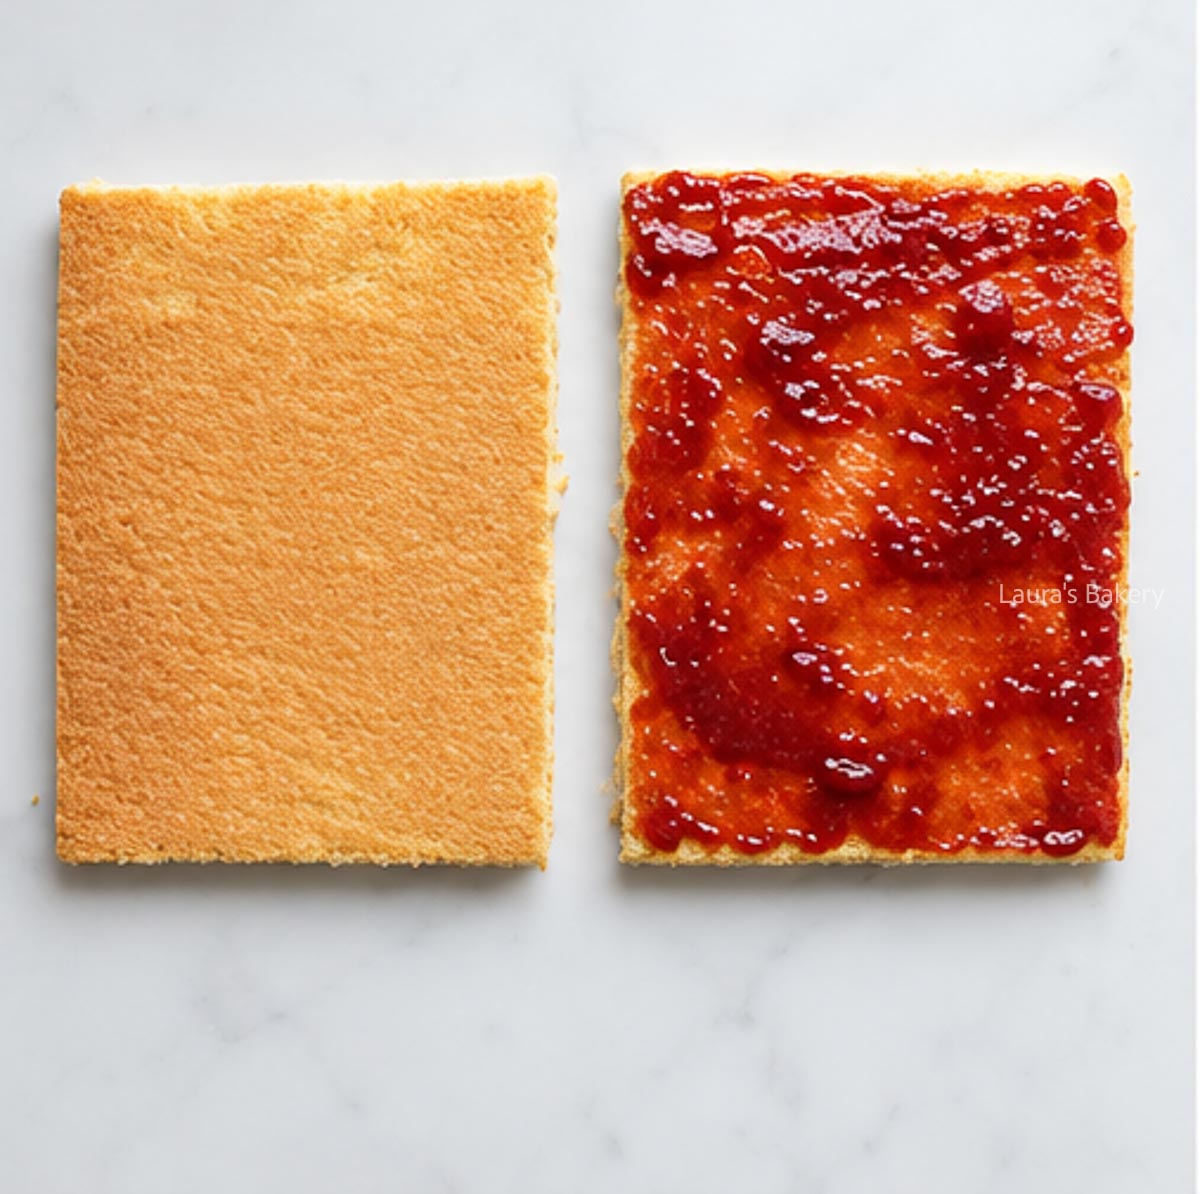
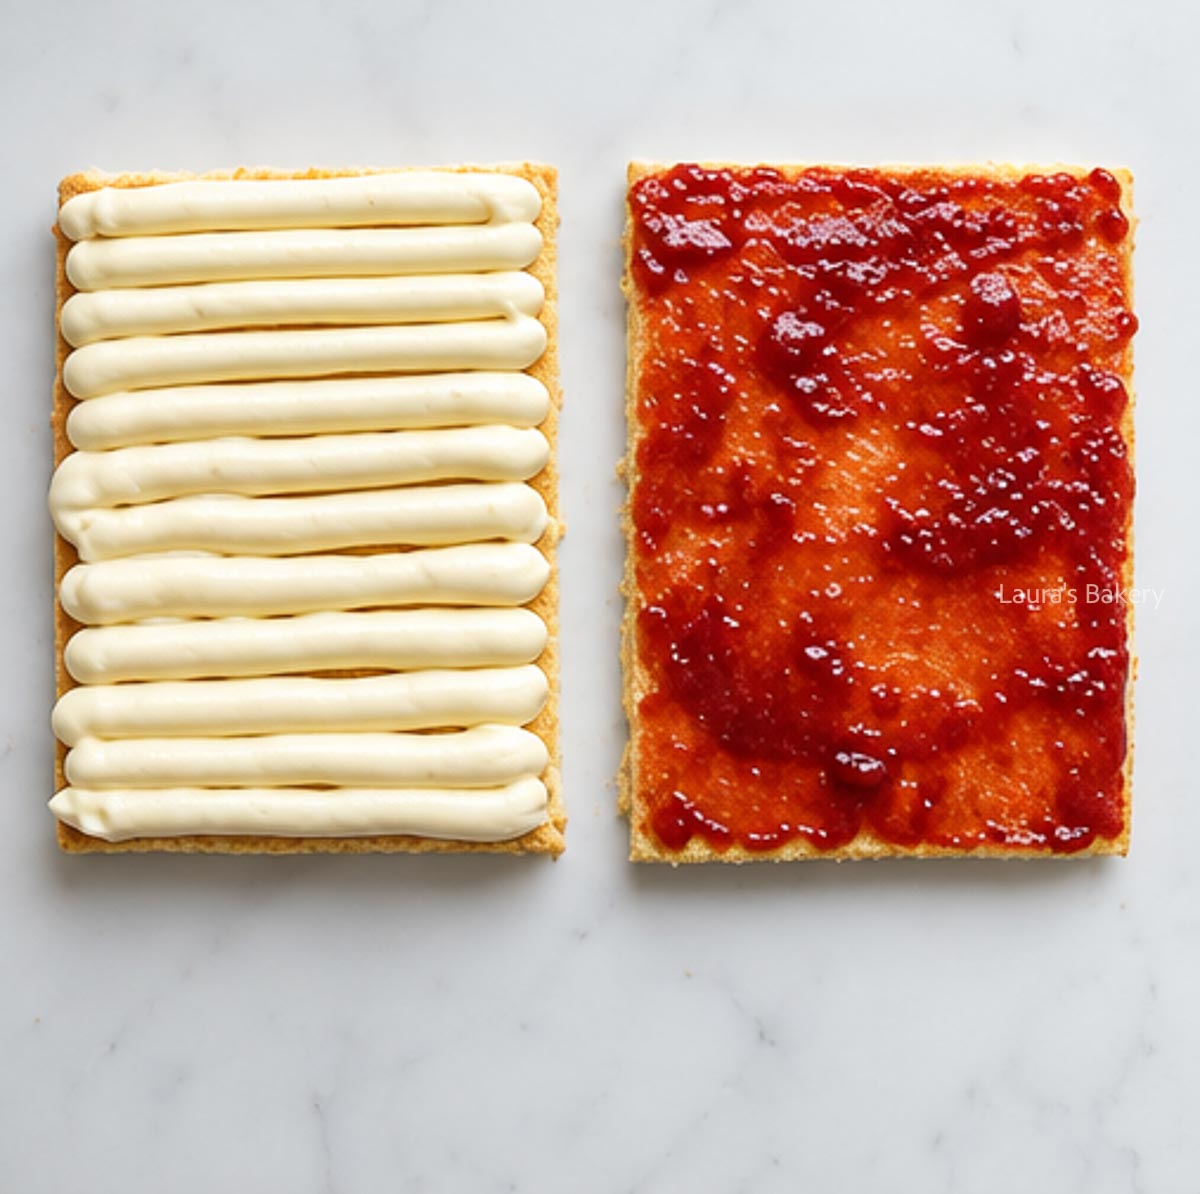
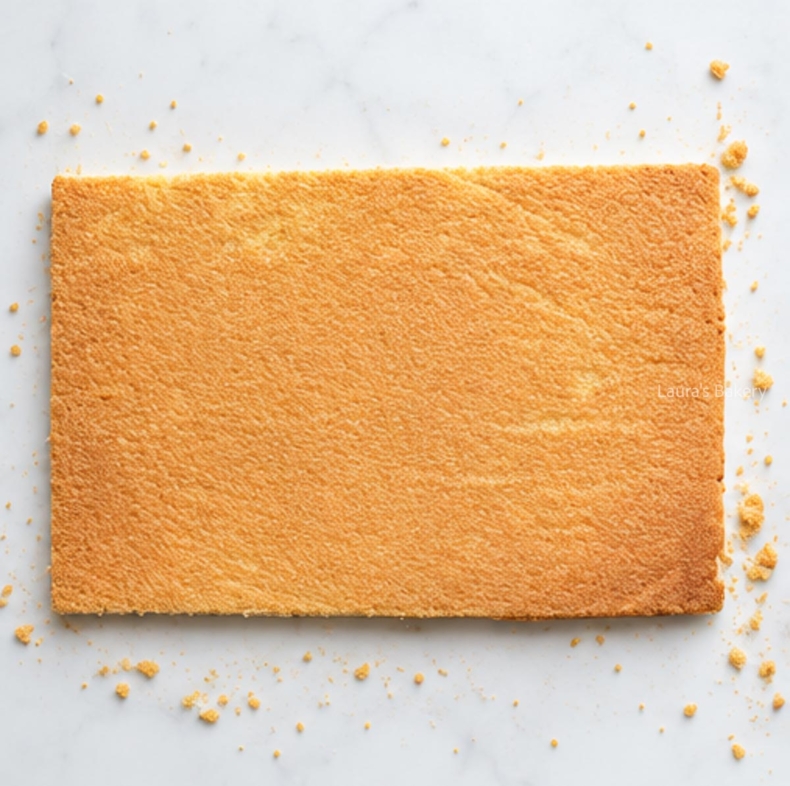
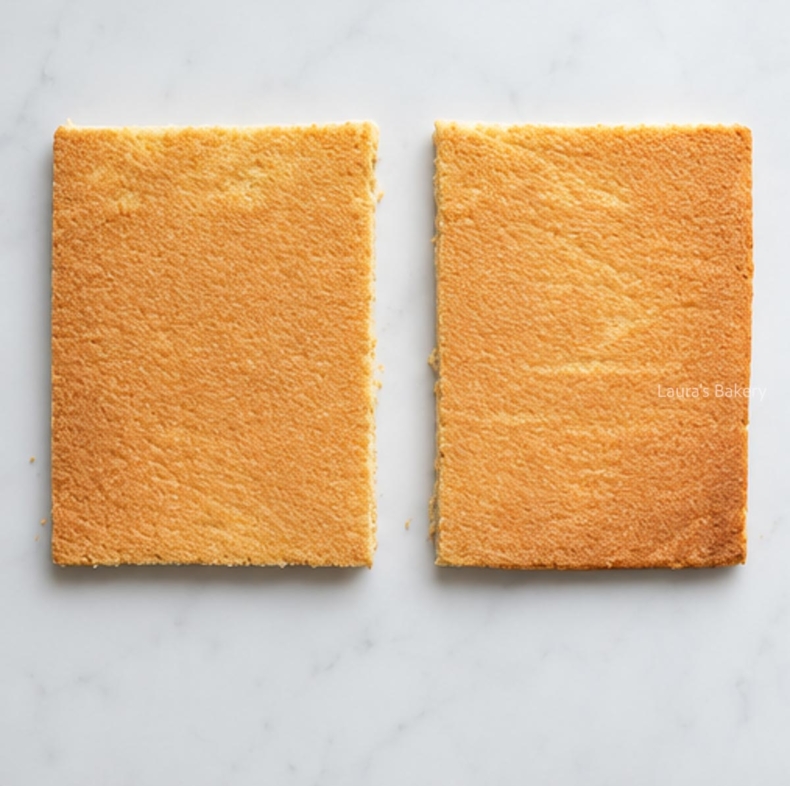
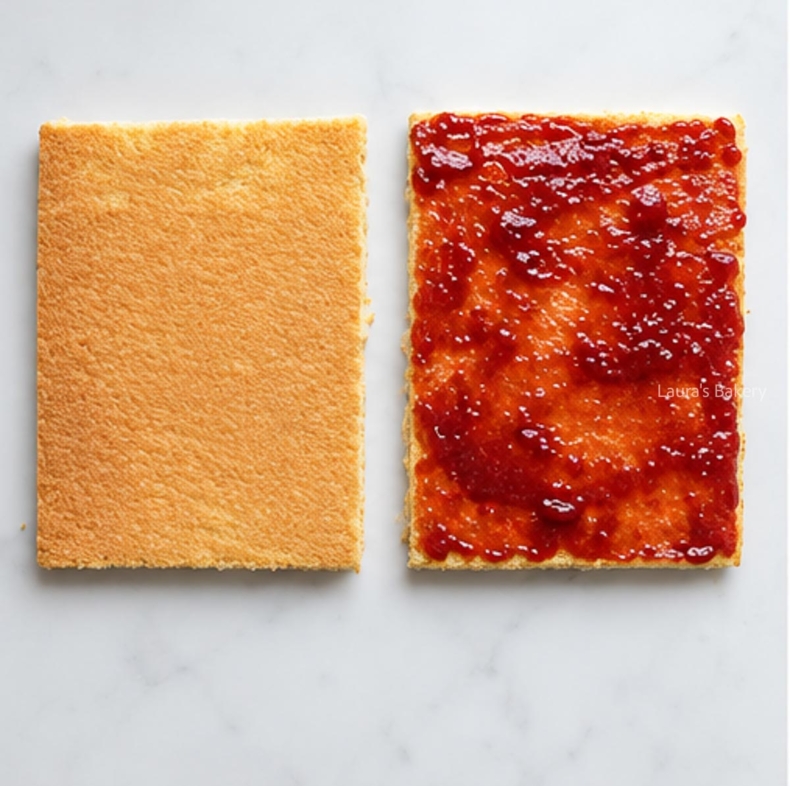
  • Trim the cooled sponge into an 18 x 30 cm/7 x 12 inch rectangle. Cut this in half to create two rectangles measuring 15 x 18 cm/ 6 x 7 inch each. Spread one half with strawberry jam.
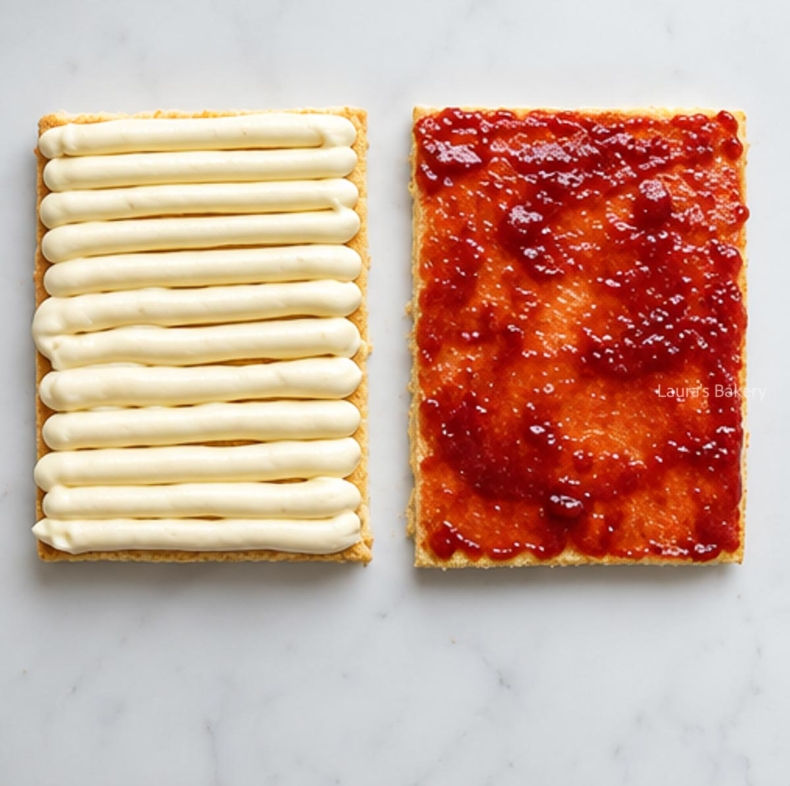
  • Make the buttercream filling by beating the butter with the powdered sugar. Once combined, add the pastry cream. Beat the buttercream for about 10 minutes, scraping down the sides of the bowl occasionally.
  • Transfer the buttercream to a piping bag and pipe about two-thirds of it onto the other half of the sponge. Place the two sponge halves together so that both fillings are sandwiched between the layers. Press down gently and place the filled sponge in the refrigerator to firm up. Refrigerate the remaining buttercream as well.
  • Dust your work surface with powdered sugar and roll out the marzipan into a long sheet measuring at least 20 cm/8 inch wide and 60 cm/24 inch long. Remove the filled sponge from the refrigerator and cut it into 6 equal pieces measuring approximately 9 x 5 cm/3.5 x 2 inch. Use a sharp knife and a gentle sawing motion so you don’t press down on the cakes and squeeze out the filling.
  • Spread the remaining buttercream over the sheet of marzipan and cut the sheet in half lengthwise. You should now have two long strips, each at least 60 cm/24 inch long and 10 cm/4 inch wide. Trim a small piece from the bottom of each strip so you have a straight edge to start rolling from. Roll each filled piece of sponge tightly in the marzipan, making sure the seam ends up underneath. Cut the marzipan from the long strip after wrapping each cake so you can be sure you have enough marzipan for every mergpijpje.
  • Now for the trick. If you find rolling the cakes difficult, simply fold the marzipan over the top and sides of each mergpijpje and leave the bottom uncovered. Once the ends have been dipped in chocolate, nobody will notice unless they pick one up. This is also a useful trick if you prefer a little less marzipan.
  • For the final step, melt 120 grams/4.23 oz of the chocolate using a double boiler. When the chocolate is almost completely melted, remove it from the heat. Add the remaining chocolate and keep stirring until the chocolate no longer feels warm when you test a tiny amount against the inside of your lip.
  • Dip one end of each mergpijpje into the chocolate and leave it to set on a piece of parchment paper. Once you’ve dipped the last one, start again with the first mergpijpje and dip the other end in chocolate. This is the cleanest way to work. Leave the mergpijpjes to set completely before serving.
How to store

Store the mergpijpjes in an airtight container in the refrigerator for up to 4 days. Let them come to room temperature for a little while before eating.

You can also freeze them for up to 3 months. Let them thaw in the refrigerator before serving.

Links in this article may be affiliate links. If you purchase something through such a link, I will receive a small commission, without you paying anything extra.

Leave a comment

Your email address will not be published. Required fields are marked *

Recipe Rating