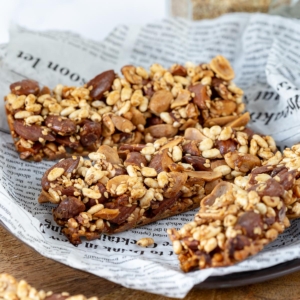
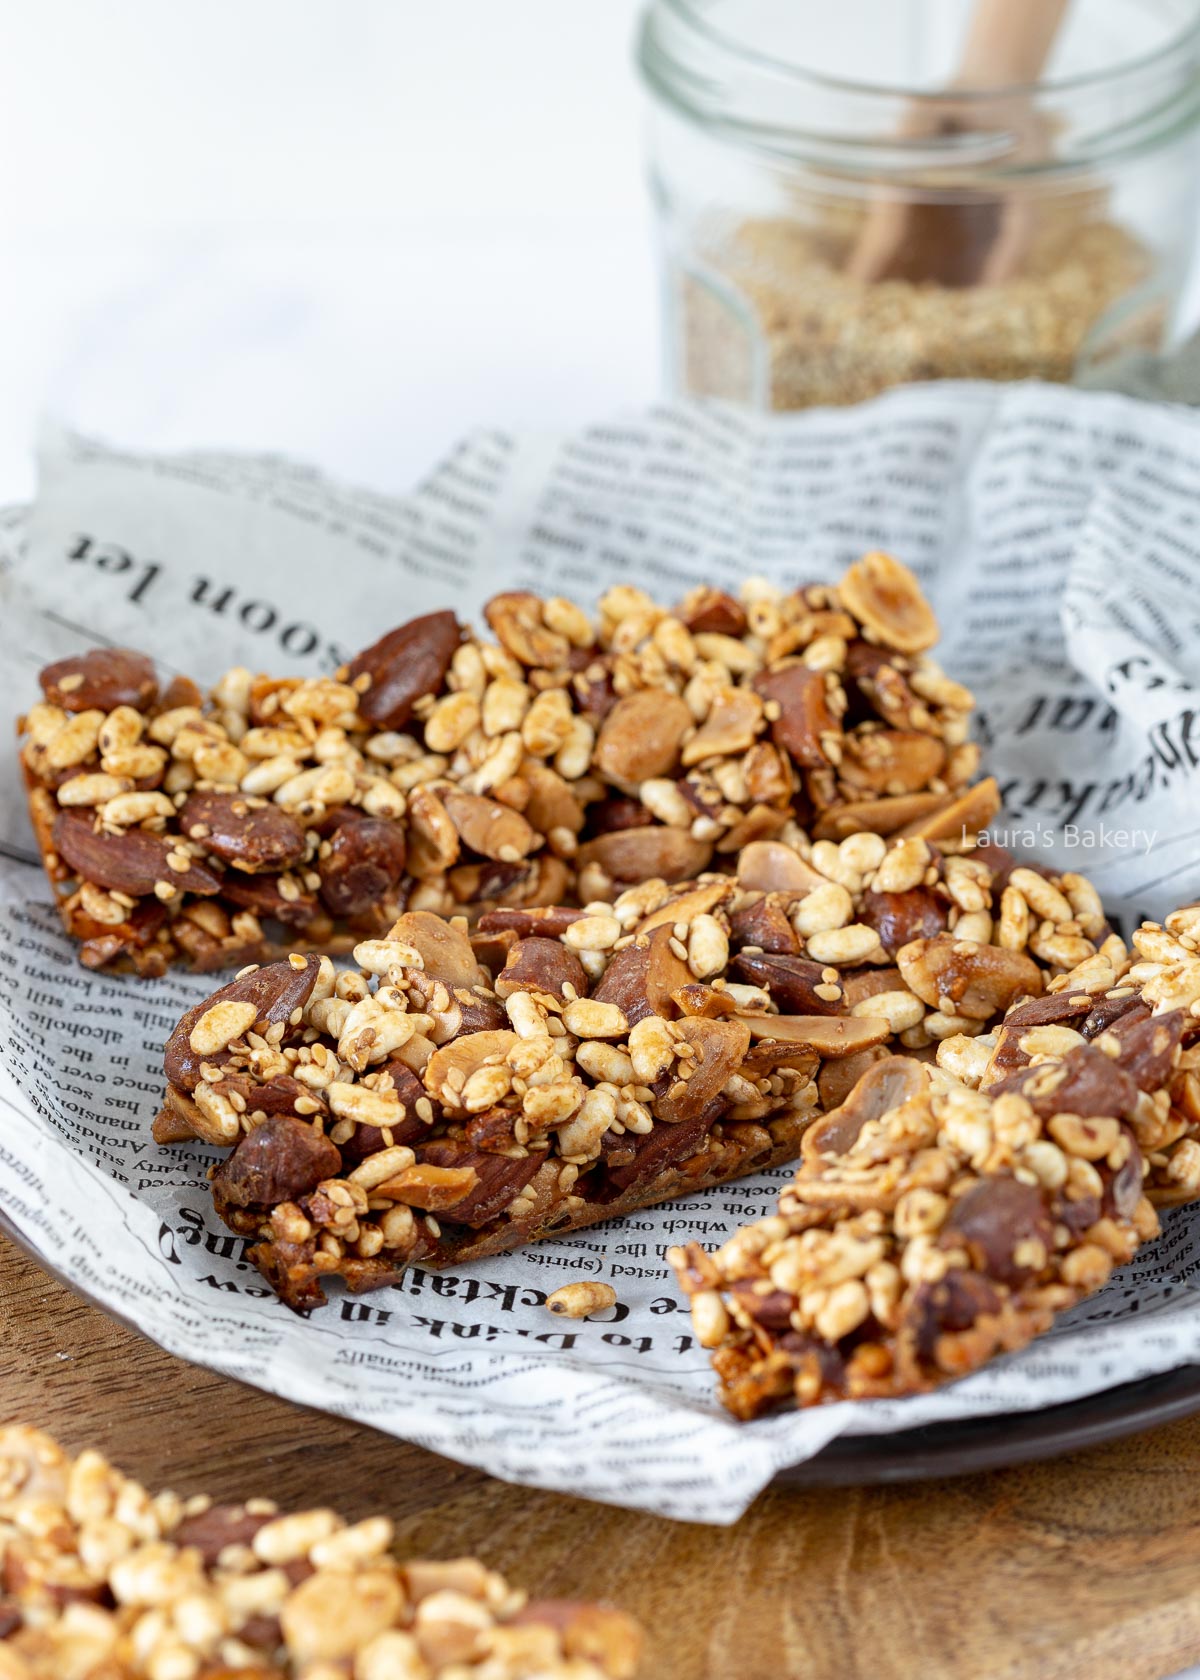
Crunchy nut bars packed with whole almonds and peanuts make a truly satisfying snack. I made mine with puffed rice, sesame seeds, and maple syrup. It’s an irresistibly delicious combination.

Filled with Nuts and Easy to Make

I’ve created loads of tasty snacks (check all my dessert bar recipes here) over the years, but making homemade nut bars was still on my list. And wow these were so good!

  • Easy to make
  • Easy to customize with nuts of your choice
  • With added crunch of puffed rice
  • Perfect to take with you when you’re on the go and need a healthy snack!
Homemade nut bars-1

Recipe Ingredients

These delicious homemade nut bars are so much better than store-bought bars and easy to customize. Let me tell you what goes in and what you can change. Check the full details in the recipe card below.

  • nuts – I went with a combination of almonds and peanuts, but make your own crunchy bars by swapping to – for instance – macadamia nuts, hazelnuts, or cashew nuts. The list is endless, so just use your favorite nuts!
  • rice – the secret ingredient which makes these nut bars extra delicious is the puffed rice in my opinion. I haven’t tried it but I think it might also work with something like popcorn
  • sesame seeds – sesame seeds add loads of flavor but can be replaced with other seeds like pumpkin seeds or sunflower seeds
  • salt – the salt really brings out all the flavors but if you’re watching your sodium intake it can also be omitted
  • maple syrup – the maple syrup brings it all together and binds the ingredients together. You can replace the maple syrup for honey or something similar. I would go for a liquid sweetener rather than something like brown sugar, which will react totally different.

In addition to the above you can think about adding chocolate chips or swap some of the sweetener for something like peanut butter. You want to have a sticky mixture that bakes in the oven, but it’s pretty flexible and I will be testing out different variations too!

Homemade nut bars-3

How To Make Nut Bars

​Making these homemade nut bars is really super simple. The only thing I had to test was which pan would be best to use. You can find my notes on that below. So if this is your first time making nut bars, go for the silicone mold!

Other than that, making the bars is simply a matter of chopping the nuts roughly and combining the rest of the dry ingredients in a large bowl. Add the maple syrup and stir until everything is fully coated.

Now divide the mixture over the silicone bar mold and press down firmly.

This is the most important part as you obviously want the bars to stay together once baked. If you do not have a silicone mold go for a prepared baking dish instead.

Bake the bars for about 35 minutes at 320˚F/160˚C (conventional oven) and let them cool down completely before removing from the mold or slicing.

The Best Pan for Nut Bars

Even though these nut bars are incredibly easy to make, it still took me several test batches to perfect the recipe. The biggest challenge was finding the right pan.

At first, I baked the mixture in a rectangular baking pan and planned to slice it into bars afterward. Unfortunately, that didn’t work very well. Instead of neat bars, I ended up with lots of loose pieces and scattered nuts. Such a waste!

So I switched to a silicone granola bar mold, which is designed for making granola bars, nut bars, and other snack bars. It works perfectly! The recipe below makes 8 generously sized nut bars using this type of mold.

Prefer Using a Regular Baking Pan?

Of course you can also use a standard baking pan (about 30 x 40 cm / 12 x 16 inches). Before baking, press the mixture down firmly using the bottom of a glass. After baking, I recommend breaking the slab into bars instead of cutting it with a knife. This helps keep more of the nuts in place. Also make sure to use parchment paper so they come out easily.

Any little leftover pieces are delicious stirred into homemade granola, something I discovered after all those test batches.

Homemade nut bars-5

Storing Homemade Nut Bars

These bars are perfect for a quick on the go snack. Once made and completely cooled down you can store them in an airtight container for up to three weeks.

Can I freeze homemade nut bars?

I have not yet tested if the bars can be frozen, but since granola can also be frozen I expect it to be no issue at all. If you have frozen the homemade bars let me know how it went! I’d love to hear your experience and I am sure other readers would want to know as well.

Love the Convenience of an Easy Dessert Bar?

I absolutely love snack-able sized bars and these are some of my favorites!

FAQ Homemade Nut Bars

Can I substitute the almonds or peanuts?

Absolutely! Try hazelnuts, walnuts, pecans, or even dried fruit such as raisins or dried cranberries. There are plenty of ways to customize these bars to your taste. Just keep in mind that different nuts vary in size and weight, so you may need to make small adjustments to the recipe.

Help! My nut bars are falling apart

If you’re using one large baking pan, this can happen. I used a silicone bar mold that shapes each bar individually, and that works beautifully. If you’re using a regular baking pan, these tips will help:

Whole nuts or very large nut pieces make the bars more likely to crumble. The puffed rice helps fill the gaps, but roughly chopping the nuts into smaller pieces can also improve the texture.

After spreading the mixture into the pan, press it down firmly with the bottom of a glass to compact everything as much as possible.

Don’t break the bars apart until they’ve cooled completely.

Mix any loose bits into your granola. They’re too tasty to waste!

Can I dip the bars in chocolate?

Absolutely! That would be delicious.


Homemade nut bars

Save
Print recipe

No votes yet

Crunchy Nut Bar Recipe

Crunchy homemade nut bars made with just six ingredients! This easy recipe is simple to make and incredibly delicious.
Preparation10 minutes
Cooking35 minutes
Total45 minutes
Servings: 8 nut bars

Ingredients 

  • 275 grams unsalted raw almonds
  • 150 grams unsalted peanuts
  • 50 grams puffed rice
  • 3 tbsp sesame seeds
  • 1 generous pinch of salt
  • 150 ml maple syrup

Equipment

  • Silicone bar mold or a rectangular baking dish

Instructions

  • Roughly chop the almonds and peanuts.
  • In a large bowl, combine the almonds, peanuts, puffed rice, sesame seeds, and salt. Add the maple syrup and stir until everything is evenly coated.
  • Divide the mixture between the cavities of a silicone bar mold (or press it into a parchment-lined baking pan) and press down firmly.
  • Bake for 35 minutes at 160°C/320°F (conventional oven). Remove from the oven and let the bars cool completely before removing them from the mold.
How to store

Store the nut bars in an airtight container for up to 3 weeks.

Links in this article may be affiliate links. If you purchase something through such a link, I will receive a small commission, without you paying anything extra.

Leave a comment

Your email address will not be published. Required fields are marked *

Recipe Rating