Coloring Icing
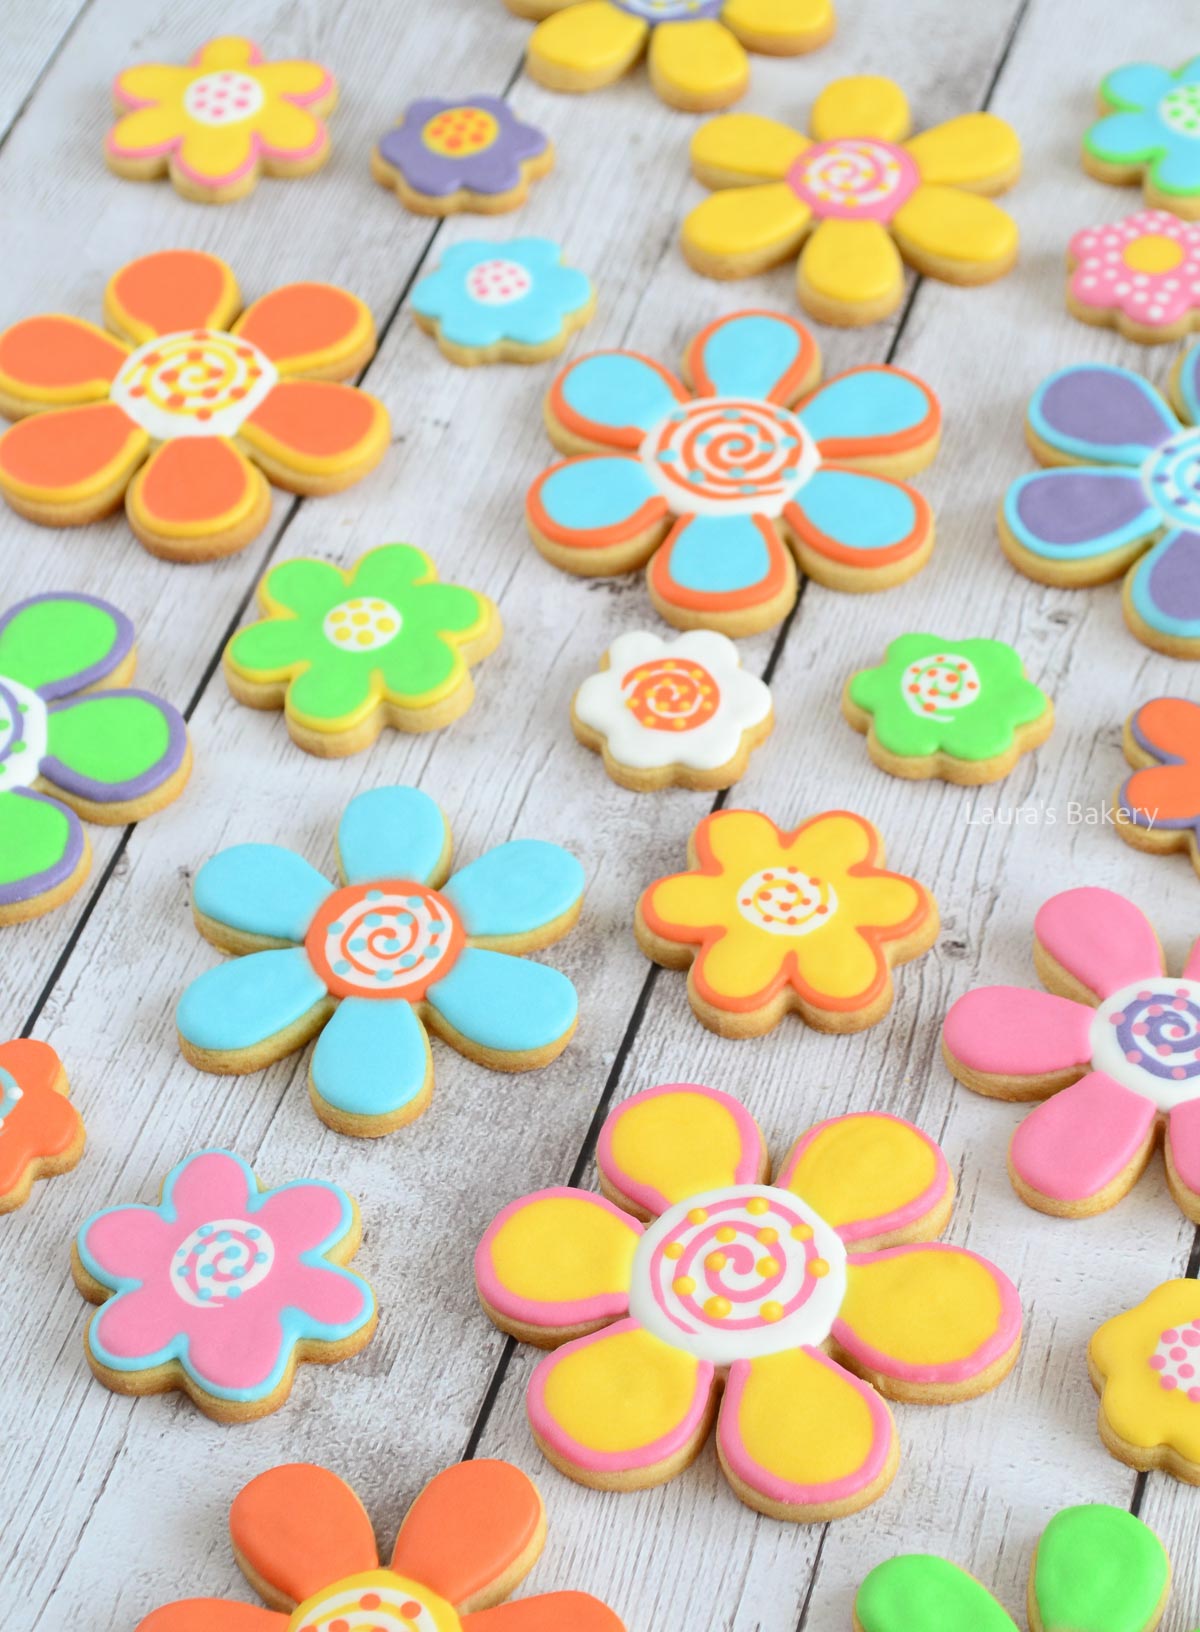
You can tint icing in any color of the rainbow using food coloring. I prefer gel coloring over powder. I divide my white icing into small glass bowls and then add color. Cover bowls you’re not currently using with a damp towel to prevent the icing from drying out.
Glass bowls make it easy to see if all the icing is fully mixed, or if there’s still some white at the bottom. Always keep some white icing aside, you can use it to lighten a color that’s too strong or to thicken icing that’s gotten too thin.
Icing Consistencies
Traditionally, decorators use three royal icing consistencies: thin, medium, and thick – one for outlining, one for flooding, and one for details.
Honestly, I find that pretty fussy. You end up with multiple piping bags for every color, and half the time the ratios aren’t quite right anyway. So I switched to 20-second icing and never looked back!
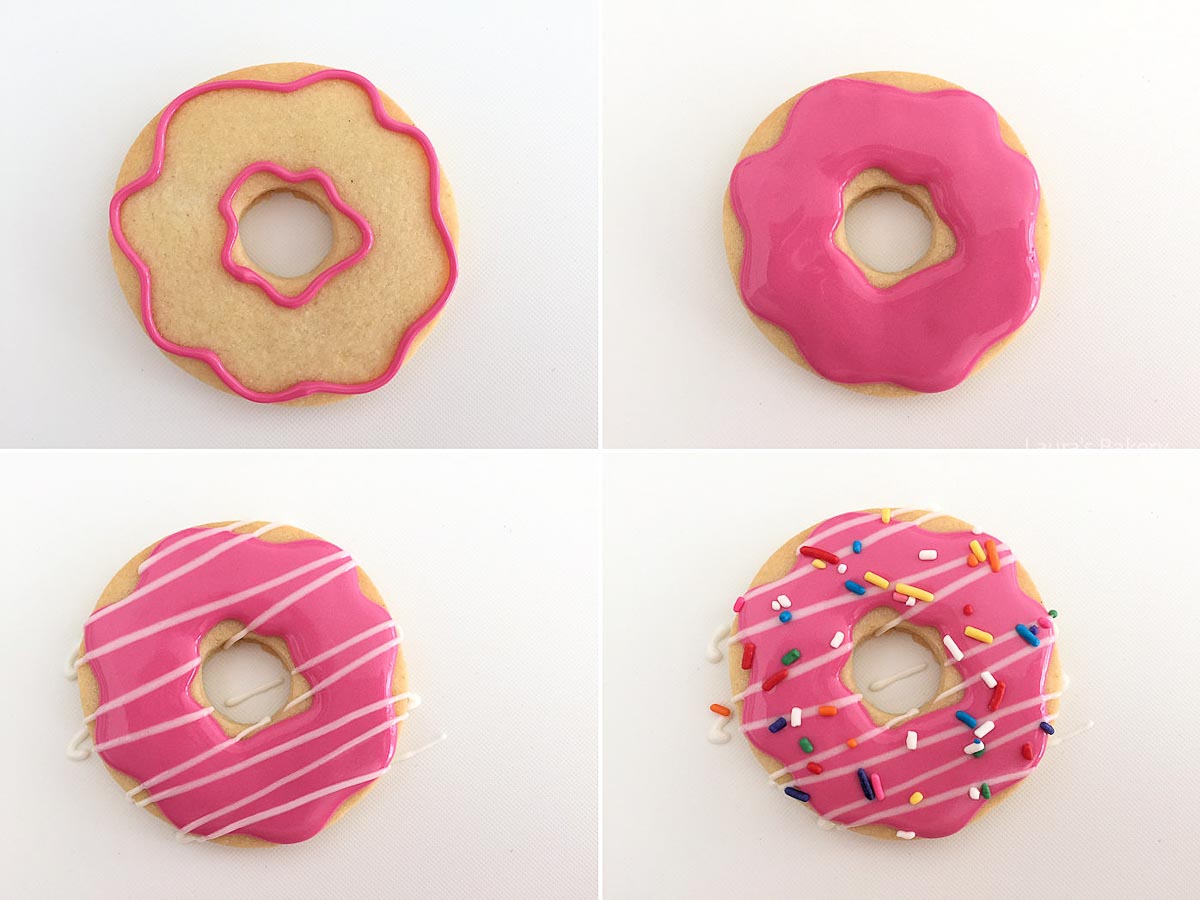
20-Second Icing
This icing is just the right consistency for outlining without it running off the cookie, and also perfect for filling. The bonus? Outlines and filling blend seamlessly, so you don’t see the harsher, sharp edges you get with thicker icing.
To make it, start with the basic recipe and add a little water at a time until the surface smooths out within 20 seconds after stirring.
Thick Icing
For decorations that need to hold their shape (like trees, leaves or drop flowers), use thick icing. This is just the basic recipe without extra water. The icing keeps its peaks, and you’ll clearly see the texture of the piping tip you used.