
Can I replace the buckwheat flour?
Yes, you can swap it 1:1 for regular flour. But buckwheat does give blini their signature flavor.
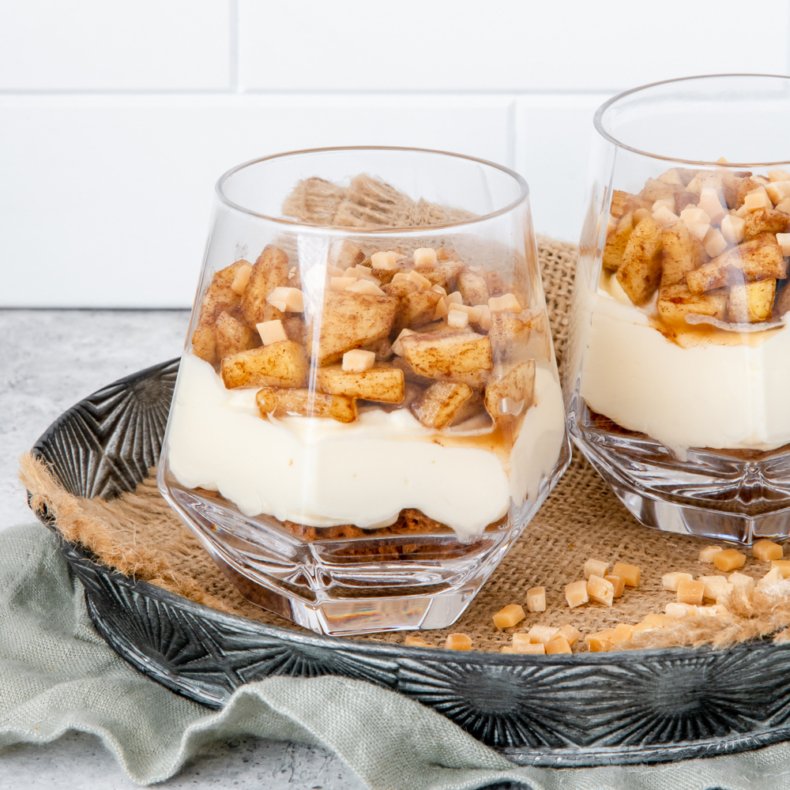
This basic blini recipe is quick and easy to make, and the blini turn out nice and airy. Once topped, they look incredibly elegant and make the perfect festive appetizer.
The good thing about blini is that they are so easy to make and are the perfect little snack.
You can go traditional and serve them with sour cream or crème fraîche and salmon but they can be eaten in so many different ways. The finished blini can even be turned into a sweet treat.
Traditionally blini are made with yeast, but I love to make something quicker if I can as long as the end result is pretty close to the original. So no, these are not authentic but they are still pretty close!
Add both flours into a large bowl and mix it to combine. Now split the egg into egg whites and egg yolk. The yolk is added to the flour and the egg white is placed in a clean, grease free bowl.
The butter is melted and added to the flour mixture together with the milk. Whisk it until smooth and season with salt and pepper to your liking.
Whip the egg whites until you have stiff peaks. Fold this into the batter, making sure not to remove the air from the mixture.
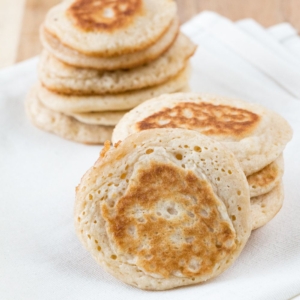
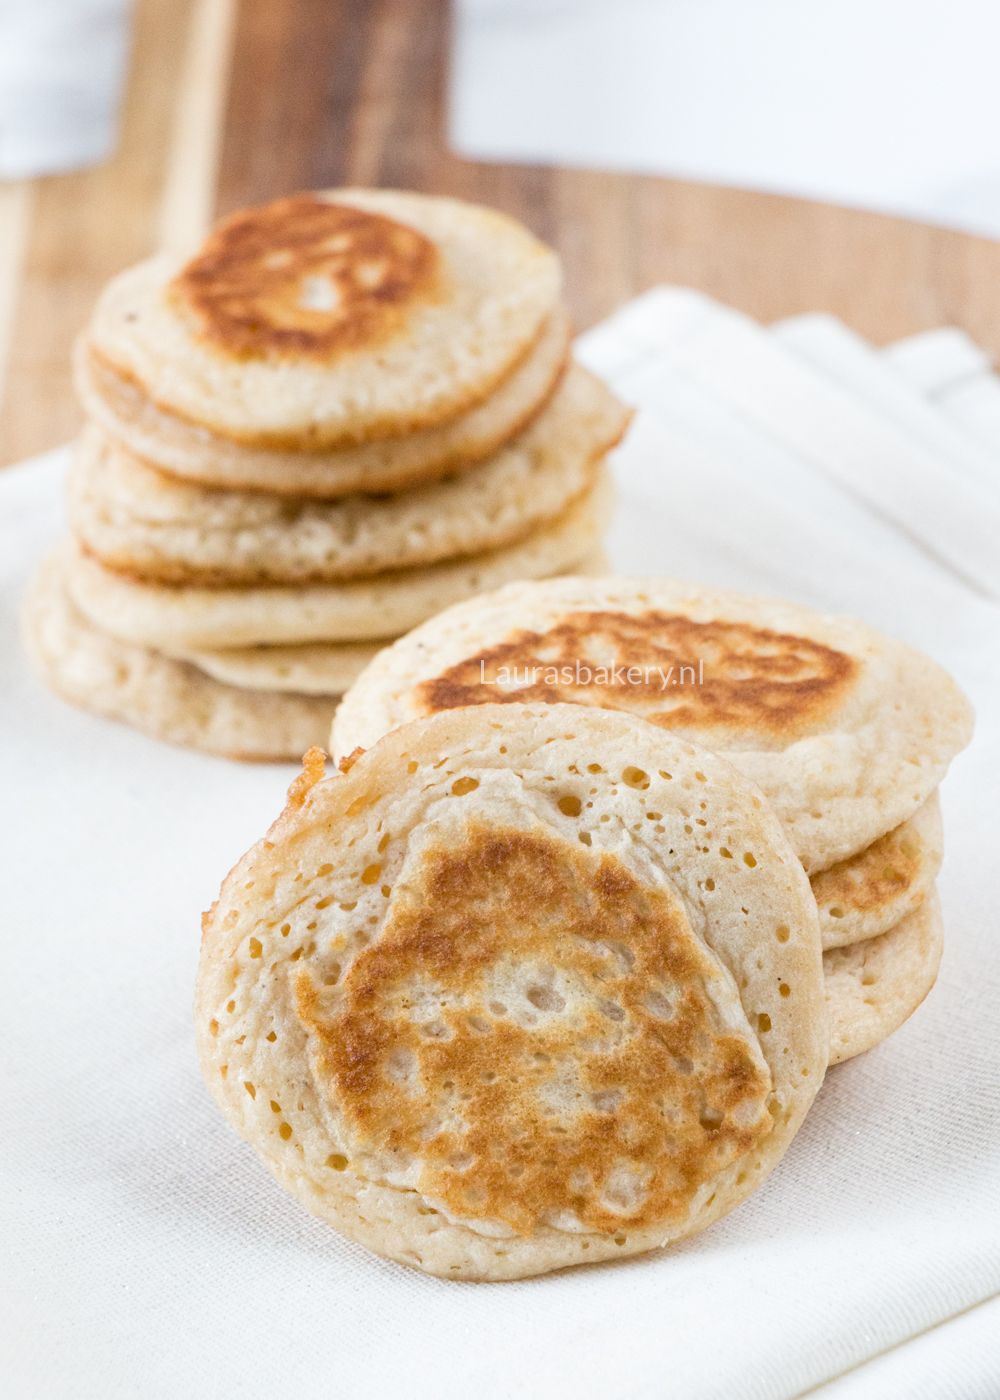
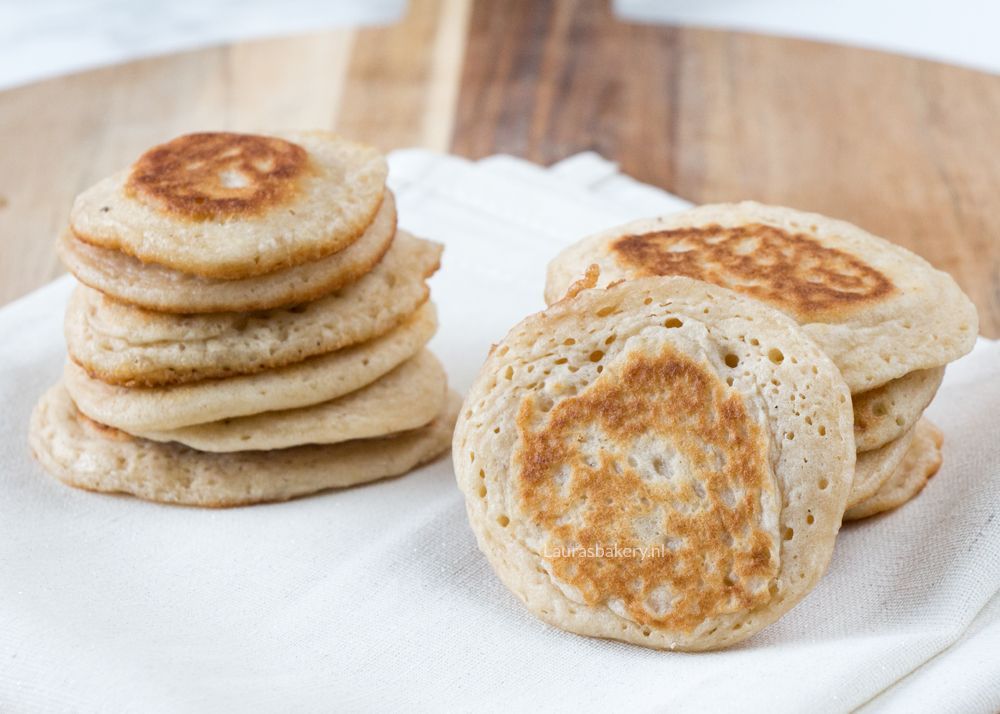
Now it’s time to bake the blini. That works in much the same way as a regular pancake but the difference lies in the size. You use about one tablespoon of batter for each blini. Let them cool before adding the topping.
Blini are small Russian buckwheat pancakes, usually between 2-4 inches (5-10 cm) in diameter. In the Netherlands, they’re often compared to mini pancakes (poffertjes) due to similar ingredients (yeast, buckwheat flour) but mostly because of their small size.
Fun fact I discovered while researching for this post: “blini” is already the plural form! The singular is blin. But hey, who serves just one of these delicious bites anyway? 😉
You can serve them as an amuse-bouche, an appetizer, or as party bites, but they’re just as great in a more casual setting.
Think: picnic snacks or a fun treat for school or daycare! Blini also make a fantastic savory option for a high tea.
With this basic recipe, you’re all set and the toppings are up to you!
Here are a few topping combinations that would work perfectly on blini (including vegetarian and non-vegetarian options and all without salmon!).
These are just ideas but there is so much more you can do with them:
Blinis are easy to store in the refrigerator for 2-3 days. Since they are mostly served cold that makes them perfect for making in advance.
Absolutely. They are very easy so freeze and will keep for about 3 months when frozen. Make sure to store them in a freezer proof container.
Yes, you can swap it 1:1 for regular flour. But buckwheat does give blini their signature flavor.
Use a blini pan, similar to a Dutch mini-pancake pan but with larger molds (about 2.5 inches). It helps make them uniformly round and even.
Note: I didn’t use a blini pan for this basic recipe. Simply using the same amount of batter each time (like a level tablespoon or small cookie scoop) will also help keep the blini even.
Since this recipe doesn’t include yeast, it’s important to whip the egg white properly and fold it gently into the batter. Next time, you can also add ½ teaspoon of baking powder to ensure extra fluffiness.
Buckwheat flour doesn’t contain gluten, so it creates a denser texture. Without yeast in this recipe, I replaced part of it with regular flour for a lighter result.
I wouldn’t replace all of it, try 60 g buckwheat flour + 40 g all-purpose flour instead, and add ½ teaspoon baking powder. Keep in mind: buckwheat has a strong, distinctive flavor.
Reheat them without toppings, either in the oven or the microwave.
Links in this article may be affiliate links. If you purchase something through such a link, I will receive a small commission, without you paying anything extra.

Welcome to Laura’s Bakery! You’ve come to the right place for the most delicious baked goods and appetizers. With my easy recipes for home bakers I will show you that baking is fun and delicious.
Have fun baking!